
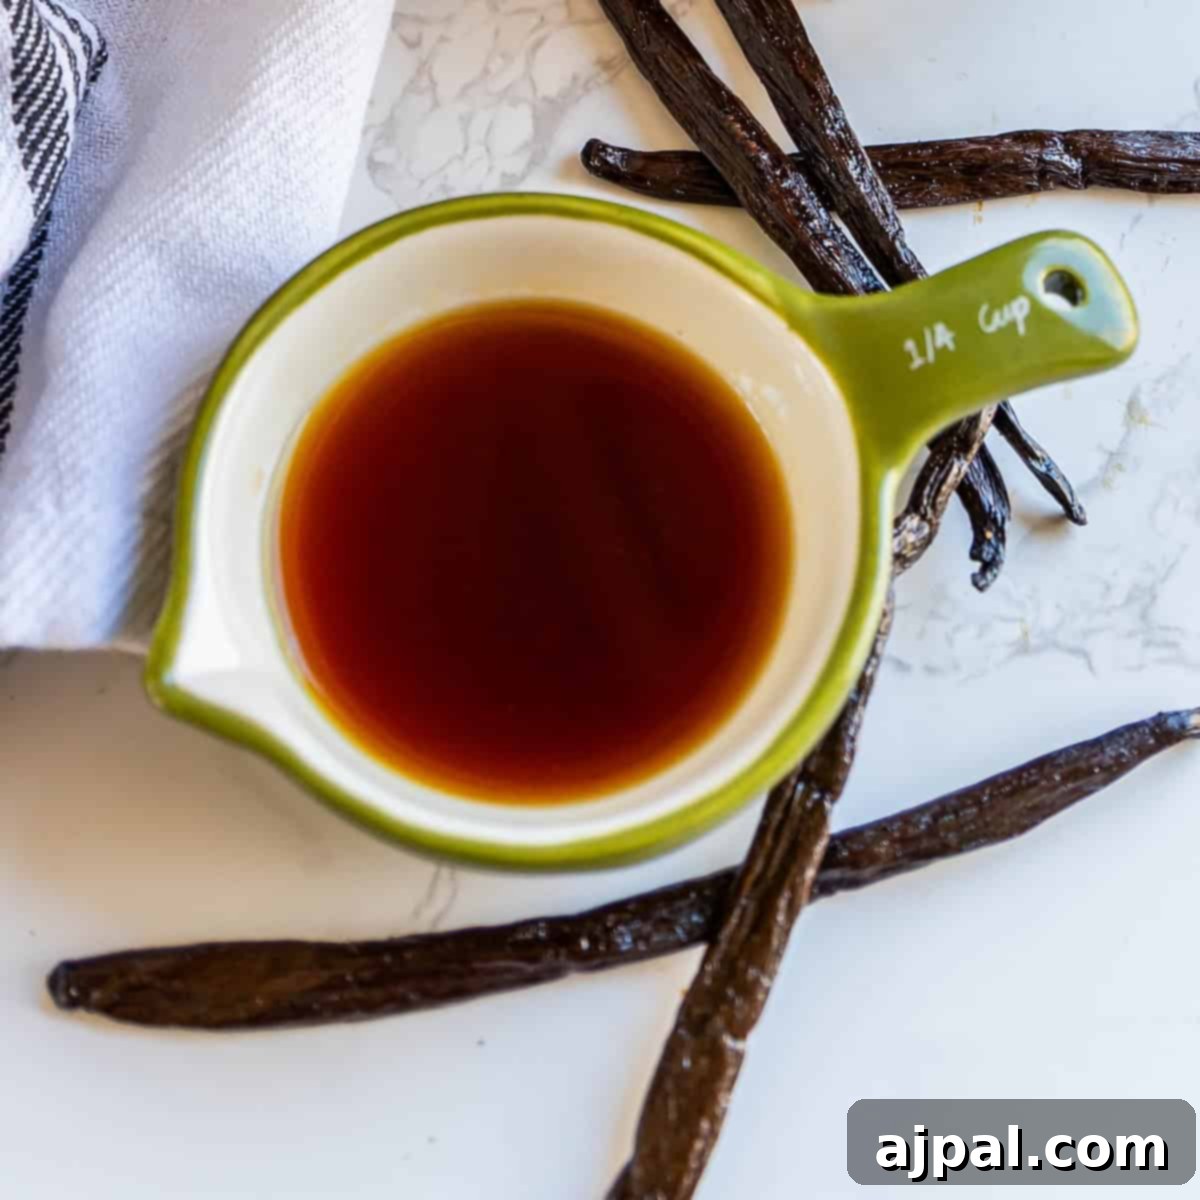
Unleash Culinary Magic: Your Ultimate Guide to Homemade Vanilla Extract
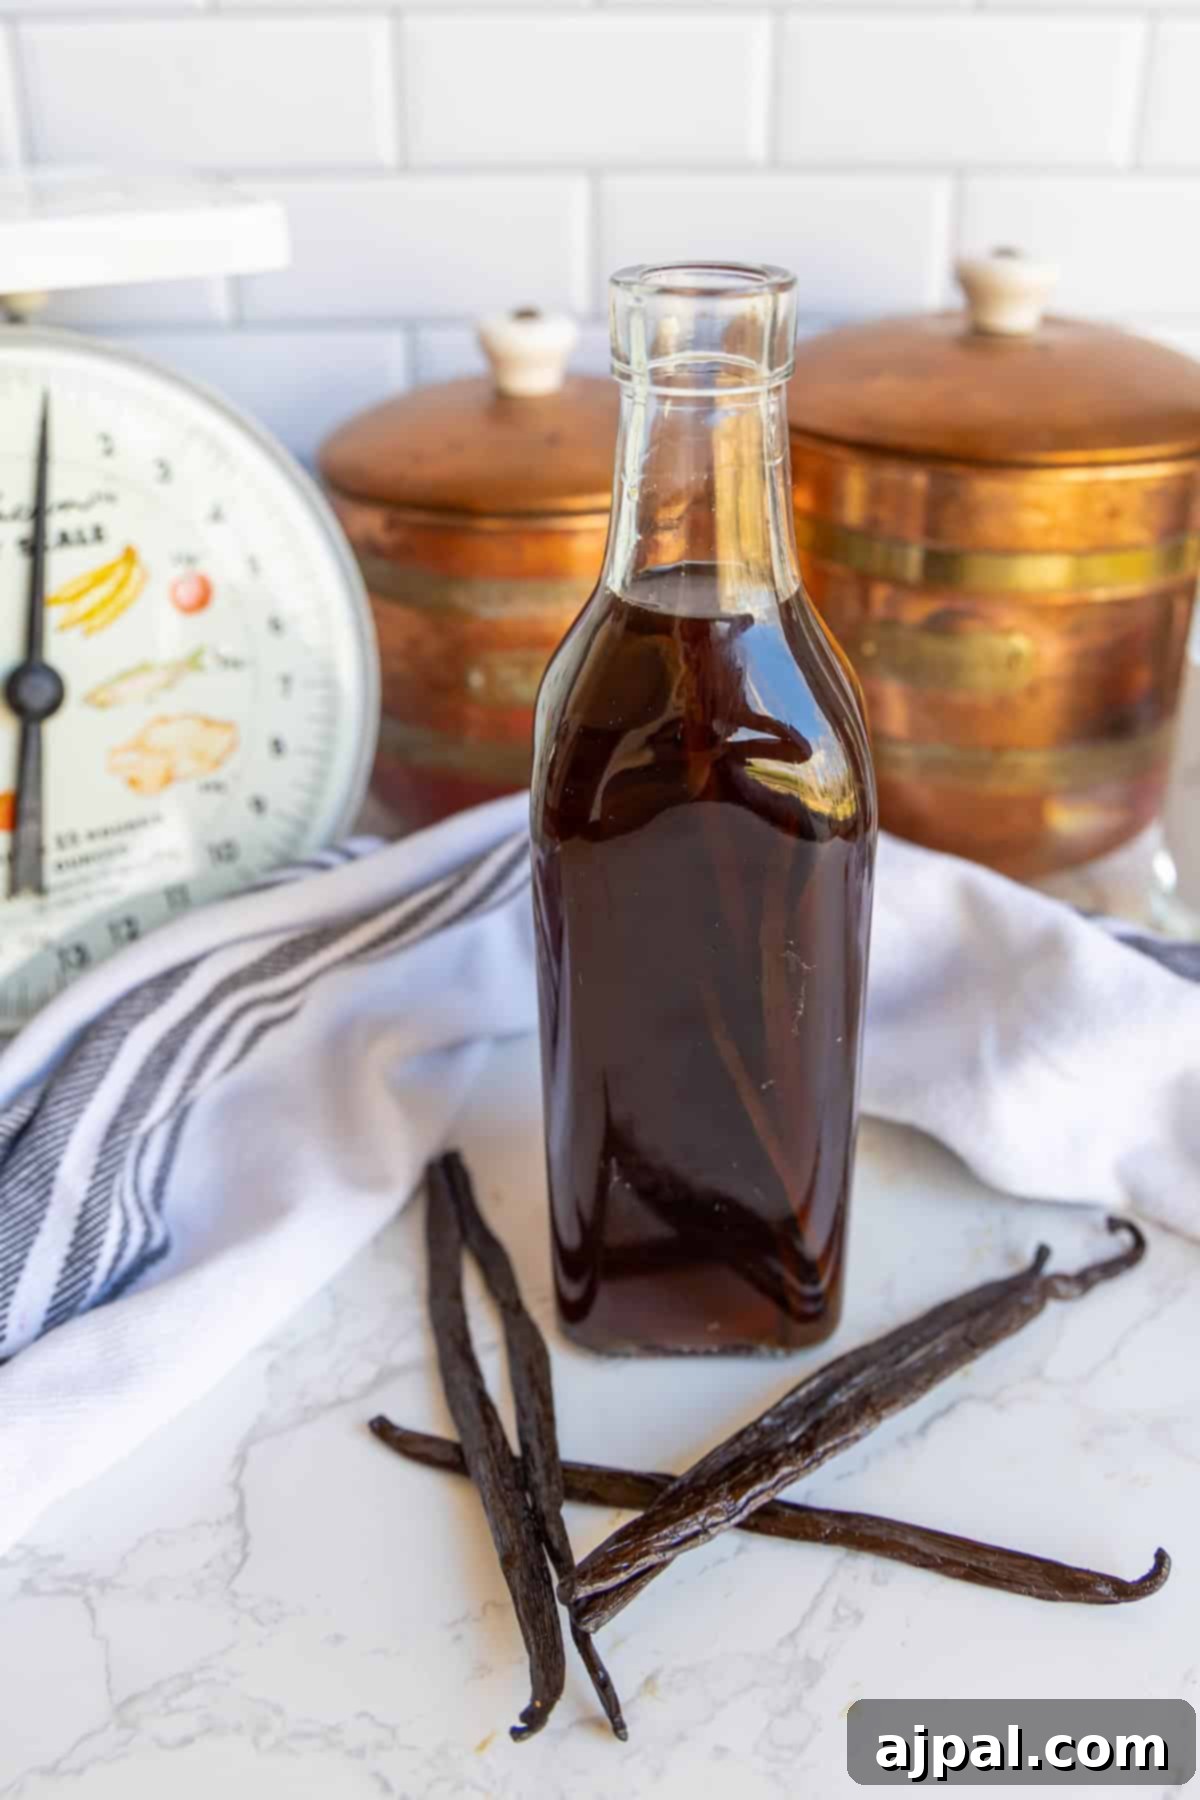
Transform your baking and cooking with the unparalleled aroma and rich flavor of **homemade vanilla extract**. Forget store-bought imitations; crafting your own is a simple, rewarding journey that yields a superior product perfect for your kitchen or as a thoughtful, personalized gift. This comprehensive guide will walk you through every step, from selecting the finest vanilla beans to mastering the art of infusion, ensuring you create a truly exceptional extract that elevates all your culinary creations.
We believe that understanding the ‘why’ behind each step empowers even the most beginner home cook. That’s why we pack our recipes with detailed tips and insights, explaining how each ingredient contributes to the final masterpiece. Our goal is to make you feel confident and inspired in your kitchen!
Table of Contents
- Why Choose Homemade Vanilla Extract?
- The Essentials: Ingredients and Equipment
- Crafting Your Vanilla Extract: Step-by-Step
- Pro Tips and Tricks for Perfect Vanilla Extract
- FAQs: Your Homemade Vanilla Extract Questions Answered
- Culinary Applications: What to Use Vanilla Extract In
- Homemade Vanilla Extract Recipe Card
Why Choose Homemade Vanilla Extract?
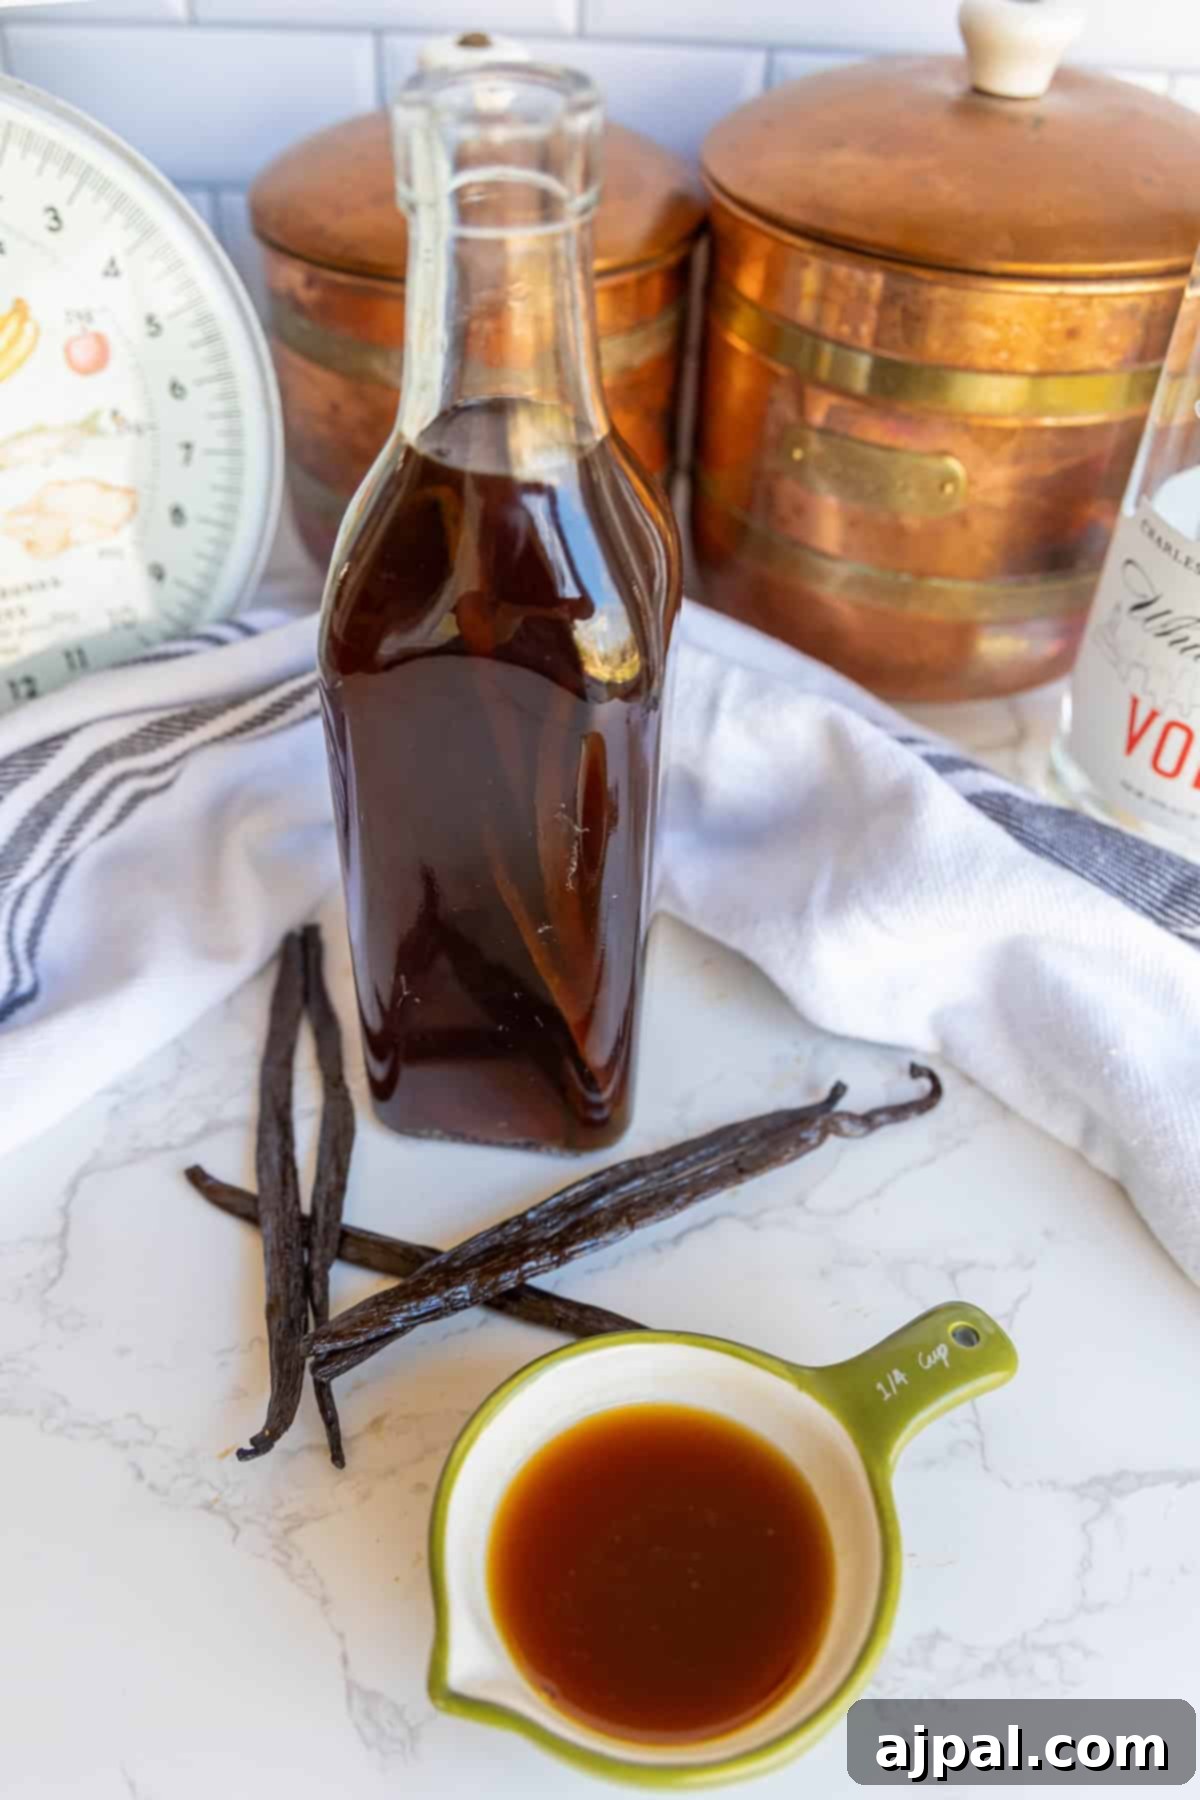
Once you experience the depth and complexity of homemade vanilla extract, returning to commercial varieties feels like a step backward. The difference is truly remarkable! Store-bought vanilla often contains artificial flavors, colors, and sweeteners that can mute or alter the delicate essence of true vanilla. Our homemade recipe, however, allows the pure, rich, and aromatic notes of real vanilla beans to shine through, creating an extract that is not only superior in taste but also customizable to your preferences.
Beyond the enhanced flavor, making your own vanilla extract offers a sense of accomplishment and satisfaction. It’s a simple, hands-off process that transforms basic ingredients into a gourmet staple. Plus, it makes for a fantastic, heartfelt gift for friends, family, and teachers – a truly unique present that shows you care. Imagine the joy of gifting a beautifully bottled extract, knowing it was made with love and will bring exquisite flavor to their baking for months to come!
This recipe is specifically designed to be incredibly simple yet yield an intensely flavorful extract. We focus on quality ingredients and a straightforward method, ensuring that even beginners can achieve professional-grade results right in their own kitchen. Get ready to elevate your baking to a whole new level!
The Essentials: Ingredients and Equipment
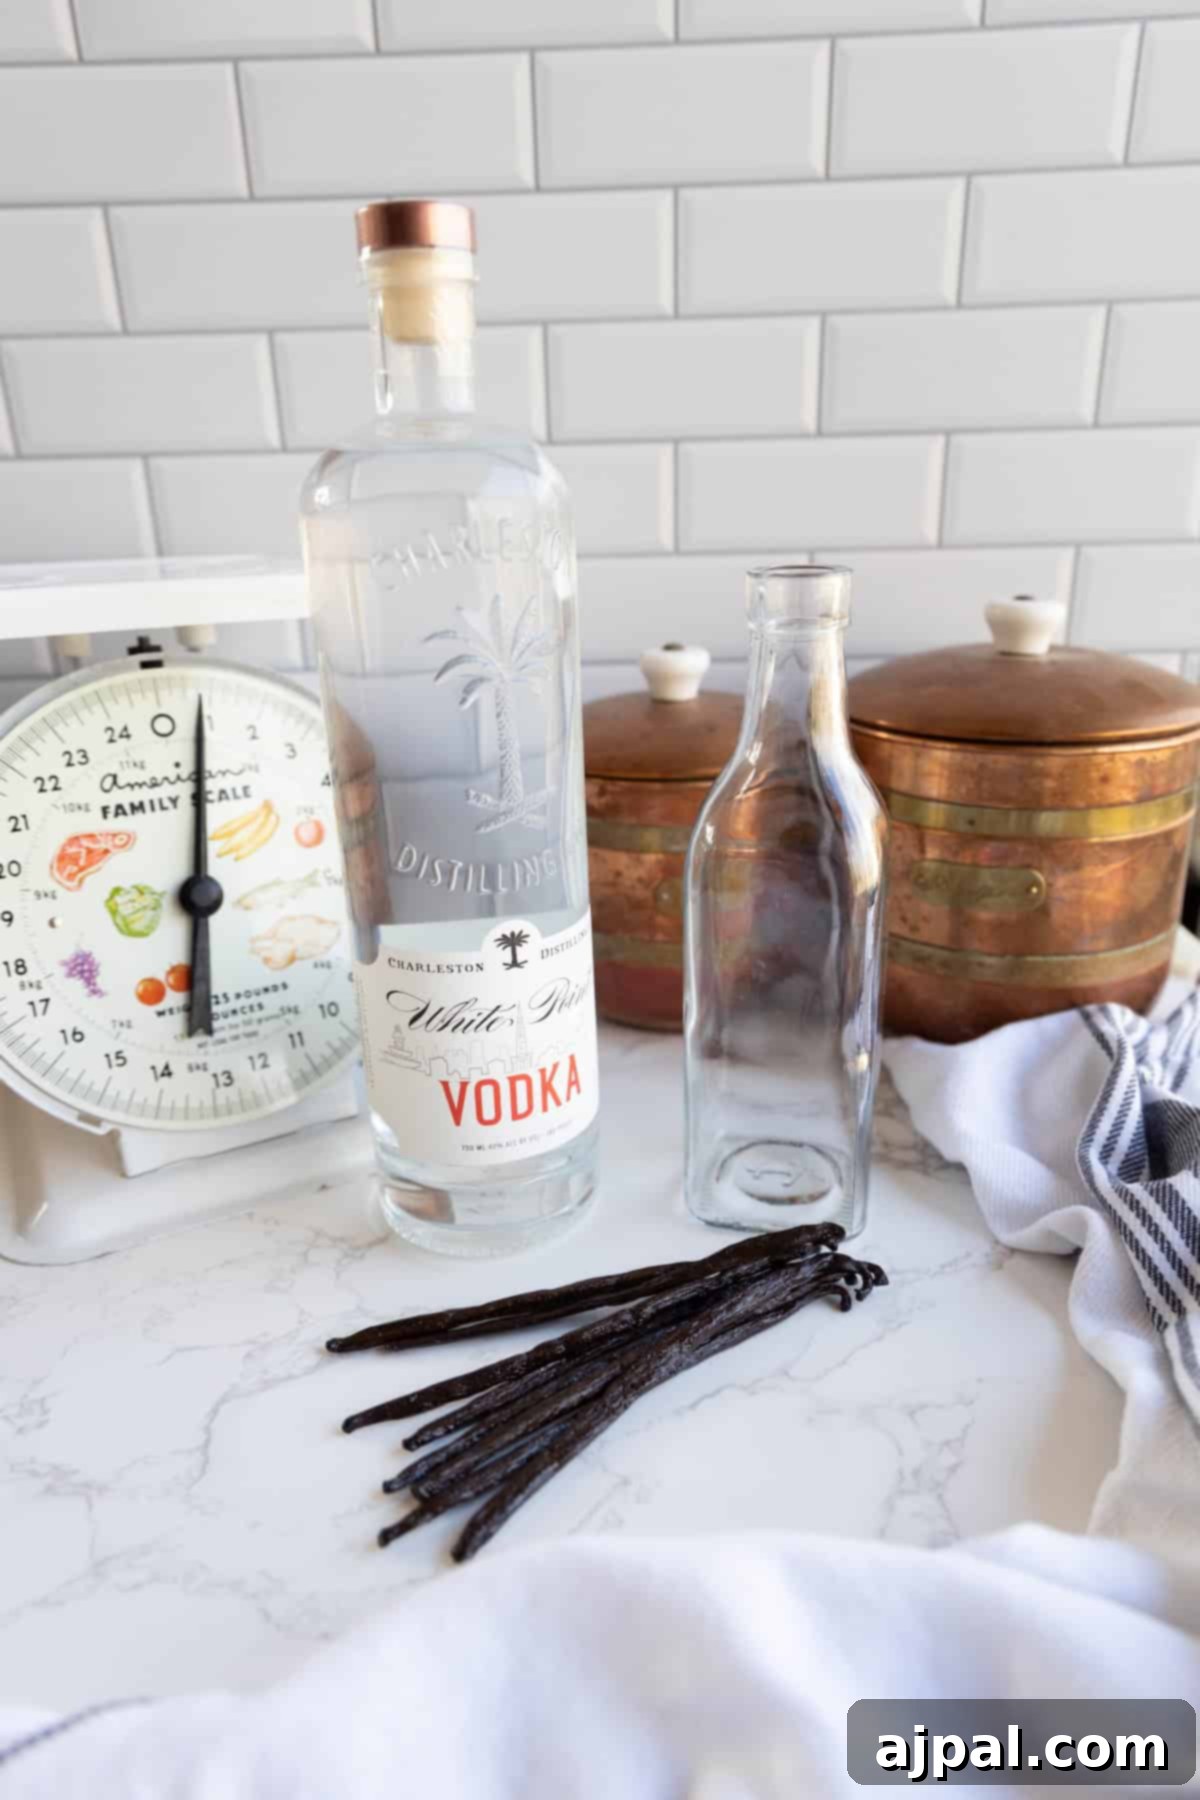
Crafting exquisite homemade vanilla extract requires just a few key components. Choosing high-quality ingredients is paramount, as they directly impact the final flavor profile and potency of your extract. Here’s a detailed look at what you’ll need:
Key Ingredients:
- Vanilla Beans (8 beans or 20 grams): The heart and soul of your vanilla extract. Vanilla beans are prized for their complex, aromatic compounds that infuse the alcohol with deep, sweet, and floral notes. For extract making, Grade B vanilla beans are often recommended. These “extract grade” beans have a lower moisture content than Grade A (gourmet) beans but a higher concentration of the flavorful vanillin, making them perfect for prolonged steeping. You can choose different varieties like Madagascar (rich, creamy, classic), Tahitian (floral, fruity), or Mexican (smoky, spicy) to create unique flavor profiles.
- Vodka (1 cup, 80 proof / 40% alcohol by volume): This serves as the neutral solvent that extracts the maximum flavor from the vanilla beans. Vodka is ideal because its neutral taste allows the delicate vanilla flavors to truly shine without any interference. An 80-proof vodka is perfect as it has enough alcohol content to efficiently extract the compounds from the beans. While vodka is the most common choice, you can experiment with other spirits like bourbon for a richer, more caramel-like vanilla, rum for a sweeter, warmer note, or brandy for a fruity, slightly oaky undertone.
Essential Equipment:
- Airtight Glass Jars or Bottles (8 oz / 250ml capacity): You’ll need a clean, sterilized glass container with a tight-fitting lid to prevent evaporation and contamination. Swing-top bottles with rubber seals are excellent for this purpose, but any jar with a secure lid will work. Dark amber glass bottles are preferable as they help protect the extract from light, which can degrade the vanilla over time.
- Sharp Knife or Scissors: For splitting the vanilla beans lengthwise to expose their flavorful caviar.
- Cutting Board: To safely prepare your vanilla beans.
- Labels: Crucial for marking the start date of your extract. This helps you track its progress and know when it’s ready to use.
With these simple ingredients and tools, you’re well on your way to creating your very own premium homemade vanilla extract!
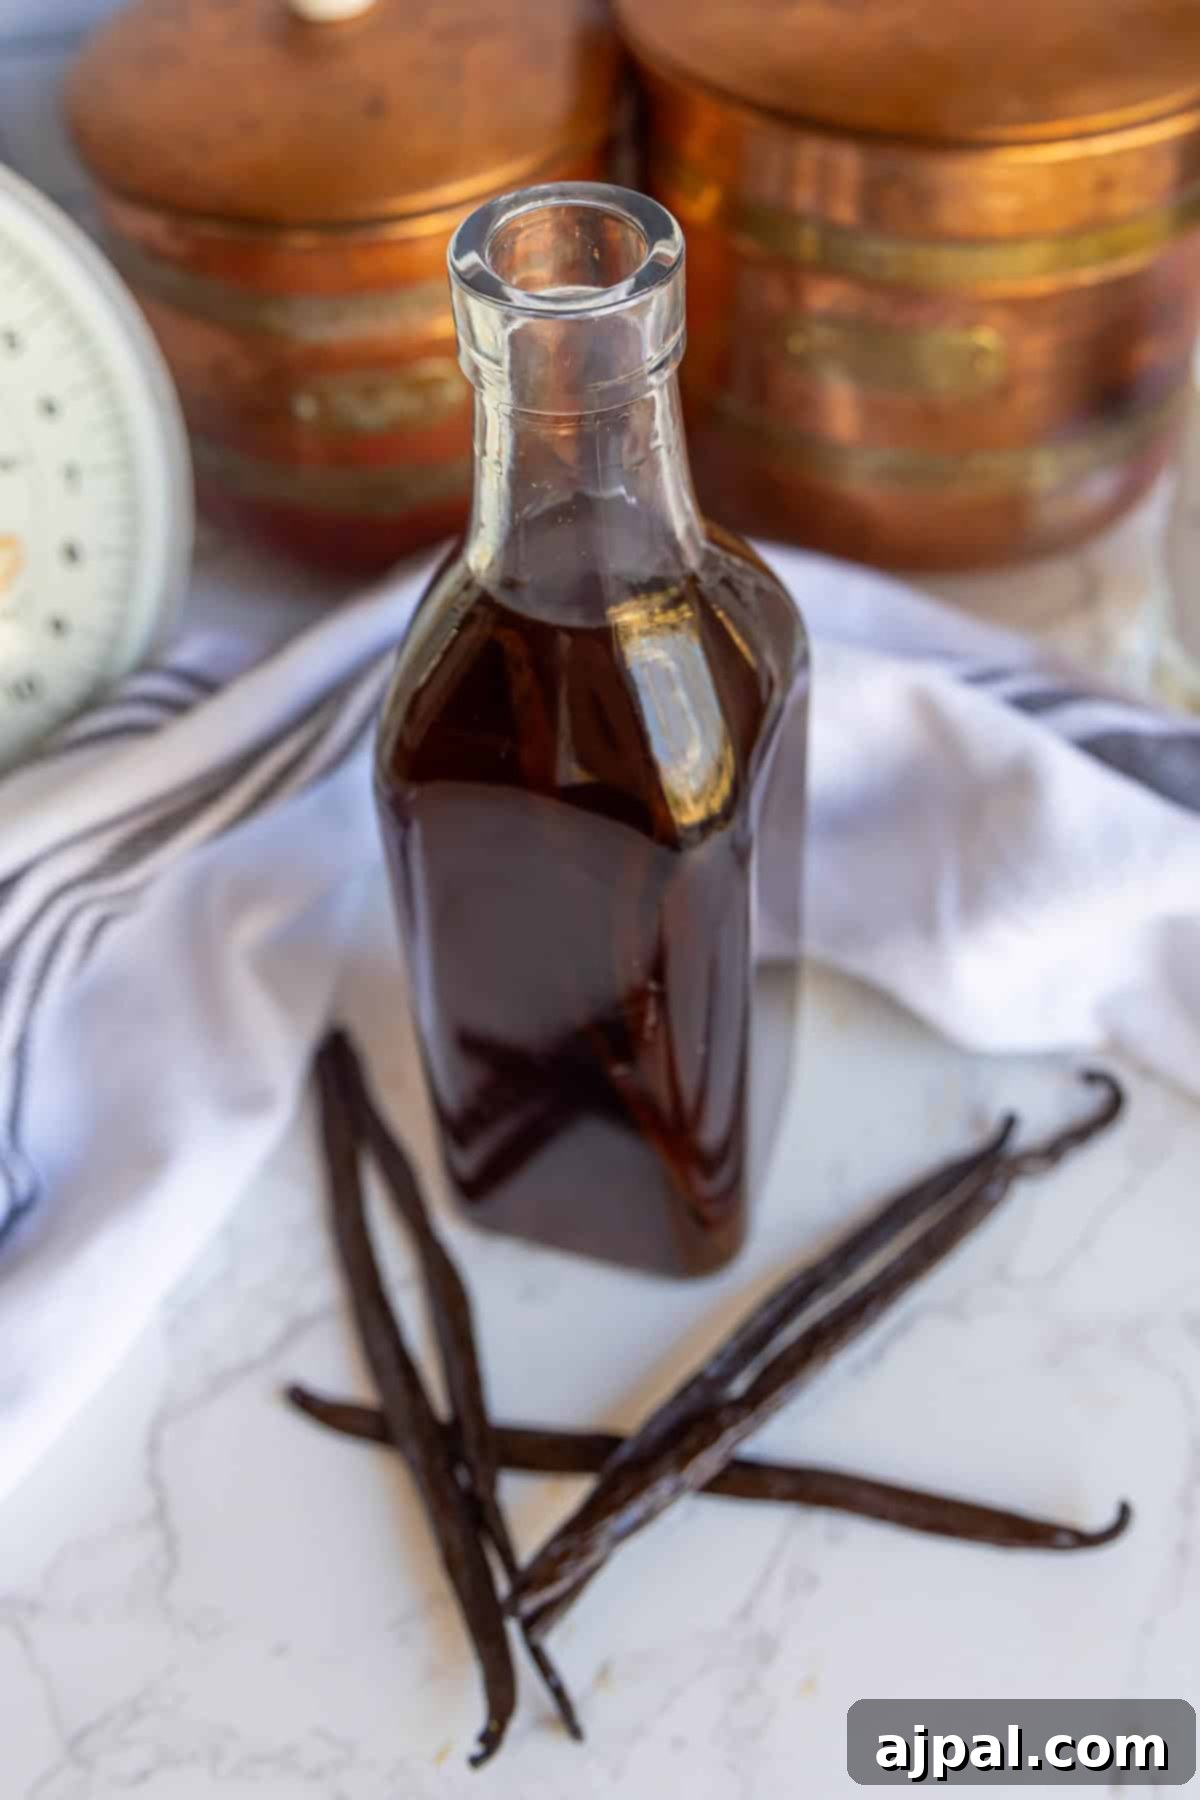
Crafting Your Vanilla Extract: Step-by-Step
Making homemade vanilla extract is incredibly straightforward, requiring minimal active preparation time and a good deal of patience. Follow these simple steps to create your own liquid gold:
- Prepare the Vanilla Beans: Lay each vanilla bean flat on a cutting board. Using a sharp knife, carefully slice each bean lengthwise from end to end, but do not cut all the way through the other side. You want to expose the tiny, fragrant seeds (vanilla caviar) inside. This maximizes the surface area, allowing the alcohol to more efficiently extract the rich flavors and aromatic compounds. For smaller beans, you might cut them in half after splitting to ensure they fit well within your chosen bottle.
- Assemble Your Extract: Gently place the prepared vanilla beans into a clean, sterilized 8oz (or similar size) glass jar or bottle with a tight-fitting lid. Ensure the beans are fully submerged. Pour 1 cup of 80-proof vodka over the beans until they are completely covered. Proper submersion is key to preventing mold and ensuring an even infusion. Secure the lid tightly to prevent any alcohol evaporation.
- Date and Shake: Immediately after assembling, clearly mark the date on your jar or bottle. This is vital for tracking the infusion process. Give the bottle a gentle shake a few times to help distribute the beans and begin the infusion.
- Store for Infusion: Store your vanilla extract in a cool, dark place, away from direct sunlight or heat fluctuations. A pantry, cupboard, or basement is ideal. Direct sunlight can degrade the vanilla compounds and alter the flavor. To encourage optimal flavor development, make it a habit to shake the bottle once a week, or whenever you remember. This helps circulate the alcohol and ensures continuous extraction from the beans.
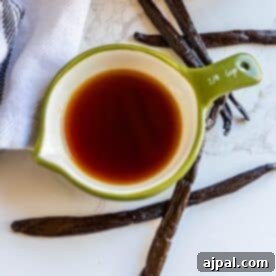
- Patience is Key: The magic of vanilla extract lies in time. While some discernible vanilla flavor may develop within 6-8 weeks, for a truly rich, deep, and complex extract, it needs at least 6 months to steep. The flavor will continue to deepen and improve the longer it sits, with 1 year or more being ideal for a truly robust extract. Don’t rush the process; good things come to those who wait! You’ll know it’s ready when the liquid turns a rich amber or dark brown color and has a strong, unmistakable vanilla aroma.
- Continuous Use and Replenishment: One of the best aspects of homemade vanilla extract is its longevity and reusability. Once you begin using your extract, simply add more vodka to replace the amount you’ve used. This process, often called “topping off,” allows the beans to continue infusing new alcohol. Over time, the beans will gradually lose their potency. When you notice the vanilla aroma or flavor isn’t as strong, it’s time to replace the old beans with fresh ones. With proper care, your vanilla extract can be a continuous source of delicious flavor for many years!
Pro Tips and Tricks for Perfect Vanilla Extract
Elevate your homemade vanilla extract from good to gourmet with these expert tips and tricks:
- Source High-Quality Vanilla Beans: The foundation of exceptional extract. Grade B vanilla beans are often preferred for extract making because they have less moisture but a more concentrated vanilla flavor profile compared to Grade A (gourmet) beans. Explore different varieties like rich Madagascar Bourbon, floral Tahitian, or smoky Mexican beans to find your favorite or create unique blends.
- Select the Right Alcohol: While 80-proof vodka is the go-to for its neutral base, don’t hesitate to experiment! Bourbon adds a warm, caramel-like depth, rum lends a sweet, tropical essence, and brandy contributes a fruity, sophisticated note. Choose an alcohol you enjoy the taste of, as some subtle hints may come through in the finished extract.
- Optimize Bean Preparation: Splitting the vanilla beans lengthwise, as described in the instructions, is crucial. This exposes the tiny vanilla caviar inside, maximizing the surface area that comes into contact with the alcohol, leading to a faster and more potent infusion.
- Utilize Dark Glass Bottles: Light is the enemy of vanilla extract. Store your infusion in dark amber or cobalt blue glass bottles. These colored bottles act as a protective barrier, preventing UV light from degrading the delicate vanilla compounds and preserving its potency and flavor over time.
- Shake Regularly: Make it a habit to gently shake your vanilla extract bottle once a week, or whenever you remember. This simple action helps to evenly distribute the vanilla essence throughout the alcohol, ensuring a consistent and robust flavor extraction.
- Embrace Patience: True gourmet vanilla extract is a labor of love that rewards patience. While a usable extract can be ready in 8-12 weeks, the flavor deepens and becomes significantly richer after 6-12 months. The longer you let it steep, the more complex and nuanced the taste will be.
- Don’t Skimp on Beans: A good rule of thumb is to use at least 1 ounce (about 28 grams) of vanilla beans per cup (250ml) of alcohol. This generous ratio ensures a strong, flavorful extract that won’t get lost in your baked goods. For a “double-fold” extract (extra strong), double the bean quantity.
- Label Your Bottles Clearly: Always label your bottles with the date you started the infusion. This allows you to track its age and ensures you use it at its peak flavor. You can also note the type of beans and alcohol used for future reference.
- Consider Straining (Optional): If you prefer a clear, smooth extract without any specks, you can strain it through a fine-mesh sieve or cheesecloth before bottling for use. However, many bakers appreciate the visible vanilla specks as a sign of genuine, high-quality extract.
- Reuse Exhausted Beans: Don’t discard your vanilla beans after straining! Once they’ve given up most of their flavor to the extract, dry them thoroughly and place them in a jar of sugar to make exquisite **vanilla sugar**. You can also use them to start a second, milder batch of extract (though you may need to add a few fresh beans for a stronger infusion).
- Craft an Alcohol-Free Version: For those who prefer to avoid alcohol, substitute food-grade vegetable glycerin for vodka. This creates a non-alcoholic vanilla extract, though it typically takes longer to infuse (at least 6 months) and may have a slightly different flavor profile and consistency.
- Customize and Blend Flavors: Unleash your inner alchemist! Try mixing different types of vanilla beans in one batch for a unique, multi-layered flavor. You can also add other aromatics like a cinnamon stick, a few cardamom pods, or orange peel for a customized, spiced vanilla extract.
- Perfect for Gifting: Homemade vanilla extract is an incredibly thoughtful and appreciated gift. Pour the finished extract into small, decorative bottles, add a custom label with the start date and type of vanilla, and tie with a pretty ribbon for a truly personal touch.
- Optimal Storage Conditions: Keep your bottled vanilla extract in a cool, dark pantry or cupboard, away from heat sources and direct light. Stored correctly, homemade vanilla extract has an almost indefinite shelf life, with its flavor only improving over time.
FAQs: Your Homemade Vanilla Extract Questions Answered
For a good, usable extract, allow at least 8–12 weeks for the vanilla beans to infuse into the alcohol. However, for the most superior, rich, and complex flavor, it’s highly recommended to let it steep for **6–12 months** or even longer. Patience truly pays off with vanilla extract!
Not necessarily. While high-quality beans are important, Grade B vanilla beans are actually ideal and often more cost-effective for extract making. These “extract grade” beans have a lower moisture content and a higher concentration of vanillin, the primary flavor compound, making them perfect for long-term infusion.
Absolutely! While vodka is popular due to its neutral flavor allowing the vanilla to shine, you can certainly experiment. Bourbon creates a warm, rich, and slightly smoky vanilla extract, while rum adds a sweet, slightly caramelized note. Brandy will yield a more fruity and complex extract. Choose a spirit you enjoy drinking!
The standard and recommended ratio for a strong, flavorful extract is typically 6–8 whole vanilla beans (approximately 1 ounce or 28 grams) per cup (250ml) of 80-proof alcohol. For a more intense, “double-fold” extract, you can increase this to 12-16 beans per cup.
Yes, splitting the vanilla beans lengthwise is highly recommended. This crucial step exposes the inner vanilla caviar and increases the surface area that comes into contact with the alcohol, significantly speeding up and enhancing the flavor infusion process. While you *can* leave them whole for a milder extract, splitting them yields a much richer result.
No, imitation vanilla is an artificially flavored product designed to mimic vanilla. It is not suitable for making homemade extract, which relies on the natural compounds extracted from real vanilla beans.
Yes, an alcohol-free vanilla extract can be made using food-grade vegetable glycerin as the solvent. However, be aware that it typically takes longer to infuse (at least 6 months) and the resulting flavor profile may not be as deep or complex as alcohol-based extracts.
Absolutely! Vanilla beans can be reused. After your first batch is ready, you can continue to “top off” the bottle with more alcohol as you use the extract. The beans will continue to infuse, though the flavor may gradually become weaker. When you notice a significant decline in flavor, it’s best to add a few fresh beans or replace them entirely.
Straining is entirely optional. Some people prefer a perfectly clear extract and will strain it through a fine-mesh sieve or cheesecloth. However, many home bakers love the visible vanilla specks, which are a hallmark of authentic homemade extract and add to its visual appeal.
To achieve a stronger vanilla extract, you have two primary methods: either use a higher ratio of vanilla beans per cup of alcohol (e.g., 12-16 beans for a “double-fold” extract), or simply allow the extract to steep for a longer period. The longer the infusion, the more concentrated and richer the flavor will become.
Patience is key! It takes time for the vanilla compounds to fully infuse and impart their color. If your extract is still clear after a few weeks, it’s perfectly normal. Continue to store it in a cool, dark place and shake it regularly. If it’s still notably clear after several months, you might consider adding a few more beans or extending the steeping time.
Homemade vanilla extract, when stored properly in a cool, dark place and in an airtight container, will last indefinitely. The high alcohol content acts as a natural preservative, meaning your extract can genuinely last for years, with its flavor only improving with age.
Absolutely! Homemade vanilla extract is a highly cherished and thoughtful gift. Pour it into decorative small bottles, attach a beautiful label with the start date and a personal message, and present it for holidays, birthdays, or as a host/hostess gift. It’s a gift that keeps on giving!
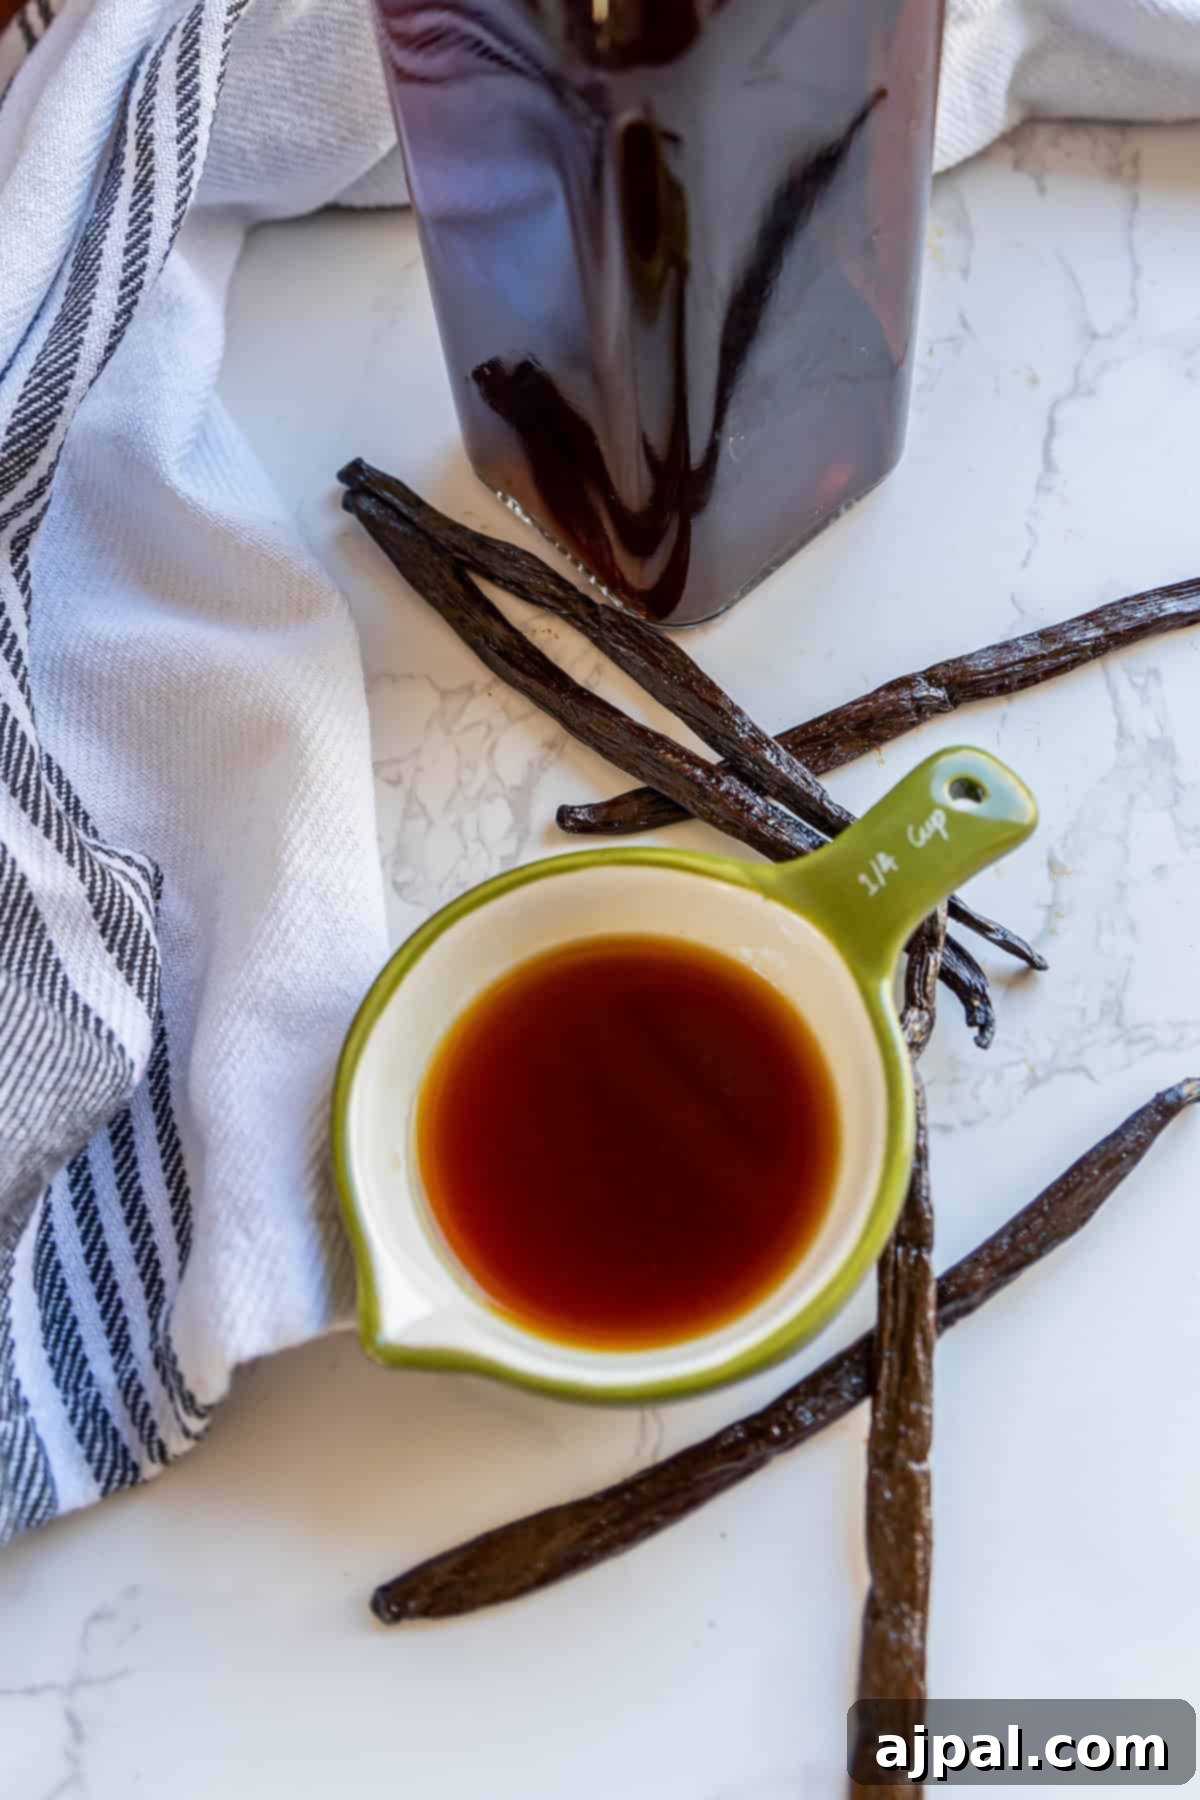
Culinary Applications: What to Use Vanilla Extract In
Homemade vanilla extract is a versatile staple that enhances a vast array of sweet and savory dishes. Its warm, sweet, and complex notes can elevate everything from classic baked goods to unique savory creations.
- Cakes & Cupcakes: A fundamental ingredient that deepens the flavor of vanilla, chocolate, fruit-based, and spice cakes. It adds a layer of sophistication that simply can’t be achieved without it.
- Cookies: Essential in virtually all cookie recipes, from classic chocolate chip and sugar cookies to rich shortbread and delicate snickerdoodles. Vanilla provides a foundational sweetness and aroma.
- Brownies & Blondies: Adds incredible depth to chocolatey brownies and buttery blondies, balancing the richness and enhancing the overall indulgence.
- Muffins & Quick Breads: Transforms simple banana bread, pumpkin muffins, and blueberry loaves into aromatic and comforting treats. A splash of vanilla brightens the fruit and spice notes.
- Pancakes & Waffles: Infuse your breakfast favorites with a warm, inviting aroma and subtle sweetness. Just a teaspoon in the batter makes a significant difference.
- Frostings & Glazes: Crucial for perfect buttercream, royal icing, and simple sugar glazes. Vanilla provides the quintessential flavor that complements almost any dessert.
- Pies & Pastries: A key ingredient in fruit pies, tarts, pastry creams, and custards, where its flavor can either be a star or a subtle, supportive note.
- Custards & Puddings: Adds the classic vanilla flavor to crème brûlée, flan, tapioca pudding, and rice pudding, providing a comforting and familiar taste.
- Cheesecake: Brings out the creamy richness in classic and flavored cheesecakes, providing a perfect counterpoint to the tang of cream cheese.
- Coffee & Cocktails: A few drops can elevate your morning coffee or evening cocktail, adding a gourmet touch to beverages.
- Marinades & Sauces: Don’t limit vanilla to sweets! It can add intriguing depth to savory dishes, particularly with pork, chicken, or in a rich reduction sauce for a unique flavor twist.
Try your homemade vanilla extract in these delicious recipes:
Easy Lemon Jello Poke Cake Recipe
Strawberry Shortcake
Chocolate Peppermint Cheesecake
Strawberries and Cream Cake
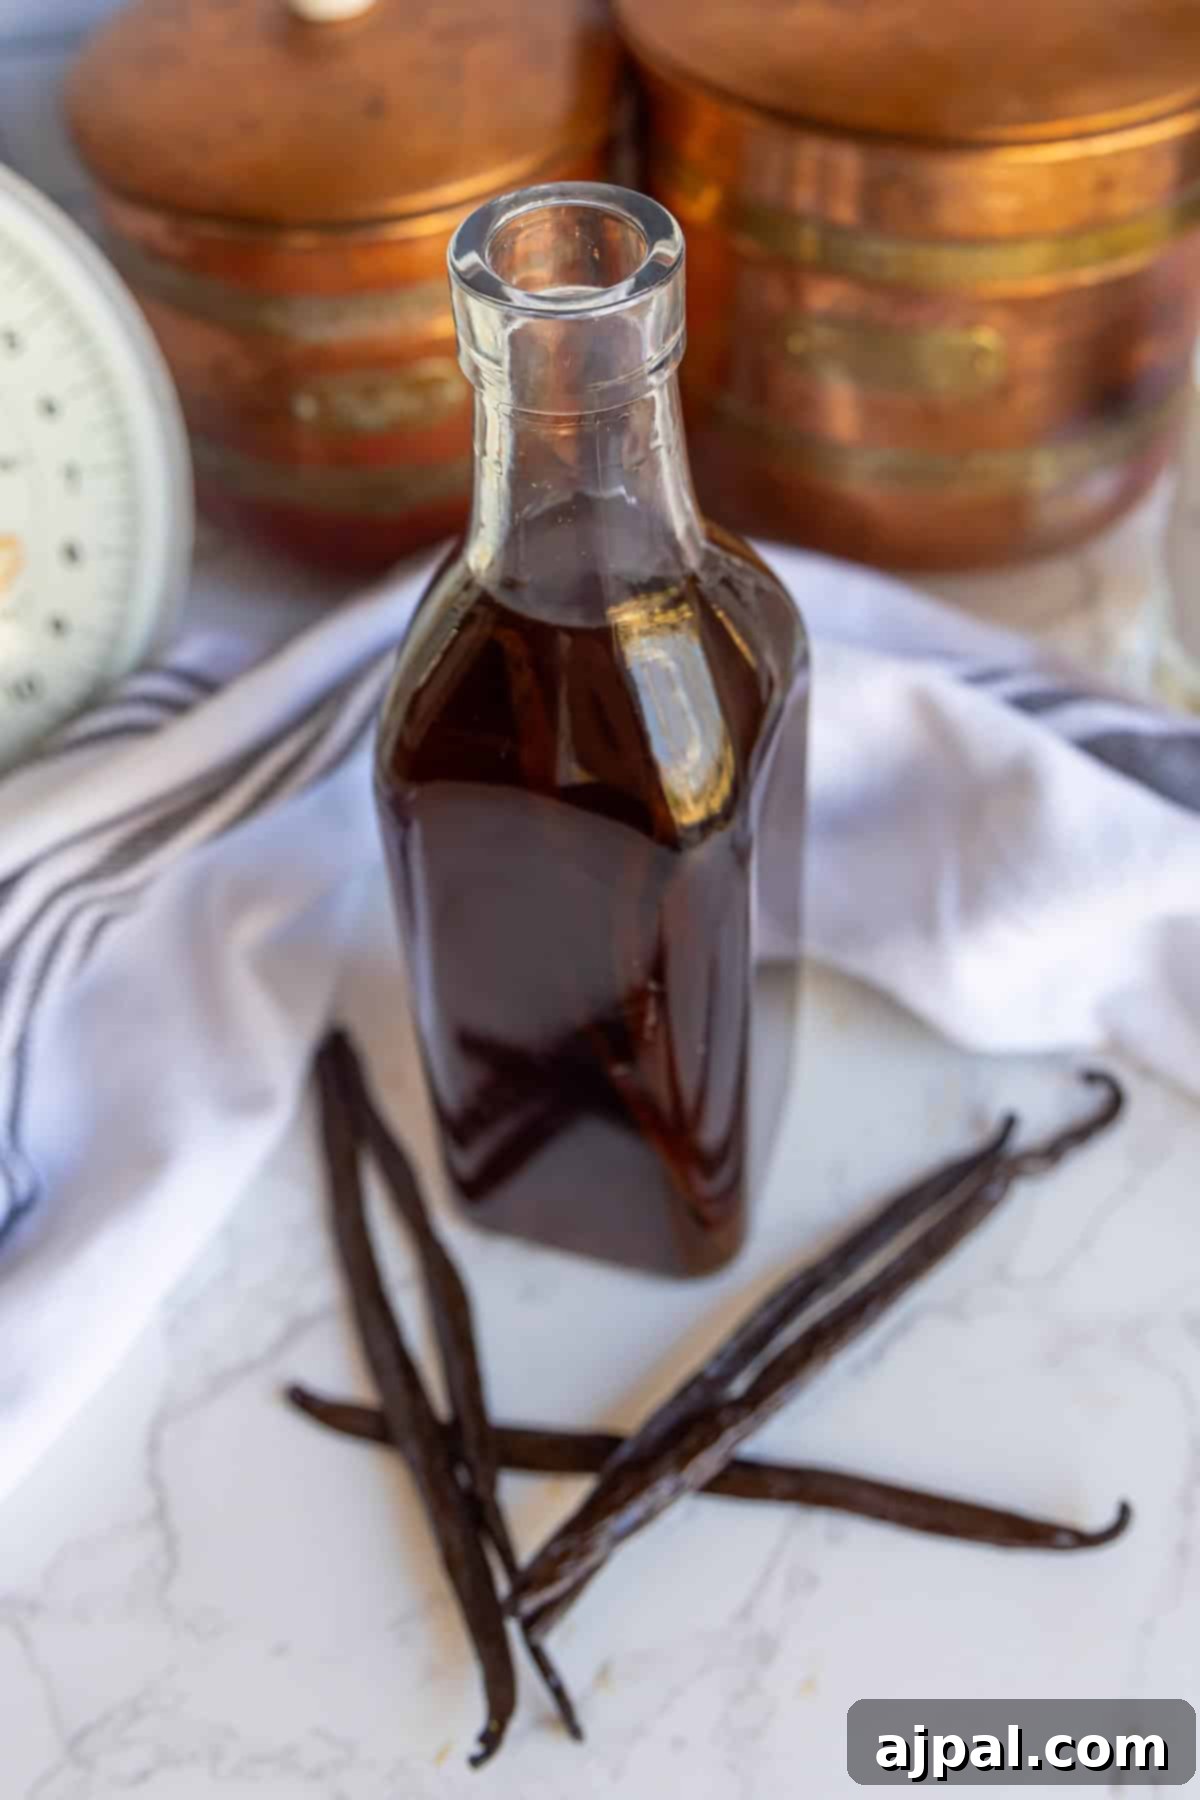
We hope you enjoy crafting your own homemade vanilla extract as much as we do! If you love this easy recipe and find our tips helpful, please share it with your friends and family. Tag us on Instagram or Facebook with your creations!
Share on Facebook
Share
Pin this now to find it later
Pin It
Follow on Instagram
Follow
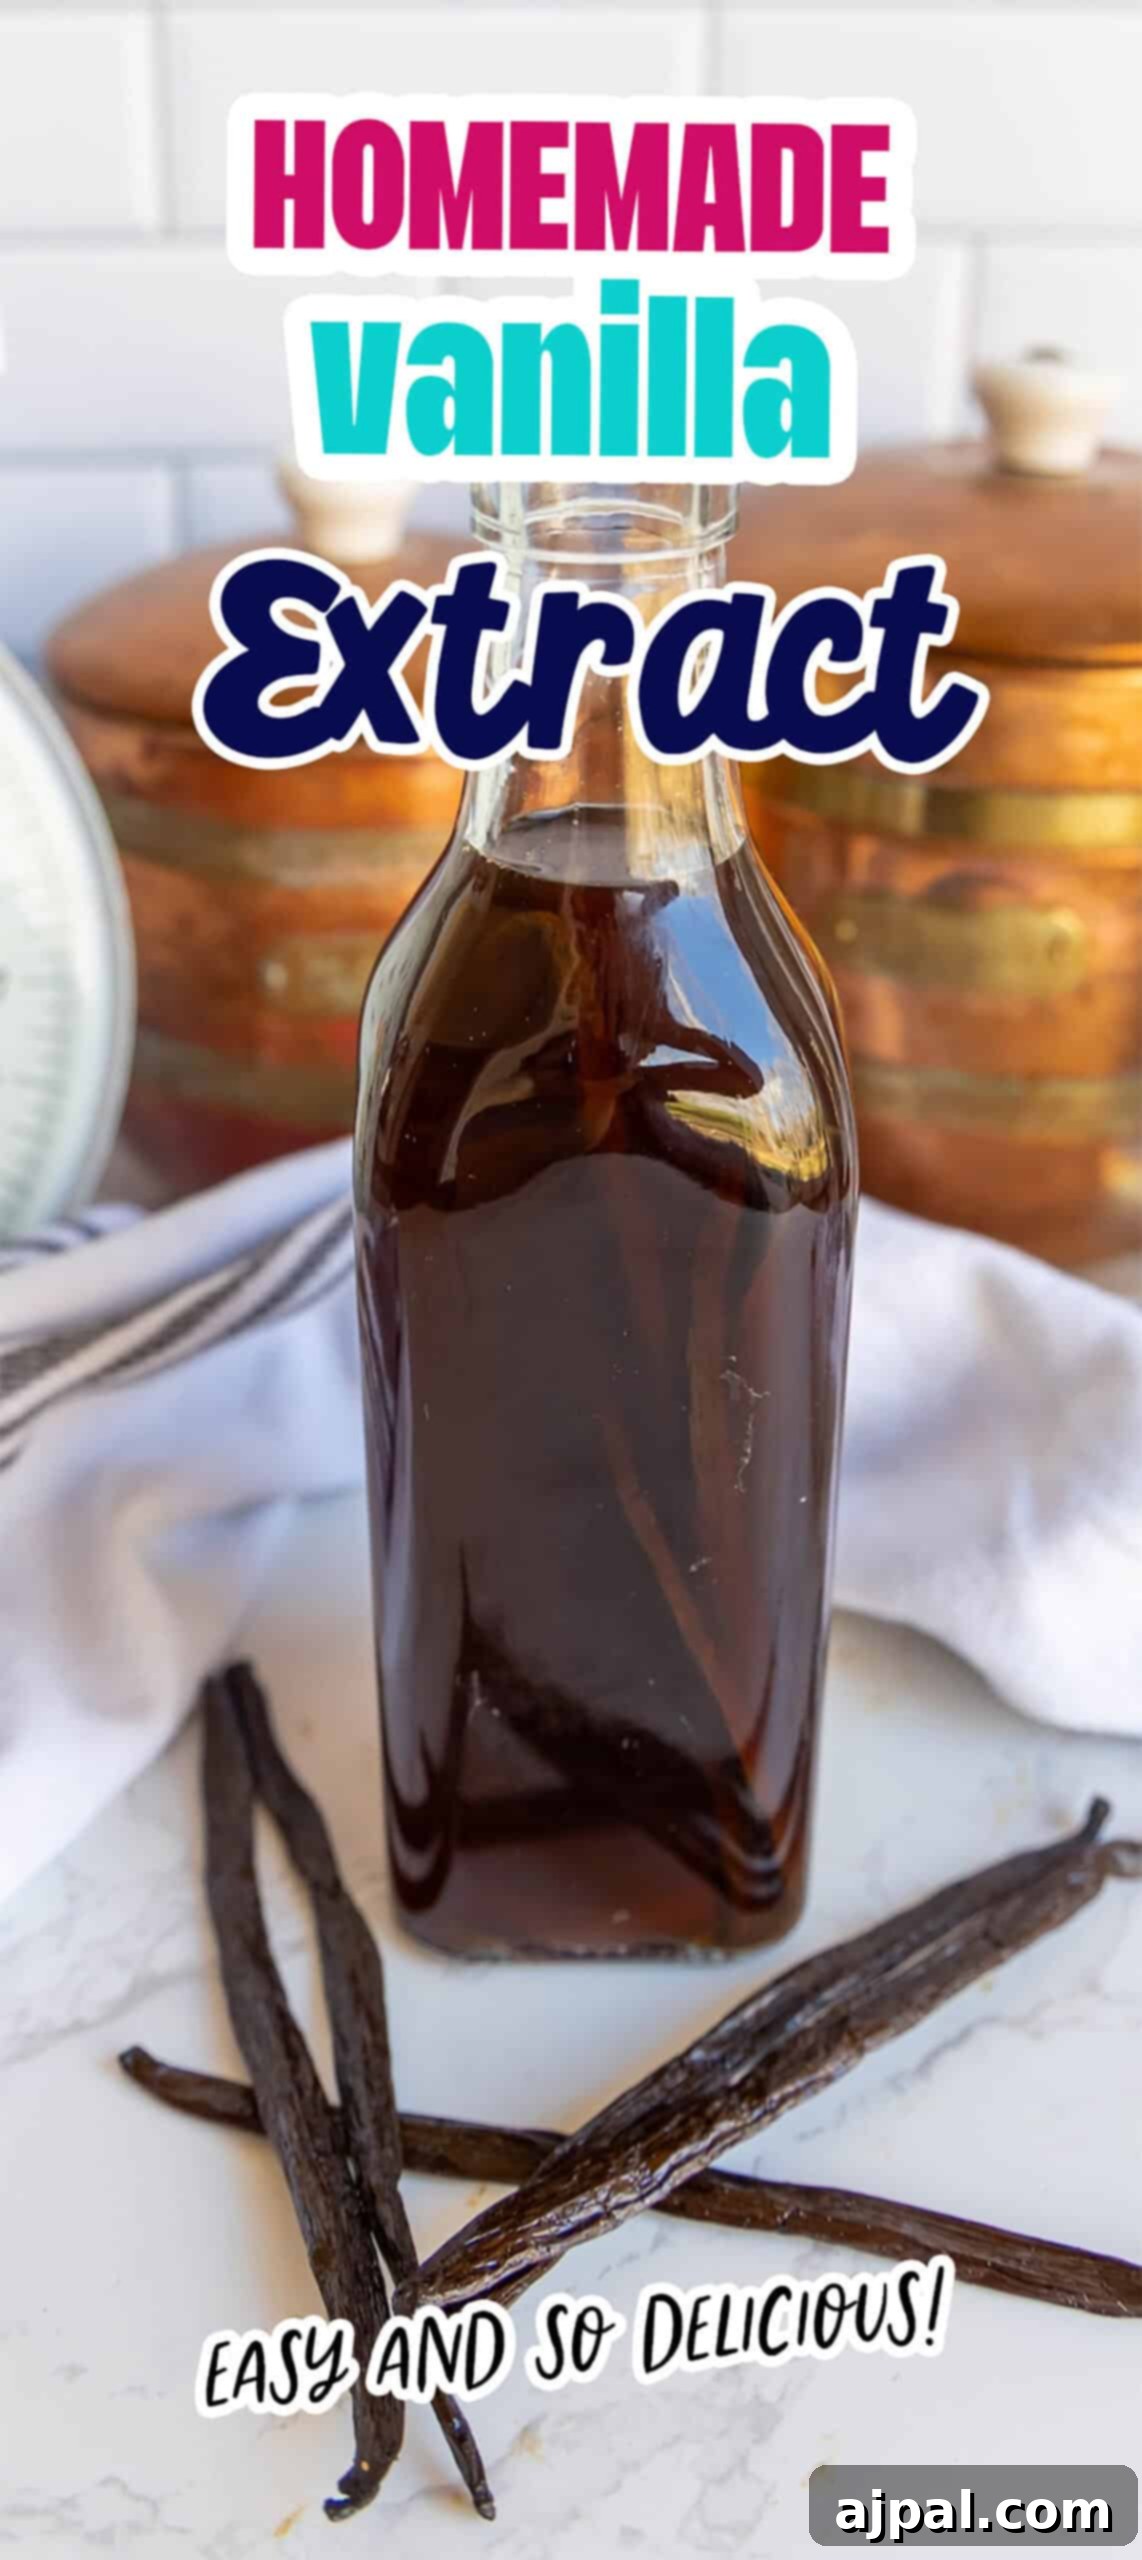
Only have 30 minutes to get dinner on the table? Sign up for my 30 minute dinner plans direct to your inbox!
Find and shop my favorite products in my Amazon storefront here!
Homemade Vanilla Extract Recipe
This homemade vanilla extract is a rich, aromatic infusion made by steeping vanilla beans in alcohol, resulting in a deeper, more natural flavor that enhances baked goods, desserts, and beverages.
Recipe Details:
- By: Katherine
- Servings: 16 tbsp (approximately 1 cup)
- Prep Time: 5 minutes
- Rest Time: 184 days (approx. 6 months for best results)
- Course: Herb and Seasoning Mixes
- Cuisine: American
Equipment
- 8oz Swing Top Bottles – Airtight Rubber Seal
Ingredients
- 8 vanilla beans, or 20 grams of them
- 1 cup vodka, 80 proof (40% alcohol by volume)
Instructions
- Split the vanilla beans right down the middle with a sharp knife so that the inner beans (caviar) are exposed.
- Place the split vanilla beans into an 8oz jar or container with a tight-fitting lid. Pour 1 cup of 80-proof vodka into the container until the beans are fully submerged. Mark the date on the container and give it a few gentle shakes.
- Store the vanilla extract at room temperature in a cool, dark place, out of direct sunlight. Shake the container once a week or whenever you remember to ensure even infusion.
- Allow the extract to steep for at least 6 months before use. The vanilla flavor will become significantly stronger and more complex the longer you leave it, with 1 year or more being ideal for a truly robust extract. Use once a strong vanilla aroma is present.
- As you begin using the extract, simply add more vodka to replace the amount you’ve used. This allows the beans to continue infusing new alcohol. Replace the old vanilla beans with fresh ones when you notice the vanilla smell or flavor is no longer as strong.
Nutrition (per 1 tbsp serving, approximate)
- Calories: 41 kcal
- Carbohydrates: 1 g
- Fat: 0.4 g
- Sodium: 0.1 mg
- Potassium: 0.1 mg
- Iron: 0.001 mg
Nutrition information is automatically calculated, so should only be used as an approximation and for general guidance.