
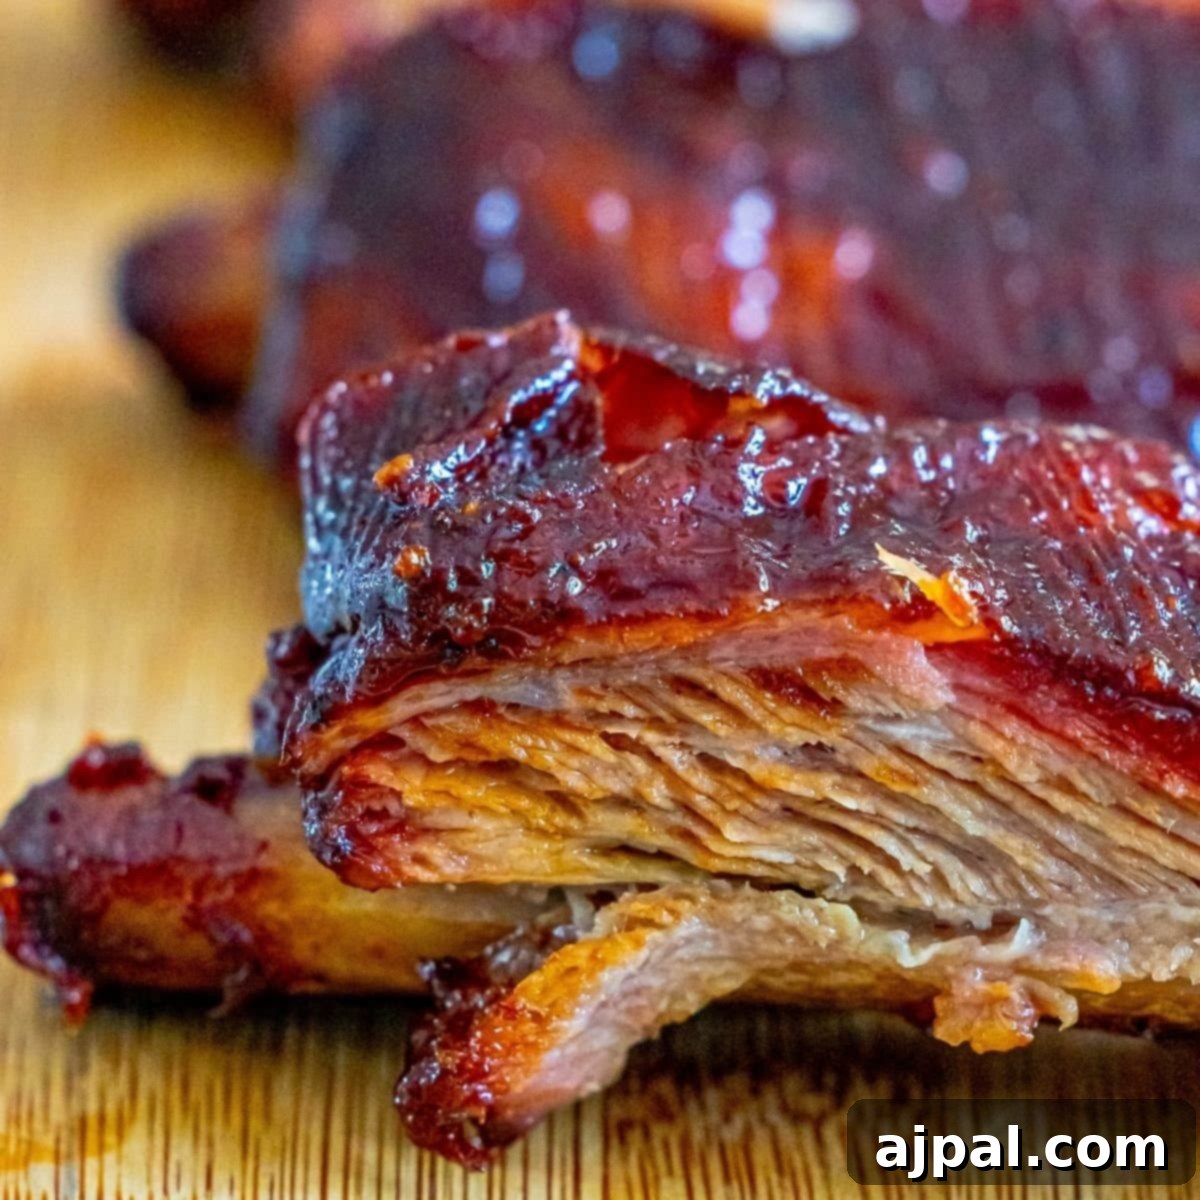
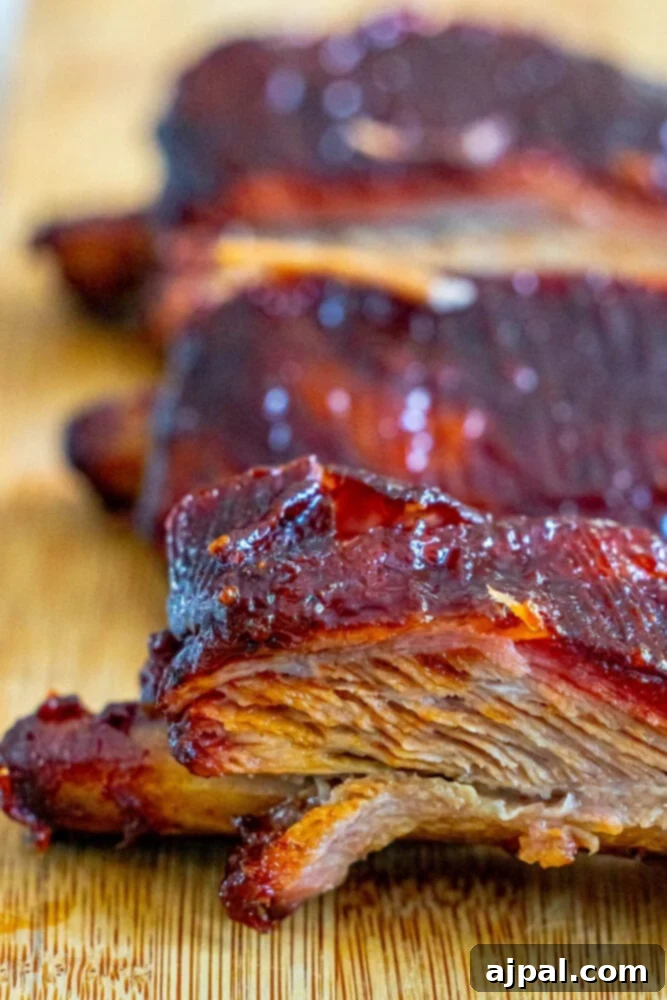
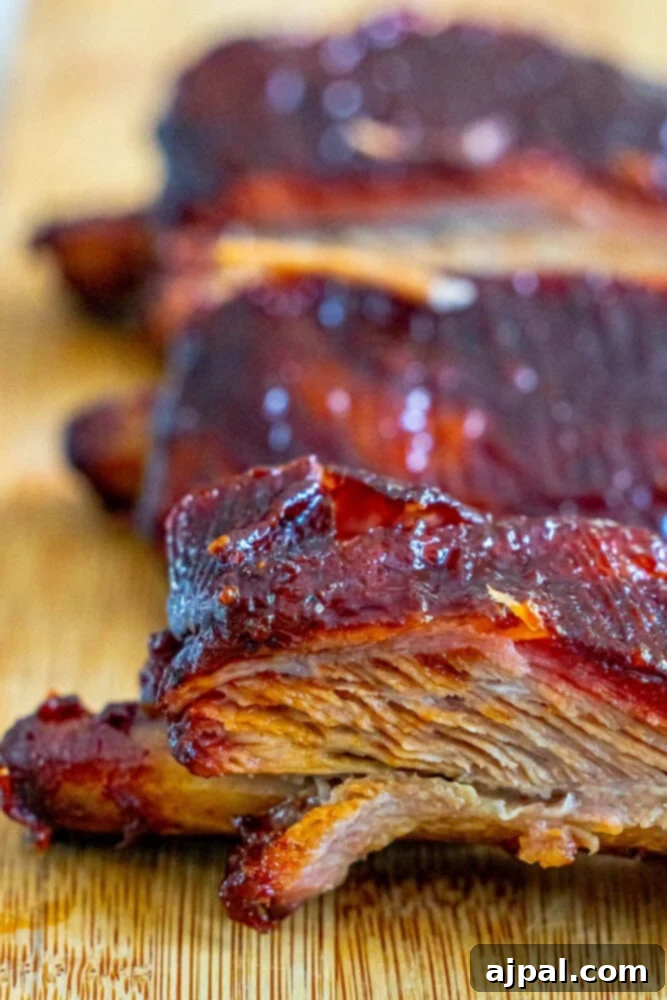
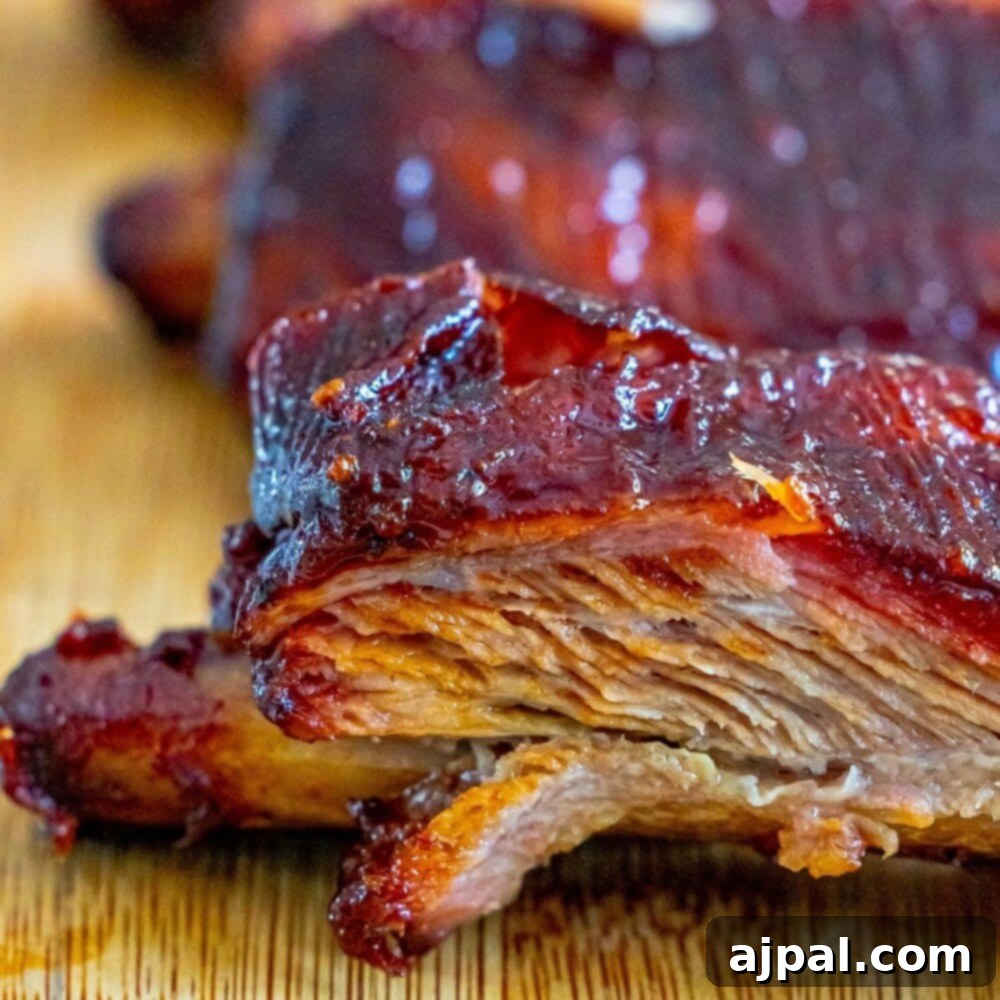
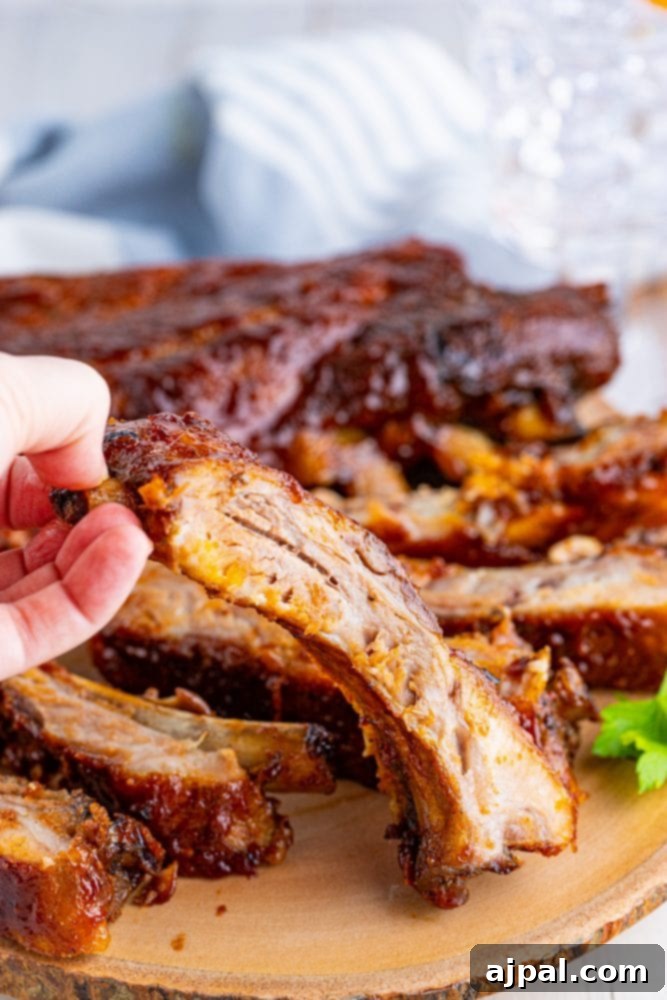
There’s nothing quite like a warm summer evening, the gentle hum of a smoker in the backyard, and the anticipation of perfectly cooked, succulent ribs. My husband Luke and I have dedicated countless hours to perfecting the art of smoked pork ribs, experimenting with various techniques until we finally discovered what we proudly call the Best Smoked Pork Ribs Ever Recipe. Our signature 3-2-1 smoked baby back ribs method consistently delivers ribs so tender they practically melt in your mouth, effortlessly falling off the bone.
If you’re new to the world of smoking meats, don’t be intimidated! This recipe is crafted to be incredibly beginner-friendly, ensuring that even first-timers can achieve impressive, restaurant-quality results. We understand the pressure of preparing a large meal, especially with a busy family schedule. That’s why we’ve refined this method to be incredibly reliable, taking the guesswork out of smoking and allowing you to confidently step into the role of a grill-master, time after time.
Looking to dive straight into the cooking? We’ve included a convenient “Skip to Recipe” button at the top left of the page, along with a clickable table of contents below, to help you navigate this comprehensive guide with ease.
At Sweet C’s, our mission is to empower every home cook, regardless of their experience level. As a self-taught cook, I’ve found that understanding the ‘why’ behind each step and ingredient makes all the difference. This philosophy guides all our recipes, including this ultimate guide to smoked pork ribs. We aim to equip you with the knowledge and confidence to master your kitchen, starting with these spectacular ribs!
Table of contents
- How to Make Smoked Ribs
- Essential Ingredients for Smoked Pork Ribs
- Mastering the 3-2-1 Smoked Ribs Method
- Optimal Temperature for Smoking Ribs
- How Long to Smoke Ribs for Perfect Tenderness
- Expert Tips and Tricks for Smoking Baby Back Ribs
- What to Serve With Smoked Ribs
- 3-2-1 Smoked Ribs Recipe FAQs
- More Delicious Recipes from Sweet C’s Designs
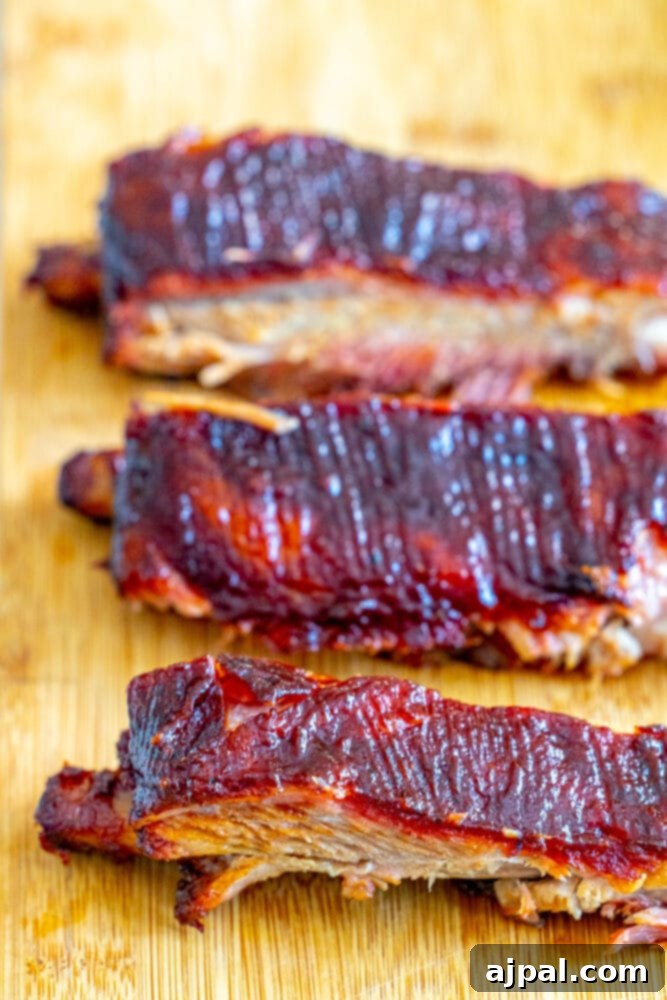
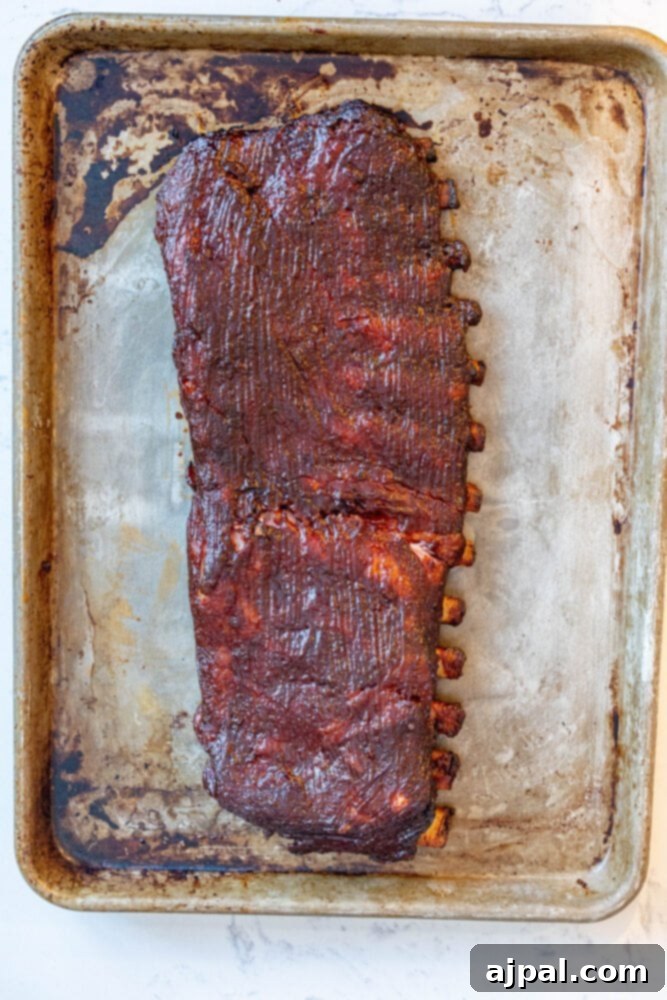
How to Make Smoked Ribs: A Step-by-Step Guide
Our goal with this recipe was to make the process of smoking ribs as straightforward and enjoyable as possible. We’ve packed this guide with essential tips and tricks to help you become an expert smoker in no time. For a visual walkthrough, don’t forget to check out our web story on these 3-2-1 smoked ribs, which includes helpful video demonstrations!
Essential Ingredients for Smoked Pork Ribs
Crafting the perfect smoked pork ribs starts with the right ingredients, especially when it comes to the rub and the “bath” that tenderizes them. Here’s a detailed look at what you’ll need and why each component is crucial:
For the Flavorful Rub:
- Ground black or white pepper: This foundational spice adds a complex layer of flavor—citrusy, piney, earthy, and a touch of heat. It beautifully complements the rich fattiness of pork ribs, helping to cut through the intense smoky notes for a balanced profile.
- Kosher salt: Far more than just a seasoning, kosher salt is vital for both flavor enhancement and meat tenderization. It accentuates pork’s naturally delicate, buttery notes and, more importantly, aids in breaking down tough muscle and fat tissues. This process, known as denaturing, ensures your ribs are incredibly tender and succulent.
- Hungarian paprika (sweet or hot): Your choice of paprika can subtly shift the flavor profile. I lean towards hot Hungarian paprika for a kick, while my husband prefers the sweet version for its milder, fruity notes. Regardless of your preference, paprika contributes a vibrant color and a pungent, peppery depth that builds the signature “bark” on the ribs.
- Onion powder: Offering an earthy, pungent, yet subtly sweet aroma, onion powder masterfully enhances the inherent meaty and fatty flavors of pork ribs, creating a deeper, more robust taste.
- Celery salt: This ingredient introduces a unique salty, vegetal, and slightly grassy finish. It plays a crucial role in preventing the smoke flavor from becoming overwhelming, ensuring a lighter, more refreshing taste profile. The added salt content further assists in tenderizing the pork.
- Garlic powder: A staple in any good rub, garlic powder provides an earthy, aromatic punch that is milder and more evenly distributed than raw garlic. It perfectly complements and elevates the rich, fatty characteristics of pork.
For the Tenderizing Bath:
- Brown sugar: This essential ingredient contributes to the development of a beautifully sticky, sweet, and caramelized crust on the ribs. Its subtle molasses notes perfectly harmonize with and amplify the smoky flavors from the grill, without being overly sweet.
- Apple cider vinegar: Rich, smoky, and fatty dishes inherently benefit from a touch of acidity to achieve balance. Apple cider vinegar, with its crisp and sweet undertones, provides this crucial counterpoint, enhancing the pork’s light, slightly sweet meat flavor.
- Apple juice or cider: Adding a gentle, light sweetness and extra moisture, apple juice ensures the ribs remain incredibly juicy throughout the long smoking process. Its delicate flavor penetrates the meat without overpowering the deep smoky notes.
- Butter: Incorporated into the bath, butter adds richness and promotes exceptional crisping of the exterior. It also helps the brown sugar adhere to the developing bark, creating an even more delectable crust.
For the Ribs Themselves:
- Baby back ribs, Spare ribs, or St. Louis style ribs: The choice of ribs will influence cooking time and meat-to-bone ratio. We’ll delve deeper into the characteristics of each type in our tips section below.
Mastering the 3-2-1 Smoked Ribs Method
The 3-2-1 method is a beloved and remarkably effective technique for achieving perfectly smoked ribs every time. Once you have all your ingredients ready, follow these simple yet crucial steps:
Step 1: Prep Ribs & Smoker
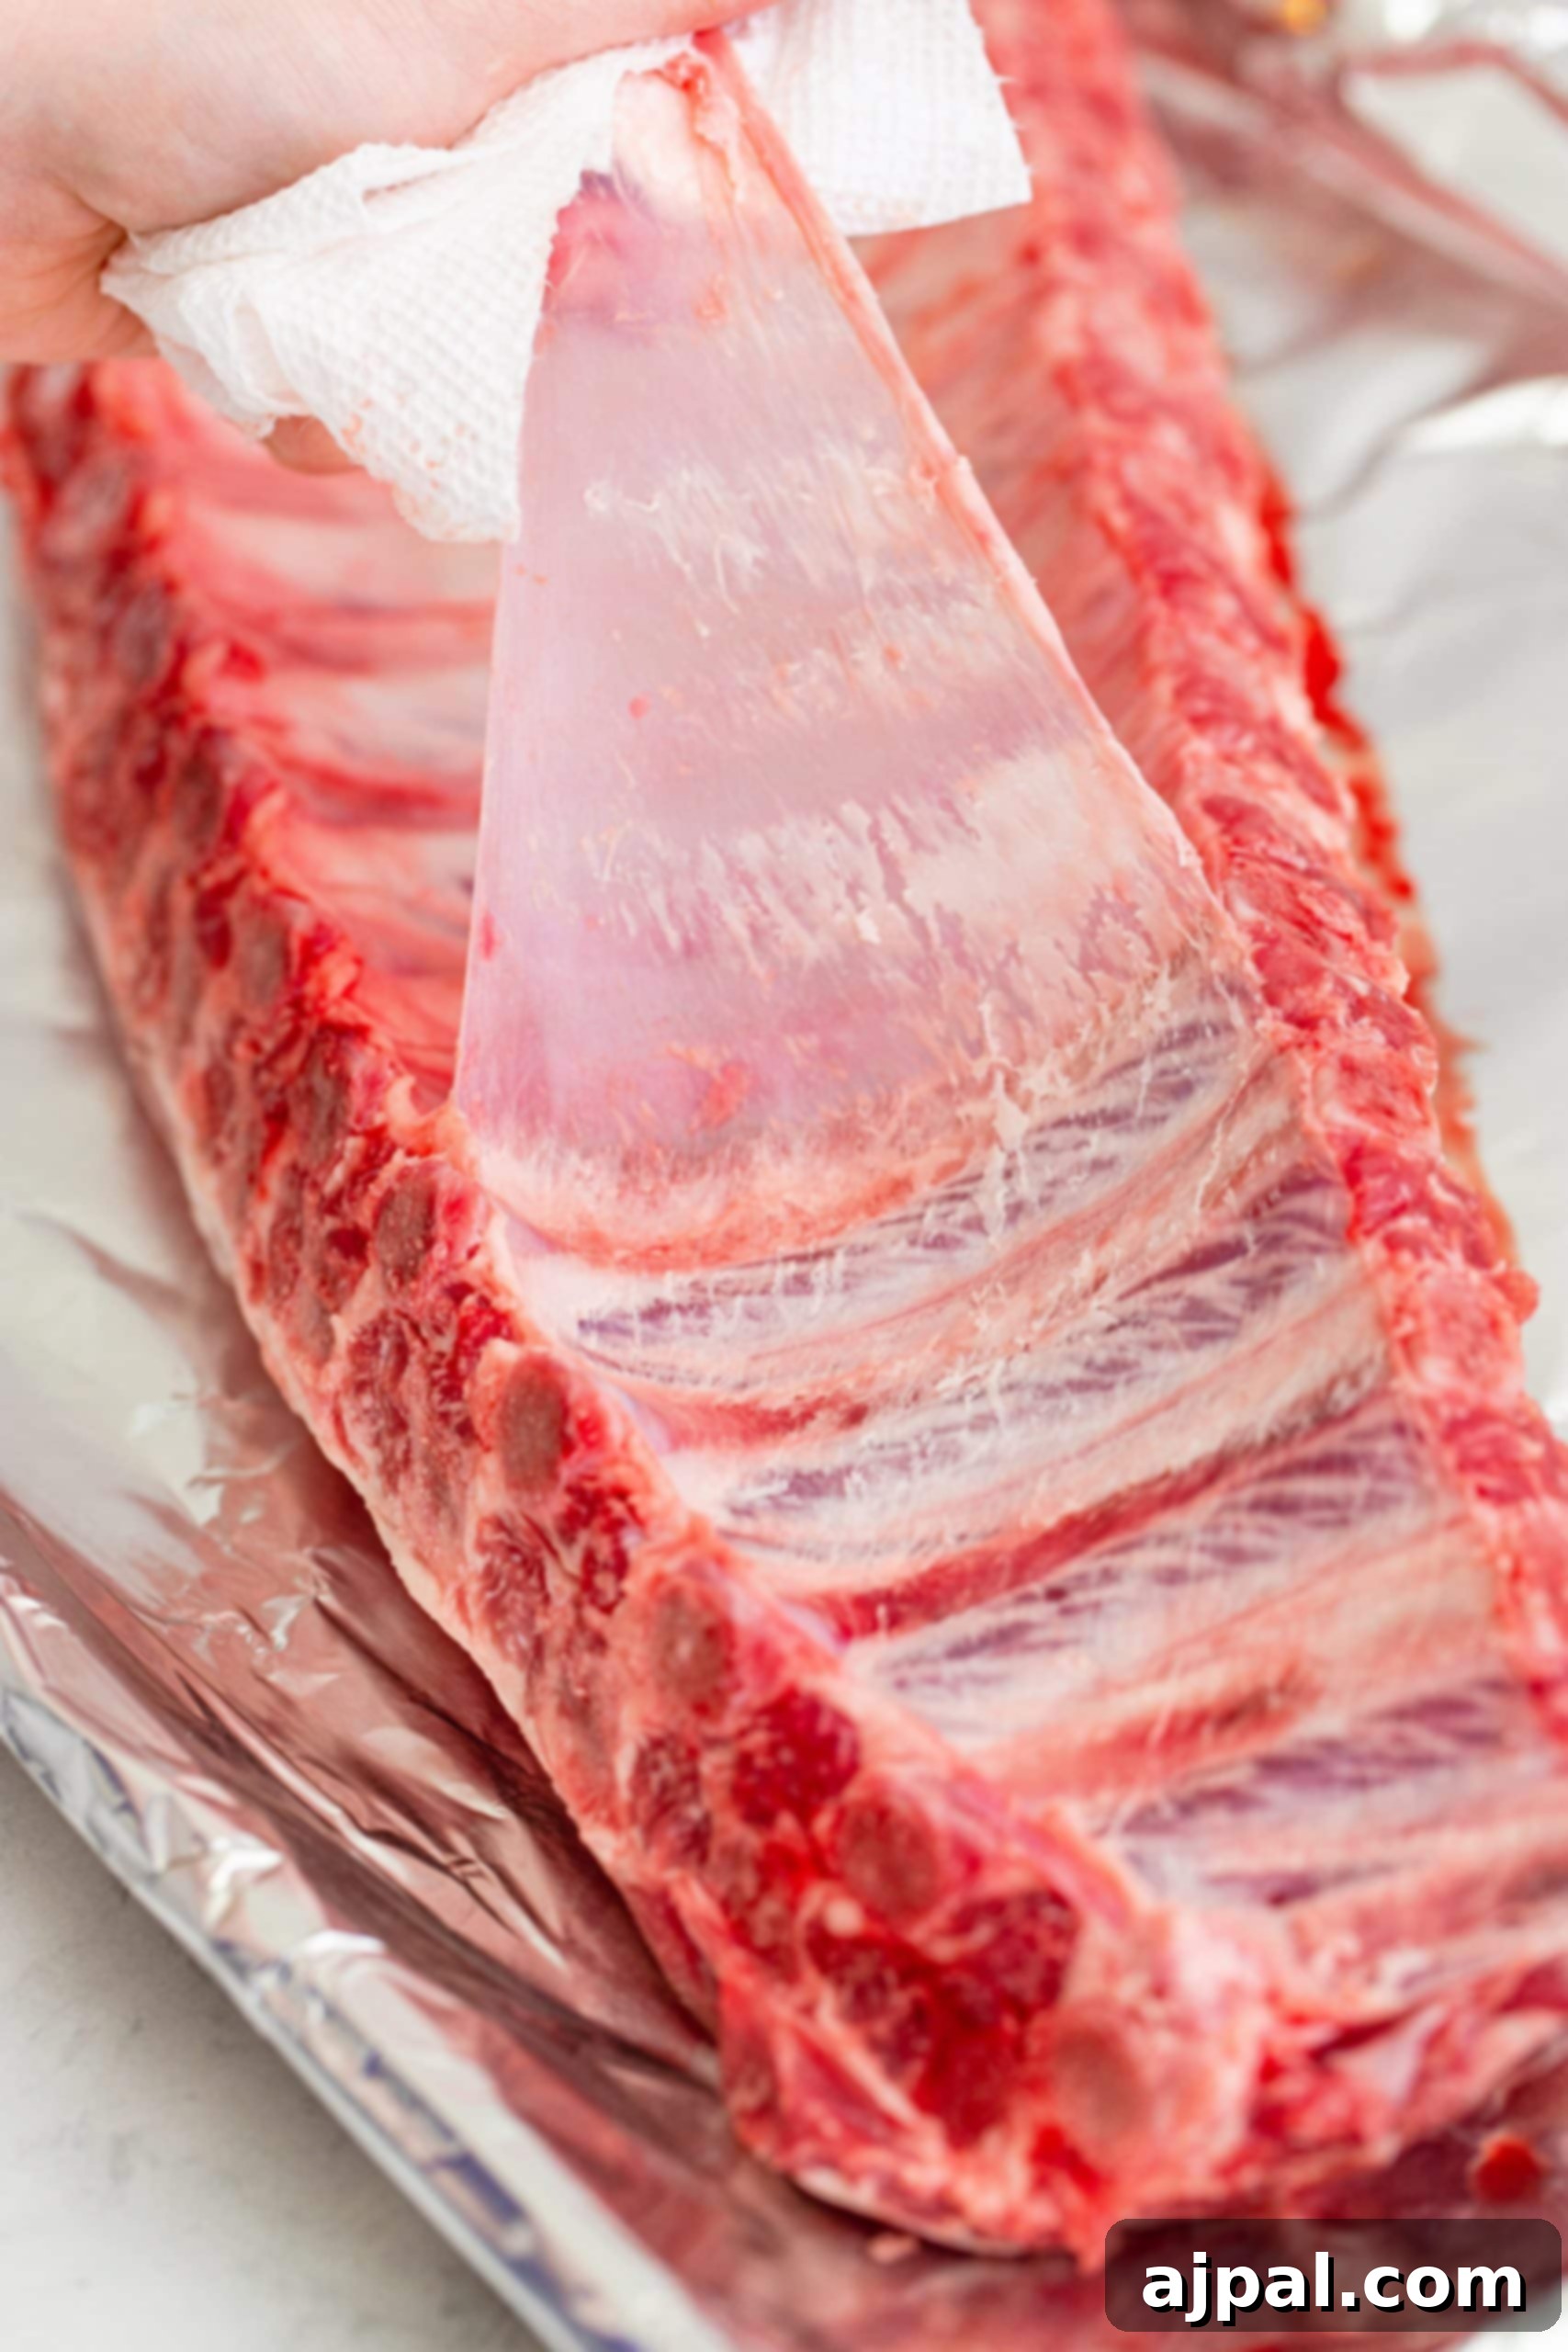
Begin by pre-soaking your chosen wood chips in water for approximately 30 minutes. This helps them smolder rather than burn too quickly, producing a consistent smoke. Simultaneously, preheat your smoker to a steady 225 degrees Fahrenheit. While the smoker comes to temperature, prepare your ribs: remove them from their packaging, pat them thoroughly dry with paper towels, and carefully remove the silver skin from the back of each rack (see our detailed tips below for how to do this easily). Trim off any excess loose or “sloppy” bits of meat or fat for a cleaner final product.
Step 2: Apply the Dry Rub
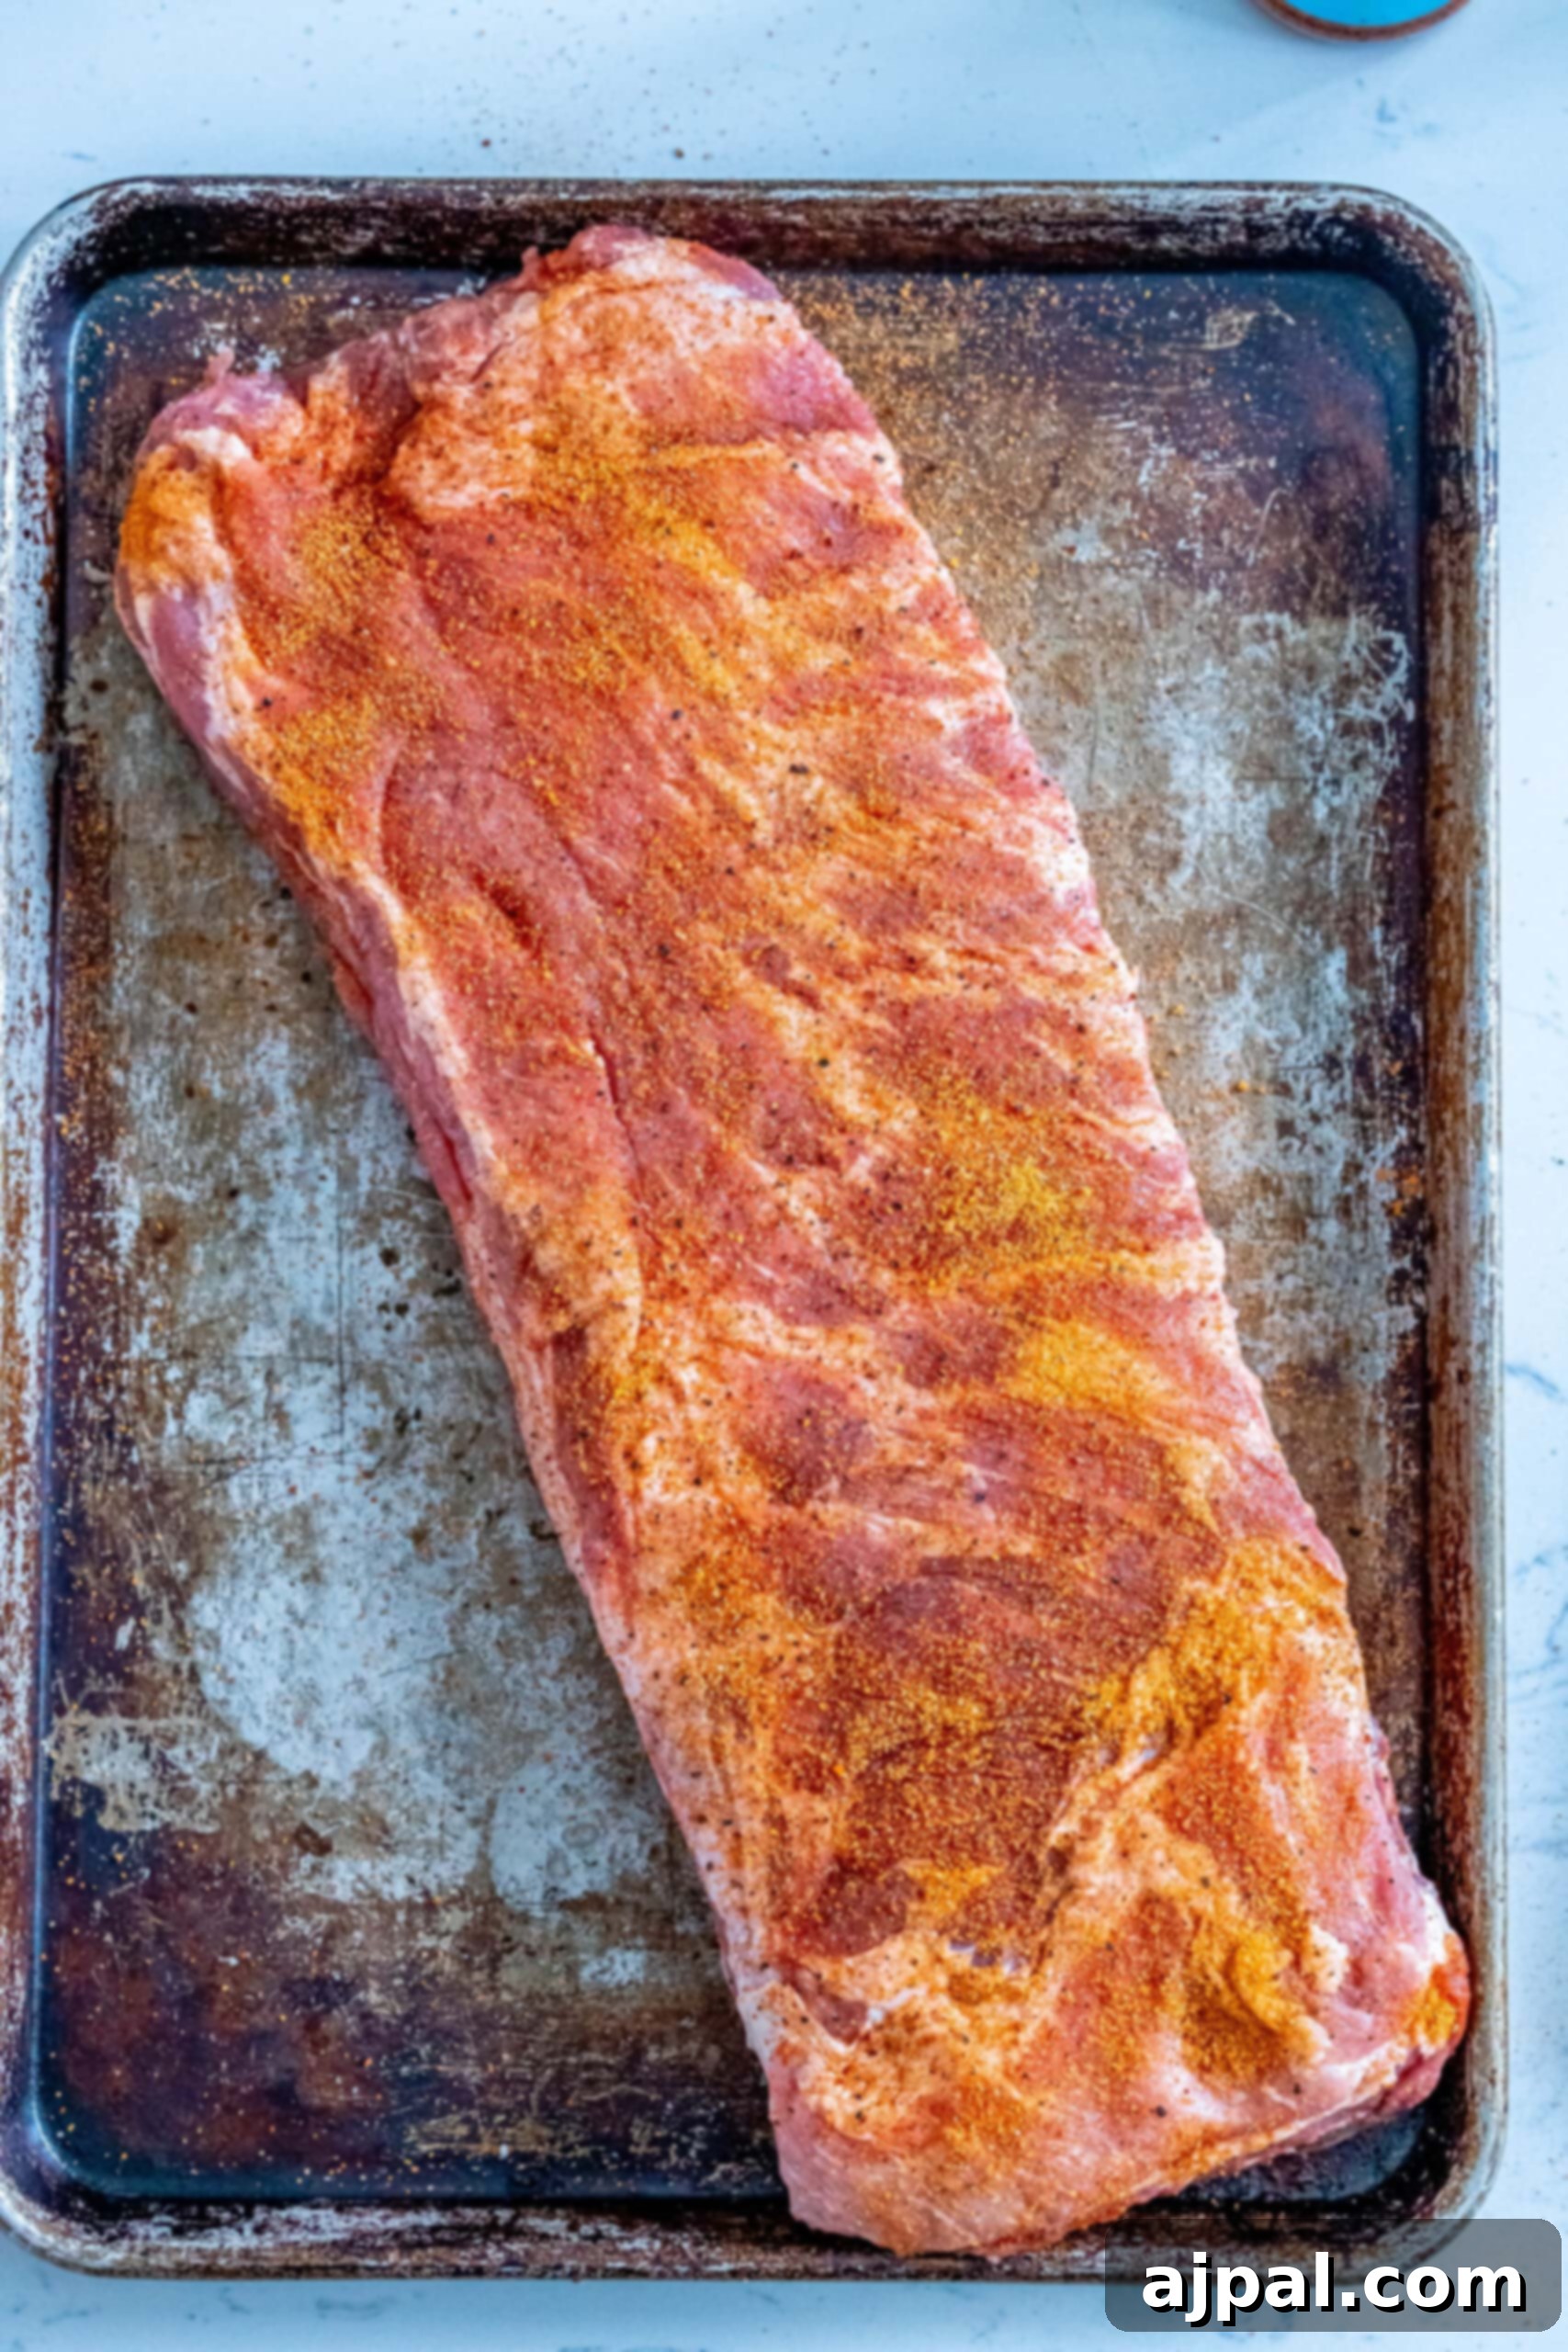
In a small bowl, thoroughly mix all the dry rub ingredients. Generously apply this rub over every surface of the ribs, ensuring a complete and even coating. Allow your ribs to sit at room temperature for about 30-60 minutes while the smoker finishes preheating. This allows the rub to penetrate the meat slightly and helps the ribs cook more evenly when introduced to the smoke.
Step 3: The First Smoke (3 Hours)
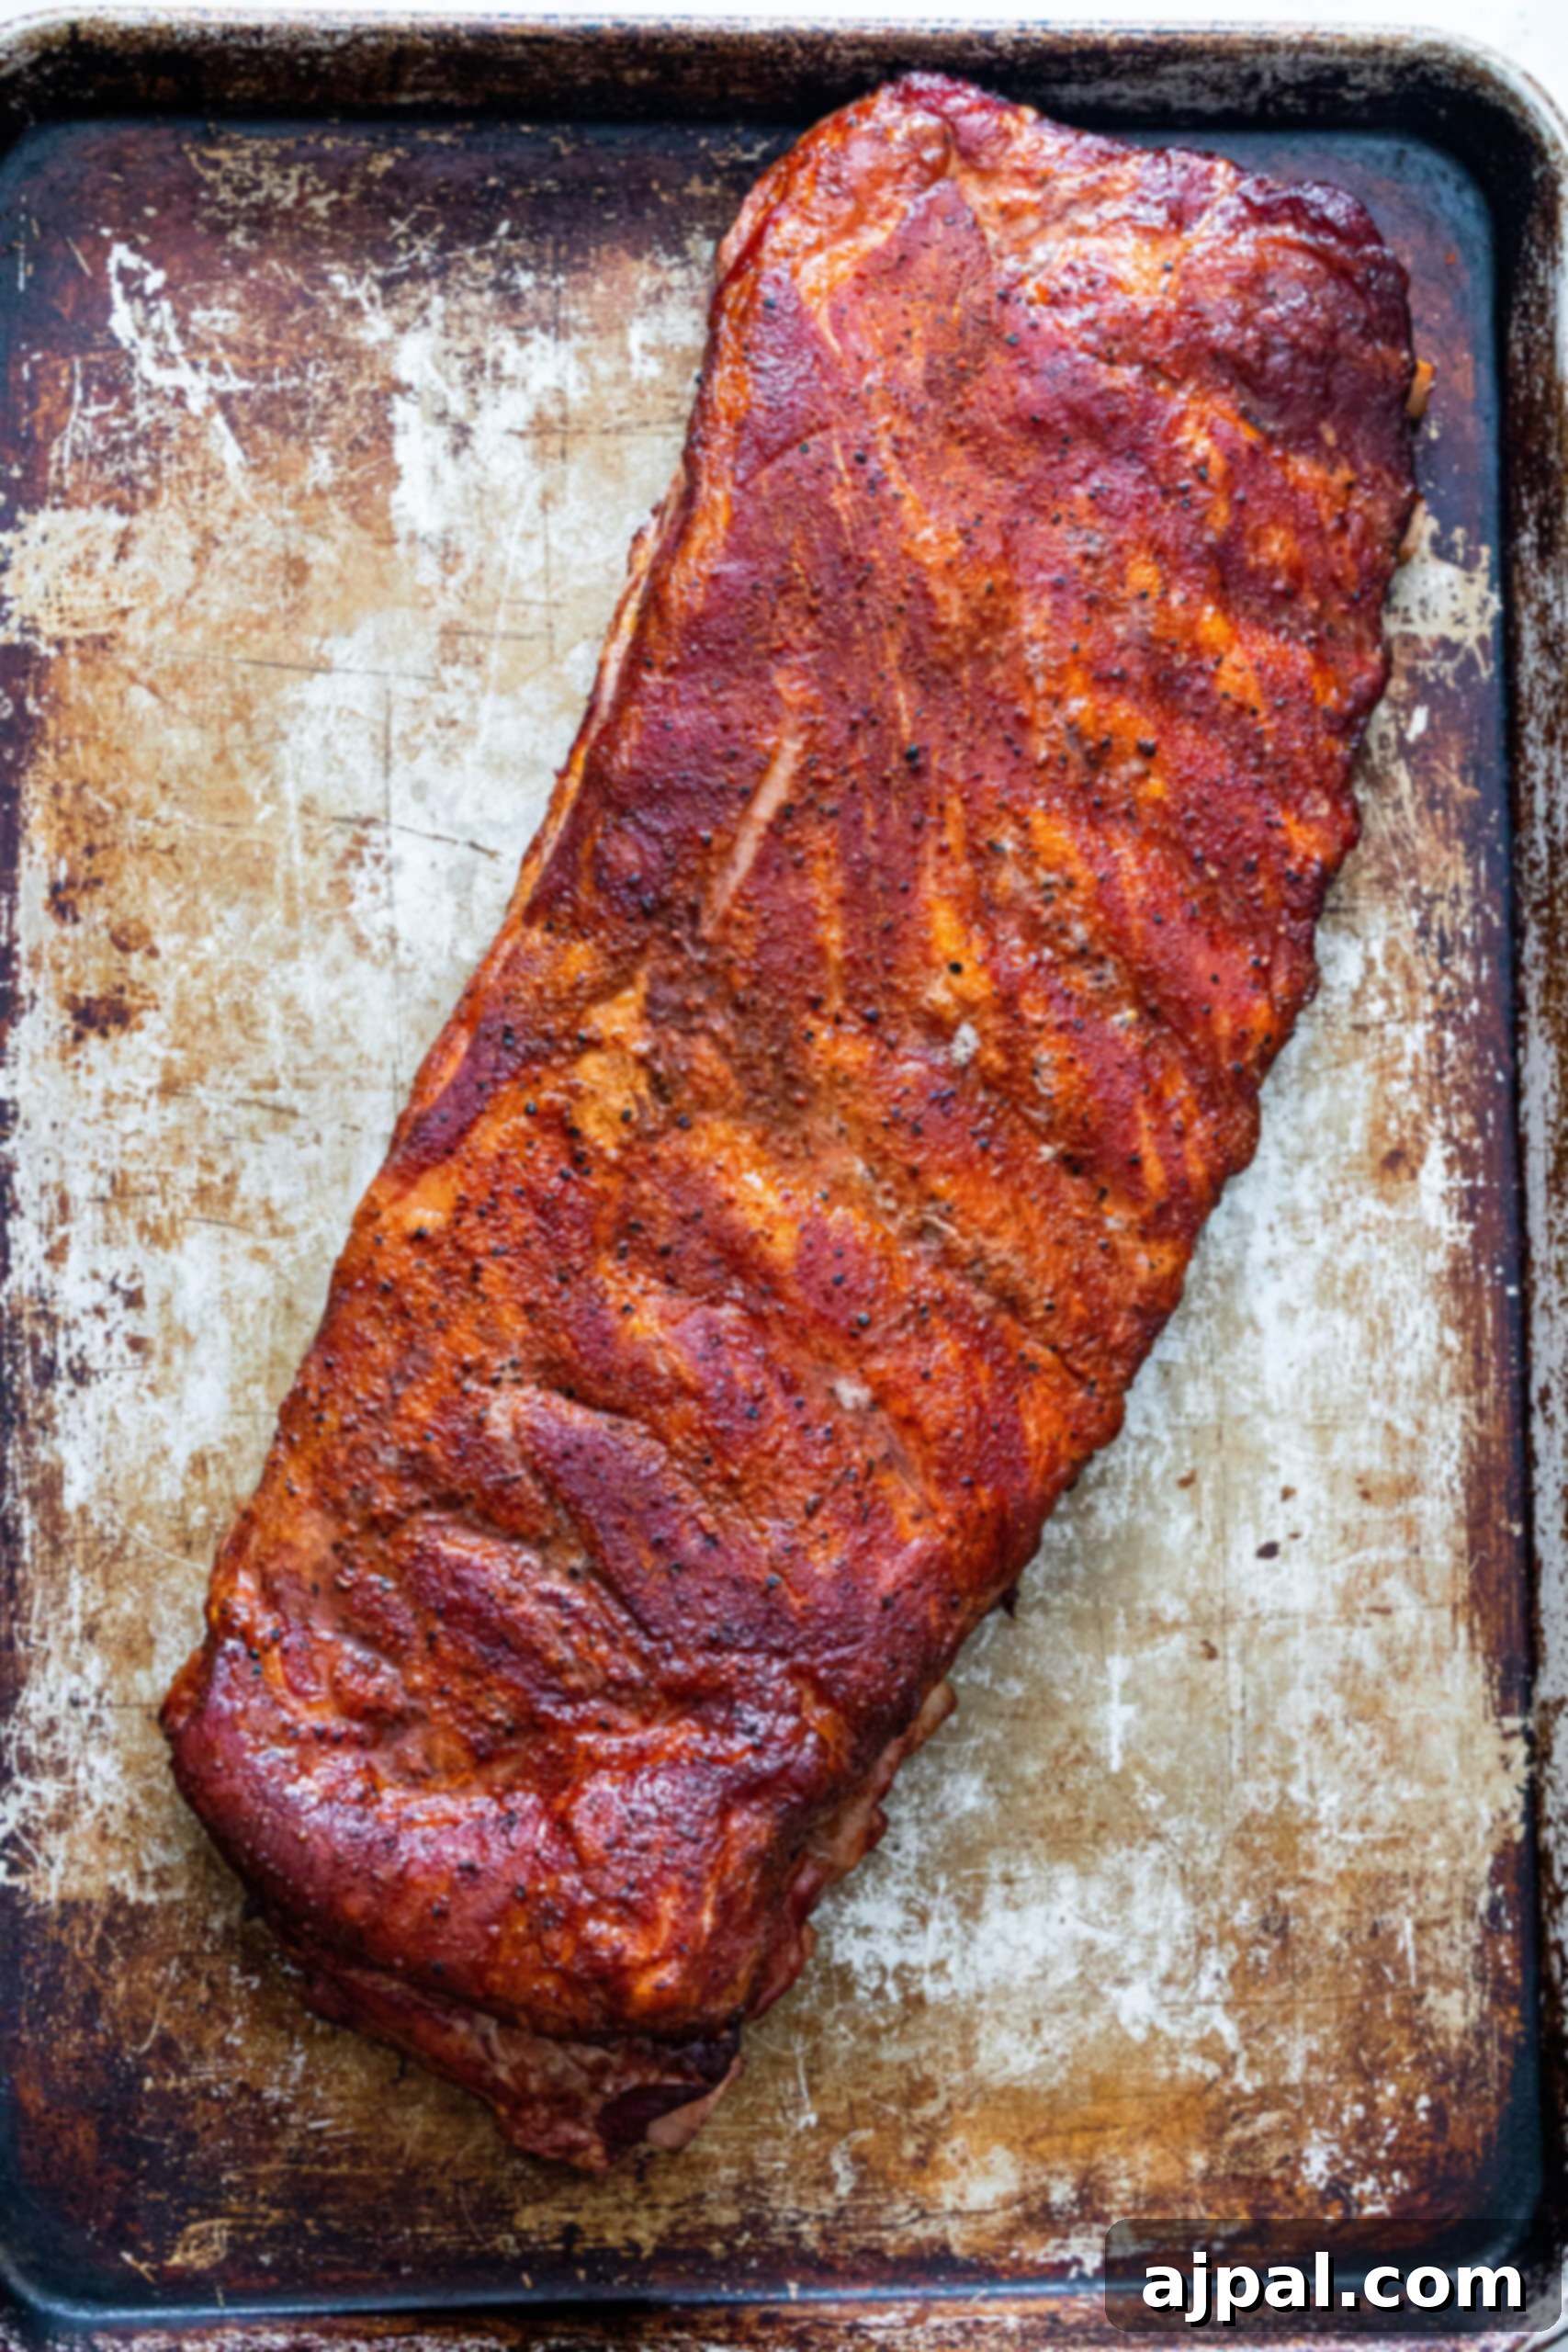
Place the seasoned ribs directly onto the smoker grates. Smoke them uncovered at 225°F for 3 hours. This initial phase is crucial for developing that beautiful reddish “smoke ring” and infusing the ribs with deep, rich smoky flavor. Maintain a consistent smoker temperature throughout this period, replenishing wood chips as needed.
Step 4: The Foil Wrap and Bath (2 Hours)
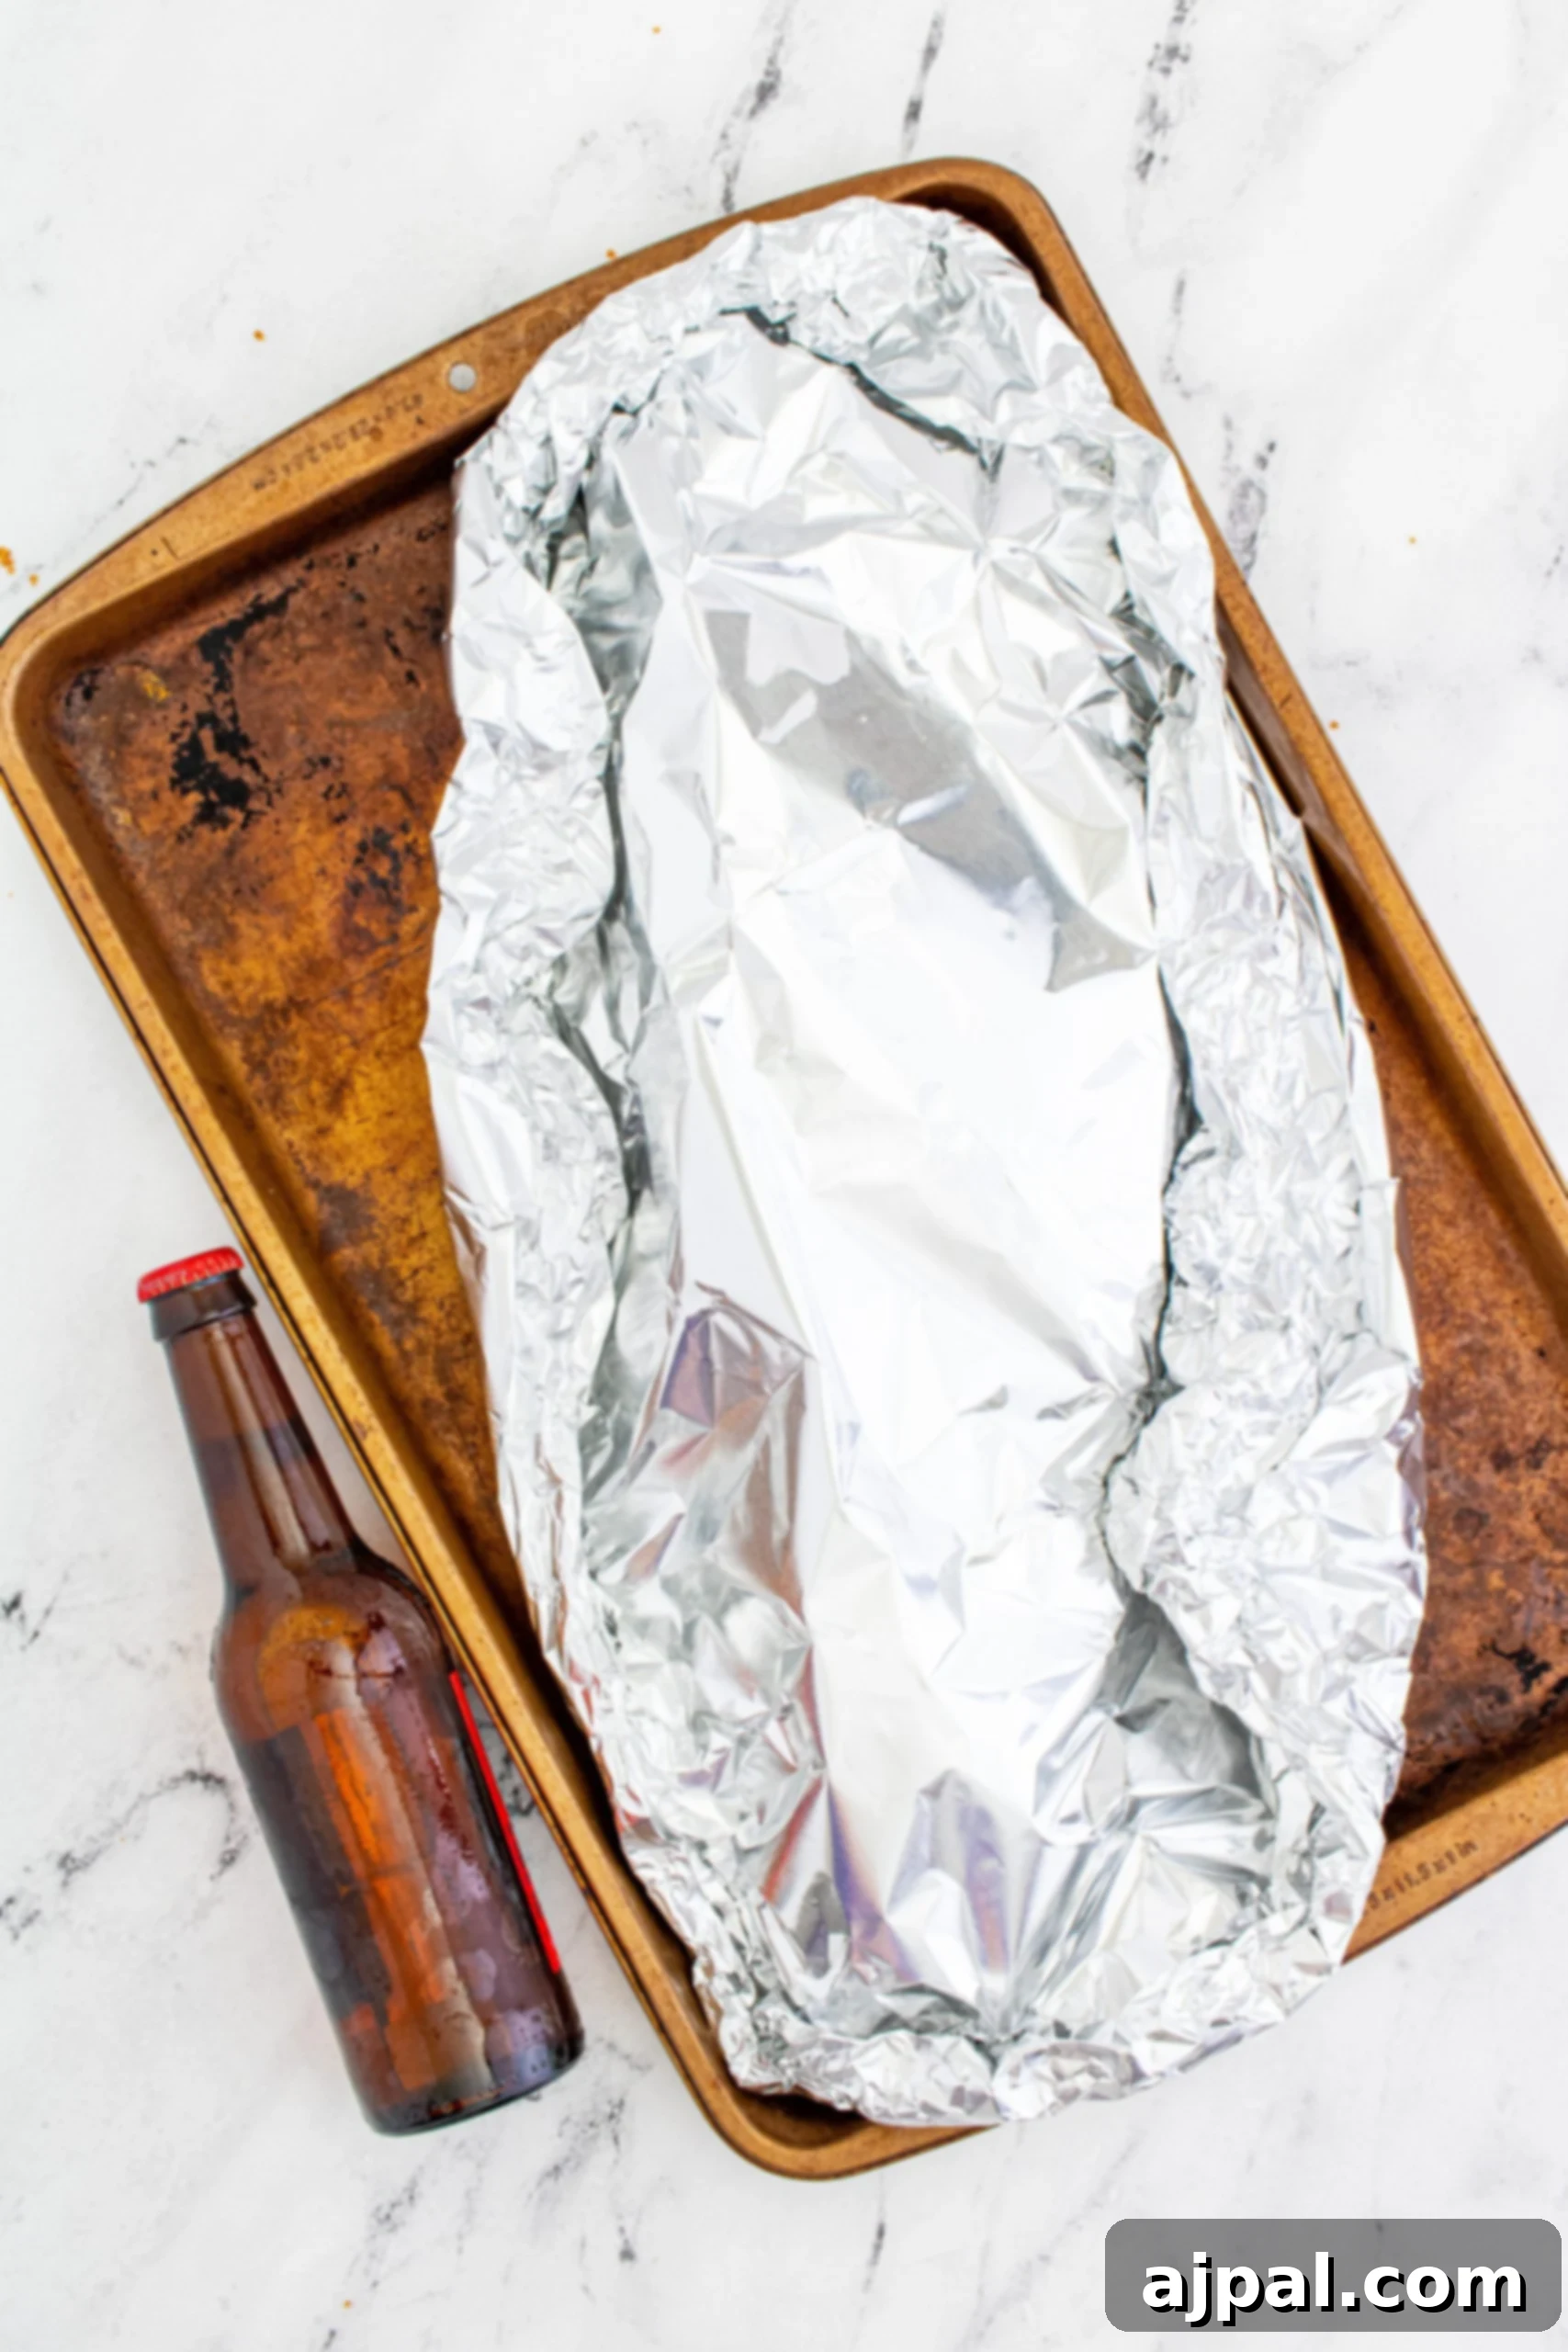
After the initial 3 hours of smoking, carefully remove the ribs from the smoker. Lay out large sheets of heavy-duty aluminum foil. Place each rack of ribs on its own sheet, flesh side down. Distribute cubes of butter, a generous splash of apple juice or cider, and a sprinkle of brown sugar over the ribs. Tightly wrap the ribs in the foil, creating a sealed packet. This “bath” step is essential for tenderizing the meat and infusing it with moisture and flavor. Return the foil-wrapped ribs to the smoker (or an oven set to 225°F if preferred) for another 2 hours. This period is often called the “Texas Crutch” and helps push the ribs past the temperature stall, making them incredibly tender.
Step 5: Baste for Perfection (1 Hour – Part 1)
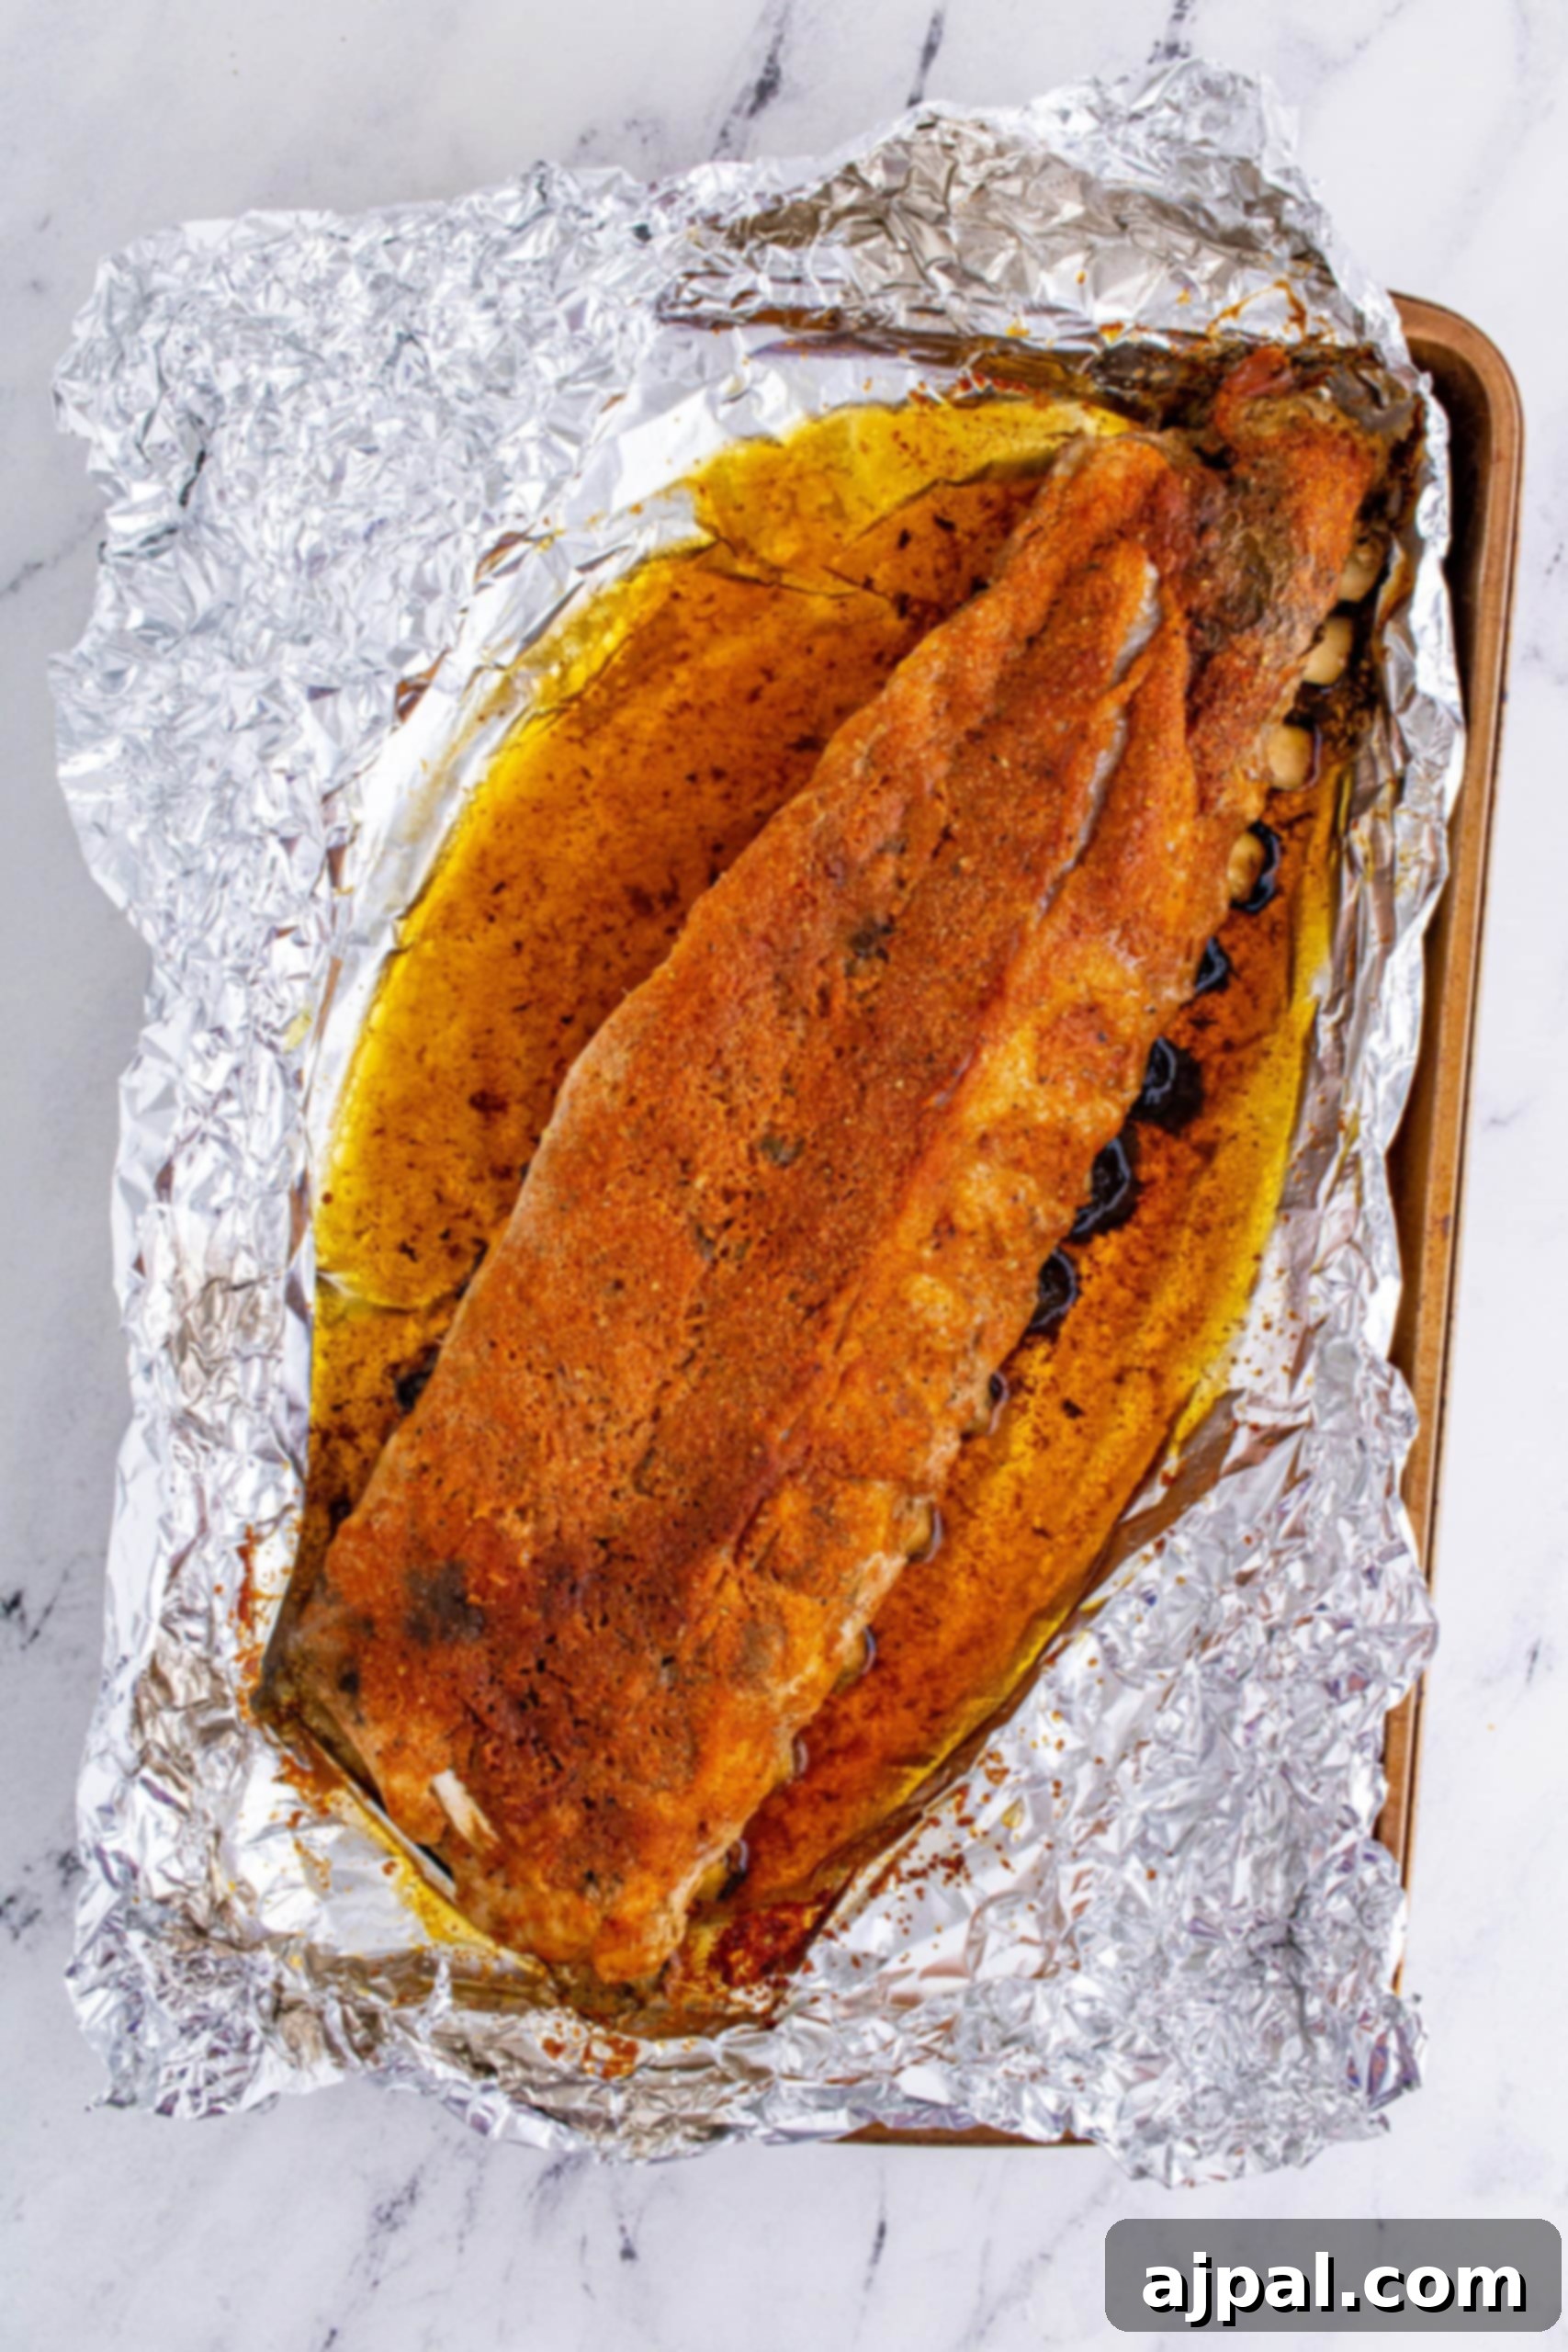
After 2 hours in foil, carefully unwrap the ribs. You’ll find a delicious pool of cooking liquids. Baste the ribs generously with these flavorful juices. Return the unwrapped ribs to the smoker for another hour. This final smoking phase allows the bark to firm up and creates an irresistible texture. After this hour, let the ribs rest for 15 minutes before proceeding to the optional saucing step.
Step 6: Optional Saucing (1 Hour – Part 2)
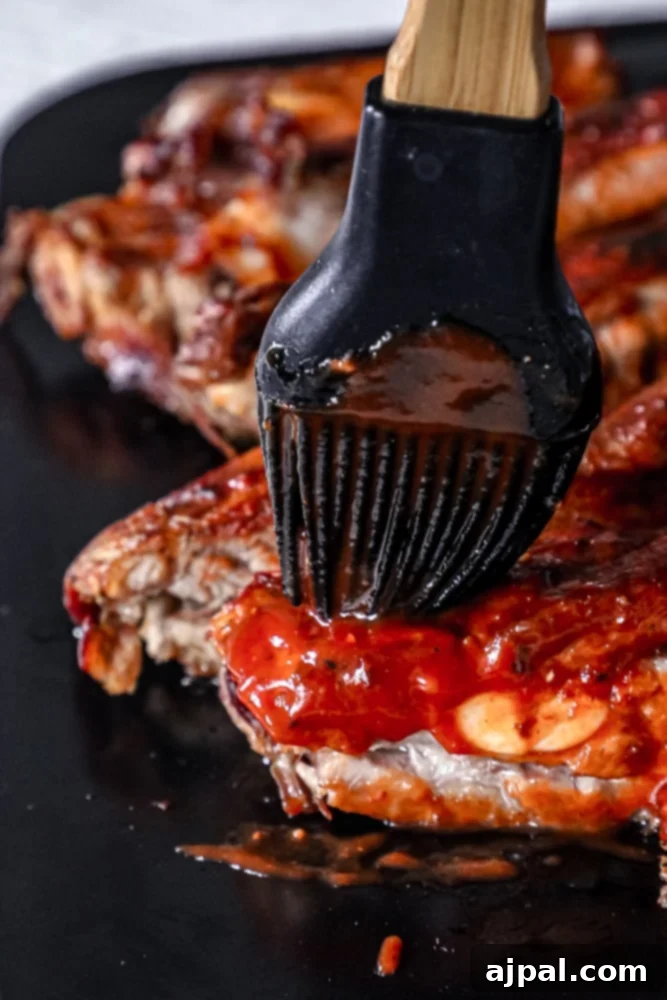
If you prefer sauced ribs, apply a thin layer of your favorite BBQ sauce over the ribs after the basting stage. Return them to the smoker for about 15 minutes, allowing the sauce to “set” – it should become sticky, not runny. For an extra thick and crunchy bark, repeat this step two more times, applying thin layers of sauce and letting each layer set for 15 minutes. The total time for this final, saucing and setting phase will be one hour. Once done, let the ribs rest for at least 15 minutes before slicing and serving to allow the juices to redistribute, ensuring maximum flavor and tenderness.
Optimal Temperature for Smoking Ribs
The secret to incredibly tender, flavorful smoked ribs lies in the “low and slow” cooking method. Ribs should ideally be smoked at a consistent temperature of 225-250 degrees Fahrenheit. This lower temperature allows the connective tissues and fats within the meat to slowly render and break down, resulting in that desirable fall-off-the-bone texture. While pork is technically safe to eat at 145 degrees Fahrenheit, we aim for an internal temperature of around 190-205 degrees Fahrenheit for ribs. This higher temperature ensures that the tough collagen converts into gelatin, making the meat exceptionally tender and juicy, rather than just “safe.”
How Long to Smoke Ribs for Perfect Tenderness
Smoking ribs is a journey, not a race. At the ideal low temperature, ribs will typically take about 6 hours to cook using our 3-2-1 method. This extended cooking time is essential for them to become perfectly tender and absorb that deep, smoky flavor we all crave. Factors such as the thickness of your rib racks, external humidity, ambient air temperature, and the consistency of your smoker’s heat can all influence the exact cooking time. Always remember, ribs are done when they pass the “bend test” (they should bend significantly without breaking) and reach the desired internal temperature, not strictly by the clock.
Expert Tips and Tricks for Smoking Baby Back Ribs
Achieving legendary smoked ribs goes beyond just following the steps; it’s about understanding the nuances. Here are our top tips and tricks to elevate your smoking game:
Understand Your Ribs: Different Cuts for Different Outcomes. The world of ribs can be a bit confusing with various cuts available. Knowing what you’re buying is the first step to smoking success:
- Baby Back Ribs: These are cut from the loin area, near the backbone. They are typically shorter, leaner, and more curved than other cuts, with tender meat between and around the bones. Baby backs are known for their tenderness and relatively quicker cooking time, making them excellent for both smoking and oven baking. They are a fantastic choice for those who prefer leaner, more delicate meat.
- Spare Ribs: Harvested from the belly section of the pig, spare ribs are larger, flatter, and contain more fat and connective tissue than baby back ribs. They boast a richer, more intense pork flavor due to their higher fat content. While they take longer to cook, the rendered fat contributes to an incredibly moist and flavorful result. The term “spare” actually refers to the fact that they are cut from the “sparerib” section, not that they are “spare” on meat!
- St. Louis Style Ribs: These are essentially spare ribs that have been expertly trimmed into a more uniform, rectangular shape. The cartilage, breastbone, and chewy skirt meat are removed, leaving a neat, consistent slab. This trimming ensures even cooking and a more appealing presentation. St. Louis style ribs offer the rich flavor of spare ribs but with easier handling and more consistent tenderness. They cook slightly faster than untrimmed spare ribs and are highly favored in BBQ competitions for their perfect shape and balance of meat and fat.
Proper Rib Preparation is Key. Your success on the smoker truly begins long before any smoke touches the meat. Well-prepared ribs ensure a consistently perfect feast.
The Art of Removing the Silver Skin: The silver skin is a thin, silvery membrane found on the bone side of the ribs. While it won’t harm you if left on, it can become tough and chewy when cooked, preventing the rub and smoke from fully penetrating the meat. Removing it is surprisingly easy and makes a significant difference in the final texture of your ribs:
- Loosen: Start by sliding a small, blunt knife (like a butter knife or the handle of a spoon) under the silver skin at one end of the rack. Gently wiggle and lift to loosen a small section. If one spot is stubborn, try another.
- Grip: Once a piece is lifted, grasp it firmly with a paper towel. The paper towel provides grip and prevents your fingers from slipping.
- Pull: Slowly and steadily pull the silver skin off the rack. It should peel away in one large, satisfying sheet. If it tears, simply restart the process from a new section until the entire membrane is removed.
Master the 3-2-1 Smoked Ribs Method: This foolproof method is the cornerstone of our recipe, ensuring tender, juicy ribs every time:
- 3 Hours of Smoking (The Smoke Phase): This initial stage at 225°F is dedicated to building the foundational smoke flavor and creating the coveted smoke ring. The low temperature allows the smoke to penetrate deeply without overcooking the exterior. Ensure consistent smoke production and monitor your smoker’s temperature diligently.
- 2 Hours of Wrapped Smoking (The Tenderizing Phase): After soaking in smoke, the ribs are wrapped tightly in foil with a flavorful liquid bath (butter, apple juice/cider, brown sugar). This phase, often called “the stall breaker,” steams the ribs, dramatically increasing their tenderness as the connective tissues break down. It also prevents the ribs from drying out during this extended cook. You can complete this step in your smoker or move them to an oven at the same temperature if space or wood chips are an issue.
- 1 Hour of Finishing (The Bark & Sauce Phase): Unwrapped, the ribs return to the smoker (or oven). This final hour is where the magic happens for the bark. If you’re saucing, apply thin layers every 15-20 minutes, allowing each layer to set and caramelize into a delicious, sticky crust. If you prefer un-sauced ribs, this hour allows the bark to firm up and the outside to crisp slightly. Always allow the ribs to rest for at least 10-15 minutes after removing them from the smoker before slicing and serving. This resting period helps the juices redistribute throughout the meat, resulting in a more succulent bite.
Achieving the Perfect Bark. A truly exceptional bark is the crispy, flavorful crust that forms on the exterior of smoked meat. It’s firm, sticky, slightly caramelized, and far more delicious than a wet, runny sauce. To create that irresistible bark:
- Post-Wrap Saucing: Once your ribs come out of the foil and have been basted in their cooking liquids, it’s time for the bark. If using BBQ sauce, brush on a very thin, even layer.
- Set and Repeat: Return the ribs to the smoker. The goal is for the sauce to “set,” meaning it becomes firm, sticky, and no longer moves when touched. This usually takes about 15-20 minutes. For an even crunchier, thicker bark, repeat this process two more times, applying another thin layer of sauce and allowing it to set.
Choose Your Wood Wisely. The type of wood you use for smoking profoundly impacts the final flavor of your ribs. Since pork is a relatively mild and slightly sweet meat, it can easily be overwhelmed by aggressive smoke. There is such a thing as too much smoky flavor! For the best results, opt for lighter woods or fruit woods that impart a clean, complementary flavor:
- Hickory: A classic choice, providing a strong, bacon-like flavor that pairs wonderfully with pork, but use in moderation.
- Oak: A medium smoke, more subtle than hickory, offering a rich, savory flavor that complements pork without overpowering it.
- Mesquite: A very strong, earthy, and bold smoke. Best used sparingly or blended with milder woods for pork, as it can quickly become dominant.
- Grapevine: Offers a fruity, slightly tart flavor, excellent for a unique twist.
- Apple: A sweet, mild, and fruity smoke that is perfect for pork, delivering a delicate flavor.
- Cherry: Similar to apple, cherry wood provides a sweet, mild, and fruity flavor, also imparting a beautiful reddish hue to the meat.
- Pecan: A rich, nutty, and sweet smoke that is milder than hickory but still provides a distinct flavor, great for pork.
Conversely, certain woods are simply too pungent or contain resins that can impart an unpleasant flavor, and should be avoided for smoking ribs:
- Elm, Cedar, Cypress, Pine, Fir, Redwood, Spruce (these are coniferous and contain resins that produce bitter, acrid smoke)
- Sycamore, Poison Oak, Eucalyptus (these can also produce off-flavors or be toxic)
Don’t Skimp on the Rub. This might sound obvious, but a generous application of your dry rub is absolutely essential for building a deep flavor profile. Before your ribs even touch the smoker, they should be thoroughly coated in a rich blend of herbs, spices, and salt. While we love a good BBQ sauce, perfectly smoked ribs should be so flavorful straight off the smoker that sauce becomes an optional enhancement, not a necessity.
The Secret of the Rib Bath. During the crucial two-hour wrapped phase of smoking, we give the ribs a comforting bath in a mixture of apple juice or cider and butter. This ingenious step serves multiple purposes: it helps to tenderize the meat further, adds a layer of sweet and tangy flavor, and most importantly, ensures the ribs stay incredibly moist and juicy throughout the long cooking process, preventing them from drying out in the foil.
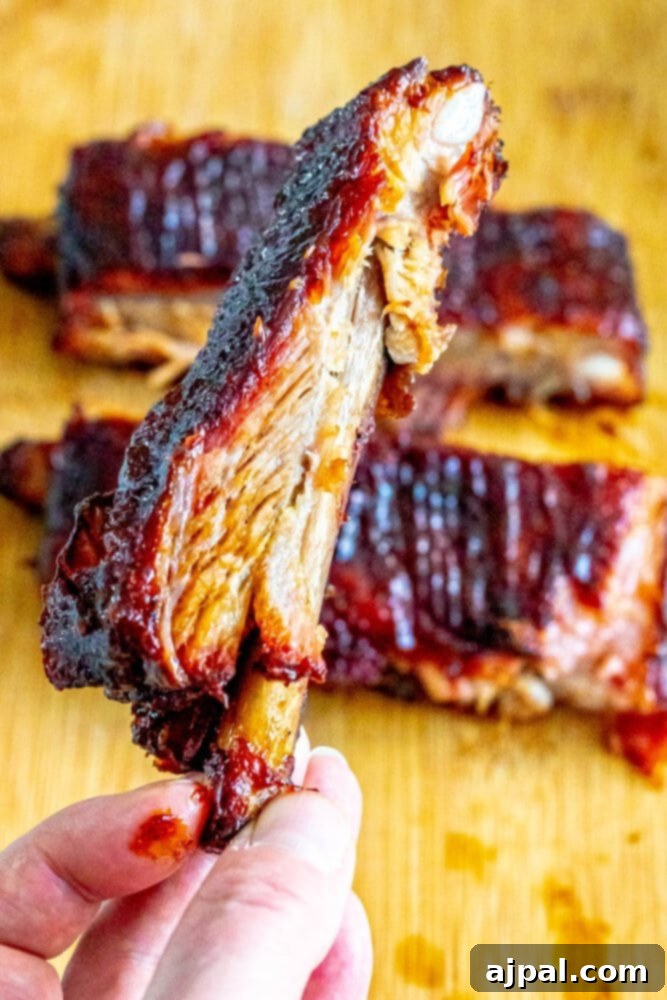
When these steps are executed with care, you’ll be rewarded with smoked ribs that are not just tender and juicy, but bursting with flavor even before any sauce is applied. They create the perfect canvas for your favorite BBQ sauce, should you choose to add one.
What to Serve With Smoked Ribs
Smoked ribs are a true culinary masterpiece on their own – whether smothered in a tangy BBQ sauce or showcasing their natural, rub-infused deliciousness. However, pairing them with the right side dishes elevates the entire meal into an unforgettable feast. We highly recommend serving these succulent ribs with some of our favorite BBQ sides!
Imagine your perfectly smoked ribs alongside a cool and creamy potato salad, a rich and hearty smoky bean bake, or a refreshing, tangy creamy cucumber salad. For a delightful crunch, try our delicious grilled potatoes. A simple and easy chili or some warm no-knead jalapeño cheddar bread makes for an equally satisfying accompaniment. The possibilities are endless when it comes to complementing these show-stopping ribs!
3-2-1 Smoked Ribs Recipe FAQs
A temperature stall occurs when the internal temperature of your ribs plateaus for an extended period, often frustratingly so. Our 3-2-1 method effectively combats this! The “2” in the 3-2-1 method, which involves wrapping the ribs tightly in foil with a liquid bath, creates a steamy environment that pushes the meat past the stall, allowing it to continue cooking and tenderizing to delicious perfection.
For pork ribs, which have a delicate flavor that can be easily overpowered, we recommend using lighter or fruit woods. Excellent choices include hickory (used judiciously), oak, mesquite (also used sparingly or blended), grapevine, apple, cherry, and pecan wood chips. These woods impart a sweet, mild, or subtly nutty smoke that complements the pork beautifully without overwhelming it.
Ribs are generally considered done smoking when their internal temperature reaches between 190 and 205 degrees Fahrenheit, and the meat is exceptionally soft and tender. A good indicator is the “bend test”: if you pick up one end of a rack with tongs, the rack should bend significantly, and the meat should start to tear easily. This typically takes about 6-8 hours, depending on factors like the type and size of your ribs, external humidity, and the consistency of your smoker’s temperature.
This is a delightful debate in the BBQ world! While some competitive BBQ circuits consider “fall-off-the-bone” ribs to be slightly overcooked, implying the meat has lost its texture, the vast majority of home cooks and diners prefer ribs that are wonderfully tender, juicy, and easily fall from the bone for a truly satisfying eating experience. Our recipe is specifically designed to achieve this highly desired “fall-off-the-bone” result, prioritizing tenderness and juiciness that everyone loves.
Leftover smoked ribs are a treat! To store them, allow the ribs to cool completely, then place them in an airtight container. They will keep fresh in the refrigerator for up to four days. For longer storage, you can freeze them for up to four months. When reheating, gently warm them in an oven or on the smoker until heated through to maintain moisture.
Yes, absolutely! Ribs have a lengthy cook time, which can sometimes be challenging with busy schedules. We’ve successfully broken up the cooking process on numerous occasions without compromising the delicious outcome. For best results, we recommend completing the initial 3 hours of smoking and the 2 hours of foil-wrapped cooking on the same day. You can then refrigerate the wrapped ribs overnight. On the next day, allow them to come to room temperature for about an hour before completing the final hour of unwrapped smoking and saucing. Alternatively, the wrapping and final unwrapped steps can also be completed in your oven if you run out of wood chips, or if the weather takes an unexpected turn.
Homemade French Fries in Air Fryer
Best Ever Bean Bake
Best Grilled Corn on the Cob
Honey Butter Cornbread
You can find more of our favorite sides that pair perfectly with BBQ recipes here.
If you love this easy recipe, please take a moment to give it a five-star rating by clicking the stars below and leave a comment sharing your experience! Your feedback helps us grow and inspires other home cooks. We’d also love for you to share your creations on Instagram, Facebook, and Pinterest – don’t forget to tag us!
Share on Facebook
Share
Pin this now to find it later
Pin It
Follow on Instagram
Follow
Only have 30 minutes to get dinner on the table? Sign up for my 30 minute dinner plans direct to your inbox!
Find and shop my favorite products in my Amazon storefront here!
More Delicious Recipes from Sweet C’s Designs
- Hearty Meatball Soup Recipe
- Comforting Cabbage Soup with Hamburger
- The Best Easy Egg Nog
- Perfect Oven-Roasted Flank Steak
- Refreshing Dole Whip Ninja Creami
- Crispy Potatoes on the Grill
- Easy One-Pot Mexican Skillet
- Traditional Authentic Hungarian Goulash Recipe
- Irresistible Sourdough Discard Chocolate Chip Cookies
- Fresh and Tangy Fattoush Salad Recipe
- Simple and Delicious Shepherd’s Pie
- Quick Instant Pot Turkey Breast
- Best Easy Whole Roasted Cauliflower
- Delectable Easy Mini Crab Cakes
- Classic Chopped Cheese Sandwich Recipe
- Homemade Shoyu Sesame Shabu Shabu Sauce
- Tender Instant Pot Beef Short Ribs
Best Smoked Ribs Recipe
Equipment
-
Meat Church Holy Rub & Seasoning Sampler (Variety Pack of 4 w/ 1 each of The Holy Gospel, Holy Cow, Holy Voodoo & The Gospel)
-
Traeger Grills Pro Series 780 Wood Pellet Grill and Smoker with Alexa and WiFIRE Smart Home Technology, Bronze
-
Flame Boss 500-WiFi Smoker Controller (Ceramic/Kamado)
-
Kamado Joe KJ-IKAMANDNA Classic II Ikamand
-
Kamado Joe, Big Joe II Charcoal Grill
-
Silicone Smoker Oven Gloves
Ingredients
For the rub:
- 1 tbsp ground black or white pepper
- 1 tsp kosher salt
- 2 tbsp Paprika, sweet Hungarian paprika
- 1 tsp onion powder
- 1 tsp celery salt
- 1 tbsp garlic powder
For the bath:
- 2 tbsp brown sugar
- 2 tbsp apple cider vinegar
- ¼ cup apple juice or cider
- 4 tbsp salted butter, cubed
For the Ribs:
- 1 rack baby back ribs, reduce cook time if using spare or St. Louis Style ribs
Instructions
-
Pre-soak wood chips in water for 1/2 hour.
-
Preheat wood chips in smoker to get to 225 degrees Fahrenheit.
-
Remove ribs from any packaging and pat dry.
-
Remove silver skin and trim off any excess sloppy bits from ribs.
-
Mix rub ingredients well, cover completely over ribs.
-
Let ribs come to room temperature while wood begins to smoke and smoker comes to temperature.
-
Smoke ribs on smoker for 3 hours.
-
Lay out foil and lay ribs on top, adding butter, juice, cider, and brown sugar into foil and wrap ribs tightly in foil.
-
Cook in foil for 2 hours.
-
Open foil and baste ribs in cooking liquids.
-
Remove the ribs from the foil and use the instructions below based on if you want your ribs without sauce or with sauce.
For ribs without sauce:
-
Baste another 2-3 times with cooking liquids, total time for final smoke will be one hour.
-
When ribs are crunchy to your preference, remove and let rest at least 15 minutes before slicing or serving.
For ribs with sauce:
-
Baste a thin layer of your favorite BBQ sauce over ribs and cook for about 15 minutes more. Sauce will be sticky, not runny.
-
Repeat with another thin layer of sauce two more times. Total time for final smoke will be one hour. Let ribs rest at least 15 minutes before slicing or serving.
Video
Nutrition
Nutrition information is automatically calculated, so should only be used as an approximation.