
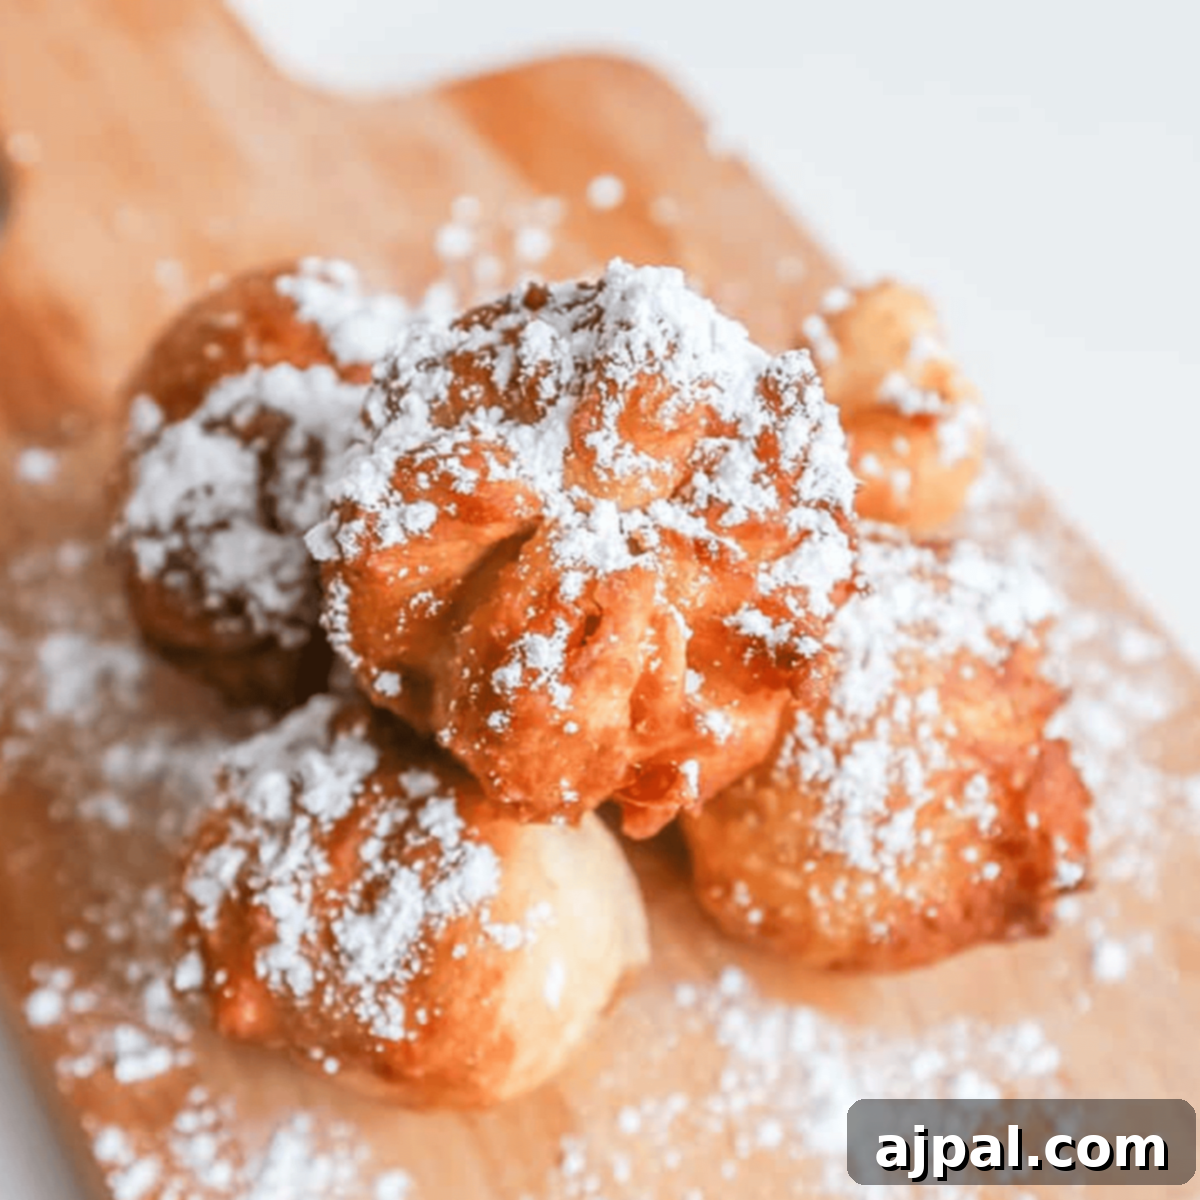
Transforming the beloved classic peanut butter and jelly sandwich into a delightful, deep-fried treat is an culinary adventure that promises a truly unforgettable experience. Imagine sinking your teeth into a crispy, golden-brown exterior, revealing a warm, gooey center of rich peanut butter and sweet, fruity jelly. These Fried Peanut Butter and Jelly Bombs are not just a snack; they are a decadent reimagining, elevating a childhood favorite to gourmet status, perfect for any occasion. They are incredibly simple to make, yet yield a sophisticated dessert or a whimsical breakfast that will captivate both young and old alike.
Looking for a quick recipe without all the extra details? We’ve included a convenient table of contents below, making it easy to jump straight to the recipe, tips, or FAQs. Our aim is to make your cooking experience as seamless and enjoyable as possible.
At our core, we believe that everyone, regardless of formal culinary training, deserves to feel confident and empowered in the kitchen. That’s why we meticulously craft each recipe, providing a wealth of tips and explanations for every step and ingredient. Understanding the ‘why’ behind each action not only builds confidence but also enhances your cooking skills, allowing you to master dishes and truly enjoy the art of creating delicious food. Our ultimate goal is to turn even the most novice home cook into a kitchen virtuoso, ready to tackle any culinary challenge with ease and excitement.
Table of Contents
- The Ultimate Indulgence: Fried PB&J Bombs
- Mastering the Art: How to Make Fried PB&J Bites
- Expert Tips and Tricks for Perfect Fried Peanut Butter and Jelly Bombs
- Frequently Asked Questions About Fried PB&J Treats
- Perfect Pairings: What to Serve with Your Peanut Butter and Jelly Donut Holes
The Ultimate Indulgence: Fried PB&J Bombs
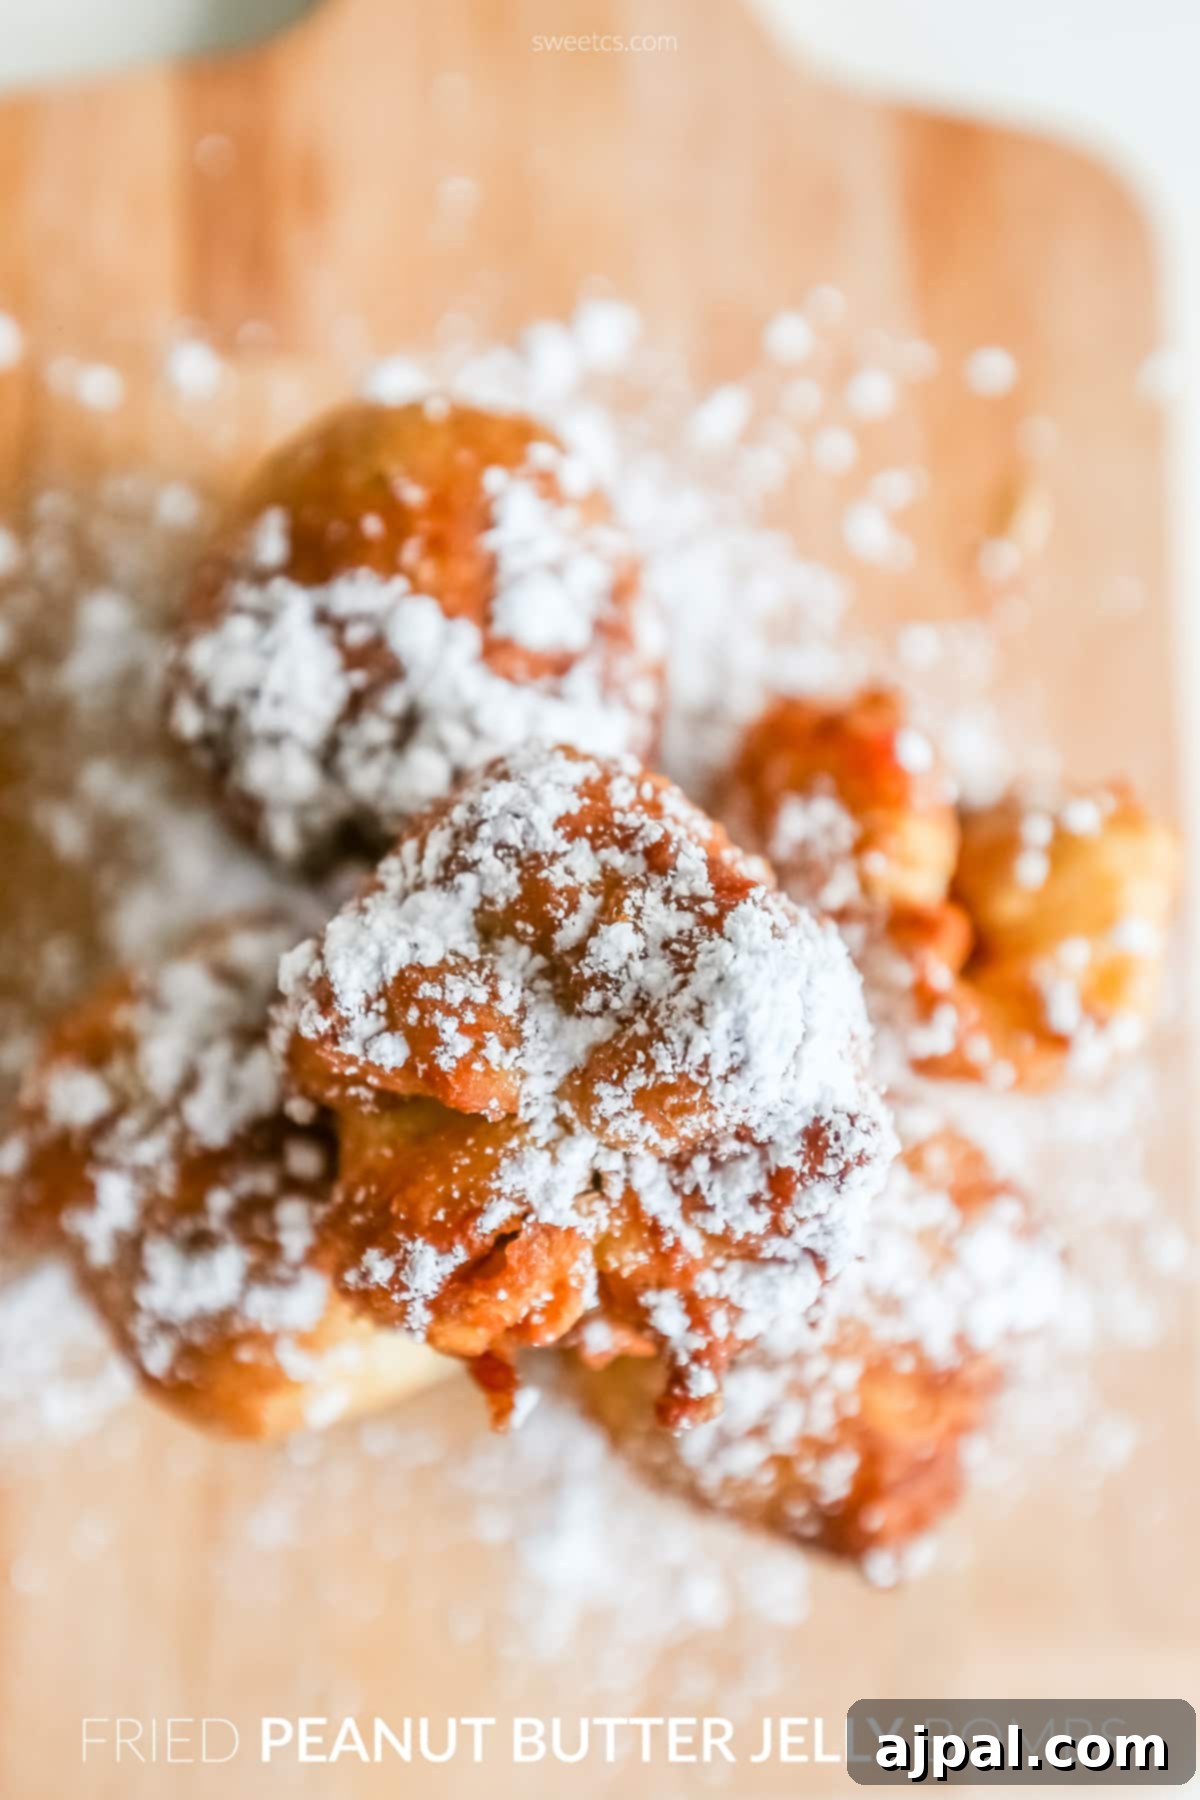
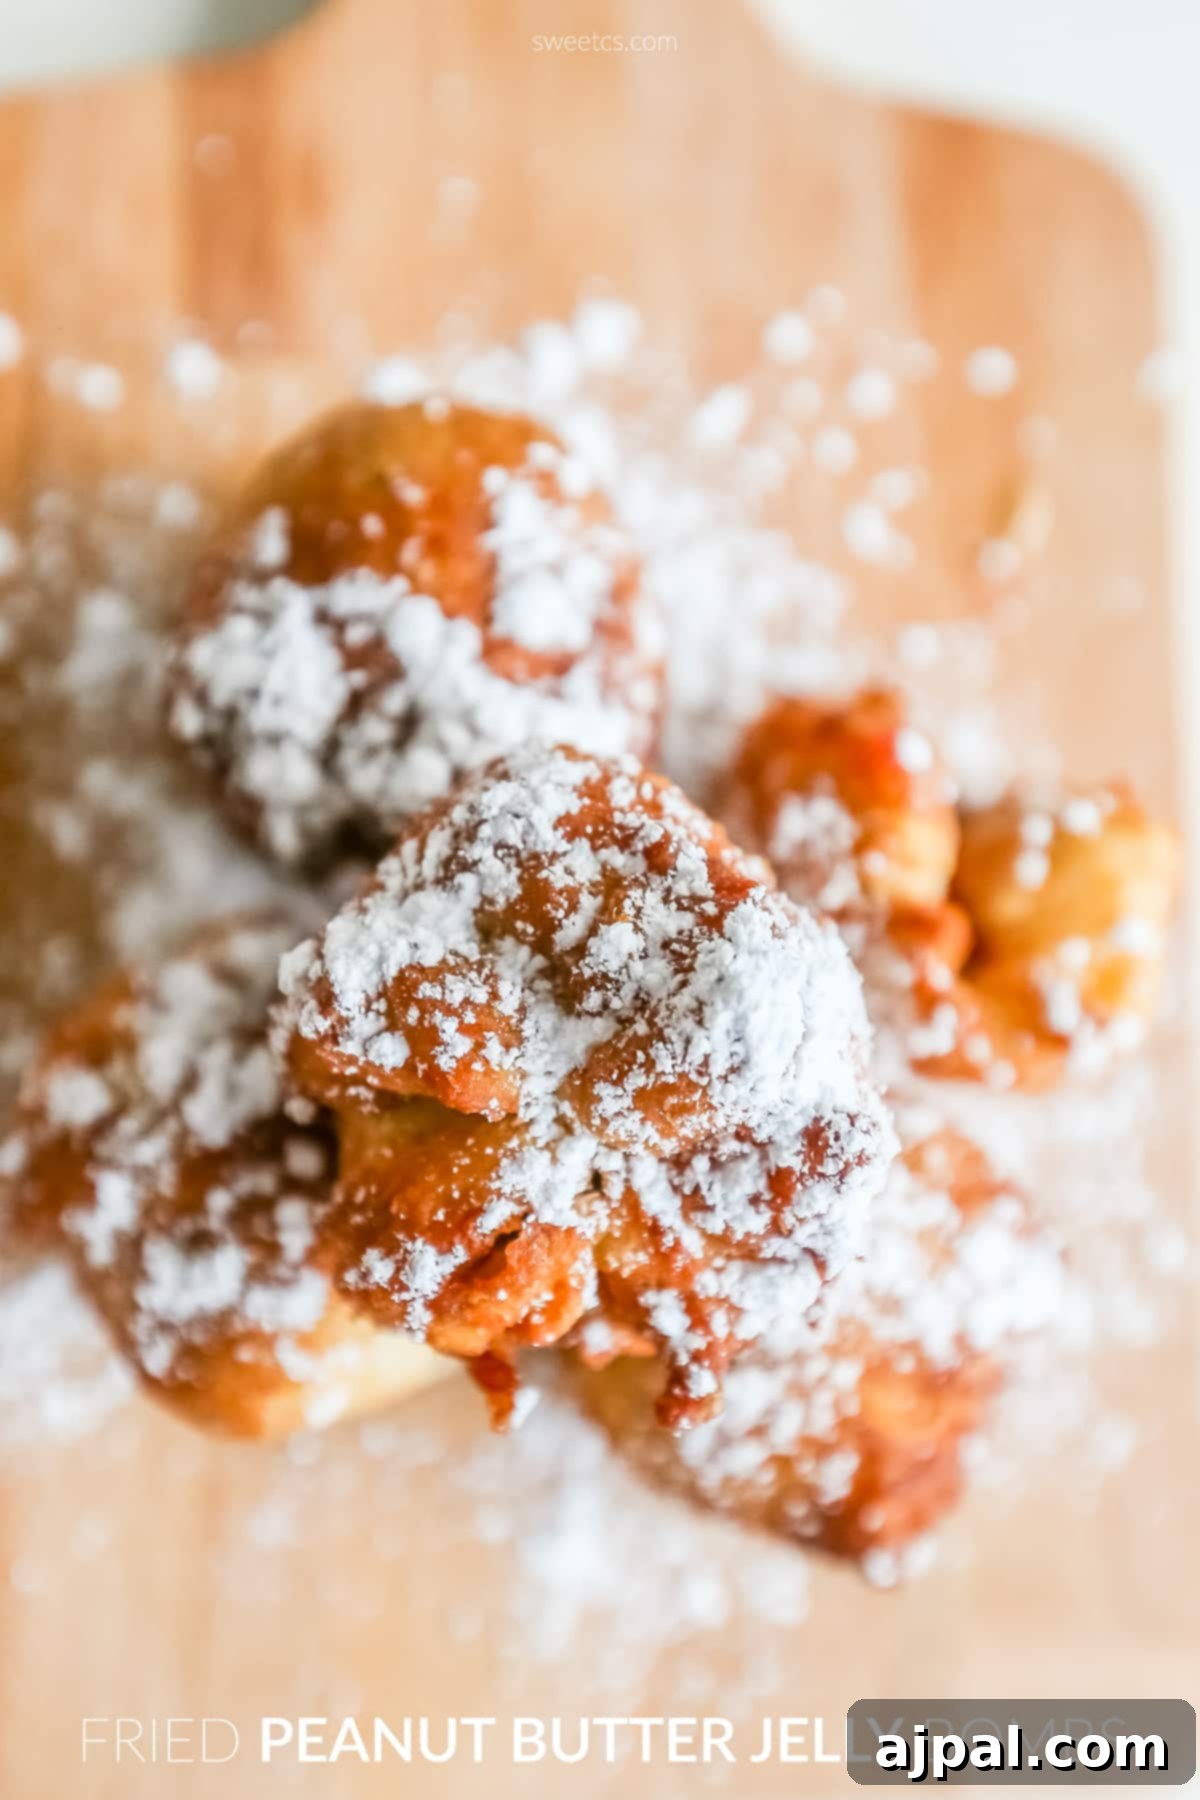
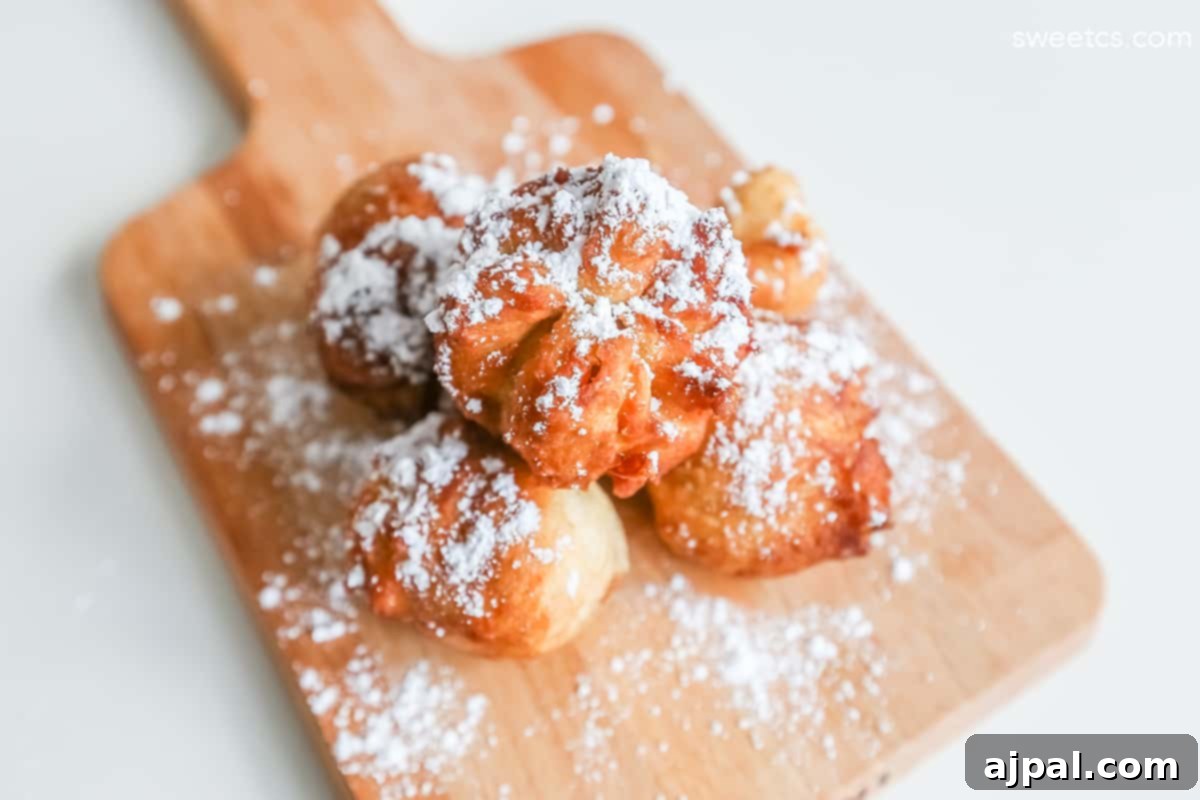
Our Fried Peanut Butter and Jelly Bombs, crafted with the versatile and flaky Pillsbury French bread dough, represent a delectable evolution of a timeless classic. This recipe marries the comforting, familiar flavors of PB&J with the irresistible allure of a golden, crispy, deep-fried crust. The genius lies in using pre-made dough, which not only streamlines the preparation but also guarantees a consistent texture and a wonderfully buttery finish. Each bite offers a harmonious contrast: a perfectly crisp exterior yielding to an interior that remains exceptionally soft and tender. Nestled within is a warm, molten blend of peanut butter and jelly, creating an explosion of flavor and texture that is both deeply nostalgic and thrillingly innovative.
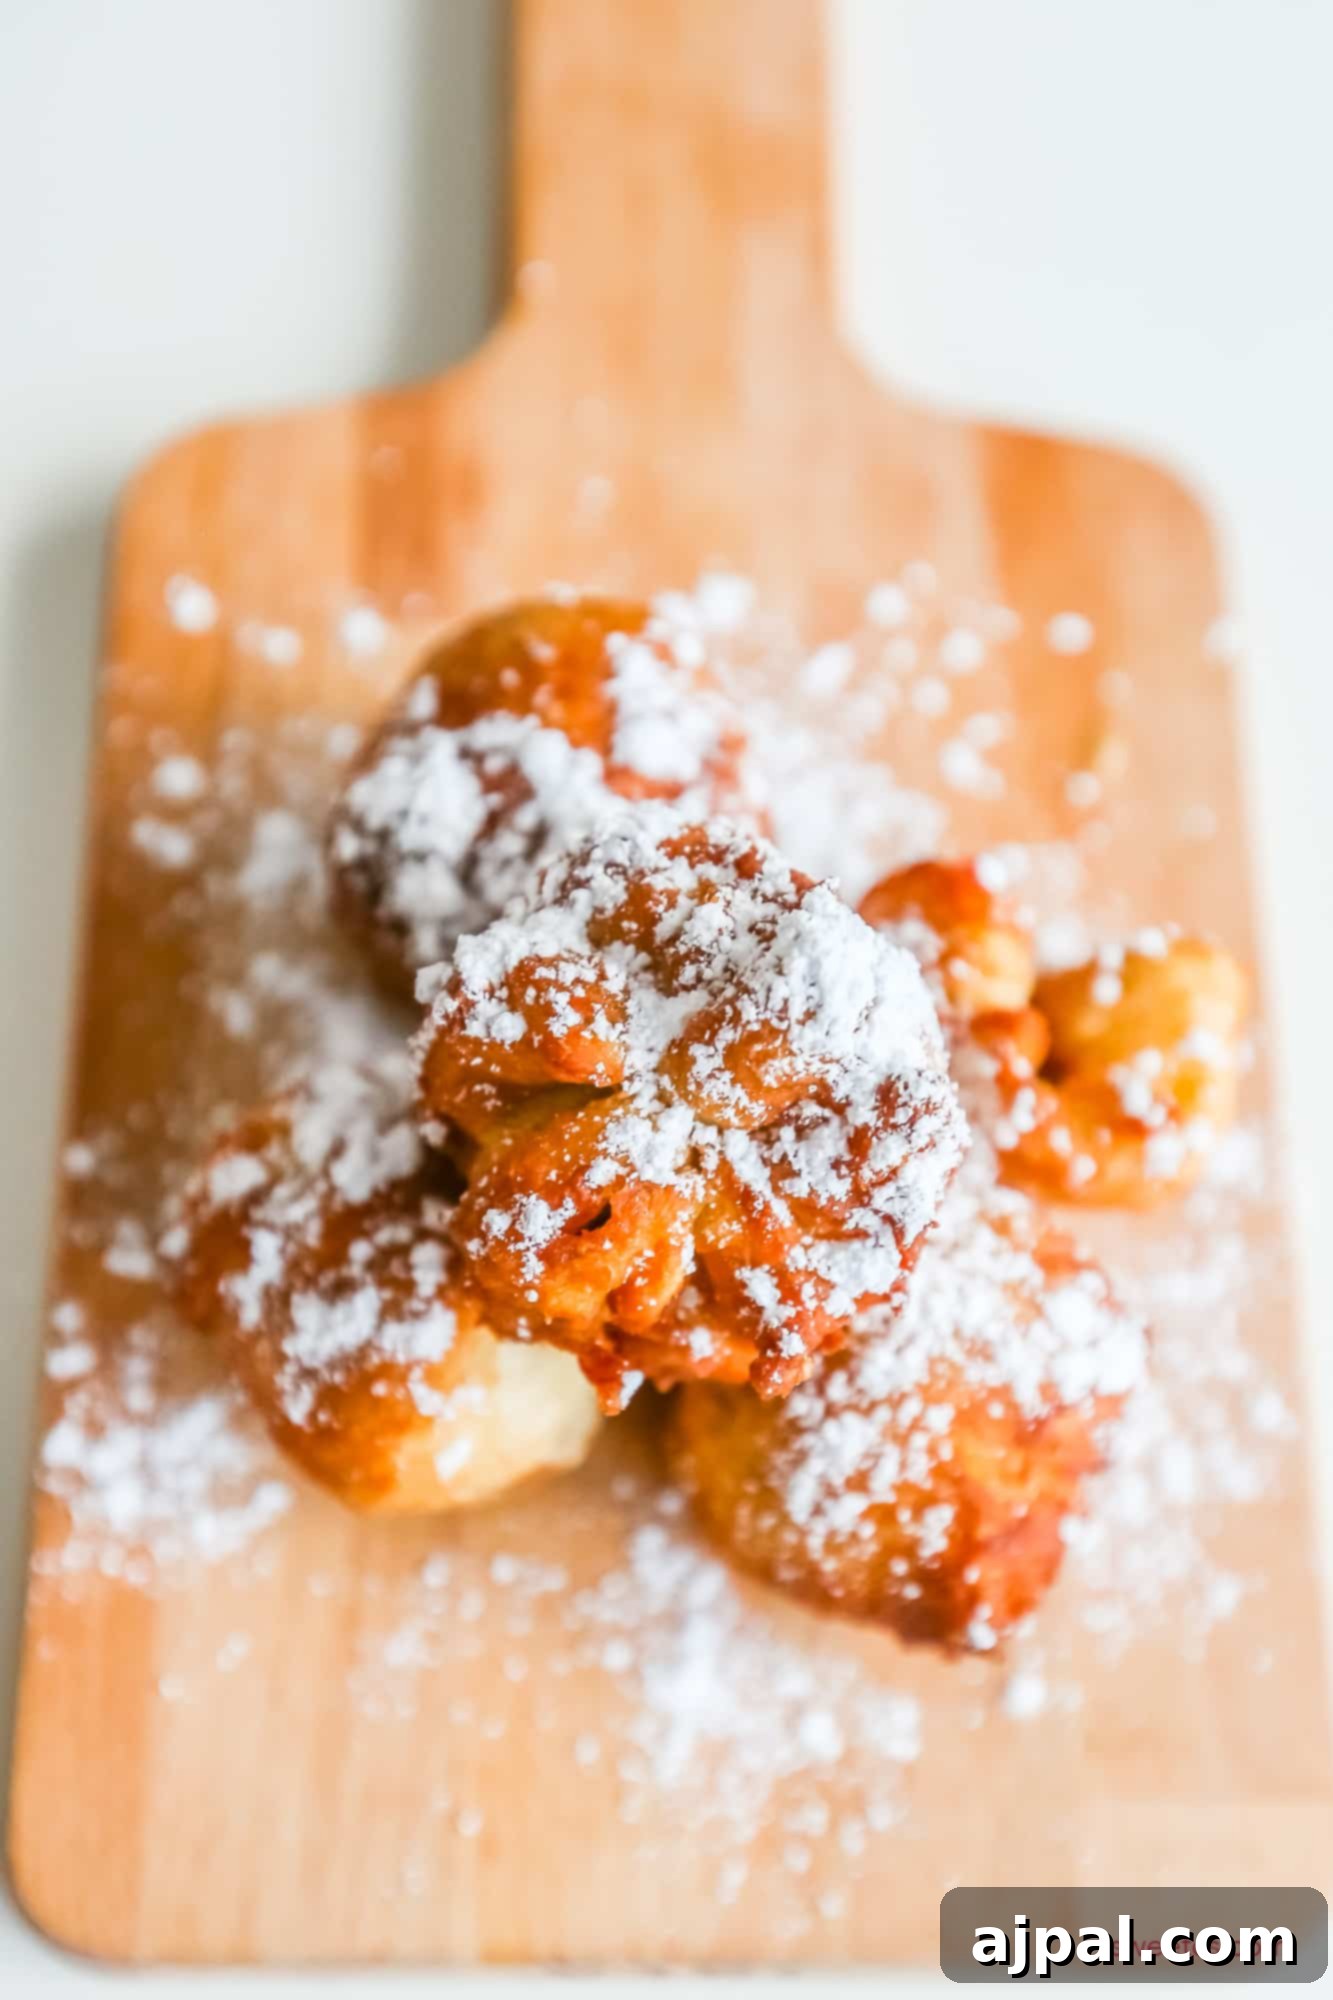
These delightful bites are designed to be a crowd-pleaser, perfect for enhancing any social gathering, serving as a standout dessert, or simply as a special, indulgent snack for your family. The convenience of Pillsbury French bread dough transforms what could be a laborious process into a quick and enjoyable one, allowing you to create these gourmet-level treats with minimal fuss. For an extra touch of elegance and sweetness, consider dusting them generously with powdered sugar, a classic finish that enhances their visual appeal and adds another layer of delicate flavor. Alternatively, a drizzle of rich chocolate sauce can elevate them to an even more decadent experience. These Fried PB&J Bombs bridge the gap between simple home cooking and gourmet indulgence, proving that a little creativity can turn a classic into an extraordinary culinary delight that adults and children alike will adore. They quickly become a favorite in any household, celebrated for their unique charm and undeniable deliciousness.
Mastering the Art: How to Make Fried PB&J Bites
Creating these irresistible fried peanut butter and jelly bites is a straightforward process, requiring just a few key ingredients and simple steps. The magic begins with selecting quality components that will melt together into a sublime, comforting filling, enveloped by a perfectly crisp dough. Below, we’ll detail each ingredient and the precise method to achieve culinary perfection.
Essential Ingredients:
- Pillsbury French Bread (1 package): This ready-to-bake dough is the cornerstone of our bombs, offering unparalleled convenience and a guaranteed flaky, golden, and crispy crust when fried. Its consistent texture is ideal for encasing the rich filling, ensuring each bite is a perfect blend of soft and crisp.
- Creamy Peanut Butter (1/2 cup): The choice of creamy peanut butter is crucial for its smooth, melt-in-your-mouth texture. When heated, it transforms into a wonderfully rich and savory liquid, providing a delightful contrast to the sweet jelly and the crunchy fried dough. You can use your favorite brand, but ensure it’s not too oily for optimal sealing.
- Fruity Jelly (1/2 cup): A generous dollop of your favorite jelly introduces a burst of vibrant fruitiness and essential sweetness. This complements the savory notes of the peanut butter beautifully, creating a balanced and utterly addictive flavor profile. Grape or strawberry jelly are classic choices, but feel free to experiment with raspberry or apricot for a different twist.
- Powdered Sugar (for garnish, optional but highly recommended): A delicate dusting of powdered sugar after frying adds an elegant finish and an extra layer of sweetness, enhancing the overall dessert-like quality of these bombs. It’s a simple touch that makes a big difference in both presentation and taste.
- High-Heat Frying Oil (3-4 cups): Essential for achieving that perfect golden-brown crispness. Options include corn oil, canola oil, vegetable oil, or peanut oil. The key is choosing an oil with a high smoke point to ensure safe and effective frying without burning.
The Method: Crafting Your Fried PB&J Bombs
Follow these steps carefully to ensure your peanut butter and jelly bombs come out perfectly crispy on the outside and wonderfully gooey on the inside.
Step 1: Prepare Your Frying Setup. In a tall, heavy-bottomed pot (a spaghetti pot works wonderfully to prevent splattering), pour 3-4 cups of your chosen high-heat oil. Heat the oil slowly over medium heat until it reaches a temperature of 350-375°F (175-190°C). A kitchen thermometer is highly recommended for accuracy, as maintaining the correct oil temperature is vital for perfectly cooked bombs. If you don’t have a thermometer, you can test the oil by dropping a tiny piece of dough into it; it should sizzle gently and immediately begin to brown, indicating it’s ready.
Step 2: Assemble the Bites. Carefully unroll the Pillsbury French bread dough on a clean surface. Using a pizza slicer for precision and speed, or simply tearing off bits, divide the dough into approximately 20 small, manageable pieces. The goal is to create uniformly sized pieces for even cooking. For each piece, gently flatten it slightly and place about a half teaspoon of creamy peanut butter and a half teaspoon of jelly right in the center. Be careful not to overfill, as this can lead to leaks during frying.
Step 3: Shape and Seal. Once filled, carefully gather the edges of each dough piece and pinch them together tightly over the filling. Roll the dough into a compact ball shape, ensuring the peanut butter and jelly are completely encased within. A secure seal is paramount to prevent the filling from oozing out into the hot oil. Taking an extra moment to crimp the seams with your fingers or a fork can add an extra layer of security.
Step 4: Fry to Golden Perfection. Gently place the assembled dough balls into the preheated oil, working in small batches of 4-5 at a time. Overcrowding the pot will lower the oil temperature, resulting in greasy or unevenly cooked bombs. Fry each batch for about 3-5 minutes, turning them occasionally with tongs to ensure all sides achieve a beautiful crispy, golden-brown hue. Adjust the heat as necessary: if they brown too quickly, the oil is too hot; if they take too long, it’s not hot enough. The ideal frying time results in a golden exterior and a thoroughly cooked, soft interior.
Step 5: Drain and Garnish. Once perfectly golden, carefully remove the fried bombs from the oil using tongs or a slotted spoon. Transfer them immediately to a plate lined with paper towels to absorb any excess oil, helping them stay wonderfully crispy. While still warm, generously sprinkle them with powdered sugar if desired. This adds a lovely sweet touch and a professional finish. Serve warm and enjoy these delightful treats!
Expert Tips and Tricks for Perfect Fried Peanut Butter and Jelly Bombs
Achieving the perfect Fried Peanut Butter and Jelly Bombs is an art that can be mastered with a few simple techniques. Here are some expert tips and tricks to ensure your creations are consistently delicious, crispy, and free from any leaks:
Dough Preparation is Key: While using Pillsbury French bread dough is already a fantastic shortcut, ensure you handle it gently. When separating into pieces, aim for roughly equal sizes to promote even cooking. Overworking the dough can make it tough, so handle it minimally.
Mastering the Seal: This is perhaps the most critical step. After placing the peanut butter and jelly in the center, bring the edges of the dough together securely. Pinch and crimp firmly with your fingers, or for extra assurance, use the tines of a fork to press the seams together. A tight seal prevents any filling from escaping into the hot oil, which can cause splattering and lead to dry bombs.
Choose Your Fillings Wisely: For the best results, opt for creamy peanut butter. Its smooth consistency makes it easier to spread and seal within the dough without tearing. If you prefer crunchy, you can use it, but be mindful of the larger nut pieces potentially compromising the seal. For jelly, a good quality, fruit-forward jam or preserve will offer the best flavor balance against the rich peanut butter. Avoid overly runny jellies, which are more prone to leaking.
The Chilling Advantage: After assembling your bombs, place them on a baking sheet lined with parchment paper and chill them in the refrigerator for 15-30 minutes. This step is a game-changer as it helps the dough firm up, making the bombs more resilient and less likely to fall apart or leak during frying. It also helps them maintain their spherical shape.
Optimal Frying Environment: Use a deep fryer or a heavy-bottomed pot (like a Dutch oven or spaghetti pot) that is sufficiently deep to submerge the bombs without overcrowding. Ensure there is enough oil, at least 3-4 inches deep, to allow the bombs to fry evenly on all sides. An even fry leads to a consistent golden color and crisp texture.
Precision Oil Temperature: Maintaining a consistent oil temperature between 350-375°F (175-190°C) is paramount. If the oil is too cool, the bombs will absorb too much oil and become greasy. If it’s too hot, the exterior will burn before the interior is properly cooked and heated through. Invest in a reliable kitchen thermometer for accuracy, or use the small dough test.
Fry in Batches: Resist the urge to overcrowd the pot. Frying in small batches (4-5 bombs at a time) is crucial. This helps maintain the oil’s temperature, ensuring each bomb fries perfectly. Overcrowding will drastically drop the oil temperature and lead to unevenly cooked, greasy results.
Efficient Draining: As soon as the bombs are golden brown, remove them from the oil and place them on a wire rack set over a baking sheet lined with paper towels. This setup allows excess oil to drain away from all sides, preventing them from becoming soggy and preserving their delightful crispiness. Avoid piling them directly onto paper towels, as this can steam them and make them less crisp.
Creative Garnishing: While powdered sugar is a classic choice, don’t limit yourself! A drizzle of honey, a swirl of melted chocolate sauce, a sprinkle of cinnamon sugar, or even a dollop of whipped cream can elevate these treats to new heights. Serve them warm for the best experience, as the molten center is key to their appeal.
Frequently Asked Questions About Fried PB&J Treats
For optimal freshness and crispness, these delightful bombs are best enjoyed immediately after frying. However, if you have leftovers, store them in an airtight container in the refrigerator for up to 2-3 days. To reheat and restore some of their original crispiness, place them in a preheated oven or toaster oven at 350°F (175°C) for a few minutes until warmed through and slightly crisp again. Microwaving is not recommended as it will make them soft.
Absolutely! For an extra layer of indulgence, consider serving your Fried PB&J Bombs with a variety of dipping sauces. Melted chocolate sauce, a luscious caramel sauce, or a simple mixture of powdered sugar and cinnamon make excellent choices. These additions can transform an already delicious treat into an extraordinary dessert experience.
While the ultimate experience is fresh from the fryer, you can certainly prepare these bites up to the frying stage. Assemble them, shape them into balls, and then store them in an airtight container in the refrigerator for a few hours. Fry them just before serving to ensure they are warm, crispy, and truly at their best. Freezing the un-fried bombs is also an option; simply fry them directly from frozen, adding a few extra minutes to the cooking time.
The ideal frying time is typically about 3-5 minutes per batch. You’re looking for a beautiful, even golden-brown color on all sides. Make sure to turn them occasionally with tongs to ensure consistent cooking. The exact time may vary slightly depending on your oil temperature and the size of your bombs.
The most accurate way is to use a kitchen thermometer to ensure the oil reaches 350-375°F (175-190°C). If a thermometer isn’t available, you can perform a quick test: drop a tiny piece of the dough into the hot oil. If it immediately sizzles and starts to float and brown gently, your oil is ready. If it just sinks and does nothing, the oil is too cold. If it burns instantly, it’s too hot.
For frying these delicious bombs, it’s best to use neutral-flavored oils with a high smoke point. Excellent choices include vegetable oil, canola oil, sunflower oil, or peanut oil. These oils will ensure a perfectly golden-brown exterior without imparting any unwanted flavors to your sweet treats.
The key to preventing leaks is a thorough and tight seal. Ensure that after placing the filling, you firmly pinch the edges of the dough together and then roll it into a tight ball. You can even use a fork to crimp the seams, creating an extra secure closure. Chilling the assembled bombs also helps the dough hold its shape better during frying.
Absolutely! The beauty of this recipe is its versatility. While classic grape or strawberry jelly works wonderfully, feel free to experiment with your favorite fruit spreads. Raspberry, apricot, or even a mixed berry jam can offer exciting new flavor dimensions. Just ensure the jam isn’t overly watery.
Creamy peanut butter is generally recommended as its smooth texture makes it much easier to spread and seal within the dough without causing tears. However, if you adore the added texture, crunchy peanut butter can certainly be used. Just be extra diligent when sealing to ensure the nut pieces don’t create openings in the dough.
Perfect Pairings: What to Serve with Your Peanut Butter and Jelly Donut Holes
These delectable Fried Peanut Butter and Jelly Bombs are fantastic on their own, but pairing them with the right accompaniments can elevate the experience even further. Here are some inspired suggestions to complement their sweet and savory flavors:
- A Tall Glass of Cold Milk: The ultimate classic pairing. The cool, creamy richness of milk perfectly cuts through the sweetness and richness of the fried bombs, creating a nostalgic and comforting combination that’s hard to beat.
- Vanilla Ice Cream: For a truly indulgent dessert, serve these warm bombs alongside a scoop of cold, creamy vanilla ice cream. The contrast of hot and cold, crispy and smooth, is simply divine. Consider trying this Avocado Ice Cream for an unexpected twist!
- Fresh Fruit Medley: Brighten up your plate with a side of fresh berries (strawberries, blueberries, raspberries) or sliced bananas. The natural sweetness and slight tartness of the fruit provide a refreshing counterpoint to the rich fried treats.
- Hot Coffee or Tea: Transform your snack into a cozy, comforting ritual by pairing these bombs with a steaming cup of coffee or your favorite tea. It’s a perfect combination for breakfast, brunch, or an afternoon pick-me-up.
- Rich Chocolate Sauce: Elevate the decadence! Drizzle a generous amount of melted chocolate sauce over your bombs or serve it on the side for dipping. The bittersweet notes of chocolate beautifully enhance the peanut butter and jelly flavors.
- Light Whipped Cream: A dollop of freshly whipped cream adds a touch of airy lightness and delicate sweetness, offering a lovely textural contrast to the crispy exterior.
- Gooey Caramel Sauce: For those who love a sweet and sticky treat, a warm caramel sauce makes an excellent dip. Its buttery, rich notes harmonize beautifully with the peanut butter and jelly.
- Extra Powdered Sugar: A simple yet effective enhancement. A light, fresh dusting of powdered sugar just before serving not only adds a beautiful finish but also a delicate layer of sweetness that melts delightfully in your mouth.
- Creamy Nutella: For a triple threat of flavor, serve these bombs with a side of Nutella. The hazelnut-chocolate spread creates an irresistible blend with the peanut butter and jelly, satisfying even the most intense sweet cravings.
- Tangy Greek Yogurt: For a slightly healthier and more balanced option, pair your bombs with a side of plain or vanilla Greek yogurt. The yogurt’s tanginess provides a refreshing contrast to the sweet and savory elements of the fried treats.
Discover More Easy & Delicious Dessert Recipes:
Sweet & Tangy Cranberry Bars
Indulgent Best Chocolate Truffles
Classic Cranberry Apple Pie
Spooky White Chocolate Dipped Ghost Cookies
To explore the full range of our easy dessert recipe archives, click here. You’ll find a treasure trove of simple yet spectacular treats for every craving and occasion.
If you fall in love with this incredibly easy and delicious recipe, please show your appreciation by clicking the stars below to give it a five-star rating and share your thoughts in a comment! Your feedback helps us grow and inspires other home cooks. We’d also be thrilled if you could help us spread the word by sharing your creations on Instagram, Facebook, and Pinterest – don’t forget to tag us!
Share on Facebook
Share
Pin this now to find it later
Pin It
Follow on Instagram
Follow
Only have 30 minutes to get dinner on the table? Sign up for my 30 minute dinner plans direct to your inbox!
Find and shop my favorite products in my Amazon storefront here!
Fried Peanut Butter Jelly Bombs
Equipment
-
OXO Good Grips NEW Large 4-Inch Pizza Wheel and Cutter
-
Food Grade Stainless Steel Kitchen Tongs for Cooking,BBQ – 7″, 9″ and 12″,Set of 3 Heavy Duty Locking Metal Food Tongs Non-Slip Grip
-
EGGKITPO Electric Deep fryer Single Tank Deep Fryer with Basket Capacity 10L(10.5QT) Electric Countertop Fryers with 60 Minute Timer for Home Kitchen and Restaurant, 1800 Watts, 120V
Ingredients
- 1 package Pillsbury French Bread
- ½ cup creamy peanut butter
- ½ cup fruity jelly
- optional – powdered sugar, to garnish
Instructions
-
Heat 3-4 cups of corn, canola, vegetable, or other high-heat oil to 350-375°F (175-190°C) in a tall pot (a spaghetti pot works well). Use a kitchen thermometer for accuracy to ensure optimal frying temperature.
-
Unroll the French bread dough and divide it into approximately 20 small, uniform pieces. A pizza slicer is the easiest tool for this, but you can also tear off bits of dough.
-
Gently flatten each dough piece and spread about a half teaspoon of creamy peanut butter and a half teaspoon of jelly in the middle. Be careful not to overfill to prevent leaks.
-
Carefully gather the edges of the dough around the filling and pinch them tightly together. Roll the filled dough into a compact ball, ensuring the peanut butter and jelly are completely sealed inside. Take extra care to crimp the seams securely.
-
Working in small batches of 4-5, gently add the dough balls to the preheated oil. Fry until they are crispy and golden brown on all sides, typically about 3-5 minutes, turning occasionally with tongs. Adjust oil temperature as needed: if they brown too fast, oil is too hot; if too slow, oil is not hot enough.
-
Remove the fried bombs from the oil and place them on a wire rack set over paper towels to drain excess oil. This helps them maintain their crispiness.
-
If desired, generously sprinkle the warm bombs with powdered sugar for an extra touch of sweetness and elegant finish.
-
Serve immediately while warm to enjoy the gooey, molten center. Enjoy!
Nutrition
Nutrition information is automatically calculated, so should only be used as an approximation.