
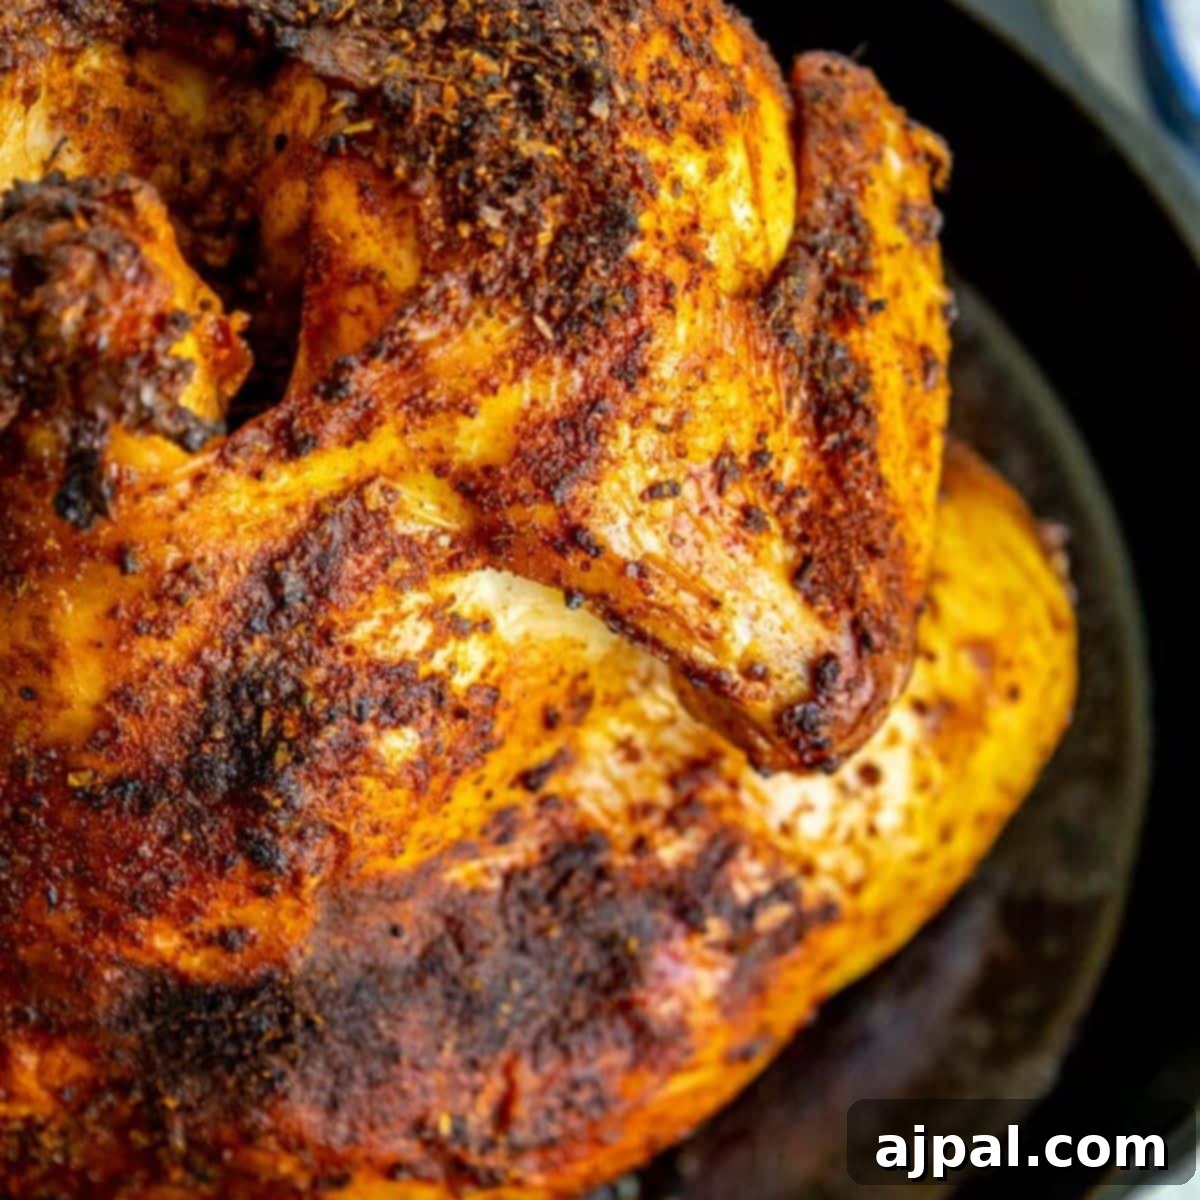
There’s nothing quite like the aroma and taste of perfectly grilled chicken fresh off the barbecue, especially during a vibrant summer cookout. Among all the classic BBQ dishes, our tried-and-true Beer Can Chicken recipe stands out as an absolute showstopper. It consistently delivers the most succulent, flavorful chicken with an irresistibly crispy skin, making it a staple at all our gatherings. What’s even better is its surprising simplicity; even if you’re a novice griller, you can achieve perfect results with this easy-to-follow method. Prepare to impress your family and friends with a dish that’s bursting with flavor and unbelievably tender.
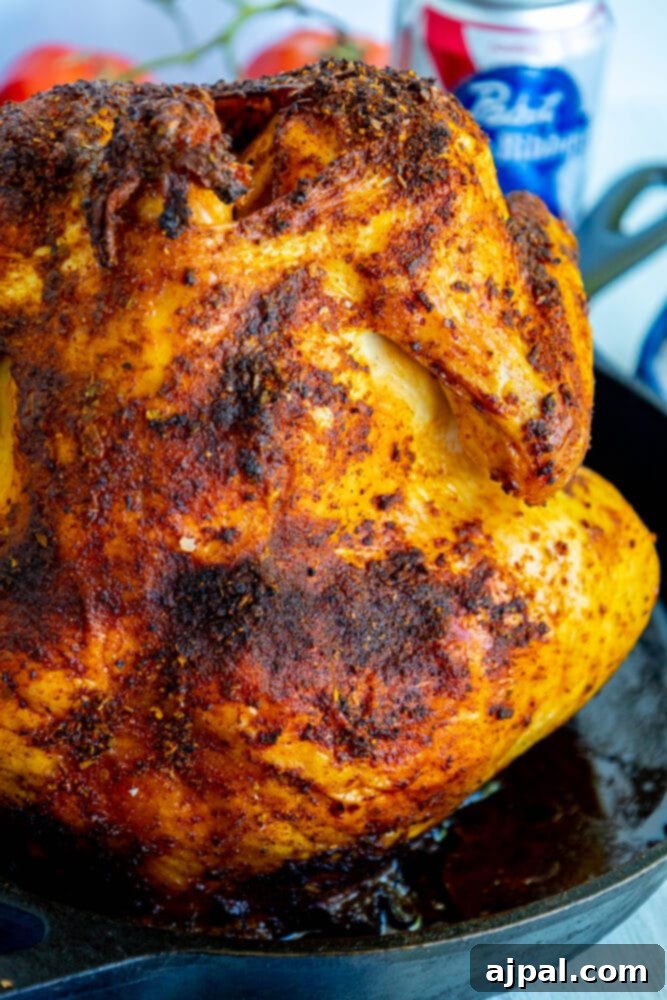
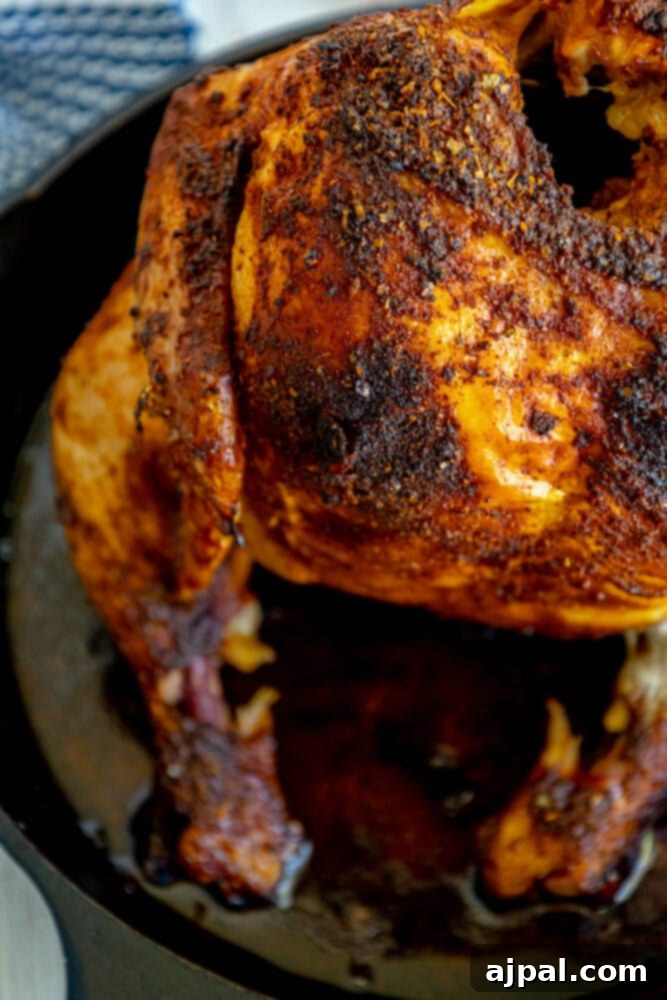
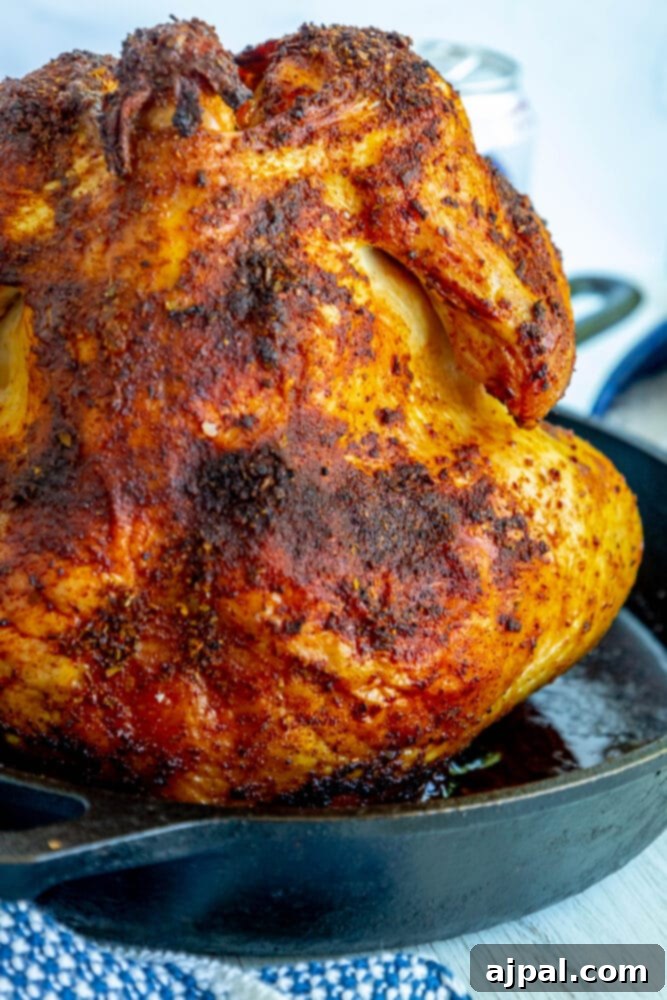
This comprehensive guide is designed to make cooking Beer Can Chicken accessible and enjoyable for everyone. We’ll walk you through every step, from selecting the right chicken to mastering the perfect cook time, ensuring your chicken turns out incredibly moist on the inside and beautifully crispy on the outside. Get ready to transform your grilling game and become a Beer Can Chicken expert!
Want to get straight to the cooking? Jump to the Full Recipe Card below, or use our clickable table of contents for easy navigation.
Table of Contents
- Why Beer Can Chicken? The Science of Juiciness
- Mastering the Ingredients for Flavorful Beer Can Chicken
- Step-by-Step Method: Achieving Beer Can Chicken Perfection
- Expert Tips & FAQs for Your Best Beer Can Chicken
- Serving Suggestions: What Pairs Best with Beer Can Chicken
- Beer Can Chicken Recipe Card
Why Beer Can Chicken? The Science of Juiciness
Beer Can Chicken isn’t just a quirky cooking method; it’s a brilliant technique that consistently yields a superior roasted bird. The magic lies in the upright cooking position and the steam generated from the beer (or other liquid) inside the can. As the chicken cooks vertically, the fat renders more evenly, basting the meat from top to bottom, which helps achieve incredibly moist and tender results. Simultaneously, the beer inside the can heats up, creating steam that infuses the chicken from the inside out, keeping the breast meat from drying out – a common challenge with whole chickens.
Beyond the internal moistness, the upright position also allows for exceptional air circulation around the entire chicken, ensuring the skin gets wonderfully crisp and golden brown on all sides. This unique combination of internal steaming and external crisping is what makes Beer Can Chicken a truly exceptional dish. It’s a method that maximizes flavor, texture, and visual appeal, all while being remarkably straightforward to execute.
Mastering the Ingredients for Flavorful Beer Can Chicken
The beauty of Beer Can Chicken lies in its simple yet impactful ingredients. To create this delicious dish, you’ll need just a few key components. Each plays a vital role in developing the chicken’s incredible flavor and texture. Understanding these ingredients will empower you to customize the recipe to your liking and ensure outstanding results every time.
Whole Chicken: Choosing the Right Bird
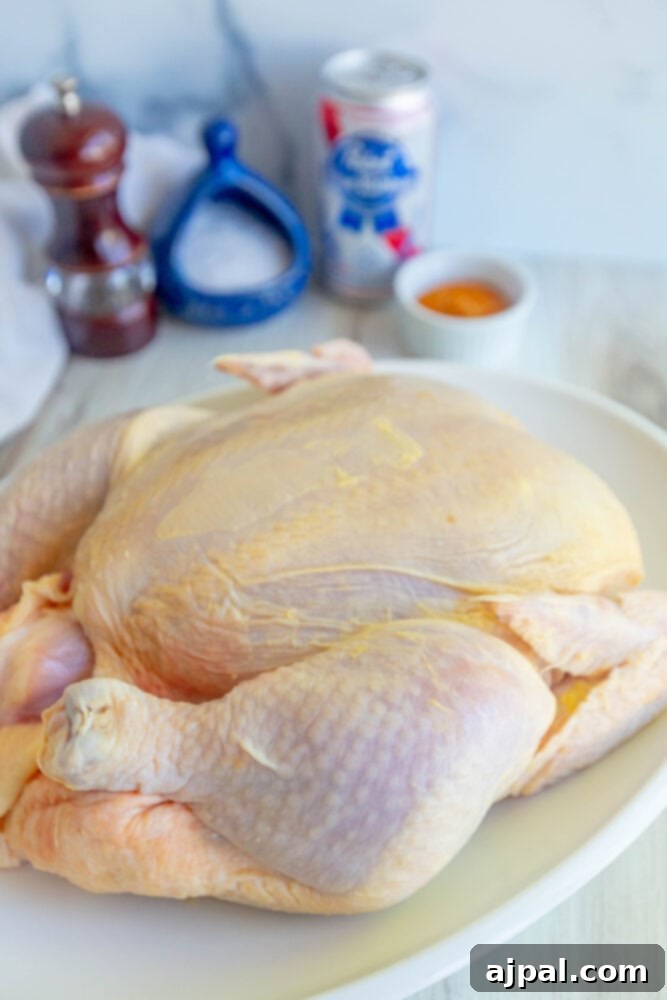
- One whole chicken: The size of your chicken depends on how many people you’re feeding. For 3-4 servings, a “young fryer” (2.5-4.5 lbs, around 7 weeks old) is perfect. If you’re hosting a larger crowd, opt for a “whole roaster” (5 lbs or more, 8-12 weeks old). We used a young fryer for this recipe, which cooks more quickly and remains exceptionally tender. Always remember to check the cavity for giblets and the neck; remove them unless you plan to use them for stock.
Beer: The Heart of the Flavor
- Beer: A classic American lager is our go-to for its balanced flavor, but feel free to experiment with any beer you enjoy! The beer’s flavor profile will subtly influence the chicken, so consider your choice carefully. Lighter beers offer a milder backdrop, while IPAs can add a hoppy bitterness, and stouts might impart a malty, rich undertone. The key is to find a beer that complements your chosen seasoning, avoiding combinations where both the beer and rub are overly bold, which could create competing flavors. You can even use non-alcoholic beer or other liquids like apple cider or broth for a different twist.
Chicken Rub: Your Flavor Canvas
- Chicken rub: A good chicken rub is essential for building a delicious crust and flavor. Traditional spices like thyme, sage, savory, garlic powder, onion powder, paprika, salt, and pepper create a classic profile that pairs beautifully with the subtle beer notes. Alternatively, many excellent pre-made chicken rubs are available. For this particular cook, we highly recommend Dizzy Pig’s Peruvian-ish seasoning. It’s an all-natural, gluten-free, and MSG-free blend, free from common allergens like tree nuts and sesame seeds, offering a unique and vibrant flavor that truly elevates the chicken. You can find it here.
Salt and Pepper: The Indispensable Duo
- Salt and Pepper: These are the fundamental building blocks of any savory dish. Even if your chosen rub contains salt, a whole chicken can absorb a surprising amount of seasoning without becoming oversalted. Don’t be shy; a generous application on the skin ensures a flavorful and crispy exterior. We recommend using coarse sea salt and freshly ground black pepper for the best taste.
Lemon and Other Aromatics: Infusing Freshness
- Lemon: To enhance the aromatic steam from the beer, we love adding a few slices of fresh lemon to the can. The citrus brightens the chicken’s flavor and adds a fragrant note. You can also include garlic cloves, sprigs of fresh rosemary or thyme, or even a few slices of onion in the beer can for added depth and complexity. These aromatics subtly perfume the chicken from the inside, contributing to an overall more complex and inviting flavor profile.
Step-by-Step Method: Achieving Beer Can Chicken Perfection
Once you’ve gathered all your ingredients, mastering Beer Can Chicken is a straightforward process. Follow these detailed steps to ensure a tender, juicy, and beautifully crispy chicken every time.
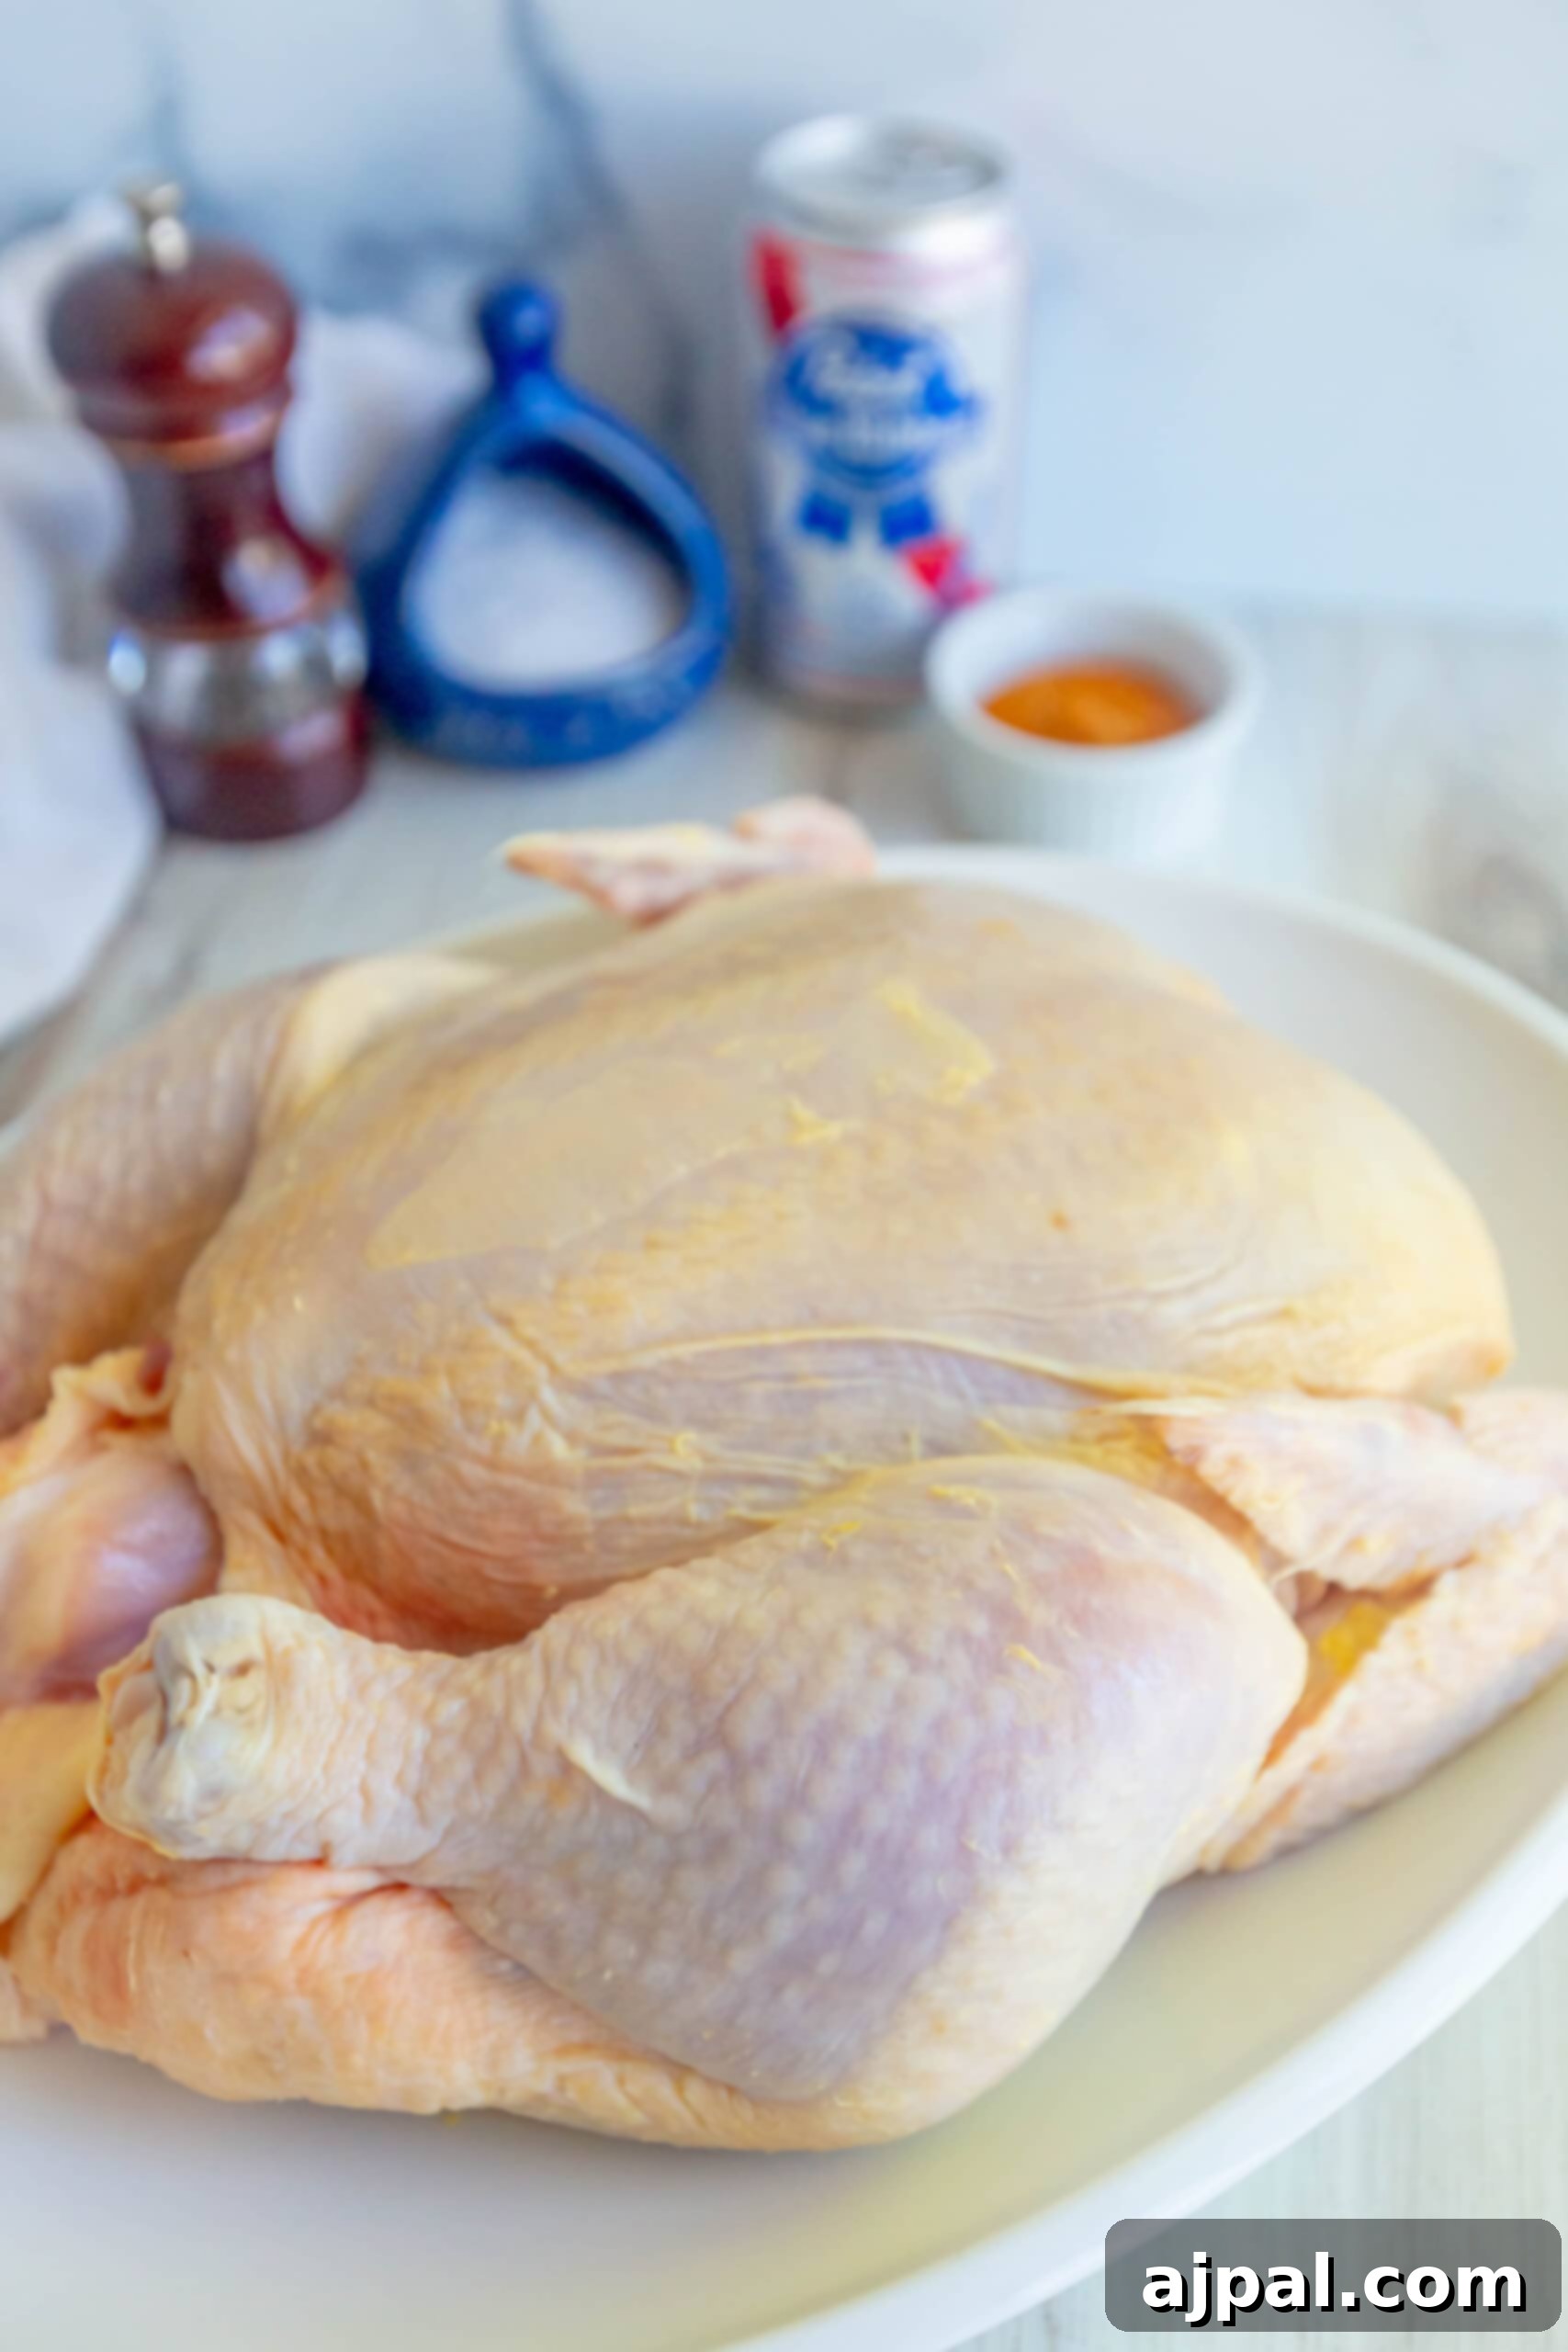
1. Prepare Your Chicken
Start by removing the whole chicken from its packaging. Rinse it thoroughly inside and out with cold water. Pat the chicken completely dry with paper towels – this crucial step helps achieve that coveted crispy skin. Don’t forget to check the body cavity for any giblets or neck, and remove them. You can discard these, or save them for making a rich chicken stock later.
2. Prepare the Beer Can
Carefully open your can of beer. Pour out approximately ¼ to ½ of the beer into a separate cup. You can enjoy this beer or save it for spritzing the chicken later. Next, using a sharp knife, sturdy kitchen shears, or a can opener, carefully cut open the top of the beer can to create a wider opening. Into the can, place 2-3 slices of lemon, a couple of peeled garlic cloves, and a dash or two of your chosen chicken rub. These aromatics will infuse the steaming beer, adding depth to the chicken’s flavor.
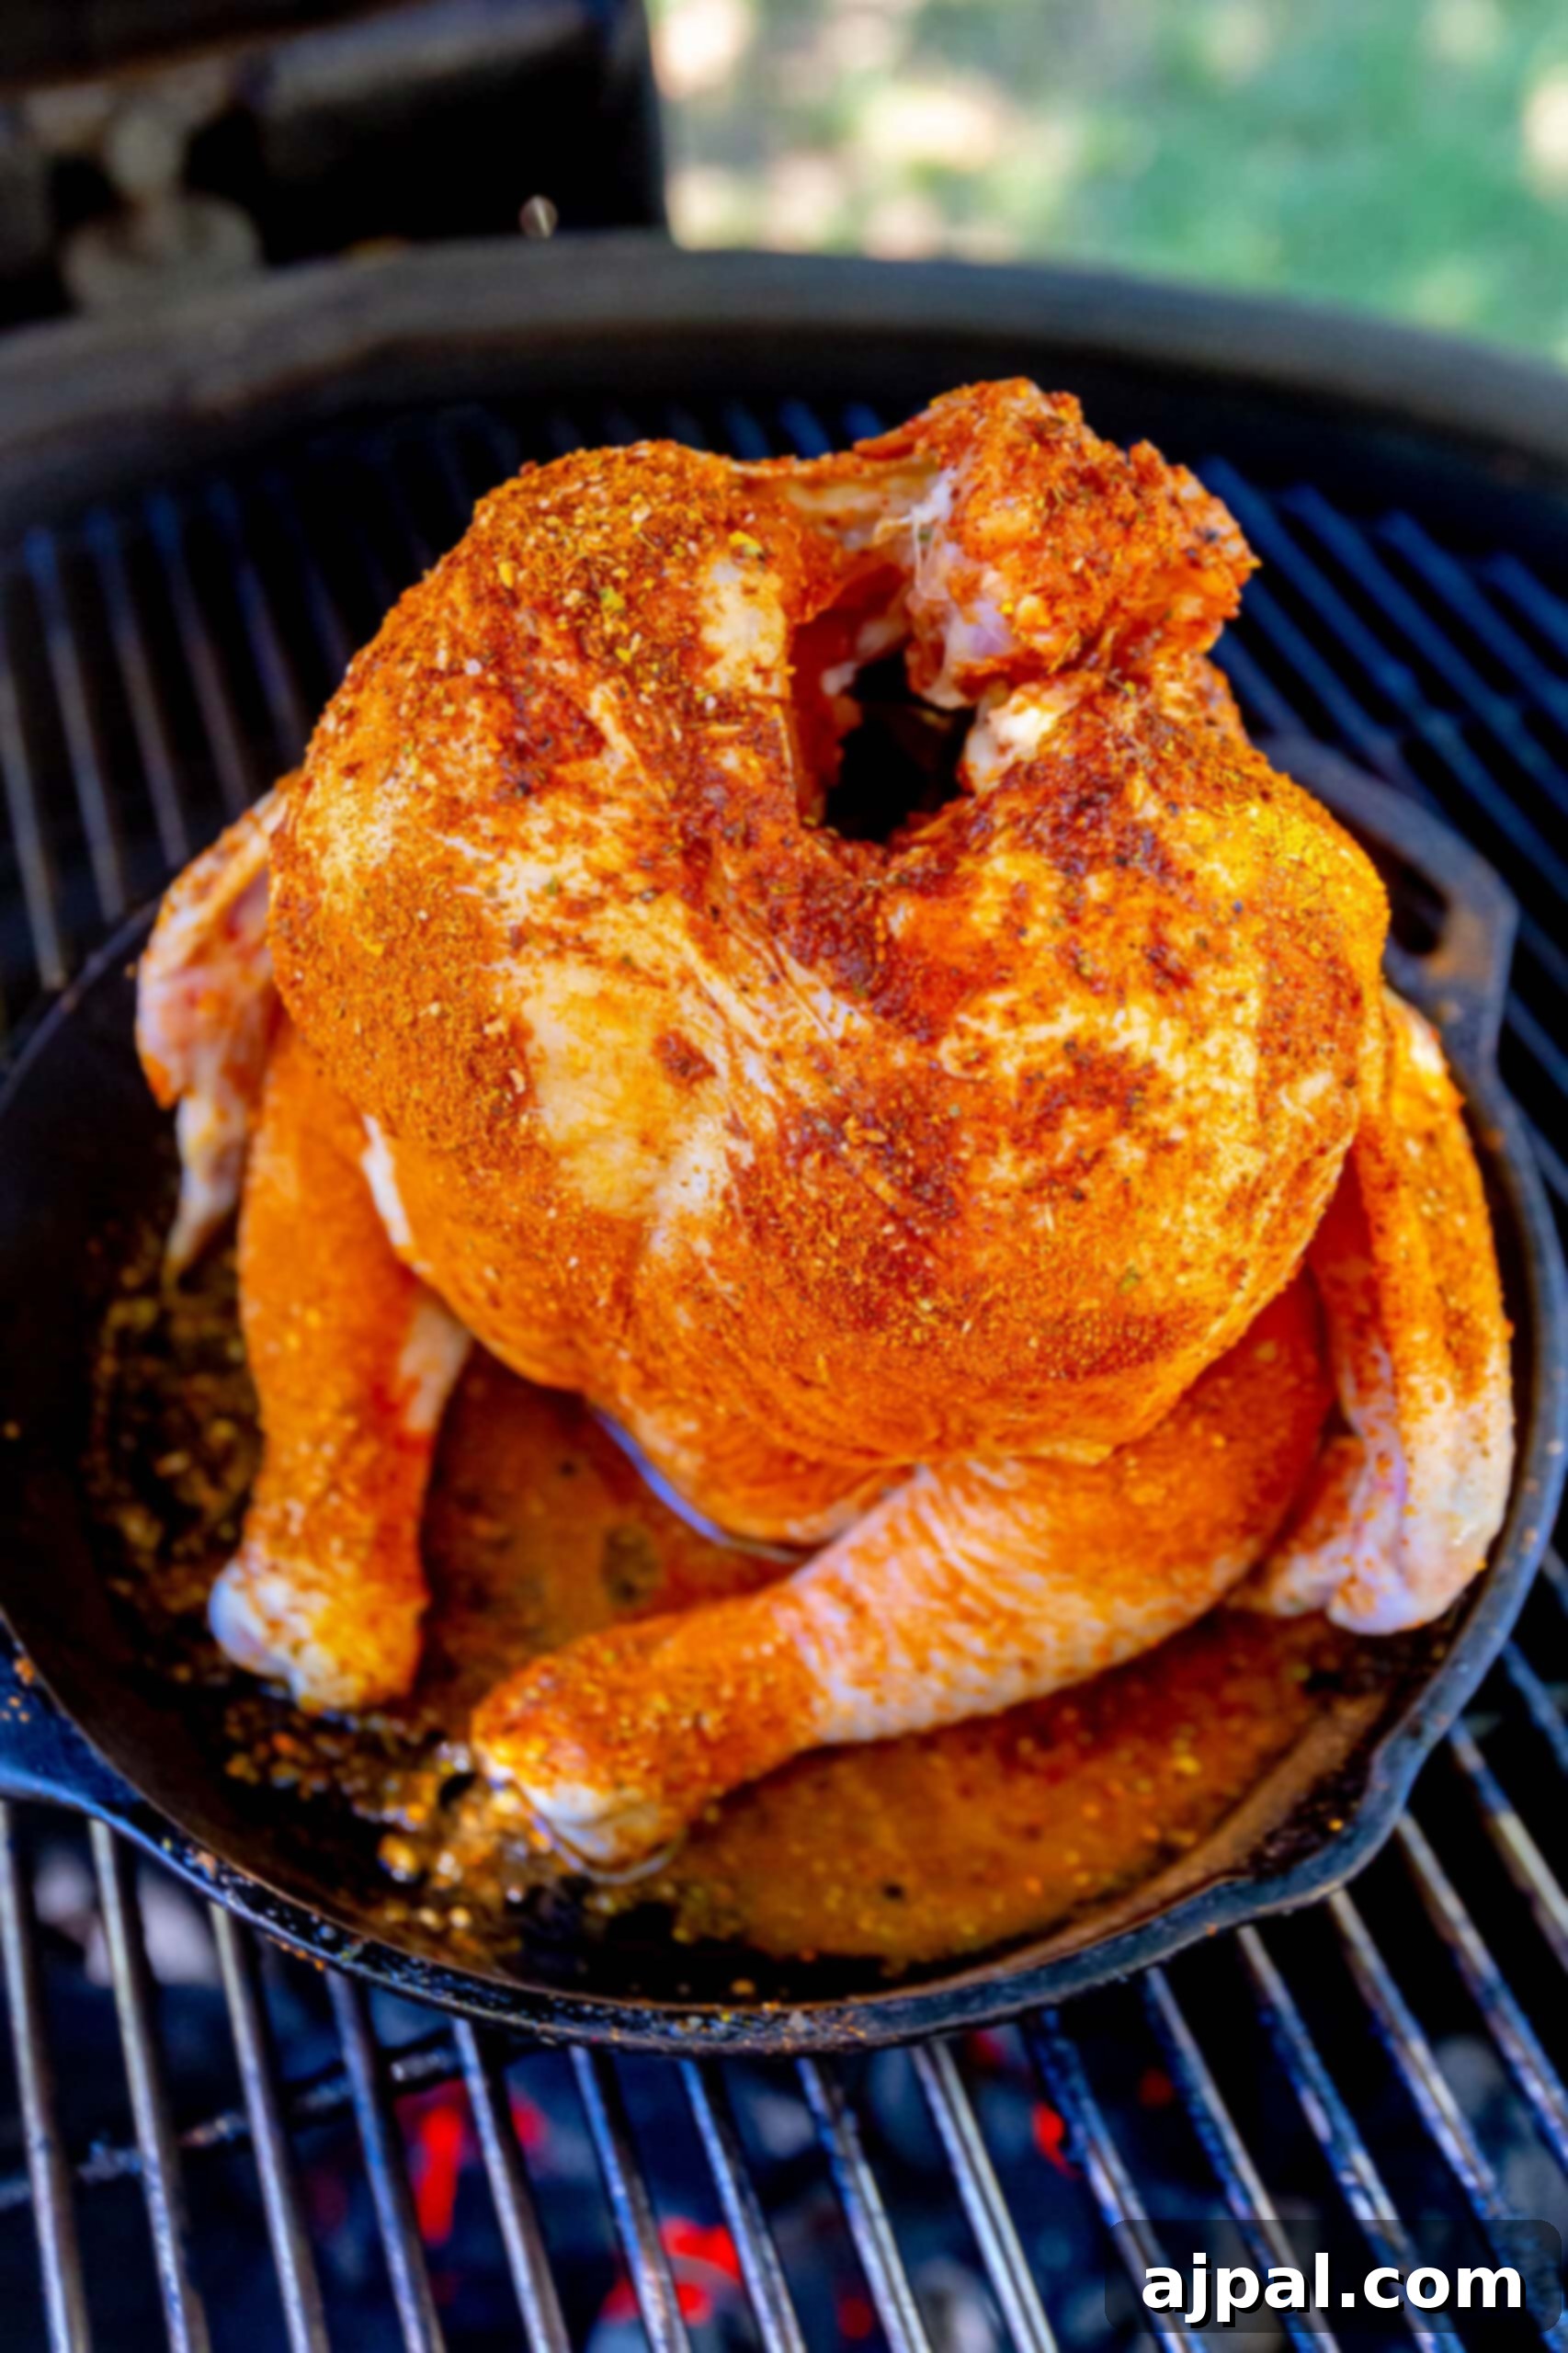
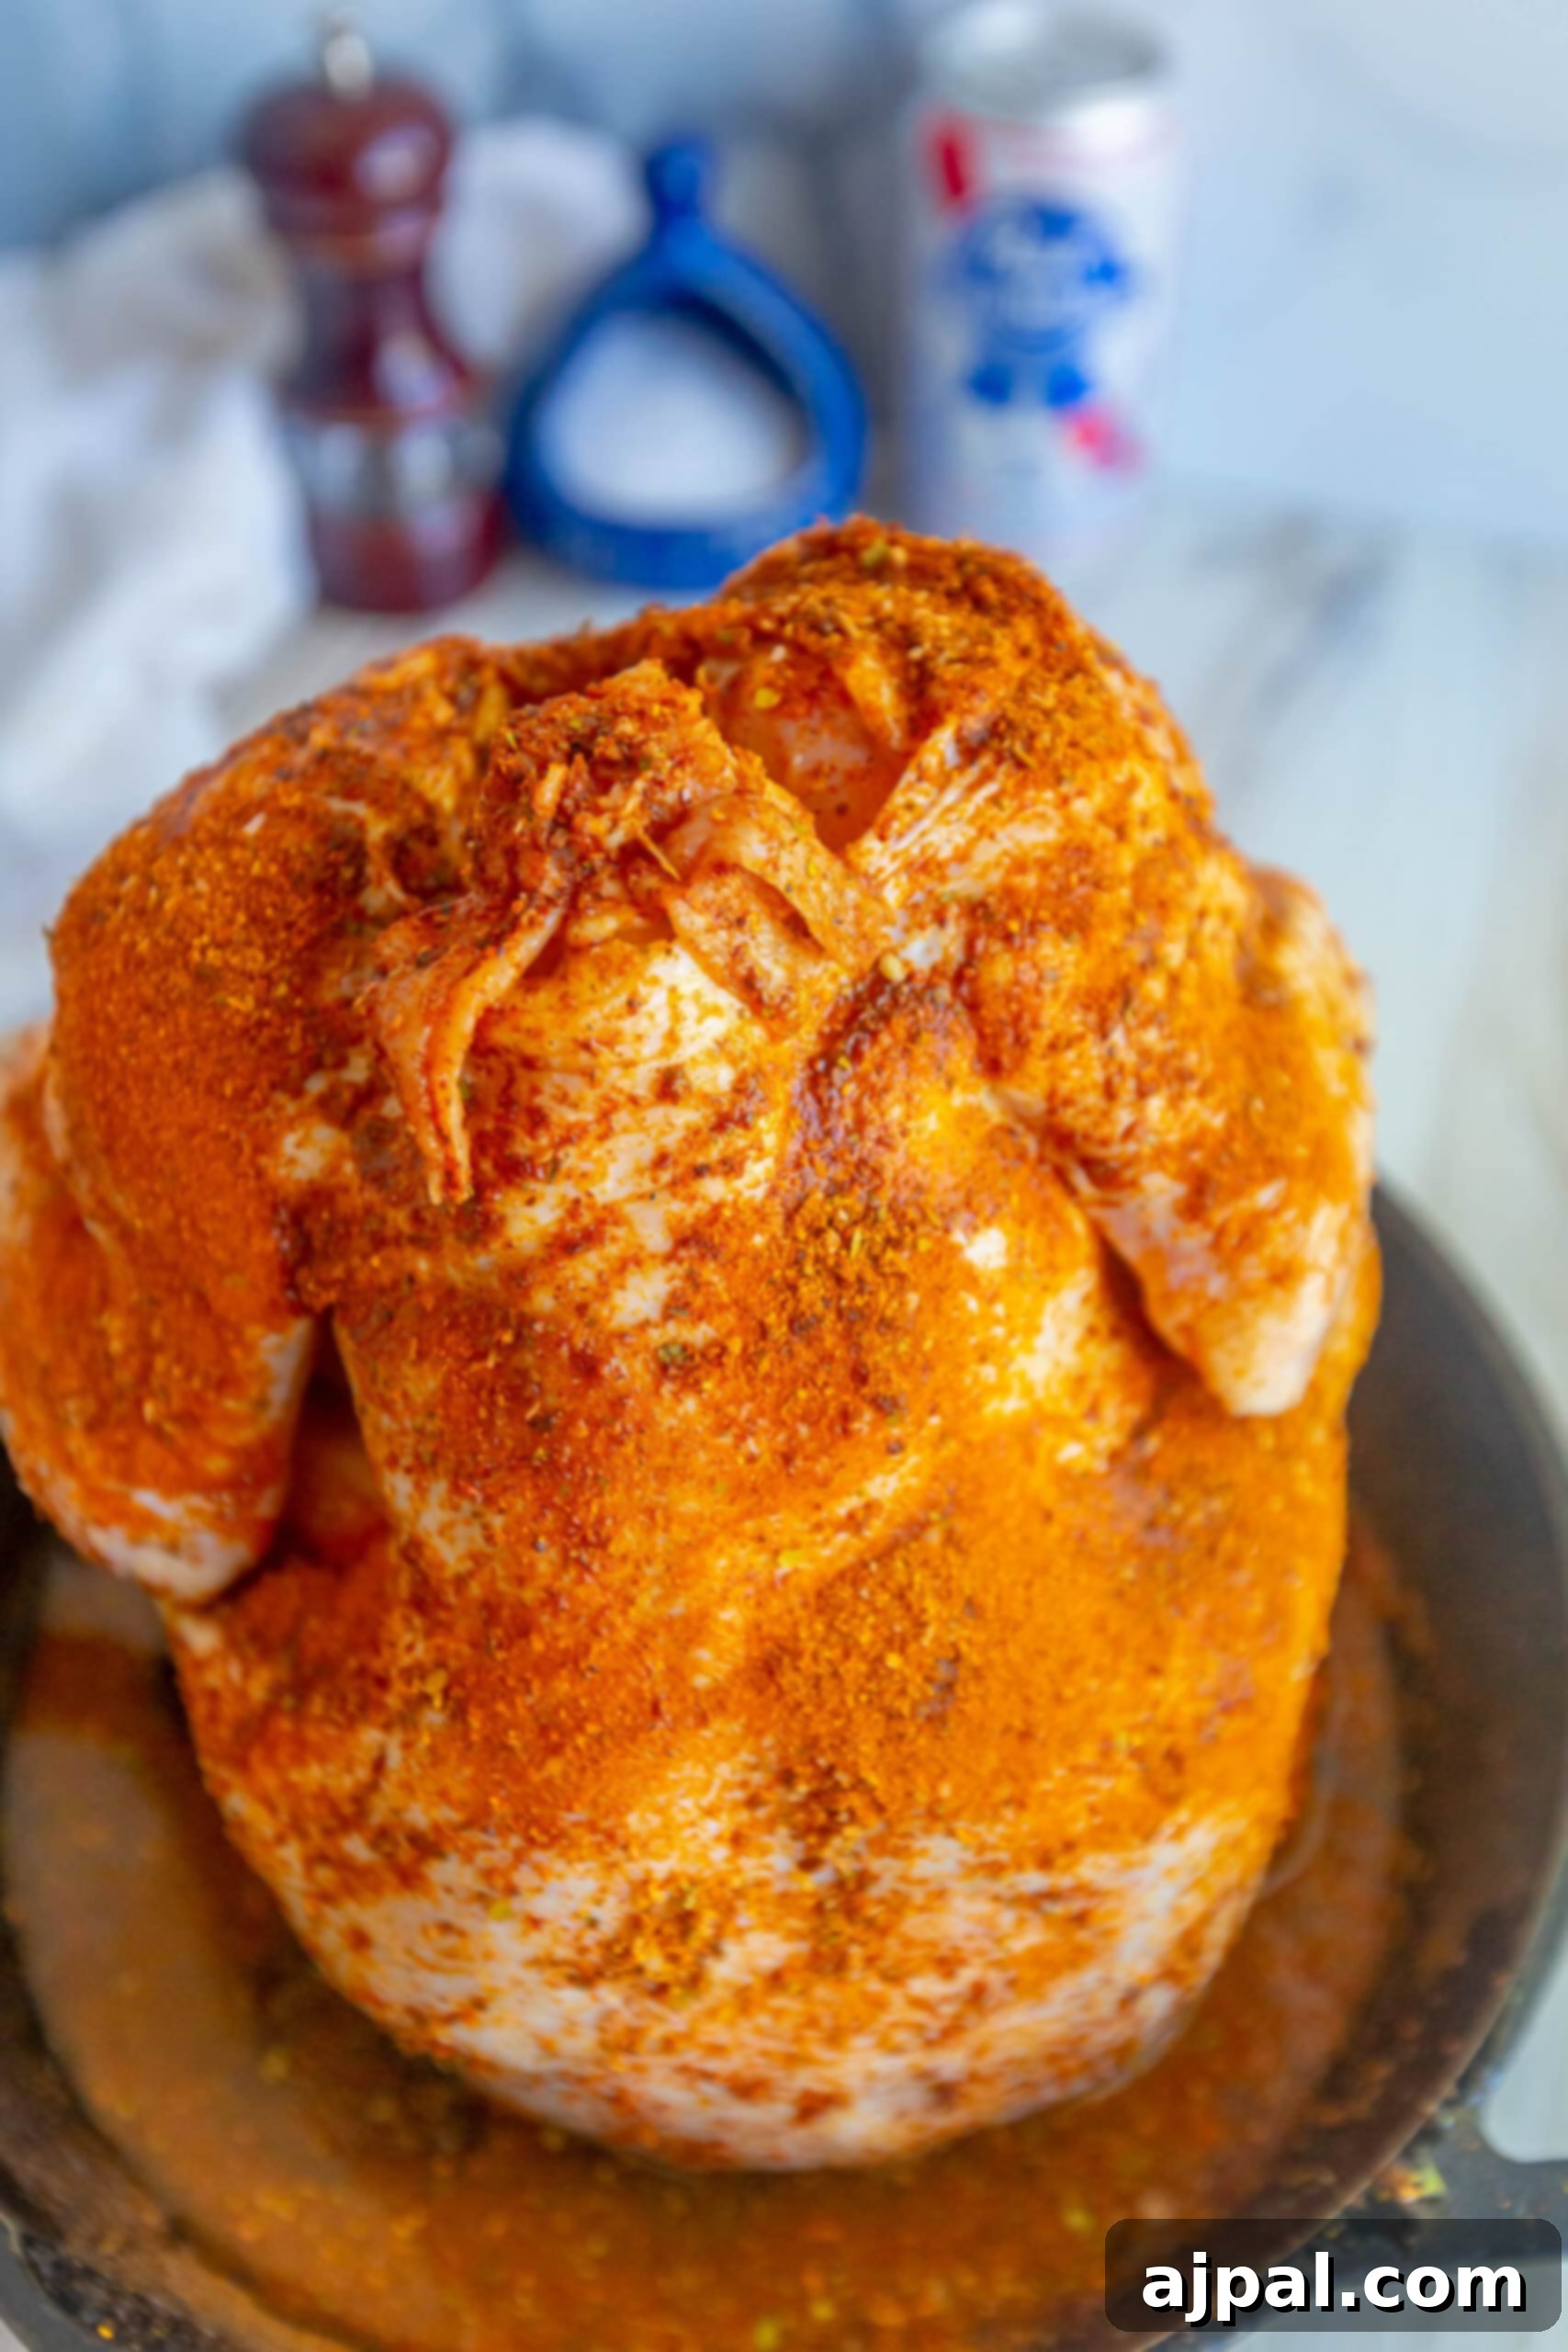
3. Position the Chicken
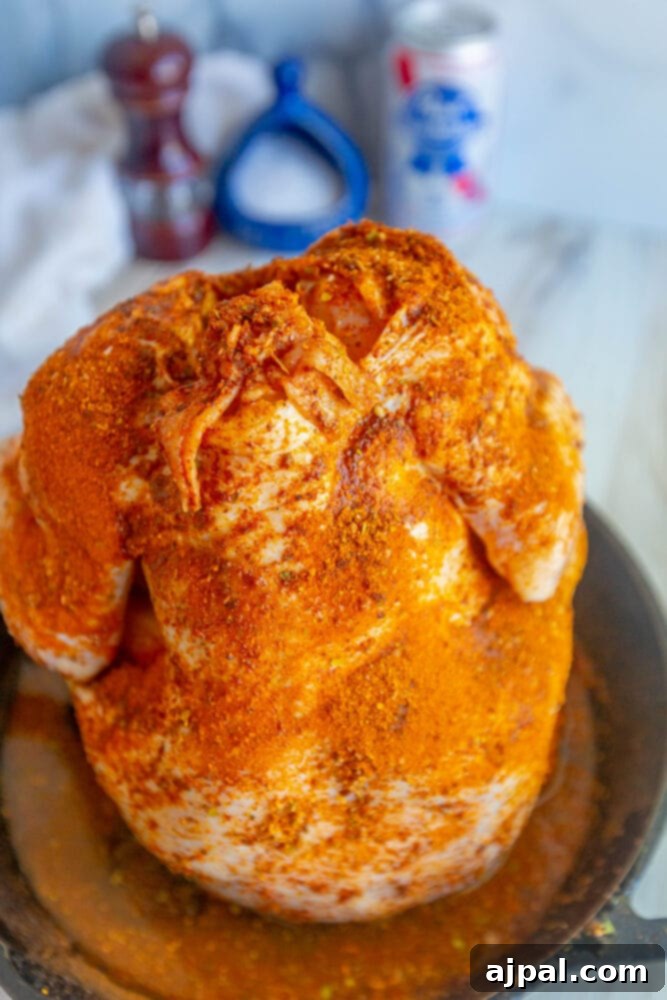
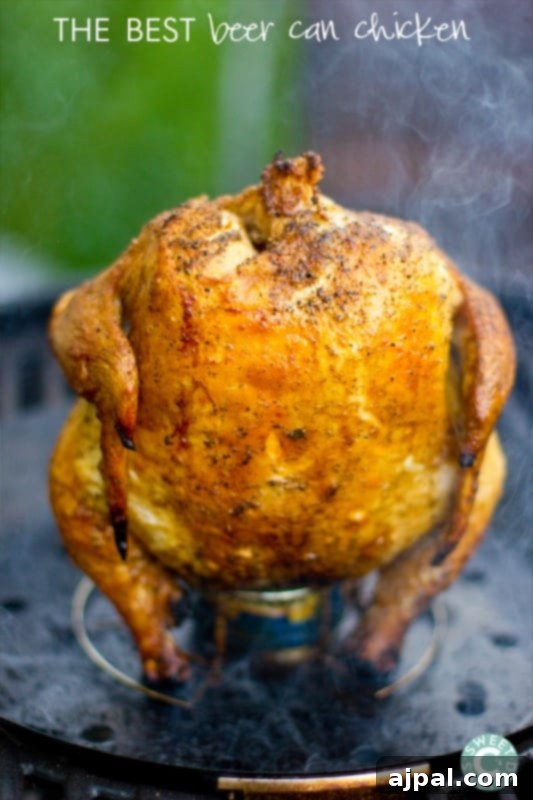
While specialized beer can chicken holders are available, they aren’t strictly necessary. For this recipe, we simply use a sturdy, grill-safe pan like a #6 or #8 cast iron skillet, which is generally small enough to provide stability. Place the prepared beer can upright in the center of your cast iron skillet. Gently lower the whole chicken over the can, inserting the can into the large cavity opening. The bird should sit upright and stable on the can. Once positioned, generously spray the chicken’s exterior with cooking oil, then season it all over with your chosen chicken rub, ensuring an even coating for maximum flavor and crispiness.
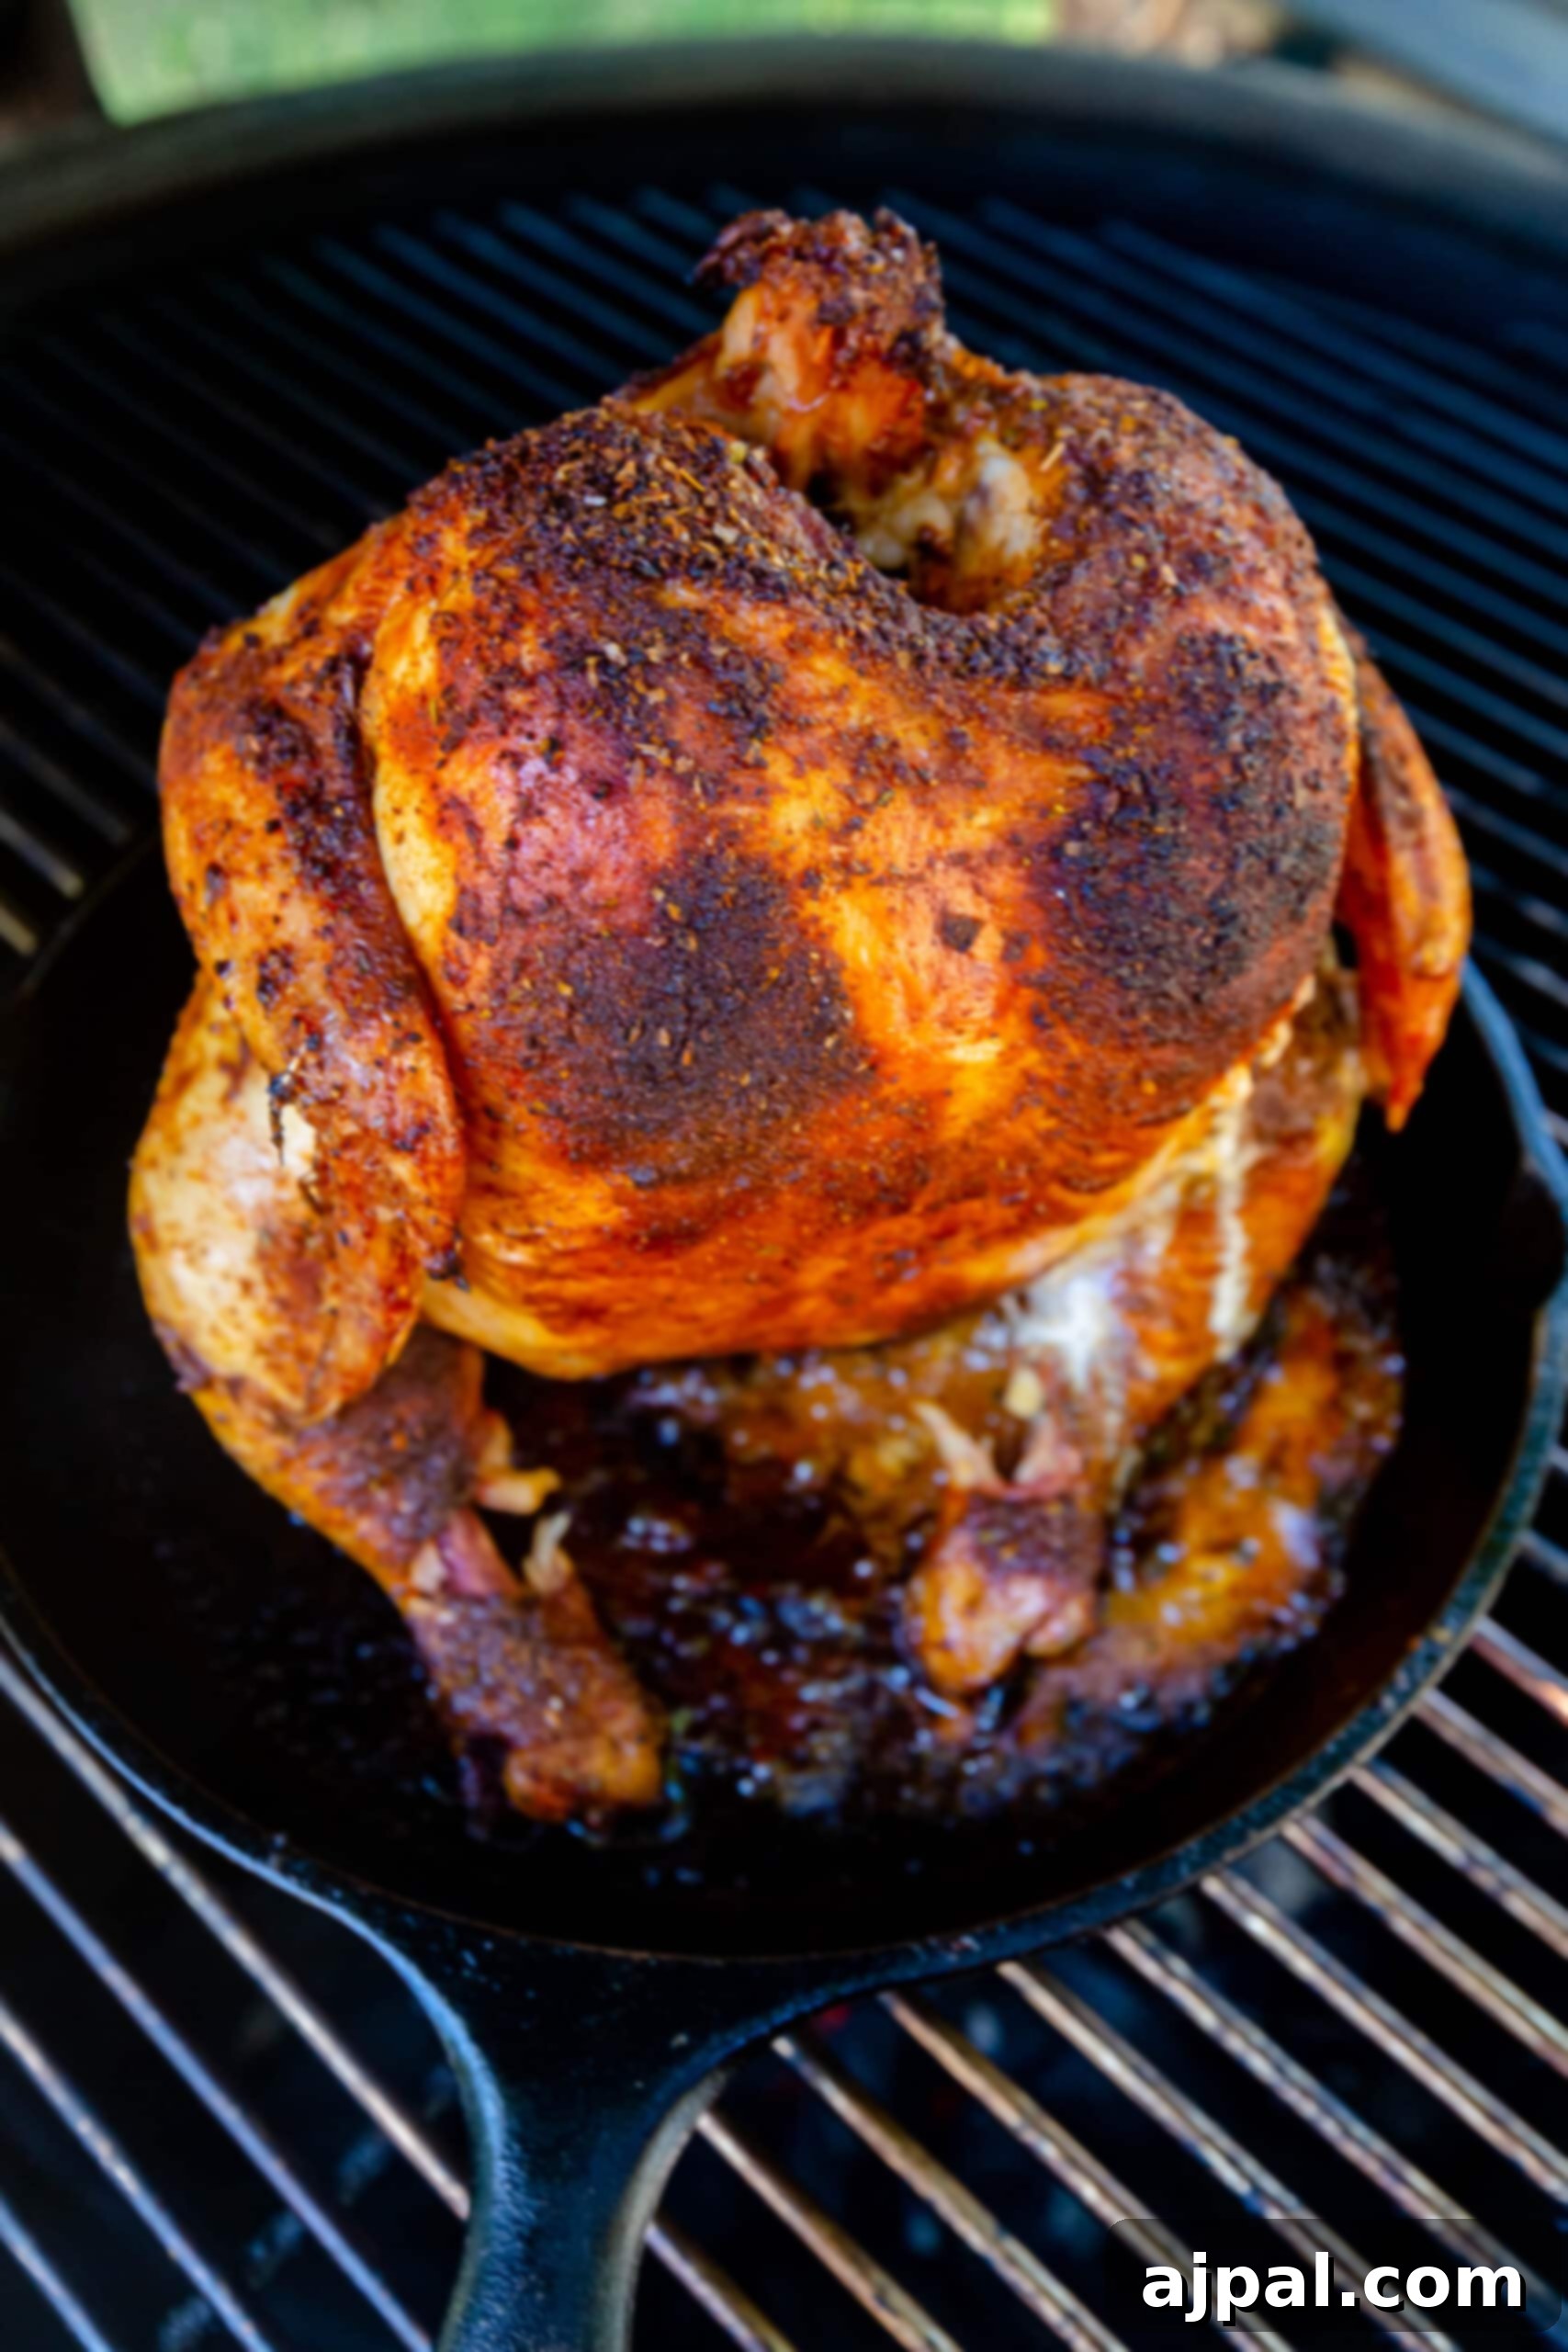
4. Cook the Chicken
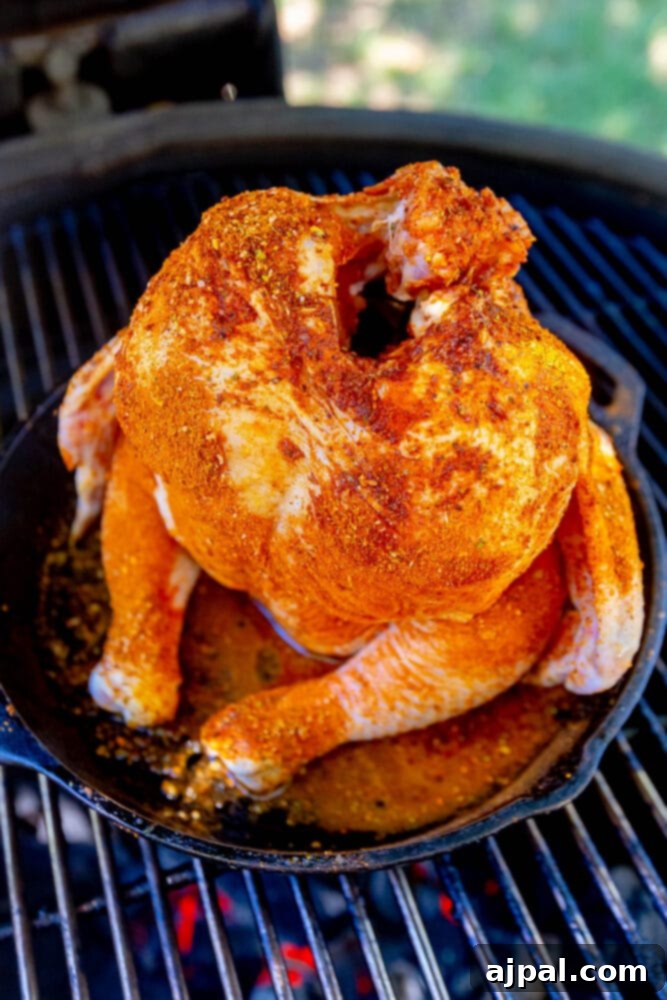
We cooked our chicken on a Kamado-style grill, preheated to a consistent 400°F (200°C) using indirect heat. Adding a few chunks of oak to the charcoal infuses the chicken with a wonderful smoky flavor. If using a gas grill, maintain 400°F and place the chicken over indirect heat. For oven cooking, preheat to 400°F and place the chicken in the center. Approximately every 20-30 minutes during cooking, spritz the chicken with a mixture of the leftover beer diluted with a little water. This helps keep the skin moist and promotes an even, golden-brown crust. The chicken is fully cooked when its internal temperature, measured with a meat thermometer in the thickest part of the thigh (without touching bone), reaches 165°F (74°C). Cooking time will vary based on chicken size, but typically ranges from 1 to 1.5 hours.
5. Rest and Carve the Chicken
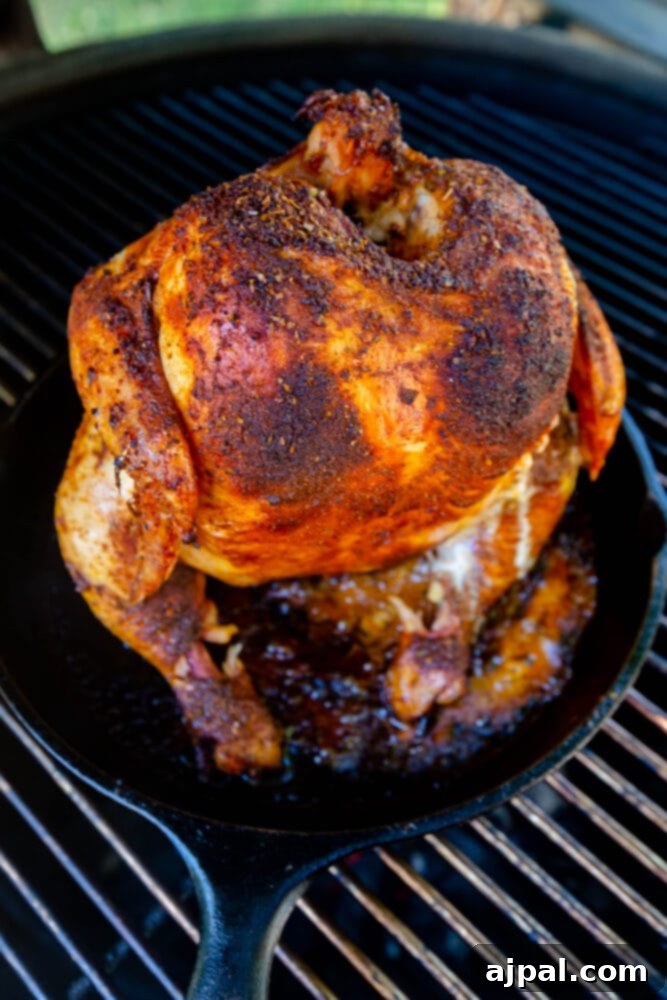
Once your chicken reaches the target internal temperature, remove it from the grill or oven (still on the can and in the skillet) and allow it to rest for a crucial 15-20 minutes. This resting period is vital, as it allows the juices to redistribute throughout the meat, resulting in an incredibly moist and flavorful chicken. Skipping this step can lead to dry meat. After resting, carefully remove the chicken from the beer can, carve it into individual portions, and serve immediately. It’s delicious hot, but also fantastic served cold at a picnic or backyard BBQ.
Expert Tips & FAQs for Your Best Beer Can Chicken
Achieving Beer Can Chicken perfection is easy with a few insider tips and answers to common questions. Elevate your grilling game with these expert insights!
Tips for Success:
- Any Beer Will Do, or Try Alternatives! Don’t feel limited to a classic American lager. Pilsners, IPAs, and wheat beers are excellent choices and will impart their unique characteristics. Fruity beers or sours can introduce bright, unexpected notes, while darker, sweeter beers like Dunkels or porters offer a rich, malty flavor, especially good in cooler weather (just ensure your rub complements these richer profiles). For those avoiding alcohol or looking for different flavors, chicken broth, apple cider, or even lemon-lime soda make fantastic substitutes.
- No Special Equipment Needed: While specialized beer can chicken holders exist to keep the bird upright, they are not essential. A sturdy #6 or #8 cast iron pan works beautifully, providing a stable base and catching any delicious drippings. These pans are perfectly safe for use on gas or charcoal grills, as well as in smokers or ovens.
- Achieving Crispy Skin: The secret to truly crispy skin lies in a few steps. First, ensure your chicken is thoroughly patted dry before applying the rub. Second, generously coat the skin with cooking oil or butter before seasoning. Third, maintain a consistent cooking temperature (around 400°F / 200°C), and avoid opening the grill or oven too frequently, which lowers the temperature. Spritzing with beer/water mixture helps maintain moisture without making the skin soggy.
- Temperature Control is Key: For perfectly cooked chicken, consistent temperature is paramount. If grilling, aim for indirect heat to prevent burning the skin while the inside cooks. Use a reliable grill thermometer, and for the chicken itself, an instant-read meat thermometer inserted into the thickest part of the thigh (avoiding bone) is your best friend.
- Consider a Brine: For an extra layer of moisture and flavor, consider brining your whole chicken for a few hours or overnight before cooking. A simple saltwater brine with herbs can make an already juicy chicken even more succulent. Just be sure to pat it very dry again after brining!
FAQs:
Yes, it is perfectly safe! As the beer heats up inside the chicken and creates steam, the alcohol content largely dissipates into the air, leaving behind only the rich flavor and aromatics. USDA food safety experts confirm that cooking chicken with an aluminum can is safe, provided the chicken reaches a safe internal temperature of 165°F (74°C).
Absolutely! Classic lemon-lime sodas (like Sprite or 7UP) work wonderfully, offering a bright, citrusy note. Darker sodas such as Dr. Pepper or Coca-Cola can also be used, imparting a sweet and slightly spiced flavor. When using Dr. Pepper, consider pairing it with a spicy and sweet rub. For lemon-lime soda, a traditional lemon-sage-garlic rub is an excellent match.
Traditional Beer Can Chicken made with conventional beer is generally not gluten-free, as many mass-produced lagers contain gluten. However, you can easily make this recipe gluten-free by simply using a certified gluten-free beer or opting for one of the beer substitutes mentioned above, such as chicken broth, apple cider, or a gluten-free soda.
Leftover Beer Can Chicken is fantastic! Once cooled, carve any remaining meat from the bones and store it in an airtight container in the refrigerator. It will stay fresh and delicious for up to four days. It’s great for sandwiches, salads, or quick weeknight meals.
The chicken is done when it reaches an internal temperature of 165°F (74°C) in the thickest part of the thigh, without touching the bone. Using an instant-read meat thermometer is the most reliable way to check for doneness and ensure both safety and optimal juiciness.
Serving Suggestions: What Pairs Best with Beer Can Chicken
Beer Can Chicken is a versatile main course that pairs wonderfully with a wide array of side dishes, adapting easily to any season or occasion. Here are some of our favorite recommendations to complete your meal:
- Classic Summer Sides: For a refreshing summer spread, serve your chicken alongside a vibrant coleslaw, a creamy pasta salad, or a hearty potato salad. These cool, crisp, and often tangy sides provide a fantastic contrast to the rich, juicy chicken. Grilled corn on the cob or a simple green salad with a light vinaigrette also make excellent choices.
- Heartier Sides for Cooler Weather: When the weather turns cooler, comfort food sides are perfect. Pair your Beer Can Chicken with crispy roasted potatoes, savory garlic butter potatoes, or a decadent cheesy ranch potato casserole. Creamy mashed potatoes, roasted root vegetables, or even a flavorful risotto can also complement the chicken beautifully.
- Quick & Easy Options: If you’re looking for simple yet delicious accompaniments, consider steamed green beans with a hint of garlic, quick sautéed asparagus, or a fresh tomato and cucumber salad. The goal is to balance the rich chicken with sides that offer texture, freshness, or complementary flavors without overpowering the star of the meal.
Discover more of our top-rated easy side dishes to find the perfect pairing for your Beer Can Chicken:
Loaded Twice Baked Potatoes
Homemade French Fries in Air Fryer
Creamy Garlic Butter Beans
Best Easy Pasta Salad
If you loved this easy and delicious Beer Can Chicken recipe, please consider leaving a five-star rating and a comment below! We love hearing your feedback and seeing your culinary creations. Don’t forget to share your photos on Instagram, Facebook, and Pinterest, tagging us so we can celebrate your success!
Share on Facebook
Share on Facebook
Pin this now to find it later
Pin It on Pinterest
Follow on Instagram
Follow on Instagram
Only have 30 minutes to get dinner on the table? Sign up for our 30-minute dinner plans direct to your inbox!
Find and shop our favorite products in our Amazon storefront here!
Beer Can Chicken Recipe
An incredibly easy Beer Can Grilled Chicken recipe that consistently produces tender, juicy, and moist chicken with a wonderfully crispy skin every single time! Perfect for any barbecue or family meal.
By: Courtney O’Dell
Servings: 1 chicken (serves 3-5 people)
Prep time: 15 minutes
Cook time: 45-60 minutes
Total time: 1 hour 15 minutes
Email Recipe
Print Recipe
Equipment
- Dizzy Pig Peruvian-ish Seasoning Spice and Dry Rub (Optional, or your favorite chicken rub)
- Beer Can Chicken Holder (Optional, or a cast iron pan)
- Cast Iron Skillet (#6 or #8 recommended)
- Kamado-style Grill or any suitable grill/oven
- Meat Thermometer
Ingredients
- One whole roaster chicken (2.5 – 5 lbs)
- 1 can beer (e.g., American lager, pilsner, or a non-alcoholic substitute like broth or cider)
- 2 tablespoons chicken rub (e.g., Dizzy Pig Peruvian-ish or your favorite blend of thyme, sage, garlic powder, paprika, etc.)
- Salt and Pepper, to taste
- 1 lemon, sliced (for aroma)
- 2-3 cloves garlic, peeled (optional, for aroma)
- Cooking oil spray
- Water (for spritzing)
Instructions
- Remove your chicken from its packaging, rinse thoroughly with cold water, and pat completely dry with paper towels. Check the body cavity for giblets or the neck and remove them.
- Open your can of beer and pour out ¼ to ½ of the can into a cup. Save this for spritzing.
- Using a sharp knife, kitchen shears, or a can opener, carefully cut open the entire top of the beer can. Into the can, place 2-3 slices of lemon and a couple of peeled garlic cloves, along with a dash or two of your chicken rub.
- Place the opened can of beer in the middle of a sturdy #6 or #8 cast iron skillet (or a dedicated beer can chicken holder if using). Gently lower the whole chicken over the can, inserting the can into the large cavity opening. The bird should sit upright and stable.
- Once the chicken is in place, generously spray the entire exterior with cooking oil, then season it all over with your chosen chicken rub, along with additional salt and pepper to taste.
- Preheat your grill (Kamado-style, gas, or charcoal) or oven to 400°F (200°C). If grilling, set it up for indirect heat. If using a charcoal grill, consider adding a few chunks of oak or other wood for smoke flavor.
- Place the skillet with the chicken on the grill grate (over indirect heat) or in the preheated oven.
- Approximately every 20-30 minutes, spritz the chicken with a mixture of the leftover beer and a little water (to thin it out). This helps keep the skin moist and promotes a beautiful crust.
- Cook the chicken until its internal temperature, measured in the thickest part of the thigh (avoiding bone), reaches 165°F (74°C). Cooking time will typically range from 45 minutes to 1.5 hours, depending on the chicken’s size and your cooking method.
- Once cooked, carefully remove the chicken (still on the can and in the skillet) from the heat source. Allow it to rest for a critical 15-20 minutes to ensure the juices redistribute throughout the meat, resulting in maximum tenderness and flavor.
- After resting, carefully remove the chicken from the beer can. Carve it into individual portions.
- Serve hot, or enjoy cold at a picnic or backyard BBQ!
Nutrition
Serving Size: 1g | Calories: 101kcal | Carbohydrates: 5g | Protein: 7g | Fat: 3g | Saturated Fat: 1g | Polyunsaturated Fat: 2g | Cholesterol: 24mg | Sodium: 96mg | Fiber: 1g | Sugar: 1g
Nutrition information is automatically calculated and should only be used as an approximation.
Additional Info
Course: Main Dishes
Cuisine: American