
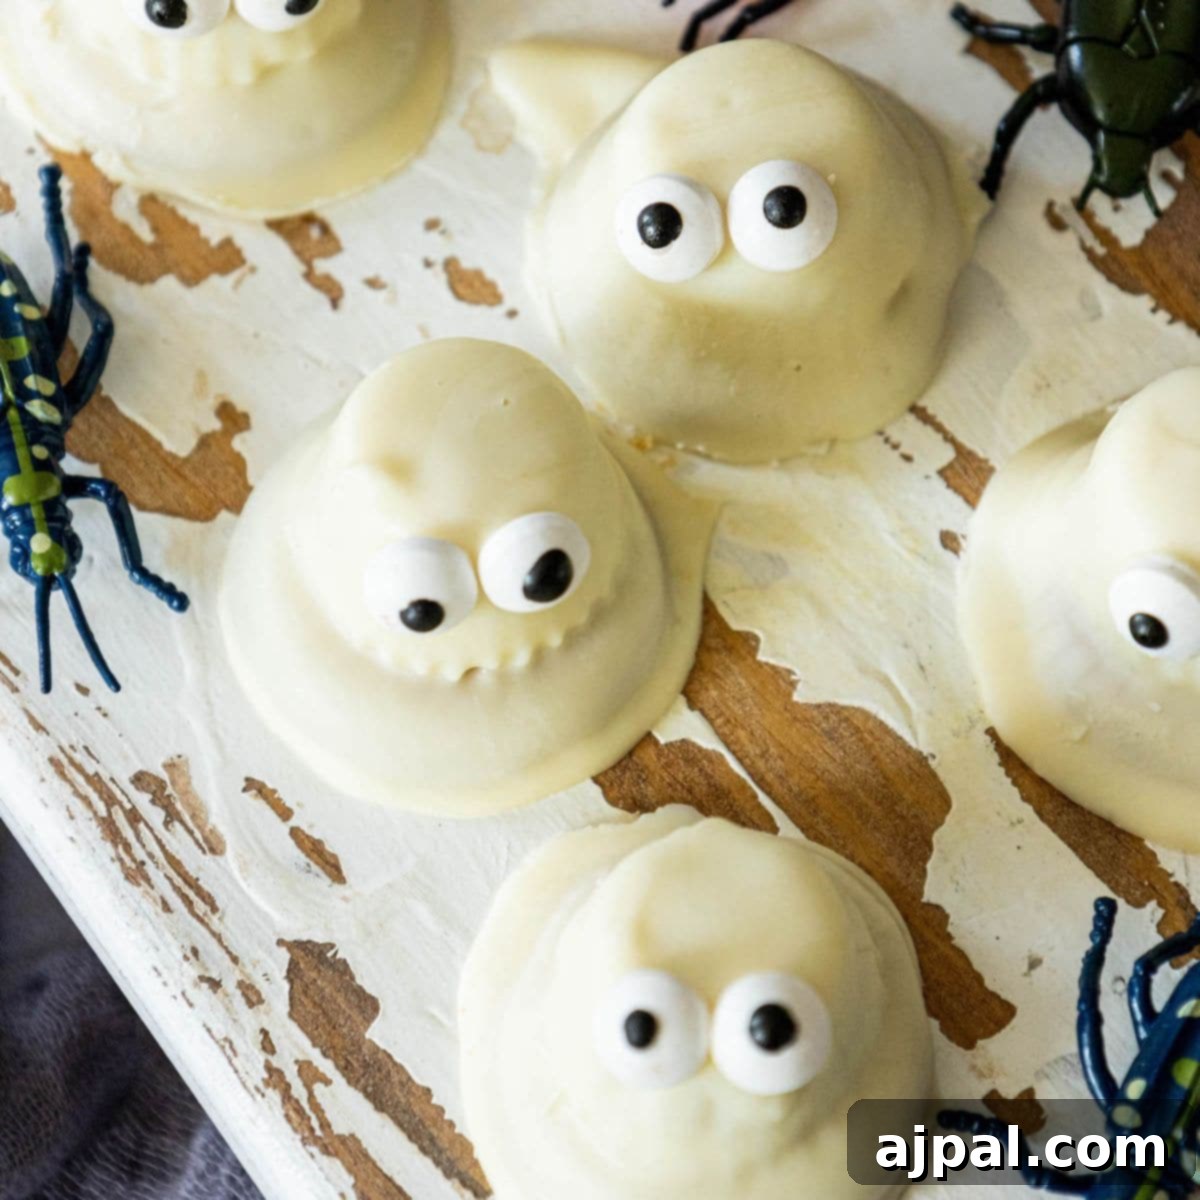
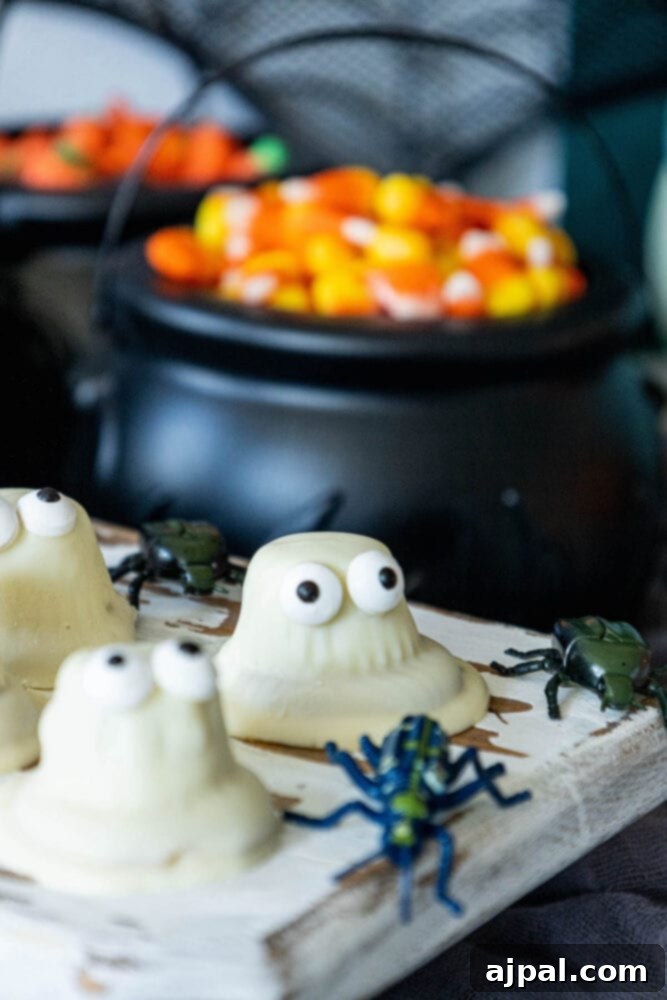
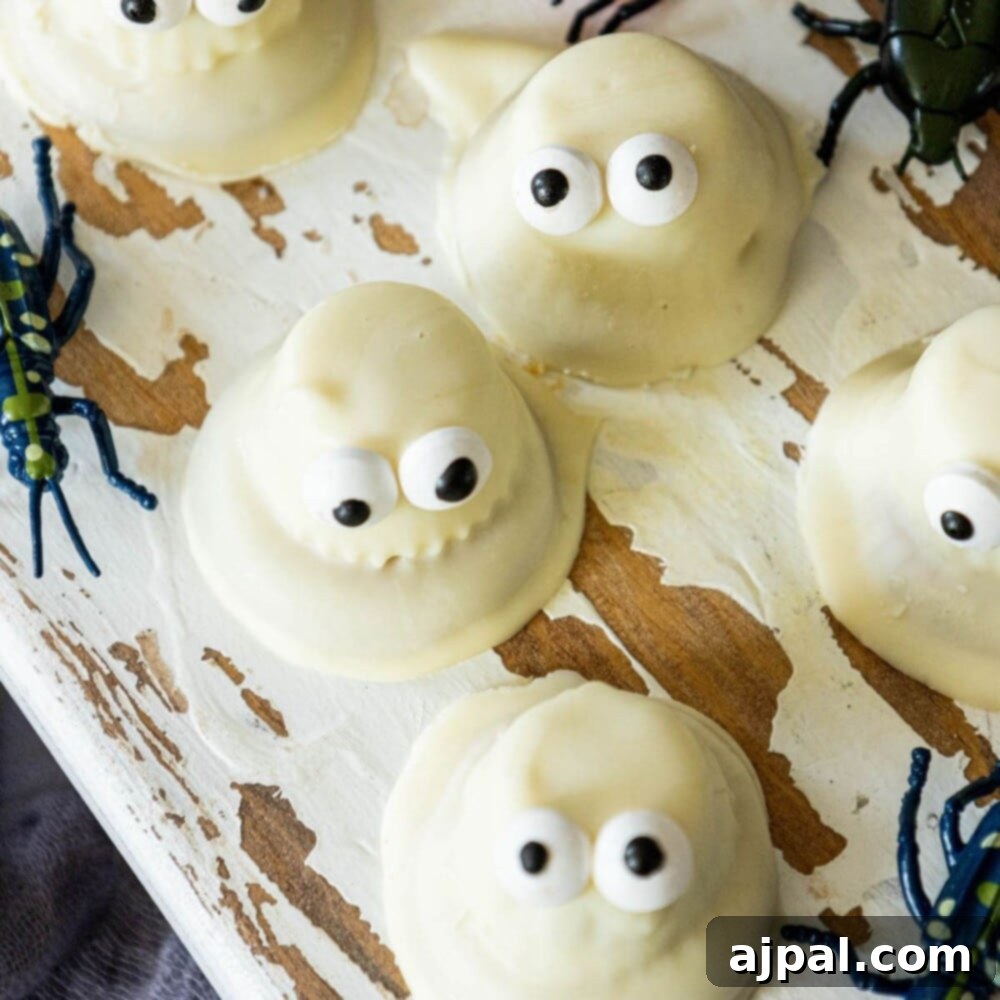
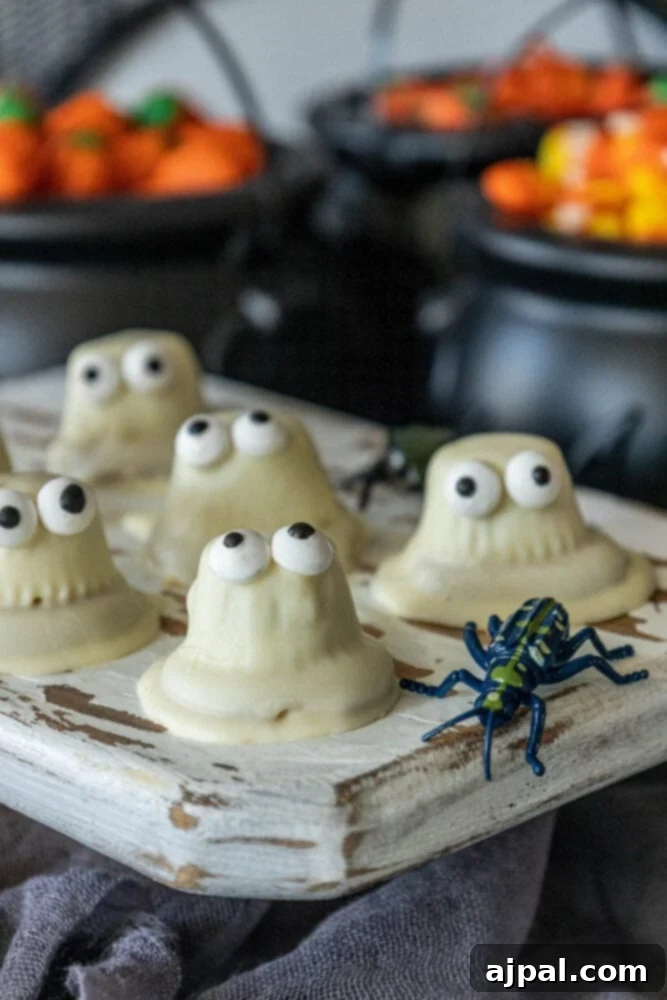
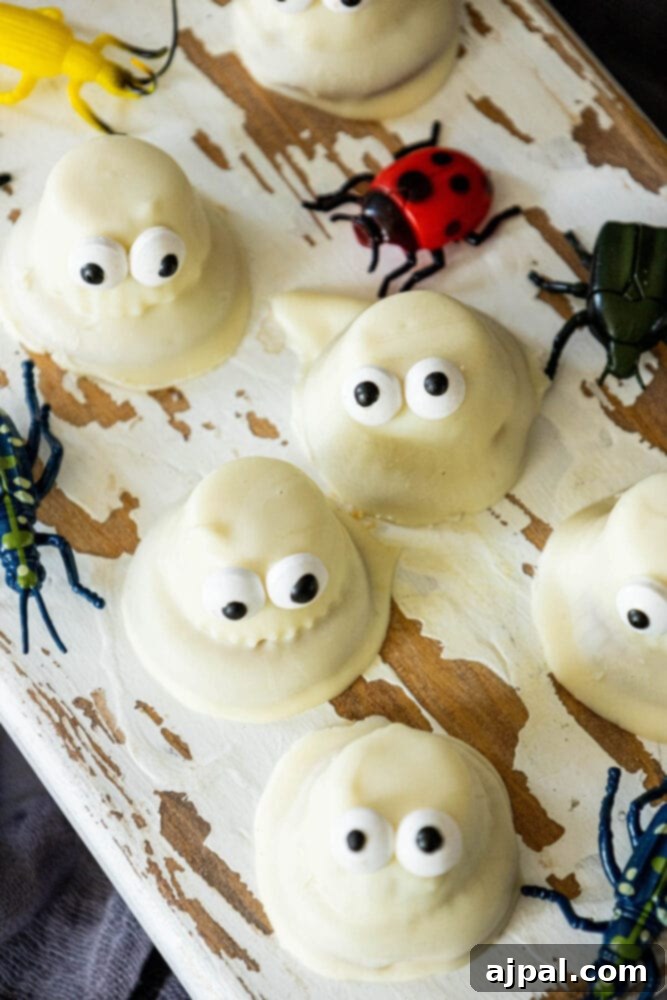
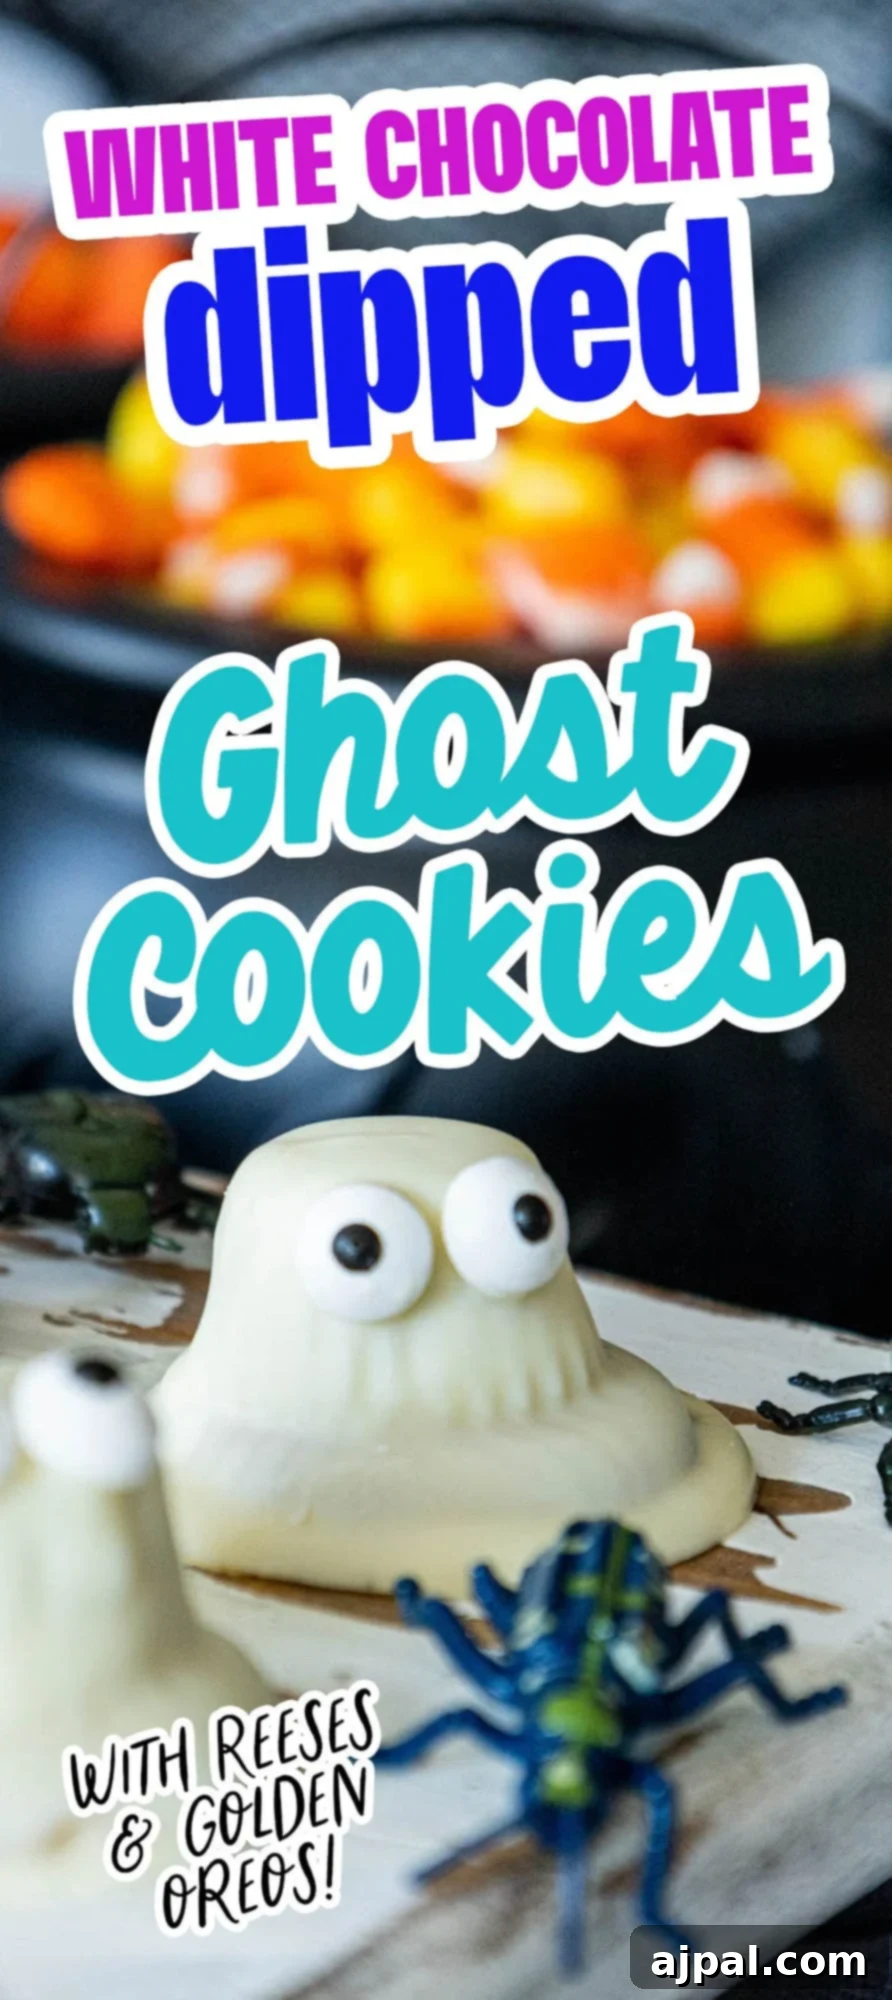
Get ready to summon some delightful spirits this Halloween with these incredibly easy and utterly adorable white chocolate-dipped ghost cookies! Perfect for family fun, school parties, or simply adding a touch of spooky charm to your autumn evenings, these treats are a guaranteed hit with kids and adults alike. Forget complicated baking projects; this no-bake recipe transforms everyday ingredients into enchanting ghostly figures, making it an ideal activity for even the littlest hands in the kitchen. Imagine the joy of creating these cute confectionery specters, complete with googly eyes, ready to bring smiles and sweet memories to your Halloween festivities. Dive into the festive spirit and prepare to create some edible magic!
For those eager to jump straight into the recipe, a convenient “skip to recipe” link is available at the top of the page. Alternatively, you can navigate effortlessly through this guide using the clickable table of contents provided just below.
As an enthusiastic home cook with a passion for simplifying delicious dishes, my aim is always to demystify the cooking process. I believe that understanding the ‘why’ behind each step and the role of every ingredient empowers cooks of all skill levels. This recipe is crafted with that philosophy in mind, ensuring that even novice bakers can confidently create impressive Halloween treats and feel a true sense of accomplishment in their kitchen adventures.
Table of Contents
- How To Make Dipped Ghost Cookies
- Dipped Ghost Cookies Ingredients
- Steps to Make Easy Ghost Cookies
- Tips and Tricks to Perfect Dipped Ghost Cookies
- Dipped Ghost Cookies FAQ’s
How To Make Dipped Ghost Cookies: A Spooktacular Treat for Halloween
Halloween is truly a magical time of year, filled with enchanting decorations, costume parties, and, of course, delicious treats! Among our family’s cherished traditions, these adorable ghost cookies hold a special place. They’re more than just a dessert; they’re an integral part of our annual spooky celebrations, always bringing a burst of excitement and flavor to the festive air. Their charming appearance makes them a fantastic centerpiece for any Halloween spread, and their simple preparation means less stress for you and more fun for everyone.
One of the best aspects of this recipe is its accessibility for budding chefs. While many recipes can be daunting for young children, these white chocolate ghosts are perfectly suited for little hands. Kids absolutely love being involved in the kitchen, and this recipe allows them to assemble and decorate their very own spooky creations. Watching their faces light up as they carefully place the edible eyes is a joy in itself. Just be prepared: if your children take the reins on decorating, your cookies might end up with an abundance of googly eyes, giving each ghost a unique and extra-playful personality!
Essential Ingredients for Your Dipped Ghost Cookies
Crafting these ghostly delights requires just a few simple ingredients, each playing a crucial role in both flavor and appearance. Here’s what you’ll need to gather:
- Golden Oreos: These cookies form the foundational body of our ghosts. Their light, vanilla-flavored sandwich cookie base is ideal because it provides a neutral canvas for the white candy coating. The crisp texture of the Oreo complements the smooth chocolate dip beautifully, offering a delightful crunch with every bite. While you could technically use regular chocolate Oreos, the dark color would require much thicker layers of white coating to achieve that signature ghostly pallor, potentially making the cookies overly sweet or difficult to handle. Nilla Wafers can also serve as a excellent alternative if you prefer a simpler, less intense cookie base.
- White Chocolate Peanut Butter Cups: These are ingeniously used as the “head” of our friendly ghosts. Placed upside down on top of the Golden Oreos, they create a distinct, rounded head shape that makes our ghosts instantly recognizable. Beyond their structural contribution, they introduce a creamy, rich peanut butter flavor that pairs wonderfully with the white chocolate coating, adding an unexpected and delightful surprise inside each ghost. If white chocolate peanut butter cups are hard to find, traditional milk chocolate peanut butter cups can be substituted, but you might need a slightly thicker coating of white chocolate to conceal their dark color completely.
- White Chocolate Candy Coating: This is the magic ingredient that transforms our cookies and peanut butter cups into spectral figures. Unlike regular white chocolate, candy coating (often found as “candy melts” or “confectionery coating”) is designed to melt smoothly and set quickly with a beautiful, glossy finish, making it perfect for dipping. It creates that perfectly opaque white shell, giving your ghosts their iconic color and a pleasant, sweet taste. The ease of working with candy coating means less frustration and a more polished result for your Halloween treats.
- Edible Eyeballs: No ghost is complete without a pair of expressive eyes! These fun, edible decorations bring our ghosts to life, adding a playful and slightly eerie touch. They come in various sizes, allowing you to customize the look of your spooky creations. If edible eyeballs aren’t available at your local store, don’t despair! A simple alternative is to use mini chocolate chips, M&Ms, or even dots of black icing (made from a tiny bit of melted dark chocolate or black food coloring mixed with white icing) to create the eyes.
Simple Steps to Create Your Easy Ghost Cookies
Once you’ve gathered all your ingredients, the assembly process for these delightful ghost cookies is remarkably straightforward and fun. Follow these easy steps to bring your spooky treats to life:
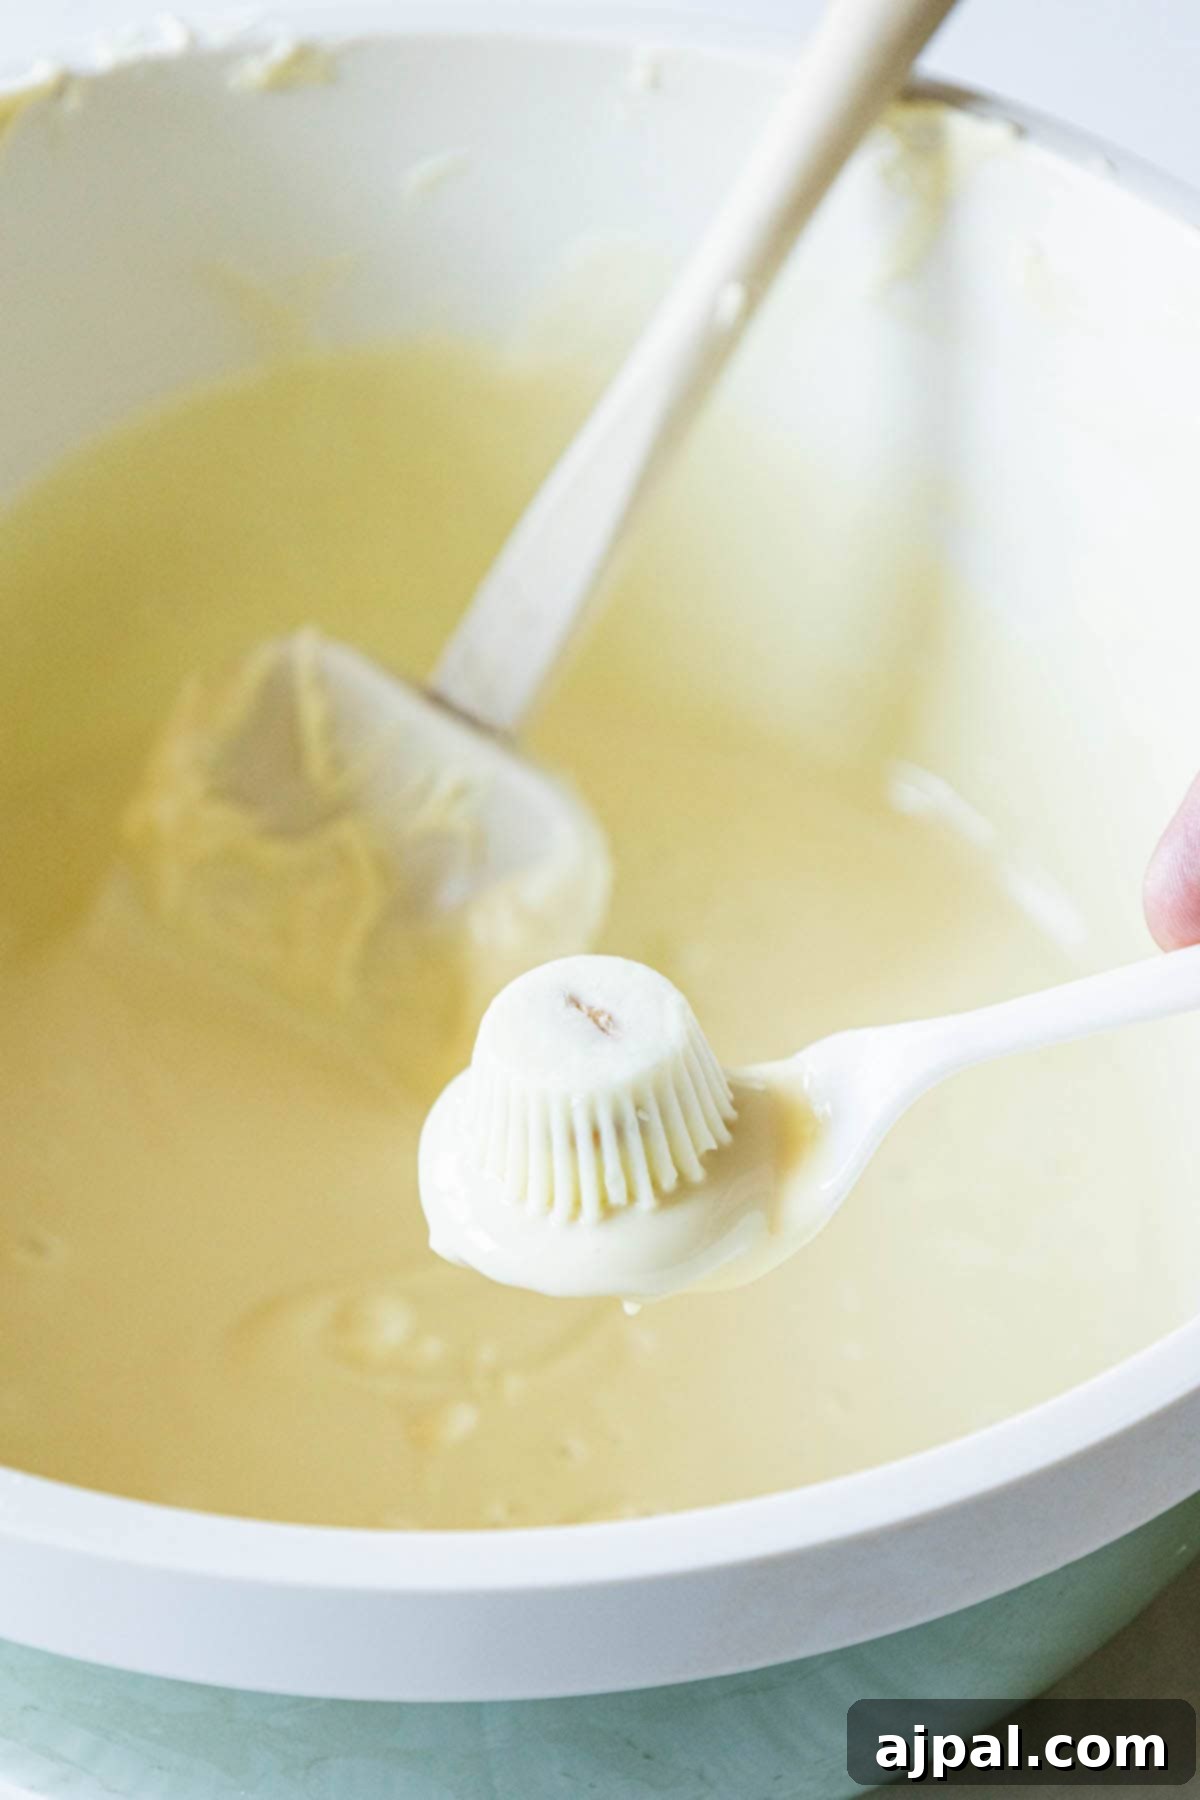
Step 1: Prepare Your Workspace
Begin by lining a baking tray or cookie sheet with a sheet of parchment paper. This will provide a non-stick surface for your dipped cookies and make cleanup incredibly easy. Next, carefully melt your white chocolate candy coating. Place the candy coating into a microwave-safe bowl and heat it in 30-second intervals, stirring thoroughly after each interval, until the chocolate is completely smooth and free of lumps. Be careful not to overheat the chocolate, as it can seize and become unusable. Now, take a Golden Oreo and gently place it on a spoon. Then, position a white chocolate peanut butter cup upside down on top of the Oreo. This forms the base and head of your ghost structure.
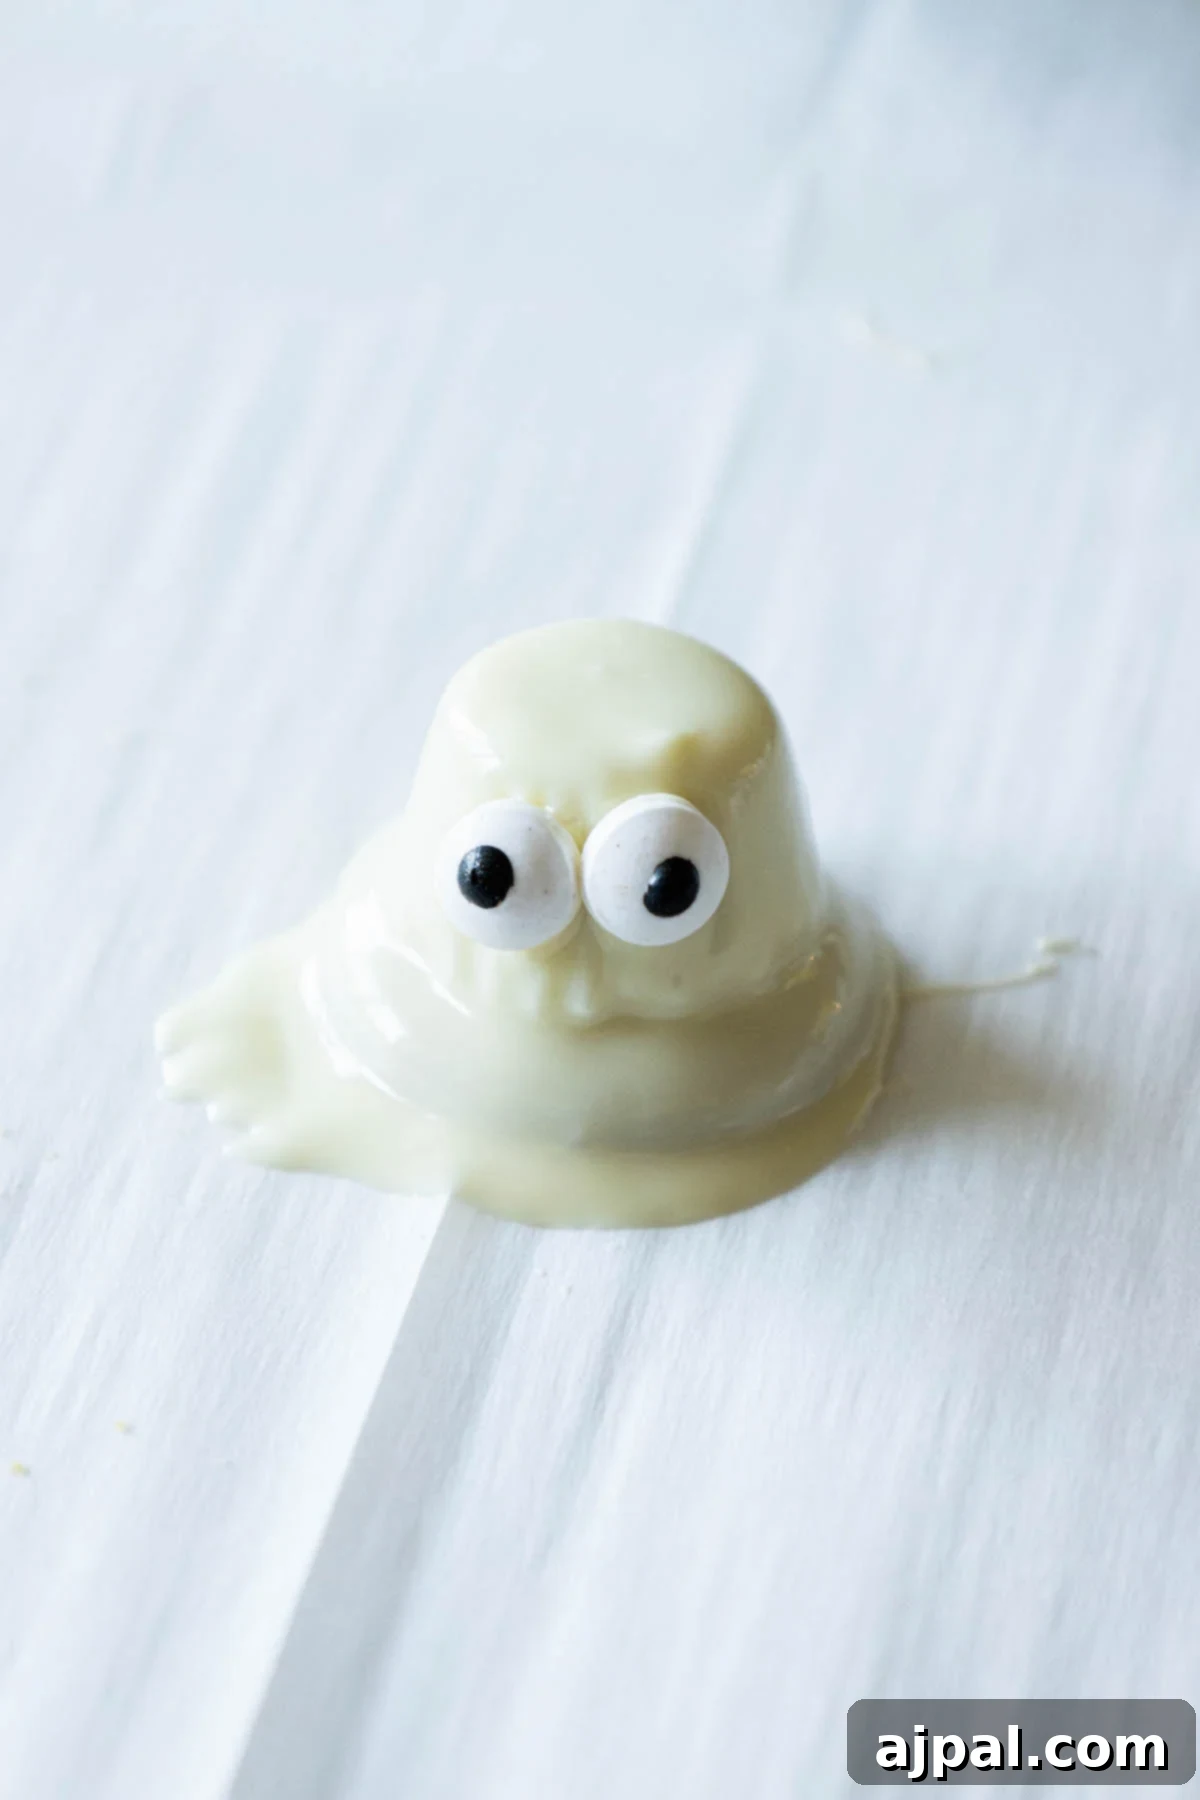
Step 2: Dip and Decorate
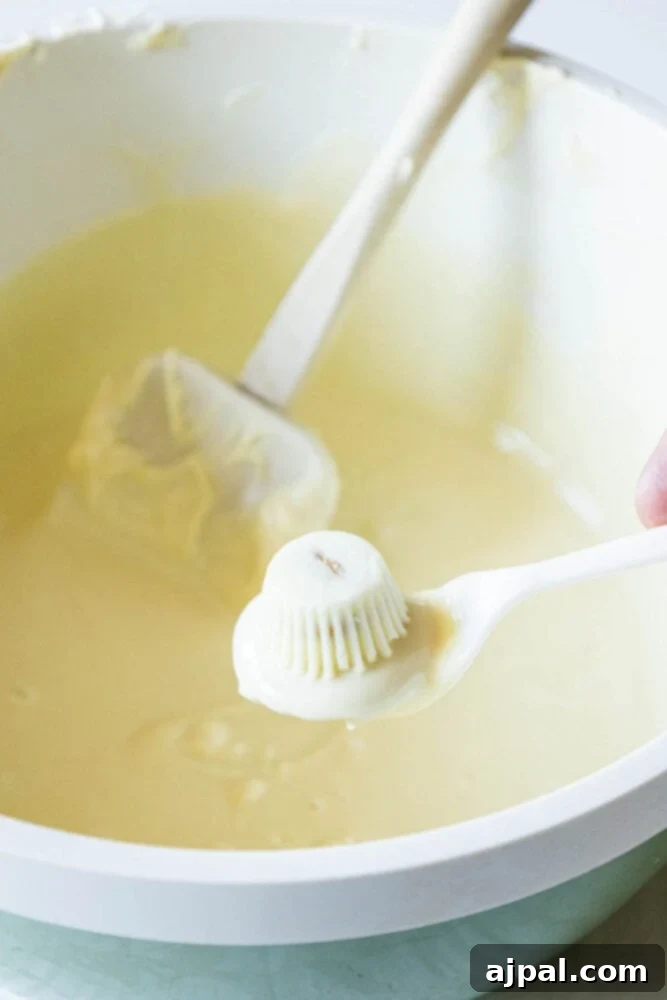
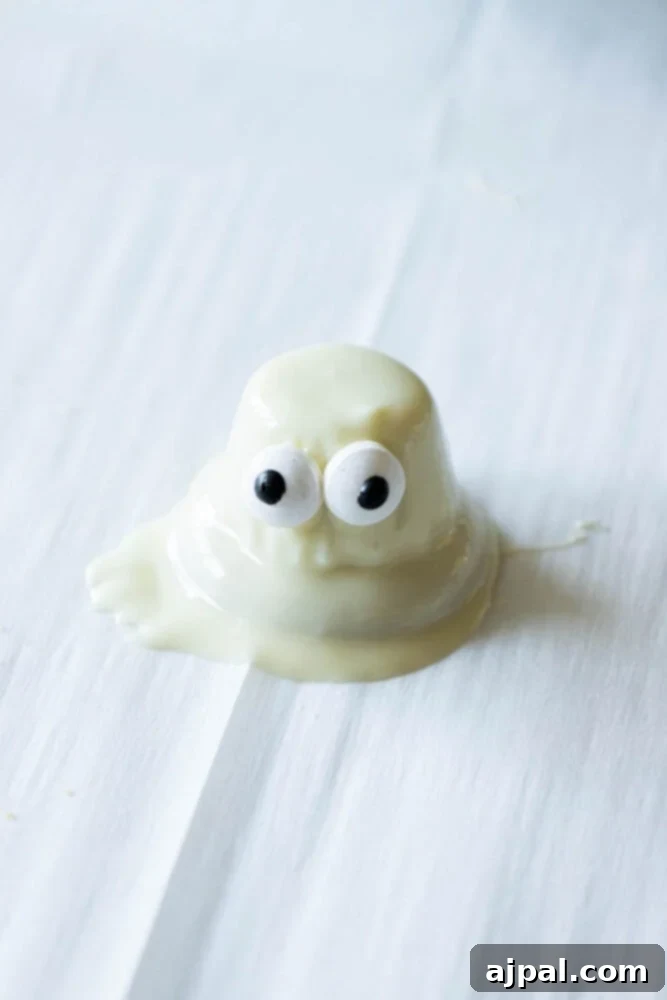
With your Oreo and peanut butter cup assembly on the spoon, hold it carefully over the bowl of melted white chocolate. Using a second spoon or a small ladle, pour the smooth white chocolate coating evenly over the entire cookie and peanut butter cup combination. Ensure that the entire surface is covered, creating a seamless white ‘ghost’ shell. As soon as the cookie is fully coated and still wet, gently transfer it to the prepared parchment paper on the baking tray. Immediately, before the chocolate sets, place two edible candy eyeballs onto the upper portion of the ghost, creating its adorable, spooky face. The wet chocolate will act as a natural adhesive for the eyes.
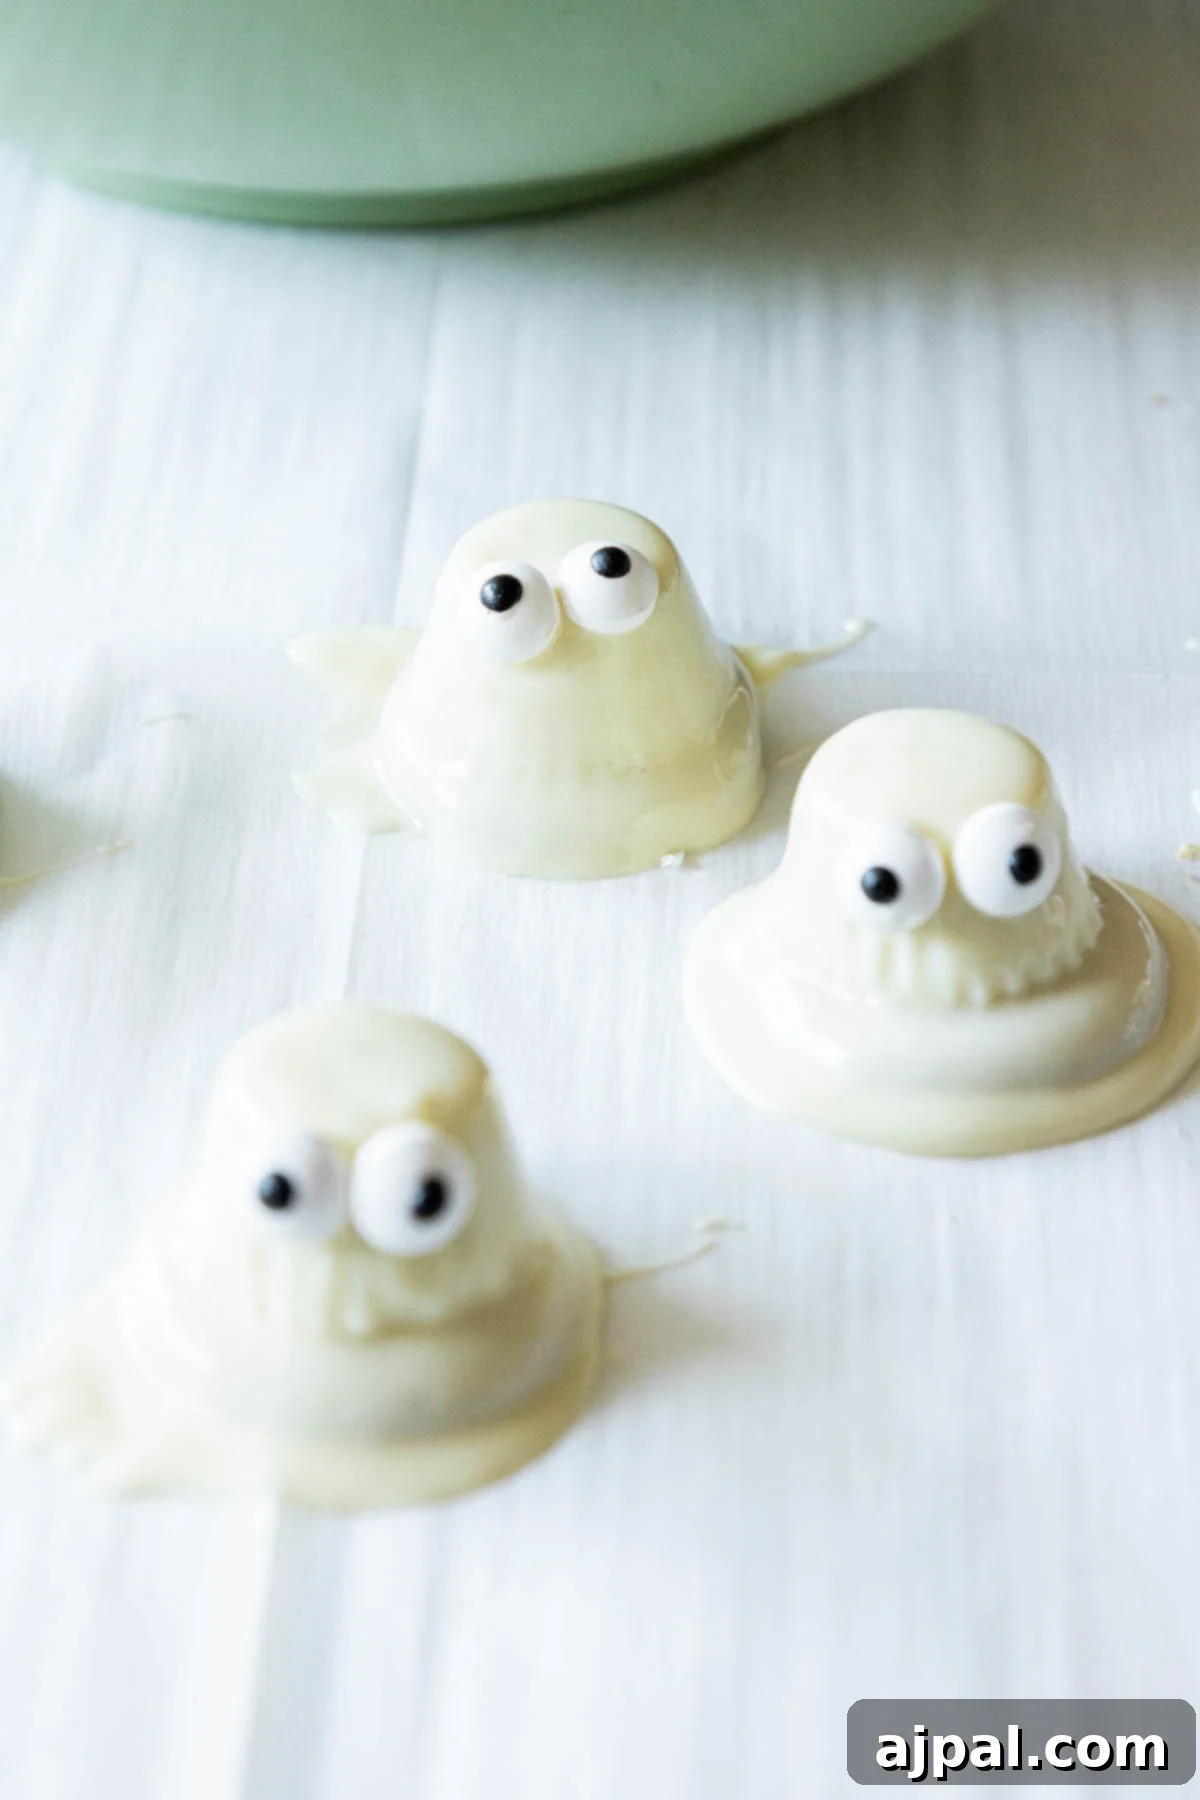
Step 3: Allow to Set
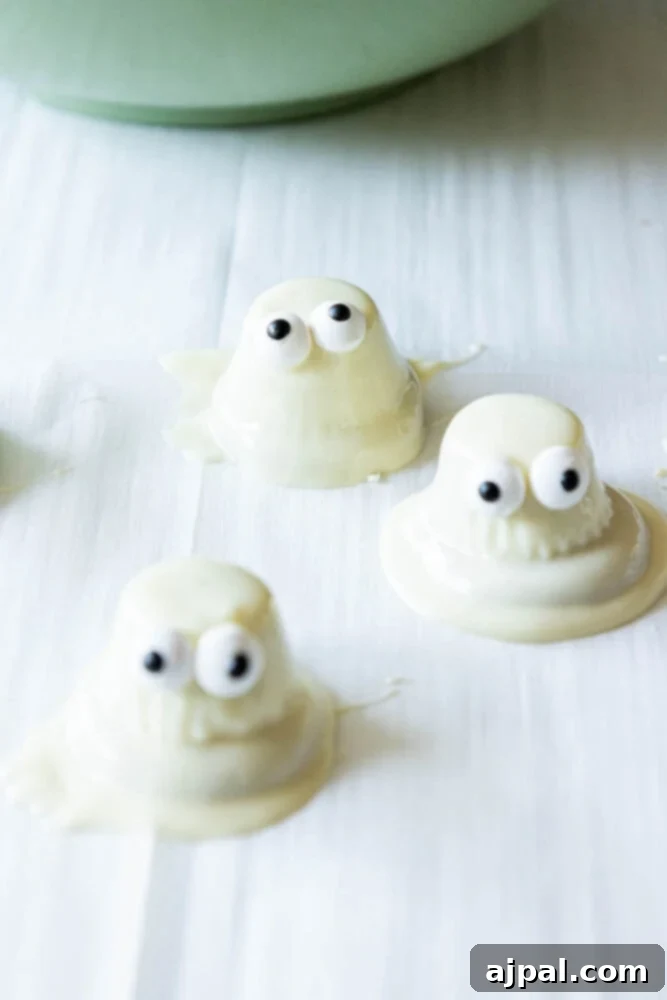
Once all your ghostly cookies are dipped and adorned with eyes, carefully transfer the baking tray to the freezer. Allow them to chill for at least 10 minutes. This quick chill time is essential for the white chocolate coating to firm up completely, ensuring that your ghosts hold their shape and have a satisfying snap when bitten. After 10 minutes, they will be perfectly set and ready to be enjoyed! These simple steps allow you to create a batch of delightful Halloween treats with minimal effort and maximum fun.
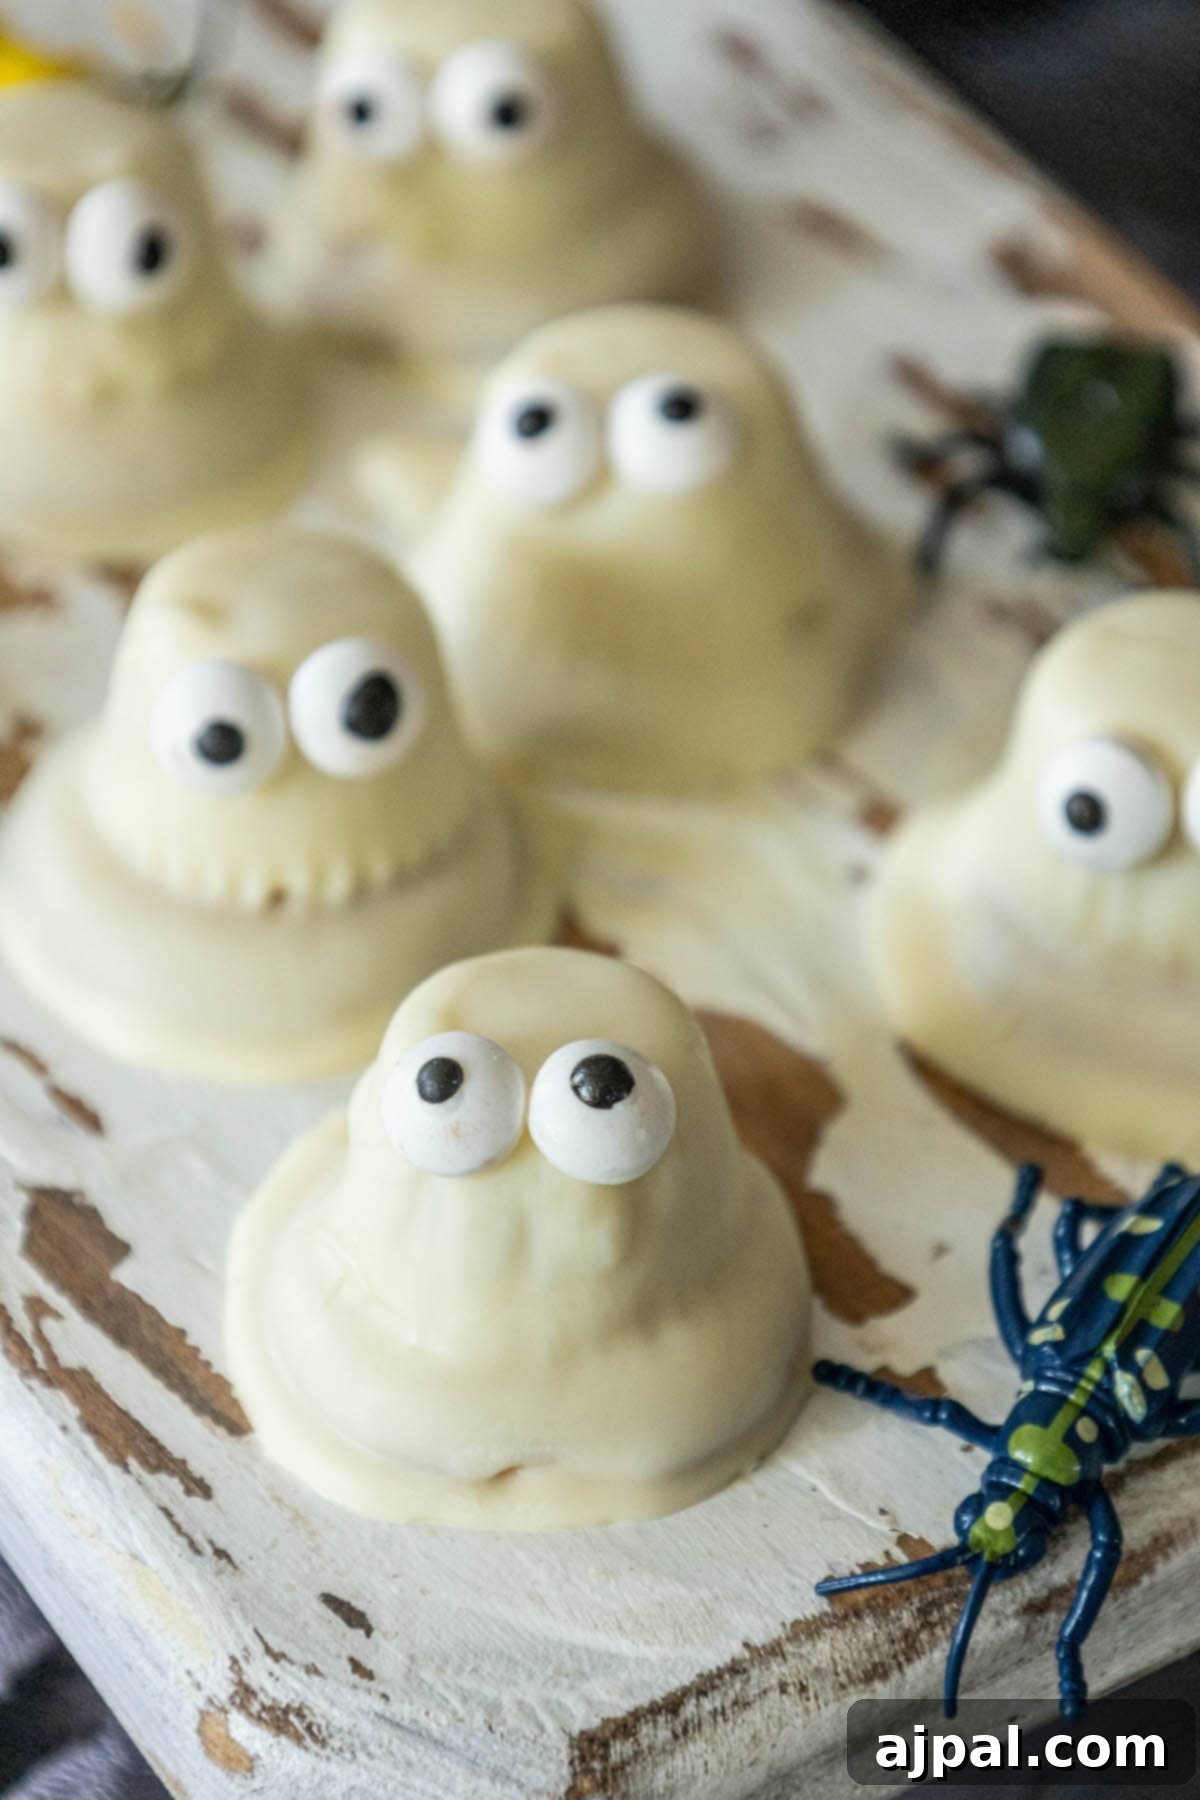
Serving Your Spooky Treats
Once your white chocolate ghost cookies are perfectly set, they are ready to be served! Arrange them on a festive Halloween platter, perhaps alongside some other spooky snacks, to create an eye-catching display. These cookies are not only delicious but also incredibly charming, making them a fantastic addition to any Halloween party or a fun snack for an autumn movie night. Enjoy the delightful crunch of the cookie, the creamy peanut butter surprise, and the smooth white chocolate coating that makes these ghosts so irresistible. Share them with friends and family, and watch as these adorable specters disappear in no time!
Tips and Tricks to Perfect Your Dipped Ghost Cookies:
To ensure your ghostly treats turn out perfectly every time, here are some expert tips and clever tricks to guide you through the process:
- Work Efficiently and Keep Things Organized: The white chocolate candy coating can set quite quickly, especially if your kitchen is cool. To avoid a lumpy or uneven finish, make sure you have all your components ready and arranged before you begin dipping. Have your parchment-lined baking sheet nearby, your Oreos and peanut butter cups assembled, and your edible eyeballs within easy reach. This organized approach allows you to dip and decorate each ghost smoothly and swiftly.
- Master the Dipping Technique: When dipping, don’t just dunk the cookie. Instead, hold the assembled cookie and peanut butter cup on a spoon over the bowl of melted chocolate. Use another spoon to pour the melted coating over the entire structure, gently rotating the spoon with the cookie to ensure full coverage. This method gives you more control and helps achieve a smooth, even layer without excess chocolate accumulating at the bottom.
- Allow Excess Coating to Drip Off: After thoroughly coating each ghost, lift it carefully from the bowl. Gently tap the spoon against the side of the bowl or give it a slight shake. This allows any excess white chocolate to drip back into the bowl, preventing pools of chocolate around the base of your ghosts on the parchment paper. A thinner, more even coating not only looks better but also sets faster and enhances the overall texture.
- The Importance of Parchment Paper or Silicone Mats: Always place your freshly dipped ghosts on parchment paper or silicone baking mats. These non-stick surfaces are crucial for preventing the cookies from sticking as the chocolate sets, ensuring they can be easily lifted without damaging their delicate coating. They also make cleanup much simpler, saving you time and effort.
- Refrigerator Setting for Optimal Results: While freezing for 10 minutes works for a quick set, for the most durable and evenly set coating, placing the dipped cookies in the refrigerator for about 20-30 minutes is ideal. This ensures the candy coating hardens completely, maintaining the cookies’ shape and preventing accidental smudges.
- Proper Storage for Lasting Freshness: Once your ghost-dipped cookies are perfectly set and firm, store them in an airtight container. Keep them at room temperature in a cool, dry place away from direct sunlight or heat, which can cause the candy coating to soften or melt. Stored correctly, they will remain fresh and delightful for several days.
- Unleash Your Creativity with Decorations: Don’t limit yourself to just two eyes! Get creative with your ghost decorations. You can use edible food markers to draw various expressions on their faces (think startled, happy, or mischievous). Experiment with different sizes and colors of edible eyeballs for a whimsical touch. You could even add tiny edible sprinkles or dust them lightly with edible glitter for an extra magical shimmer.
- Consider Alternative Cookie Bases: While Golden Oreos provide a fantastic base, feel free to experiment with other cookies. Vanilla wafer cookies offer a softer texture, while shortbread cookies could add a buttery richness. Just ensure the cookie is sturdy enough to hold the peanut butter cup and the chocolate coating.
Dipped Ghost Cookies FAQ’s:
To maintain their freshness and appearance, place the ghost cookies in an airtight container. It’s best to arrange them in a single layer to prevent the chocolate coating from sticking to other cookies. If you need to stack them, separate layers with parchment paper. Stored this way in a cool, dry place at room temperature, they will stay fresh and delicious for up to 3 days.
Absolutely, you can use regular chocolate peanut butter cups if white chocolate ones are unavailable or if you simply prefer them. However, be aware that achieving a completely opaque, ghostly white appearance might be more challenging, as the dark chocolate base could show through if the white candy coating is too thin. You may need an extra layer of white chocolate for full coverage.
If white chocolate candy coating isn’t an option, you can successfully use high-quality white chocolate chips or white chocolate bars. Simply melt them carefully in the microwave in short bursts, stirring frequently, or over a double boiler until they become smooth and creamy. Once melted, they can be used for dipping just like the candy coating.
Yes, using homemade peanut butter cups is a wonderful way to personalize this recipe! Making your own allows you to control the ingredients and customize the flavor of the peanut butter filling. Just ensure your homemade peanut butter cups are fully set and firm before you attempt to dip them, to prevent any structural issues.
Edible candy eyeballs are widely available, especially during the Halloween season. Check the baking aisle or seasonal decorations section of major grocery stores. Craft stores that carry baking supplies often stock them, as do specialized online baking supply shops. You can also find a great selection on Amazon.
These ghost-dipped cookies are quite sturdy and can be made a few days in advance of your Halloween celebration. Just remember to store them in an airtight container in a cool, dry place, away from any direct sunlight or heat sources, which could cause the candy coating to become soft or sticky.
While these cookies can be frozen, it’s important to note that the texture of the candy coating might change slightly upon thawing, potentially becoming a bit softer or developing condensation. If you opt to freeze them, place them in an airtight container with layers separated by parchment paper. They can be frozen for up to one month. Thaw them slowly in the refrigerator before serving.
While Golden Oreos are recommended for their light color which aids in achieving a true ghost-like appearance, you can certainly experiment with regular chocolate Oreos. Just be aware that the dark color of the chocolate cookie might require a thicker layer of white candy coating to completely obscure it, which could alter the taste and texture balance of the cookie.
Yes, absolutely! Customizing the flavor of your white chocolate coating is a fantastic idea. You can add a few drops of food-grade vanilla extract, almond extract, peppermint extract, or even a touch of orange extract to create different flavor profiles for your ghost-dipped cookies. Just be sure to use oil-based extracts if working with candy melts, as water-based extracts can cause the chocolate to seize.
What to Serve With Your Spooky Ghost Cookies
These white chocolate ghost cookies are fantastic on their own, but they also pair wonderfully with a variety of other Halloween-themed treats and beverages. If you and your little ones enjoyed making this recipe, why not extend the spooky fun with some of our other festive creations? Consider serving them alongside our whimsical Frankenstein Cookies, the delightfully crunchy Halloween Oreo Rice Krispie Treats, or a vibrant batch of simple Halloween Bark. For a heartier dessert, an Easy Pumpkin Dump Cake or our rich Pumpkin Magic Bars would complement the sweetness of the ghosts beautifully. And for drinks, a warm mug of spiced cider or a festive Halloween punch would be the perfect accompaniment. Explore more of our Halloween ideas and pumpkin-themed recipes below for a complete seasonal spread!
More Autumn and Halloween Delights
See more Pumpkin Recipes
Pumpkin Bread Mini Pumpkins
Pumpkin Cupcakes
22 Pumpkin Recipes For Fall
Pumpkin Pie Punch
Pumpkin Old Fashioned
Pumpkin Chocolate Chip Muffins
Pumpkin Spice Muffins
Easy Pumpkin Crisp
If you’ve loved making and sharing this easy recipe, we would be incredibly grateful if you could take a moment to give it a five-star rating by clicking the stars below and leaving a comment. Your feedback truly helps us grow! Please also help us spread the spooky joy by sharing your creations on Instagram, Facebook, and Pinterest – tag us so we can see your amazing work!
Share on Facebook
Share
Pin this now to find it later
Pin It
Follow on Instagram
Follow
Only have 30 minutes to get dinner on the table? Sign up for my 30 minute dinner plans direct to your inbox!
Find and shop my favorite products in my Amazon storefront here!
White Chocolate Dipped Ghost Cookies

Equipment
-
OREO Thins Golden Sandwich Cookies Family Size, 13.1 oz
-
Sweets Indeed Sprinkles – Bulk Candy Eyeball Shapes – Halloween Sprinkles – Cake Sprinkles – Gluten-Free Sprinkles for Baking – Cupcake and Cake Topper – Sprinkle Mix – Sprinklefetti – 6.00 ounces
-
REESE’S Miniatures White Creme Peanut Butter Cups Candy, Individually Wrapped, 10.5 oz Share Pack
-
Fox Run 3-Piece Chocolate Dipping Set, 0.5 x 5 x 13 inches, Metallic
-
Wilton Bright White Candy Melts® Candy, 12 Oz, Pack of 6
-
Wilton Candy Melts Candy And Chocolate Melting Pot, 2.5 Cups
Ingredients
- 12 Golden Oreos OR Nilla Wafers
- 12 white chocolate peanut butter cups, wrapper off
- 16 oz of white chocolate candy coating
- Edible eyeballs
Instructions
-
Set a piece of parchment paper on a baking sheet.
-
Melt the white chocolate candy coating in the microwave in 30 second intervals until smooth.
-
Place a mini oreo on a spoon and a peanut butter cup upside down on top of the oreo.
-
Hold the spoon over the bowl of melted white chocolate and using another spoon, coat the cookie and peanut butter cup in white chocolate.
-
Set the little ghosts on the parchment paper and place two edible eyes on each ghost.
-
Place it in the freezer for 10 minutes to set the chocolate then enjoy!
Nutrition
Calories: 243kcal
Carbohydrates: 146g
Protein: 52g
Fat: 116g
Saturated Fat: 27g
Polyunsaturated Fat: 69g
Cholesterol: 8mg
Sodium: 1024mg
Fiber: 18g
Sugar: 88g
Nutrition information is automatically calculated, so should only be used as an approximation.