
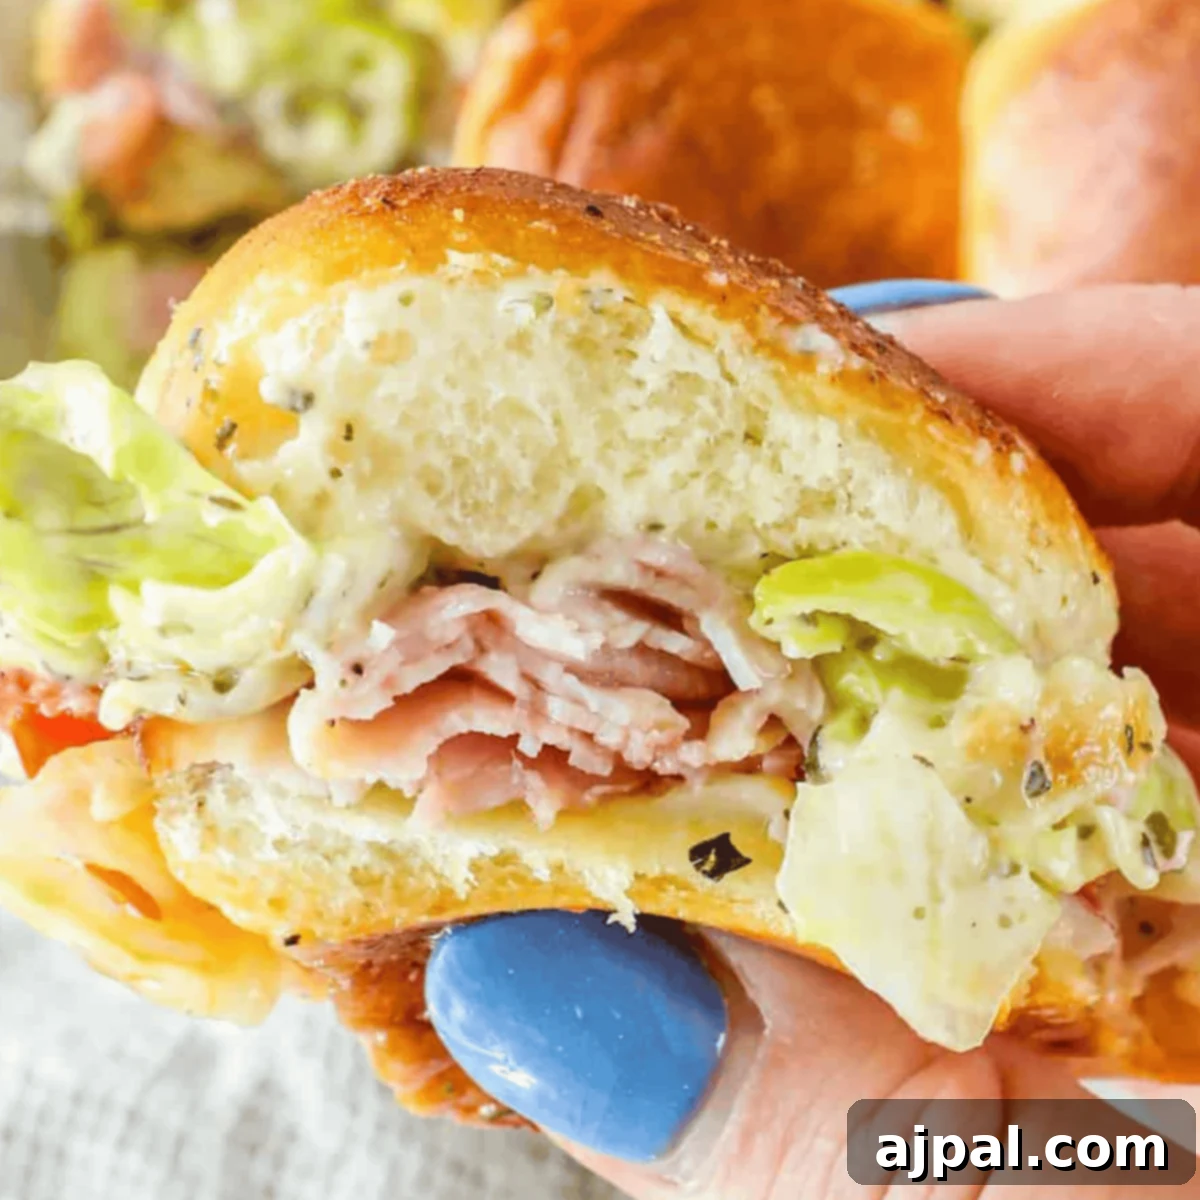
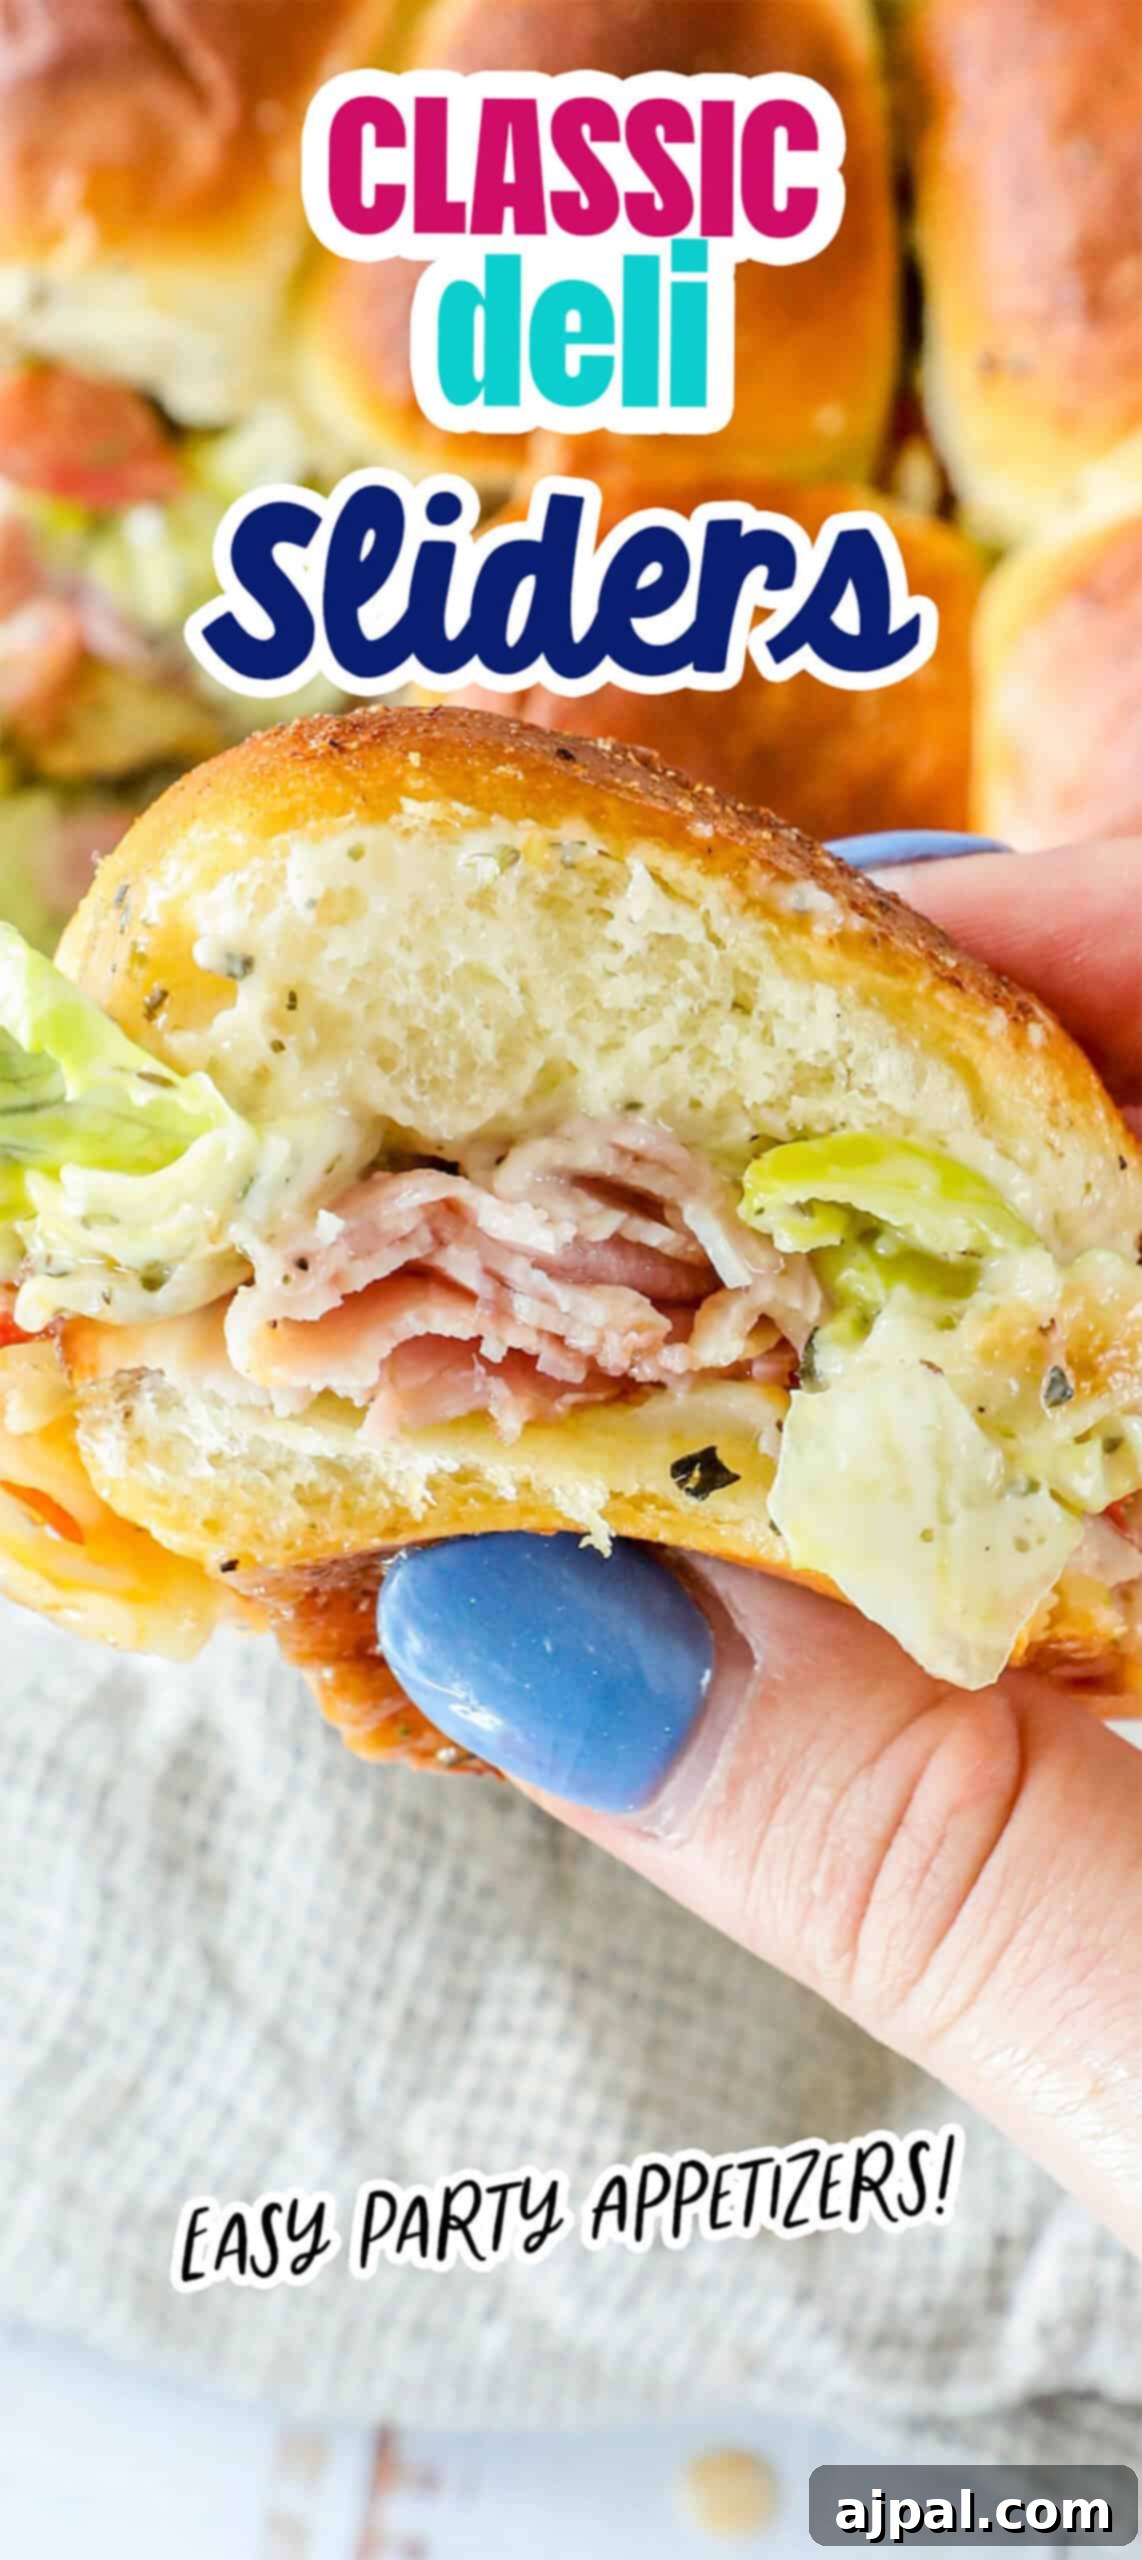
Get ready to delight your taste buds with these incredibly quick and easy Classic Deli Sliders! Bursting with the savory goodness of premium cold cuts and perfectly melted cheese, each mini sandwich is crowned with a vibrant, crunchy grinder salad that adds an irresistible tangy counterpoint. Whether you’re hosting a lively gameday gathering, planning a party, or simply need a fantastic family lunch, these sliders are designed to impress with minimal effort.
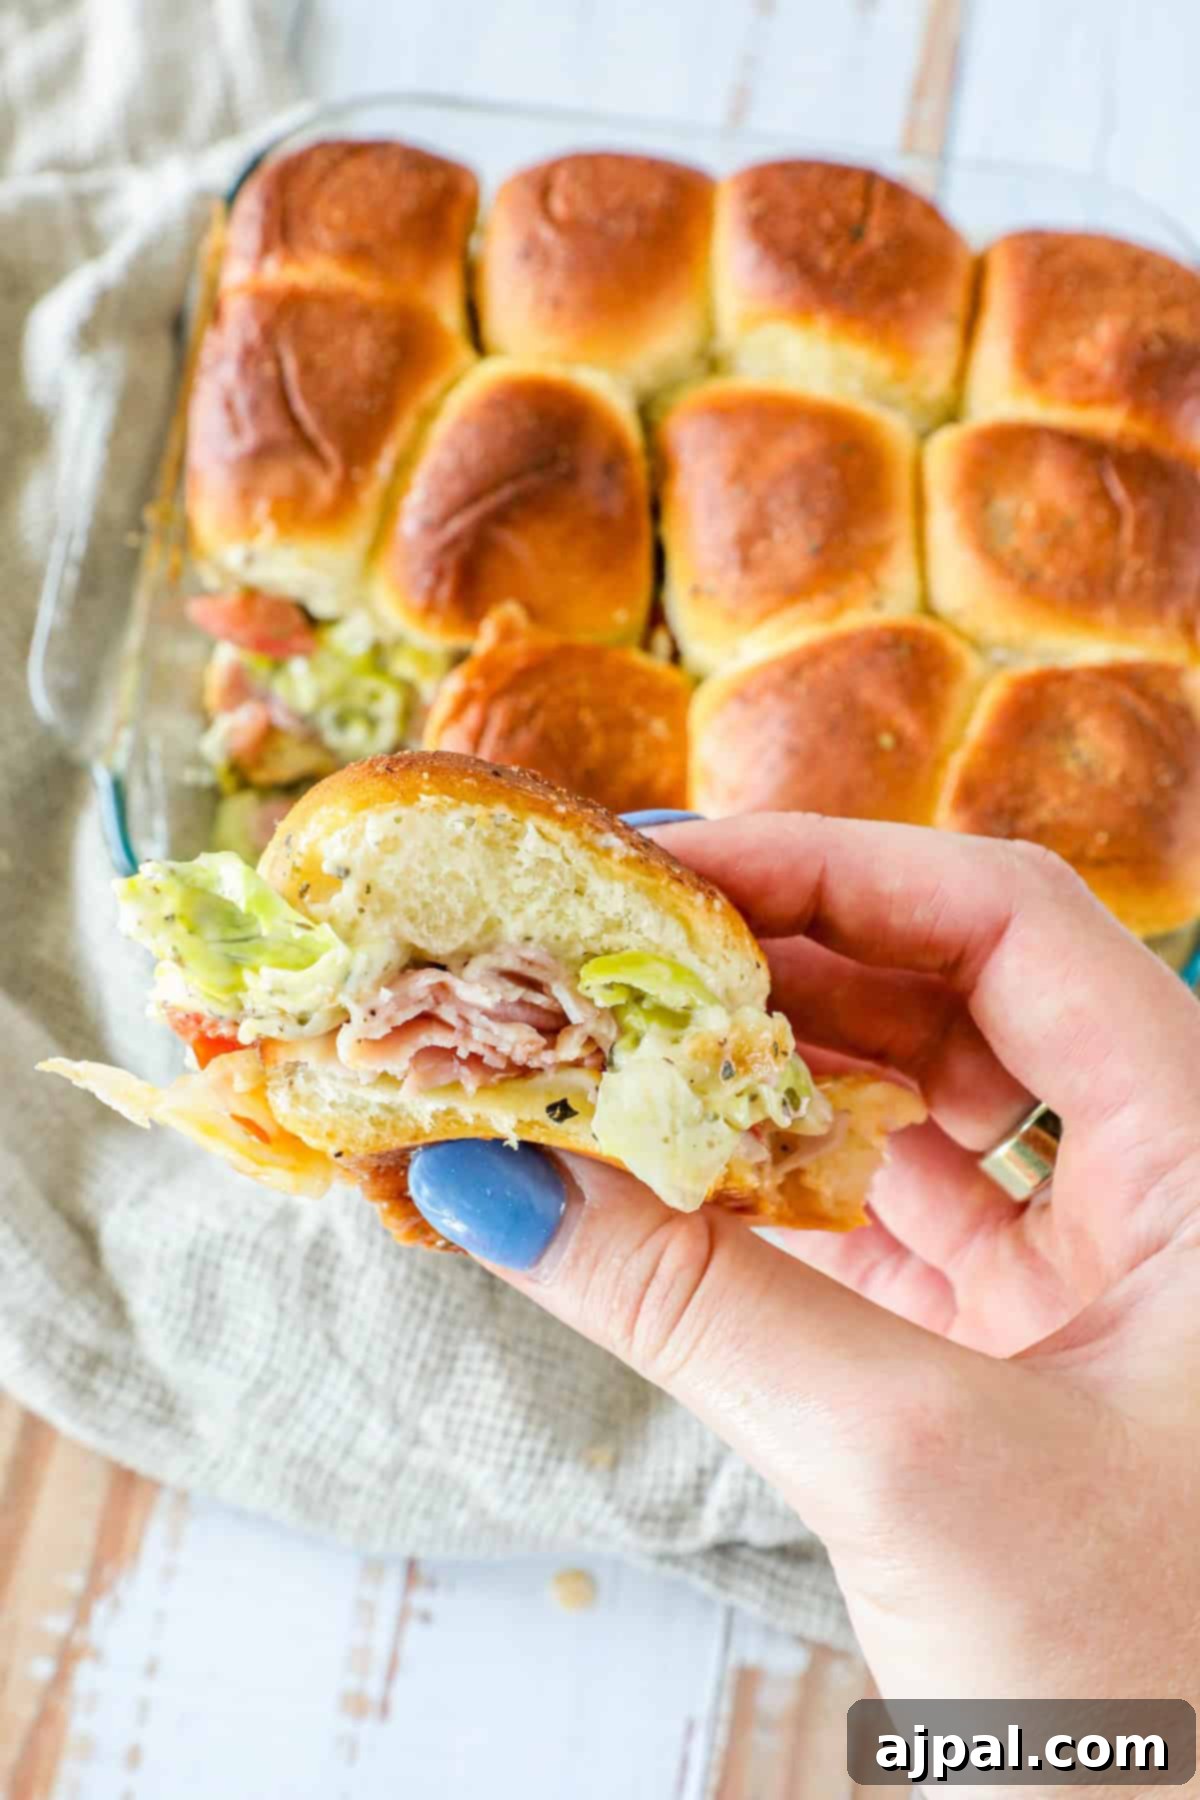
Welcome to a culinary journey where flavor meets simplicity. As a home cook passionate about empowering others in the kitchen, I believe understanding the ‘why’ behind each ingredient and technique is key to building confidence. My goal is to share not just recipes, but the knowledge that makes every dish a success, even for the most novice cook.
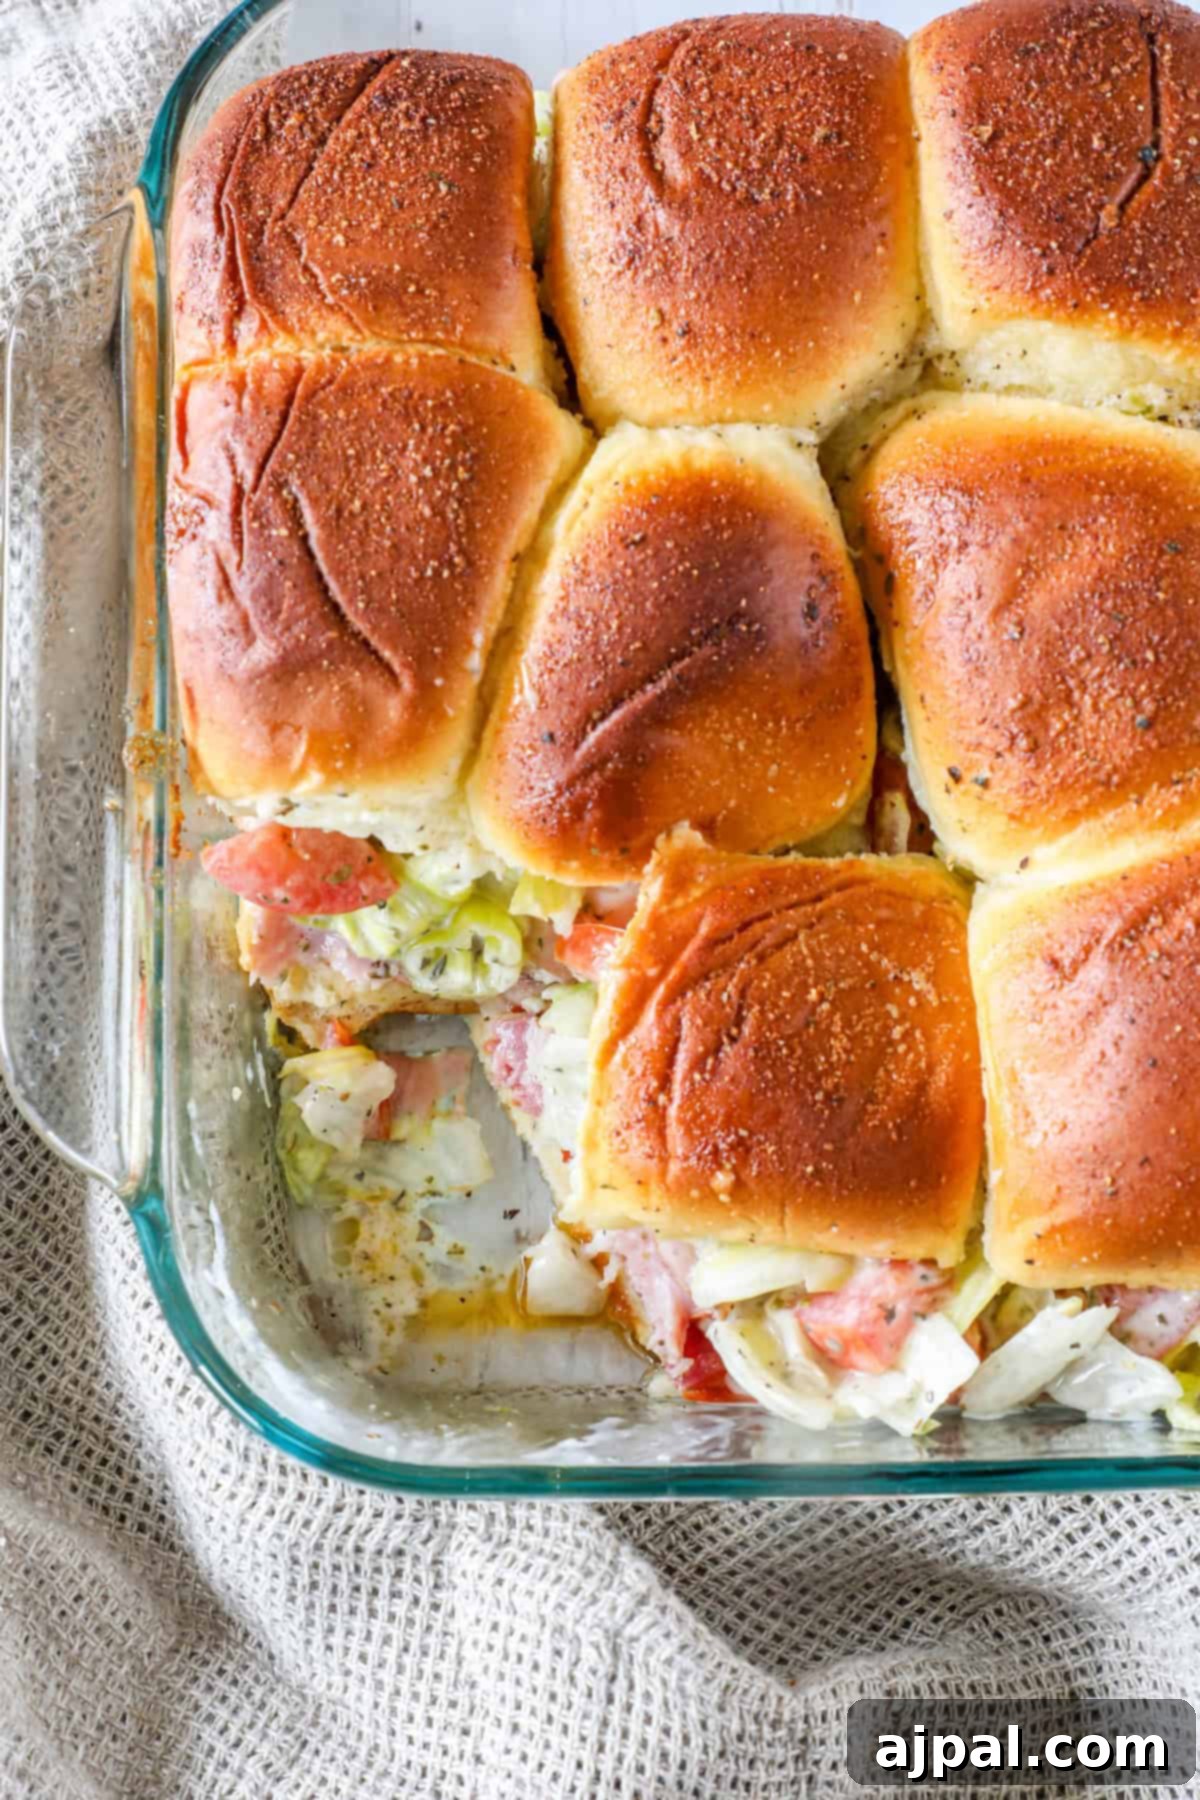
Irresistible Italian-Style Deli Sliders
Preparing for parties or gameday gatherings can often feel overwhelming, especially when you’re juggling multiple celebrations like I do with my boys’ birthdays happening within a month of each other. That’s why I’m always on the lookout for effortlessly delicious party foods that appeal to both kids and adults, and crucially, can be prepared in advance. When football season rolls around, these sliders become a cherished part of our Sunday dinner tradition, offering a burst of flavor and a comforting, satisfying bite that everyone anticipates.
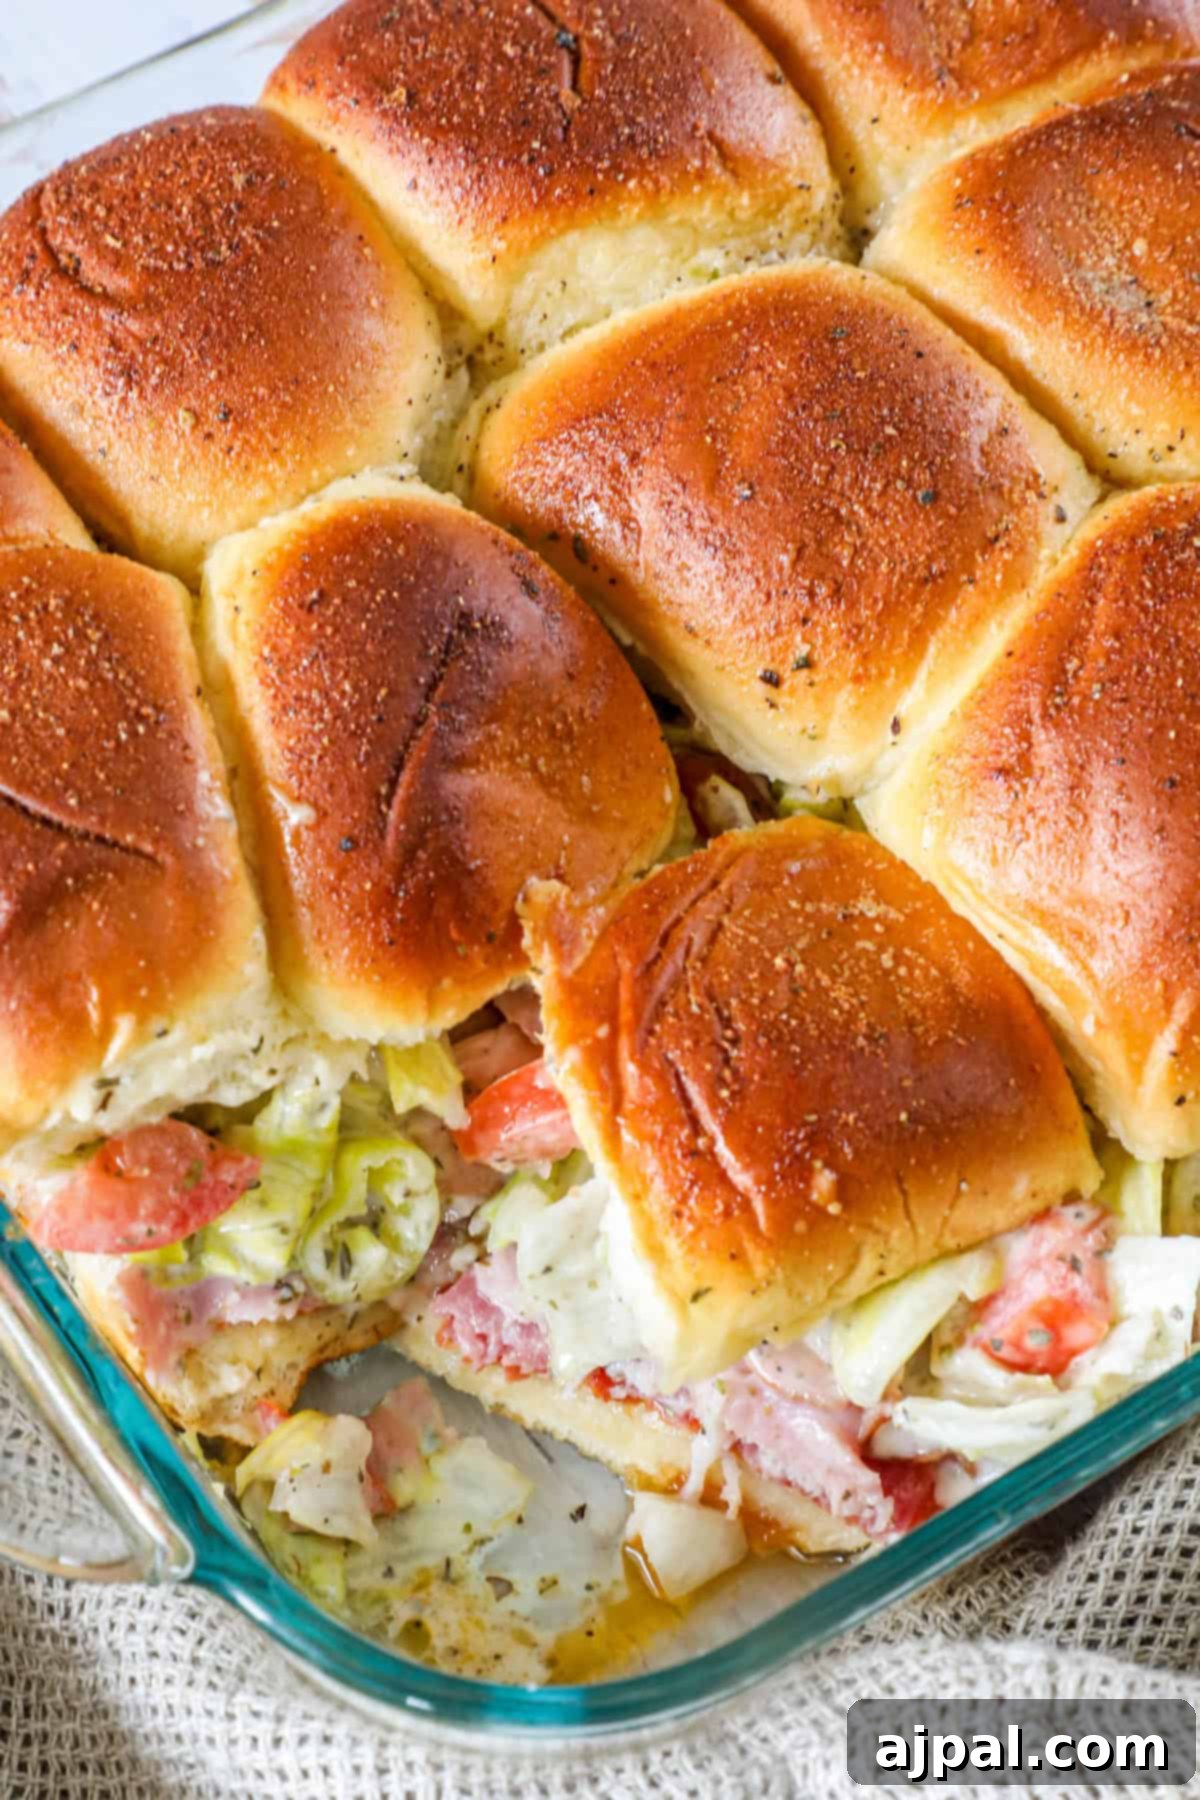
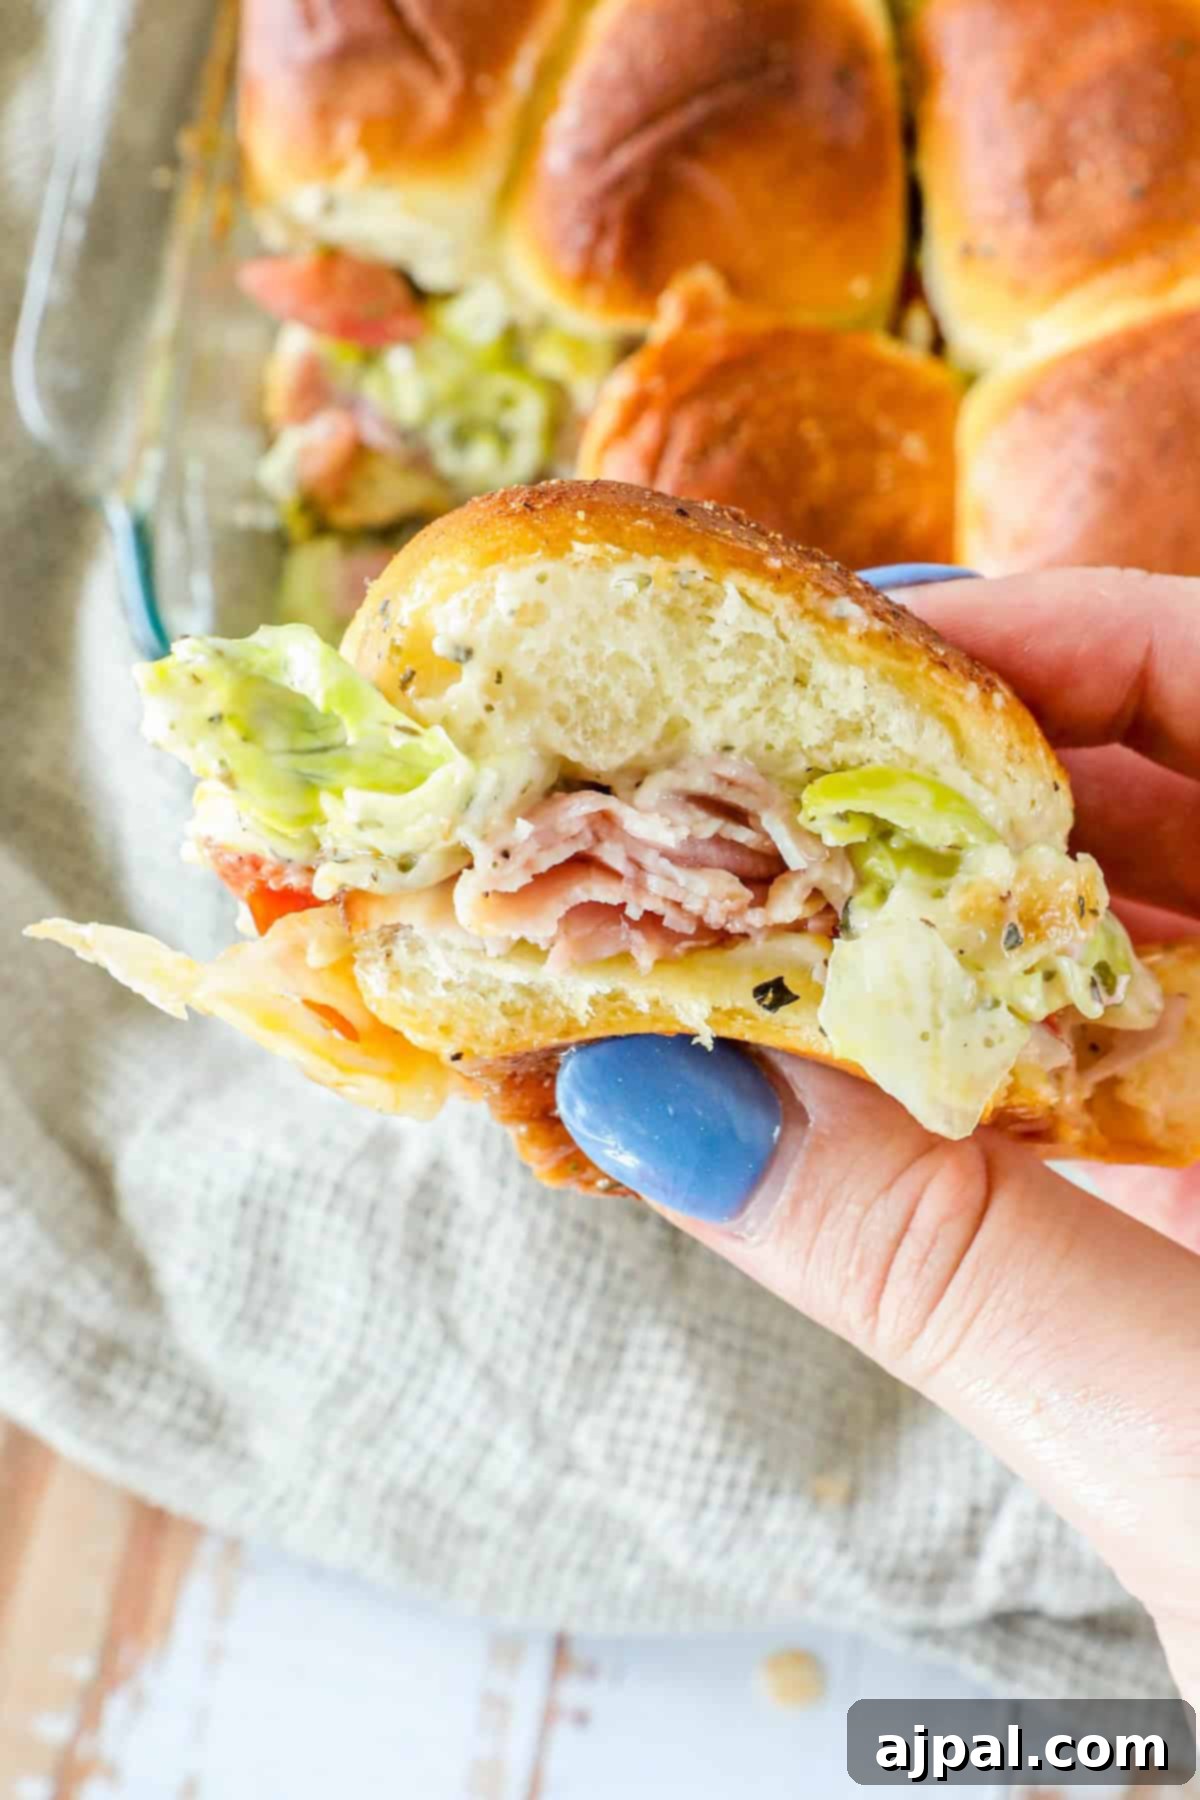
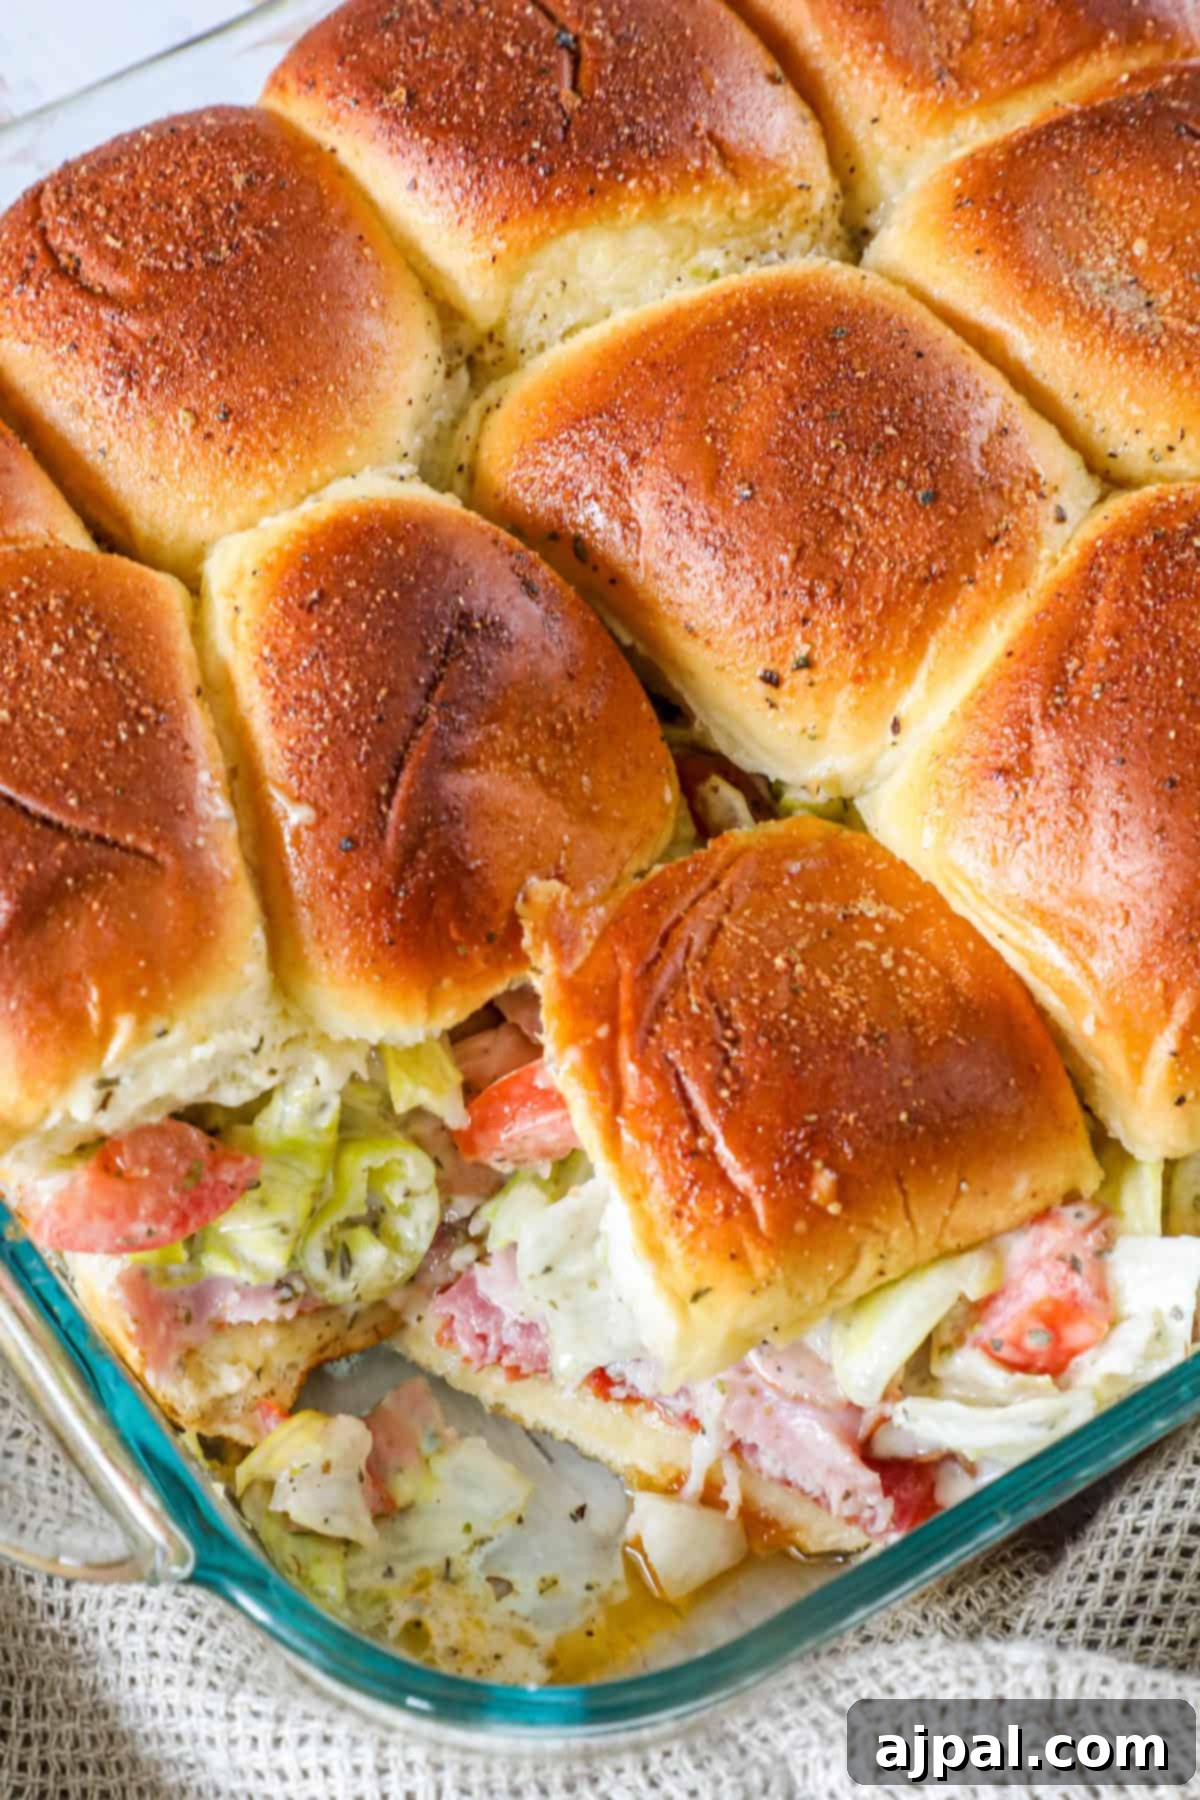
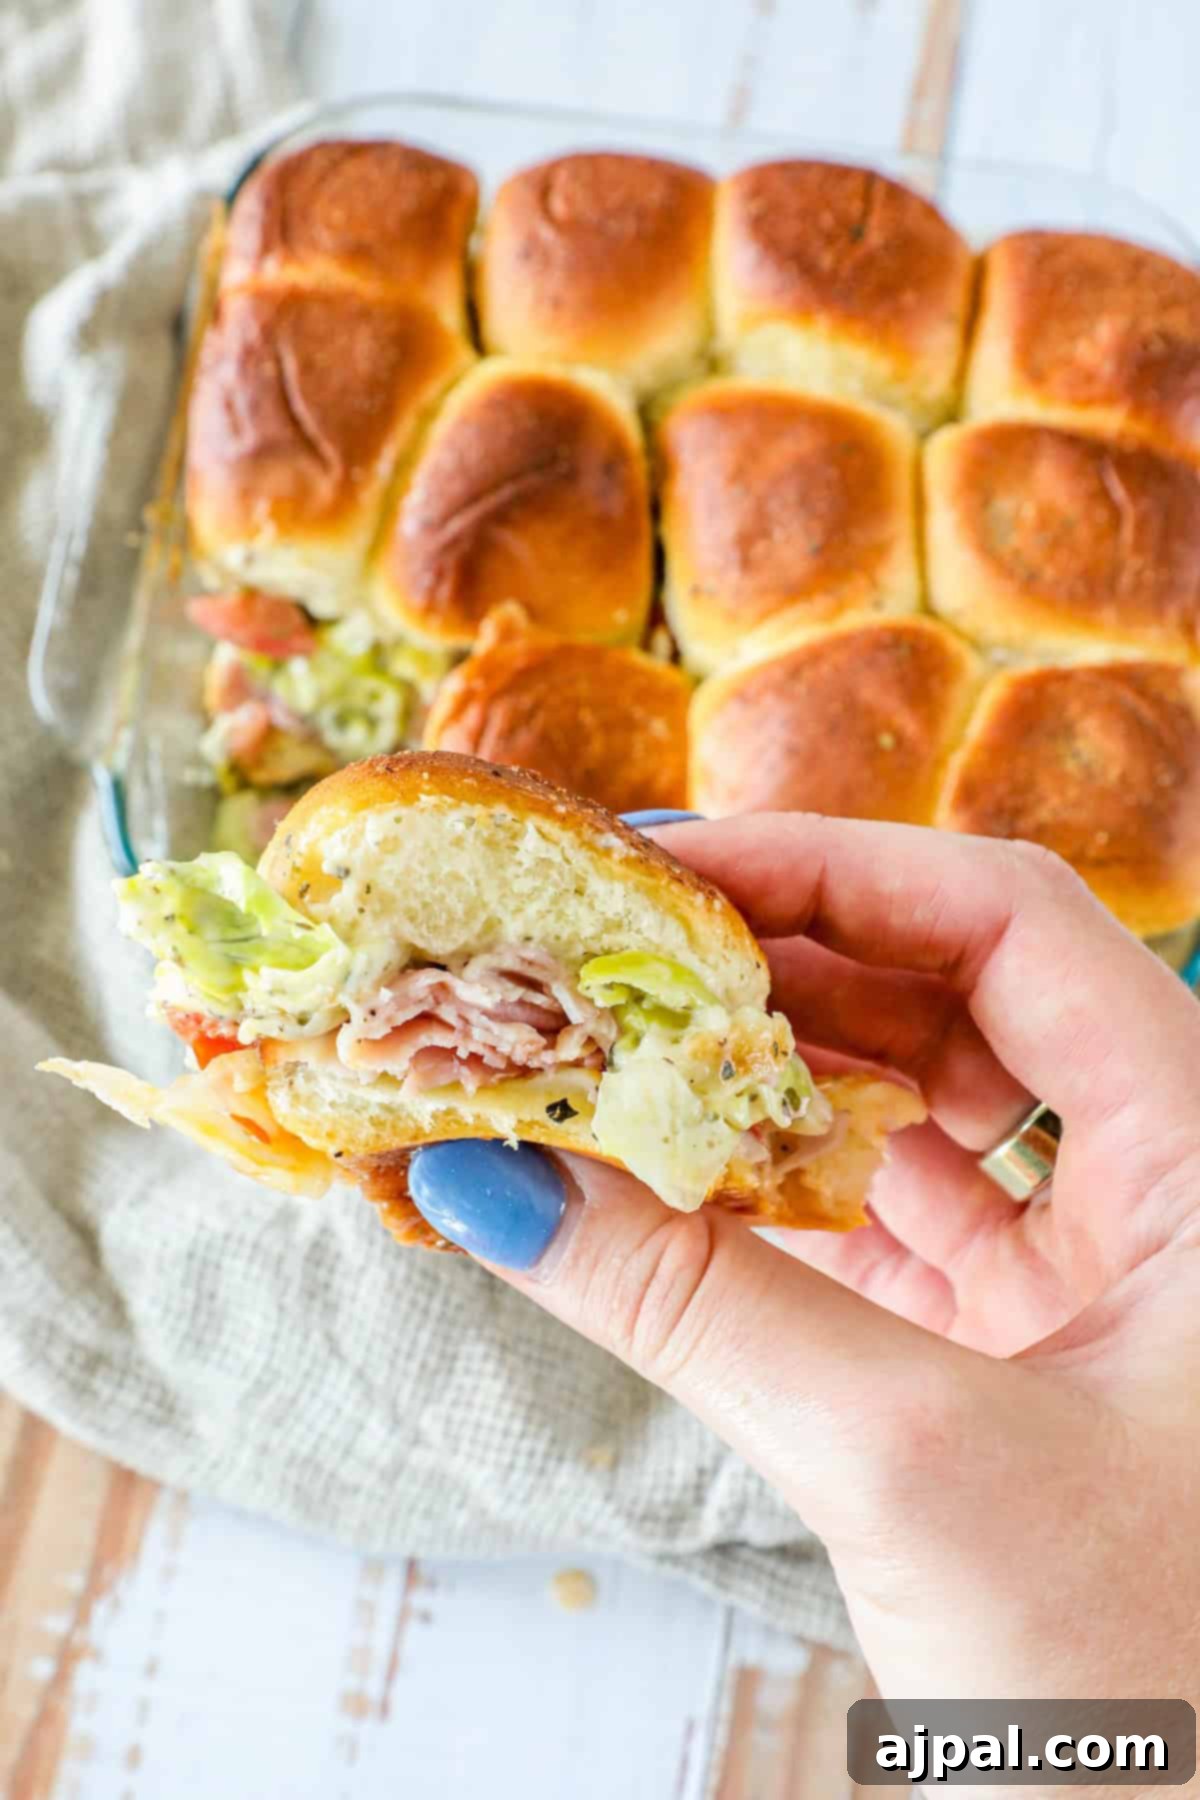
The foundation of these incredible sliders begins with soft, pillowy Hawaiian rolls. Their subtle sweetness provides the perfect counterpoint to the savory fillings, and their individual serving size makes them ideal for snacking. To assemble, I efficiently slice the entire block of rolls in half horizontally, creating a sturdy base. Then, I generously load the bottom half with a delightful assortment of my favorite cold cuts and cheeses. Don’t feel limited to the exact varieties listed; the beauty of this recipe lies in its flexibility. Use what you have on hand, but remember, a good variety often yields the most complex and satisfying flavor profile. Next, a rich glaze made from melted butter infused with a blend of complementary spices is brushed over the tops of the buns. This glaze not only adds a beautiful golden-brown finish but also enhances the savory notes of the meats as the sliders bake, ensuring the cheese melts into a gooey perfection. While the sliders are baking to golden perfection, I quickly prepare my vibrant grinder salad – a crisp, tangy topping reminiscent of a fresh coleslaw. Once the hot, cheesy sliders emerge from the oven, I lift the tops and pile on a generous helping of the grinder salad. This final touch adds a welcome crunch, a refreshing burst of color, and a zesty contrast that elevates these humble sandwiches into something truly extraordinary. Serve them immediately and watch them disappear!
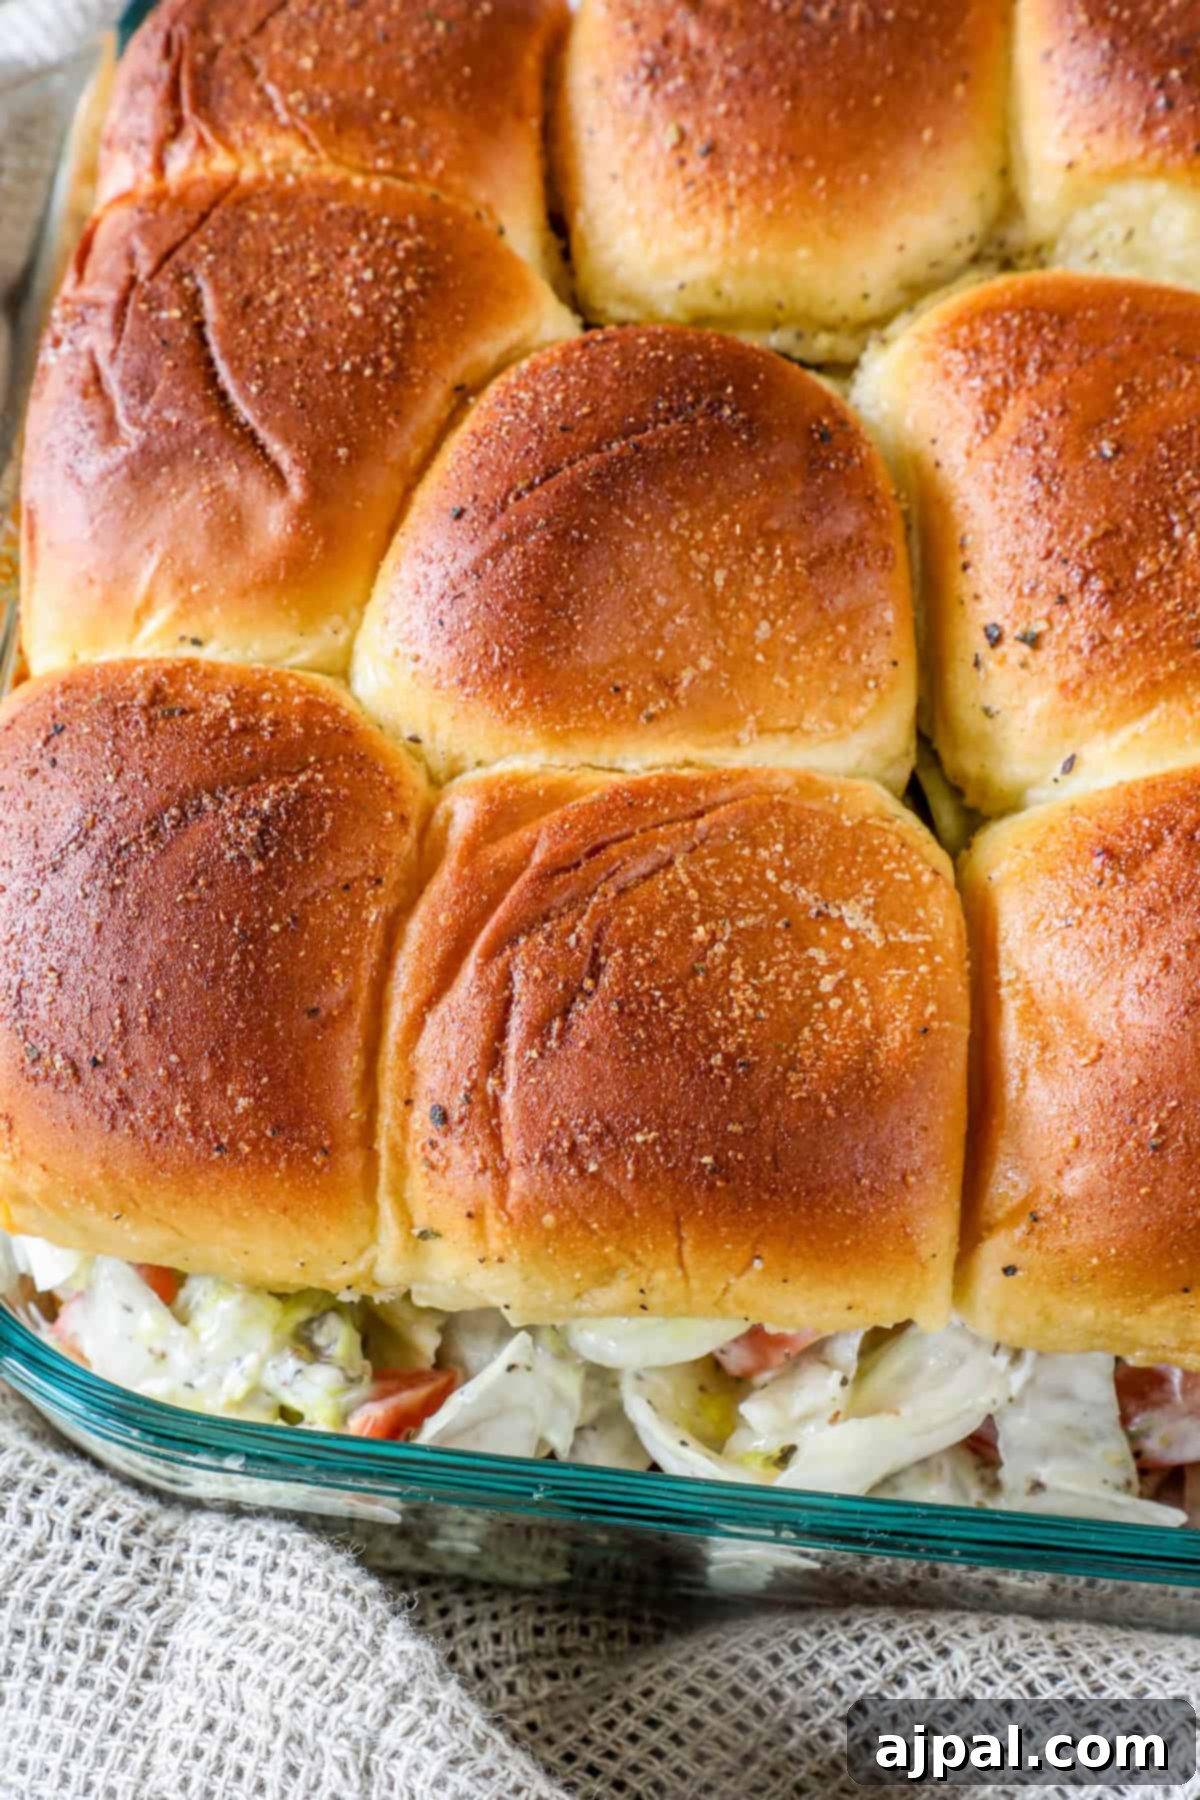
Crafting Your Classic Deli Meat and Cheese Sliders
Creating these delicious classic deli sliders is a straightforward process, requiring just a few simple steps and fresh ingredients. Here’s what you’ll need to assemble these irresistible bites:
For the Sliders
- Hawaiian Rolls (12): These soft, slightly sweet rolls are the cornerstone of our sliders, providing a wonderfully tender and flavorful base that perfectly complements the savory fillings.
- Ham (8 ounces): Thinly sliced ham offers a tender texture and a classic salty-sweet note, harmonizing beautifully with the richness of the cheese.
- Provolone Cheese (4 ounces): Creamy and mild, provolone cheese melts effortlessly, contributing a smooth, gooey texture that holds all the delicious layers together. You can also use Swiss, mozzarella, or cheddar for a different flavor profile.
- Pepperoni (3 ounces): Thinly sliced pepperoni delivers a bold, zesty kick and a delightful spicy aroma, adding an exciting layer of flavor that echoes traditional deli sandwiches.
- Salami (3 ounces): Slices of savory salami introduce a rich, nuanced flavor with a hint of peppery spice, enhancing the overall depth of the meat mixture.
For the Glaze
- Butter (2 tablespoons): Melted butter creates a luxurious, golden glaze that not only gives the rolls a beautiful sheen but also helps to bind all the savory flavors together, ensuring a moist and flavorful bun.
- Parmesan (2 tablespoons): Freshly grated Parmesan cheese brings a sharp, nutty, and salty depth to the buttery glaze, elevating the savory elements of the sliders.
- Garlic Powder (1/2 teaspoon): A dash of garlic powder infuses the glaze with a subtle, aromatic warmth, enhancing the overall savory profile without being overpowering.
- Onion Powder (½ teaspoon): Onion powder adds a mild, sweet onion flavor to balance the garlic, creating a well-rounded savory seasoning for the glaze.
- Garlic Salt (½ teaspoon): This provides an additional layer of savory garlic flavor and a touch of salt, ensuring the glaze is perfectly seasoned and complements the deli meats.
Grinder Salad Topping
- Lettuce (8 ounces): Freshly shredded lettuce provides a crisp, refreshing texture that lightens the richness of the meats and cheeses, adding a vibrant contrast.
- Tomato (1/2 cup): Diced tomatoes contribute a juicy, slightly tangy burst of flavor, offering a welcome acidity that complements the smoky and salty deli meats.
- Pepperoncini Peppers (1/2 cup): Sliced pepperoncini peppers are essential for their signature tangy and mildly spicy punch, which beautifully cuts through the richness of the sandwich and brightens every bite.
- Mayonnaise (1/4 cup): Creamy mayonnaise forms the luscious base for our grinder salad dressing, creating a smooth and tangy coating for the vegetables.
- Red Wine Vinegar (1 tablespoon): A splash of red wine vinegar introduces a crucial acidic component to the dressing, balancing the flavors and adding a refreshing zest to the salad.
- Italian Seasoning (2 teaspoons): This classic blend of dried herbs infuses the salad topping with authentic Mediterranean flavors, tying the whole “Italian deli” concept together.
- Salt (1/2 teaspoon): A touch of salt enhances the natural flavors of both the salad topping and the meats, ensuring a perfectly seasoned experience.
- Pepper (1/2 teaspoon): Freshly cracked black pepper provides a subtle warmth and a gentle depth of flavor, completing the seasoning profile of the dressing.
- Garlic Powder (1/2 teaspoon): Included in the salad dressing, garlic powder adds an extra layer of aromatic warmth, ensuring consistency in flavor notes throughout the dish.
Method for Assembly and Baking
Follow these detailed steps to create your mouth-watering Classic Deli Sliders:
- Preheat Oven: Begin by preheating your oven to 350°F (175°C). This ensures the oven is at the correct temperature for even baking and cheese melting.
- Prepare Bread: Take your Hawaiian rolls and, using a serrated knife, carefully slice the entire block of rolls horizontally, keeping them connected. Gently separate the top half from the bottom half. Place the bottom halves of the rolls evenly into a 9×13-inch baking dish, forming a continuous base.
- Layer the Fillings: First, arrange the provolone cheese slices directly over the bottom layer of rolls. The cheese acts as a delicious barrier, preventing the bread from becoming soggy while it melts. Next, neatly layer the thinly sliced ham, followed by the pepperoni, and finally, the salami on top of the cheese. Once all the fillings are in place, carefully return the top halves of the rolls over the meat and cheese. If desired, you can make slight cuts between each individual roll to define the sliders before baking, making them easier to separate after cooking.
- Craft the Glaze: In a small microwave-safe bowl or saucepan, melt the butter. Once melted, stir in the grated Parmesan cheese, garlic powder, onion powder, and garlic salt until well combined. This aromatic mixture will form a savory crust on top of your sliders.
- Glaze and Bake: Evenly spread the prepared butter and spice mixture over the tops of the slider sandwiches using a pastry brush. Ensure every roll gets a generous coating for maximum flavor and a golden finish. Place the baking dish into the preheated oven and bake for 15-20 minutes, or until the cheese is wonderfully melted, bubbly, and the tops of the rolls are golden brown and slightly crisp.
- Prepare the Grinder Salad: While the sliders are baking, turn your attention to the fresh grinder salad topping. In a medium bowl, whisk together the mayonnaise, red wine vinegar, Italian seasoning, salt, pepper, and garlic powder until you have a smooth and well-emulsified dressing. This creates the tangy, herbaceous base for your salad.
- Toss the Salad: Add the shredded lettuce, diced tomatoes, and sliced pepperoncini peppers to the bowl with the dressing. Gently toss all the ingredients together until the vegetables are evenly coated. Be careful not to overmix, as you want to maintain the crispness of the lettuce.
- Final Assembly and Serve: Once the sliders are perfectly baked, remove the dish from the oven. Carefully lift off the top layer of buns from the baked sliders. Generously spoon the fresh grinder salad onto the bottom layer of meat and cheese. Replace the tops of the rolls. Serve these irresistible Classic Deli Sliders immediately while they are warm and the cheese is still wonderfully gooey.
Expert Tips and Tricks for Perfecting Your Deli Sliders
Achieving the perfect deli slider is easy with a few simple techniques. Here are some expert tips to ensure your sliders are always a hit:
- Melt the Cheese Evenly: For that perfect gooey texture, opt for cheeses like provolone, Swiss, or mozzarella that melt smoothly. Bake the sliders just long enough for the cheese to become thoroughly melted without overcooking the bread, which can make it dry.
- Toast the Tops of the Rolls: Brushing the tops of the Hawaiian rolls with butter and a seasoning blend before baking not only adds flavor but also creates a beautiful golden, slightly crisp crust. This textural contrast is key to a satisfying bite.
- Prepare the Glaze Ahead of Time: Save yourself valuable time during assembly by mixing the butter, Parmesan, and spices for the glaze in advance. This ensures quick preparation and allows the flavors to meld, leading to a more evenly distributed and robust taste.
- Layer Strategically for Success: Always place a layer of cheese directly onto the bottom roll before adding the cold cuts. This creates a protective barrier that helps prevent the bread from absorbing too much moisture from the meats and becoming soggy, maintaining the slider’s integrity.
- Use Parchment Paper for Easy Cleanup: Line your baking dish with parchment paper before assembling the sliders. This simple step makes cleanup incredibly easy and prevents any melted cheese or glaze from sticking to the pan.
- Press Down Before Baking: After layering all the ingredients and replacing the top buns, gently press down on the entire sheet of sliders. This helps to compact the fillings, making the sliders hold together better and infusing the flavors more deeply during baking.
- Cover with Foil for Moisture Retention: During the initial baking phase, loosely cover the baking dish with aluminum foil. This traps steam and moisture, ensuring the rolls stay soft and preventing the tops from browning too quickly before the cheese has fully melted.
- Uncover for a Crispy Top: For the last few minutes of baking, remove the foil. This allows the tops of the sliders to achieve a beautiful golden-brown color and a satisfying crispness, adding another layer of texture.
- Customize Your Glaze: Don’t hesitate to experiment with the glaze! Consider adding a touch of dried herbs like oregano or basil, a spoonful of Dijon mustard for a piquant kick, or a few dashes of Worcestershire sauce for extra umami depth.
- Serve Hot for Best Experience: These sliders are at their absolute best when served fresh from the oven, with the cheese still wonderfully melted and the rolls warm and soft.
- Offer Dipping Sauces for Variety: Enhance the experience by serving a variety of dipping sauces on the side. Classic marinara, creamy ranch, a tangy honey mustard, or a spicy brown mustard can add an exciting twist and allow guests to customize their flavors.
- Prepare in Batches for Parties: For larger gatherings, prepare multiple batches of the sliders ahead of time. You can assemble them and keep them refrigerated, then bake them as needed to ensure a continuous supply of fresh, warm sliders throughout your event.
- Prep the Grinder Salad Topping Ahead: For optimal flavor and convenience, prepare the grinder salad dressing and combine it with the vegetables a few hours in advance. This allows the flavors to meld beautifully, making the salad even more delicious and ready to top your hot sliders.
FAQs
Classic mini slider buns are always a great choice, but soft and slightly sweet Hawaiian rolls or regular dinner rolls are truly perfect. Look for rolls that are fluffy enough to absorb flavor but sturdy enough to hold up to the delicious fillings without falling apart. The slight sweetness of Hawaiian rolls, in particular, creates a fantastic contrast with savory deli meats.
To keep cooked sliders warm for a crowd, arrange them on a baking sheet and place them in a low oven set to about 200°F (93°C). Loosely cover the baking sheet with aluminum foil to trap moisture and prevent the sliders from drying out, ensuring they remain deliciously warm until serving time.
Preventing soggy sliders is simple: start by placing a thin layer of cheese or even a crisp lettuce leaf directly onto the bottom rolls before adding any other cold cuts. This barrier effectively shields the bread from moisture, ensuring your sliders stay fresh and firm.
For a party, arrange your Hawaiian sliders beautifully on a large serving tray. For a warm option, bake them just before serving. Offer a selection of condiments on the side, such as mustard, mayonnaise, or extra grinder salad dressing, allowing guests to customize their perfect slider.
Yes, you can absolutely freeze assembled but unbaked sliders for future convenience. Wrap them tightly in plastic wrap and then foil, and store them in an airtight container. When ready to enjoy, thaw them in the refrigerator overnight before baking or serving cold, ensuring deliciousness anytime.
For appetizers, plan on making about 2–3 sliders per person. If the sliders are serving as the main dish, especially with other sides, aim for 3–4 per person. Adjust these numbers based on the variety of other foods available and the appetites of your guests.
To create a healthier version, opt for whole-grain or lower-sugar Hawaiian rolls, lean cold cuts like thinly sliced turkey or chicken breast, and lighter cheese options such as part-skim mozzarella. You can also significantly reduce or even skip the butter glaze to cut back on fat.
Delightful Pairings: What to Enjoy with Deli Slider Sandwiches
Deli sliders are incredibly versatile and pair wonderfully with a variety of side dishes, enhancing the overall meal experience. Here are some fantastic options to enjoy alongside your sliders:
- French Fries: Crispy, golden French fries are an undeniable classic with sliders, offering a satisfying crunch and salty complement to the soft rolls and savory fillings.
- Coleslaw:The creamy, tangy flavor of a well-made coleslaw provides a refreshing contrast to the rich meats and cheeses in the sliders, while also adding a delightful crisp texture.
- Potato Salad: A hearty and creamy potato salad offers a comforting, starchy side that complements the meaty sliders without overpowering their delicate flavors, making for a truly satisfying meal.
- Pickles: The sharp, briny kick of pickles is a perfect palate cleanser. Their acidity cuts through the richness of the deli meats and cheese, adding a bright, zesty contrast.
- Sweet Potato Fries: For a twist on classic fries, sweet potato fries offer a slightly sweet and earthy flavor profile with a crispy exterior, providing a delicious contrast to the savory sliders.
- Onion Rings: Crunchy, golden-fried onion rings are an indulgent and fun side that provides a different texture and sweet-savory flavor, pairing exceptionally well with classic deli sliders.
- Macaroni and Cheese: Creamy, cheesy macaroni and cheese echoes the rich, comforting elements of the sliders, creating a familiar and beloved comfort food combination that everyone will love.
- Grilled Vegetables: Lightly charred and smoky grilled vegetables, such as zucchini, bell peppers, or asparagus, offer a fresh, healthy, and vibrant balance to the meal, adding essential nutrients and flavor.
- Corn on the Cob: Whether grilled or boiled, corn on the cob adds a sweet, buttery element to your meal. It’s a fresh, seasonal side that brings a touch of summery goodness to any plate.
- Deviled Eggs:The creamy, tangy, and often savory flavor of deviled eggs serves as a delightful appetizer or side that enhances the overall experience of the deli sliders with their rich, satisfying taste.
- Fruit Salad: A light and refreshing fresh fruit salad provides a burst of natural sweetness and brightness, offering a perfect counterpoint to balance the heartier, savory sliders.
Try these other delicious sides:
- Dilly Bread Recipe
- Cabbage and Noodles
- Bacon Rye Stuffing
- Roasted Potatoes and Sauerkraut
We hope you love this easy and incredibly flavorful recipe! If you enjoyed making and eating these sliders, please consider giving it a five-star rating by clicking the stars below and leaving a comment. Your feedback helps other home cooks discover and enjoy these recipes. Don’t forget to share your creations on Instagram, Facebook, and Pinterest – we love seeing what you make!
Only have 30 minutes to get dinner on the table? Sign up for my 30 minute dinner plans direct to your inbox!
Find and shop my favorite products in my Amazon storefront here!
Classic Deli Sliders
By: Katherine
Servings: 6 people
Prep Time: 10 mins
Cook Time: 20 mins
These cold-cut packed classic deli slider sandwiches are bursting with flavor and feature a crunchy grinder salad, making them perfect for lunch or a party centerpiece!
Equipment
- 1 Pyrex Deep 9×13-Inch Glass Baking Dish with Lid
- 1 OXO Good Grips Silicone Basting & Pastry Brush – Small
Ingredients
For the sliders
- 12 Hawaiian rolls
- 8 ounces ham, thinly sliced
- 4 ounces provolone cheese, sliced
- 3 ounces thinly sliced pepperoni
- 3 ounces thinly sliced salami
For the glaze
- 2 tablespoons butter
- 2 tablespoons grated parmesan
- ½ teaspoon garlic powder
- ½ teaspoon onion powder
- ½ teaspoon garlic salt
Grinder Salad topping
- 8 ounces shredded lettuce
- ½ cup diced tomato
- ½ cup sliced pepperoncini peppers
- ¼ cup mayonnaise
- 1 tablespoon red wine vinegar
- 2 teaspoons Italian seasoning
- ½ teaspoon salt
- ½ teaspoon pepper
- ½ teaspoon garlic powder
Instructions
- Preheat your oven to 350°F (175°C).
- Carefully slice the entire block of Hawaiian rolls horizontally, separating the top and bottom halves. Lay the bottom halves into a 9×13-inch baking dish.
- Layer the provolone cheese over the bottom rolls. Then, add the ham, pepperoni, and salami. Place the top halves of the rolls back on. You can make light cuts between each roll to define the individual sliders.
- In a small bowl, combine the melted butter, grated Parmesan, garlic powder, onion powder, and garlic salt. Brush this mixture evenly over the tops of the slider sandwiches.
- Bake for 15-20 minutes, or until the cheese is melted and bubbly, and the tops of the rolls are beautifully golden brown.
- While the sliders are baking, prepare the grinder salad. In a medium bowl, whisk together the mayonnaise, red wine vinegar, Italian seasoning, salt, pepper, and garlic powder to create the dressing.
- Add the shredded lettuce, diced tomatoes, and sliced pepperoncini peppers to the bowl with the dressing. Gently toss until all the ingredients are well coated.
- Once the sliders are done, remove them from the oven. Carefully lift the top layer of buns, spoon a generous amount of the fresh grinder salad onto the bottom layer, and replace the tops. Serve immediately for the best flavor and texture!
Nutrition
Calories: 298kcal | Carbohydrates: 32g | Protein: 7g | Fat: 16g | Saturated Fat: 6g | Polyunsaturated Fat: 4g | Monounsaturated Fat: 3g | Trans Fat: 0.2g | Cholesterol: 37mg | Sodium: 679mg | Potassium: 64mg | Fiber: 1g | Sugar: 9g | Vitamin A: 192IU | Vitamin C: 2mg | Calcium: 46mg | Iron: 1mg
Nutrition information is automatically calculated, so should only be used as an approximation.
Additional Info
Course: Appetizer, Lunch
Cuisine: American, Italian