

Perfectly Iced Christmas Sugar Cookies: An Easy Holiday Baking Tradition
Get ready for the most magical time of the year with a recipe that brings joy to every kitchen! These classic, soft, and richly flavored Christmas sugar cookies are incredibly fun to make with children, utterly delicious to eat, and create a truly beautiful centerpiece for any holiday party spread. Whether you’re baking a special treat to leave out for Santa, preparing festive gifts for loved ones, or simply craving a delightful homemade dessert, these iced sugar cookies are guaranteed to become a cherished part of your holiday traditions.

Navigating recipes can sometimes feel overwhelming, but we believe baking should be an enjoyable and empowering experience for everyone, from seasoned bakers to complete beginners. That’s why we’ve meticulously crafted this guide to ensure every step is clear and understandable. We’ll delve into why each ingredient matters and how it contributes to the irresistible flavor and texture of these festive cookies. Our aim is to build your confidence in the kitchen, making you feel like a baking pro!
Table of Contents
- The Enchanting History of Sugar Cookies
- Mastering Christmas Sugar Cookies: Key Ingredients Explained
- Baking Magic: Step-by-Step Christmas Sugar Cookie Instructions
- Expert Tips and Tricks for Flawless Holiday Baking
- Frequently Asked Questions About Christmas Sugar Cookies
- What to Serve Alongside Your Festive Sugar Cookies
- Easy Iced Christmas Sugar Cookies Recipe Card

The Enchanting History of Sugar Cookies
As you gather your ingredients and prepare to embark on this delightful baking adventure, take a moment to appreciate the rich history behind these beloved treats. What we commonly refer to as a “sugar cookie” has fascinating roots, stemming from the Nazareth Cookie, first crafted by German Protestant American settlers in the mid-1700s. Originating in Nazareth, Pennsylvania, these simple yet delicious cookies quickly became a staple, beloved for their pure sweetness and delightful texture.
The Nazareth cookie eventually earned the distinguished title of Pennsylvania’s official state cookie, cementing its place in American culinary history. This enduring classic is more than just a dessert; it’s a symbol of tradition, warmth, and shared moments. By baking these cookies, you’re not only creating delicious treats but also continuing a legacy of warmth and joy that spans centuries. Imagine the generations before you, enjoying similar sweet delights around their own hearths during the holiday season. These cookies are truly perfect for making new, treasured memories this holiday season with your own family.

Mastering Christmas Sugar Cookies: Key Ingredients Explained
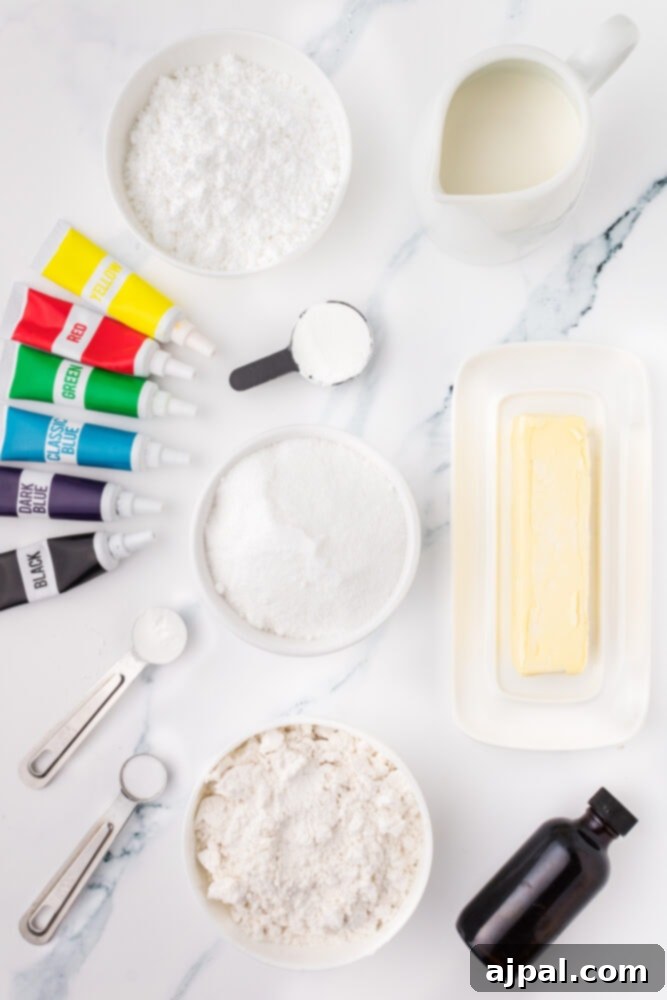
Crafting the perfect Christmas sugar cookie involves understanding the role of each ingredient. Here’s a detailed look at what you’ll need and why these components are crucial for achieving that signature soft, rich, and delightfully sweet cookie.
For the Cookies:
- Butter: Unsalted butter, softened to room temperature but not melted, is fundamental. It acts as the primary fat, binding the dough together and contributing significantly to the cookie’s rich flavor and tender texture. Using unsalted butter allows you to control the exact amount of salt in the recipe, ensuring a balanced taste.
- Granulated Sugar: Refined white sugar is our sweetener of choice for these cookies. It provides a clean, pure sweetness that allows the vanilla flavor to shine. Its fine crystals also contribute to a delicate crumb and help maintain the cookies’ light, almost white appearance even after baking, which is ideal for vibrant icing decorations.
- Vanilla Extract: This ingredient is where much of the classic sugar cookie flavor truly comes alive. Made by steeping vanilla beans in alcohol, vanilla extract imparts a warm, aromatic, and distinctly floral taste. High-quality vanilla makes a noticeable difference, elevating the cookies from good to truly exceptional.
- Milk: Whole milk is preferred for its fat content, which adds richness and helps create a smooth, pliable dough. It also aids in bringing the dry ingredients together, resulting in a wonderfully soft and tender cookie.
- All-Purpose Flour: The backbone of our cookie structure. All-purpose flour contains the perfect protein content for soft and chewy cookies. For an even lighter texture and to prevent lumps, we recommend pre-sifting your flour before adding it to the wet ingredients.
- Cornstarch: A secret weapon for perfect sugar cookies! Derived from corn, cornstarch is a powerful thickening agent that helps the cookies maintain their shape during baking. It prevents them from spreading too much, ensuring your carefully cut festive shapes remain distinct and beautiful.
- Baking Powder: This leavening agent is essential for giving the cookies their light, soft, and slightly puffed texture. It reacts with moisture and heat to produce carbon dioxide, creating tiny air pockets that contribute to a tender crumb.
- Salt: A small but mighty ingredient. Fine-grain sea salt is ideal for this recipe, as it dissolves evenly and enhances all the other flavors, particularly the sweetness of the sugar. It balances the richness and prevents the cookies from tasting bland.
For the Icing:
- Powdered Sugar (Confectioners’ Sugar): The ultrafine consistency of powdered sugar is absolutely key to achieving a smooth, velvety icing. Sifting it before mixing is crucial to prevent any lumps, ensuring a professional-looking finish on your decorated cookies.
- Milk: When combined with powdered sugar, milk creates a smooth, spreadable icing. Precision in measuring both the milk and powdered sugar is important to get the right consistency – you want it neither too thick and sticky nor too thin and runny.
- Vanilla Extract: Just like in the cookies, vanilla extract brightens the icing’s flavor, adding a fragrant, warm note that complements the cookie’s base perfectly. This double dose of vanilla ensures a cohesive and delightful taste experience.
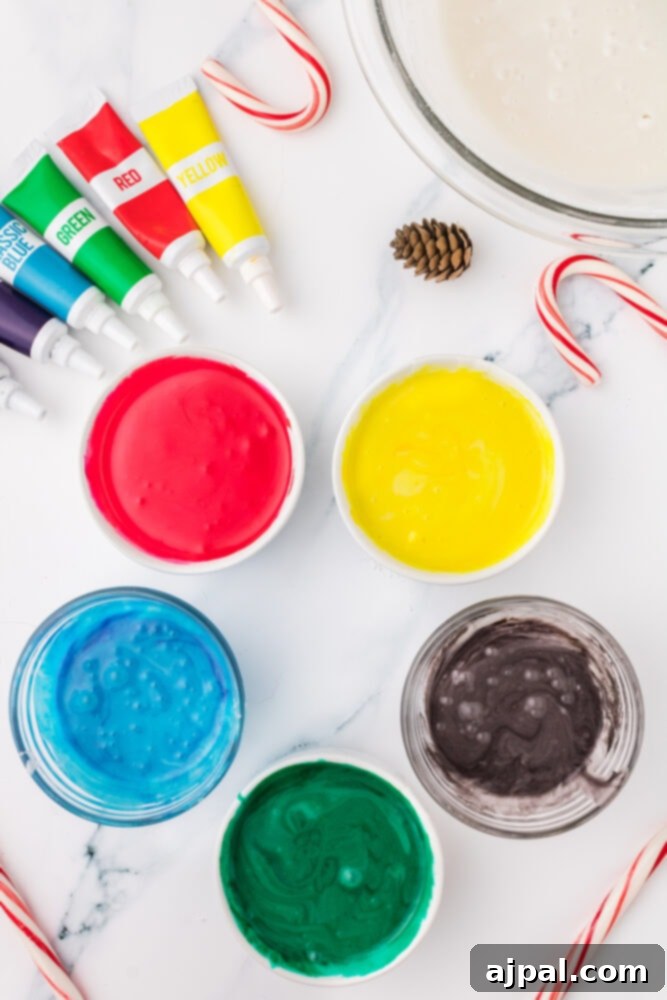
- Food Dye: This is where the holiday magic truly happens! High-quality food coloring gels are recommended for their vibrant pigmentation and ease of use. Start with a small amount and gradually add more until you achieve your desired hue, as it’s easier to deepen a color than to lighten it. Green, red, black, yellow, and blue are fantastic choices for a festive palette.
Baking Magic: Step-by-Step Christmas Sugar Cookie Instructions
Once you’ve gathered all your ingredients, follow these simple steps to create a batch of delightful Christmas sugar cookies. The process is designed to be enjoyable for bakers of all skill levels, especially when little hands are involved!
- Prepare Your Workspace and Preheat Oven: Begin by preheating your oven to 350°F (175°C). Line a baking sheet with parchment paper to prevent sticking and ensure even baking. This also makes cleanup a breeze!
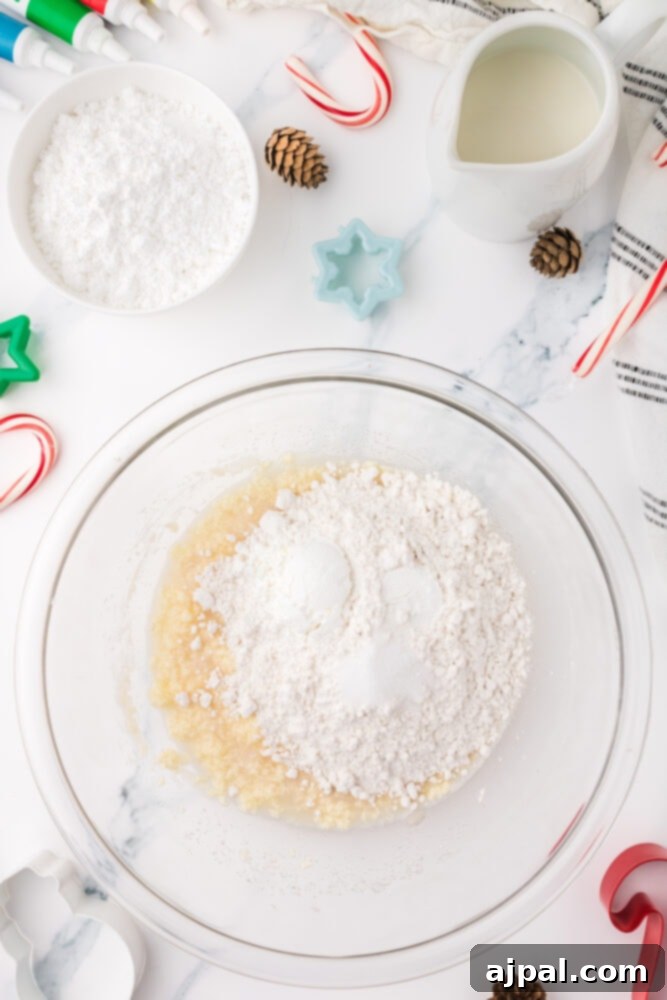
- Cream Wet Ingredients: In a large mixing bowl, combine the softened butter and granulated sugar. Cream them together for 3-4 minutes using an electric mixer until the mixture is light, fluffy, and pale in color. This step incorporates air, contributing to the cookies’ soft texture. Next, stir in the vanilla extract and milk until just combined.
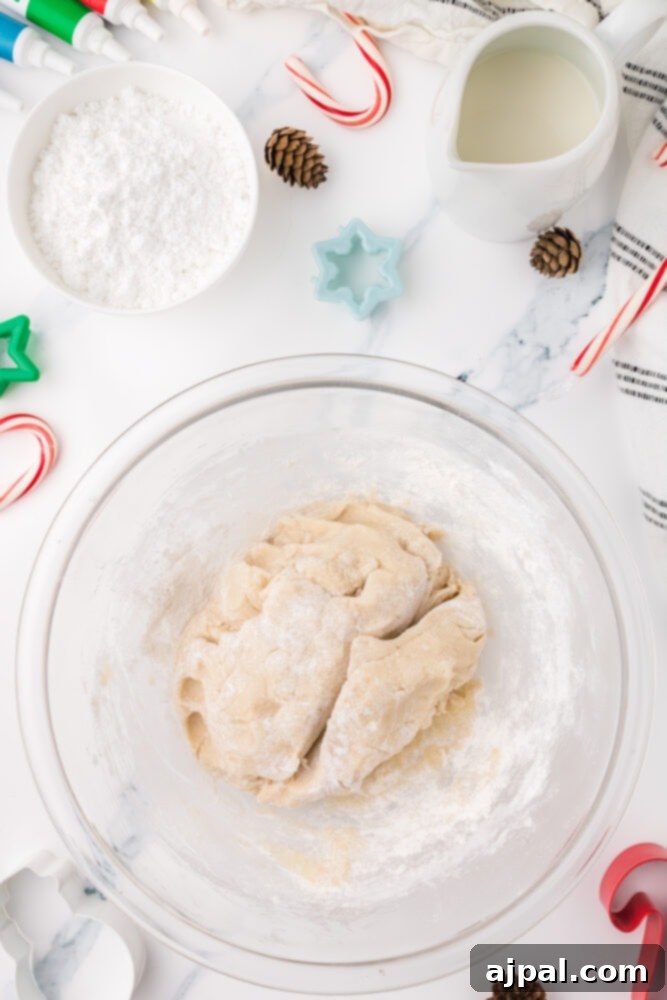
- Combine Dry Ingredients: In a separate bowl, whisk together 2 cups of the all-purpose flour, cornstarch, baking powder, and salt. Gradually add these dry ingredients to the wet mixture, mixing until a soft dough forms. If the dough feels too sticky or soft to handle, add the remaining ¼ cup of flour, one tablespoon at a time, until it reaches a manageable, non-sticky consistency. Avoid overmixing, as this can lead to tough cookies.
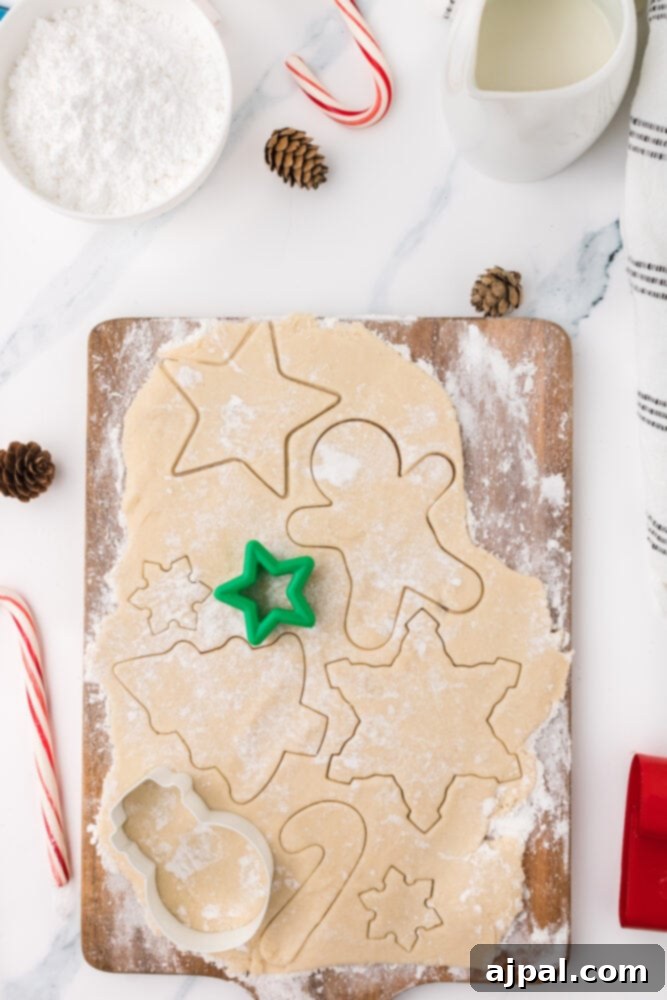
- Roll Out the Dough: Lightly flour a clean work surface or a large cutting board. Divide your dough into two or three manageable portions. Roll one portion of the dough out evenly until it is just under ¼ inch thick. Ensure you lightly flour the top of the dough and your rolling pin as you go to prevent sticking.
- Cut Festive Shapes: This is arguably the most fun part, especially for kids! Use your favorite festive cookie cutters to cut shapes from the rolled dough. Carefully transfer the cut cookies onto your prepared baking sheet, leaving just a small space between each one. They won’t spread much, thanks to the cornstarch, but a little breathing room is always good.
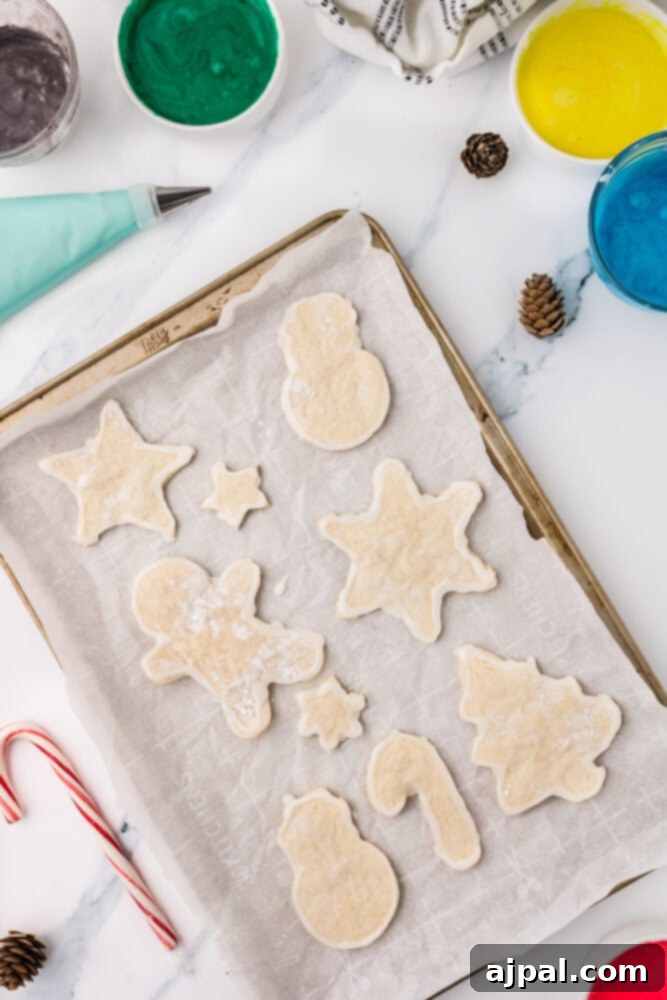
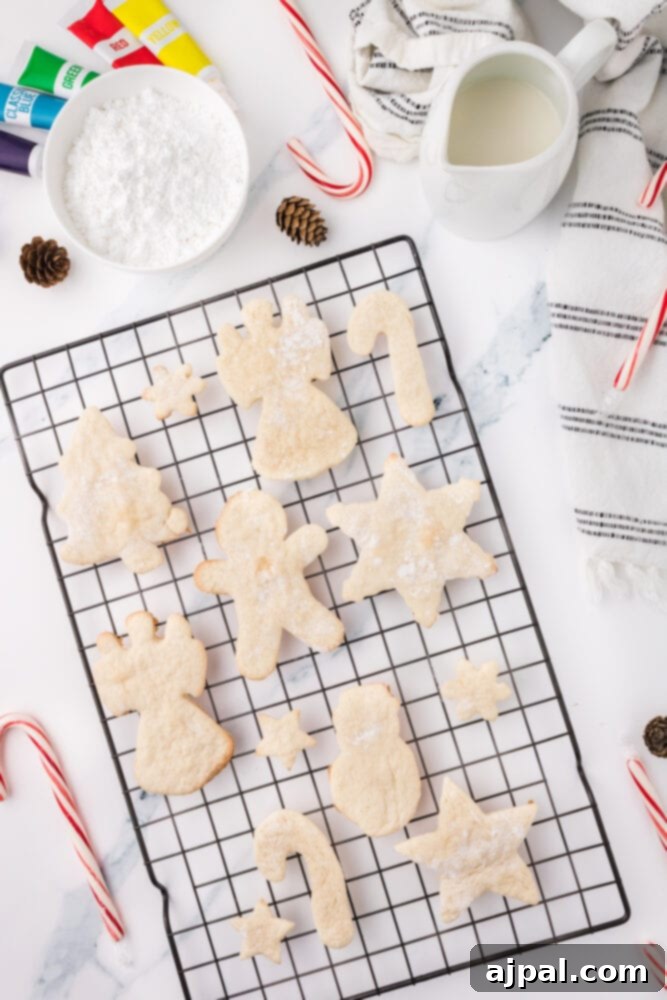
- Bake to Perfection: Place the baking sheet in the preheated oven and bake for 7 to 10 minutes. The baking time will vary slightly depending on the thickness of your cookies. Keep a close eye on them; you want the edges to be set, but the tops should remain light and not turn golden. Remove them from the oven and let them cool on the baking sheet for a few minutes before transferring them to a wire rack to cool completely. You’ll likely need to bake in batches.
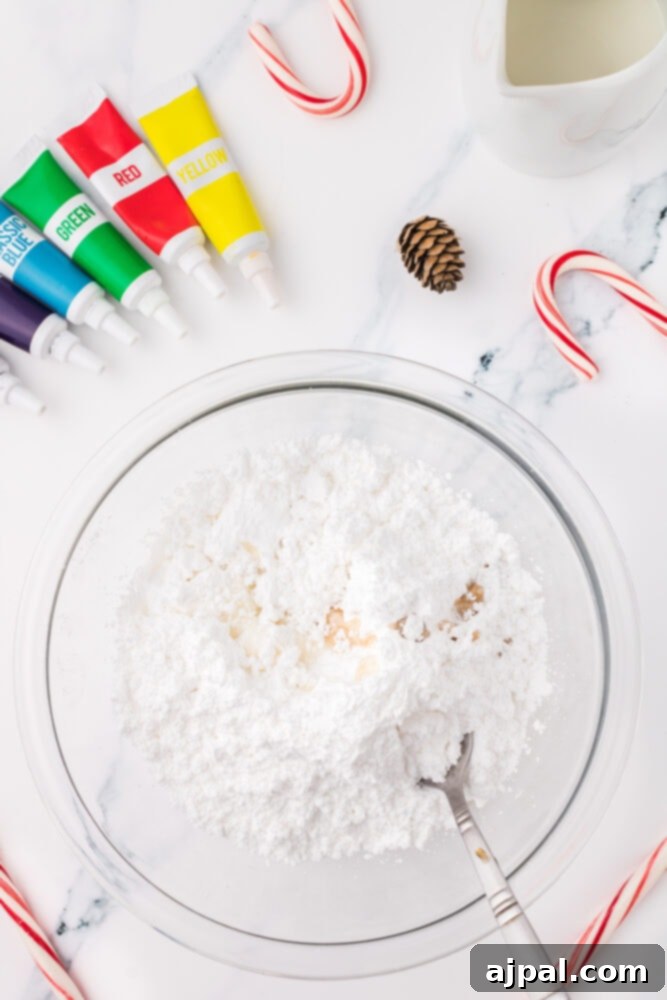
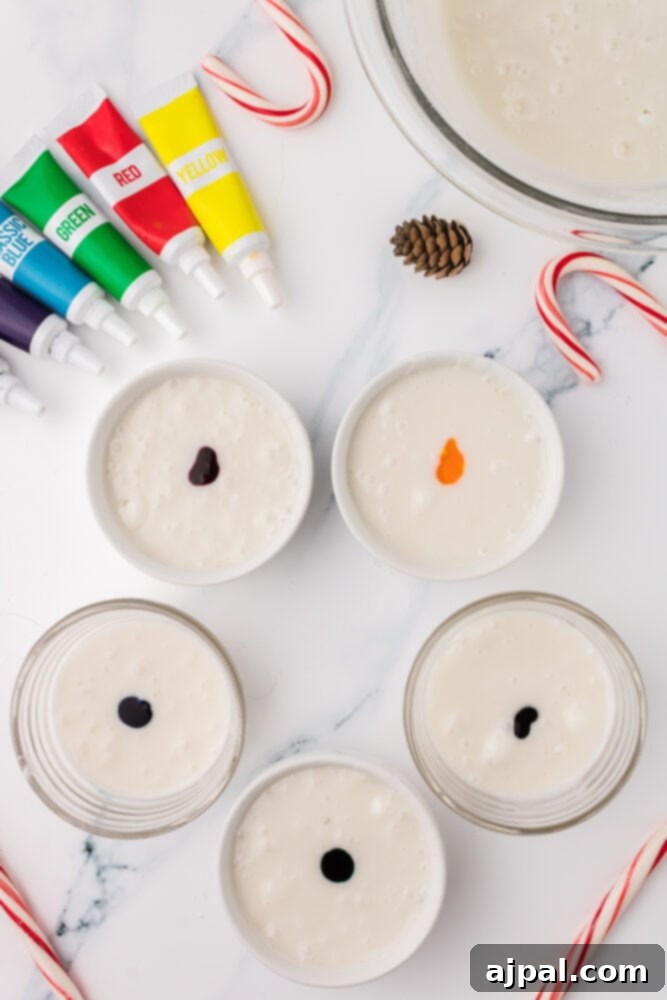
- Prepare the Icing: While the cookies are baking and cooling, prepare your delightful icing. In a bowl, whisk together the sifted powdered sugar, milk (start with 8 tablespoons and add more slowly if needed for desired consistency), and vanilla extract until smooth. Divide the white icing into separate bowls – one for each color you plan to use. Add a tiny drop of food coloring gel to each bowl and stir well until you achieve your desired vibrant hues. Transfer the colored icings into piping bags or sturdy plastic bags, snipping a tiny corner off the bag for piping.
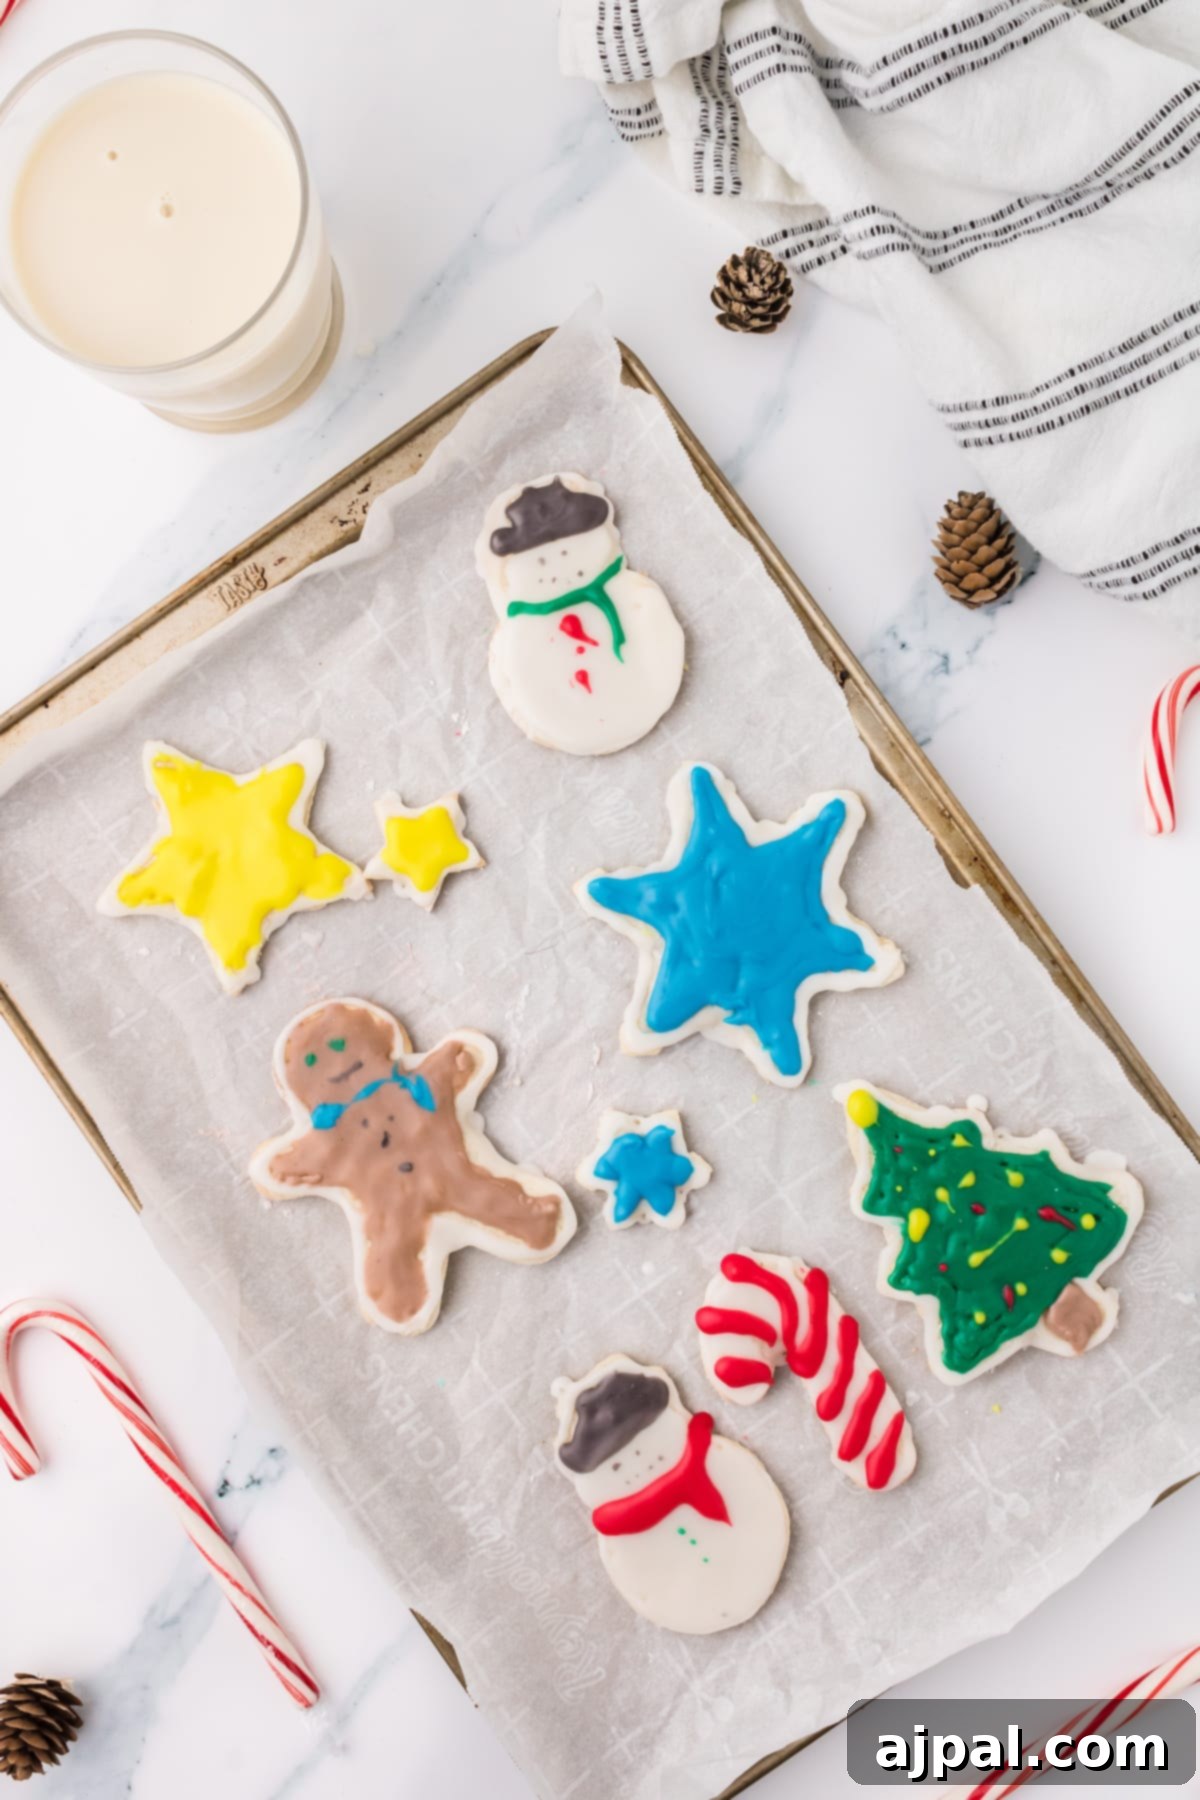
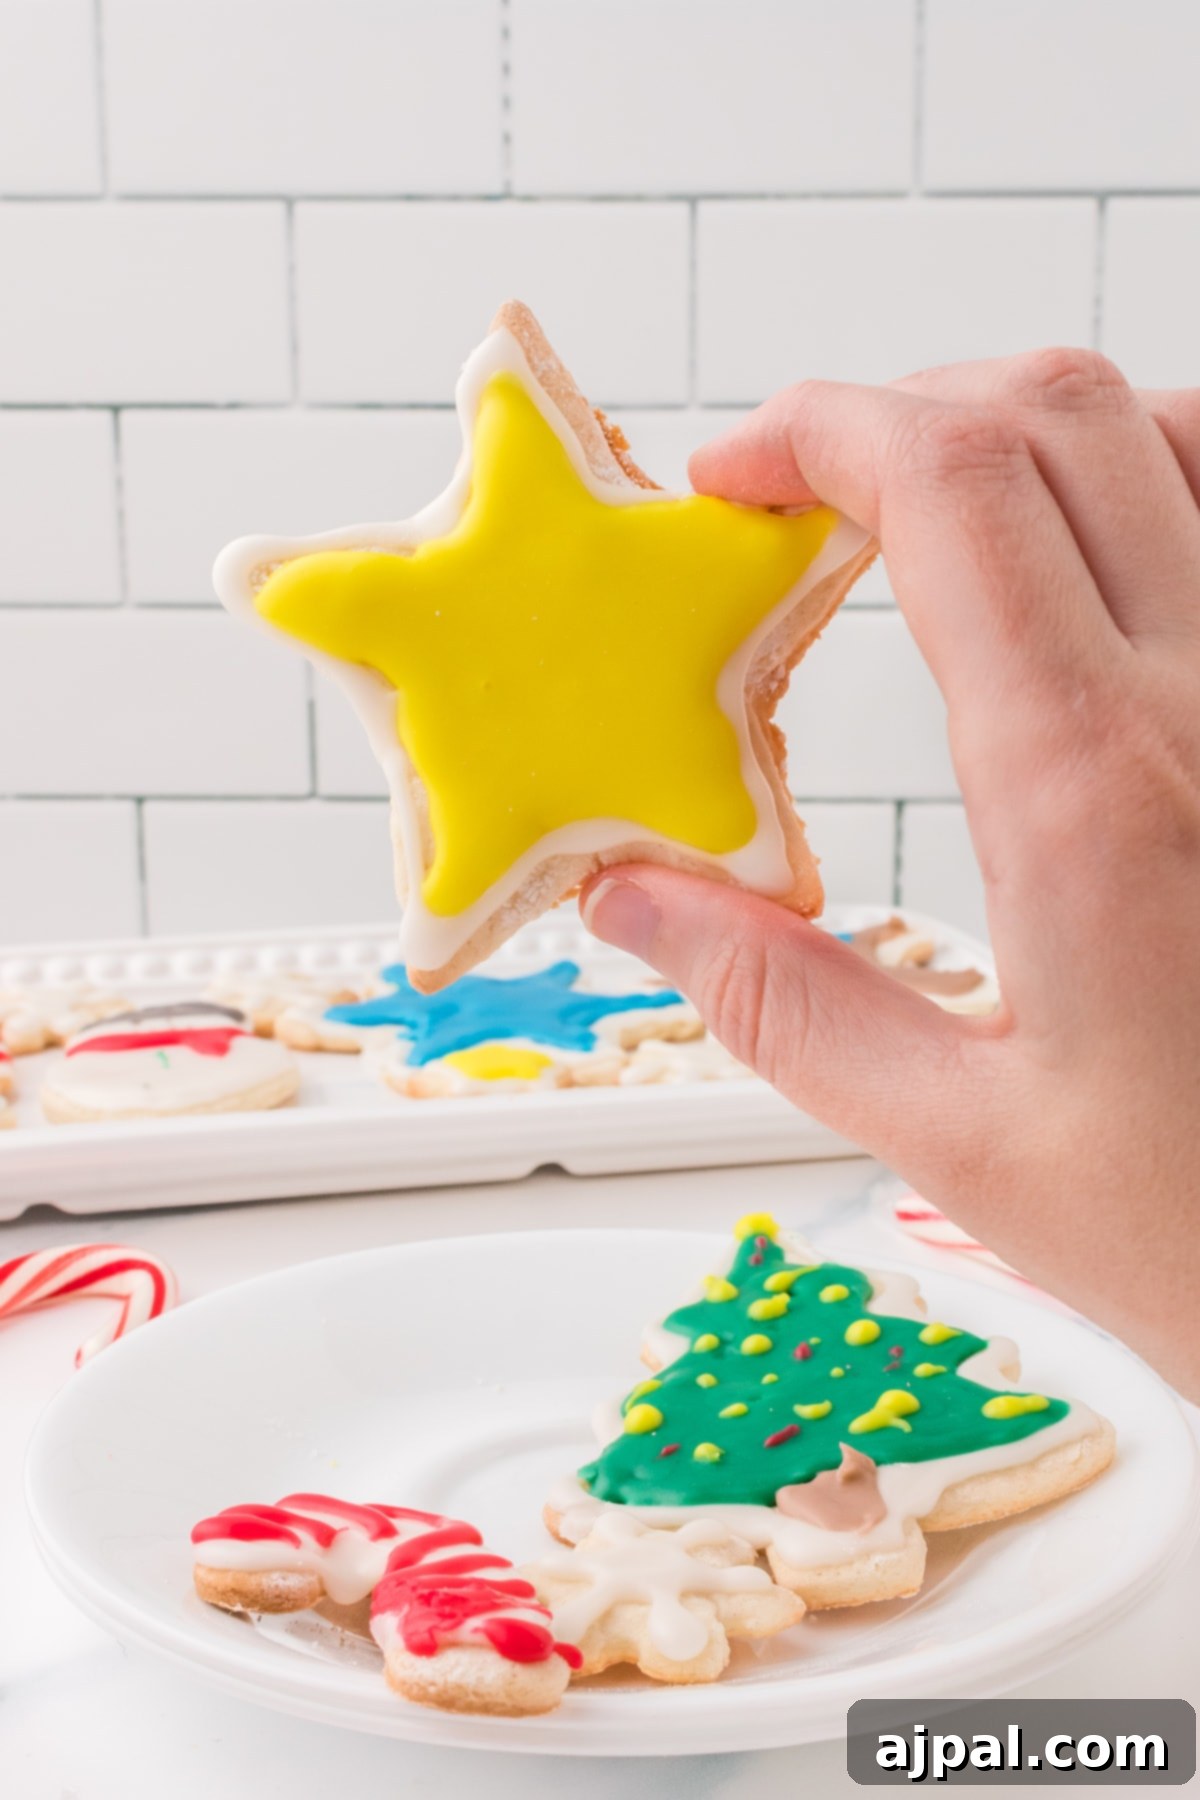
- Decorate and Enjoy: Once your cookies are completely cool, unleash your creativity! Decorate them with your beautifully colored icings, adding sprinkles, edible glitter, or other festive embellishments if desired. Allow the icing to set (ideally for several hours for a firm finish) before storing or stacking. Then, savor the delicious fruits of your labor!
Expert Tips and Tricks for Flawless Holiday Baking
Achieving perfectly soft, richly flavored, and beautifully decorated Christmas sugar cookies is easier with a few insider tips. Here’s how to ensure your cookies are a triumph every time:
- Watch for a Light Bake: The key to soft sugar cookies is to avoid overbaking. Sugar cookies should remain light in color, with only the very edges just barely starting to turn golden. Start checking your cookies around the 6-minute mark, especially if you rolled them on the thinner side. An eager child can even be assigned this important task, helping them feel involved and learn valuable baking observation skills!
- Generous Flour for Rolling: When rolling out your dough, be sure to lightly flour both your work surface and the top of the dough (and your rolling pin!). This prevents the dough from sticking, making it much easier to cut out shapes and transfer them to the baking sheet without distortion. If your dough is too sticky, it will be frustrating to work with and your cookie shapes will lose their definition.
- Flip the Dough: For extra insurance against sticking, after rolling out the dough initially, gently flip it over before cutting. This ensures both sides have a light dusting of flour, making it significantly easier to lift the delicate shapes from your counter.
- Room Temperature Ingredients are Key: Ensure your butter and milk are truly at room temperature. This allows them to cream together smoothly with the sugar, creating an emulsified mixture that holds air well, resulting in lighter, more tender cookies. Cold butter won’t incorporate properly, leading to a dense dough.
- Don’t Overwork the Dough: Once the flour is added, mix only until just combined. Overworking the dough develops the gluten, which can make your cookies tough instead of tender and soft. A gentle hand is best!
- Chill if Needed: While this recipe is designed not to require chilling the dough, if you find your kitchen particularly warm or your dough becomes too soft to handle easily, a brief chill (15-20 minutes) in the refrigerator can help firm it up. Roll and cut your cookies before chilling if possible, then stack them with parchment paper in between.
- Sift Dry Ingredients: Always sift your flour, cornstarch, and baking powder. This removes any lumps, ensuring these ingredients are evenly distributed throughout the dough, which contributes to a consistent texture and prevents pockets of unmixed dry ingredients.
- Patience with Icing Set-Time: While it’s tempting to dig in immediately, royal icing truly benefits from time to set. For a firm, non-sticky finish that allows for stacking and gifting, allow your iced cookies to air dry at room temperature for at least 8-12 hours, or ideally 24 hours.

Frequently Asked Questions About Christmas Sugar Cookies:
Here are some common questions and helpful answers to guide you on your sugar cookie baking journey:
If your cookies have turned a bit more golden than intended, but aren’t burnt, don’t despair! They will still be delicious once iced. Just be aware that they might be slightly crispier than the perfectly light-colored ones. For your next batch, adjust your baking time by checking them a minute or two sooner and monitoring them more frequently. Remember, the goal is barely golden edges.
These delightful cookies store wonderfully! Once the icing has fully set, place them in an airtight container at room temperature. They will maintain their freshness and deliciousness for up to 5 days, making them perfect for preparing ahead of time or enjoying throughout the week.
This recipe is specially formulated to be a no-chill dough, meaning you can mix, roll, cut, and bake without waiting! If, for any reason, you find it necessary to chill the dough (perhaps you’re preparing it in advance), it will still bake beautifully. Simply roll and cut your cookies before chilling, then stack them between layers of parchment paper in the refrigerator.
For a completely dry, non-sticky icing that allows for stacking and handling without smudging, it typically takes about 24 hours to set at room temperature. However, the cookies are absolutely irresistible and delicious to eat even before the icing is fully hardened!
Clumpy dough is often a sign that your butter was not softened enough. Room temperature butter should be soft enough that you can easily press an indent into it with your finger, but not melted. When butter is too cold, it doesn’t cream properly with the sugar, leading to a lumpy texture. Ensure your butter is adequately softened next time for a smooth, cohesive dough.
While this specific recipe has not been tested with gluten-free flour blends, you can easily adapt it to be vegan. Simply substitute regular milk with your preferred non-dairy milk (almond and soy milk work very well), and replace the butter with a high-quality plant-based butter. Always double-check that your chosen food dyes are vegan-friendly.
What to Serve Alongside Your Festive Sugar Cookies
These delightful Christmas sugar cookies are wonderful on their own, but they also pair beautifully with other holiday treats and beverages. If you and your little bakers enjoyed making these, you’ll love exploring some of our other festive favorites to complete your holiday spread. Consider serving them with a warm mug of Spiked Eggnog Mocha for the adults, or classic hot cocoa for everyone. Here are some other perfect companions:
- Christmas Candy Cookie Dough Fudge: A rich and decadent treat that makes a fantastic homemade gift.
- Easy Iced Christmas Tree Shortbread Cookies: Another classic cookie, elegantly shaped and iced.
- Easy Wreath Christmas Cookies: Simple to decorate and visually stunning.
- Easy Gingerbread Truffles Recipe: Bite-sized delights bursting with holiday spice.
- Cranberry Moonshine: A spirited seasonal drink for holiday gatherings.
- Easy Meringue Christmas Tree Pops: Light, airy, and fun for kids to enjoy.
For even more incredible cookie creations and dessert inspiration, be sure to visit our full collection of Sweet C’s cookie recipes here!
More Delicious Recipes
Herb Roasted Turkey in a Bag
Cranberry Bars
Dilly Bread Recipe
Cabbage and Noodles
Lemon Chicken Tortellini Soup
Cranberry Chutney
Bacon Rye Stuffing
Air Fried Chicken Fried Steak

Easy Iced Christmas Sugar Cookies Recipe Card
If you love this easy recipe, please take a moment to give it a five-star rating and leave a comment below! Your feedback helps us share more delicious creations. Don’t forget to share your beautifully decorated cookies on Instagram, Facebook, and Pinterest – tag @sweetcsdesigns so we can see your amazing work!
Share on Facebook
Share
Pin this now to find it later
Pin It
Follow on Instagram
Follow

Only have 30 minutes to get dinner on the table? Sign up for my 30 minute dinner plans direct to your inbox!
Find and shop my favorite products in my Amazon storefront here!
Christmas Sugar Cookies

Equipment
-
KitchenAid 5-Speed Ultra Power Hand Mixer, Empire Red
-
KitchenAid KSM150PSER Artisan Tilt-Head Stand Mixer with Pouring Shield, 5-Quart, Empire Red
-
Moukiween Christmas Cookie Cutters-9 pieces Holiday Cookie Cutters Set
-
Silpat Premium Non-Stick Silicone Baking Mat, Half Sheet Size
-
Kasmoire Reusable Piping Bags and Tips Set
-
Joseph Joseph Adjustable Rolling Pin with Removable Rings
Ingredients
Cookies
- ½ cup Butter, softened
- 1 cup Sugar
- 1 teaspoon Vanilla Extract
- ¼ cup Milk
- 2 ¼-2 ½ cups Flour + more for rolling out dough
- 1 tablespoon Cornstarch
- 1 teaspoon Baking Powder
- ½ teaspoon Salt
Icing
- 6 cups Powdered Sugar
- 8-12 tablespoons Milk
- 2 teaspoons Vanilla Extract
- Food dye, colors of your choice (green, red, black, yellow, and blue are great choices)
Instructions
- Preheat oven to 350°F (175°C) and line a cookie sheet with parchment paper.
- Cream together the butter and sugar for 3-4 minutes, then stir in the vanilla and milk until combined.
- Add 2 cups of flour, the cornstarch, baking powder, and salt. Stir until it turns into a dough. If the dough is sticky or too soft, add more flour, ¼ cup at a time, until it is no longer sticky.
- Flour a clean surface or large cutting board, and roll out the dough to just under ¼ inch thick.
- Use your cookie cutters to cut out shapes from the dough and place them on the lined cookie sheets. Leave a little space between them, but they do not need to be far apart.
- Bake the cookies for 7 to 10 minutes. Thinner dough will require less time. Be sure to remove them before the tops start to turn golden. Bake in batches as needed.
- While the cookies are baking, make the icing by mixing together powdered sugar, milk, and vanilla extract. Separate the icing into bowls for desired colors, add food dye, and stir well. Place each color in separate piping bags or plastic bags, snipping the corner once filled.
- Once all cookies are baked and completely cool, decorate them as you please before eating!
Nutrition
Calories: 440kcal
Carbohydrates: 85g
Protein: 5g
Fat: 9g
Saturated Fat: 5g
Polyunsaturated Fat: 4g
Cholesterol: 15mg
Sodium: 187mg
Fiber: 1g
Sugar: 48g
Nutrition information is automatically calculated, so should only be used as an approximation.