
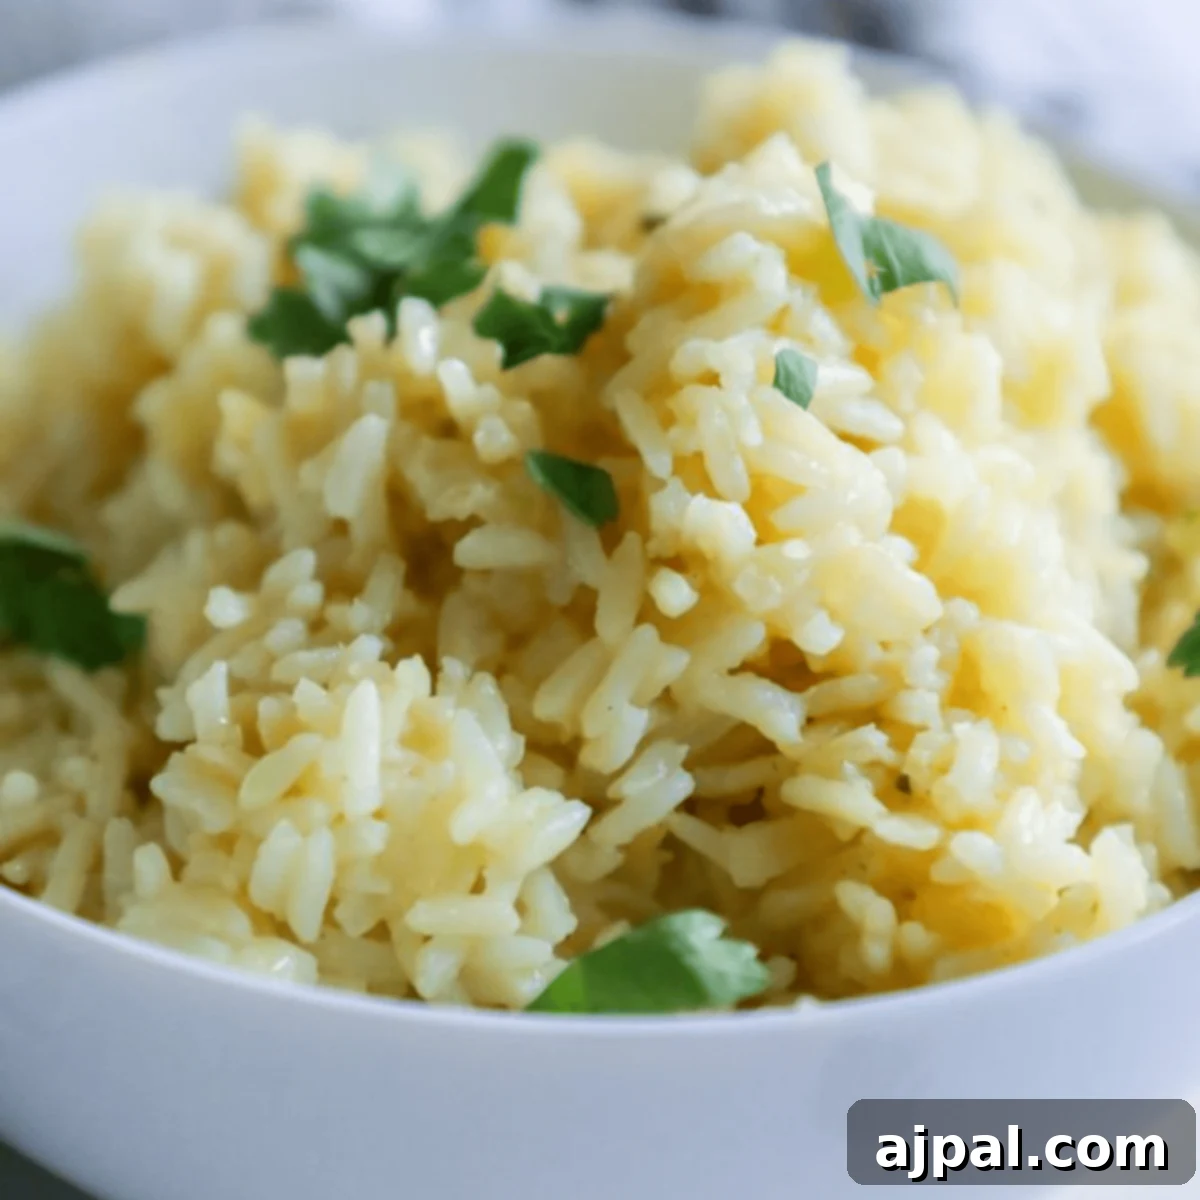
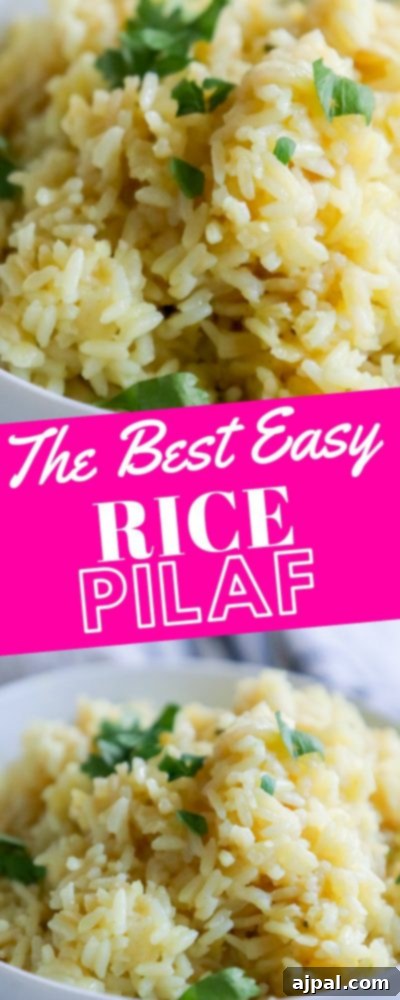
Unlock the secret to a perfect side dish with this incredible easy rice pilaf recipe – a foolproof method that guarantees light, fluffy, and intensely flavorful rice every single time. Forget bland, sticky rice; in under 20 minutes, you can have a gourmet-quality pilaf that elevates any meal. This recipe simplifies the art of rice cooking, making it accessible for even the most novice home cooks while delivering a taste that will impress everyone at your table.
For years, this has been my go-to side dish, a comforting staple that effortlessly comes together with ingredients I almost always have on hand. It’s the ideal solution for those busy weeknights when my family craves something warm, satisfying, and utterly delicious. This recipe isn’t just about quick cooking; it’s about infusing every grain of rice with rich, savory flavor, transforming a humble staple into a culinary highlight.
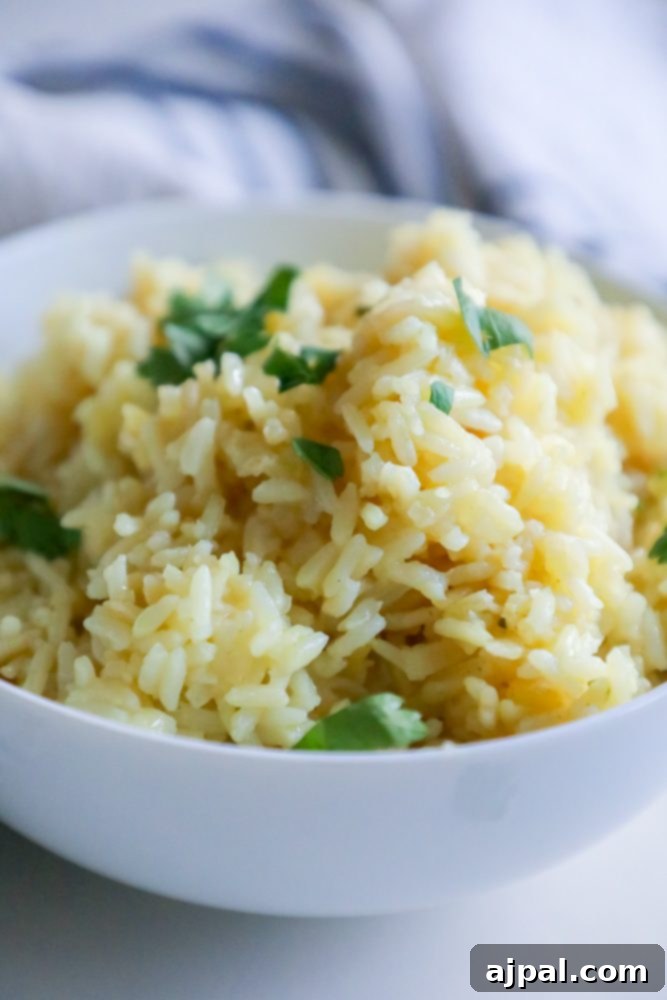
As a passionate home cook without formal culinary training, I believe in empowering others in the kitchen by explaining not just “what” to do, but “why” each step and ingredient matters. Understanding the nuances of a recipe builds confidence and helps you master dishes, creating delicious results every time. My goal is to equip every cook, regardless of experience, with the knowledge to make this rice pilaf a consistent success.
What is Rice Pilaf? Unpacking this Versatile Side Dish
Rice pilaf is much more than just cooked rice; it’s a celebrated method of preparing rice where grains are sautéed in fat with aromatics before being simmered in a flavorful liquid, typically broth, resulting in a dish that’s light, fluffy, and infused with deep flavor. Unlike plain steamed rice, which is often cooked in water and serves as a neutral base, pilaf is a star in its own right, offering a rich texture and aromatic depth that beautifully complements a wide array of main courses.
Originating in the Middle East and South Asia, pilaf has traveled the world, adapting to various cuisines and ingredients. Its distinctive cooking technique ensures that each grain remains separate and tender, never mushy. Our easy rice pilaf recipe embraces this tradition, using chicken stock and sautéed onions to create a truly irresistible side dish. Naturally gluten-free (when made with gluten-free broth), it cooks quickly and pairs seamlessly with almost everything on your plate. Imagine it alongside succulent grilled chicken breasts, perfectly tender baked pork tenderloin, or luxurious lobster tails. It’s equally fantastic mixed into salads for added texture and substance or topped with savory shrimp in a spicy sauce. This simplicity and versatility make it an indispensable recipe for both seasoned cooks and beginners alike.
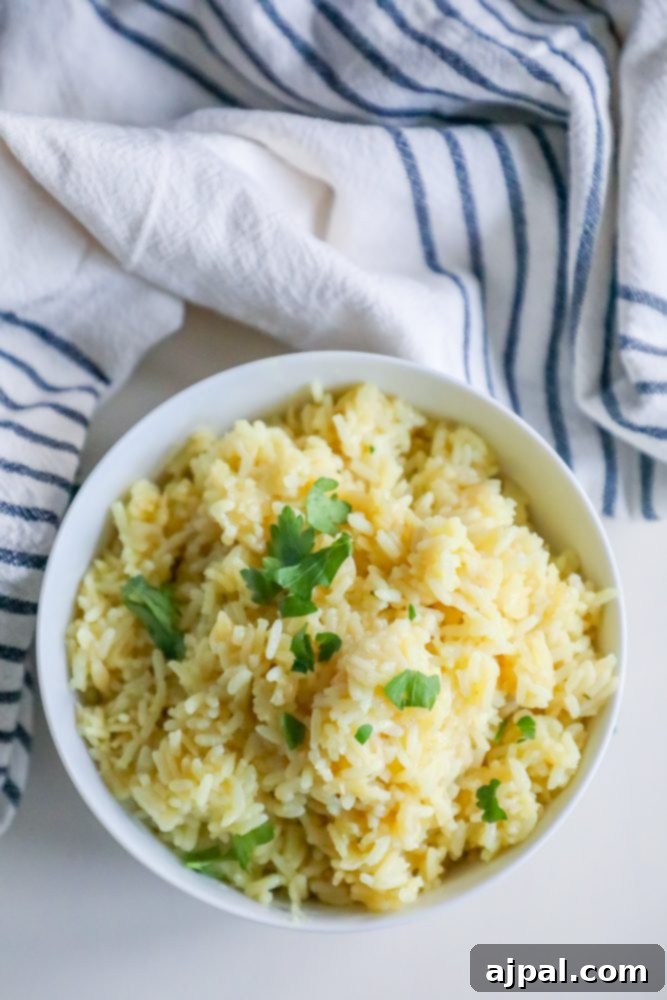
Essential Tips for the Perfect Easy Rice Pilaf
Crafting the perfect rice pilaf is simpler than you might think, especially with a few key techniques. These tips will guide you to a consistently fluffy, flavorful, and unforgettable side dish:
Use the Right Rice: The foundation of excellent pilaf starts with the correct type of rice. Long-grain white rice varieties like Basmati or Jasmine are highly recommended. Their slender grains remain separate and fluffy when cooked, absorbing flavors beautifully. Always rinse your rice thoroughly under cold running water until the water runs clear. This crucial step removes excess starch, which is often the culprit behind gummy or sticky rice, ensuring a light and airy texture.
Toast the Rice: Before introducing any liquid, lightly toast the rinsed rice in a tablespoon or two of butter or oil. This brief sautéing step, until the grains are slightly golden and translucent around the edges, serves multiple purposes. It enhances the inherent nutty flavor of the rice and creates a protective barrier around each grain, helping them stay separate during simmering and contributing to that desirable fluffy texture.
Sauté Aromatics: Building a strong flavor base is paramount for pilaf. Start by gently sautéing finely diced onions, minced garlic, and perhaps some celery in butter or oil. Cook them until they are soft, fragrant, and slightly translucent – not browned. This process sweetens the onions and releases their aromatic compounds, setting the stage for a deeply flavorful pilaf.
Use Broth Instead of Water: This is perhaps the most significant difference between plain rice and a truly flavorful pilaf. Cooking the rice in chicken, vegetable, or even beef broth instead of plain water infuses every grain with savory depth. For a vegetarian version, a good quality vegetable broth works perfectly. The richer the broth, the more robust your pilaf will taste.
Add Spices and Herbs: Elevate your pilaf with a carefully selected blend of spices. Cumin, cardamom, turmeric (for a beautiful golden hue), or a pinch of cinnamon can add warmth and complexity. Finish the dish with a generous amount of fresh herbs like chopped parsley, cilantro, or dill. Fresh herbs brighten the flavor profile and add a vibrant pop of color, making the pilaf even more appetizing.
Maintain the Liquid Ratio: Precision is key when it comes to liquid ratios. While a common guideline is 2 parts liquid to 1 part rice, some long-grain varieties perform best with a 1.5 to 1 ratio (1.5 cups liquid per 1 cup rice). Too much liquid will result in mushy rice, while too little will leave it crunchy and undercooked. Always measure accurately and consider the type of rice you are using.
Keep the Lid On: Once the broth is added and brought to a boil, reduce the heat to the lowest setting, cover the pot with a tight-fitting lid, and resist the urge to peek! The steam trapped inside is crucial for even cooking. Lifting the lid releases this steam, extending cooking time and potentially resulting in unevenly cooked rice. Let it simmer undisturbed for the recommended time.
Let It Rest: This step is often overlooked but is vital for perfect pilaf. After the cooking time, remove the pot from the heat but keep the lid on. Let the pilaf rest for an additional 5-10 minutes. This allows the residual steam to continue cooking the rice gently, ensuring the grains are plump and firm, and helps them absorb any remaining moisture, leading to a wonderfully fluffy texture.
Fluff with a Fork: Once rested, gently fluff the rice with a fork. Avoid stirring with a spoon, which can mash the delicate grains. A fork separates the individual grains, showcasing the light and airy texture that defines a well-made pilaf.
Experiment with Add-Ins: Rice pilaf is a fantastic canvas for creativity. Feel free to customize it with various additions. Stir in frozen peas or diced carrots during the last few minutes of cooking, or fold in dried cranberries, raisins, or toasted slivered almonds after resting. Cooked proteins like shredded chicken, chickpeas, or even crumbled feta can transform pilaf into a more substantial meal.
Use a Wide Pan: When possible, opt for a wide, shallow pot or Dutch oven. This design allows the liquid to evaporate more evenly and the rice to cook in a single layer, preventing clumping and promoting uniform cooking.
Adjust Seasoning at the End: Always taste your pilaf before serving and adjust the salt and pepper as needed. Broths can vary significantly in their sodium content, so a final seasoning check ensures your pilaf is perfectly balanced and delicious.
Frequently Asked Questions About Rice Pilaf
Absolutely! The Instant Pot is a fantastic tool for making rice pilaf. You’ll begin by using the “Sauté” function to brown your onions, celery, and garlic in olive oil, just as you would on the stovetop. Once fragrant, stir in the rice and seasonings, then add the chicken stock. Secure the lid and cook on “Manual” or “Pressure Cook” mode at high pressure for 3 minutes. After cooking, allow the pressure to release naturally for about 10-15 minutes. This natural release method is key to preventing a gummy texture. Once the pressure has fully released, carefully open the lid, fluff with a fork, and stir in your fresh parsley. Enjoy!
The primary difference lies in the cooking method and the resulting flavor profile. In pilaf, the rice grains are typically sautéed in a fat (like oil or butter) with aromatics (onions, garlic) before being simmered in a flavorful liquid, usually broth or stock, rather than plain water. This pre-treatment toasts the rice, enhancing its nutty flavor and helping the grains stay separate. The use of broth means pilaf is inherently more seasoned and flavorful, making it a more substantial and aromatic side dish compared to neutral steamed rice.
A crunchy or undercooked rice pilaf typically indicates insufficient liquid or inadequate cooking time. Ensure you’re using the correct liquid-to-rice ratio, usually 2:1 for most long-grain white rices. Make sure your pot has a tight-fitting lid to prevent steam from escaping, as this trapped steam is essential for cooking the rice. If your pilaf is still crunchy after the initial cooking and resting time, add a small amount (about ¼ to ½ cup) of extra hot broth or water, stir gently, cover the pot tightly, and let it simmer on the lowest heat for another 5-10 minutes, or until soft. Avoid peeking too often during this process.
For most long-grain white rice varieties used in pilaf, the standard liquid to rice ratio is 2:1. This means for every one cup of uncooked rice, you will use two cups of liquid (typically broth or stock). However, some recipes or specific rice types (like Basmati) might call for a slightly lower ratio, such as 1.5:1. Always check your recipe and adjust accordingly, as using too much or too little liquid can drastically affect the final texture.
Yes, you can certainly make pilaf with brown rice, but you’ll need to adjust the cooking time and liquid ratio. Brown rice requires more liquid and a longer simmering time compared to white rice, typically around 2.5 to 3 cups of liquid per cup of brown rice, and a cooking time of 40-50 minutes, plus a longer resting period. The toasting and aromatic sautéing steps remain the same, ensuring a flavorful brown rice pilaf with a heartier texture.
To store leftover rice pilaf, allow it to cool completely, then transfer it to an airtight container and refrigerate within one hour of cooking. It will keep well in the refrigerator for up to 3-4 days. For reheating, sprinkle a tablespoon or two of water or broth over the rice to prevent it from drying out. Reheat in the microwave, covered, stirring occasionally, or on the stovetop in a covered pot over low heat until warmed through. Freezing is also an option for longer storage; spread cooled pilaf on a baking sheet to freeze, then transfer to a freezer-safe bag for up to 3 months. Thaw in the refrigerator overnight before reheating.
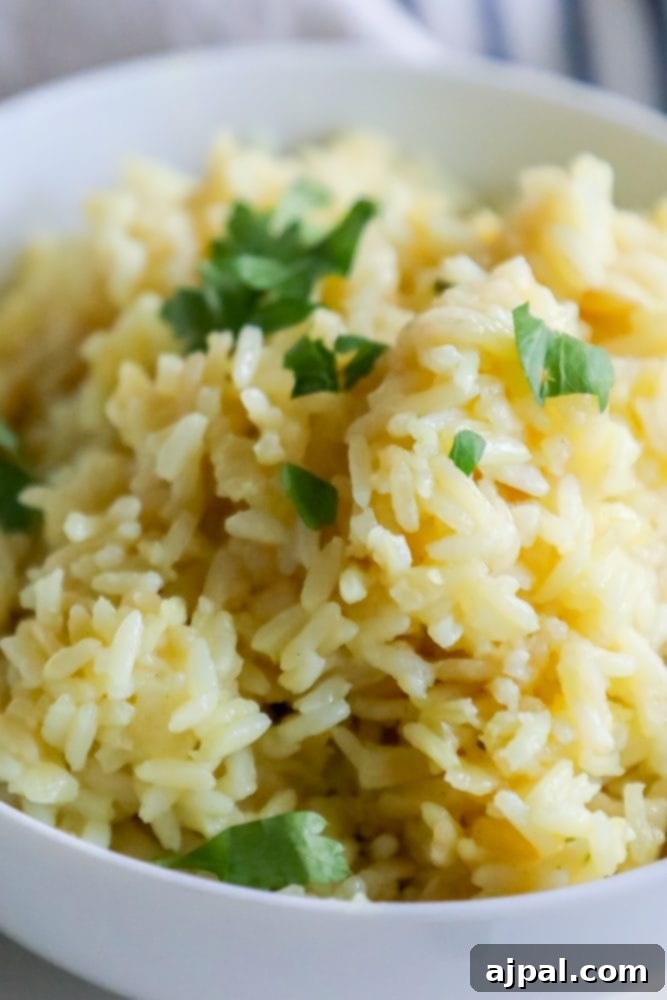
Perfect Pairings: What to Serve with Your Rice Pilaf
One of the greatest attributes of a well-made rice pilaf is its incredible versatility. Its rich, savory flavor and fluffy texture make it an ideal accompaniment to virtually any meal, from simple weeknight dinners to elaborate holiday feasts. Here are some of my favorite dishes to pair with this easy rice pilaf:
- **Poultry:** Pilaf is a classic partner for poultry. Serve it alongside perfectly roasted chicken, juicy grilled turkey, or our Herb Roasted Turkey in a Bag. The pilaf’s savory notes beautifully complement the flavors of chicken and turkey.
- **Red Meats:** For heartier meals, pilaf is an excellent choice. It pairs wonderfully with our tender baked pork tenderloin, succulent oven-broiled ribeye steaks with mushrooms, or a slow-cooked pot roast. The robust flavors of the meat are perfectly balanced by the light and aromatic rice.
- **Seafood:** Don’t limit pilaf to just land-based proteins! Its delicate flavor profile makes it a fantastic match for seafood. Try it with our sweet and spicy Thai chili scallops, baked salmon, or grilled shrimp. It also works beautifully as a base for saucy seafood dishes like a Creole shrimp.
- **Vegetarian Options:** For a meatless meal, rice pilaf can be the star or a delightful side. Serve it with roasted vegetables, a lentil soup, or a flavorful vegetable curry. You can also turn it into a complete vegetarian meal by stirring in chickpeas, black beans, or a mix of sautéed mushrooms and spinach.
- **As a Base for Bowls:** Transform leftover pilaf into a quick and healthy lunch by using it as the base for grain bowls. Top it with your favorite protein, fresh vegetables, and a flavorful dressing for a customizable and satisfying meal.
No matter what’s on your menu, this easy rice pilaf is guaranteed to be a crowd-pleaser, adding a touch of elegance and irresistible flavor to every bite.
Try these other favorite recipes:
Herb Roasted Turkey in a Bag
Cranberry Bars
Dilly Bread Recipe
Cabbage and Noodles
If you’ve enjoyed this easy recipe and found it helpful, please consider leaving a five-star rating and a comment below! Your feedback means a lot. Also, help spread the word by sharing your delicious creations on Instagram, Facebook, and Pinterest – I love seeing what you cook!
Share on Facebook
Share
Pin this now to find it later
Pin It
Follow on Instagram
Follow
Only have 30 minutes to get dinner on the table? Sign up for my 30-minute dinner plans direct to your inbox!
Find and shop my favorite products in my Amazon storefront here!
Easy Rice Pilaf
Equipment
-
HexClad Hybrid Nonstick 8-Quart Stockpot with Tempered Glass Lid, Dishwasher Safe, Induction Ready, Compatible with All Cooktops
Ingredients
- 2 cups long grain white rice
- 2 teaspoons of olive oil
- 1 yellow onion, chopped
- 1 tsp fresh garlic, minced
- ½ tsp garlic powder
- ½ cup finely diced celery
- 4 cups chicken stock
- 2 teaspoons of salt
- ¼ teaspoon ground pepper
- ⅛ teaspoon cayenne pepper
- ½ cup chopped fresh parsley
Instructions
-
In a medium sized pot, heat olive oil on medium.
-
When olive oil is shiny, add onion and celery.
-
Cook onion, celery, and garlic on medium until soft and very lightly browned, stirring occasionally to prevent burning – about 6 minutes.
-
Stir in salt, pepper, garlic powder, and cayenne.
-
Add rice and heat until shiny and fragrant, about 5 minutes.
-
Add chicken stock and bring to a boil.
-
Cover and reduce heat to low, let simmer 15-20 minutes, until stock is soaked up.
-
Turn off heat and let sit, covered, for five minutes.
-
Remove cover and fluff with a fork.
-
Top with parsley and serve.
Nutrition
Carbohydrates: 35g
Protein: 9g
Fat: 5g
Saturated Fat: 1g
Polyunsaturated Fat: 4g
Cholesterol: 7mg
Sodium: 1417mg
Fiber: 1g
Sugar: 5g
Nutrition information is automatically calculated, so should only be used as an approximation.