
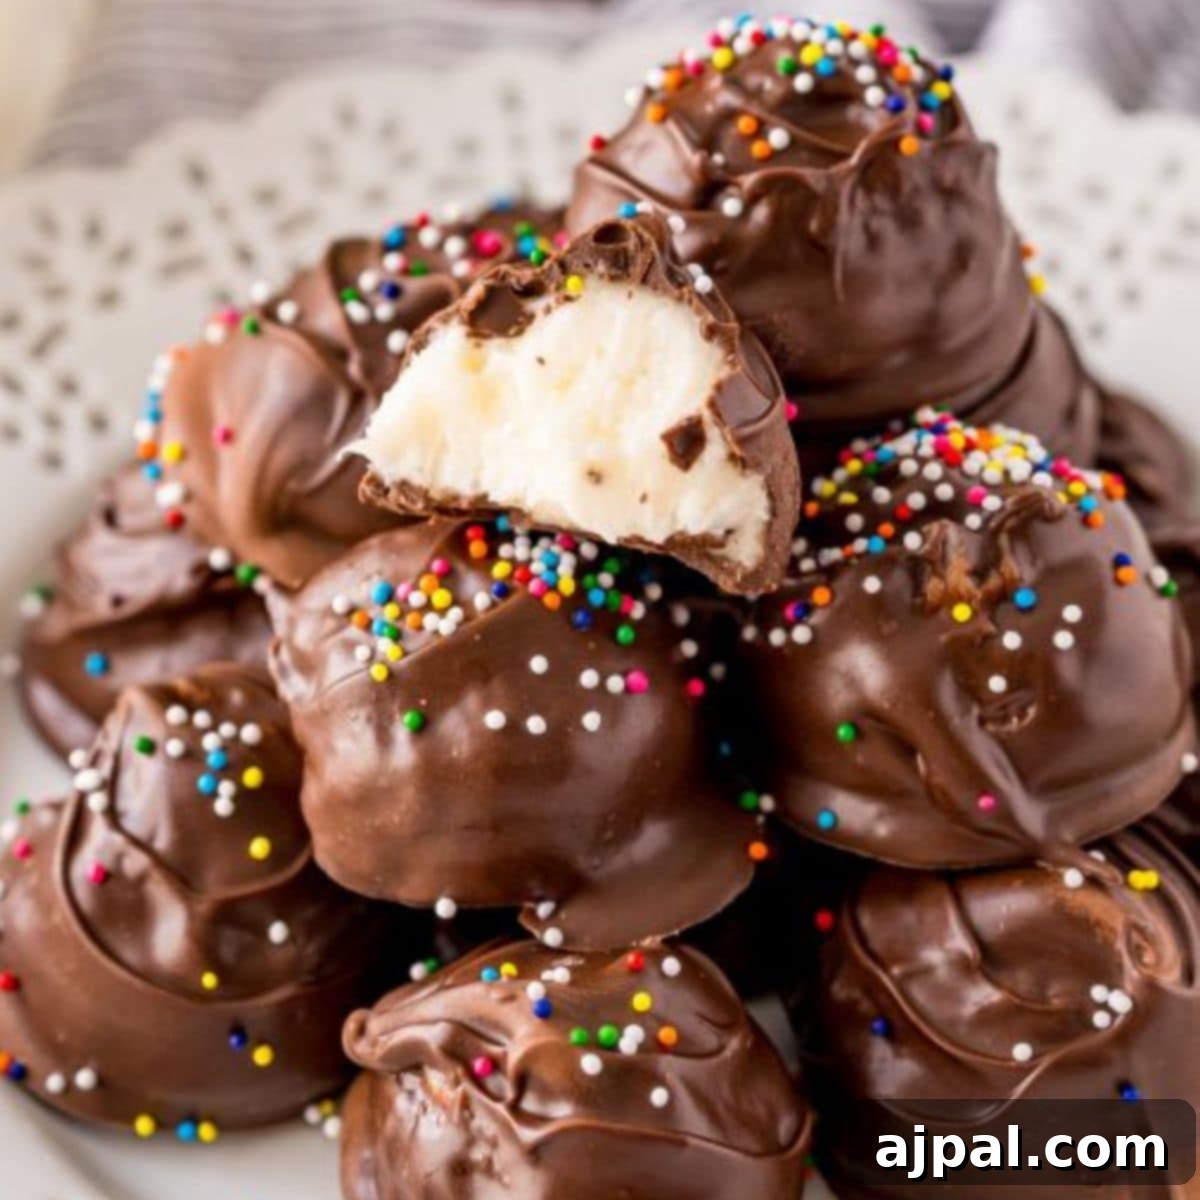
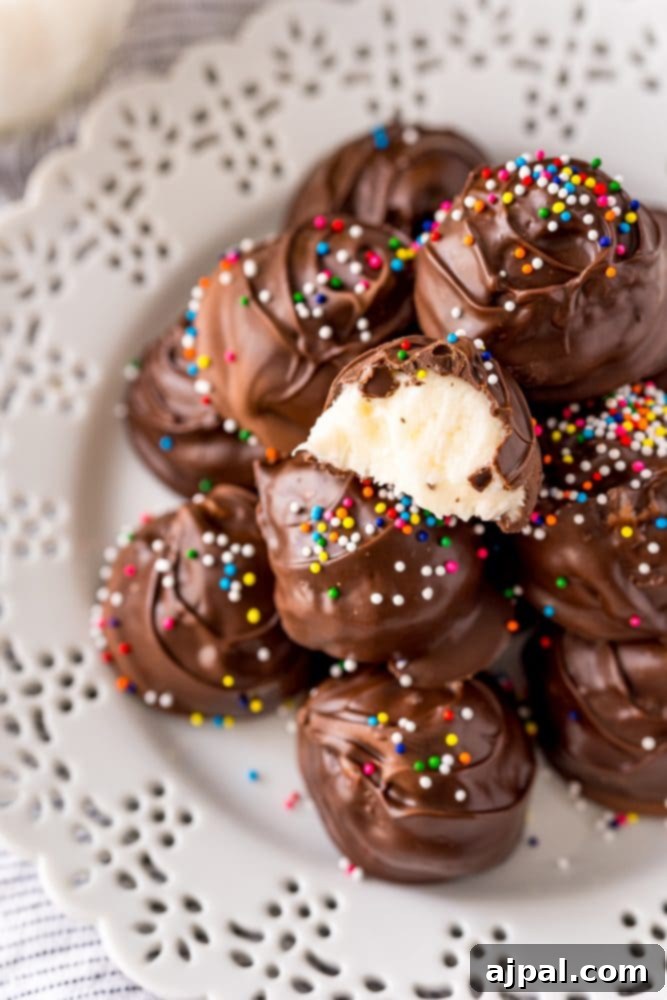
Indulge in Homemade Bliss: The Ultimate Easy Buttercream Candies Recipe – Discover how to create delectable, melt-in-your-mouth buttercream candies, dipped in rich chocolate and adorned with sprinkles. This classic, nostalgic treat brings a taste of childhood to your kitchen and is sure to be a cherished favorite for the entire family. Simple to make and utterly irresistible, these candies are perfect for any occasion, from holiday gatherings to everyday sweet cravings.
As passionate home cooks, we believe that understanding the ‘why’ behind each step and ingredient empowers even the most novice chef. Our recipes are crafted to build confidence in the kitchen, offering practical insights and easy-to-follow guidance. This approach ensures that every dish you create is not only delicious but also a rewarding experience.
Table of Contents
- The Enchantment of Chocolate Dipped Buttercream Candy
- Mastering the Art of Buttercream Candies
- Expert Tips for Flawless Buttercreams
- Creative Variations and Customizations
- More Delightful Desserts to Explore
- Easy Classic Buttercreams Candy Recipe
The Enchantment of Chocolate Dipped Buttercream Candy
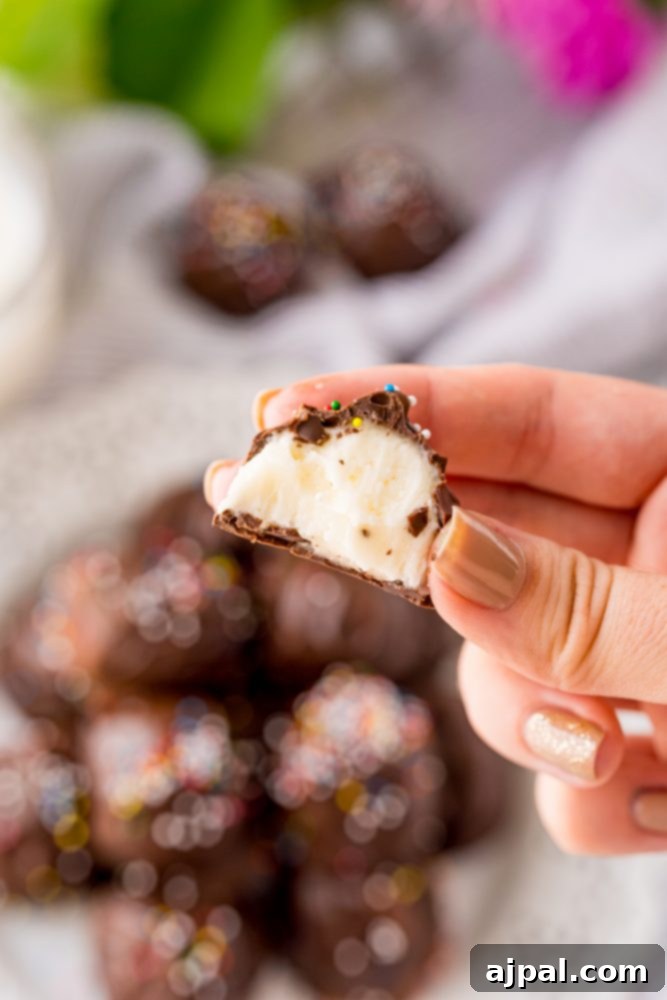
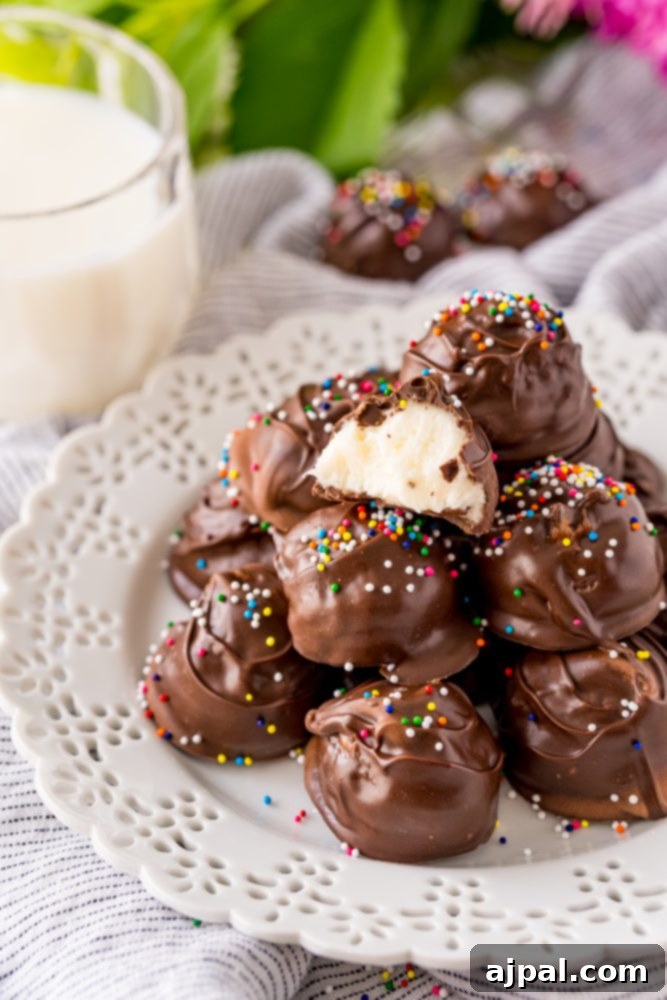
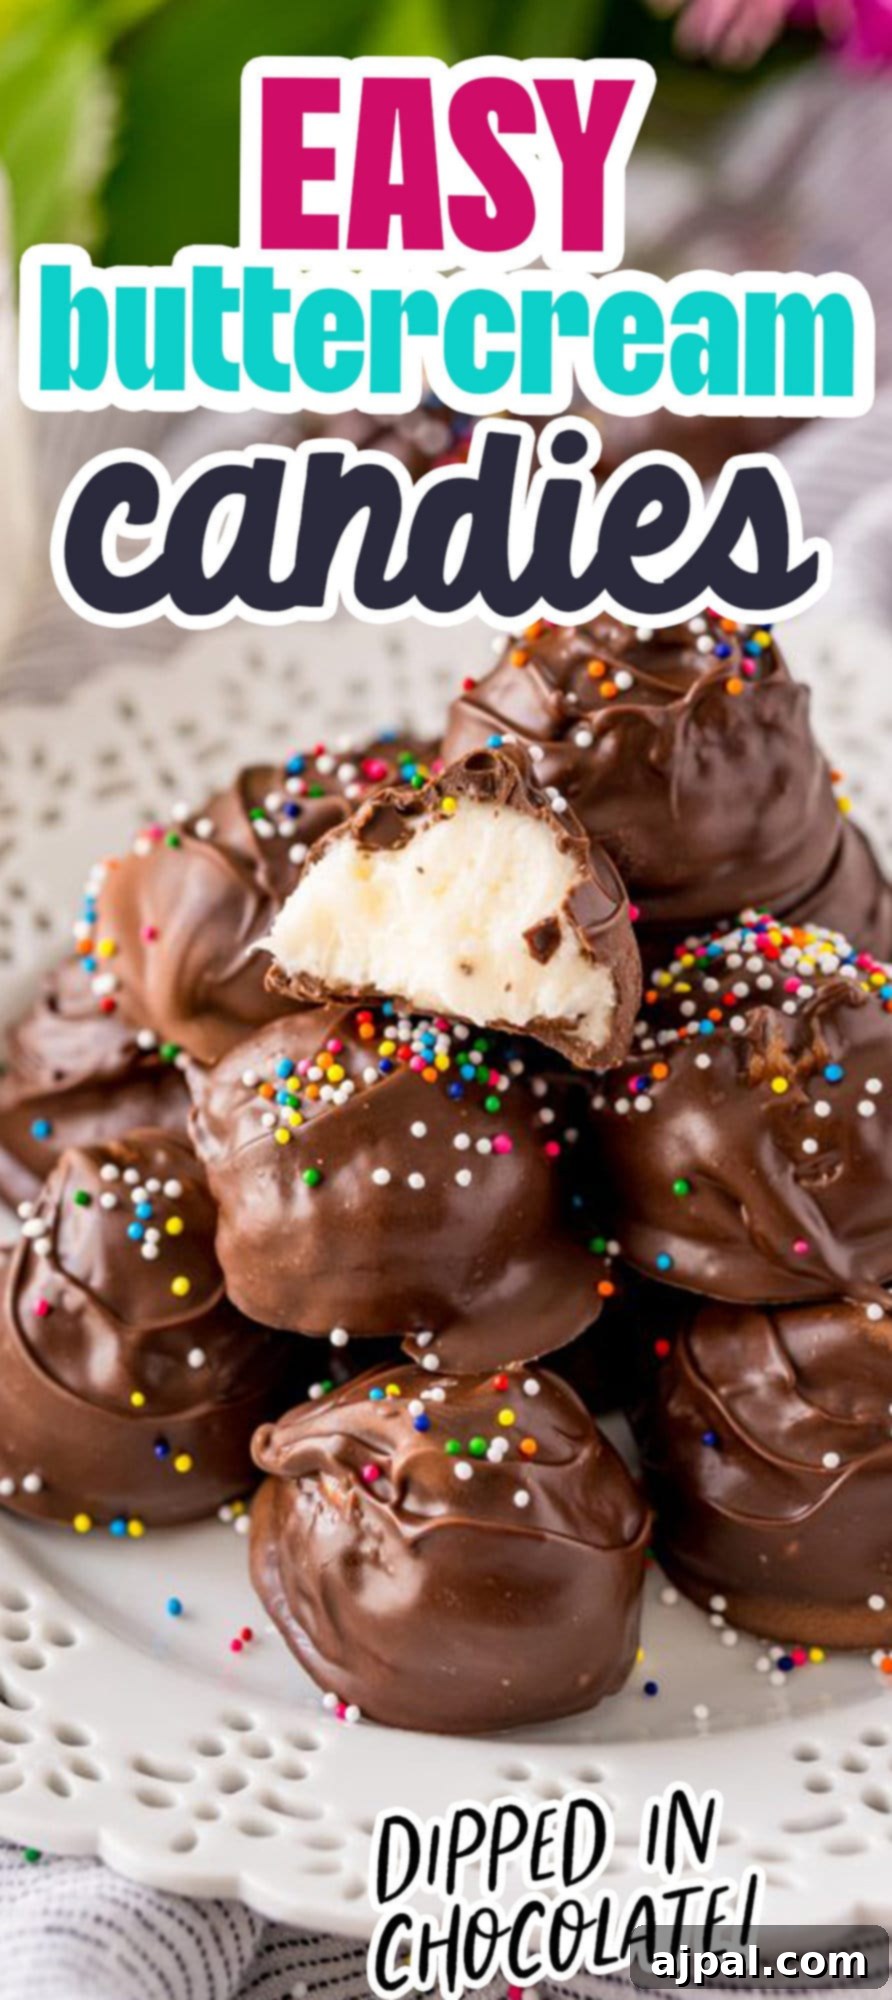
There’s a special kind of magic in these chocolate-dipped buttercream candies. Each bite delivers a nostalgic flavor reminiscent of old-fashioned sweets, offering a delightful contrast between the cool, creamy buttercream center and the crisp, rich chocolate shell. It’s a truly indulgent experience that evokes warmth and comfort, much like the cherished recipes from grandmother’s kitchen.
These candies are not just delicious; they are also incredibly charming and surprisingly simple to prepare. Their irresistible combination of sweet, buttery icing and decadent chocolate makes them an instant favorite for anyone who loves rich desserts. The creamy texture of the buttercream filling is perfectly complemented by the snap of the chocolate coating, creating a harmonious balance that will leave you craving more.
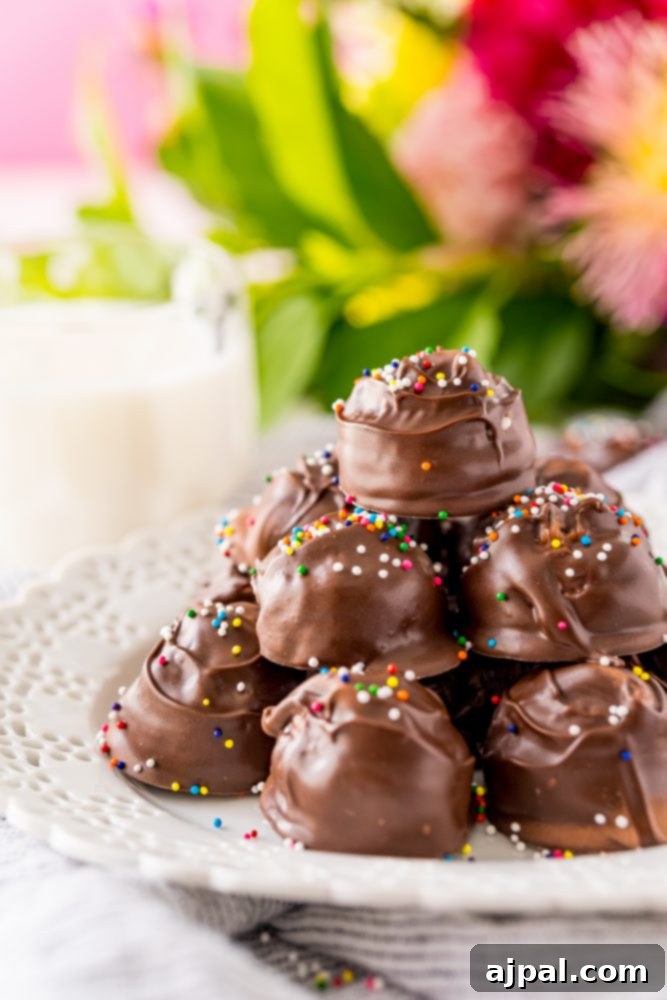
Given that both buttercream and chocolate are prone to melting in warmer temperatures, these delightful treats benefit from being chilled before serving. This ensures that the chocolate maintains a pleasant crunch when bitten into and prevents any mess. For parties and gatherings, arranging them fresh from the refrigerator guarantees they hold their perfect shape and texture throughout the event.
Proper storage is key to enjoying your homemade buttercream candies for longer. Store them in an airtight container in the refrigerator for up to one week. To prevent them from sticking together or absorbing any unwanted odors, we recommend lining the container with parchment paper. For an even longer shelf life, these candies freeze beautifully for up to four months. Simply grab one whenever a sweet craving strikes – they defrost naturally and quickly, making them a convenient and delightful treat to have on hand.
Mastering the Art of Buttercream Candies
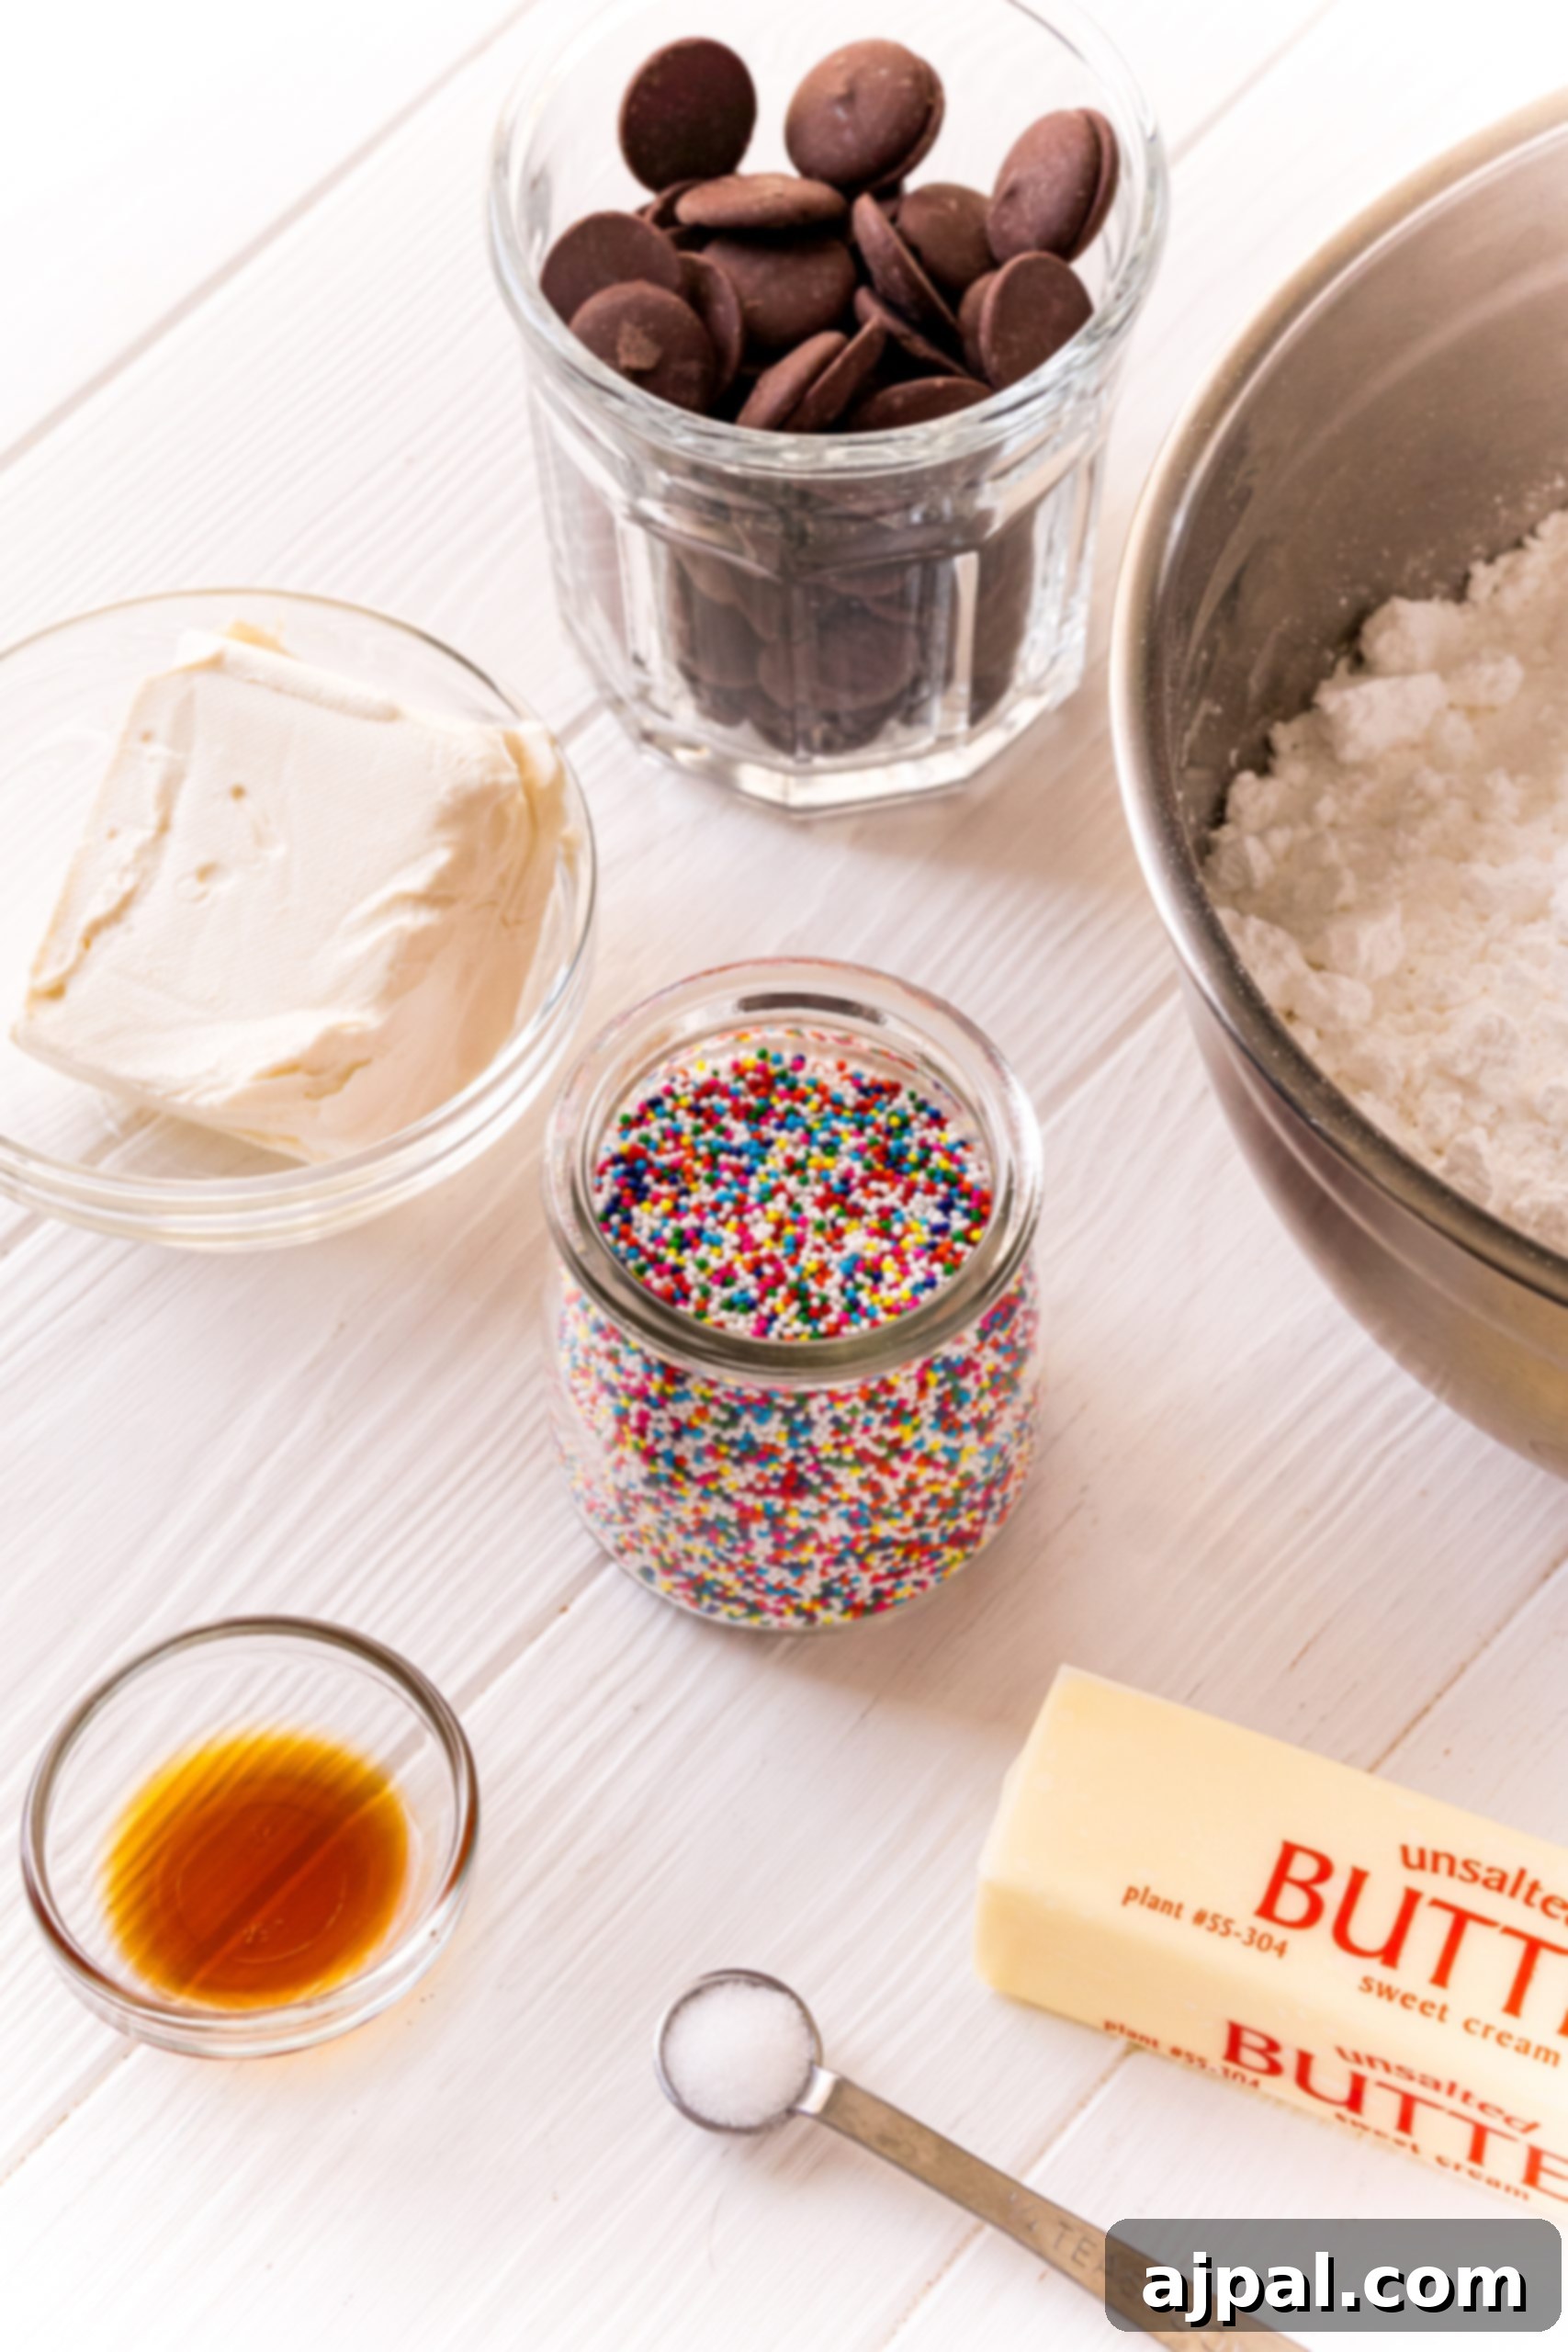
Crafting these exquisite buttercream candies requires just a few essential tools and ingredients, ensuring a smooth and enjoyable process from start to finish. Each component plays a vital role in achieving the perfect flavor and texture that makes these candies so beloved.
Essential Equipment:
- Large Mixing Bowl: Crucial for combining the foundational ingredients of the buttercream filling—butter, cream cheese, salt, vanilla extract, and powdered sugar. Its size allows for thorough mixing without spills.
- Stand Mixer, Hand Mixer, or Sturdy Mixing Spoon: A stand mixer with a paddle attachment offers effortless creaming, ensuring a smooth and consistent buttercream. A hand mixer provides flexibility, while a robust mixing spoon is suitable for those who prefer a more hands-on approach. The goal is to achieve a perfectly blended and airy consistency.
- Cookie Scooper (Medium): Essential for portioning the buttercream filling into uniform, evenly-sized balls. This ensures that each candy bakes and dips consistently, resulting in a professional and appealing finish.
- Baking Sheet: Provides a flat, stable surface for placing the shaped buttercream balls, both before freezing and after dipping in chocolate.
- Parchment Paper: A non-negotiable item. Lining the baking sheet with parchment paper prevents the buttercream balls from sticking, making transfer and removal effortless. It also helps maintain the candies’ perfect shape.
- Dipping Tool: A specialized dipping tool, a simple toothpick, or a fork can be used to submerge the buttercream balls into the melted chocolate. These tools minimize contact with your hands, preventing fingerprints and smudges, and allow for a smooth, even coating.
Key Ingredients and Their Roles:
- Unsalted Butter (softened): Forms the rich, creamy base of the buttercream. Softened butter creams beautifully, incorporating air for a light texture and contributing significantly to the luxurious flavor.
- Cream Cheese (softened): Adds a delightful tang and subtle richness, balancing the sweetness of the powdered sugar. It also contributes to the smooth, tender consistency of the candy.
- Salt: A pinch of salt is crucial for enhancing all the other flavors, preventing the candies from tasting overly sweet and bringing out the depth of the butter and vanilla.
- Vanilla Extract: Provides a warm, fragrant aroma and a classic sweet flavor that is synonymous with buttercream. High-quality vanilla makes a noticeable difference.
- Powdered Sugar (Confectioners’ Sugar): The primary sweetener and thickener. It combines with the butter and cream cheese to form a pliable, dough-like consistency that can be easily shaped into candies. Its fine texture ensures a smooth filling.
- Chocolate Melting Wafers: These wafers are specifically designed for easy melting and provide a smooth, glossy, and firm chocolate coating. They add a contrasting texture and deep chocolate flavor to the sweet buttercream.
- Sprinkles (optional): Offer a burst of color and a delicate crunch, adding a festive decorative touch that makes these candies even more appealing.
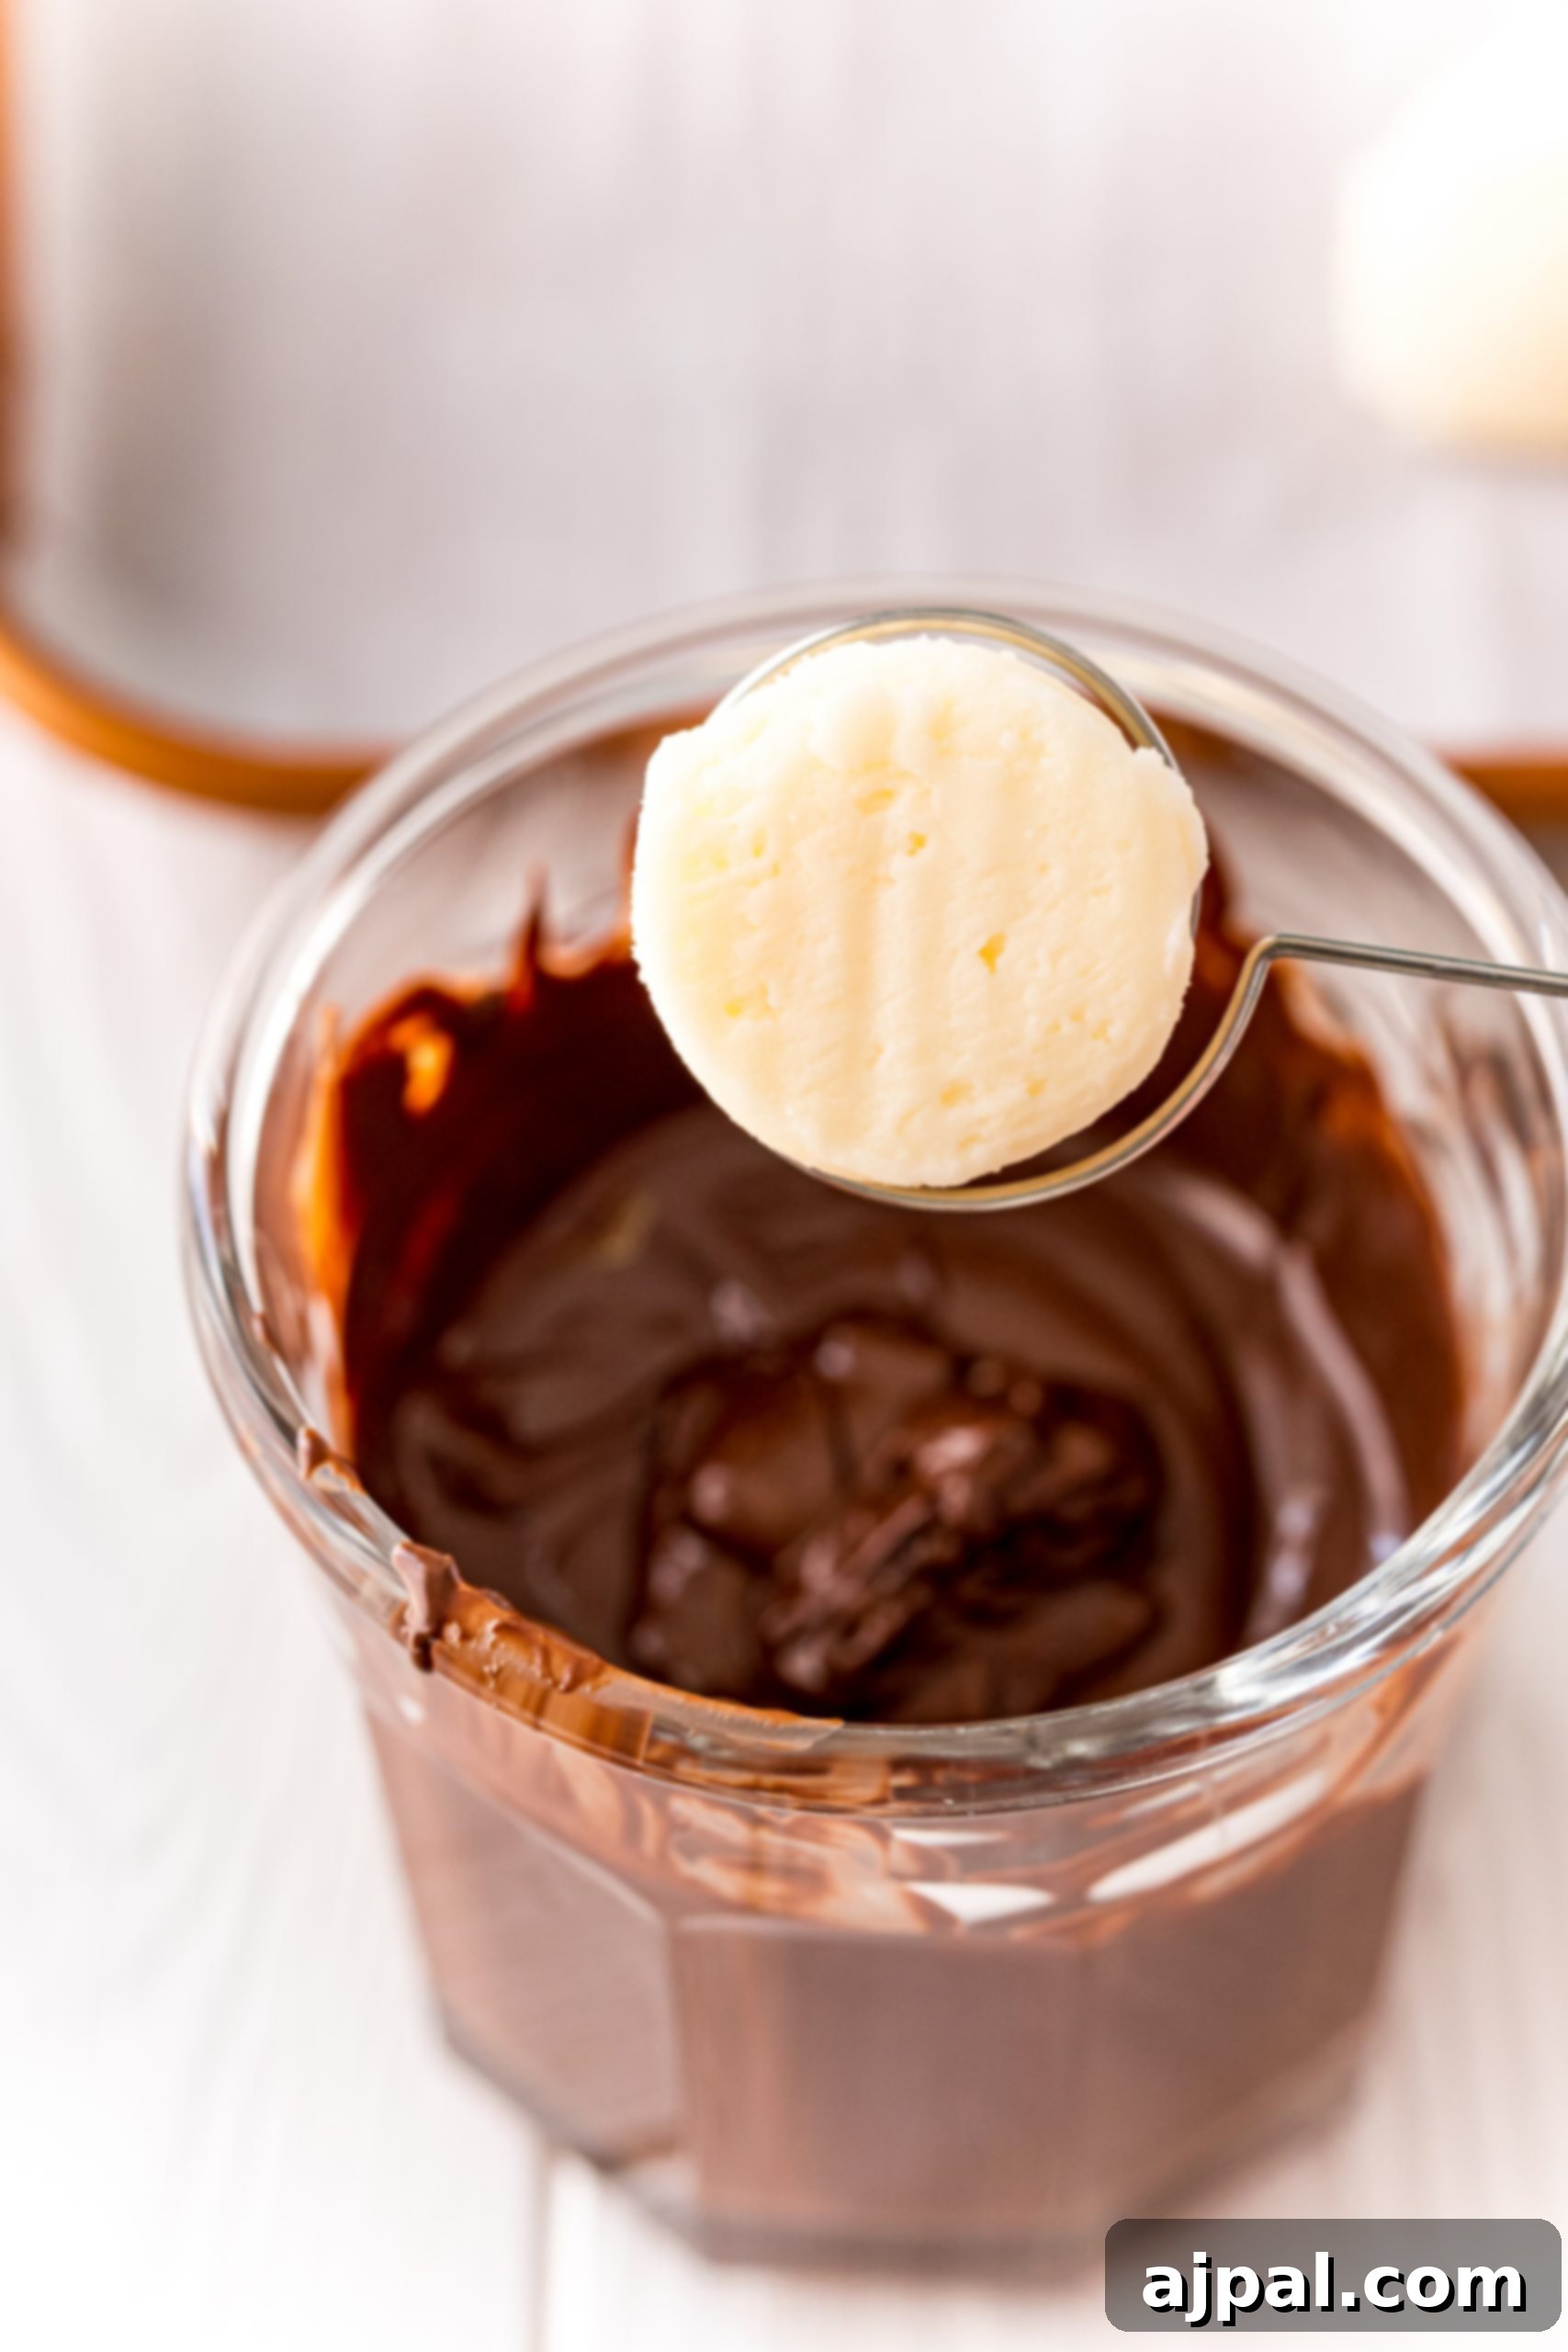
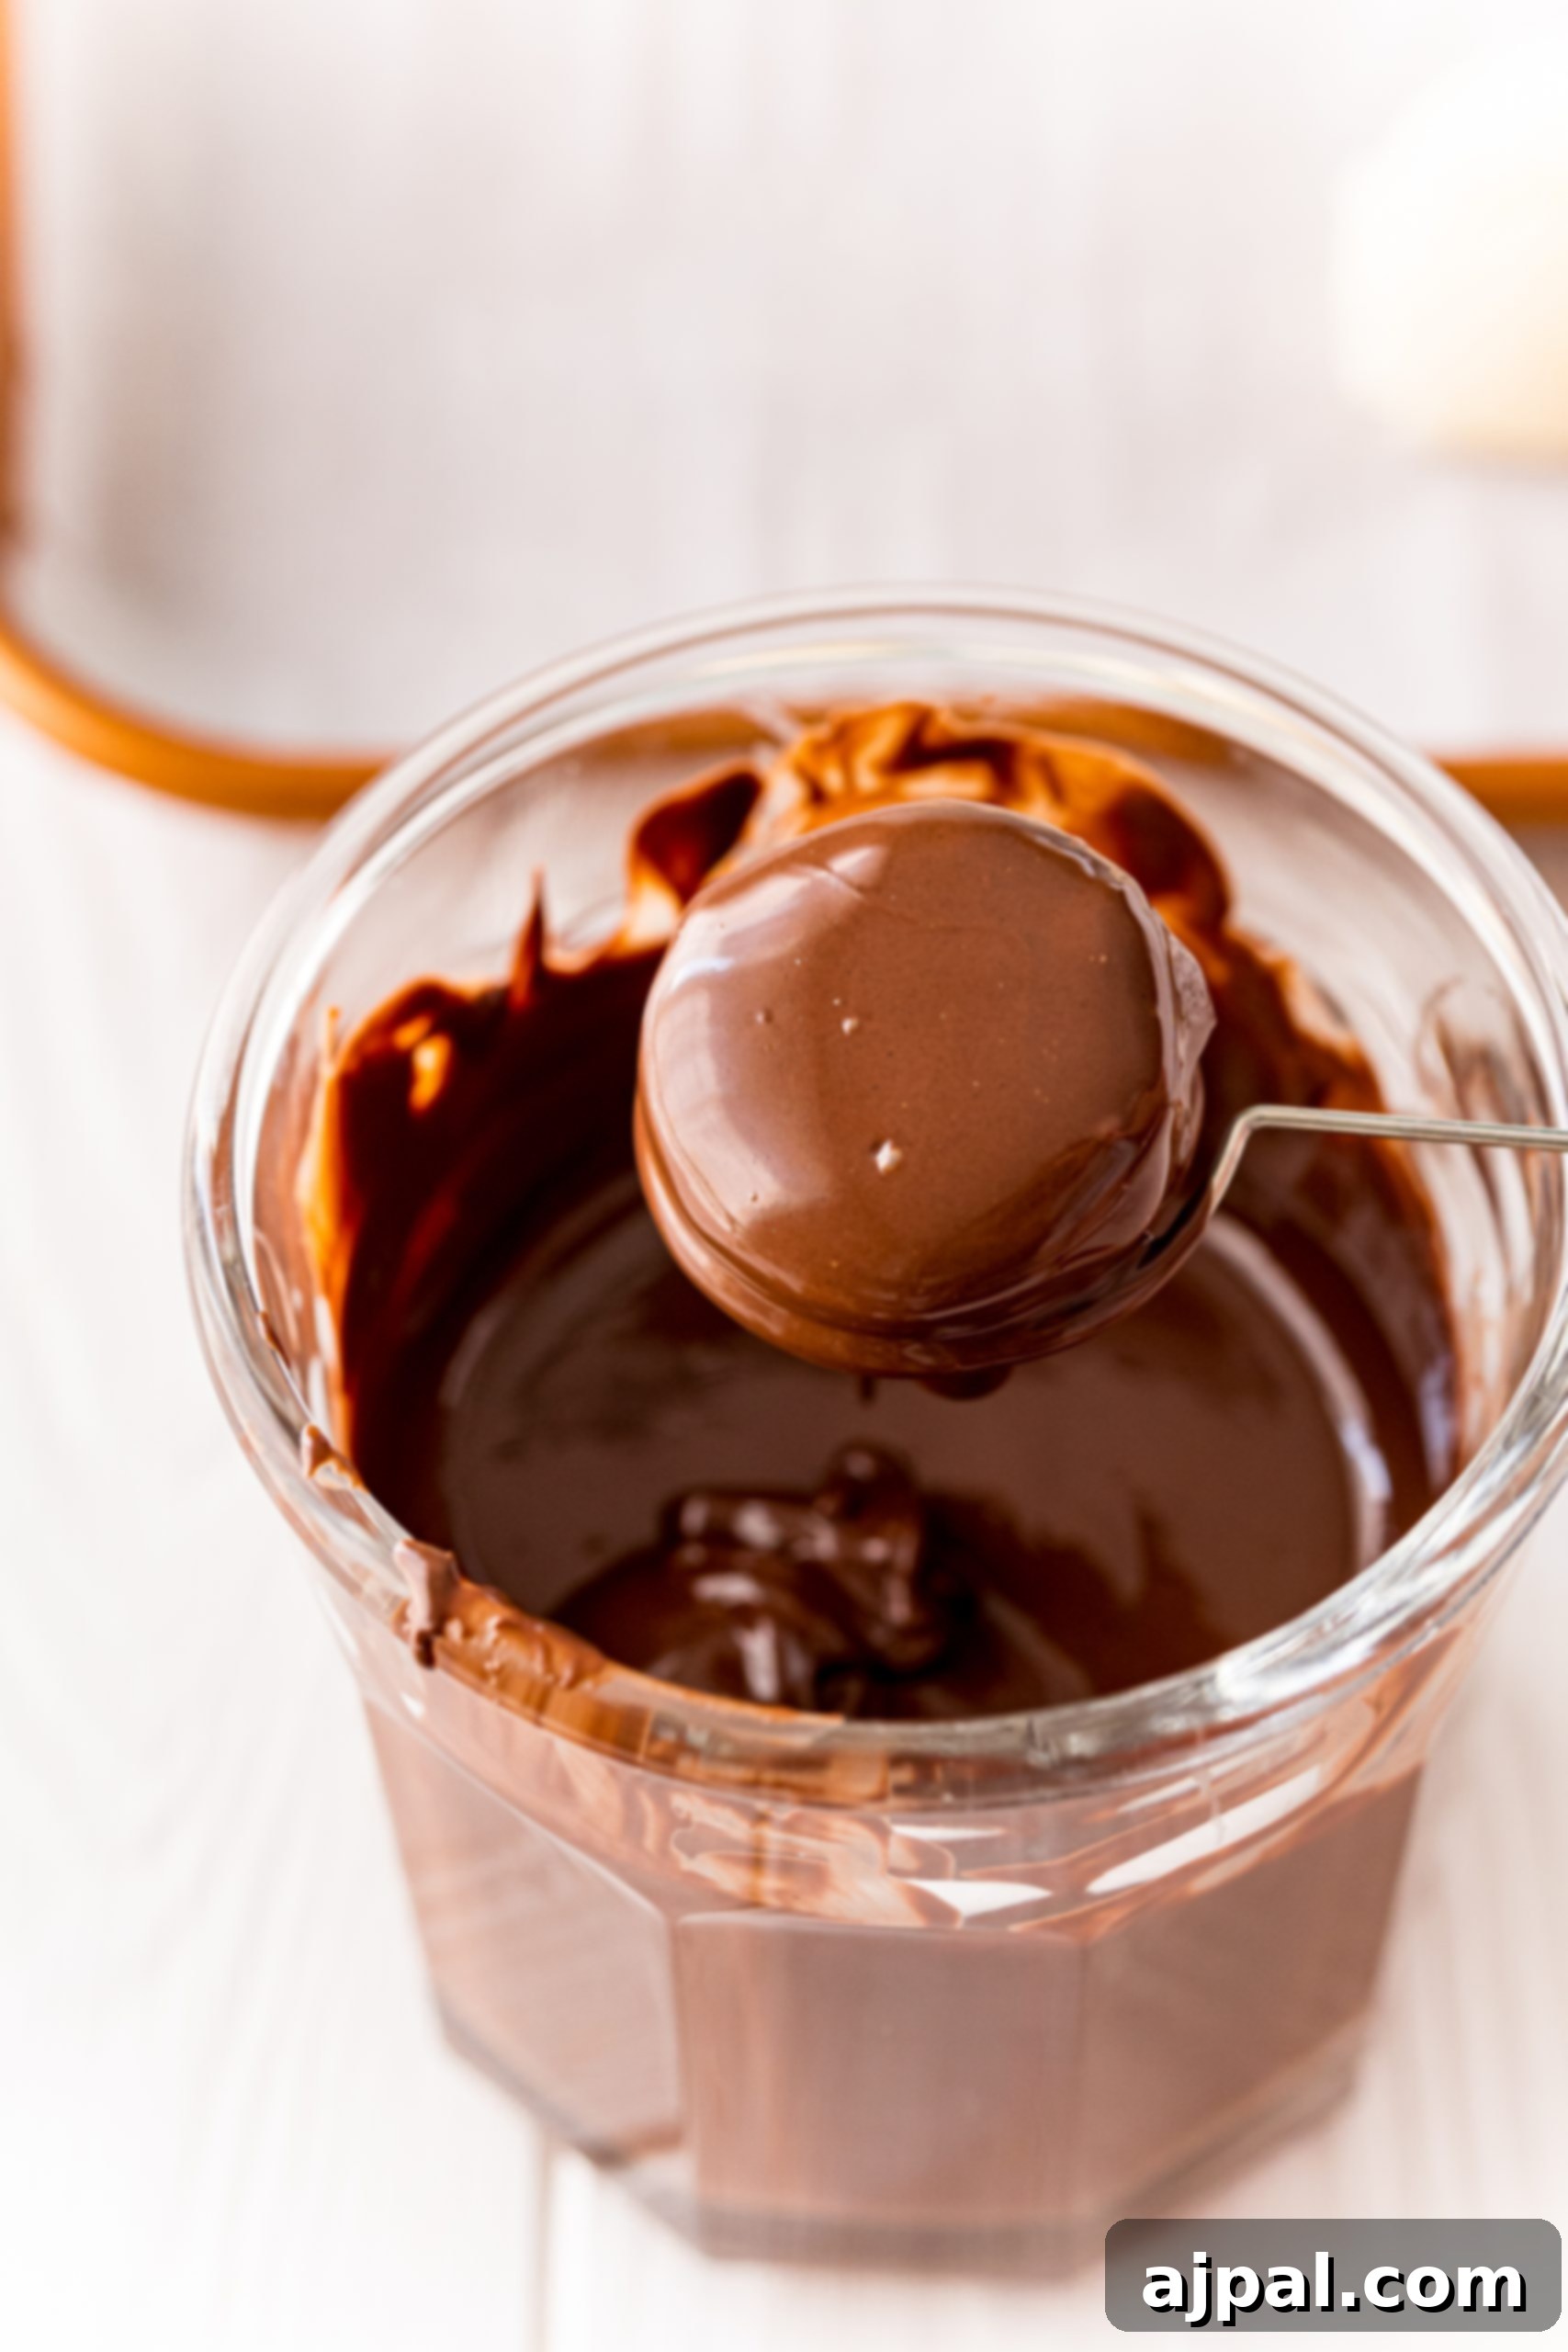
Once your ingredients and tools are ready, follow these simple steps to create your perfect buttercream candies:
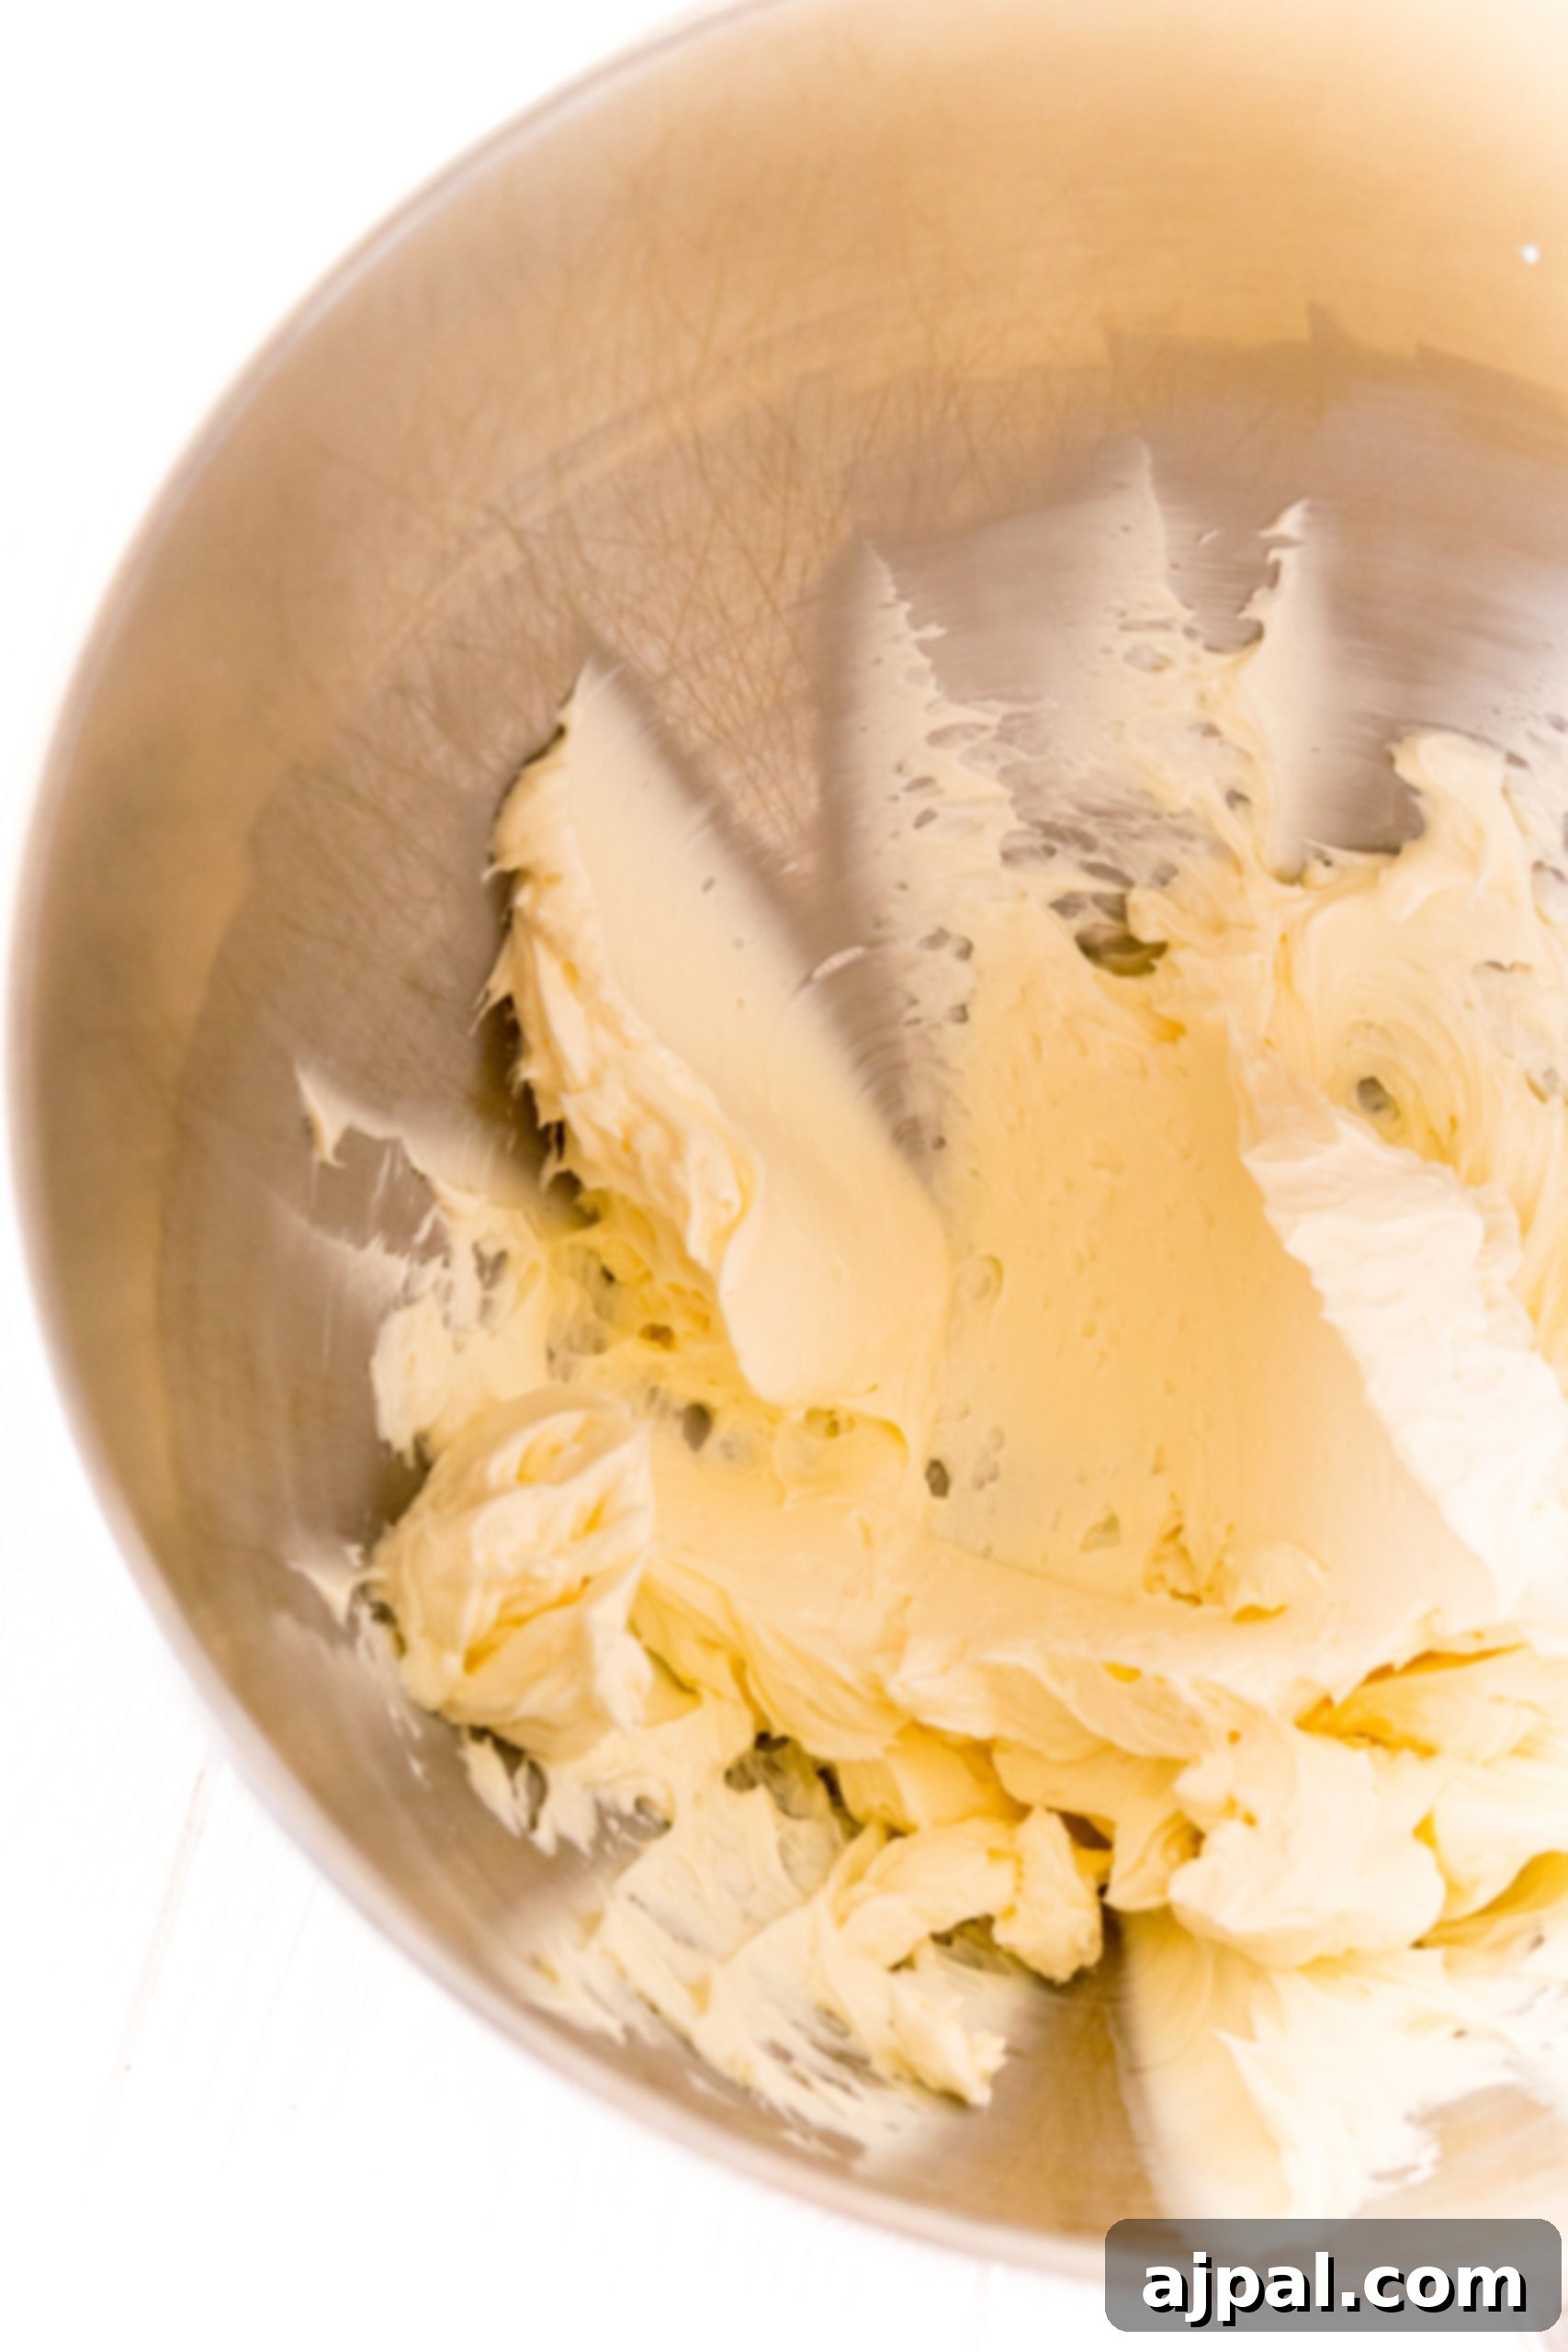
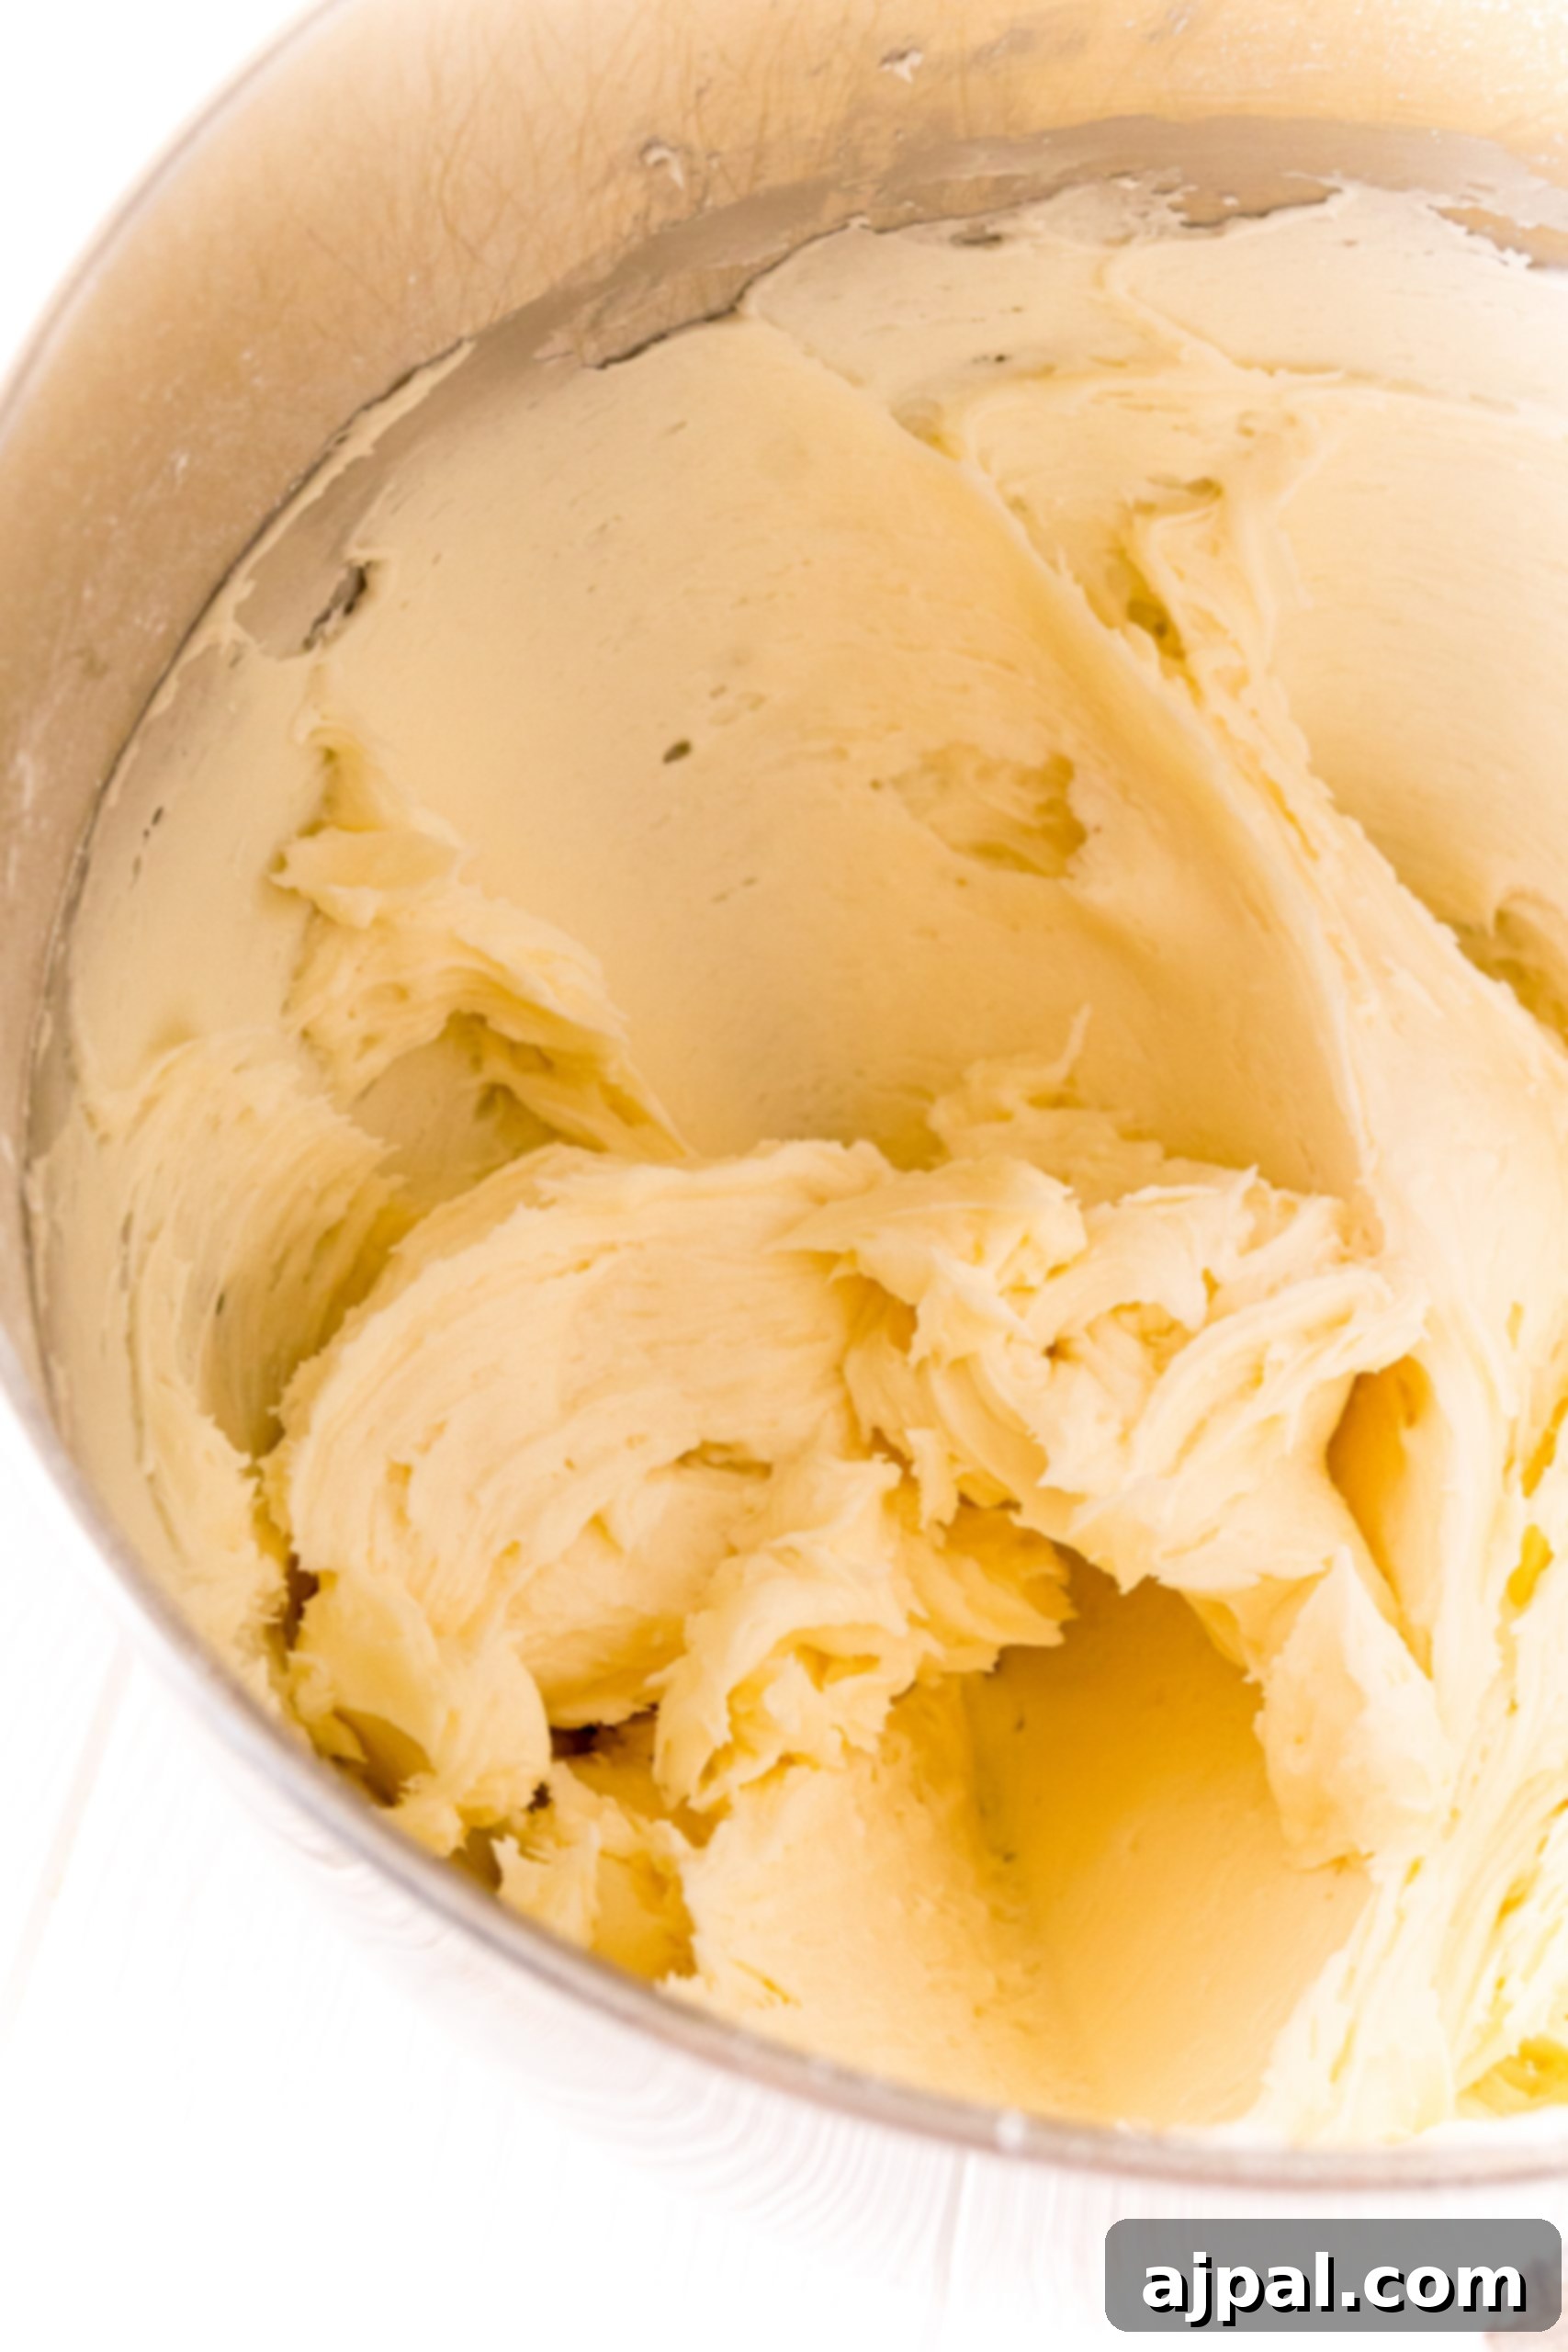
- Prepare the Buttercream Base: In a large bowl, or using a stand mixer with a paddle attachment, combine the softened unsalted butter, cream cheese, vanilla extract, and salt. Beat these ingredients until the mixture is completely smooth and creamy. Gradually add the powdered sugar, one cup at a time, mixing well after each addition until the mixture is uniform and lump-free.
- Initial Chill: Once all ingredients are thoroughly combined and the mixture is smooth, cover the bowl tightly and place it in the refrigerator. Chill for a minimum of 1 hour. This crucial step firms up the buttercream, making it easier to handle and shape.
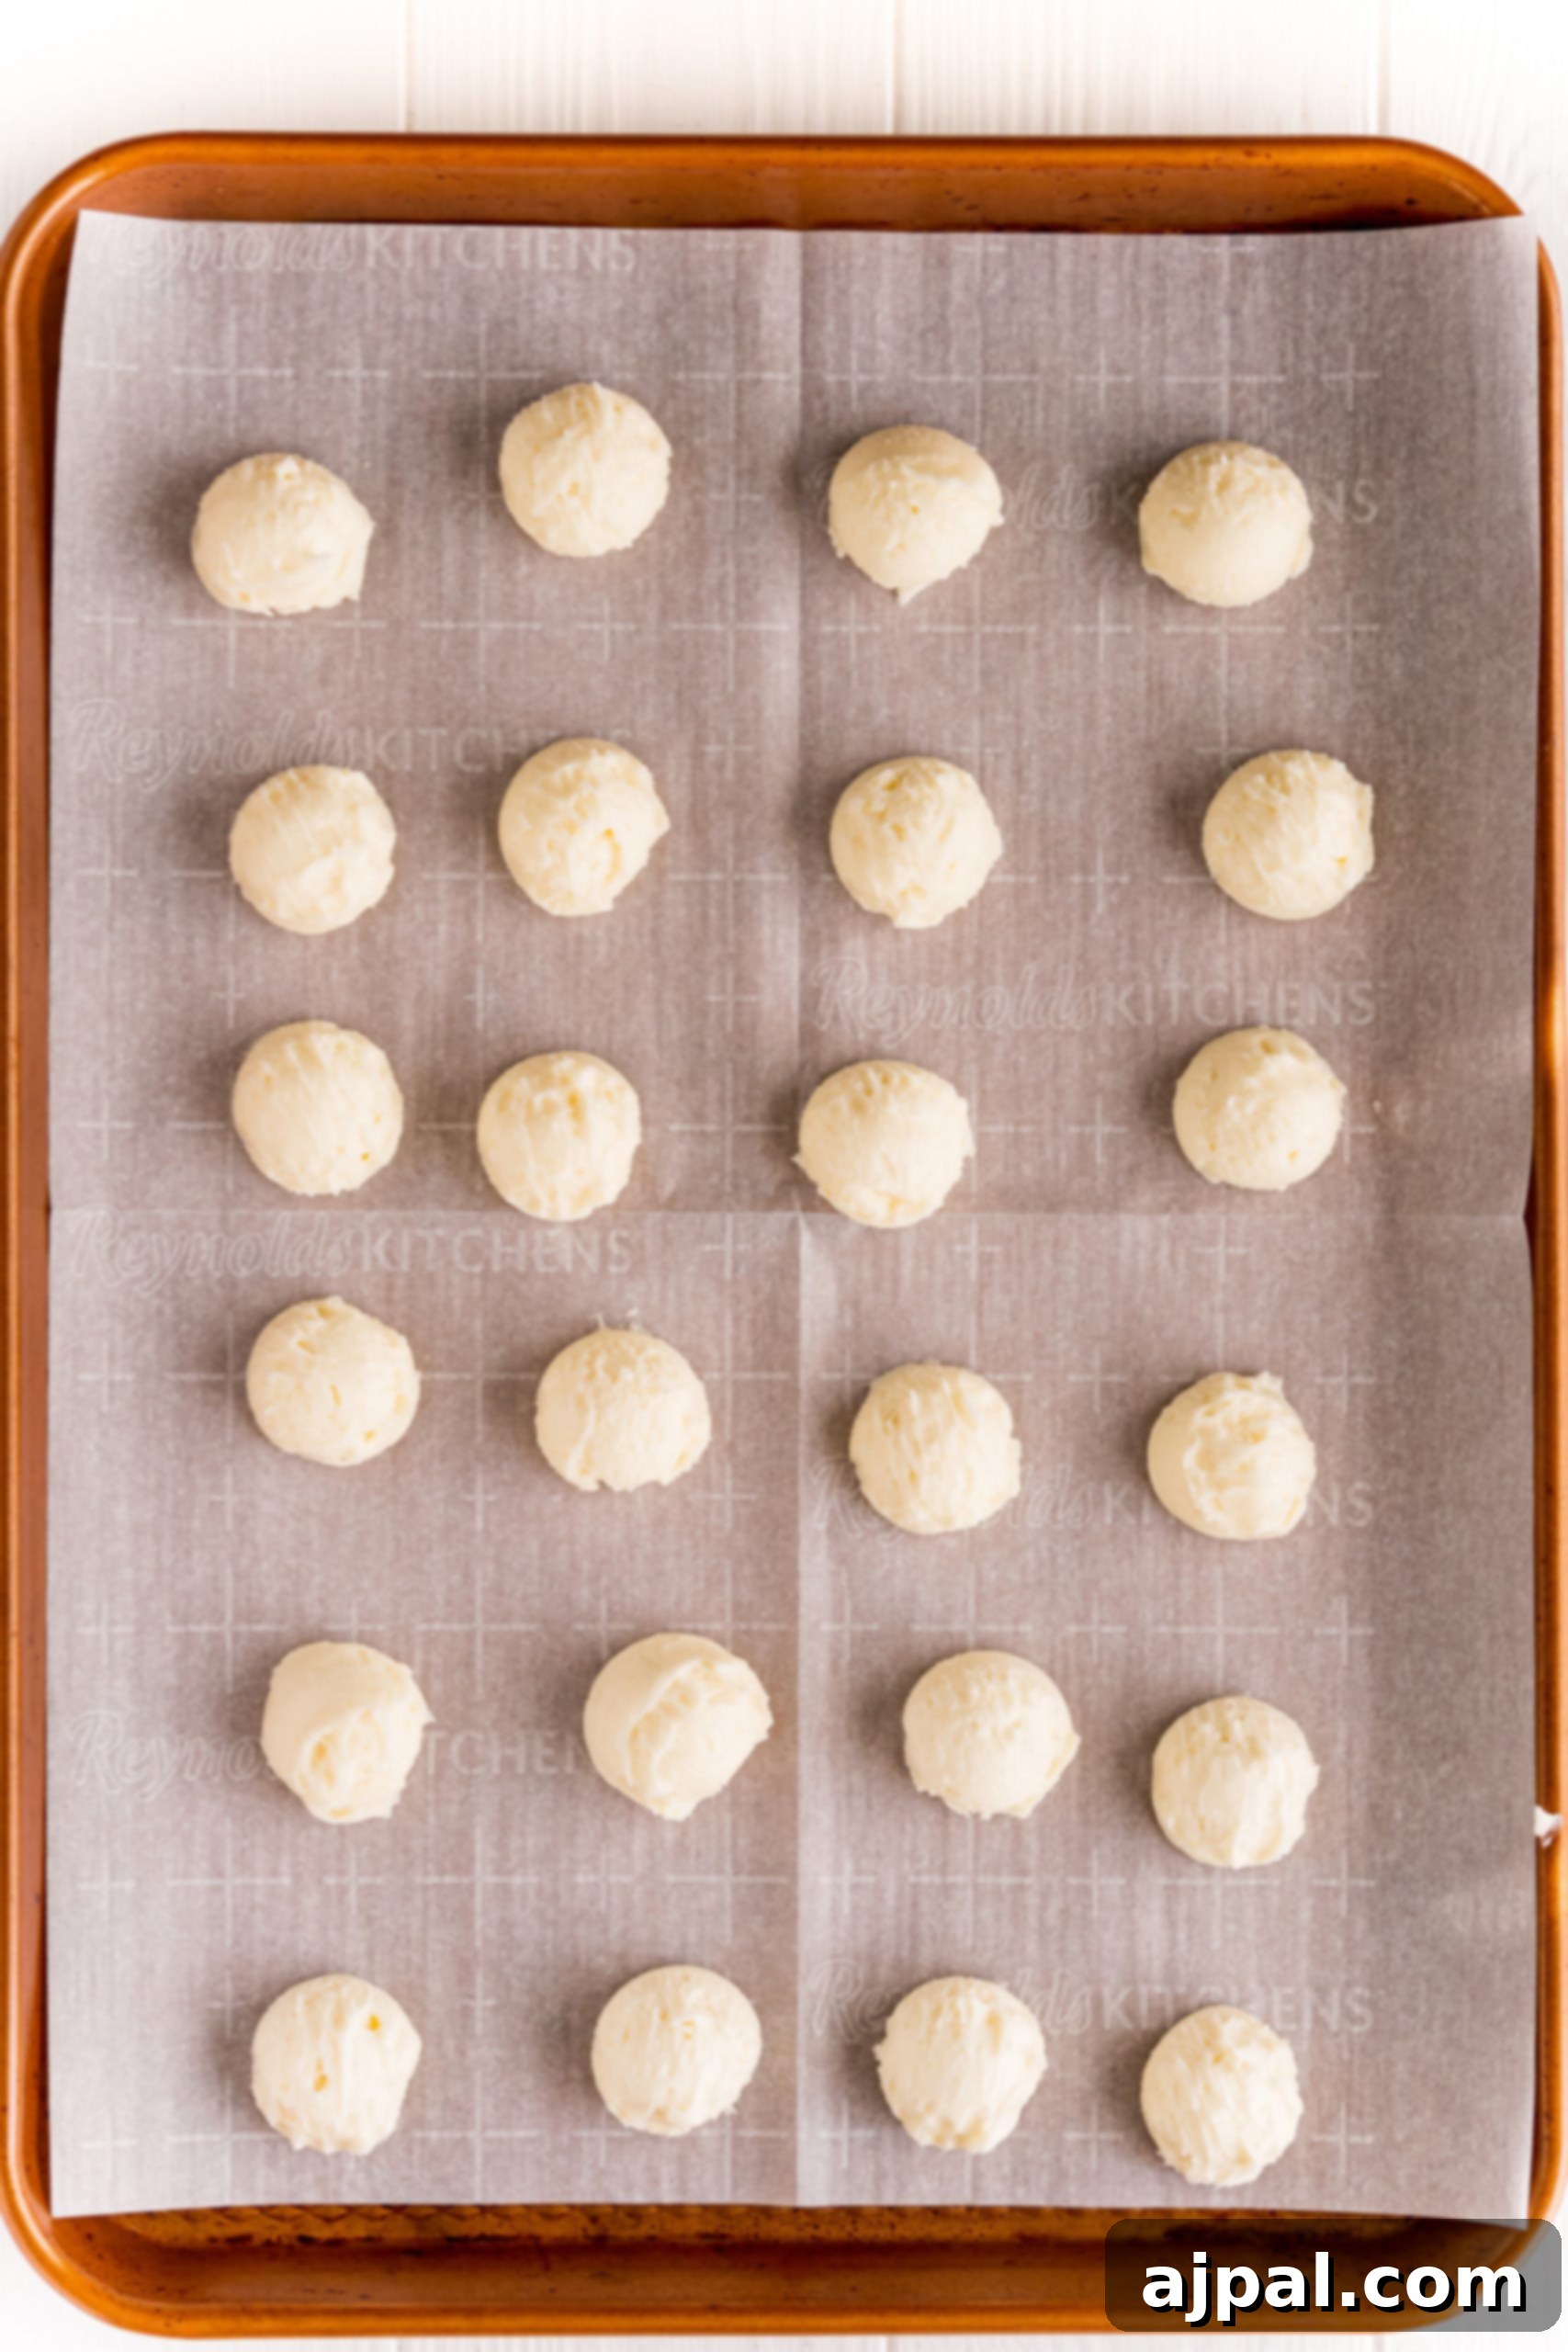
- Shape and Second Chill: After the initial chilling period, remove the buttercream mixture from the refrigerator. Use a medium cookie scoop to portion out even balls of the mixture. Gently roll them into desired shapes (either perfect spheres or slightly flattened discs) and place them on your parchment-lined baking sheet. Return the baking sheet to the refrigerator and chill for an additional 2 hours. This second chill ensures the candies are firm enough to withstand the dipping process without losing their shape.
- Chocolate Dipping: Melt your chocolate melting wafers. For best results and to keep the chocolate warm and easy to work with, we recommend melting them in two batches. Pour the melted chocolate into a narrow, deep glass. Using a spiral dipping tool, a toothpick, or a fork, carefully dip each chilled buttercream candy into the chocolate until it is fully coated. Allow any excess chocolate to drip off before placing the candy back on the parchment-lined baking sheet.
- Sprinkle and Set: Work quickly when adding sprinkles! The chocolate will begin to harden within a couple of minutes, so add sprinkles immediately after dipping each candy or every few candies to ensure they adhere properly. Once all candies are dipped and sprinkled, let them sit at room temperature for about 15 minutes to allow the chocolate to begin setting without blooming (whitening). Then, transfer them back to the refrigerator for a final chill of at least 30 minutes to fully harden.
- Enjoy and Store: Your delicious chocolate-dipped buttercream candies are now ready to enjoy! For optimal freshness, store any leftovers in an airtight container in the refrigerator.
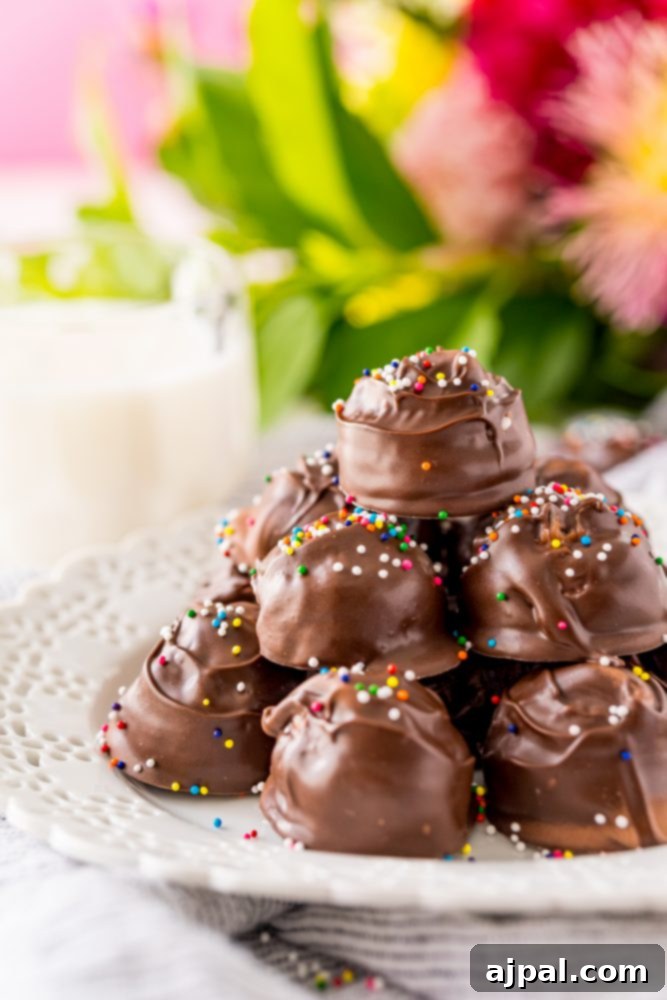
Expert Tips for Flawless Buttercreams
Achieving perfect buttercream candies every time is within reach with a few tried-and-true techniques. These tips will help you create beautiful, delicious treats that impress and delight.
Optimize Ingredient Preparation: Before you begin, gather all your buttercream ingredients. While it’s important to have everything ready, you don’t need to prepare the chocolate until your candies have finished chilling and are ready for dipping. For the best creaming results, ensure your butter and cream cheese are at room temperature. This allows them to combine smoothly and incorporate air effectively, leading to a light and fluffy buttercream. However, be cautious not to let them become too warm or melted, as this can result in an oily consistency and a separated mixture, compromising the final texture of your candies.
The Importance of Chilling: Chilling is arguably the most crucial step in this recipe. After mixing your buttercream, refrigerate it for at least an hour. This firms the mixture, making it much easier to scoop and shape without it becoming sticky or mushy. If the mixture is too soft, you’ll end up with irregular “blobs” rather than perfectly formed candy balls. After shaping your candies into their truffle-like forms, return them to the refrigerator for another chill. This ensures they maintain their ideal shape when dipped in warm chocolate, giving you a professional-looking finish.
Mastering the Dip: When it’s time to dip, melt your chocolate wafers carefully. For optimal coverage and to avoid frequent reheating, we recommend melting chocolate in two smaller batches. Use a narrow, deep glass for dipping; its depth allows for easier and more complete submersion of each candy. Dip your chilled candies using a toothpick, fork, or a dedicated dipping tool. After dipping, allow the chocolate to sit at room temperature for a few minutes. Immediately refrigerating freshly dipped candies can cause “chocolate bloom,” a whitening effect that, while harmless, detracts from the candy’s visual appeal. This brief room-temperature rest allows the chocolate to begin setting beautifully. This is also the perfect window to add sprinkles, as the chocolate will still be tacky enough for them to adhere.
Final Set for Perfection: Once dipped and decorated, transfer your buttercream candies back to the refrigerator. This final chilling period is essential for the chocolate to fully harden and the entire candy to set, ensuring a firm texture and maintaining its perfect shape. Following these simple tricks will help you consistently create perfect, pretty, and utterly delicious buttercream candies every single time.
Shaping Techniques: While you can roll the buttercream into perfect spheres, a popular alternative is to use your cookie scoop to press the mixture against the edge of the bowl, creating charming half-circle shapes. This method can save time and offers a unique aesthetic.
Tempering Chocolate for Best Results: As mentioned, allow the chocolate to cool slightly at room temperature after dipping. This process, often referred to as “tempering” in its simplest form for melting wafers, prevents the chocolate from developing a white film or streaks (bloom) when it chills. Patience here is key for a smooth, shiny finish.
Optimize Your Dipping Vessel: Using a wide-mouthed drinking glass to melt your chocolate is a clever trick. The depth of the glass allows for full immersion of the candies, ensuring a complete and even chocolate coating with less effort and less chocolate wasted.
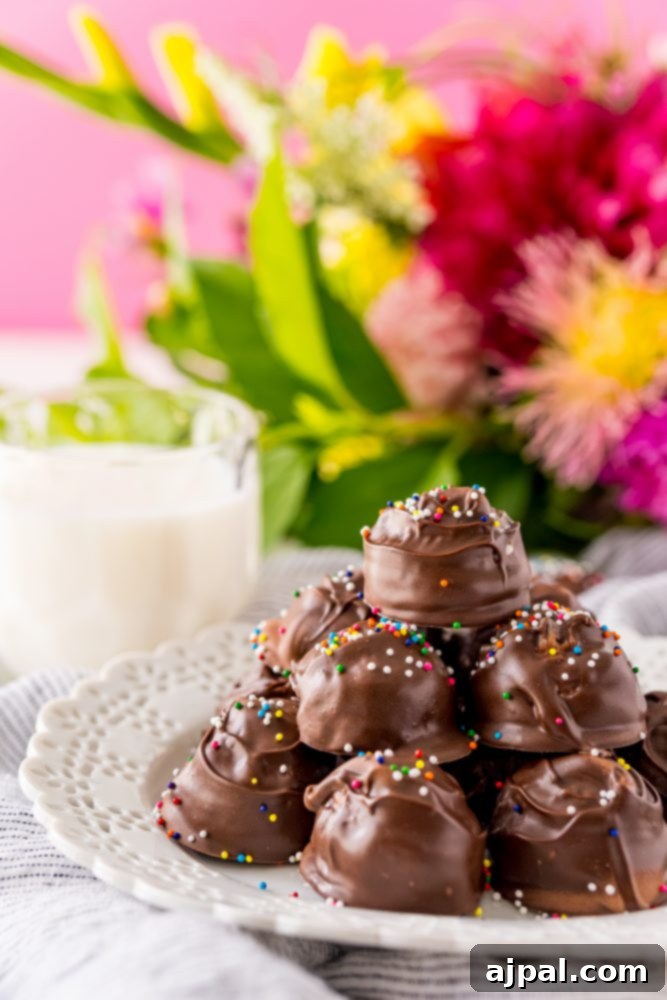
Creative Variations and Customizations
One of the joys of homemade candies is the endless possibilities for customization. These easy buttercream candies are a fantastic base for experimenting with different flavors, coatings, and decorations to suit any taste or occasion.
- Flavor Enhancements:
- Mint Chocolate: Add 1/2 to 1 teaspoon of peppermint extract to the buttercream mixture for a refreshing minty twist.
- Almond Delight: Substitute vanilla extract with almond extract for a delicate, nutty flavor.
- Coffee Infusion: Mix in 1-2 teaspoons of instant espresso powder (dissolved in a tiny bit of hot water, then cooled) for a subtle coffee undertone that pairs beautifully with chocolate.
- Citrus Zest: Incorporate the zest of an orange or lemon into the buttercream for a bright, tangy note.
- Chocolate Coatings:
- Dark Chocolate: For a more intense, less sweet candy, use dark chocolate melting wafers.
- Milk Chocolate: If you prefer a classic, sweeter taste, milk chocolate is always a winner.
- White Chocolate: Dip candies in white chocolate for a striking visual contrast, or even color the white chocolate with food-grade coloring for festive themes.
- Flavored Chocolates: Experiment with specialty melting wafers like caramel, peanut butter, or even strawberry flavored coatings.
- Topping Extravaganza:
- Nutty Crunch: Roll dipped candies in finely chopped nuts such as pecans, walnuts, or pistachios.
- Coconut Kiss: Sprinkle with toasted shredded coconut for a tropical touch.
- Cookie Crumble: Crush your favorite cookies (like Oreos or Graham crackers) and press them onto the wet chocolate for an added layer of flavor and texture.
- Decorative Drizzles: After the main chocolate coating sets, drizzle with a contrasting melted chocolate (e.g., white chocolate drizzle on dark chocolate candies).
- Edible Glitter: For an extra touch of sparkle, dust with edible glitter while the chocolate is still wet.
- Shaping for Occasions:
- Holiday Shapes: Instead of balls, gently press the buttercream mixture into small cookie cutters (stars, hearts, circles) before chilling and dipping for themed treats.
- Mini Bars: Press the buttercream into a small, parchment-lined pan, chill, cut into small rectangles, and then dip.
With these variations, you can easily transform this simple recipe into an array of gourmet-looking treats, perfect for gifts, parties, or simply treating yourself to something uniquely delicious.
More Delightful Desserts to Explore
If you’ve fallen in love with these delightful buttercream candies, you’re in for a treat! We have a curated collection of other favorite easy and delicious desserts, candies, and sweets that are just as simple to make and packed with flavors your entire family will adore. Each recipe focuses on common ingredients and straightforward methods, ensuring a stress-free baking experience.
More Candy & Sweet Recipes
See more Candy & Sweets
Best Chocolate Truffles
Peeps Cupcakes
Peppermint Buttercreams Candy
Easy Candied Almonds Recipe
Easy Classic Buttercreams Candy Recipe
If you cherish this easy buttercream candies recipe as much as we do, please consider rating it five stars and sharing it with your friends and family on social media! Your support helps us continue to bring you more delightful and simple recipes.
Short on time? Sign up for our 30-minute dinner plans and get delicious meal ideas delivered straight to your inbox!
Explore and shop our curated selection of favorite kitchen products on Amazon here!
Easy Buttercreams Candies Recipe

Delicious easy candies loaded with buttercream frosting flavor for a classic nostalgic recipe the whole family loves!
Ingredients
- ½ cup unsalted butter, softened
- 4 ounces cream cheese, softened
- ¼ teaspoon salt
- 2 teaspoons vanilla extract
- 4 cups powdered sugar
- 4 cups chocolate melting wafers
- Sprinkles, optional
Instructions
- In a large bowl or stand mixer fitted with a paddle attachment, cream together the butter, cream cheese, vanilla, and salt until smooth.
- Add in the powdered sugar a cup at a time, mixing well between each addition until the mixture is smooth and resembles a firm dough.
- Cover the bowl and place in the refrigerator to chill for 1 hour.
- After chilling, use a medium cookie scoop to measure out even balls of the buttercream mixture. Roll or shape them and place on a parchment-lined baking pan.
- Refrigerate the shaped candies for 2 more hours to ensure they are firm.
- Melt the chocolate melting wafers in a deep glass. (Consider melting in two rounds to keep the chocolate warm and workable.)
- Dip the chilled buttercream candies into the melted chocolate using a spiral dipping tool, toothpick, or fork until fully coated. Gently tap off excess chocolate and place them back on the prepared baking sheet.
- Immediately add sprinkles to the dipped candies, as the chocolate will begin to harden quickly.
- Allow the candies to sit at room temperature for about 15 minutes to allow the chocolate to slightly set. Then, transfer them back to the refrigerator to chill for an additional 30 minutes until fully hardened.
- Enjoy your homemade buttercream candies immediately, or store them in an airtight container in the refrigerator for up to one week.
Nutrition
Calories: 140kcal
Carbohydrates: 18g
Protein: 1g
Fat: 7g
Saturated Fat: 4g
Polyunsaturated Fat: 2g
Cholesterol: 11mg
Sodium: 32mg
Sugar: 17g
Nutrition information is automatically calculated, so should only be used as an approximation.