
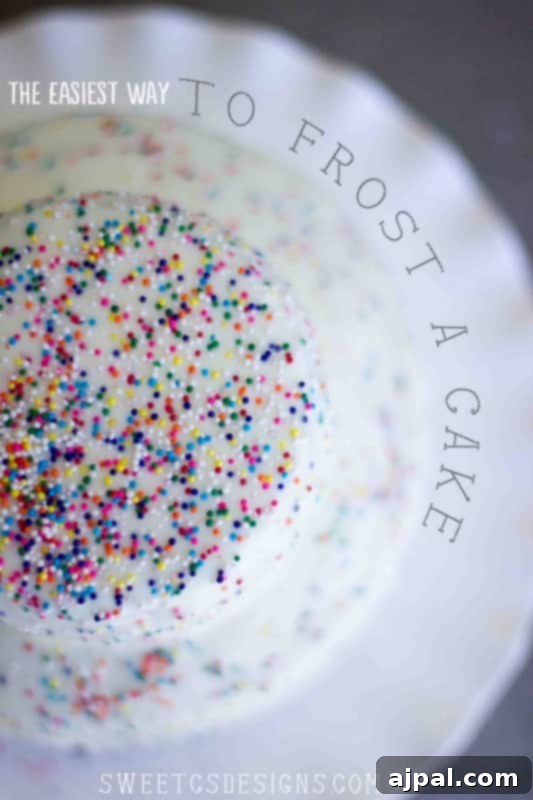
Transforming Store-Bought Frosting: Achieve a Professional, Fondant-Like Finish with This Easy Hack!
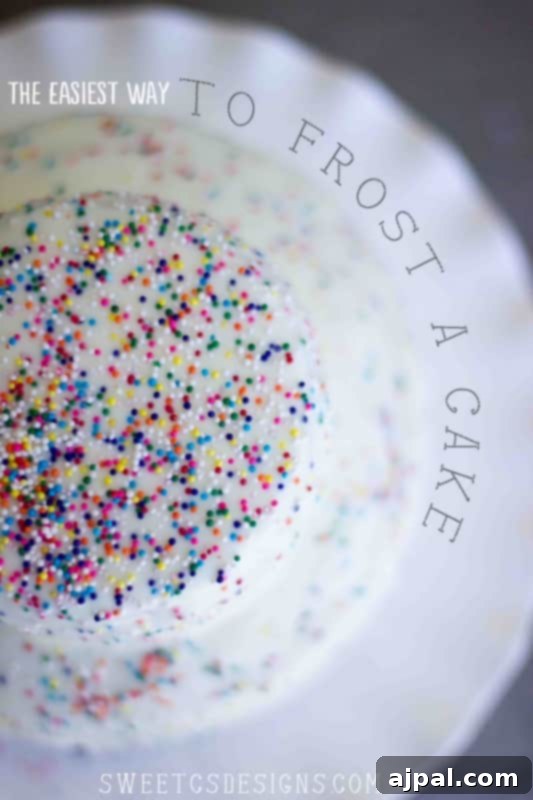
Unlock the secret to effortlessly beautiful cakes with this ingenious frosting hack! Forget hours spent meticulously smoothing icing or wrestling with tricky fondant. This viral trick will show you how to transform ordinary store-bought canned frosting into a luxurious, pourable glaze that delivers a sleek, professional, and delicious finish in mere minutes. Prepare to impress everyone with your stunning creations, all while saving valuable time and effort. This isn’t just a tip; it’s a game-changer for home bakers and seasoned decorators alike!
Whether you’re a baking novice or an experienced home chef, achieving a polished cake often feels like a daunting task. Many aspire to the smooth, flawless look of fondant but shy away from its complex application. What if we told you that restaurant-quality cakes and treats are within your reach using a simple can of supermarket icing and your microwave? This article reveals the ultimate shortcut to creating stunning, smooth cakes, cupcakes, cookies, and even petit fours that look like they came straight from a high-end bakery. Get ready to elevate your dessert game without breaking a sweat!
Have you ever dreamed of creating stunning, professionally decorated cakes but found yourself short on time or intimidated by complex techniques? Perhaps you’ve taken cake decorating classes, only to realize the sheer effort required for that flawless finish. Or maybe you’ve read countless articles on pourable fondant or how to achieve a perfectly smooth icing, but the idea of executing it before a big event felt impossible. It’s time to put those frustrations aside and embrace a revolutionary method that delivers a beautifully smooth, faux-fondant cake in mere minutes!
This incredible trick allows you to achieve a smooth, elegant cake surface that closely resembles poured fondant, but with significantly less fuss and without the often-maligned taste of traditional fondant. The real magic? You’ll be using readily available, store-bought icing, which means you can choose any flavor imaginable and have your cake looking spectacular in no time. This technique is perfect for giving a sophisticated touch to birthday cakes, baby shower centerpieces, fun cake pops, decadent brownie pops, uniquely shaped cakes, delicate petit fours, and even elegant wedding cakes on a budget!
Essential Tools for Easy Poured Frosting: Your Shopping List
Preparing for this cake decorating hack is incredibly simple. You likely already have most of these items in your kitchen. Here’s what you’ll need to achieve a gorgeous, smooth finish:
- A Baked Cake, Cupcakes, Bundt Cake, or Cake Pops: Ensure your creation is completely cooled before beginning. A cold cake helps the icing set faster and more evenly.
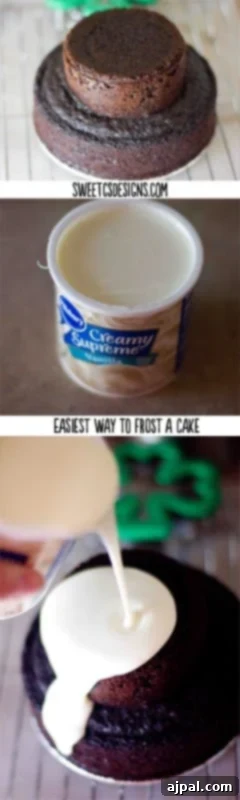
- Store-Bought Canned Icing: For a standard single-layer cake, one 16-ounce can is usually sufficient. For larger cakes (like multi-layer or bigger than a single box mix), plan for two cans. We highly recommend using Pillsbury Creamy Supreme as it offers a superior flavor and sets beautifully, but most creamy (not whipped) frostings will work.
- Microwave: This is your key tool for transforming thick icing into a pourable glaze.
- Cooling Rack: Essential for allowing excess frosting to drip away cleanly and for proper airflow, which helps the poured icing set smoothly.
- Thin, Flexible Cutting Mat or Baking Sheet: Place this underneath your cooling rack to catch any drips. This not only keeps your workspace clean but also allows you to easily collect and reuse any excess frosting.
- Sprinkles or Other Decorations (Optional): For adding a personal touch and extra flair to your finished masterpiece.
Step-by-Step Guide: How to Pour Frosting for a Smooth Finish
Achieving that coveted smooth, faux-fondant look is remarkably easy with this method. Follow these simple steps for a flawless result every time:
- Prepare Your Workspace: Begin by placing your completely cooled cake on a cooling rack. Position the cooling rack over a thin, flexible cutting board or a baking sheet. This setup is crucial: the rack allows excess icing to drip away, preventing pooling and creating a cleaner finish, while the mat underneath catches drips for easy cleanup and potential reuse.
- Melt the Frosting: Open your can of store-bought icing and transfer it to a microwave-safe bowl. Microwave the frosting in two short bursts of 15 seconds each. Stir well after the first burst. The goal is to achieve a completely melted, liquid consistency, but it should not be hot to the touch. If it’s too warm, it will run off the cake too quickly.
- Cool Slightly: Once melted, let the frosting sit for a minute or two. You want it to be liquid and pourable, but without any residual warmth. This slight cooling helps it adhere better to the cake and reduces excessive dripping.
- First Pour: Using a steady, circular motion, begin pouring the melted frosting over your cake, starting from the center and working your way outwards to cover the sides. Use approximately one-quarter of the can for this initial layer. Don’t worry if it’s not perfectly covered yet.
- Allow to Set: Let the cake sit undisturbed for about 10 minutes. This allows the first thin layer of frosting to slightly firm up, creating a base for subsequent layers. This crucial setting time prevents the next pour from simply running off.
- Second Pour (and Subsequent Layers): Microwave the remaining frosting again for another 15 seconds to ensure it’s still liquid. Repeat the pouring step, covering any areas that need a thicker, more even layer. You might notice the surface becoming smoother with each additional coat. For a truly opaque and smooth finish, you may repeat this process one more time after another brief cooling period, if needed.
- Final Placement: Once the final layer of frosting has set and feels firm to the touch (usually another 10-15 minutes), carefully slide the cake off the cooling rack and onto your desired clean cake plate or serving platter.
- Decorate and Enjoy: Now comes the fun part! Decorate your beautifully smooth cake with sprinkles, edible glitter, fondant shapes, or any other embellishments you desire. And then, enjoy your perfectly frosted masterpiece!
For a slightly tweaked version of this technique specifically designed to achieve picture-perfect faux fondant poured icing cupcakes every time, be sure to check out this dedicated post.
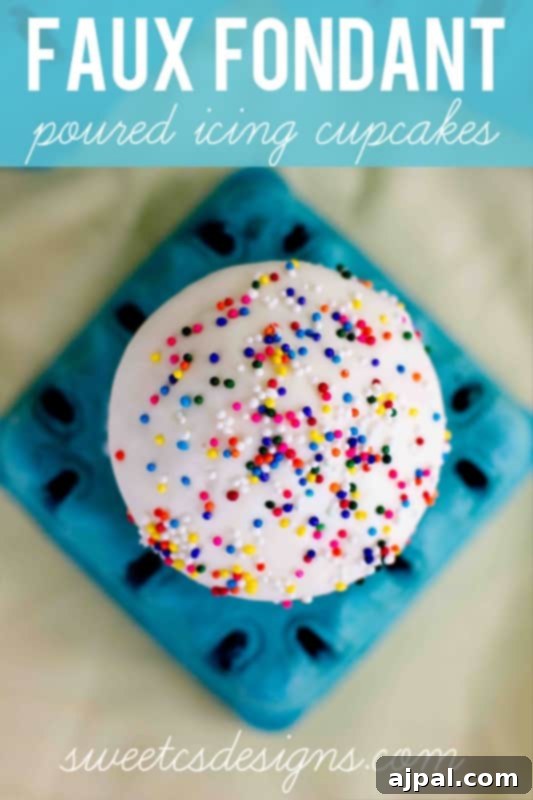
For those who prefer a homemade touch, or want to experiment with custom flavors and colors, we also have a fantastic recipe for a pourable homemade icing. Discover that recipe and all its versatility in this new post.
Troubleshooting Common Poured Frosting Issues
While this method is incredibly simple, you might encounter a few minor issues. Here are some quick tips and tricks to solve common problems and ensure your cake looks fantastic:
- Lumpy Frosting: If your cake’s surface looks a bit lumpy after the first few pours, don’t despair. Once the frosting has cooled and set slightly, gently smooth it with a warm, clean knife or an offset spatula. Then, apply another thin layer of slightly warm (liquid) icing over the smoothed surface. This fresh layer will settle evenly and help mask any imperfections.
- Icing Running Off Too Quickly: If your frosting seems to be melting away or running off the cake excessively, it’s a clear sign that it’s too warm. Allow the melted frosting to cool for an additional few minutes before attempting the next pour. Patience here is key; a slightly cooler liquid consistency will adhere better. You want it liquid, but not hot.
- Uneven Coverage or Bare Spots: This often happens on the first pour. The solution is simple: repeat the pouring process. As the article explains, applying multiple thin layers, allowing each to set, builds up a more uniform and opaque coating. Don’t try to get full coverage in one go.
- Bubbles or Imperfections: Small bubbles can sometimes form on the surface. To remedy this, gently tap the cooling rack with the cake a few times after pouring, allowing the bubbles to rise and pop. For minor imperfections, a soft brush or the back of a spoon can gently smooth them out before the frosting fully sets.
- When All Else Fails, Add Sprinkles! Sprinkles are your best friend for instant beauty and hiding any minor mishaps. They add a festive touch and are universally loved, especially by children. If you find yourself with an imperfect cake, a generous scattering of sprinkles can transform it into a celebratory treat. Just remember to wait a couple of minutes after the final pour before adding them. In the photo below, you might notice a few sprinkles that sank into the frosting because I was a bit too excited and added them prematurely. Waiting for the frosting to become slightly tacky will ensure your decorations stay perfectly on the surface.
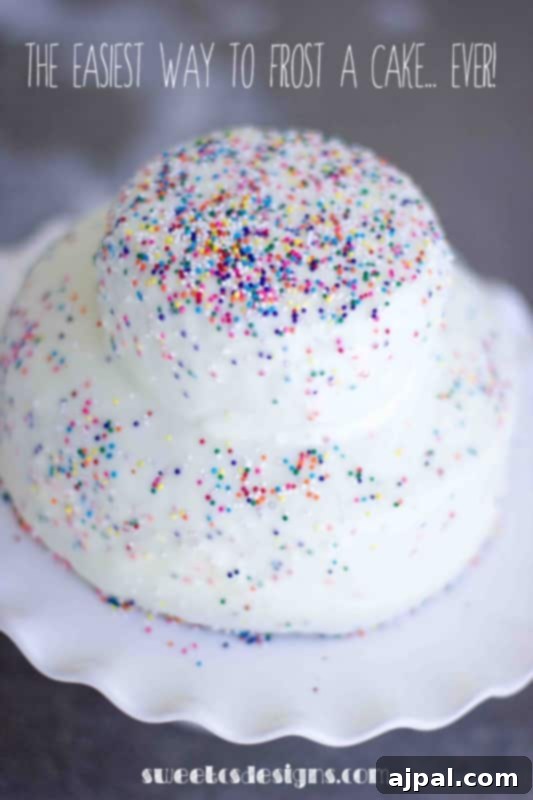
Achieving a Truly Smooth Poured Frosting Finish
The beauty of this poured frosting technique lies in its ability to mimic the silky smooth texture of traditional poured fondant or petit four glazes. While the initial pour provides a great foundation, you can take it a step further to refine the surface. If you notice any slightly lumpy areas of frosting after it has partially cooled, a simple trick can help. Take a piece of parchment paper or even a clean paper towel and gently rub it across the cooled (but not rock-hard) frosting. The slight warmth and pressure will help to smooth out minor ridges and create an even more seamless, fondant-like appearance. This essentially helps to “buff” the surface of your icing, giving it a professional sheen.
However, for truly perfect results, remember that the smoothness of your final frosting is also dependent on the initial preparation of your cake. Just like with any other decorating method, ensuring your cake is level and free from large lumps or imperfections before frosting will contribute significantly to the overall flawless look. This method makes the frosting itself incredibly spreadable and easy to work with, but a good base will always yield the best possible outcome. Combine a well-baked, level cake with this easy poured frosting technique, and you’re guaranteed a dessert that looks as good as it tastes!
Easy Poured Frosting Recipe: Your Shortcut to Stunning Cakes
If you’ve loved this incredibly easy cake decorating idea and found it helpful, please consider rating it five stars below! Your feedback helps others discover these amazing hacks. Don’t forget to share this post with your friends and fellow bakers on Facebook and Pinterest so they can experience the joy of effortlessly beautiful cakes too!
Only have 30 minutes to get dinner on the table? Sign up for my 30-minute dinner plans direct to your inbox!
Find and shop my favorite products in my Amazon storefront here!
Want to save this recipe? Just enter your email below to get it sent straight to your inbox! Plus, you’ll receive new recipes from us every week. We love seeing your creations, so be sure to tag @sweetcsdesigns on social media!
(Please note: This is a simplified static representation. In a live environment, an email subscription form would be present here.)
Easy Poured Frosting Recipe
Ingredients
- 1 box cake mix, baked to package directions
- 1 16 oz can store-bought icing
- ¼ cup sprinkles
Instructions
- First off, set your cool cake on a cookie rack over a flexible cutting board.
- This will help catch leftover icing that you can scoop up and re-use if needed.
- Next, microwave your frosting for two 15-second bursts; it should be completely melted but not hot.
- Let it sit for a minute or two to cool a bit (you want it still liquid, just no warmth).
- Then, in a circular motion, pour over your cake. Once you have used about 1/4 of the can of icing and it looks pretty covered, let it sit and firm up for about 10 minutes.
- Microwave the icing again for 15 seconds.
- Repeat the icing step to get a thicker, more even layer.
- Repeat once more if needed after cool.
- Once the cake has set, slide it off the cooling rack and onto a clean cake plate.
- Decorate with sprinkles, fondant shapes, etc.
- Enjoy!!
Video
(Video content related to this recipe would typically be embedded here.)
Nutrition
Calories: 333kcal
Carbohydrates: 62g
Protein: 2g
Fat: 9g
Saturated Fat: 3g
Polyunsaturated Fat: 6g
Sodium: 387mg
Fiber: 1g
Sugar: 43g
Nutrition information is automatically calculated, so should only be used as an approximation.
Additional Info
Tried this recipe?
Mention @sweetcsdesigns or tag #sweetcsdesigns!