
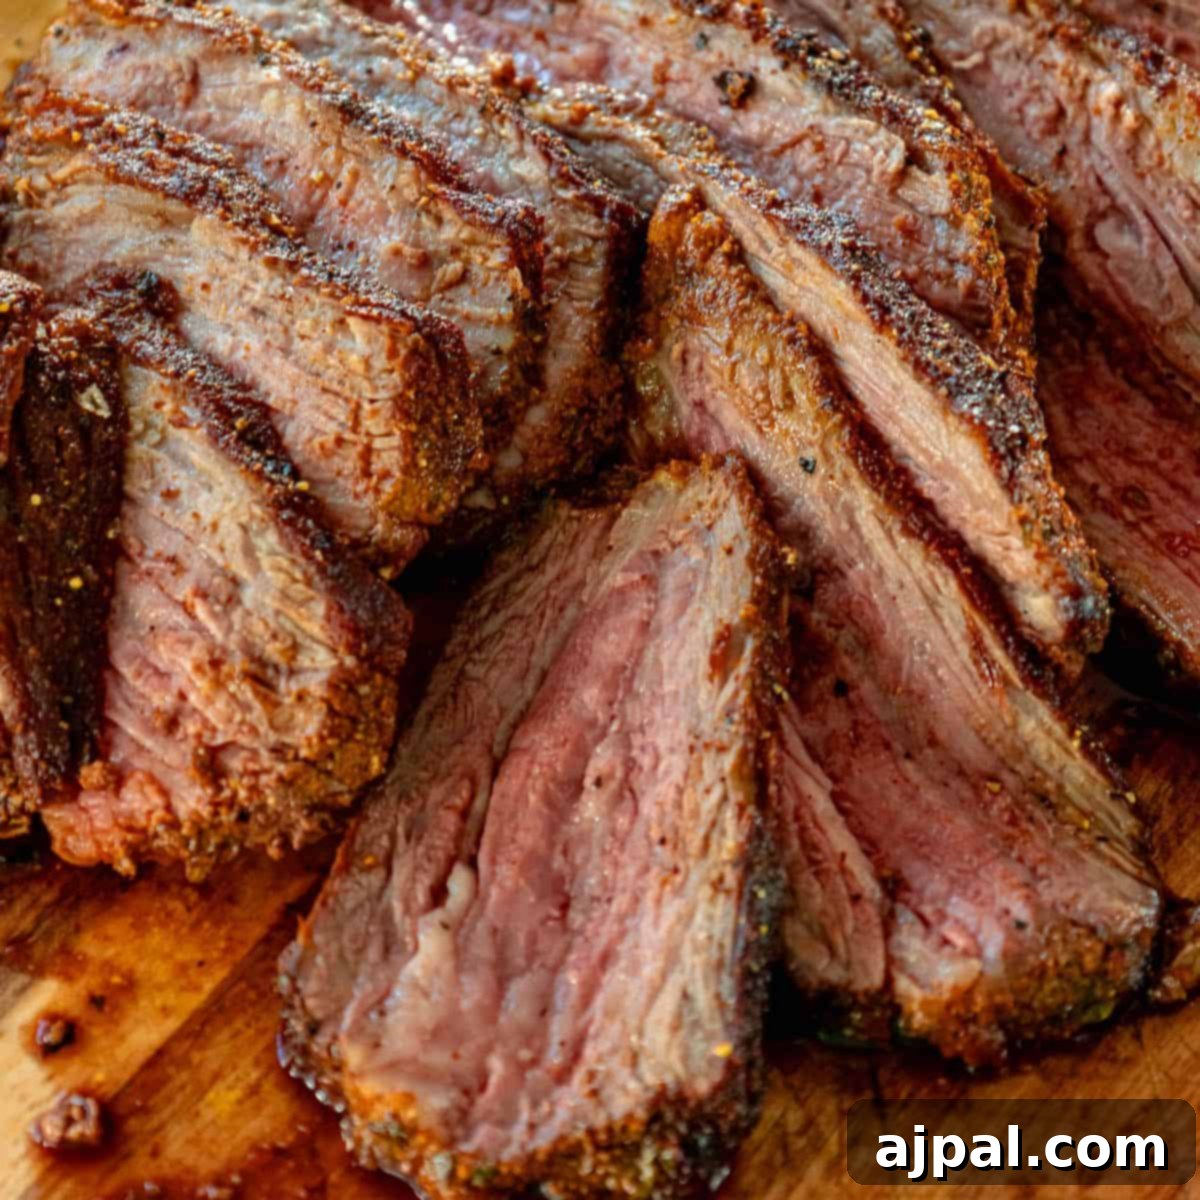
Unlock the secret to a perfectly cooked, incredibly flavorful, and irresistibly tender tri-tip steak with our comprehensive guide to reverse searing. This method ensures a juicy interior from edge to edge, crowned with a beautifully seared, crusty exterior – a dish that’s simple to master and guaranteed to be a family favorite every single time!
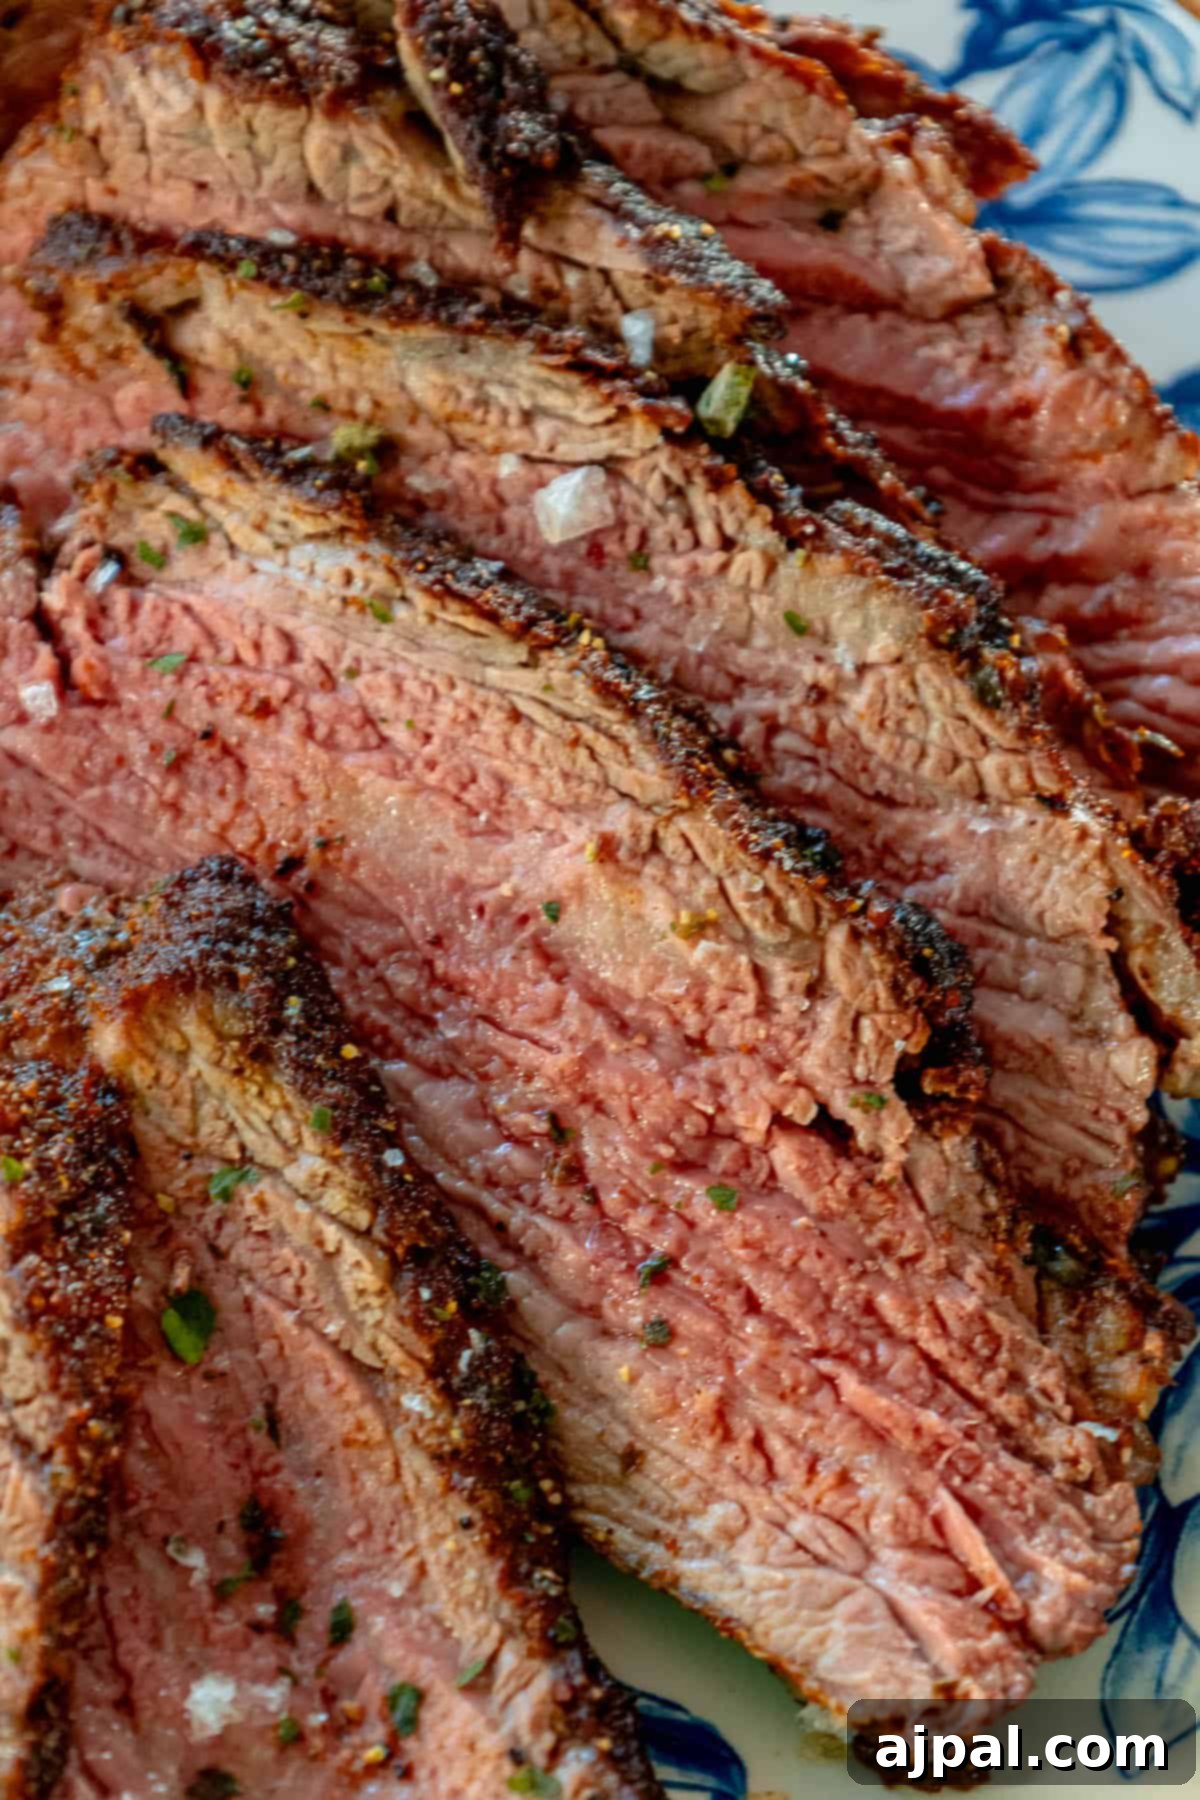
Looking for just the recipe? We offer a convenient “Skip to Recipe” link at the top left of this page, and a clickable table of contents below, to help you navigate directly to what you need.
As a passionate home cook without formal culinary training, I believe that understanding the ‘why’ behind each step and the role of every ingredient transforms cooking from a chore into an empowering experience. At Sweet C’s, my mission is to equip even the most novice home cooks with the confidence to create amazing dishes in their own kitchens.
Table of Contents
- The Art of Reverse Searing Tri-Tip
- Mastering the Reverse Sear Method for Tri-Tip
- Essential Tips and Tricks for a Perfect Reverse Seared Tri-Tip
- Frequently Asked Questions
- Perfect Pairings: What to Serve with Reverse Seared Tri-Tip
- Reverse Seared Tri Tip Recipe
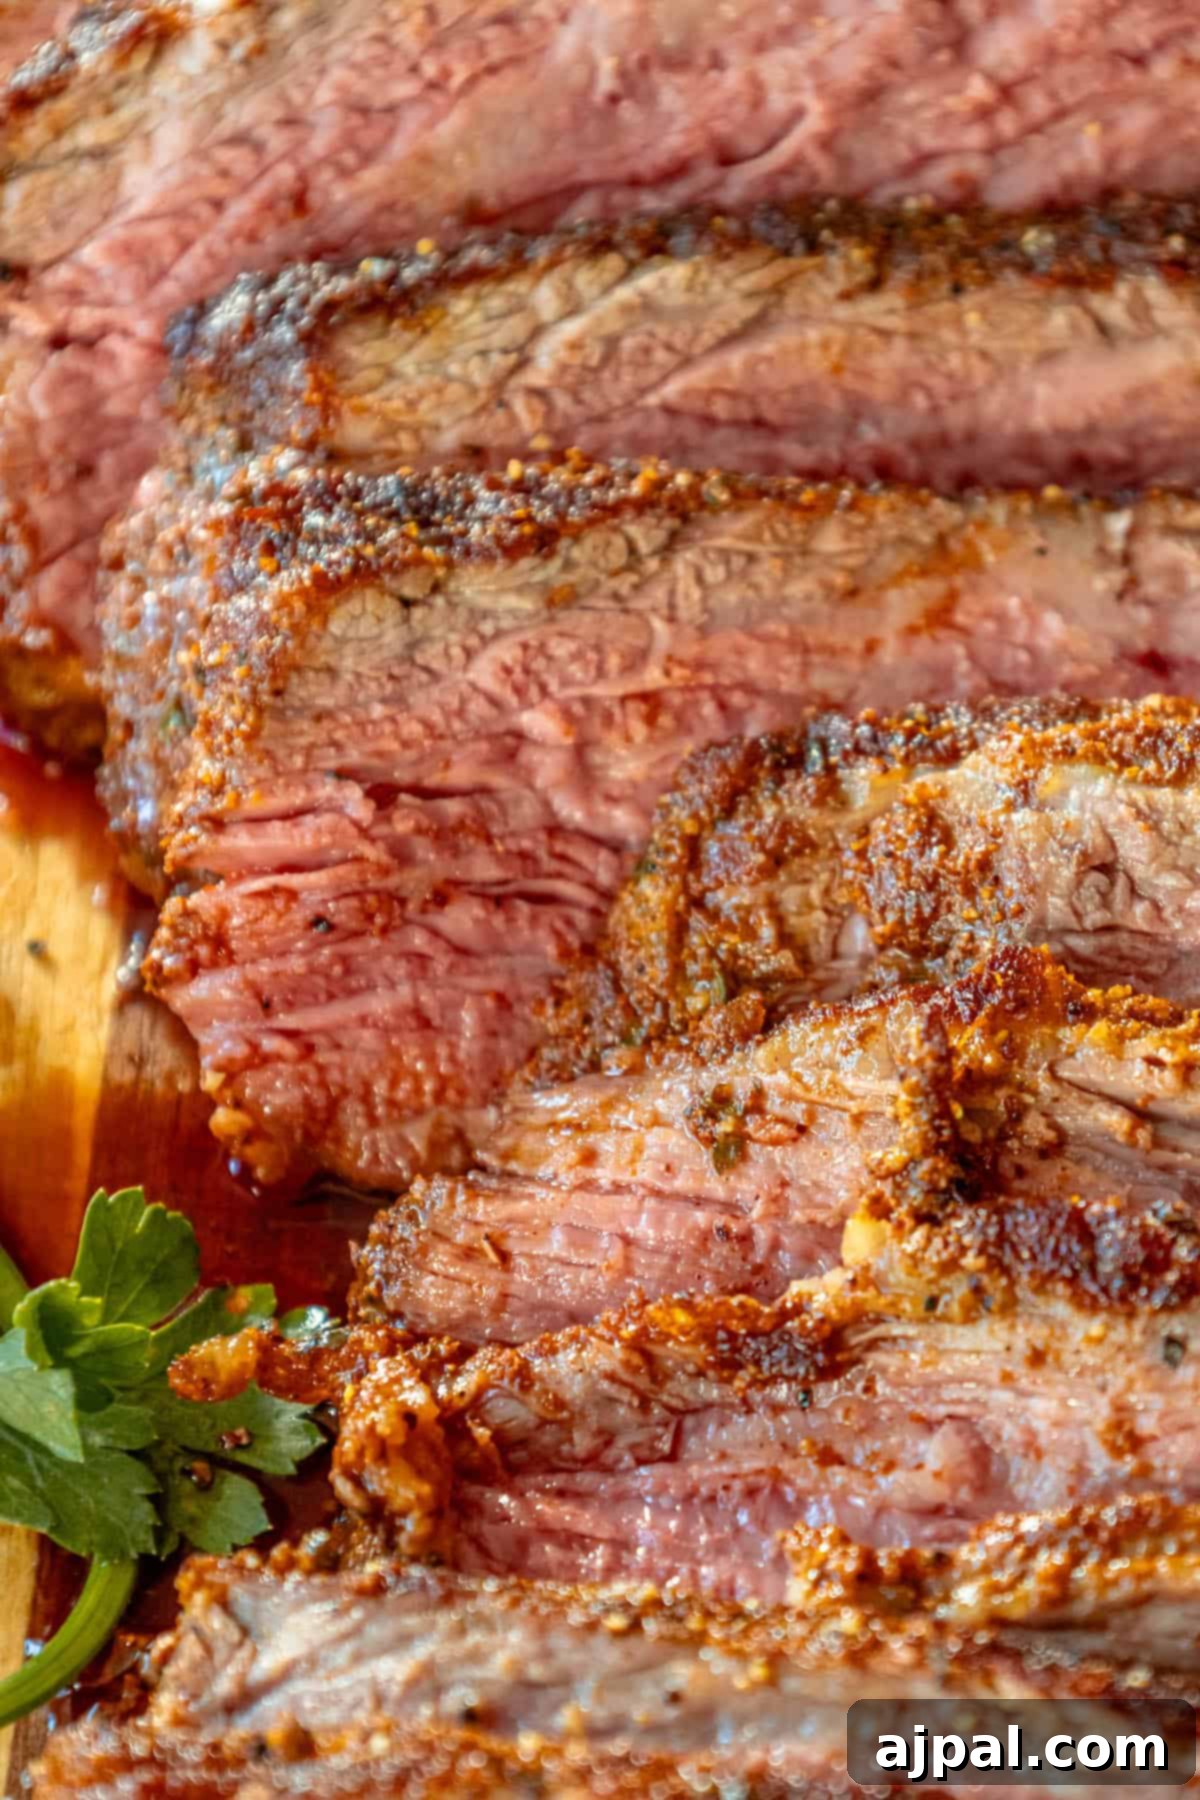
The Art of Reverse Searing Tri-Tip: Low and Slow, Then Fast and Hot
Reverse searing stands out as a truly remarkable cooking method, especially for cuts like tri-tip steak. This increasingly popular cut, known for its rich beefy flavor and versatility, truly shines when prepared with this technique. The process, which involves an initial slow roast at a low temperature followed by a quick, high-heat sear, is specifically designed to bring out the absolute best in your tri-tip, ensuring unparalleled tenderness and a mouthwatering crust.
You might wonder, why opt for reverse searing over traditional methods? Conventional searing often begins with high heat, which can lead to a steak with an overcooked exterior and an undercooked, unevenly pink center. Reverse searing, however, gently coaxes the steak to its desired internal temperature in a low-temperature environment, such as an oven or grill. This gradual heating allows for a far more uniform internal doneness, creating that coveted edge-to-edge pinkness.
This method is particularly advantageous for tri-tip, a cut that is naturally thick and somewhat irregularly shaped. Slow cooking ensures that the heat penetrates evenly through the meat, allowing the thicker sections to reach temperature without overcooking the thinner edges. Beyond superior internal cooking, reverse searing also helps to minimize excessive smoke during the searing phase and can reduce any gamey undertones, letting the pure, rich beef flavor shine through.
Once your tri-tip is just a few degrees shy of your target internal temperature, it’s time for the grand finale: a high-heat sear. This crucial step triggers the Maillard reaction – the complex chemical process responsible for the deep, savory flavors and visually appealing, caramelized crust on seared foods. The inherent beauty of reverse searing lies in the control it offers. Since the steak is already nearly perfectly cooked internally, you only need a brief, intense sear on each side to achieve that irresistible crust, virtually eliminating the risk of overcooking the precious interior. This precision is a game-changer for home cooks aiming for restaurant-quality results.
Another significant benefit of the reverse sear is its forgiving nature. Achieving your desired doneness, be it a perfect medium-rare or a juicy medium, becomes much simpler because the steak cooks so gradually. There’s less pressure for that precise “pull-it-off-the-heat-now” moment, giving you a wider window to achieve perfection. This slow, deliberate approach reduces stress and boosts confidence in the kitchen.
Ultimately, a reverse-seared tri-tip is undeniably juicier. The extended, low-temperature cooking phase allows the intramuscular fat to render slowly and melt into the meat fibers, deeply permeating the steak and significantly enhancing its overall flavor and succulence. Furthermore, since the meat undergoes a natural resting period during its initial slow cook, it requires minimal additional resting time after the final sear, meaning it’s ready to slice and enjoy almost immediately. This thoughtful preparation guarantees a steak that is tender, flavorful, and incredibly satisfying.
Mastering the Reverse Sear Method for Tri-Tip
Crafting a phenomenal reverse-seared tri-tip requires a few key ingredients and a straightforward method. Here’s what you’ll need to gather and how to prepare it for an unforgettable meal:
Key Ingredients:
- Tri-Tip Steak: This is the star of our dish. The tri-tip is a triangular cut of beef sourced from the bottom sirloin, celebrated for its robust beefy flavor and remarkably tender texture. Its inherent thickness and beautiful marbling make it an ideal candidate for the reverse searing technique, allowing for a perfectly even cook and a succulent result. When choosing your tri-tip, look for a cut with good marbling, which indicates a higher fat content and thus, more flavor and juiciness.
- Quality Steak Rub: The steak rub you select is paramount as it significantly shapes the final flavor profile of your tri-tip. Most effective steak rubs are a thoughtful blend of coarse salt, freshly ground black pepper, and complementary spices such as garlic powder, onion powder, and sometimes a touch of sugar or paprika for color and a hint of sweetness. This carefully chosen rub not only enhances the meat’s natural flavors but also contributes to the formation of that exquisite, savory crust during the searing stage. Feel free to use your favorite store-bought rub or create your own signature blend.
- Unsalted Butter: Incorporating unsalted butter towards the end of the cooking process introduces an additional layer of richness and flavor. As the butter melts and browns during the high-heat sear, it helps to create a beautiful golden, caramelized crust, imbuing the steak with a luxurious, buttery finish. For an extra aromatic dimension, consider infusing your butter with fresh herbs like rosemary or thyme while it melts in the pan. This simple step elevates the overall sensory experience of the dish.
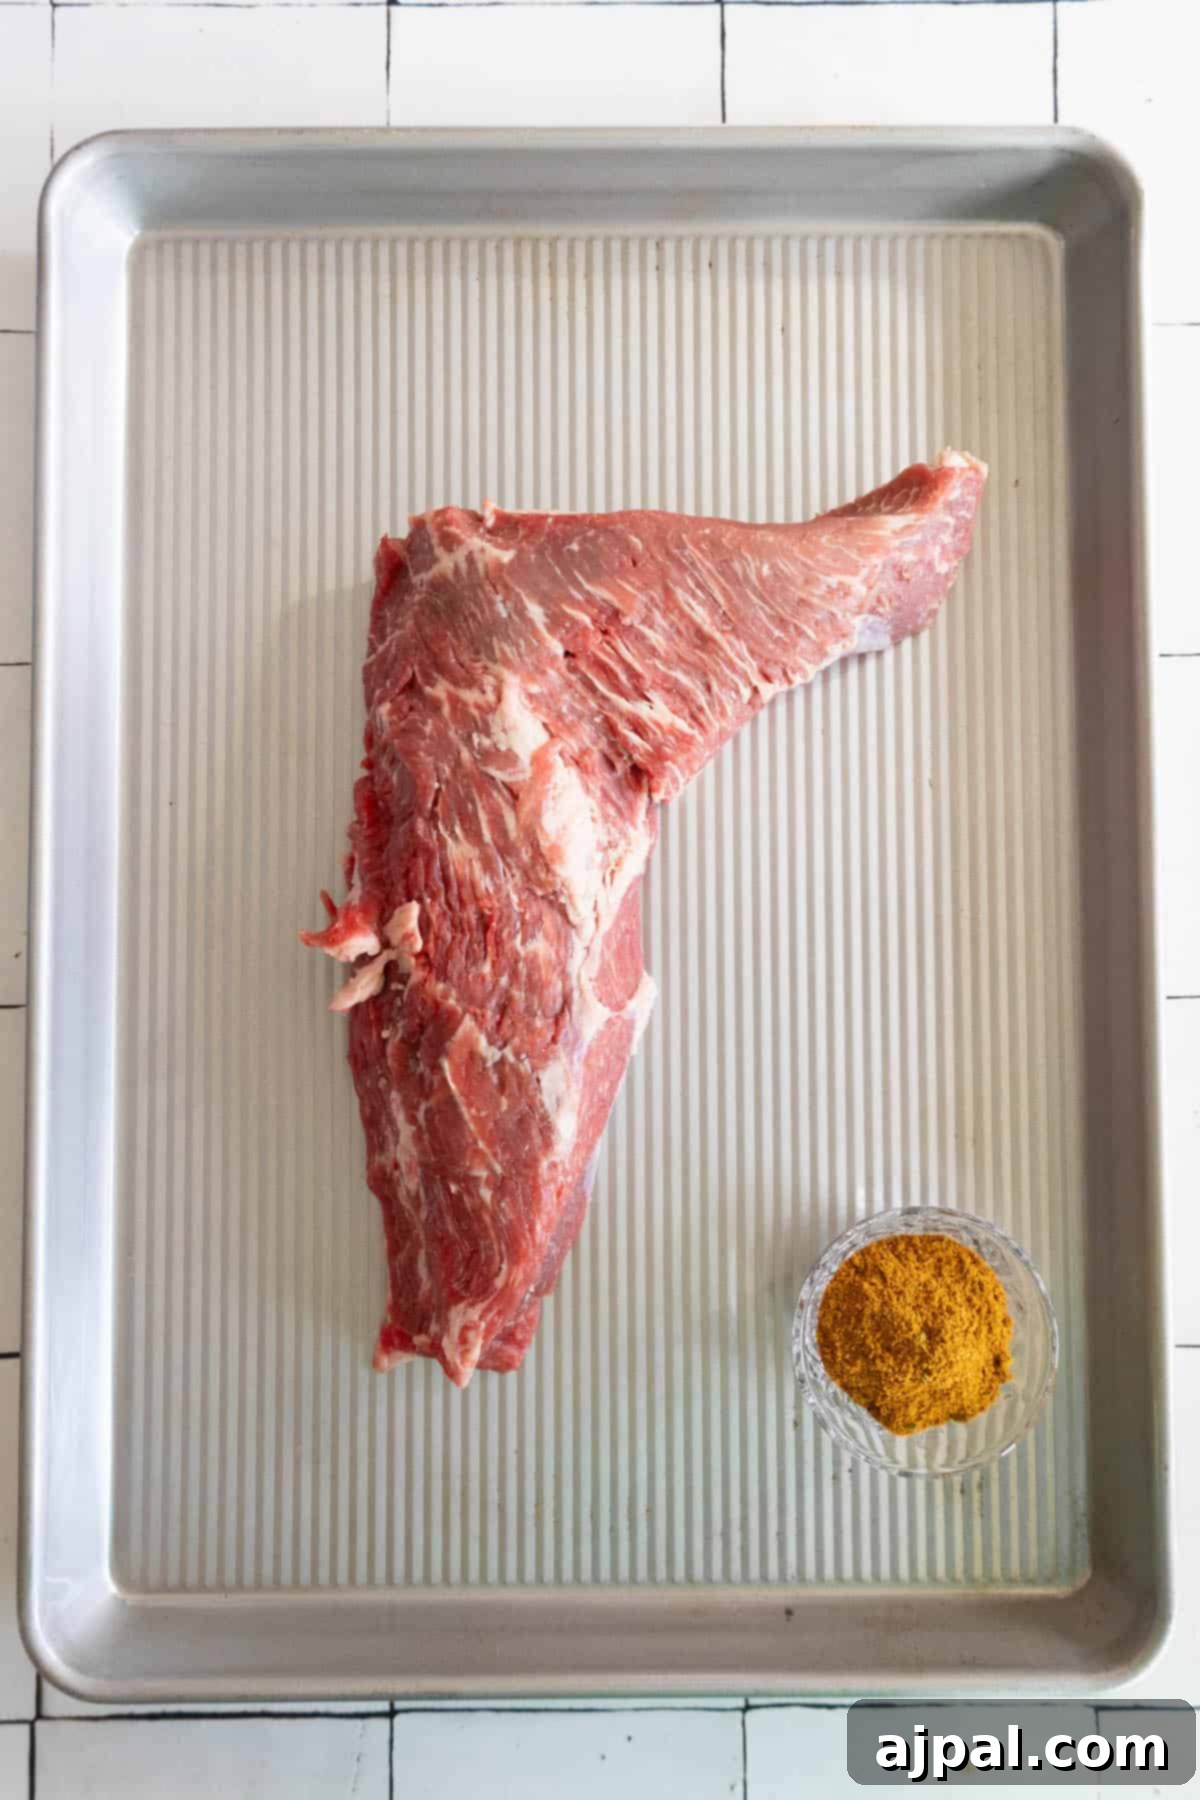
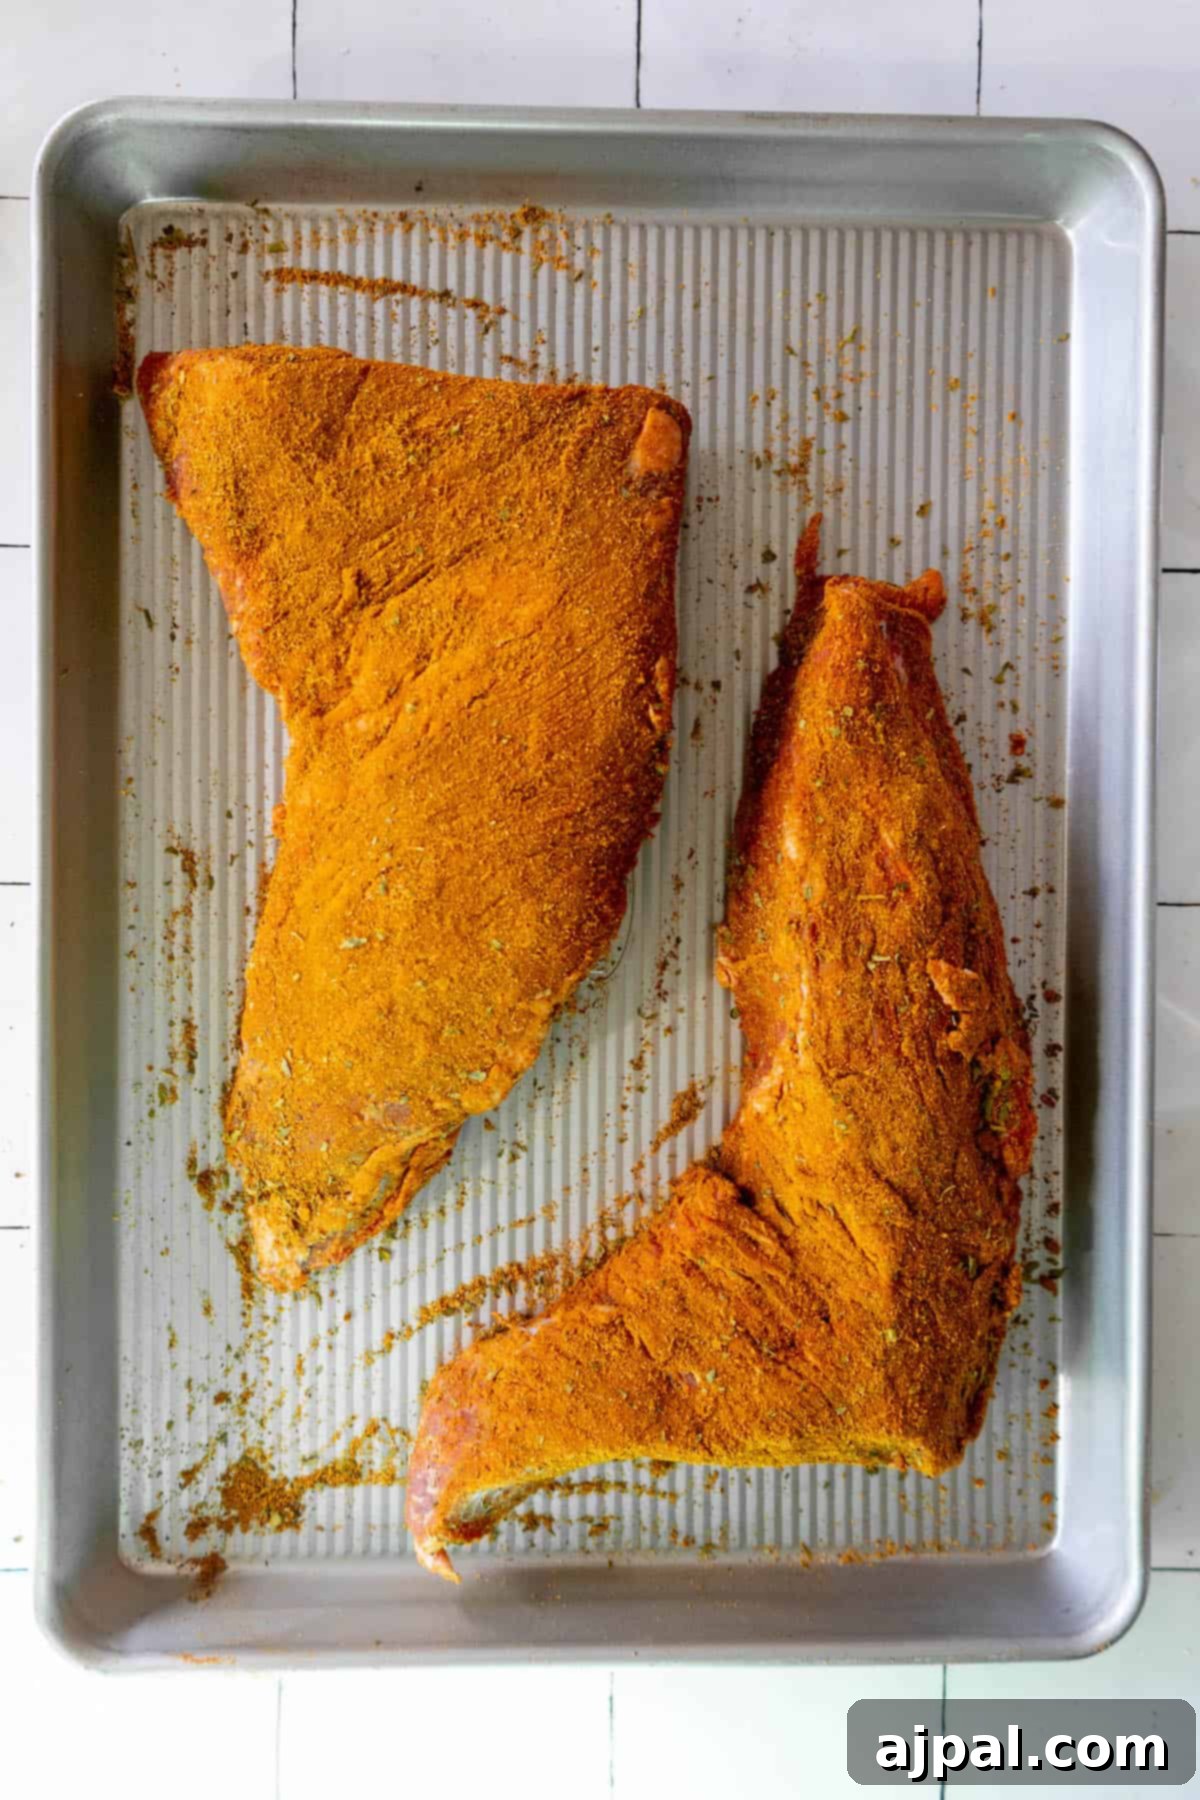
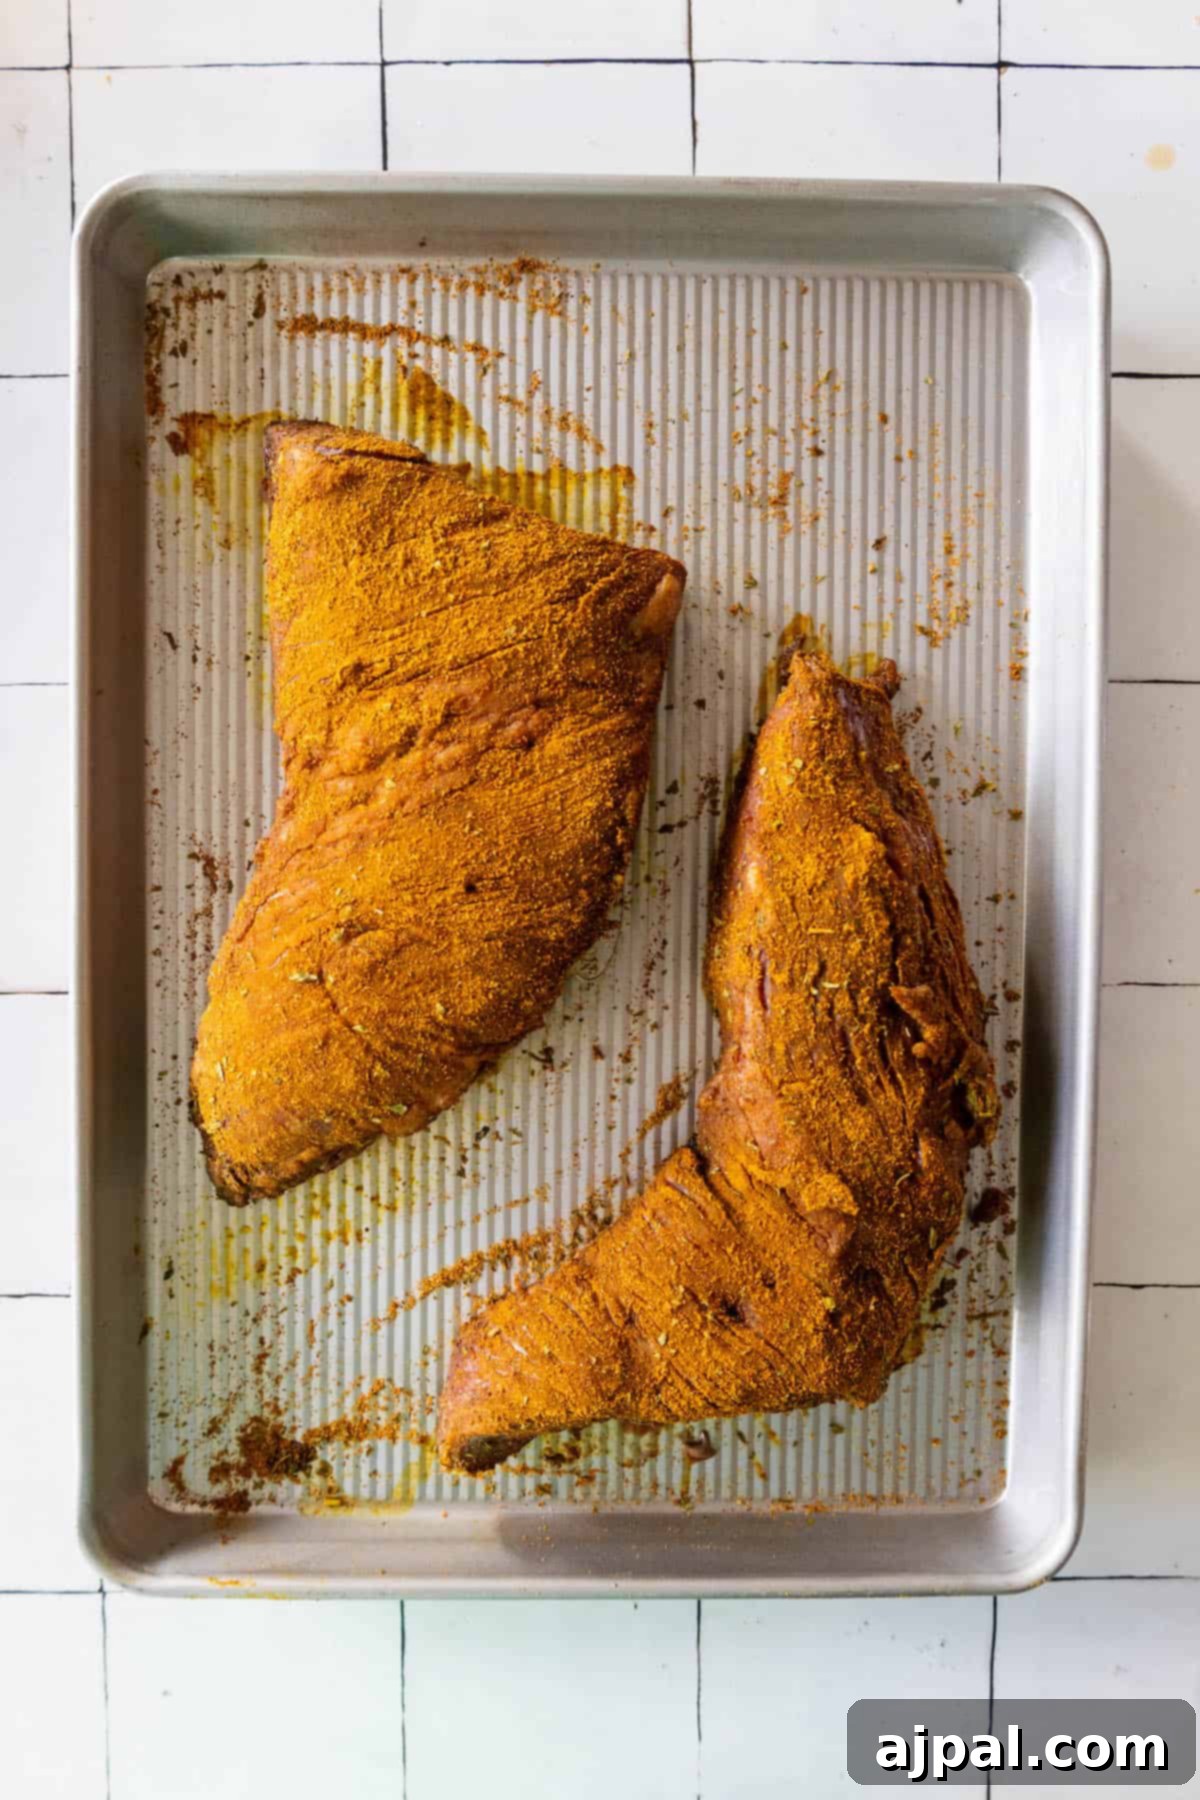
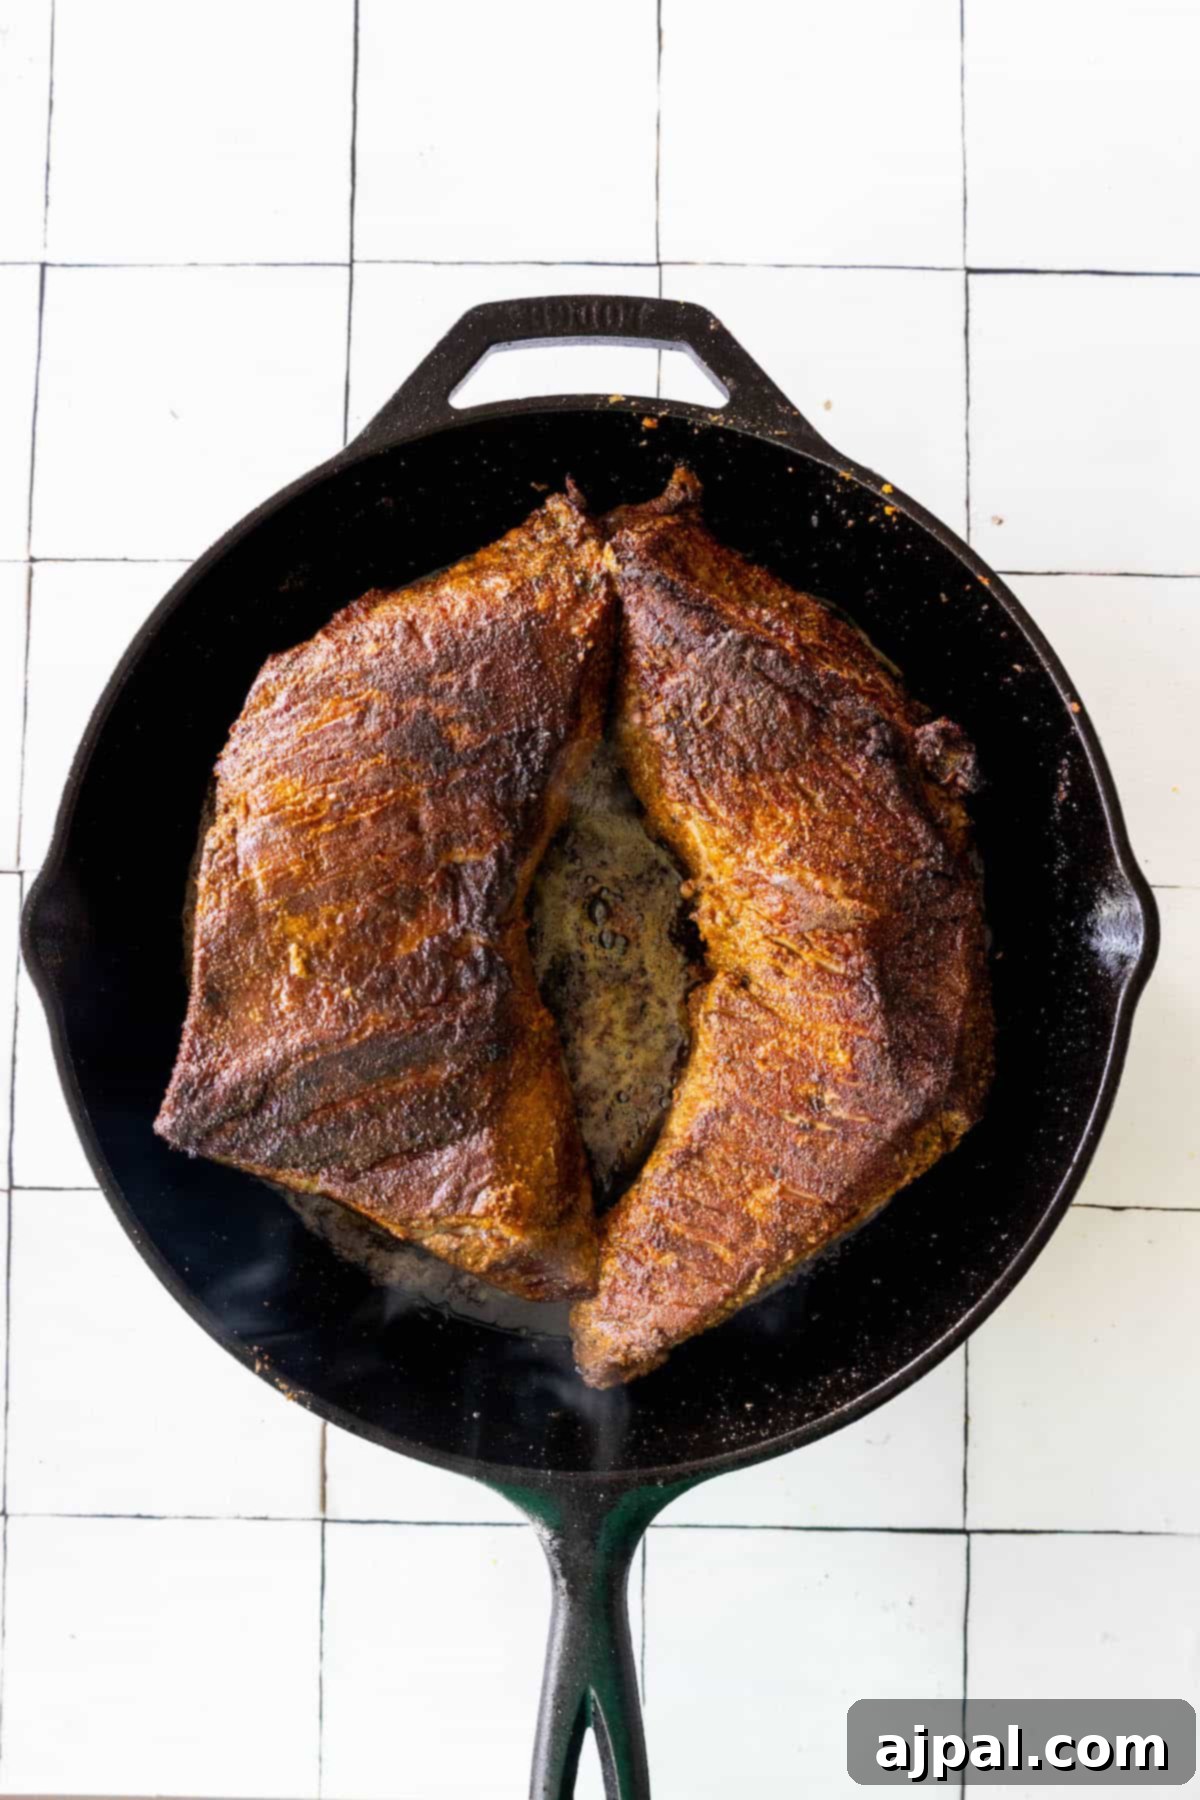
Once your ingredients are ready, follow these steps for a perfectly reverse-seared tri-tip:
Method:
- Prep & Season. Begin by taking your tri-tip out of the refrigerator at least 30-60 minutes before cooking to allow it to come closer to room temperature. This helps ensure more even cooking. Pat the steak thoroughly dry with paper towels – a dry surface is crucial for a great crust. Then, generously cover the entire surface of the tri-tip with your chosen steak rub, ensuring all sides are well-seasoned. Preheat your oven to a low temperature, around 200-275°F (93-135°C), depending on your oven and desired cooking speed.
- Low & Slow Roast. Place the seasoned tri-tip on a wire rack set over a baking sheet. This allows air to circulate around the meat for even cooking. Insert a reliable meat thermometer into the thickest part of the steak, avoiding bone or large pockets of fat. Roast in the preheated low oven until the internal temperature reaches about 105-125°F (40-52°C), depending on your desired final doneness (e.g., for medium-rare, aim for 115-120°F here). This slow phase can take anywhere from 45 minutes to 1.5 hours, so rely on your thermometer, not the clock.
- High Heat Sear. While the tri-tip is nearing its target temperature in the oven, prepare your searing station. Heat a heavy cast iron pan over high heat on your stovetop until it’s smoking hot. Add the unsalted butter to the pan. If using fresh herbs like rosemary or thyme, add them to the melting butter to infuse their aroma. Once the butter is bubbling and slightly browned, carefully transfer the tri-tip from the baking sheet to the screaming hot skillet. Sear each side for just 1-2 minutes, flipping frequently, to develop a deep, dark, and flavorful crust. Don’t forget to sear the edges for complete browning.
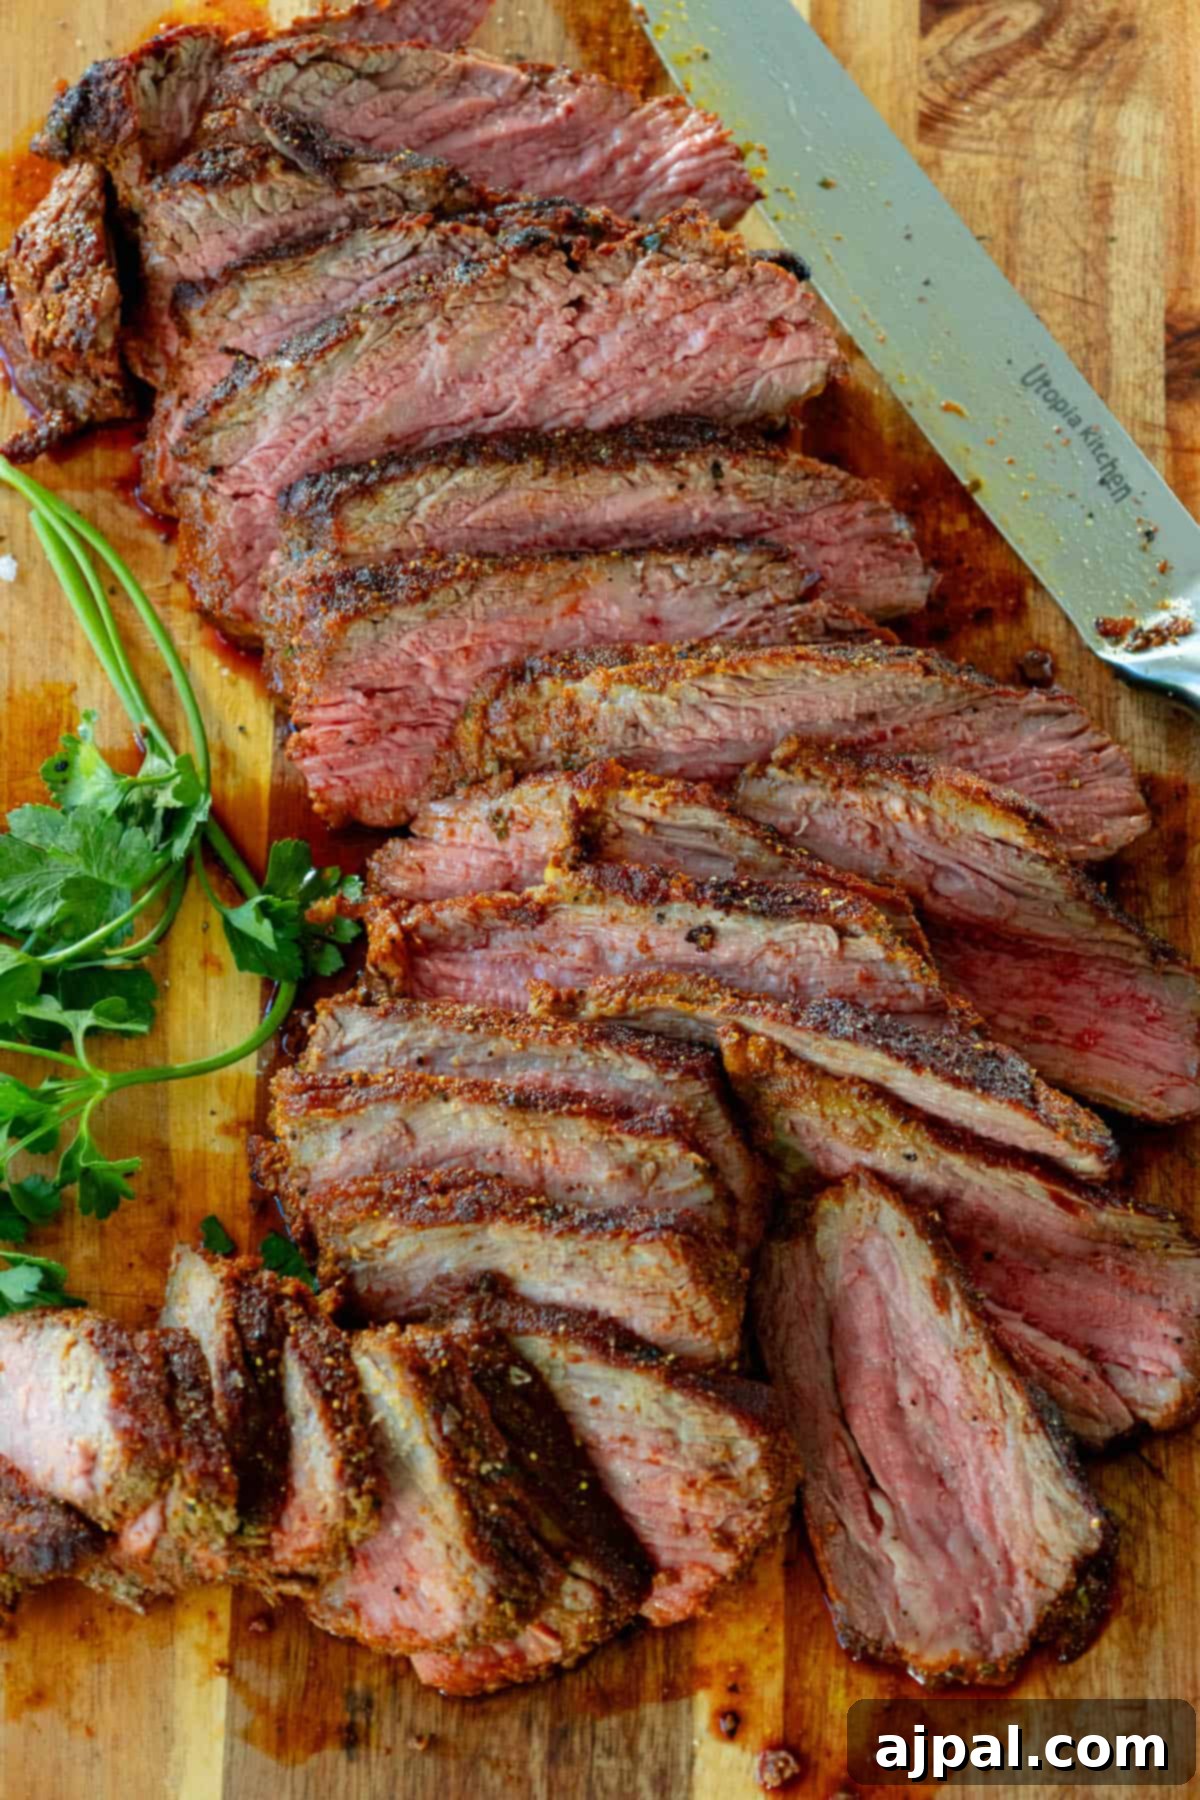
- Rest and Slice. Once the tri-tip has achieved its beautiful sear and reached its final desired internal temperature (e.g., 130-135°F for medium-rare), remove it from the skillet and transfer it to a clean cutting board. Tent it loosely with aluminum foil and let it rest for at least 10-15 minutes. This critical resting period allows the juices to redistribute throughout the meat, resulting in an incredibly tender and succulent steak. When you’re ready to serve, remember to cut the tri-tip against the grain. Tri-tip has two distinct grain directions, so you’ll often need to slice it in two sections, changing your cutting direction halfway through to ensure maximum tenderness. Enjoy your perfectly cooked masterpiece!
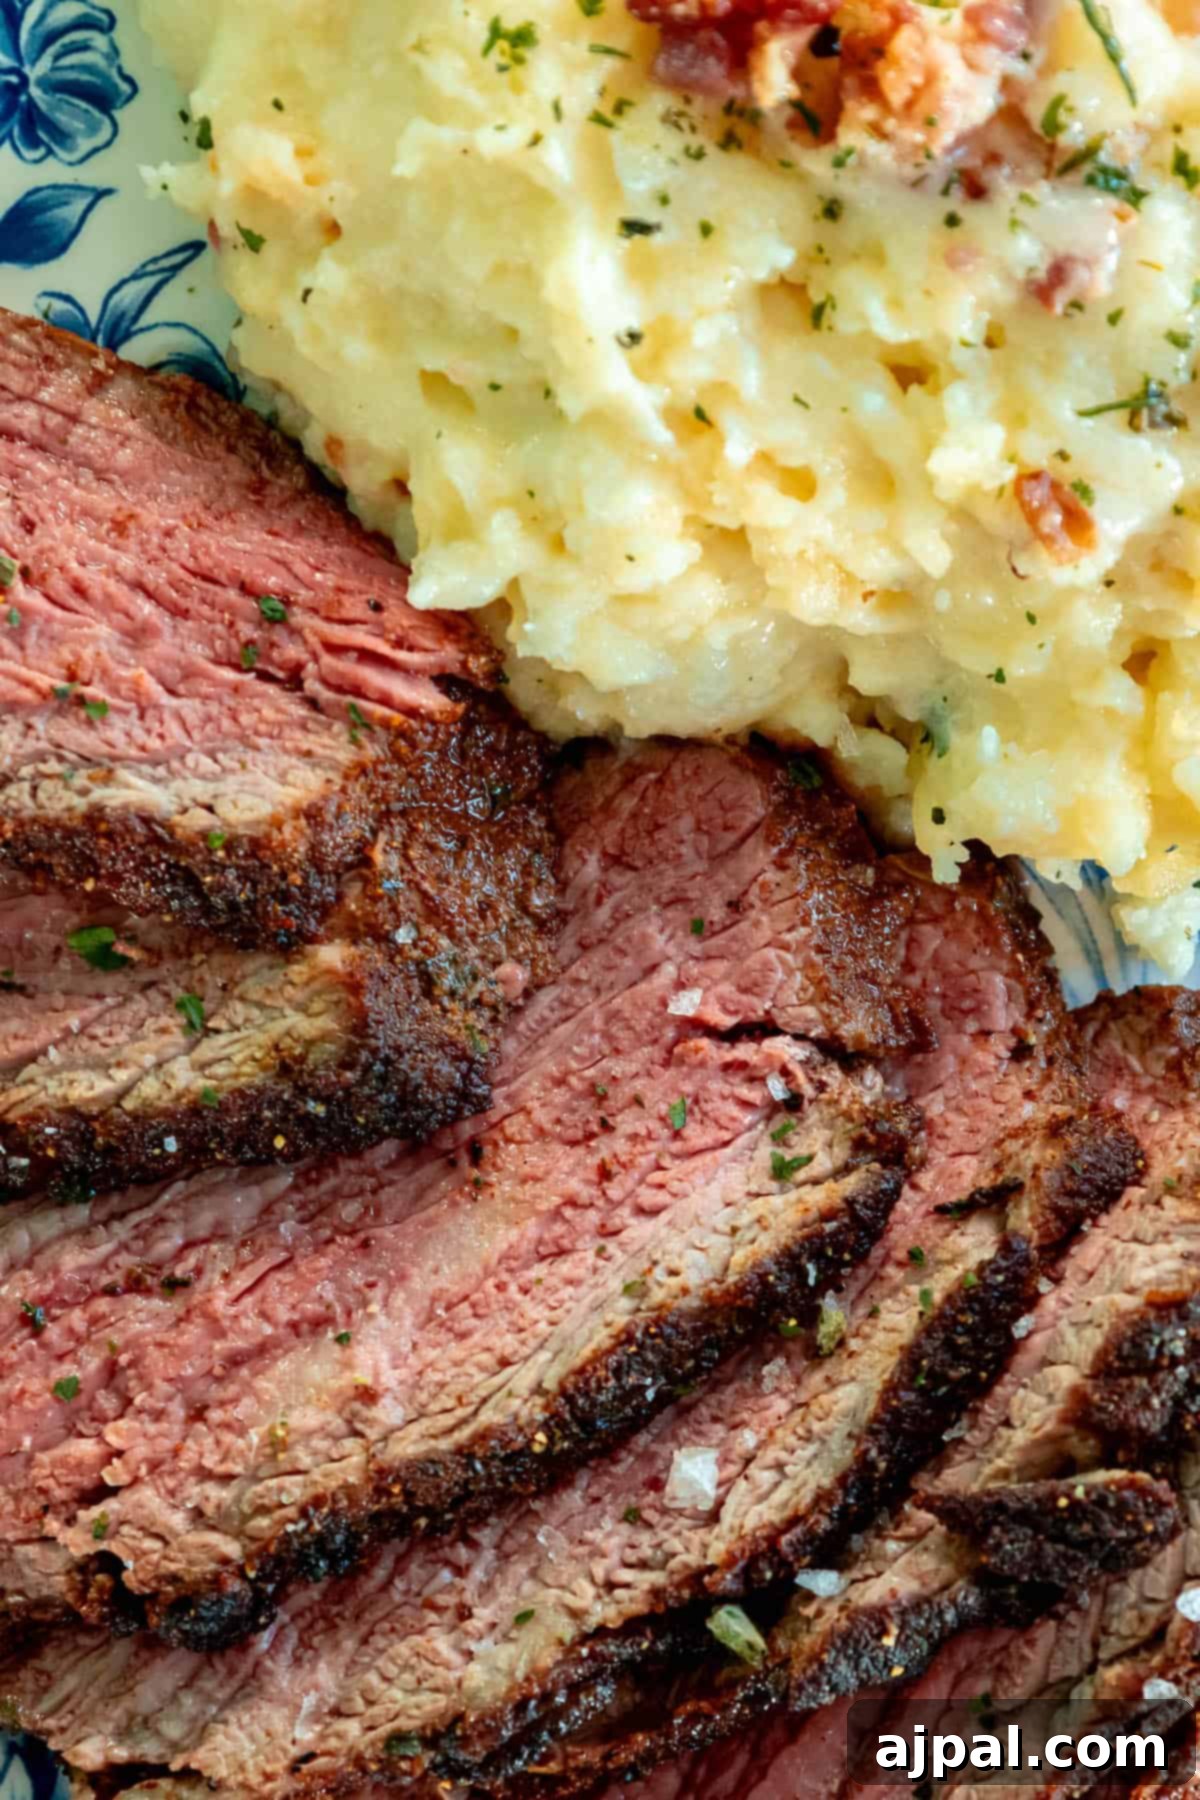
Essential Tips and Tricks for a Perfect Reverse Sear Tri Tip
Achieving the perfect reverse-seared tri-tip is an art that combines patience with precision. Here are some indispensable tips and tricks to ensure your steak is nothing short of magnificent:
Mastering Internal Temperatures for Ideal Doneness: The essence of reverse searing tri-tip lies in its two-stage cooking: a slow roast at a low temperature, followed by a high-heat sear. The ultimate key to hitting your desired doneness is knowing precisely when to remove the steak from the oven before the searing phase. Always factor in a slight temperature increase during the sear and the subsequent resting period.
- Rare: For a truly rare steak, remove it from the oven when the internal temperature reads approximately 115-120°F (46-49°C). After the final sear, it should settle into the 120-125°F (49-52°C) range, exhibiting a cool red center.
- Medium Rare: The most popular choice for tri-tip. Take it out of the oven at 120-125°F (49-52°C). Following the sear and rest, expect a perfect 130-135°F (54-57°C) with a warm red center.
- Medium: If you prefer a medium cook, remove the tri-tip at about 130-135°F (54-57°C). After searing, it will typically reach 140-145°F (60-63°C), showcasing a warm pink center.
- Medium Well: For those who like their steak with less pink, aim to remove it around 140-145°F (60-63°C). The final temperature after searing should be approximately 150-155°F (65-68°C), resulting in a slightly pink center.
- Well Done: For a well-done tri-tip, take it out of the oven at 150-155°F (65-68°C). After searing, it should hit an internal temperature of 160°F (71°C) or higher, with minimal to no pinkness.
Selecting a Premium Tri-Tip: The foundation of an exceptional steak starts with the meat itself. Always look for a good-quality tri-tip with visible marbling – those fine streaks of fat within the muscle. Marbling renders down during cooking, basting the meat from within and ensuring a flavorful, incredibly juicy result. A darker red color also often indicates a richer flavor.
Seasoning with Generosity: Don’t be shy with your seasoning. A generous application of coarse salt and freshly cracked black pepper is a must. For an elevated flavor profile, consider a dry rub containing garlic powder, onion powder, and a hint of smoked paprika, or even a specialized steak seasoning. Allow the seasoned meat to sit at room temperature for at least 30 minutes (or up to 2 hours) before cooking. This allows the salt to draw out moisture, then reabsorb it, creating a natural brine and a more flavorful crust.
The Indispensable Meat Thermometer: A reliable, instant-read meat thermometer is your most crucial tool for reverse searing. Monitoring the internal temperature accurately is non-negotiable for achieving your desired level of doneness. An oven-safe probe thermometer is ideal for the low-and-slow phase, allowing you to track temperature without repeatedly opening the oven.
Embrace Low and Slow Cooking: Begin by preheating your oven or grill to a precise low temperature, typically ranging from 225-250°F (107-121°C). This gentle, low-and-slow cooking method is fundamental to reverse searing. It promotes uniform heating throughout the tri-tip, gradually bringing it to temperature without creating an overcooked outer band, which is common in traditional searing.
Utilize Indirect Heat (for Grilling): If you’re using a grill, set it up for indirect cooking. This means having one section of your grill on low heat and another on high. Place the tri-tip over the low-heat side to start its slow cooking phase, ensuring it doesn’t get direct high heat at this stage.
The Reverse Sear Sweet Spot: Continue to slow-cook the tri-tip until its internal temperature is approximately 10-15°F (5-8°C) below your final target temperature. This initial phase can vary significantly in duration, from about 45 minutes to 1.5 hours or even longer, depending on the steak’s size and thickness, and your oven’s calibration. Always verify with your meat thermometer.
The Intense Searing Phase: Once the tri-tip is close to its target internal temperature from the low-and-slow cook, it’s time for the high-heat sear. Transfer the steak to a screaming hot cast-iron skillet (or the high-heat zone of your grill). Sear each side for a brief 1-2 minutes, focusing on creating that beautiful, dark, crispy crust. Don’t forget to sear the thinner edges to maximize flavor and texture.
The Critical Resting Time: Immediately after searing, remove the tri-tip from the heat and place it on a clean cutting board. Loosely tent it with aluminum foil and allow it to rest undisturbed for a full 10-15 minutes. This essential step permits the muscle fibers to relax and the internal juices to redistribute evenly throughout the meat, ensuring every slice is incredibly tender and succulent. Skipping this step results in a dry steak.
Slicing Against the Grain: Tri-tip has a unique grain structure with two distinct directions. For maximum tenderness, it is imperative to identify the grain and slice the tri-tip thinly against it. You’ll likely need to cut the roast into two or more sections and change your slicing direction to accommodate this. Slicing with the grain will result in chewy meat, even if perfectly cooked.
Serve with Thoughtful Sides: Complement your perfectly reverse-seared tri-tip with delicious side dishes that enhance its rich flavor. Consider roasted vegetables, creamy garlic mashed potatoes, or a fresh, vibrant green salad to create a balanced and memorable meal.
Practice Makes Perfect: Reverse searing is a technique that, while forgiving, benefits from practice. Don’t be discouraged if your first attempt isn’t absolutely perfect. Each time you cook, you’ll gain a better understanding of your equipment and the specific cut of meat. Adjust your cooking times and methods based on your experience and preferences.
Experiment with Flavors: The beauty of tri-tip is its versatility. Feel free to experiment with various seasonings, marinades, or rubs to create unique flavor profiles. From robust rubs with coffee or chili powder to vibrant chimichurri or herbaceous marinades, the possibilities are endless for customizing your reverse-seared tri-tip.
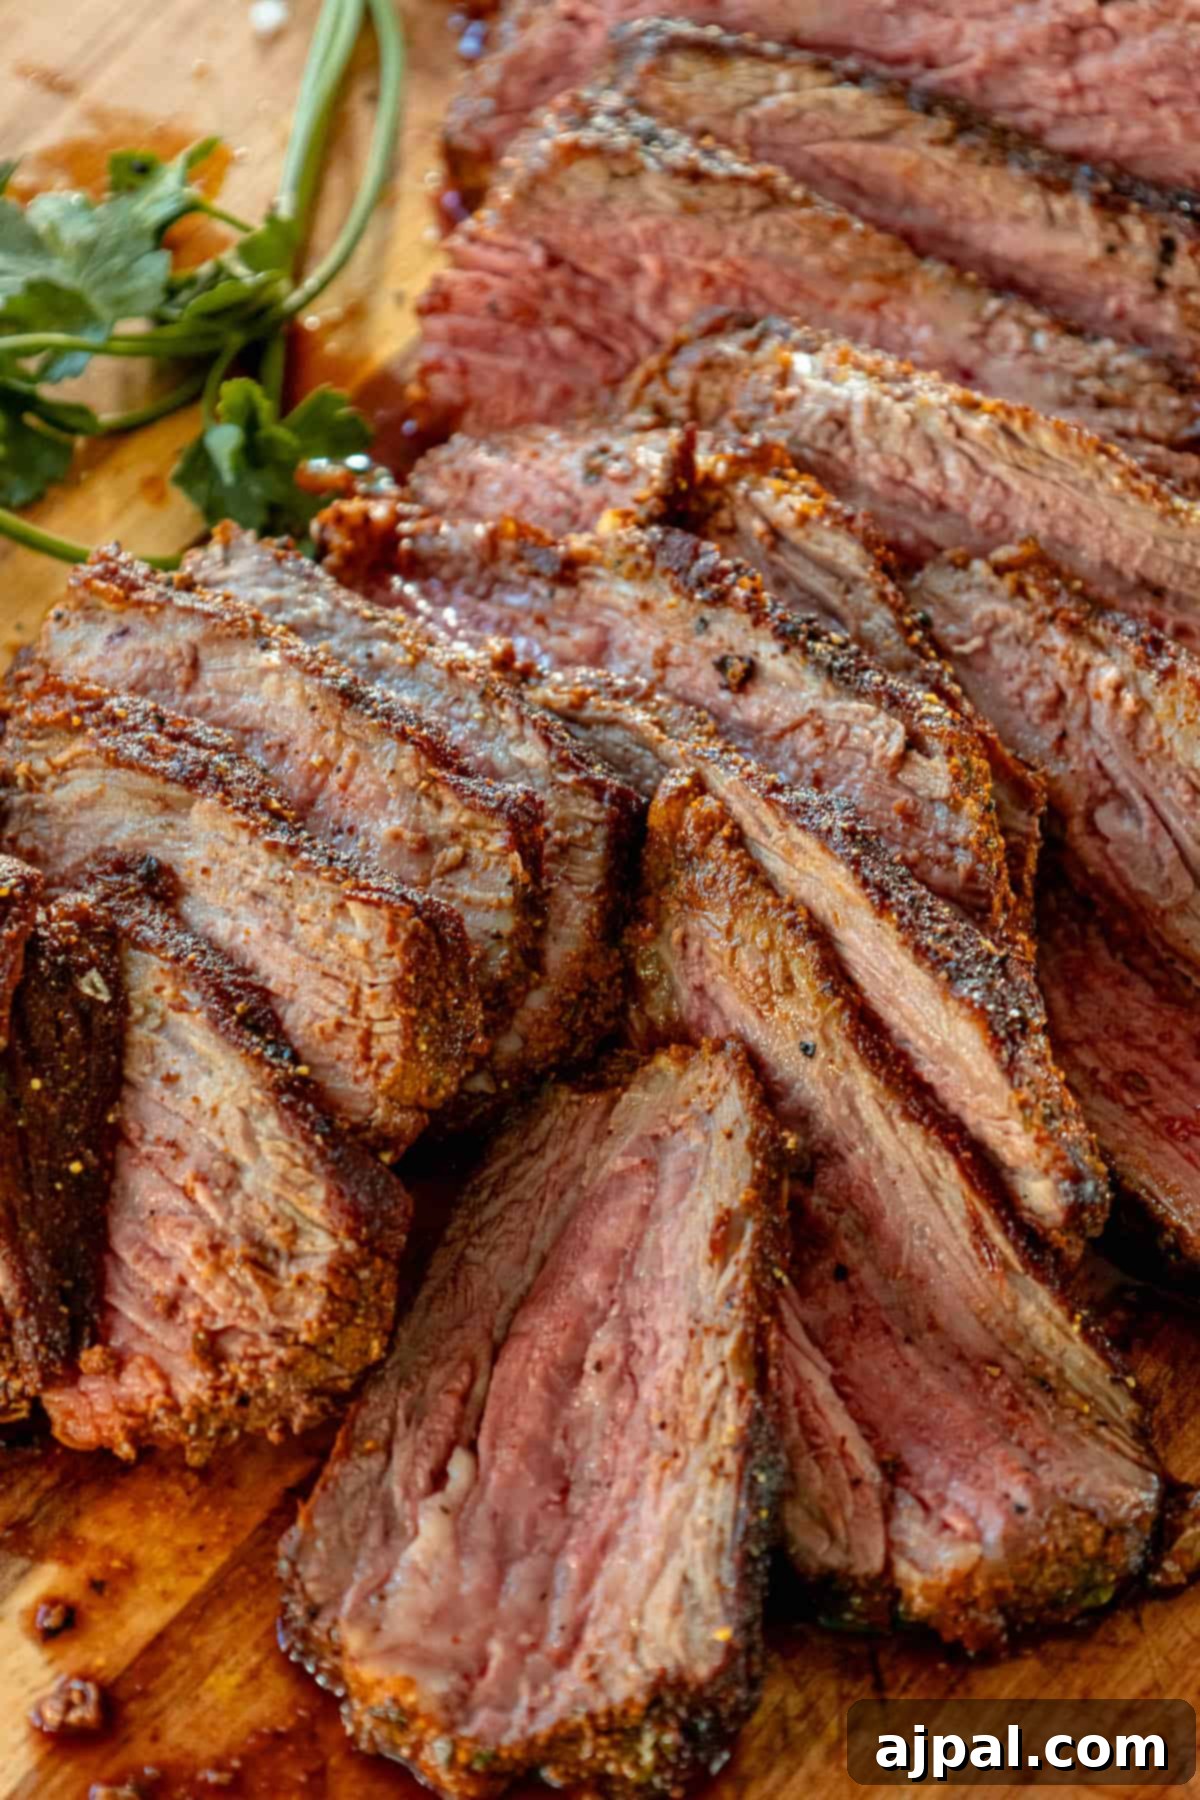
Frequently Asked Questions
Reverse searing is a modern cooking method where meat is first slow-cooked at a low temperature (typically in an oven, smoker, or on a grill with indirect heat) until it’s just below the desired internal doneness. It’s then finished with a quick, high-heat sear on a pan or direct grill to create a delicious, crispy crust. This two-stage process ensures incredibly even cooking from edge to edge and a superior crust.
Tri-tip is a distinct triangular-shaped cut of beef that comes from the bottom sirloin primal cut. It’s highly prized for its rich, beefy flavor and relatively tender texture when cooked correctly. Historically popular in California, it’s gaining national recognition as an excellent alternative to more expensive cuts, perfect for grilling, roasting, and, especially, reverse searing.
Reverse searing is particularly beneficial for tri-tip because of its varying thickness. The slow-cook phase allows the meat to reach a uniform internal temperature, preventing the thinner parts from overcooking while the thicker parts come up to temperature. The final high-heat sear then develops a beautiful, flavorful crust without overcooking the perfectly tender interior, resulting in a juicier, more consistently cooked steak than traditional methods.
For a perfect medium-rare tri-tip, the recommended final internal temperature is typically 130-135°F (54-57°C) after resting. However, you can adjust this based on your preference: 120-125°F (49-52°C) for rare, 140-145°F (60-63°C) for medium, and 150-155°F (65-68°C) for medium-well. Always use a reliable meat thermometer for accuracy.
A simple yet effective seasoning for tri-tip includes coarse salt, black pepper, and garlic powder. Many enthusiasts also enjoy a touch of onion powder and paprika. You can use your favorite store-bought steak rub or create a homemade blend. Generously apply the seasoning to all surfaces of the tri-tip and allow it to sit for 30-60 minutes at room temperature before cooking to maximize flavor penetration and create a better crust.
Absolutely! Reverse searing on a grill is a fantastic option. For a gas grill, set up two zones: one with very low heat for the initial slow cook (indirect heat), and one with high heat for the final sear (direct heat). For charcoal grills, bank coals to one side for indirect cooking, then move the steak over direct coals for searing. The principles remain the same: low and slow, then hot and fast.
The total cooking time for reverse-seared tri-tip can vary depending on the steak’s thickness, its starting temperature, and the specific low temperature of your oven or grill. Generally, the slow-roast phase can take anywhere from 45 minutes to 1.5 hours or more. The high-heat sear is usually very quick, just 1-2 minutes per side. The most reliable way to gauge doneness is always by internal temperature, not by time.
Yes, resting the tri-tip is a critical step and should never be skipped. After cooking, the muscle fibers contract, and the juices are pushed towards the center of the meat. Resting allows these juices to redistribute throughout the entire steak. If you slice it too soon, the juices will run out, leaving you with a dry and less flavorful steak. A 10-15 minute rest, loosely tented with foil, is ideal.
Indeed! Using a smoker for the initial low-temperature cook adds an incredible depth of smoky flavor to your tri-tip. Smoke the tri-tip at a low temperature (e.g., 225°F/107°C) until it reaches your desired internal temperature, then finish with a high-heat sear on a hot grill or cast iron pan for the perfect crust. This “smoke then sear” method combines the best of both worlds.
Reverse-seared tri-tip is versatile and pairs well with a variety of sides. Classic choices include garlic mashed potatoes, roasted vegetables (like asparagus, Brussels sprouts, or bell peppers), a fresh green salad with a tangy vinaigrette, or even a flavorful rice pilaf. For a zesty contrast, consider serving it with a bright chimichurri sauce or a fresh fruit salsa.
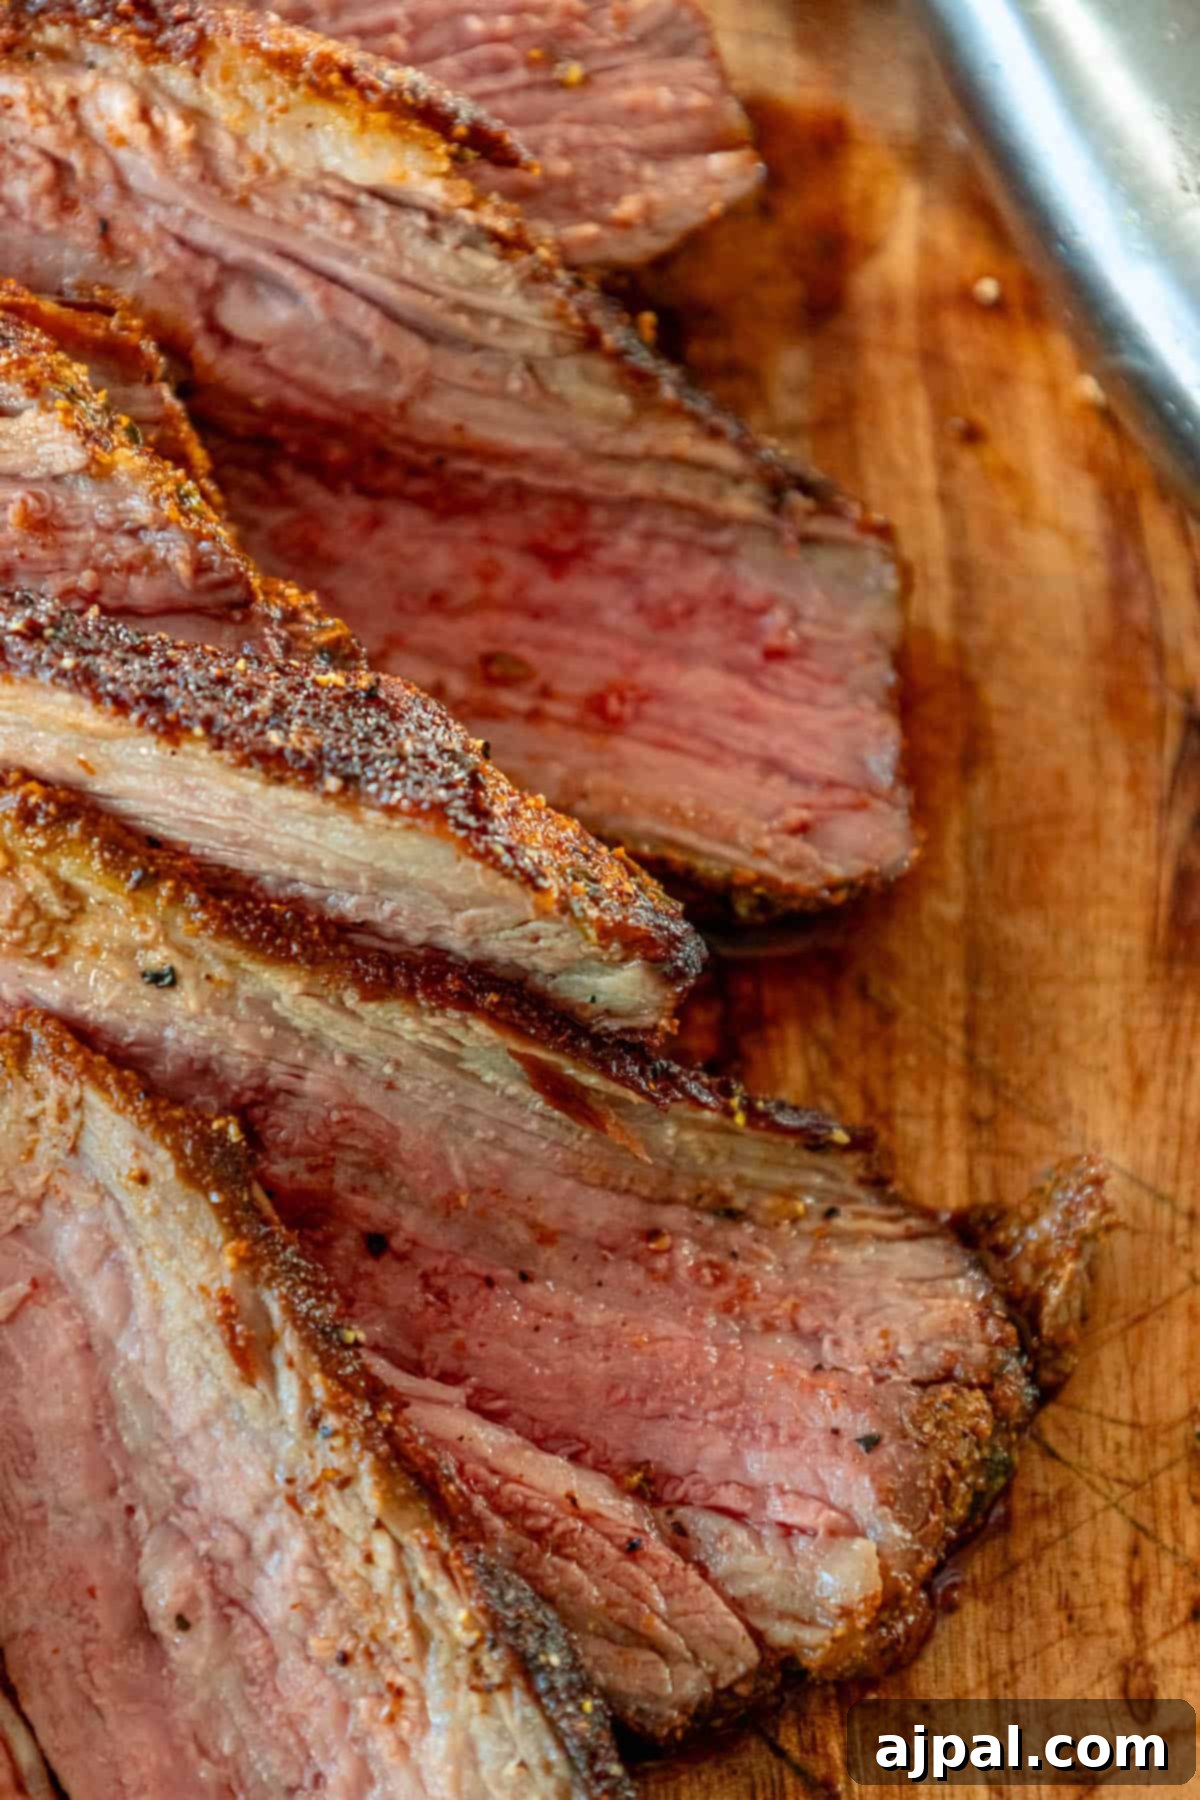
Perfect Pairings: What to Serve with Reverse Seared Tri-Tip
A perfectly cooked reverse-seared tri-tip deserves equally delicious accompaniments. Here’s a curated list of side dishes that will elevate your meal and create a memorable dining experience, offering a range of flavors and textures to complement the rich beefiness of the steak:
- Grilled or Roasted Vegetables: Enhance the meal with vibrant, earthy flavors. Asparagus, bell peppers, zucchini, or broccoli florets are fantastic choices. Simply toss them with olive oil, season with salt, pepper, and your favorite herbs (like thyme or oregano), then grill or roast until tender-crisp. The slight char from grilling adds another layer of flavor.
- Creamy Garlic Mashed Potatoes: A timeless classic, creamy garlic mashed potatoes offer a comforting, rich contrast to the steak. Their smooth texture and pungent garlic notes meld beautifully with the savory tri-tip, creating a truly satisfying bite.
- Crispy Roasted Potatoes: For those who prefer a bit more texture, roasted potatoes with crispy, golden edges and fluffy interiors are an excellent option. Season them liberally with herbs, garlic powder, and a sprinkle of Parmesan cheese for an extra flavor boost.
- Fresh Green Salad: A light, crisp green salad provides a refreshing counterpoint to the richness of the meat. Combine mixed greens, cherry tomatoes, crisp cucumbers, and a bright, tangy vinaigrette dressing to cleanse the palate and add a touch of freshness.
- Grilled Corn on the Cob: A quintessential summer side, grilled corn on the cob is sweet, smoky, and delightful. Brush it with butter and sprinkle with a dash of chili powder or your preferred seasonings after grilling for an irresistible treat.
- Decadent Creamed Spinach: Emulate a classic steakhouse experience with creamed spinach. The rich, cheesy, and garlicky spinach is a luxurious side that perfectly complements the robust flavor of the tri-tip.
- Artisan Bread or Rolls: Serve a basket of crusty bread or soft dinner rolls on the side. They’re perfect for soaking up any delicious steak juices or for making miniature steak sandwiches with leftover slices.
- Zesty Chimichurri or Zhoug Sauce: For a burst of herbaceous freshness, a vibrant chimichurri sauce (made with fresh parsley, cilantro, garlic, red wine vinegar, and olive oil) is phenomenal drizzled over the sliced tri-tip. Alternatively, try our Zhoug (Skhug) Sauce for a similar but distinct spicy-herbal kick.
- Roasted Brussels Sprouts with Balsamic Glaze: Earthy roasted Brussels sprouts, especially when tossed with crispy bacon bits and finished with a sweet and tangy balsamic glaze, add a sophisticated touch and wonderful texture to your meal.
- Tropical Fruit Salsa: For an unexpected and delightful contrast, consider a refreshing fruit salsa. A medley of diced mango, pineapple, red onion, fresh cilantro, and a squeeze of lime juice offers a sweet, tangy, and bright counterpoint to the rich beef.
- Creamy or Vinegar Coleslaw: A crisp coleslaw, whether creamy or vinegar-based, provides a textural and flavor contrast. Its tanginess and crunch can cut through the richness of the steak, offering a refreshing element.
- Rich Gravy or Au Jus: If you enjoy a saucy steak, a simple beef gravy made from pan drippings or a classic au jus can be served on the side for dipping. These savory additions enhance the overall moistness and flavor of the tri-tip.
Try these delicious sides:
Herb Roasted Green Beans and Potatoes
Best Way To Cook Broccolini
Easy Roasted Tomatoes Recipe
Wild Rice Pilaf
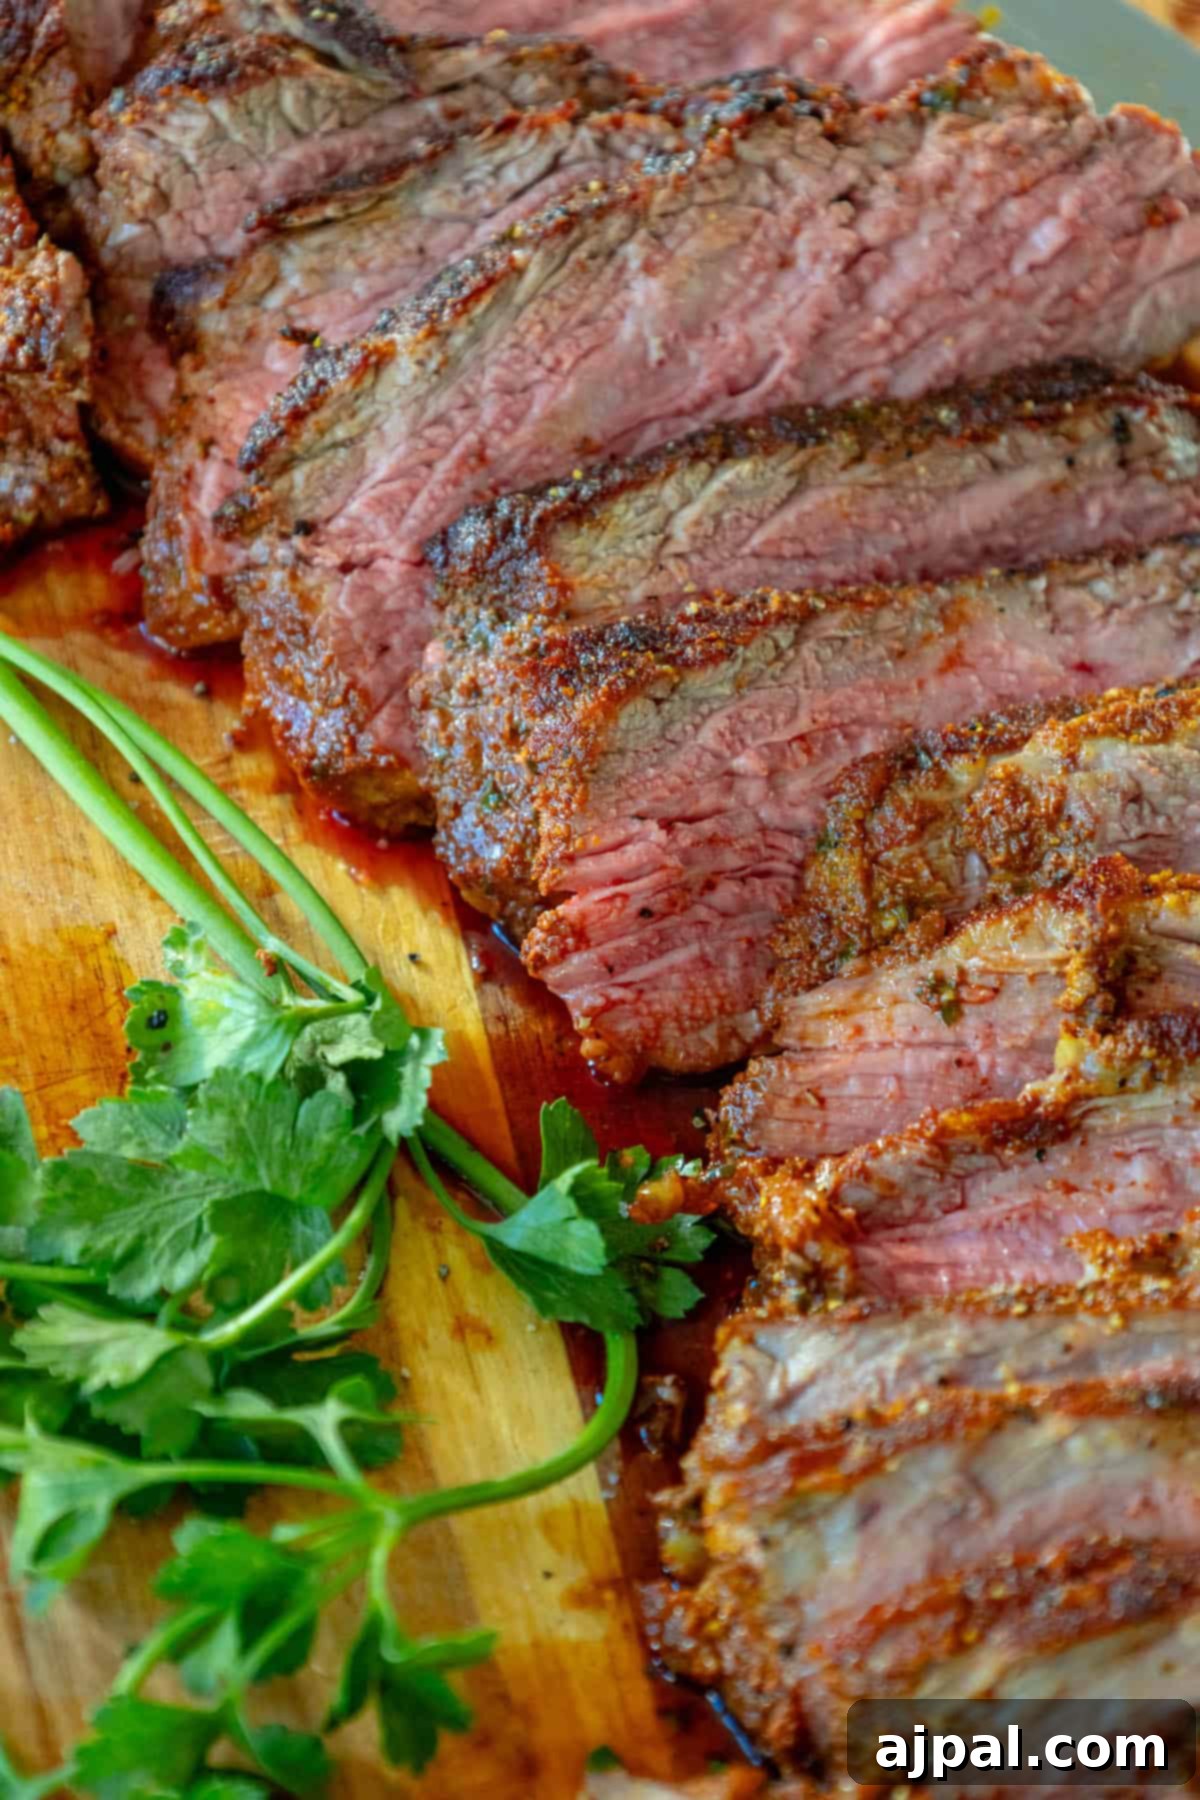
Reverse Seared Tri Tip Recipe
If you loved this easy and delicious recipe, please show your appreciation by clicking the stars below to give it a five-star rating and leave a comment! Your feedback means the world. Please also help us spread the joy by sharing on Instagram, Facebook, and Pinterest!
Share on Facebook
Share
Pin this now to find it later
Pin It