

Welcome to the ultimate guide for crafting the most delightful Mini Sweet Potato Pies – your new favorite dessert that’s perfect for any occasion! These charming, individual sweet potato pies are not only incredibly delicious but also remarkably easy to bake, making them an ideal choice for parties, holiday gatherings, or simply a sweet treat to enjoy at home. Imagine a creamy, spiced sweet potato filling nestled in a flaky, golden crust, topped with a dollop of whipped cream and a sprinkle of cinnamon. Pure bliss in every bite!

Here at Sweet C’s, my passion is making delicious cooking accessible to everyone. As a home cook with no formal training, I understand the desire for recipes that not only deliver incredible flavor but also provide clear, insightful guidance. My goal is to empower even the most novice home cook to confidently create masterpieces in their own kitchen. This comprehensive guide to Mini Sweet Potato Pies is packed with detailed instructions, helpful tips, and creative variations to ensure your baking success. You’ll learn the ‘why’ behind each step and ingredient, transforming you into a sweet potato pie pro.
Table of Contents
- The Charm of Individual Sweet Potato Pies
- Why Mini Pies Are Perfect
- Making the Best Mini Sweet Potato Pies: Step-by-Step
- Expert Tips for Perfect Mini Sweet Potato Pies
- Frequently Asked Questions (FAQs)
- Customizing Your Mini Sweet Potato Pies
- Serving and Storage Suggestions
- Other Delightful Desserts You’ll Love

The Charm of Individual Sweet Potato Pies
There’s something uniquely appealing about individual desserts, and these mini sweet potato pies are no exception. By utilizing a simple mini muffin tin, we transform a classic comfort dessert into perfectly portioned, single-serve delights. This method makes baking and serving incredibly convenient, removing the hassle of slicing and ensuring every guest receives their own charming pie.
Why Mini Pies Are Perfect
- Effortless Serving: Say goodbye to messy slices and uneven portions. Each mini pie is a self-contained treat, making them ideal for potlucks, parties, or large family dinners.
- Elegant Presentation: These miniature pies present beautifully on any dessert platter. Their uniform size and charming appearance elevate your dessert spread.
- Portion Control: Perfect for those who want just a taste of something sweet without overindulging. They offer a satisfying single serving that’s easy to manage.
- Versatility: While they shine during holiday seasons like Thanksgiving, these individual sweet potato pies are fantastic year-round. They can be dressed up with various toppings to suit any occasion, from casual barbecues to sophisticated dinner parties.
- Ease of Preparation: We keep things simple without sacrificing flavor. Using store-bought pie crusts is a fantastic shortcut that allows you to focus on creating the rich, creamy sweet potato filling. Of course, you can always opt for a homemade crust if you prefer, but convenience is key here! You can also easily scale this recipe up or down. Need more? Simply use a larger muffin tin and adjust the baking time slightly.
Whether you’re hosting a grand holiday feast or a cozy get-together, these mini sweet potato pies are guaranteed to be a hit, offering all the comforting flavors of a classic sweet potato pie in a delightful, bite-sized package.



Making the Best Mini Sweet Potato Pies: Step-by-Step
Creating these delightful mini sweet potato pies is a straightforward process. Follow these detailed steps for a batch of perfectly baked, flavorful treats. We’ll start with preparing the sweet potatoes and crusts, then assemble and bake to golden perfection.
- Prepare the Sweet Potatoes: Begin by thoroughly washing and drying your medium sweet potatoes. Using a fork, pierce the skin all over. Place the potatoes on a microwave-safe plate and cook for 8 to 14 minutes, or until they are completely fork-tender. Cooking time may vary depending on the size of your potatoes and microwave wattage. Alternatively, you can bake them in a 400°F (200°C) oven for 45-60 minutes until soft.
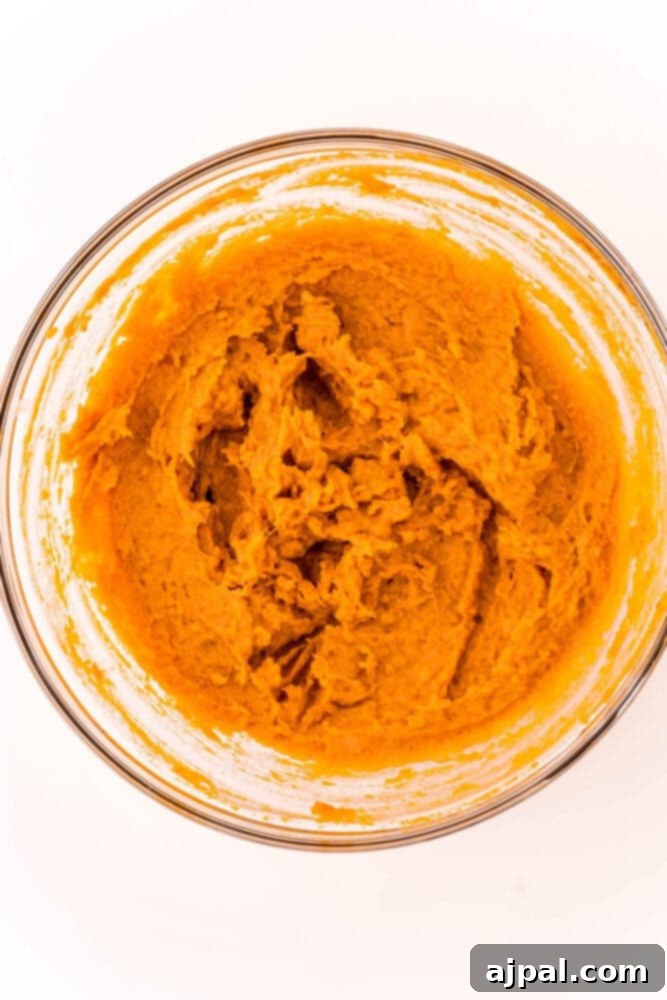
- Mash the Sweet Potatoes: Once cooked, allow the sweet potatoes to cool slightly so they are easier to handle. Carefully peel off the skin and transfer the soft, cooked flesh to a large mixing bowl. For the smoothest possible filling, use a hand masher, an electric hand mixer, or even an immersion blender to mash the sweet potatoes until completely smooth and free of lumps. A silky-smooth filling is key to a luxurious pie.
- Create the Flavorful Filling: With the sweet potatoes mashed, it’s time to incorporate the remaining ingredients that give these pies their signature taste. Add the light brown sugar (packed for proper measurement), heavy cream, ground cinnamon, vanilla extract, and a pinch of salt to the bowl. Mix everything together thoroughly until all ingredients are well combined and the filling is uniformly creamy. Taste and adjust spices if desired.
- Preheat Your Oven: While you’re preparing the crusts, preheat your oven to 425°F (220°C). This ensures the oven is at the correct temperature for immediate baking, promoting an even cook and perfectly golden crusts.
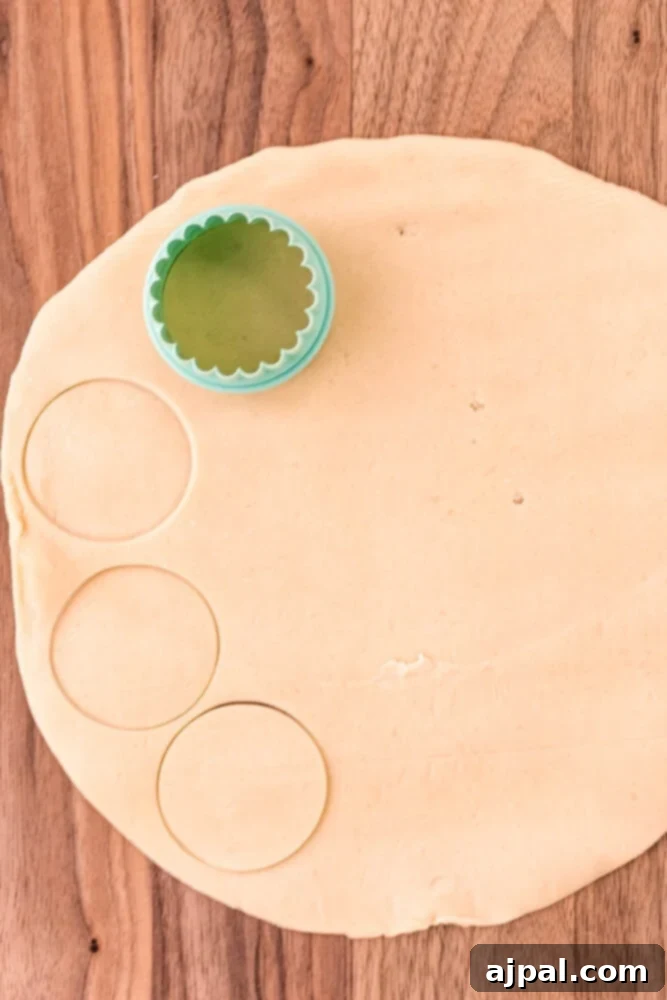
- Prepare the Pie Crusts: On a lightly floured surface, unroll the premade pie crust dough. You’ll want to roll the dough out a bit thinner than it comes out of the box, as these are mini pies and a thinner crust will bake more evenly and be less doughy. Using a 2½-inch round biscuit or cookie cutter, cut out individual circles from each sheet of crust. Each standard 9-inch crust should yield approximately 24 circles, totaling 48 mini crusts from two sheets.
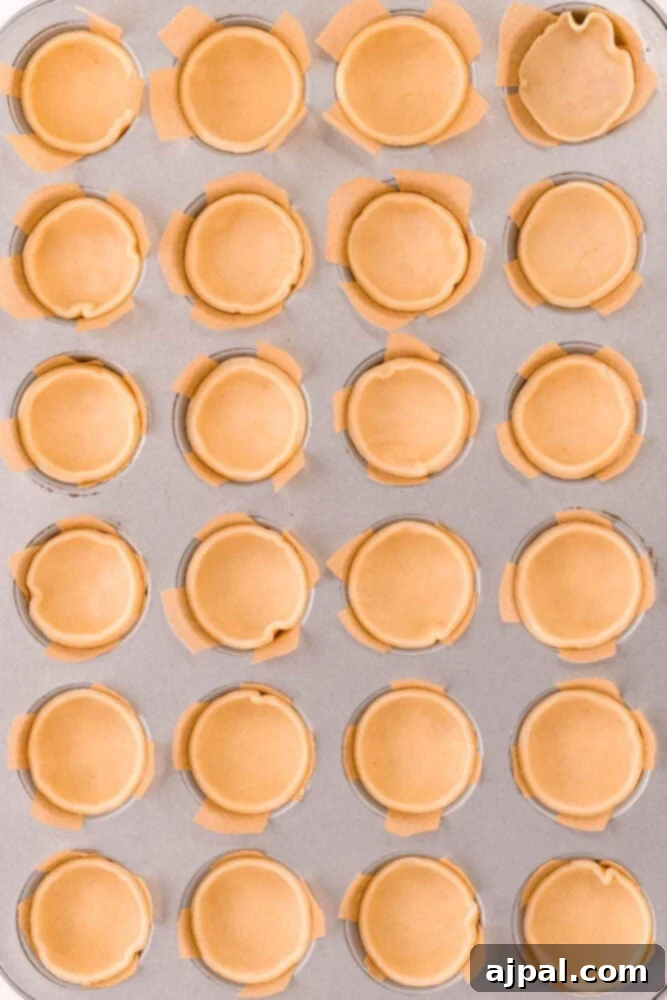
- Line the Muffin Pan: Gently press each cut-out pie crust circle into the cavities of an ungreased mini muffin pan. Ensure the dough is snug against the bottom and sides. For easier removal after baking, you can place small strips of parchment paper criss-cross under each crust before pressing it in, creating “handles.”
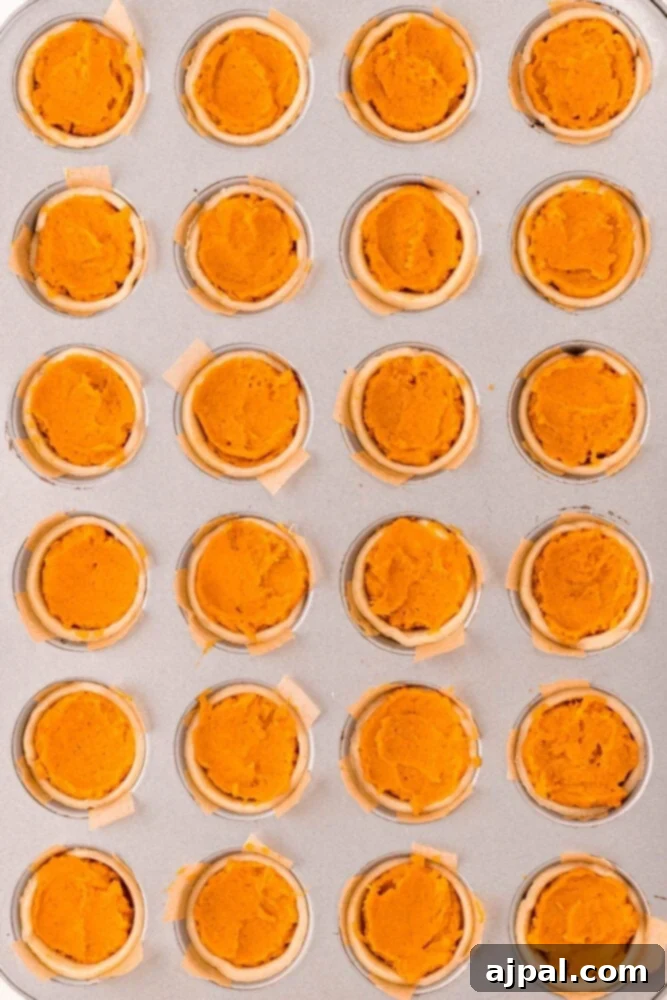
- Fill the Crusts: Using a small cookie scoop or a tablespoon, spoon about 1 tablespoon of the prepared sweet potato filling into each pie crust. The filling should come almost to the top edge of the crust. Use the back of a spoon or a small rubber spatula to gently smooth the filling surface, ensuring an even layer.
- Bake to Perfection: Transfer the mini muffin pan to your preheated oven and bake for 15 to 18 minutes. The pies are done when the edges of the crust are lightly golden brown and the filling has set. A slight jiggle in the center is okay, as it will firm up upon cooling.
- Cool and Serve: Carefully remove the pan from the oven. Let the pies cool in the muffin tin for a few minutes before transferring them to a wire rack to cool completely. Once cooled, they are ready to be topped! Generously dollop each mini pie with whipped cream and a sprinkle of ground cinnamon for that irresistible finish. Serve and enjoy!

Expert Tips for Perfect Mini Sweet Potato Pies
Achieving bakery-quality mini sweet potato pies is easy with a few insider tips. These suggestions will help you elevate your baking game and ensure your pies are a delicious success every time.
- Tip 1 – Creative Toppings Beyond Whipped Cream: While whipped cream and cinnamon are classic, don’t stop there! For an extra layer of flavor and texture, consider topping your mini sweet potato pies with mini marshmallows or a swirl of marshmallow fluff. For a golden, toasted finish, pop them under the broiler for a minute or two (watch carefully!). Just remember, marshmallow fluff can be a little runny when warm, so a small, artful dollop is usually perfect. Other delightful toppings include toasted pecans, a drizzle of caramel sauce, or a dusting of freshly grated nutmeg.
- Tip 2 – Sugar Variations for Flavor Depth: This recipe calls for light brown sugar, which imparts a wonderful molasses flavor and moist texture. However, you can experiment with different sugars to slightly alter the flavor profile. Dark brown sugar will give a deeper, richer, and more intense molasses note, while granulated sugar will result in a lighter, purer sweet potato flavor. All options are delicious, so choose what best suits your preference!
- Tip 3 – Homemade vs. Store-Bought Crust: For ultimate convenience, premade pie crusts are a fantastic option and work perfectly in this recipe. If you enjoy baking from scratch, don’t hesitate to use your favorite homemade pie crust recipe. A homemade flaky crust can add an extra touch of artisanal quality to your pies. Just ensure it’s rolled thin enough for the mini size.
- Tip 4 – Adapting for Regular Muffin Tins: If you don’t have a mini muffin pan or prefer slightly larger individual pies, a regular-sized muffin pan works wonderfully. You’ll need a larger cookie cutter, around 4½-5 inches in diameter, for the crust circles. The baking time will also need to be adjusted, typically increasing to 20 to 25 minutes. With a regular muffin pan, this recipe should yield about 20 to 24 larger individual pies.
- Tip 5 – The Secret to Smooth Filling: The key to a luxurious sweet potato pie filling is its texture. For the silkiest results, ensure your sweet potatoes are thoroughly cooked and mash them immediately after peeling while they are still warm. Using an immersion blender or a food processor will give you the smoothest consistency, free of any fibrous bits.
- Tip 6 – Don’t Overfill the Crusts: While it might be tempting to pile in the filling, resist the urge to overfill your mini pie crusts. About 1 tablespoon per mini muffin cavity is ideal. Overfilling can lead to spillage during baking and can make the pies difficult to remove from the pan.
- Tip 7 – Achieving Crisp Crusts: To prevent soggy bottoms, make sure your oven is properly preheated before baking. A high initial temperature helps to quickly set and crisp the crust. Additionally, placing the muffin tin on a lower rack in the oven can help the crust cook more thoroughly.

Frequently Asked Questions (FAQs)
Here are answers to some common questions about making and enjoying Mini Sweet Potato Pies:
Absolutely! While light brown sugar offers a classic, rich sweetness, you can certainly experiment. Dark brown sugar will impart a deeper, more pronounced molasses flavor, adding a layer of complexity. Granulated sugar, on the other hand, will result in a simpler, purer sweet potato flavor. All options yield delicious results, so choose the one that best suits your taste preference.
Yes, this recipe is adaptable for a regular-sized muffin pan! If you opt for a standard muffin tin, you will need a larger cookie cutter, typically 4½ to 5 inches in diameter, to cut out your pie crust circles. The bake time will also need to be increased to approximately 20 to 25 minutes. Using a regular muffin pan, this recipe should yield about 20 to 24 pies of that size, offering a slightly larger individual portion.
Your mini sweet potato pies are perfectly baked when the edges of the pie crust turn a light golden brown and the sweet potato filling appears set. While a slight jiggle in the very center of the filling is acceptable when you gently move the pan (it will firm up as it cools), the pies should not appear liquid or uncooked. The filling should also look slightly puffed.
Yes, these mini pies are excellent for making ahead! You can bake them completely and store them in an airtight container in the refrigerator for up to 3-4 days. For best results, add the whipped cream and cinnamon just before serving. You can also freeze the baked (un-topped) pies for up to 1 month. Thaw in the refrigerator before serving.
Leftover mini sweet potato pies, especially if they are topped with whipped cream, should be stored in an airtight container in the refrigerator. They will remain fresh and delicious for 2-3 days. If they are not topped, they can last a bit longer, up to 4 days.
While fresh sweet potatoes are recommended for the best flavor and texture, you can use canned sweet potato puree in a pinch. Ensure it’s plain sweet potato puree (not pie filling) and drain any excess liquid to prevent a watery filling. The amount needed might vary slightly, so aim for a thick, creamy consistency.

Customizing Your Mini Sweet Potato Pies
One of the joys of baking is the ability to customize flavors to your liking. These mini sweet potato pies are a fantastic canvas for creativity. Here are a few ideas to make them uniquely yours:
- Spice It Up: Enhance the warm, comforting spices by adding a pinch of nutmeg, ground ginger, or a tiny dash of cloves to the filling. A blend of pumpkin pie spice works beautifully too!
- Citrus Zest: A hint of orange or lemon zest can brighten the flavors of the sweet potato filling, adding a delightful aroma and a subtle tang.
- A Touch of Booze: For an adult twist, a teaspoon of bourbon or dark rum added to the filling (or even the whipped cream) can introduce a sophisticated depth of flavor.
- Coconut Dream: Substitute some of the heavy cream with full-fat coconut milk for a tropical hint, especially delicious when topped with toasted coconut flakes.
- Nutty Crunch: Stir finely chopped pecans or walnuts into the sweet potato filling for added texture, or sprinkle them on top of the whipped cream for a crunchy garnish.
- Streusel Topping: Instead of plain crusts, consider adding a buttery streusel topping (made with flour, sugar, butter, and cinnamon) over the filling before baking for an extra layer of sweetness and crunch.
Serving and Storage Suggestions
These mini sweet potato pies are versatile and can be enjoyed in various ways. Here’s how to best serve and store them:
- Serving Warm or Cold: While traditionally served at room temperature or chilled, a slightly warmed mini sweet potato pie (without whipped cream, then added after warming) can be incredibly comforting, especially on a cold day.
- Topping Variations: Beyond whipped cream and cinnamon, consider a scoop of vanilla bean ice cream, a drizzle of maple syrup, or a sprinkle of chopped candied pecans for an extra special touch.
- Coffee or Tea Pairing: These pies pair beautifully with a hot cup of coffee, a chai latte, or a soothing herbal tea, making them a perfect accompaniment for an afternoon treat.
- Refrigerator Storage: Store any leftover mini sweet potato pies in an airtight container in the refrigerator for up to 3-4 days. If topped with whipped cream, consume within 2-3 days for optimal freshness.
- Freezing for Later: For longer storage, you can freeze the baked (un-topped) mini pies. Arrange them in a single layer on a baking sheet and freeze until solid. Then, transfer them to a freezer-safe bag or container, separating layers with parchment paper. They can be frozen for up to 1 month. Thaw in the refrigerator overnight before serving, and then add your desired toppings.
Other Delightful Desserts You’ll Love
If you’re a fan of easy, delicious desserts, then you’re in the right place! After mastering these mini sweet potato pies, be sure to explore more of our cherished recipes. From creamy concoctions to fruit-filled delights, there’s always something new and wonderful to bake. Discover more of our recent favorites below, like our Easy Cranberry Fluff Salad, Snickers Cheesecake Fruit Dip, Cranberry Apricot Baked Brie Recipe, Easy Apple Sopapilla Cheesecake Recipe, or our Air Fryer Pumpkin Bundt Cake.
Easy Cranberry Fluff Salad
Cranberry Bars
Best Chocolate Truffles
Cranberry Apple Pie
White Chocolate Dipped Ghost Cookies
Pumpkin Bread Mini Pumpkins
20+ of the best Halloween treats!
Grandma’s Apple Pie
You can find our complete easy dessert recipe index here.

Mini Sweet Potato Pies: Your Perfect Dessert Awaits!
We hope you adore this easy and incredibly delicious recipe for Mini Sweet Potato Pies. They are truly a treat that brings warmth and joy to any table. If you’ve enjoyed making them, please consider sharing your experience by giving this recipe a five-star rating and leaving a comment below. Your feedback helps our community of home cooks, and we love hearing from you! Don’t forget to share your beautiful creations on Instagram, Facebook, and Pinterest – tag us and use #sweetcsdesigns so we can see your culinary triumphs!
Share on Facebook
Share
Pin this now to find it later
Pin It
Follow on Instagram
Follow

Only have 30 minutes to get dinner on the table? Sign up for my 30 minute dinner plans direct to your inbox!
Find and shop my favorite products in my Amazon storefront here!
Mini Sweet Potato Pies Recipe

Equipment
-
Half Sheet Cooling Racks for Cooking and Baking – Stainless Steel Roasting Wire Rack for Cookies- Rust-Resistant Oven Rack, Grill Rack, Oven-Safe Baking Rack, Cookie Rack fits 1/2 Baking Pans – 2 PCS
-
DI ORO Silicone Spatula Set – Rubber Kitchen Spatulas for Baking, Cooking, & Mixing – 600°F Heat-Resistant & BPA Free Silicone Scraper Spatulas for Nonstick Cookware – Dishwasher Safe (4pc, Red)
-
KitchenAid Gourmet Euro Peeler, 8.7-Inch, Red
-
USA Pan Bakeware Mini Cupcake and Muffin Pan, Nonstick Quick Release Coating, 24-Well, Aluminized Steel
-
Pyrex Prepware 4-Quart Rimmed Mixing Bowl, Clear
-
HULISEN Biscuit Cutter Set (5 Pieces/ Set), Round Cookies Cutter with Handle, Professional Baking Dough Tools, Gift Package
Ingredients
- 3 medium sweet potatoes
- ¼ cup light brown sugar, packed
- 2 tablespoons heavy cream
- 1 teaspoon ground cinnamon
- 1 teaspoon vanilla extract
- ½ teaspoon salt
Crust:
- 14 oz package premade pie crust, 2 9-inch crusts
- Topping:
- Whipped cream
- Ground cinnamon
Instructions
-
Wash and dry the sweet potatoes and poke all over with a fork, then place the potatoes on a plate and microwave for 8 to 14 minutes until they are fork tender.
-
While the potatoes cook, prepare the crusts by rolling out the dough on a lightly floured surface and using a 2½- inch round biscuit or cookie cutter to cut out 24 circles from each sheet of crust. You’ll want to roll the dough out quite a bit as you don’t need it to be as thick as it is out of the box because the pies are so small.
-
Gently press each circle of pie crust into an ungreased mini muffin pan cavity. You can add small strips of parchment under each one to help get it out after baking.
-
Once cooked, peel the potatoes and add the flesh to a large mixing bowl. Use a hand masher, hand mixer, or stick blender (for smoothest filling) to mash the sweet potatoes.
-
Once the potatoes are smooth, add the sugar, heavy cream, cinnamon, vanilla, and salt and mix until fully combined.
-
Preheat the oven to 425 degrees F.
-
Use a small cookie scoop to add the filling into the prepared pie crusts, about 1 tablespoon of filling each. Use the back of a spoon or rubber spatula to gently smooth the filling into the crusts.
-
Bake for 15 to 18 minutes.
-
Remove from the oven and transfer the pies to wire racks to cool before topping with whipped cream and cinnamon and enjoying.
Nutrition
Calories: 110kcal
Carbohydrates: 14g
Protein: 1g
Fat: 5g
Saturated Fat: 2g
Polyunsaturated Fat: 3g
Cholesterol: 2mg
Sodium: 127mg
Fiber: 1g
Sugar: 4g
Nutrition information is automatically calculated, so should only be used as an approximation.