
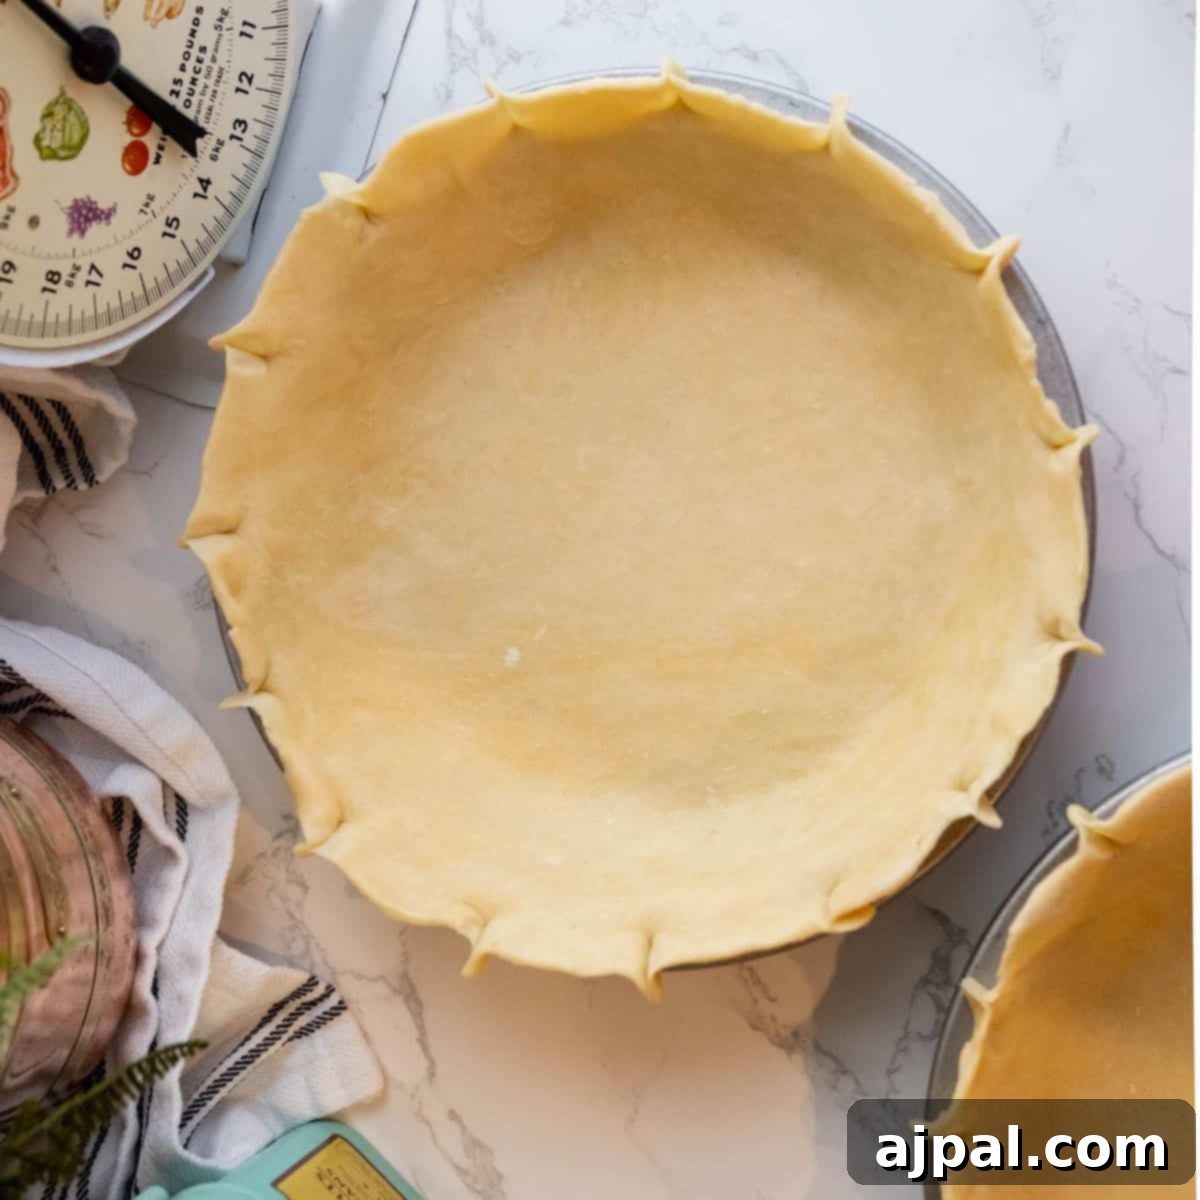
Unlock the secret to perfect pies with this incredibly easy and reliable classic pie crust recipe. Crafted from just a handful of fundamental ingredients—flour, water, salt, and butter—this straightforward preparation consistently delivers a foundation that is both flaky and rich, making it the ultimate starting point for any sweet or savory pie creation. Whether you’re a seasoned baker or a complete novice, mastering this simple pie crust will elevate your homemade desserts and savory dishes to a whole new level, promising a delightful texture and taste that store-bought alternatives simply can’t match.
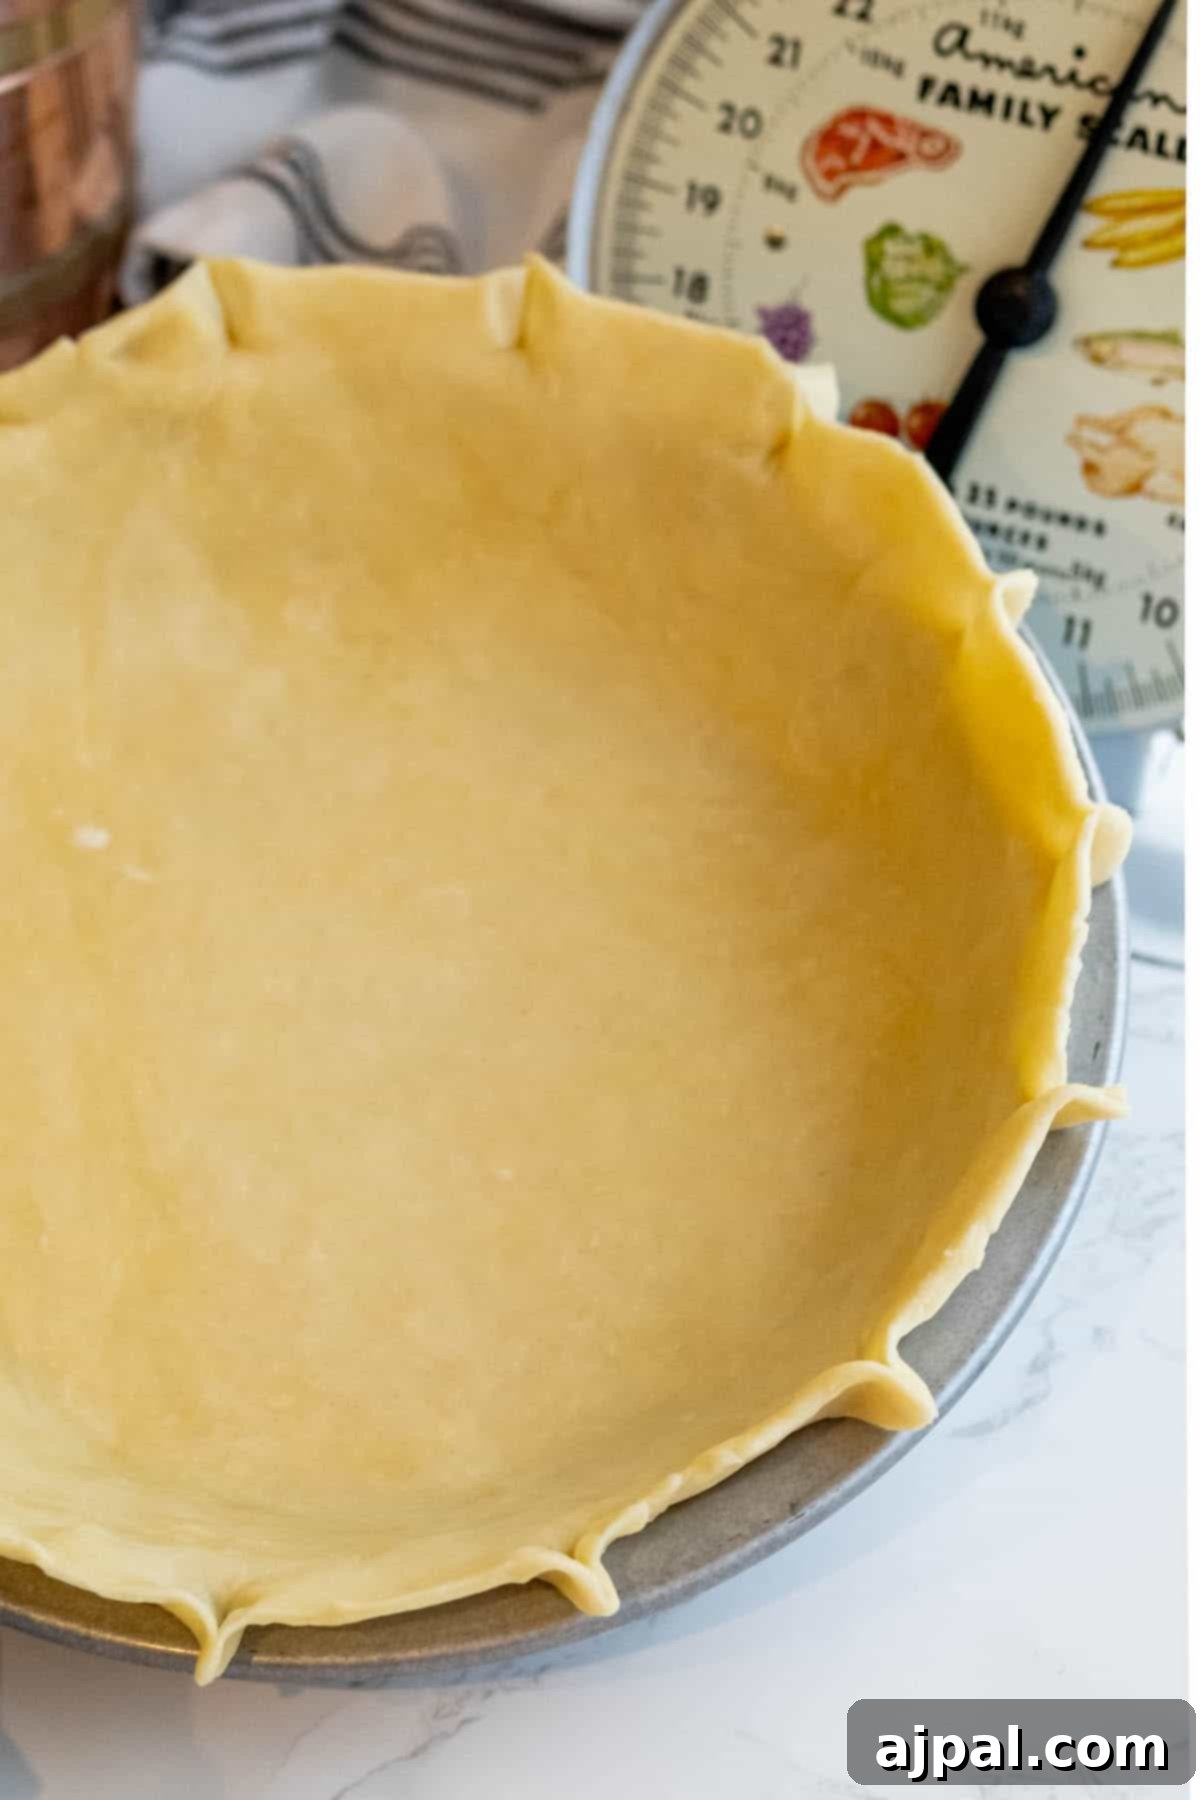
Looking for just the recipe? We understand! You can use the “Skip to Recipe” button at the top-left of this page, or navigate quickly using our clickable table of contents below. For those who love to dive deeper, we’ve packed this guide with detailed tips, tricks, and explanations to ensure your pie crust turns out perfect every time. From understanding ingredient functions to mastering techniques, our aim is to empower every home cook, from beginner to seasoned baker, to feel confident and create delicious results in the kitchen.
Table of Contents
- The Ultimate Simple Pie Crust
- Crafting Your Homemade Pie Crust
- Step-by-Step Methods
- Expert Tips for Flawless Pie Crust
- Frequently Asked Questions
- Inspiring Pie Recipes for Your Perfect Crust
The Ultimate Simple Pie Crust
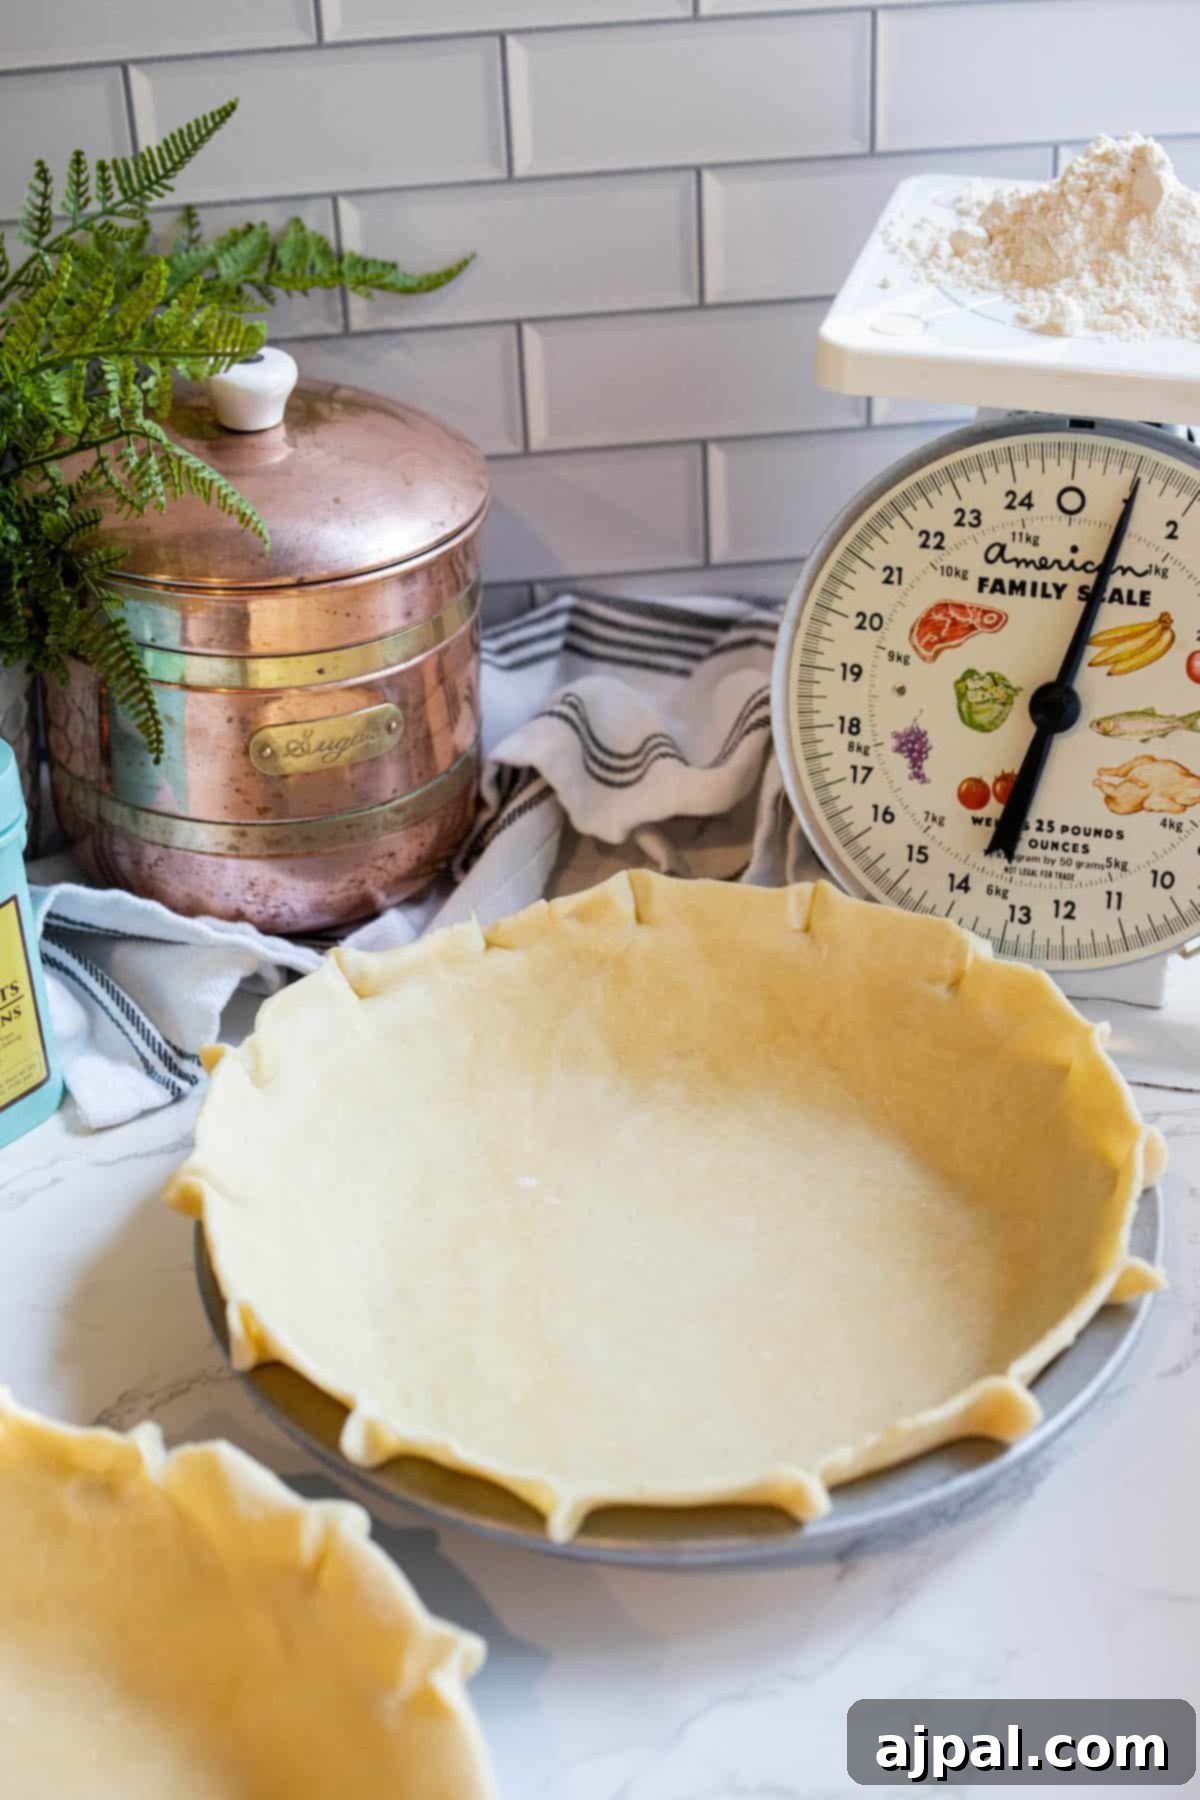
The humble pie crust, a delicate and foundational element in countless culinary traditions, is much more than just a container for fillings. It’s a symphony of textures and flavors—the crisp, golden-brown exterior giving way to tender, flaky layers within, all imbued with a rich, buttery essence. Achieving this perfect balance is an art, and while its basic components (flour, fat, and water) might seem deceptively simple, the magic lies in their skillful combination. A well-executed pie crust offers a delightful contrast to soft, juicy interiors, providing the necessary structure and an irresistible textural counterpoint that elevates any pie from good to truly extraordinary.
The versatility of a great pie crust extends far beyond traditional fruit pies. Imagine the comforting embrace of a savory quiche, where a perfectly flaky crust cradles a creamy egg custard brimming with vegetables, cheeses, or succulent meats. Hearty pot pies, whether filled with tender chicken, rich beef, or a medley of vegetables, rely on this golden crust to seal in their robust flavors, creating an ultimate comfort dish. And let’s not forget the charming portability of hand pies and empanadas, where the adaptable dough wraps around an array of fillings, from sweet spiced apples to savory minced meats, making them perfect for any occasion.
On the sweeter side, the possibilities are virtually endless. Beyond the classic apple or cherry, a versatile pie crust can serve as the elegant base for sophisticated tarts, holding glossy chocolate ganache, bright lemon curd, or silky custards adorned with fresh berries. Creative bakers even transform leftover dough into delightful, sugar-dusted “pie crust cookies” or use it as an unconventional base for cheesecakes, adding a unique texture profile. This adaptability means that across diverse cultures and cuisines, the pie crust finds its place, molding itself to local tastes while consistently delivering that universally cherished combination of flaky, tender, and deliciously golden perfection. This recipe is designed to be your go-to, super simple pie crust—ready to be customized and enjoyed in any way your culinary imagination desires.
Crafting Your Homemade Pie Crust
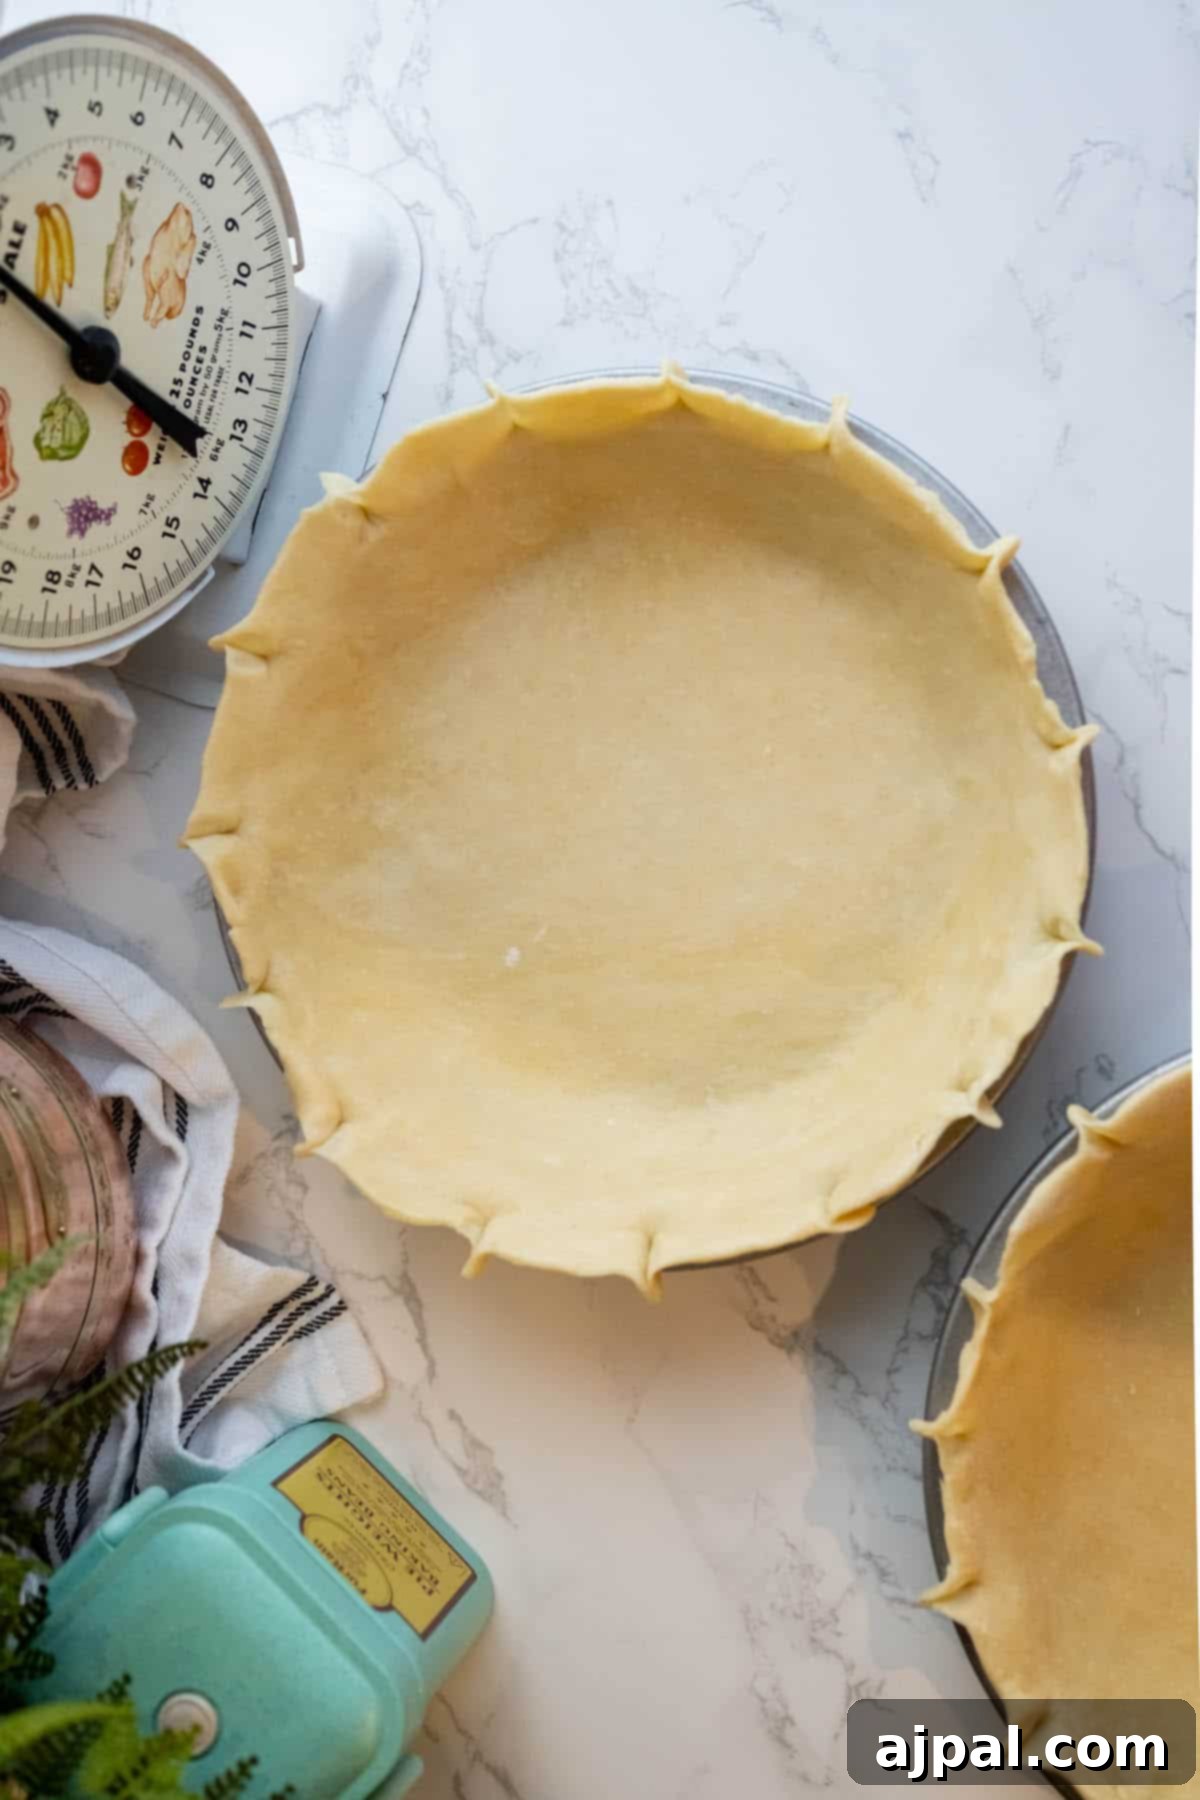
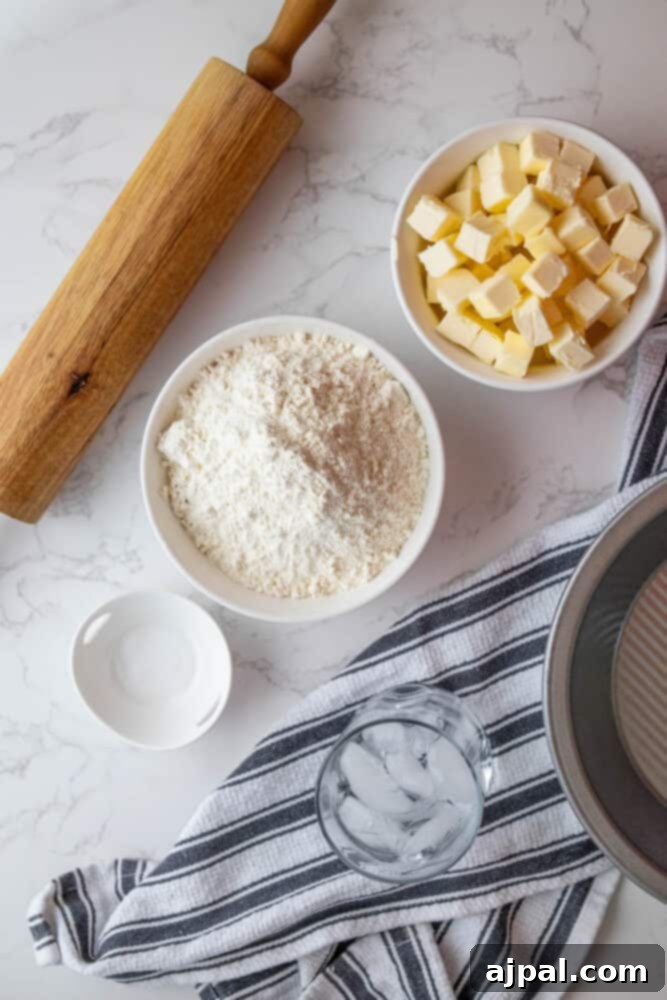
Creating a perfect homemade pie crust is simpler than you might think, especially when you understand the role each ingredient plays. The key to a flaky crust lies in keeping everything cold and working the dough just enough. Here’s a detailed look at the ingredients you’ll need and why they are essential:
- All-purpose flour (2 ½ cups): This is the backbone of your pie crust. All-purpose flour provides the necessary structure, with its moderate protein content striking the perfect balance between tenderness and strength. It’s versatile and readily available, making it ideal for creating that desirable flaky texture.
- Sea salt (½ tsp): Salt is crucial for seasoning and enhancing the overall flavor of your pie crust, preventing it from tasting bland. Fine sea salt is preferred for its even particle size, which ensures it dissolves quickly and distributes uniformly throughout the dough, guaranteeing a consistently flavorful bite in every piece.
- Sugar (1 tbsp): While optional, a tablespoon of sugar can transform this versatile crust into a subtly sweet base, ideal for fruit pies, tarts, and other dessert applications. For savory pies like quiches or pot pies, feel free to omit it for a neutral flavor profile that complements your savory fillings.
- Unsalted butter (1 cup): The secret to a truly flaky pie crust lies in using super cold, unsalted butter. Cut into ½-inch cubes, the cold butter creates pockets of steam during baking, which separate the layers of dough, resulting in that characteristic flakiness. Freezing the cubed butter for about 10-15 minutes before you begin ensures it stays firm and doesn’t melt prematurely into the flour, which would lead to a tough crust.
- Ice water (6-8 tbsp): Just like the butter, ice-cold water is vital. It helps bind the flour and butter together without warming the mixture, further preventing the butter from melting. The exact amount can vary based on your flour and humidity, so add it gradually until the dough just comes together. A good trick is to fill a glass with ice and water before you start the recipe, so it’s perfectly chilled when needed.
Step-by-Step Methods
Choose your preferred method for combining ingredients:
In a Food Processor:
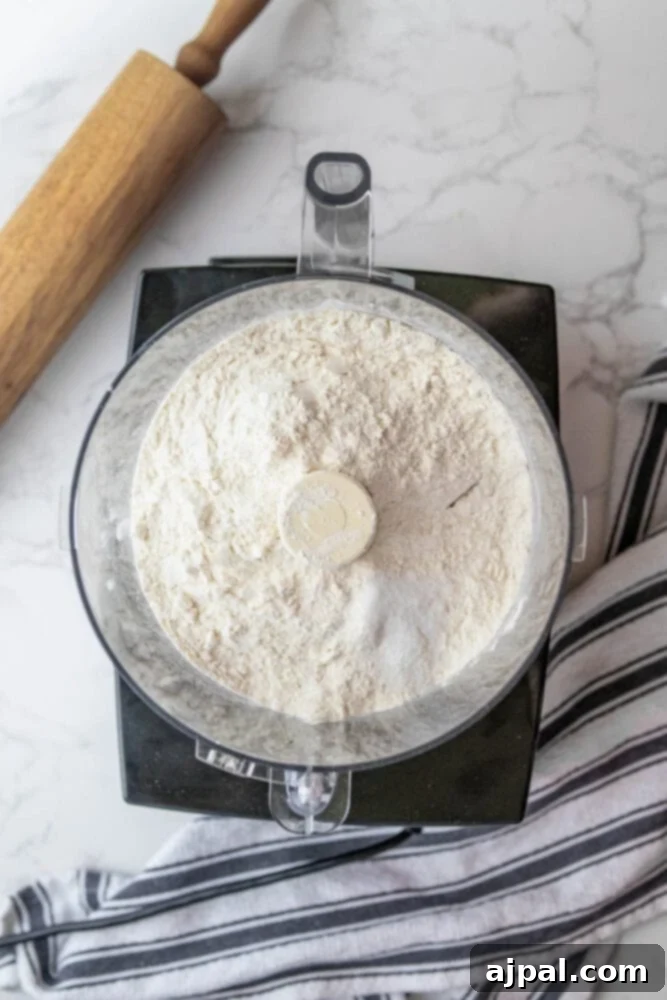
- In the bowl of your food processor, combine the all-purpose flour and sea salt. If you’re opting for a sweet crust, add the sugar at this stage. Pulse briefly to ensure the dry ingredients are thoroughly mixed.
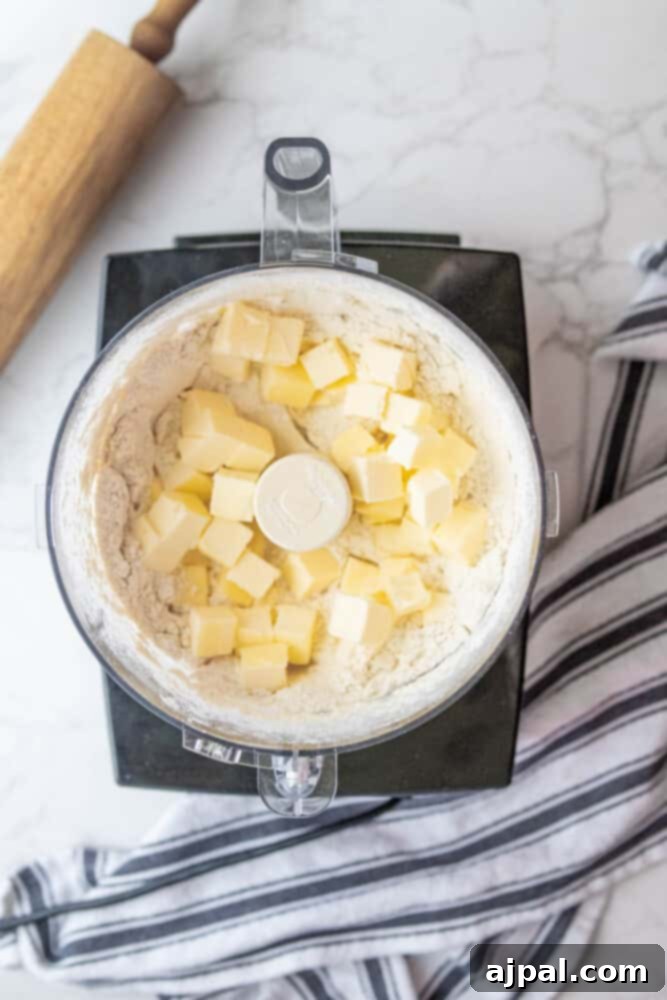
- Evenly scatter the super cold, ½-inch butter cubes over the flour mixture. Give them a quick toss to lightly coat them with flour, which helps prevent them from clumping together during processing.
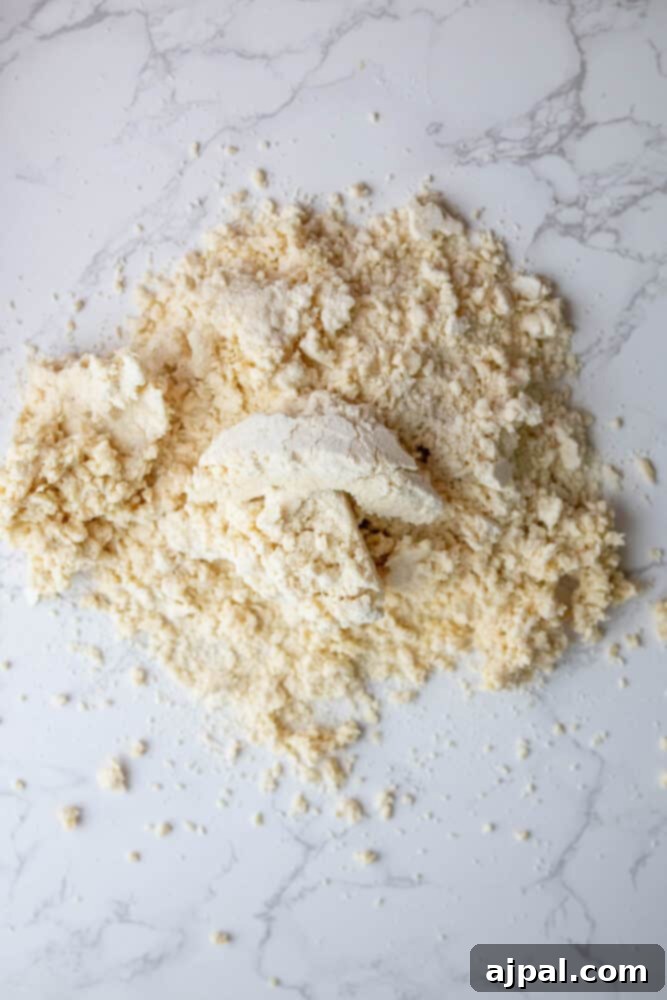
- Pulse the mixture in the food processor in short bursts, about 15 seconds in total. Continue until the butter is broken down into pea-sized pieces and the mixture resembles coarse breadcrumbs. This texture is key to achieving flakiness.
- With the food processor running, slowly drizzle in the ice-cold water, one tablespoon at a time, through the feed tube on top. Add just enough water until the dough starts to come together and form a ball. Be careful not to add too much water; the dough should be cohesive but not sticky.
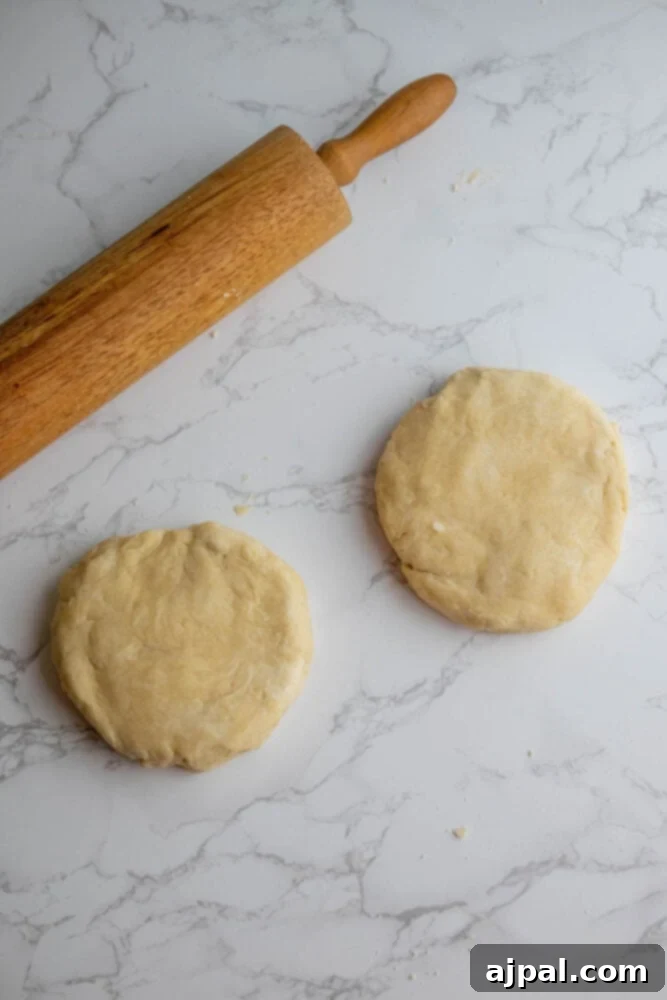
- Carefully transfer the dough mixture out onto a clean, lightly floured surface. Gently bring the dough together and work it into a cohesive ball with your hands, handling it as little as possible. Divide the dough into two equal pieces and shape each into a flat disc, roughly the size and thickness of a hockey puck.
- Wrap each dough disc tightly in plastic wrap to prevent it from drying out. Refrigerate for at least one hour. This chilling period is crucial as it allows the gluten to relax and the butter to firm up again, making the dough easier to roll and ensuring a flaky crust. You can refrigerate the dough for up to 2 days or freeze it for longer storage (up to a month) at this point.
If Making Dough By Hand:
- In a large mixing bowl, combine the all-purpose flour and sea salt (and sugar, if using). Whisk them together to ensure even distribution.
- Add the cubed, cold butter to the flour mixture. Using a pastry cutter or two knives, cut the butter into the flour until the mixture resembles coarse meal with some pea-sized chunks of butter still visible. Work quickly to keep the butter as cold as possible.
- Gradually add 4 tablespoons of ice water, mixing it into the dough with a fork or your hands. Continue adding more ice water, one tablespoon at a time, just until the dough comes together. Avoid overworking; the dough should be moist enough to hold its shape but not sticky.
- Divide the dough into two equal portions. Gently shape each portion into a flat disc, resembling a hockey puck in size and thickness.
- Wrap each disc tightly in plastic wrap or foil and refrigerate for at least one hour. This step is essential for relaxing the gluten and firming the butter, which contributes to a tender, flaky crust. The dough can be refrigerated for up to 2 days or frozen for up to one month.
Rolling Out the Dough:
- Remove one chilled dough disc from the refrigerator. On a lightly floured surface, use a rolling pin to roll the dough out evenly. Aim for a thickness similar to a pound coin or a quarter, ensuring it’s large enough to extend over the edges of your pie pan.
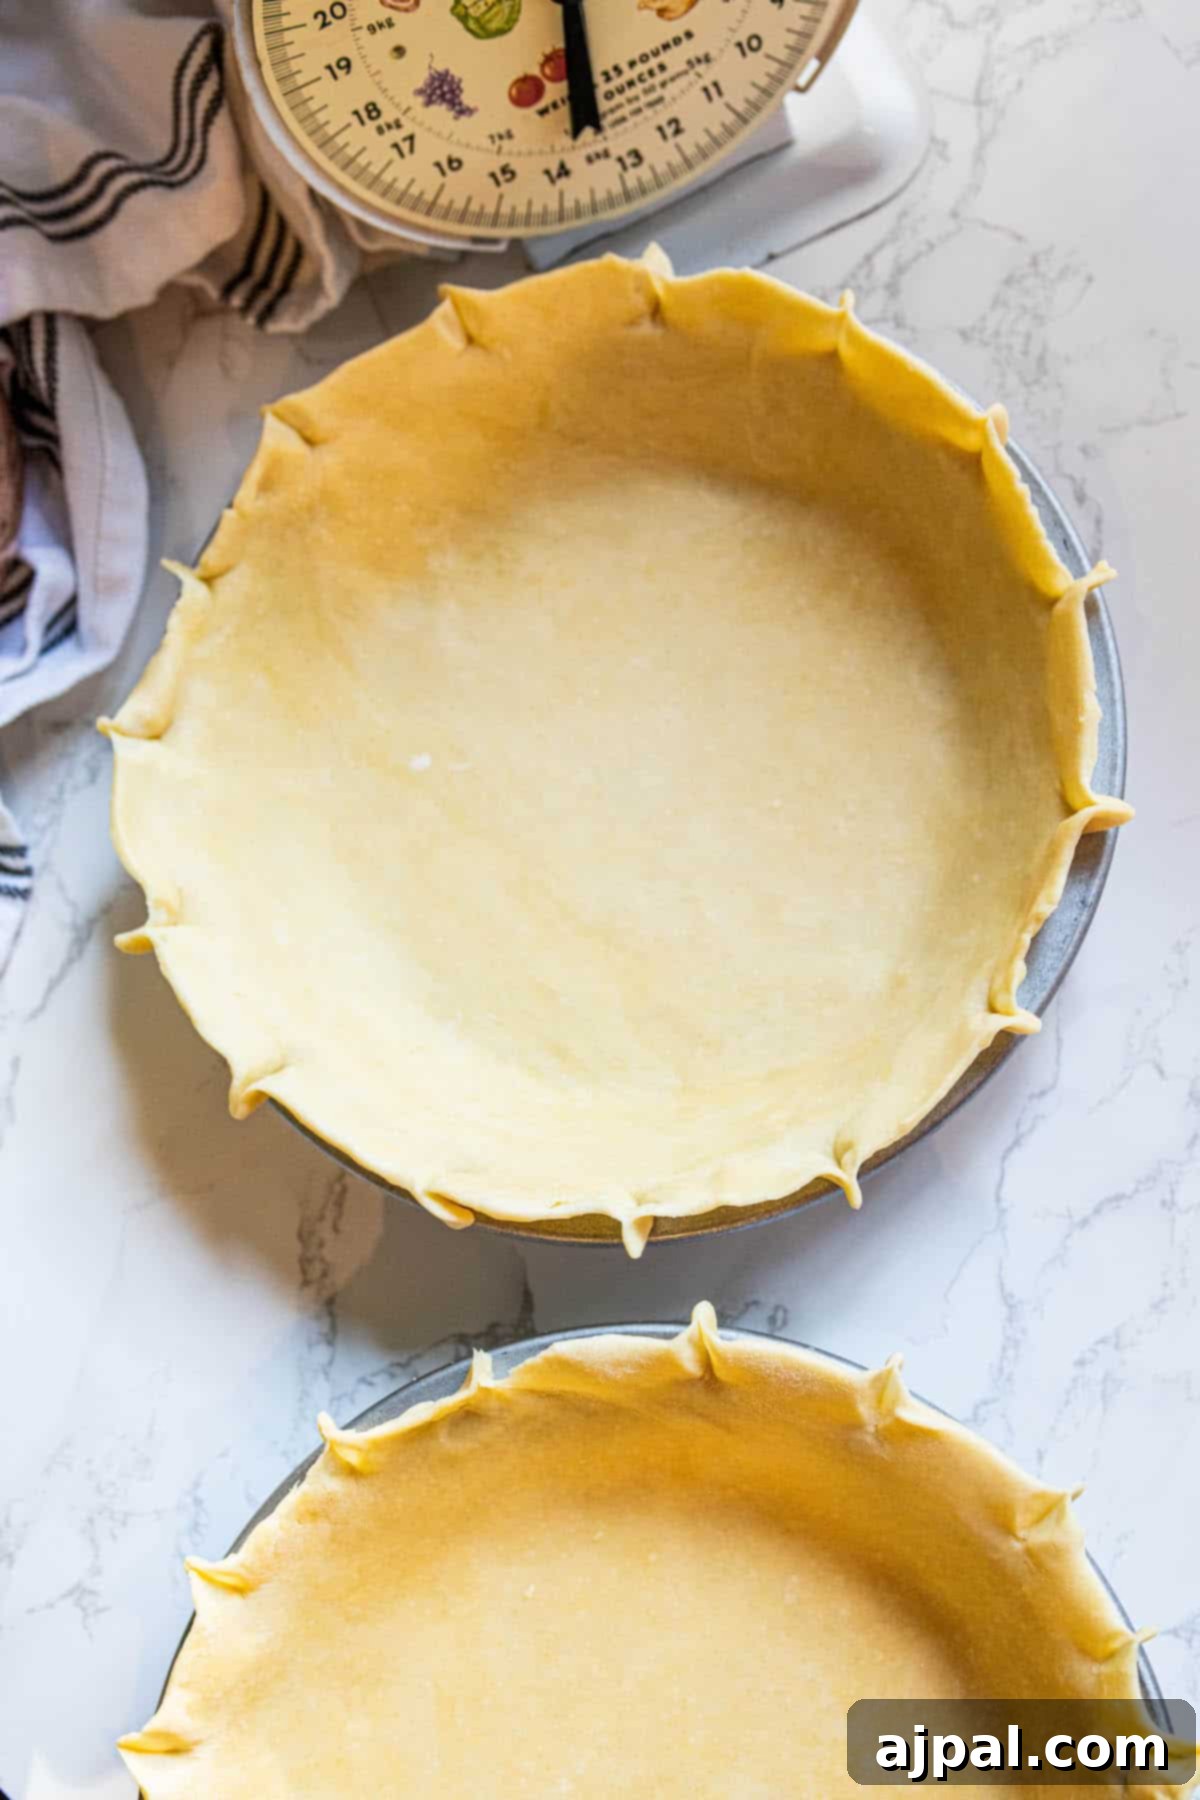
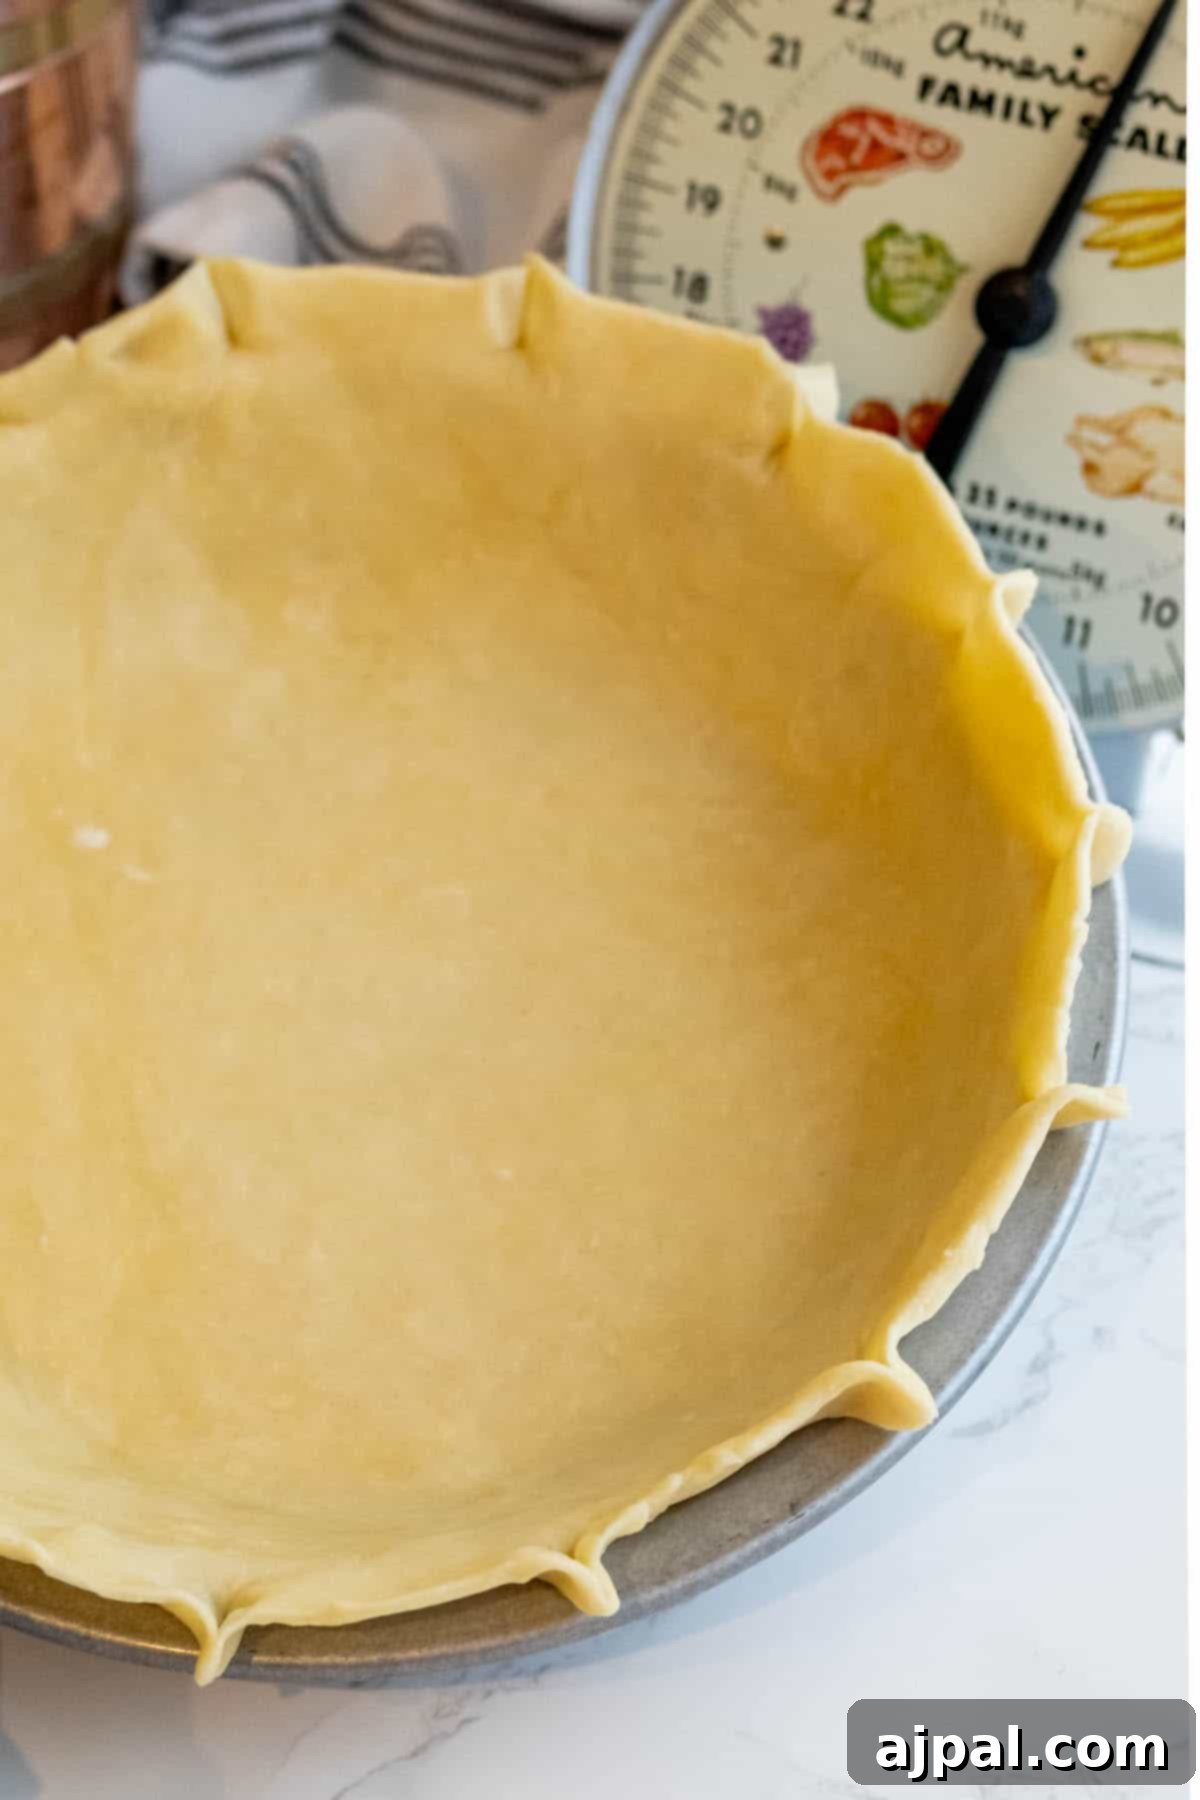
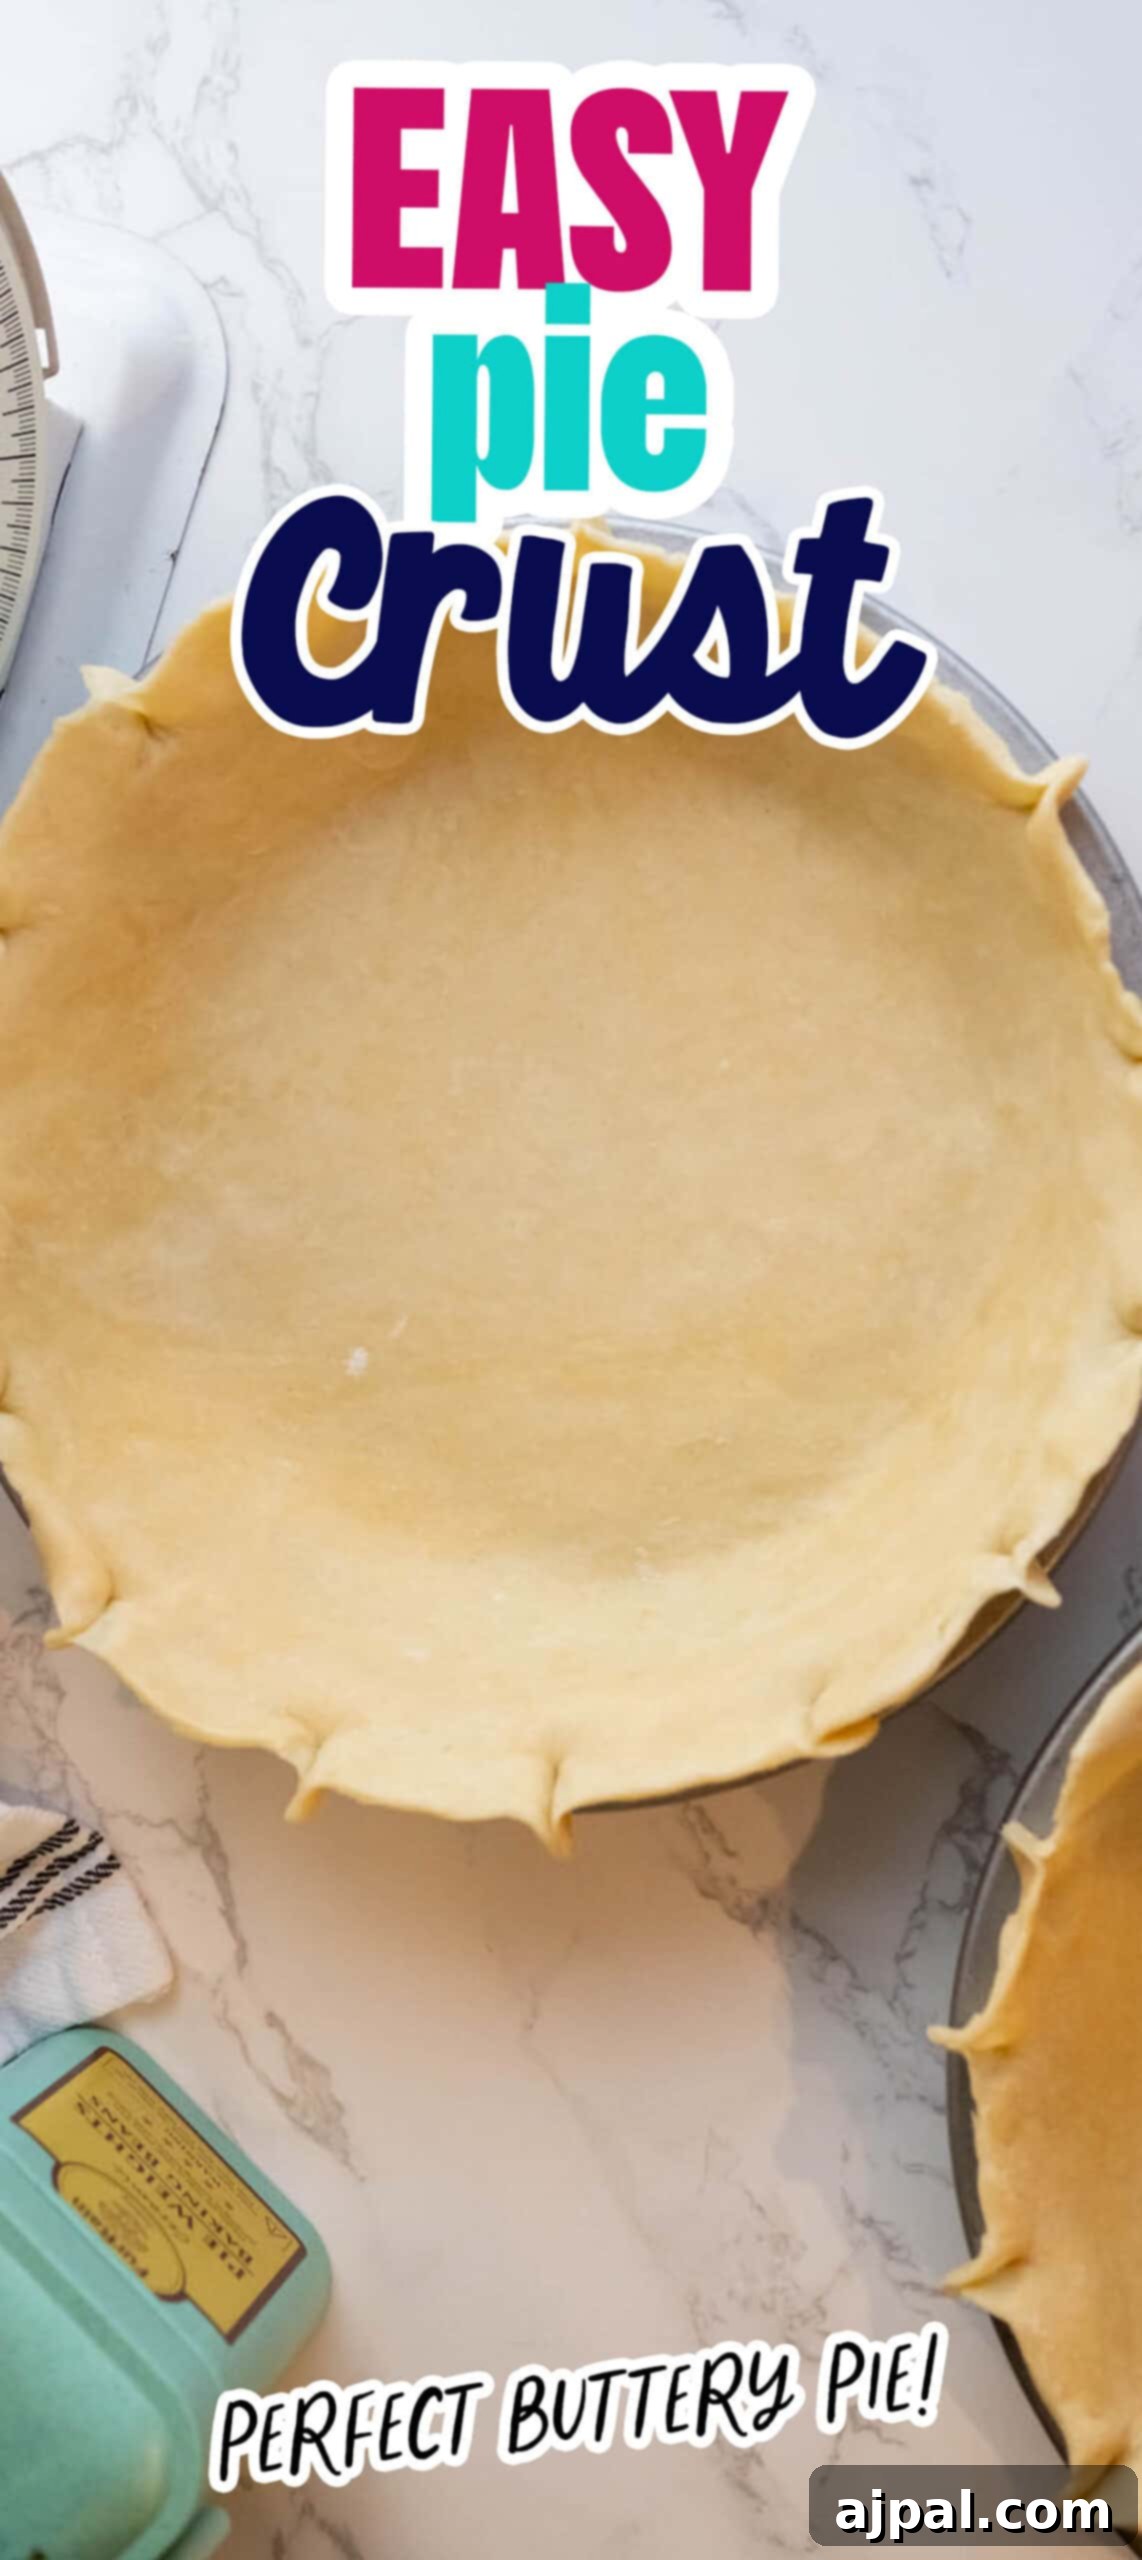
- Carefully transfer the rolled-out dough into your pie pan. Gently press it into the bottom and up the sides of the dish, making sure there are no air bubbles underneath.
- Using a sharp knife or kitchen scissors, trim any excess pastry around the edge, leaving about a ½-inch overhang past the rim of the dish.
- To create a decorative and functional edge, crimp the dough firmly every ½ inch all the way around the rim. You can use your fingers or a fork for this. This helps prevent the crust from shrinking during baking.
- To prevent air bubbles and ensure even baking, take a fork and gently prick the bottom and sides of the crust all the way around. This allows steam to escape.
- Your pie crust is now ready! You can fill one crust and top it with another for a double-crust pie, or roll both out and bake as directed for single-crust recipes.
Expert Tips for Flawless Pie Crust
Achieving a truly exceptional pie crust is a rewarding culinary feat. These expert tips and tricks will guide you to consistent success, ensuring every pie you bake boasts a perfectly flaky, tender, and flavorful crust.
- Embrace Cold Ingredients: This is arguably the most crucial tip. Start with butter that’s not just cold, but almost frozen, cut into small cubes. Some bakers even go a step further by chilling their flour. Cold butter is essential because it melts slowly during baking, creating steam that separates the dough layers into distinct, flaky strata. Warm butter melts into the flour too quickly, resulting in a dense, tough crust.
- Minimize Handling and Avoid Overworking: Less is more when it comes to pie dough. Overworking the dough develops the gluten, making it elastic and tough, not tender. Mix and knead only until the dough just comes together. Handle it gently and briefly to preserve its delicate structure.
- Maintain Pea-sized Butter Chunks: When cutting the butter into the flour, aim for pieces that are roughly the size of small peas. These distinct pockets of butter are what create those wonderful flaky layers as they melt and release steam. Don’t worry if some pieces are a bit larger; variety contributes to texture.
- Precision with Water Amount: Add ice water gradually, one tablespoon at a time, until the dough is just moist enough to hold together when squeezed. Too much water will make the crust tough and sticky, while too little will make it crumbly and difficult to roll. You’re looking for a slightly shaggy, yet cohesive texture.
- The Power of Rest and Chill: Once your dough is formed, flatten it into discs, wrap tightly in plastic, and refrigerate for at least one hour, or preferably longer (up to 2 days). This resting period allows the gluten to relax, which prevents shrinkage during baking, and gives the butter a chance to firm up again, ensuring maximum flakiness.
- Roll Evenly for Uniform Baking: When rolling out your chilled dough, strive for a consistent thickness across the entire surface. An uneven crust will bake inconsistently, with thinner spots burning and thicker areas remaining undercooked. Use a lightly floured surface and rotate the dough frequently to prevent sticking.
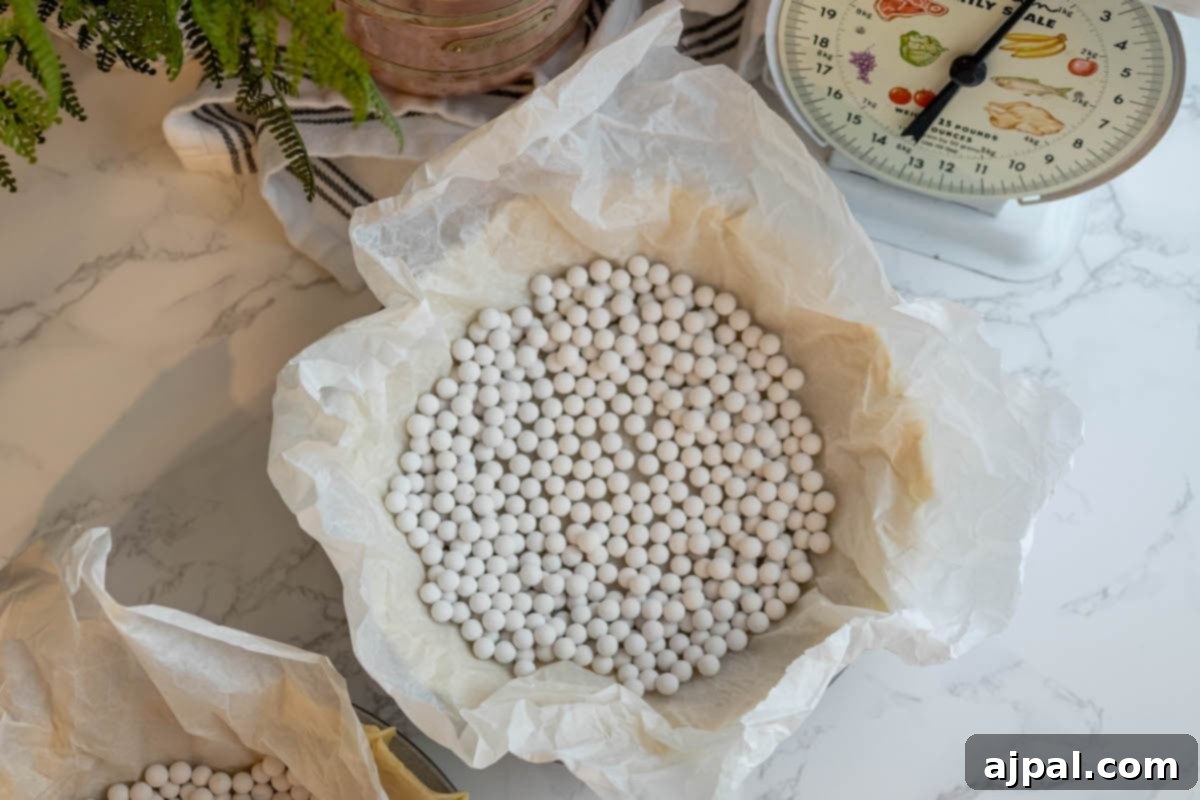
- Don’t Skip Blind Baking (Pre-Baking): For pies with wet fillings (like quiches, custards, or cream pies) or fillings that cook quickly, blind baking your crust is a game-changer. This step prevents a soggy bottom crust. Line the dough with parchment paper, fill with pie weights (or dried beans/rice), and bake partially before adding the filling.
- The Magic of an Egg Wash: For a beautiful golden-brown and shiny finish, brush the top of your pie crust with an egg wash before baking. A simple egg whisked with a tablespoon of water or milk works wonders.
- Protect Those Edges: Pie crust edges tend to brown faster than the center. To prevent over-browning or burning, use aluminum foil strips or a specialized pie shield to cover the edges during the last portion of the baking time.
- Patience is a Virtue – Let It Cool: Resist the urge to slice into your freshly baked pie immediately. Allowing the pie to cool completely (or at least significantly) lets the filling set properly, ensuring clean, picture-perfect slices and a more enjoyable texture.
- Practice Makes Perfect: Like any culinary skill, making pie crust improves with practice. Don’t be discouraged by initial imperfections. Each attempt will teach you more about the dough and your oven, leading to increasingly delicious results.
Frequently Asked Questions
A tough pie crust is almost always the result of overworking the dough. When you handle the dough too much, you develop the gluten in the flour, which leads to a chewy, rather than flaky, texture. Be sure to mix just until the ingredients are combined.
Absolutely! Pie dough is excellent for making ahead. You can prepare the dough, wrap it tightly in plastic, and store it in the refrigerator for up to 2-3 days. For longer storage, freeze it for up to a month. Always defrost frozen dough in the refrigerator overnight before rolling.
Keeping your butter and water super cold is the fundamental secret to a flaky crust. Cold butter forms small pockets within the dough, which then release steam and create those coveted flaky layers during baking. If butter melts prematurely, it blends into the flour, resulting in a dense, cookie-like crust.
No special equipment? No problem! You can use two cold knives to cut the butter into the flour, working in a criss-cross motion. Alternatively, use your fingertips, but work very quickly to minimize heat transfer from your hands to the butter. Remember, cold is key!
Shrinkage can occur for a couple of reasons: either the dough was overstretched when rolling it into the pan, causing it to spring back, or it wasn’t adequately chilled before baking. Always allow your dough to relax in the fridge for at least an hour after shaping, and don’t stretch it to fit the pan.
Blind baking, or pre-baking the crust without the filling, is a vital step for pies with very wet fillings (like quiches or custards) or fillings that cook much faster than the crust. It prevents the bottom crust from becoming soggy, ensuring a crisp, golden base.
Once fully baked and cooled, a pie crust can be stored at room temperature for up to 24 hours if it will be used quickly. For longer storage, wrap it tightly in plastic wrap or aluminum foil and refrigerate for up to 2-3 days. You can also freeze a blind-baked crust for up to a month, wrapped well.
While unsalted butter is generally recommended for baking to give you full control over the salt content, you can certainly use salted butter. If you do, simply reduce or omit the added salt in the recipe to balance the flavors.
Inspiring Pie Recipes for Your Perfect Crust
Once you’ve mastered this versatile easy pie crust, a world of delicious possibilities opens up! This flaky, buttery foundation is perfect for an incredible array of sweet and savory fillings. Here are some fantastic ideas to get you started, from comforting classics to creative culinary adventures:
- Classic Fruit Pies: The quintessential use for a fantastic pie crust! Fill it with seasonal fruits like juicy apples, tart cherries, sweet blueberries, ripe peaches, or a vibrant mix of berries. The flaky crust beautifully complements the tender, sweet fruit filling.
- Creamy Custard Pies: Think rich pumpkin pie for the holidays, a smooth sweet potato pie, or a delicate egg custard pie. This crust provides the perfect counterpoint to their silky textures.
- Decadent Cream Pies: Imagine layers of creamy coconut, luscious banana, or rich chocolate filling, all nestled within your homemade crust and often topped with generous swirls of whipped cream.
- Elegant Tarts: Transform your crust into a sophisticated tart base. It’s ideal for holding zesty lemon curds, glossy fresh fruit tarts with pastry cream, or deeply satisfying chocolate ganache tarts.
- Hearty Nut Pies: For a rich, sweet, and nutty treat, this crust is perfect for classic pecan pie or a unique walnut pie, often featuring a sticky, caramelized filling.
- Southern Chess Pie: A beloved Southern favorite, the chess pie boasts a sweet, buttery, and slightly custardy filling with a delightful crackled top, perfectly showcased by a flaky crust.
- Light and Airy Mousse Pies: Create delightful desserts like chocolate mousse or peanut butter mousse pies, where the crisp crust provides a wonderful contrast to the light and airy filling.
- Savory Quiches: Elevate your brunch or dinner with a homemade quiche. This crust is the ideal vessel for a creamy egg base mixed with endless combinations of spinach, bacon, cheese, mushrooms, roasted vegetables, and herbs.
- Comforting Pot Pies: Nothing says comfort like a golden, flaky pot pie. Whether it’s classic chicken pot pie, a hearty turkey pot pie, or a rich beef pot pie, this crust encases creamy fillings and tender vegetables perfectly.
- Robust Meat Pies: Explore international flavors with savory meat pies. This crust is sturdy enough for a traditional British steak and kidney pie or a classic Australian meat pie.
- Vegetable Pies: Craft delicious vegetarian options with a mix of seasoned vegetables, various cheeses, and sometimes a creamy sauce, all held beautifully by your homemade crust.
- Rustic Galettes: For a more free-form and artistic presentation, use your pie dough to create galettes. These open-faced tarts, with their charmingly exposed fillings, can be sweet (like berry and apple) or savory (such as tomato and goat cheese).
- Delightful Hand Pies or Empanadas: Perfect for on-the-go snacking or lunch boxes, these portable pies can be filled with anything from spiced meats and cheeses to sweet fruits, making them incredibly versatile.
- Cheesecake Base: Break away from traditional graham cracker crusts and try a pie crust as the base for your cheesecake. It offers a wonderfully buttery and slightly different texture.
- Sweet Pie Crust Cookies: Don’t let scraps go to waste! Roll out leftover pie dough, cut it into fun shapes, sprinkle with cinnamon sugar, and bake until golden for a simple, irresistible treat.
Ready to try some specific recipes? Here are a few of our favorites:
Cranberry Apple Pie
Grandma’s Apple Pie
Easy French Apple Tart
Best Pecan Pie
Best Chocolate Pie
Homemade Strawberry Pie
Chocolate Ganache Candy Cane Tort
Eggnog Tart
If you’ve loved this easy pie crust recipe and found these tips helpful, please consider giving it a five-star rating by clicking the stars below and leaving a comment. Your feedback helps other home cooks discover and enjoy this recipe too! We’d also be thrilled if you shared your creations on Instagram, Facebook, and Pinterest – make sure to tag us so we can see your delicious results!
Share on Facebook
Share
Pin this now to find it later
Pin It
Follow on Instagram
Follow
Click here to view the web story for this recipe!
Only have 30 minutes to get dinner on the table? Sign up for my 30 minute dinner plans direct to your inbox!
Find and shop my favorite products in my Amazon storefront here!
Easy Pie Crust
Equipment
-
French Rolling Pin (17 Inches) –WoodenRoll Pin for Fondant, Pie Crust, Cookie, Pastry, Dough –Tapered Design & Smooth Construction – Essential Kitchen Utensil,Walnut Wood
-
FurRain Ceramic Pie Weights Reusable 10mm Baking Beans Pie Crust Weights Natural Ceramic Stoneware with Wheat Straw Container
-
USA Pan Bakeware Aluminized Steel Pie Pan, 9-Inch
-
Cuisinart Food Processor 14-Cup Vegetable Chopper for Mincing, Dicing, Shredding, Puree & Kneading Dough, Stainless Steel, DFP-14BCNY
Ingredients
- 2 ½ cups all-purpose flour
- ½ tsp fine sea salt
- 1 tbsp sugar, if you want a sweet crust
- 1 cup unsalted butter, cut into ½ inch cubes, cold
- 6-8 tbsp ice water
Instructions
In a Food Processor:
-
Add the flour and salt (sugar if using) to the food processor, pulse to combine.
-
Scatter the butter cubes in the flour, and toss them a bit to coat them in flour so they don’t stick together.
-
Pulse the mixture in the food processor about 15 seconds until dough looks like course bread crumbs.
-
Turn the food processor on and add the ice cold water 1 tablespoon at a time through the feed tube on the top.
-
Pour the mixture out onto a clean surface and push the dough together and work it into a ball. Cut in two and shape dough into flat discs about the size and thickness of hockey pucks.
-
Wrap in plastic wrap and refrigerate for at least an hour before rolling out. You can refrigerate it for up to 2 days or freeze it at this point. Proceed to “Rolling Out the Dough Section” if using the crust right away.
If Making Dough By Hand:
-
Combine the flour and salt (plus sugar if using) in a large bowl. Add the cold butter and using a fork or pastry cutter combine until you get a coarse mealy texture like bread crumbs.
-
Add 4 tbsp of water and work into the dough, then add more as needed until you can bring the dough together and knead for just a minute or two till it comes together.
-
Cut into two pieces and shape dough into flat discs about the size and thickness of hockey pucks.
-
Wrap each piece of dough in foil and refrigerate at least an hour before rolling out. You can refrigerate it for up to 2 days or freeze it at this point. Proceed to “Rolling Out the Dough” section if using immediately.
Rolling Out the Dough
-
Remove the dough discs and roll each out to the thickness of a pound coin or quarter with a rolling pin on a lightly floured surface. You will want to roll it out so you can cover over the edge of the pie pan.
-
Roll the dough into the pie pan and gently press into the dish.
-
Trim the excess pastry around the edge, leaving ½ inch past the edge of the dish, using a knife or scissors.
-
Crimp the dough by pinching it very firmly every ½ inch all the way around.
-
Take a fork and prick the crust all the way around (this will help prevent air bubbles from forming)
-
Fill one crust and top with the other or roll both out and bake as directed.
Notes
Nutrition
Nutrition information is automatically calculated, so should only be used as an approximation.