
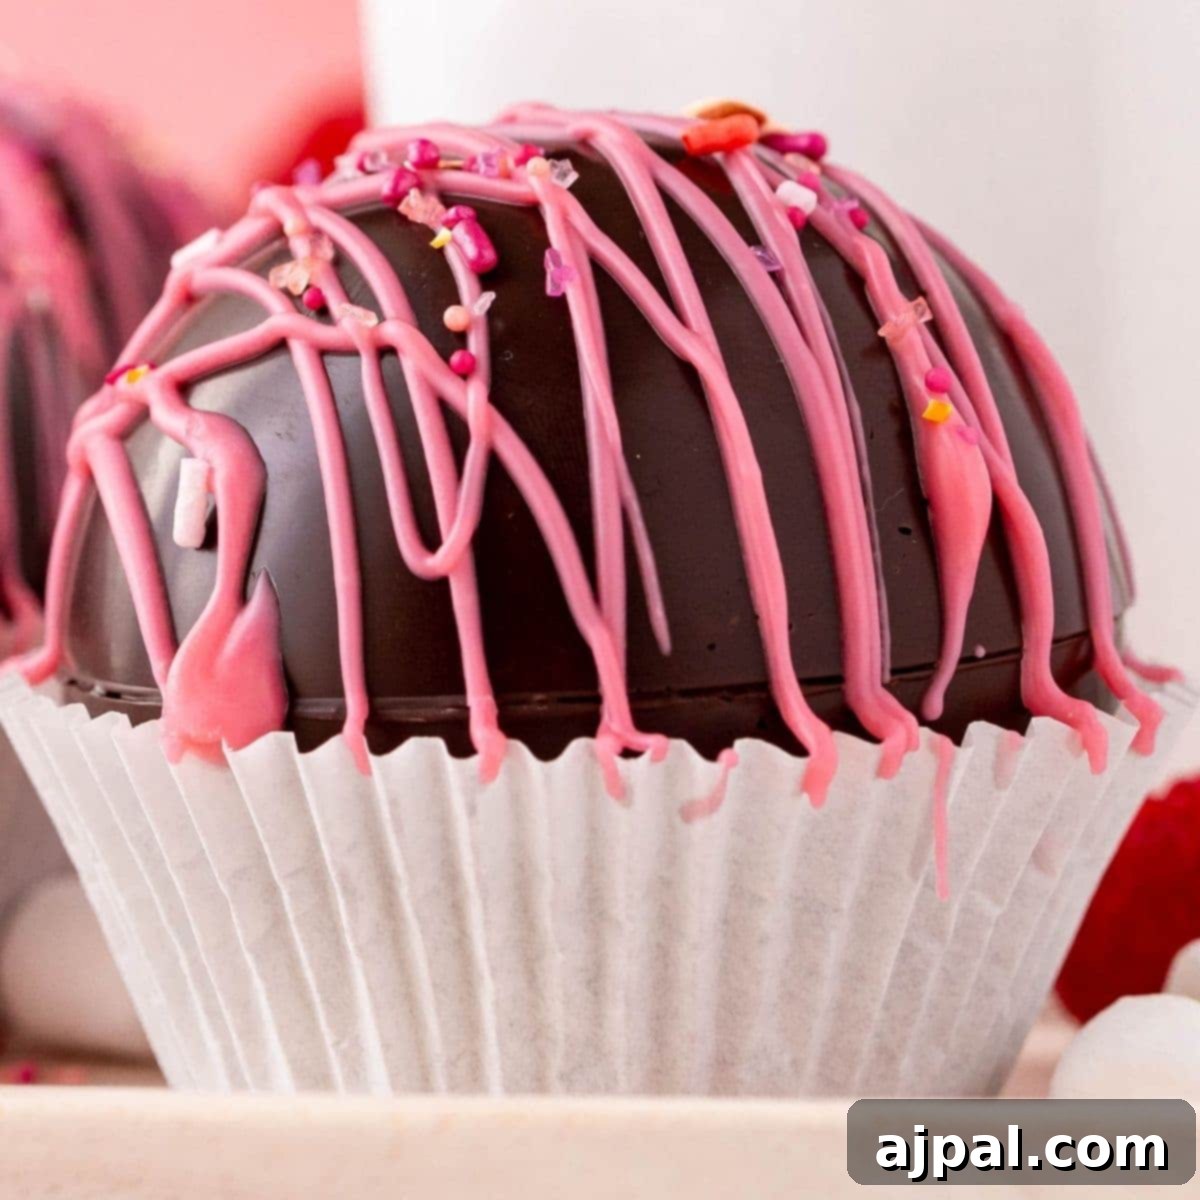
Indulge in a delightful symphony of flavors with our exquisite Raspberry Hot Chocolate Bombs Recipe. Imagine rich, velvety chocolate spheres, bursting open to reveal a treasure trove of intense raspberry hot cocoa mix and fluffy mini marshmallows, all melting into a comforting mug of warm milk. These aren’t just drinks; they’re an experience, a perfect blend of warmth, sweetness, and a vibrant fruity tang that promises to brighten any day.
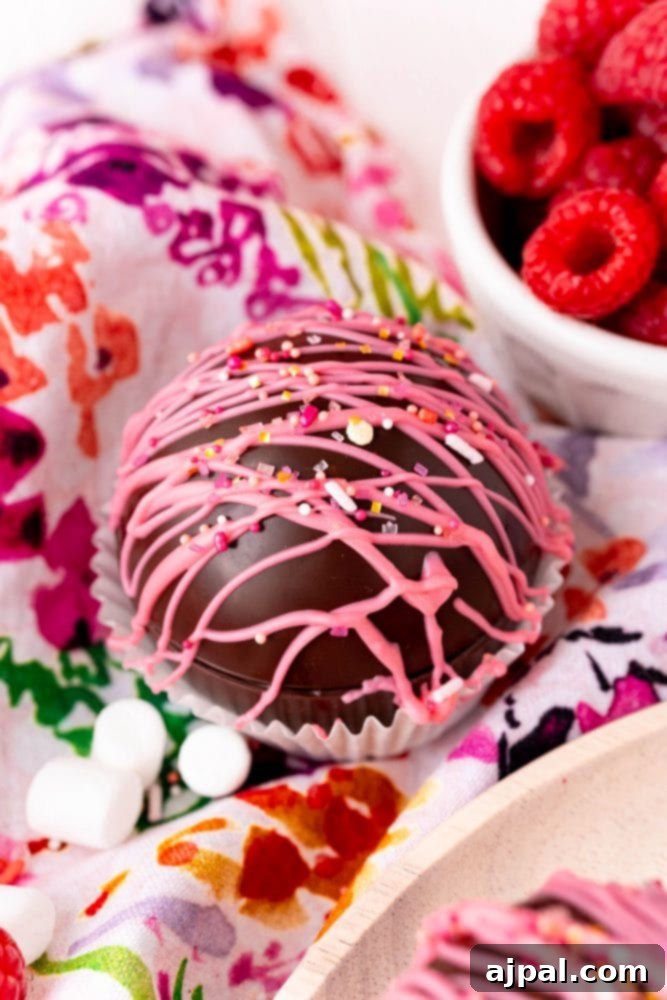
For those eager to dive straight into the kitchen, a “Skip to Recipe” button is conveniently located at the top left corner of this page. Alternatively, navigate effortlessly through our comprehensive guide using the clickable table of contents provided just below. We believe in empowering every home cook, from novice to expert, with the knowledge and confidence to create truly spectacular dishes. That’s why we’ve packed this guide with detailed instructions, helpful tips, and insightful explanations about each ingredient’s role in achieving the perfect homemade hot chocolate bomb.
Table of Contents
- What Are Hot Chocolate Bombs?
- Why You’ll Love These Raspberry Hot Chocolate Bombs
- How To Make Hot Chocolate Bombs: Step-by-Step
- How To Make Cocoa with Hot Chocolate Bombs
- Essential Tips and Tricks for Perfect Chocolate Bombs
- Frequently Asked Questions (FAQs)
- Tools You’ll Need For Hot Chocolate Bombs
What Are Hot Chocolate Bombs?
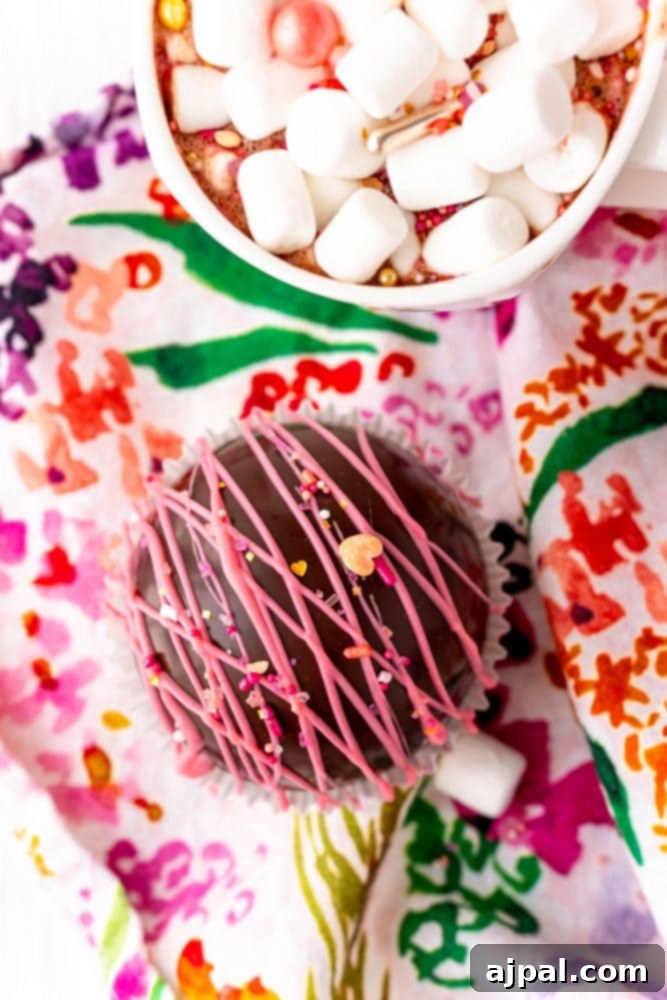
Hot chocolate bombs are delightful, hollow spheres of tempered chocolate, meticulously crafted and filled with various hot cocoa components such as cocoa powder, mini marshmallows, sprinkles, and sometimes even a hint of fun flavorings. When dropped into a mug of hot milk or water, the chocolate shell melts away, theatrically releasing its contents to create an instant, luxurious cup of hot chocolate. They became a viral sensation for their interactive charm and gourmet appeal, transforming a simple hot drink into an enchanting experience.
Our Raspberry Hot Chocolate Bombs elevate this popular treat with a sophisticated fruity twist. We infuse them with a delightful raspberry hot chocolate mix, marrying the classic comfort of chocolate with the bright, tangy notes of fresh raspberries. This combination creates a rich, smooth, and incredibly aromatic hot cocoa that’s both comforting and exciting.
Why You’ll Love These Raspberry Hot Chocolate Bombs
These raspberry-infused cocoa bombs are more than just a drink; they’re a celebration. They are perfectly pretty for hosting elegant parties, an utterly charming treat for Valentine’s Day, or a thoughtful, handmade gift for Mother’s Day. The vibrant color of raspberry combined with rich chocolate makes them visually stunning, promising a feast for the eyes before the first sip even touches your lips. We’ve meticulously developed this recipe and packed it with expert tips to ensure your hot chocolate bombs are flawless every single time.
Whether you’re a seasoned chocolatier or new to the world of confectionary, our detailed instructions aim to make the process enjoyable and successful. We understand that perfecting chocolate work can seem daunting, which is why we’ve included a wealth of notes and guidance. If you’re already a pro at making hot chocolate bombs and are looking for just the core recipe, feel free to use the “Skip to Recipe” button or the direct link in the table of contents. Otherwise, prepare to unlock the secrets to creating beautifully shiny, perfectly sealed, and utterly delicious Raspberry Hot Cocoa Bombs that will impress everyone.
How To Make Hot Chocolate Bombs: Step-by-Step
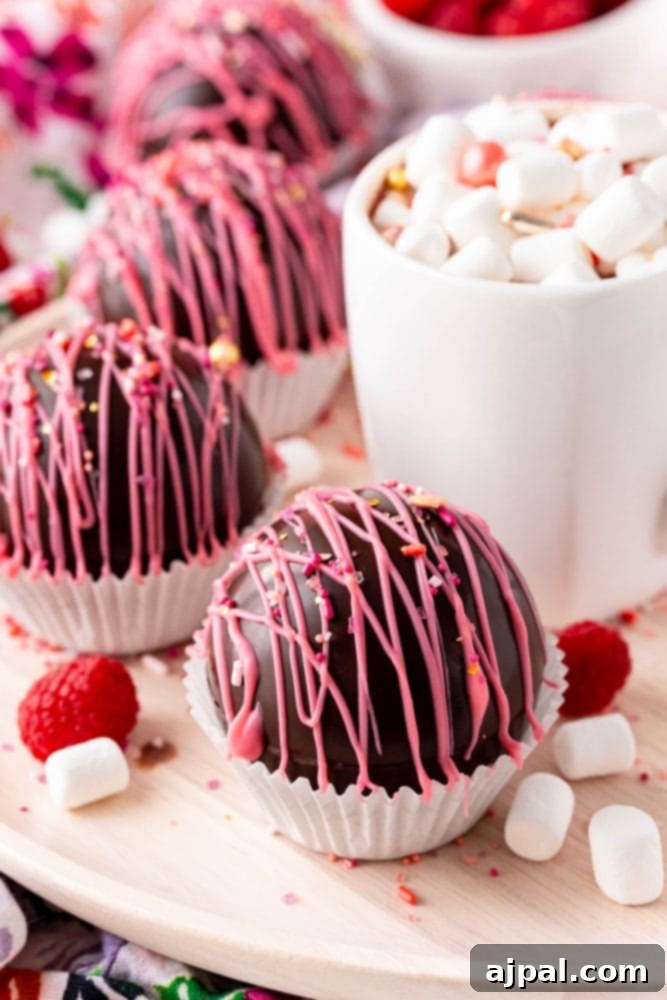
Creating these delightful hot chocolate bombs is a fun and rewarding process. Let’s gather our ingredients and walk through each step to ensure your success.
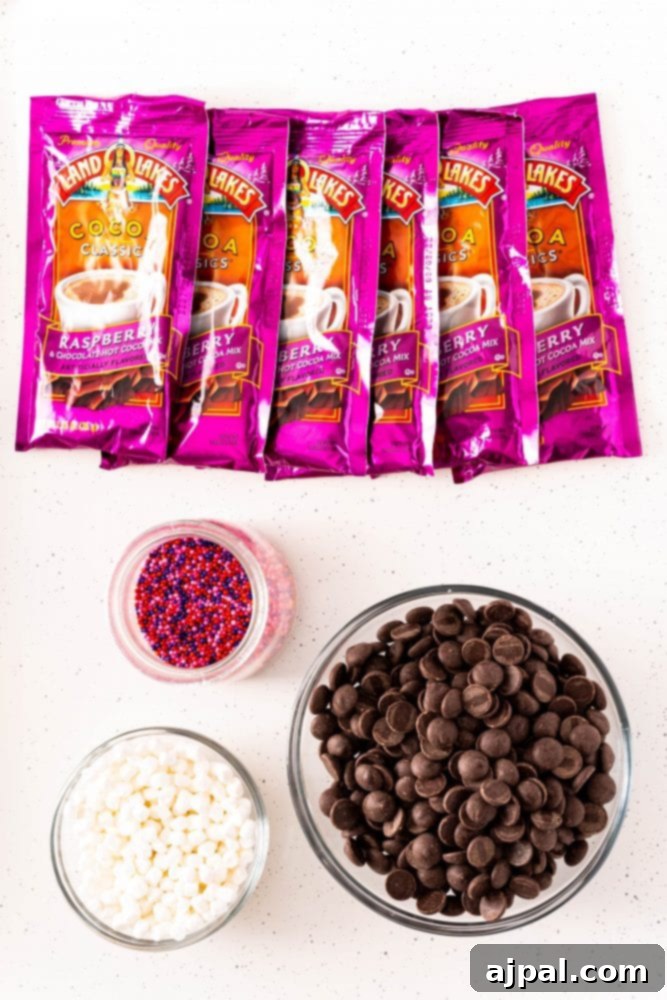
Ingredients You’ll Need:
- Ghirardelli Baking Chocolate (12 ounces): Opting for high-quality baking chocolate like Ghirardelli is paramount. It provides a rich, deep chocolate flavor and a luxuriously smooth, velvety base that melts beautifully into hot milk. Its superior quality ensures a shiny, stable shell for your bombs. For best results, ensure it’s finely chopped for even melting and tempering.
- Hot Raspberry Chocolate Mix Packets (6): These packets are the heart of the “raspberry” in our bombs. They impart a delightful fruity sweetness that complements the deep chocolate flavor, creating a uniquely comforting and invigorating beverage. Each packet typically contains around 3 tablespoons of powder.
- Mini Marshmallows: No hot chocolate is complete without marshmallows! These tiny, fluffy clouds add a sweet, pillowy softness that melts beautifully into the hot cocoa, creating a rich, frothy top layer. They also contribute a classic, comforting texture to the drink.
- Sprinkles (optional): Sprinkles are for fun and flair! They introduce a playful pop of color and a subtle, delightful crunch, enhancing the visual appeal of your hot chocolate bombs and making them even more festive.
- Whole Milk (8 oz, for serving): Whole milk is the ideal liquid for these bombs. Its rich fat content creates a lusciously smooth, creamy, and indulgent hot beverage, bringing all the intricate flavors of the chocolate and raspberry together in perfect harmony. While water can be used, milk is highly recommended for the best texture and taste.
Now, let’s move on to the method:
Step 1: Temper Your Chocolate for a Perfect Finish
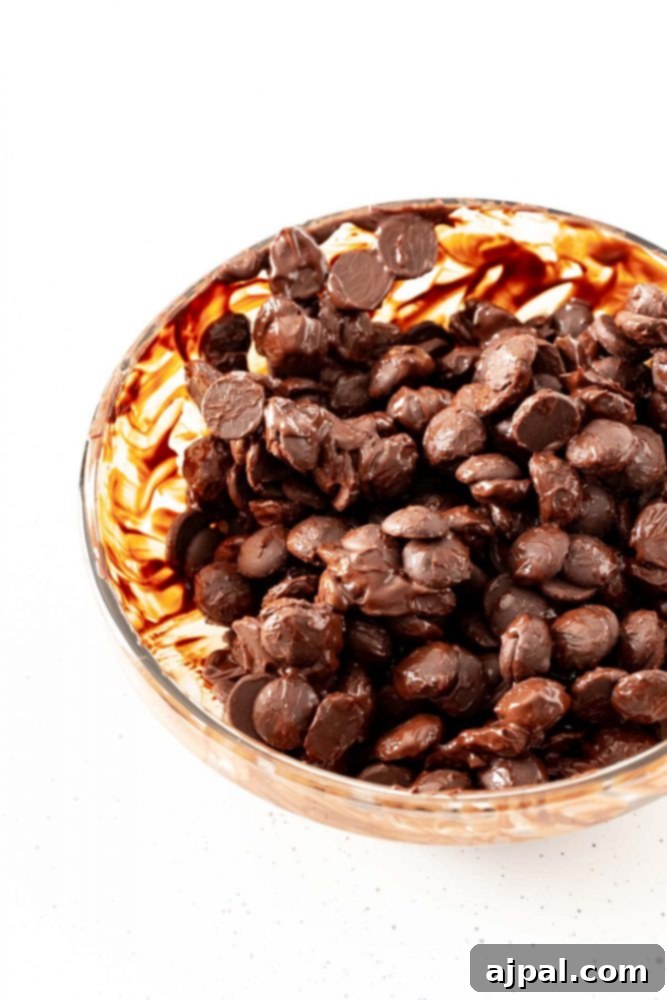
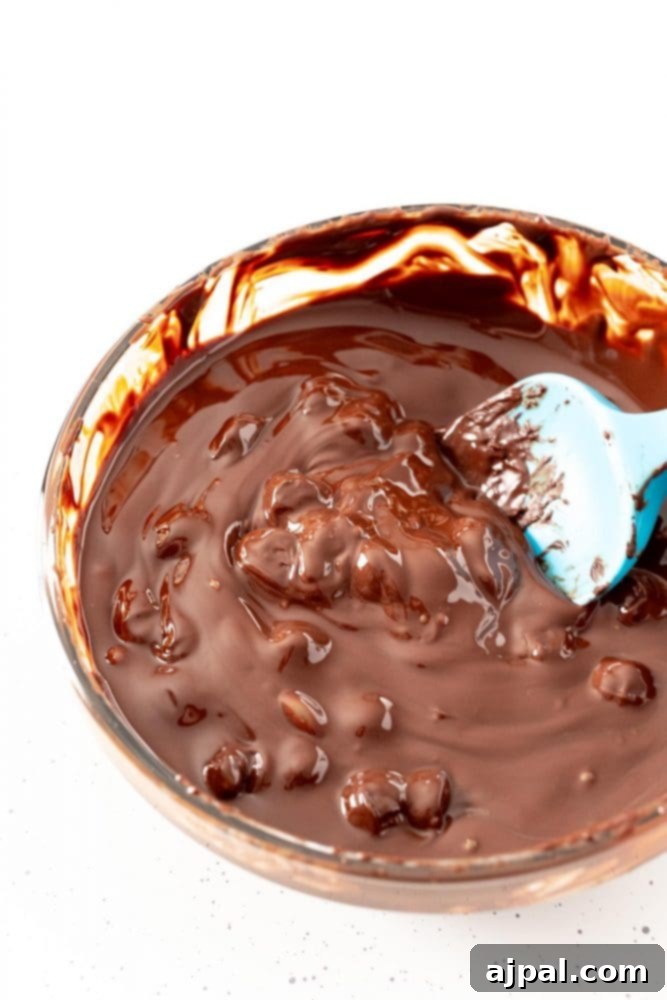
Tempering chocolate is crucial for achieving a beautiful, shiny finish and a satisfying snap when broken. It also prevents blooming (white streaks on the chocolate surface). To temper, first, finely chop your Ghirardelli baking chocolate. Place about 5 ounces of the chopped chocolate into a medium, microwave-safe bowl. Microwave for 30 seconds, then remove and stir thoroughly with a rubber spatula, scraping down the sides. Continue microwaving in 15-second intervals, stirring vigorously after each, until the chocolate is almost entirely melted. The residual heat will melt any remaining small pieces.
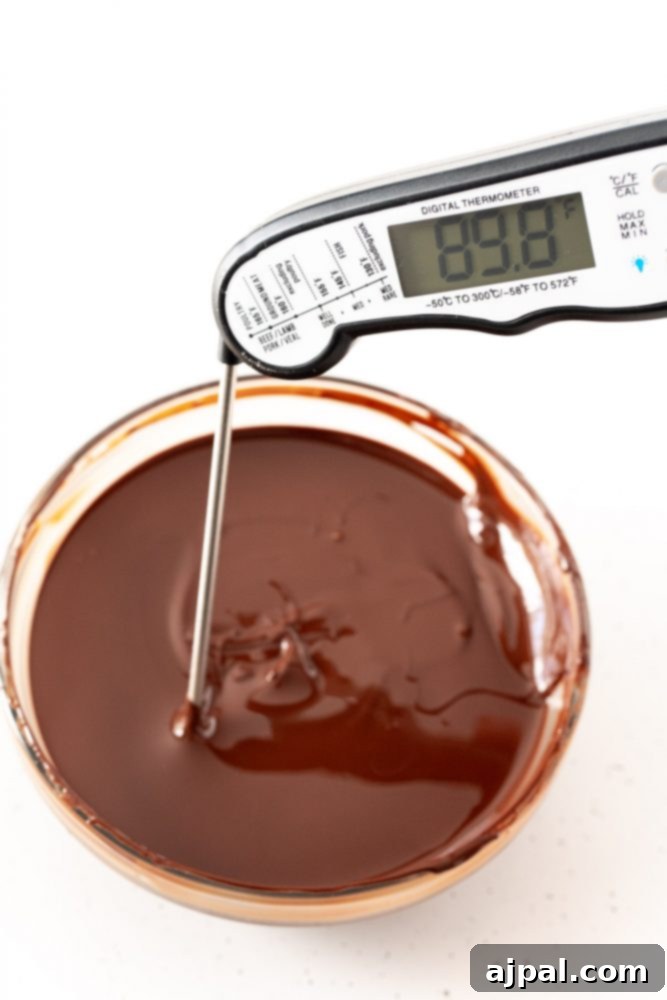
The ideal temperature for dark/semi-sweet baking chocolate is between 88°F and 90°F (31-32°C). For milk chocolate, aim for 86°F to 88°F (30-31°C), and for white chocolate, 82°F to 84°F (28-29°C). Use an instant-read kitchen thermometer to check the temperature precisely. If your chocolate exceeds the target temperature, stir in an additional ounce or two of finely chopped, untempered chocolate until melted; this will help bring the temperature down and ensure proper tempering. You can test your tempering by smearing a small amount on parchment paper and refrigerating it for a few minutes. If it’s shiny and snaps crisply, it’s perfectly tempered. If it bends or looks dull, it needs more tempering.
Note on Batch Size: If you’re working with two silicone molds, you can temper up to 10 ounces of chocolate at once, adding 2 ounces if needed to adjust the temperature. However, if you only have one mold, it’s best to work with smaller batches (5-6 ounces) to prevent the chocolate from cooling and thickening too much before you can use it, which could lead to a chalky or discolored appearance.
Step 2: Shape Your Hot Chocolate Bomb Shells
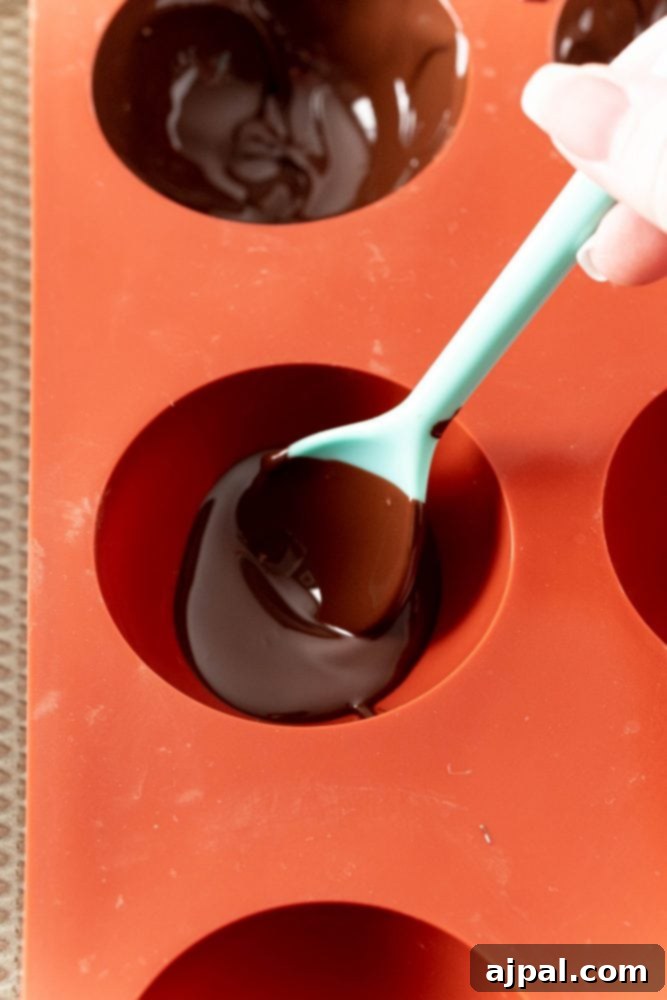
The easiest and most effective way to create perfectly shaped chocolate spheres is by “painting” the silicone molds. Spoon approximately 1 tablespoon of your tempered chocolate into each cavity of the silicone mold. Using the back of the spoon, carefully spread the chocolate evenly around the entire interior of the mold, ensuring it reaches all the way to the rim and leaves no thin or exposed areas. Place the filled mold on a small baking sheet (this makes it easier to transport) and refrigerate for 5 minutes to allow the first layer to set.
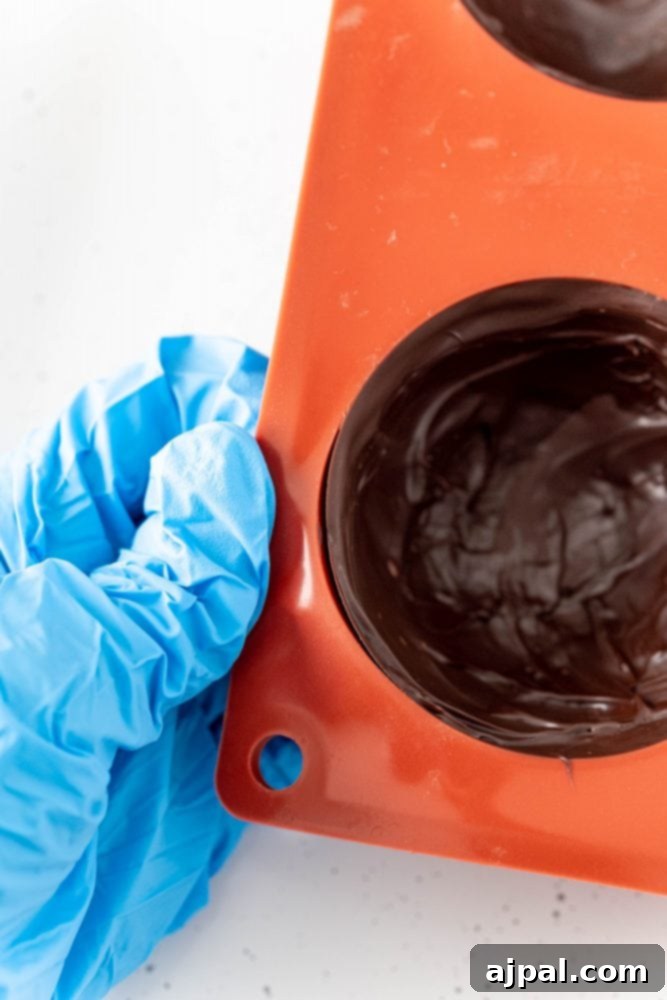
After 5 minutes, remove the mold from the refrigerator. Spoon another heaping spoonful of tempered chocolate into each mold cavity, working one at a time. This second layer is crucial for building up the edges and ensuring the shells are sturdy enough not to crack when handled. Carefully spread this second layer, paying extra attention to reinforcing the rim. A slightly thicker edge will provide structural integrity for the finished bomb. Once all cavities have their second coat, freeze the mold for 10 minutes until the chocolate is completely firm.
Step 3: Release the Shells and Prepare for Filling
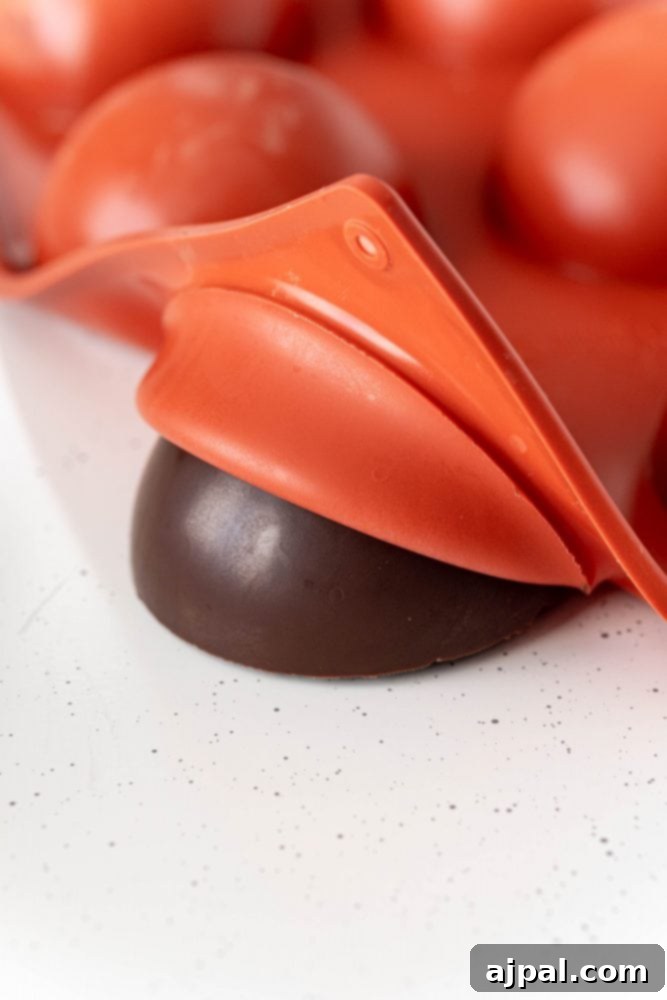
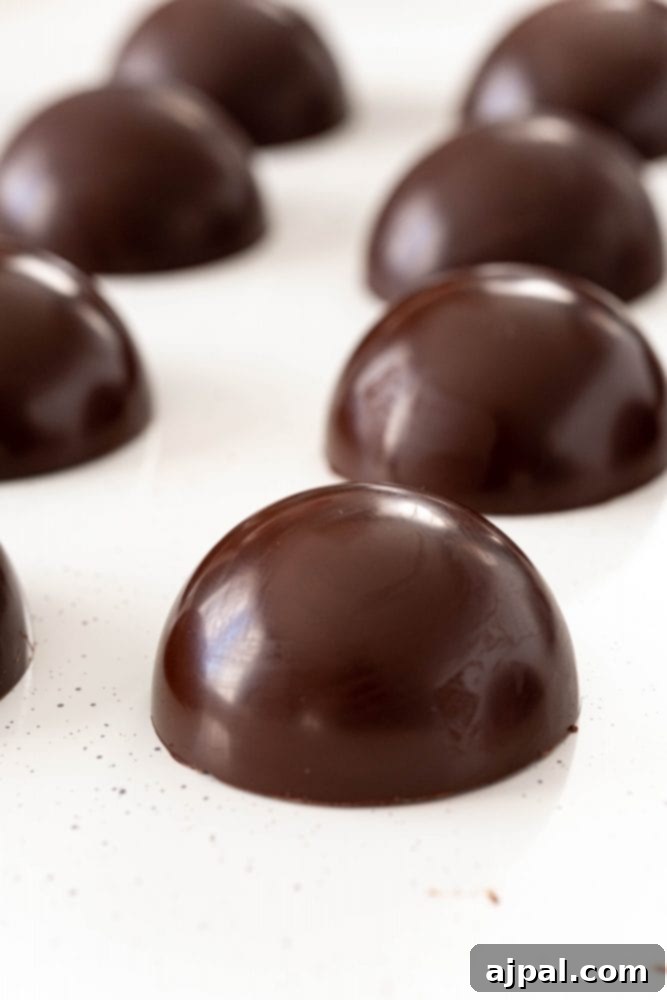
Once frozen, remove the molds. Donning a pair of food-safe gloves is highly recommended at this stage to prevent fingerprints and maintain the glossy finish of your chocolate spheres. Gently pop the hardened chocolate shells out of the silicone molds. If you are using a single mold, repeat steps 1-3 to create enough halves for your desired number of bombs. Gather all your beautiful chocolate halves and prepare for the next exciting step!
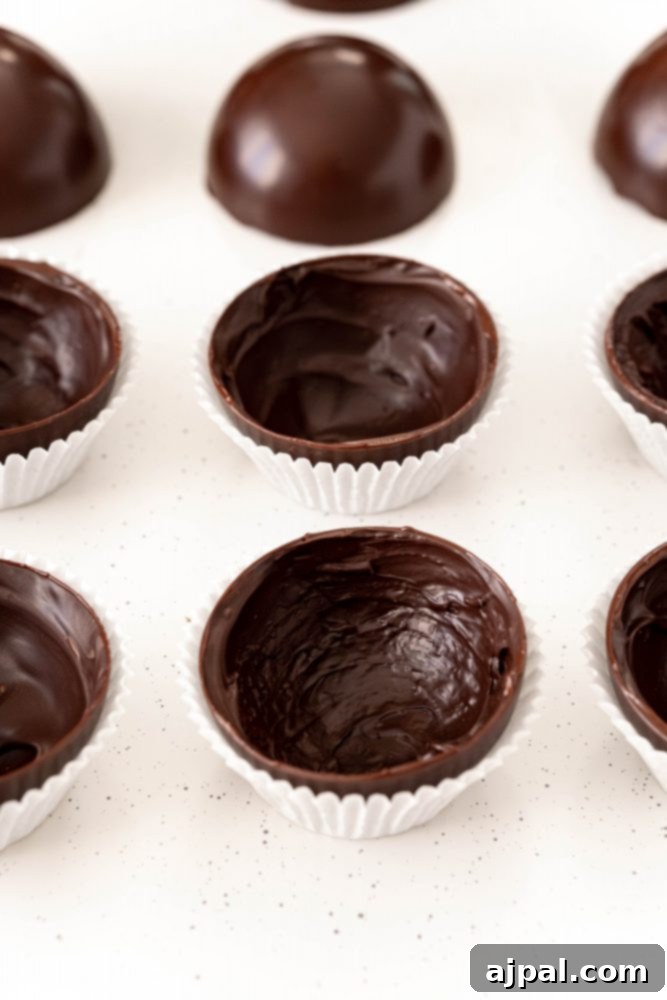
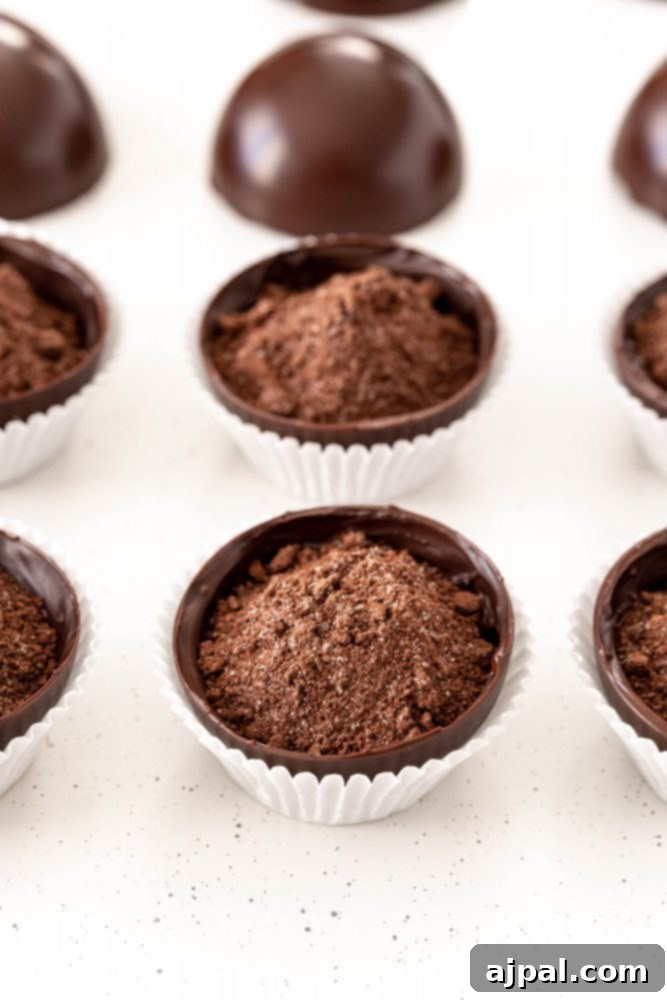
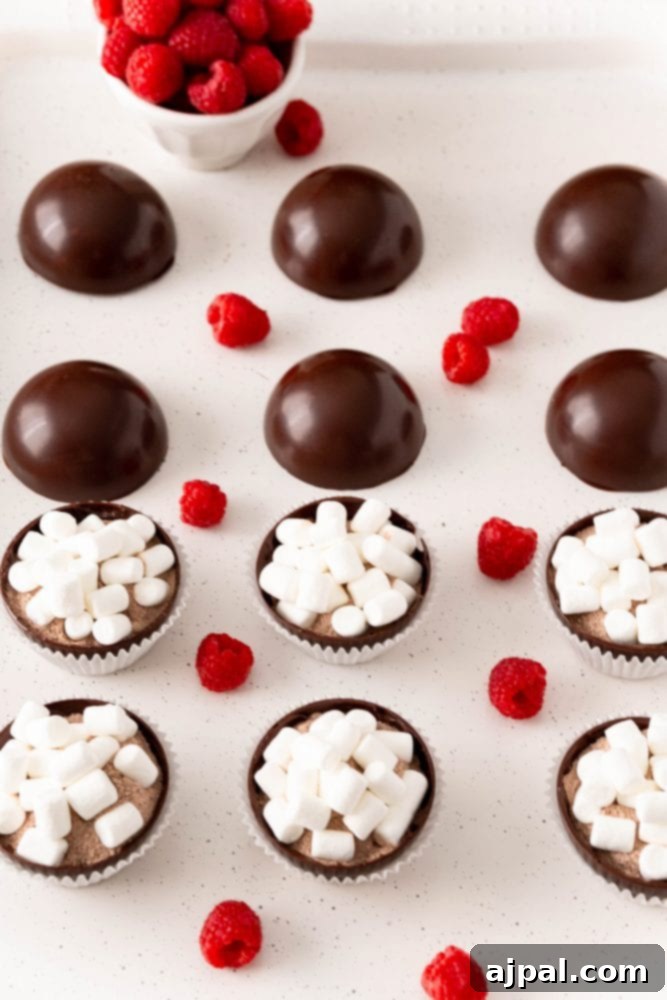
Step 4: Fill Your Raspberry Hot Chocolate Bombs
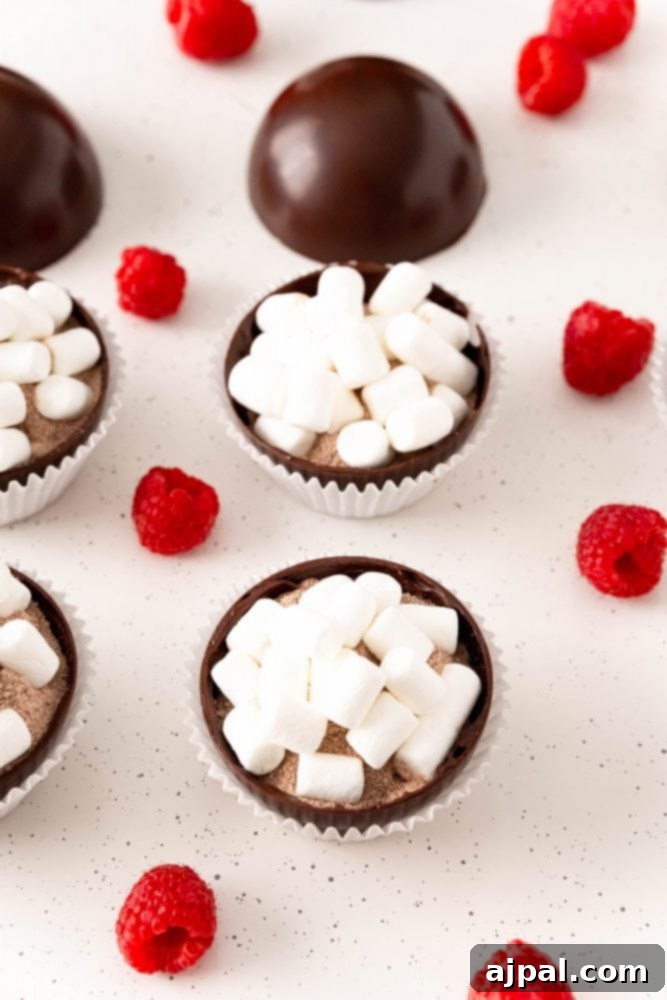
Once your chocolate shells are perfectly formed and tempered, it’s time for the exciting part – filling them! Place one hot chocolate bomb half into a standard-sized cupcake liner. This helps stabilize the shell and makes handling easier. Carefully pour the contents of one hot raspberry chocolate mix packet into the chocolate cup. Since each packet typically contains about 3 tablespoons of powder, this is a generous and flavorful filling. Add a handful of mini marshmallows on top of the cocoa mix. You can also add other fun surprises like chocolate chips, crushed freeze-dried raspberries, or a touch of cinnamon, if desired.
Step 5: Seal Your Hot Chocolate Bombs Together
Sealing the two halves of your hot chocolate bombs is a delicate but crucial step. There are several effective methods to “glue” them into perfect spheres:
Warm Plate Method: This is a popular technique for a smooth, seamless seal. Microwave a flat, ceramic plate for about 2 minutes until it’s comfortably warm to the touch. Wearing gloves, carefully pick up an unfilled chocolate half by its top edge. Gently press and swirl its rim onto the warm plate for just a few seconds until the chocolate edge slightly melts. Immediately place this melted edge onto a filled chocolate half and gently press them together to seal. Allow it to set, then wipe the plate clean and repeat for the remaining bombs. Be careful not to hold the warm plate with your gloved hand and then touch the spheres, as it can leave marks.
Spoon Chocolate Method: For a slightly more controlled approach, you can use residual melted chocolate. Spoon a small amount of freshly melted, tempered chocolate around the rim of a filled half-sphere. Then, carefully place an unfilled chocolate half on top, aligning the edges. Gently press down to seal, allowing the excess chocolate to create a neat join. Let them set completely on parchment paper.
Piped Chocolate Method: This method offers both sealing and decorative opportunities. Transfer a small amount of tempered chocolate into a piping bag fitted with a small round tip, or a freezer bag with a tiny corner snipped off. Pipe a thin, even line of chocolate around the rim of a filled cocoa bomb half. Carefully place the other half on top, pressing gently to seal. While the piped chocolate is still wet, you can immediately roll the middle seam in sprinkles for a beautifully decorated “equator” around your bomb.
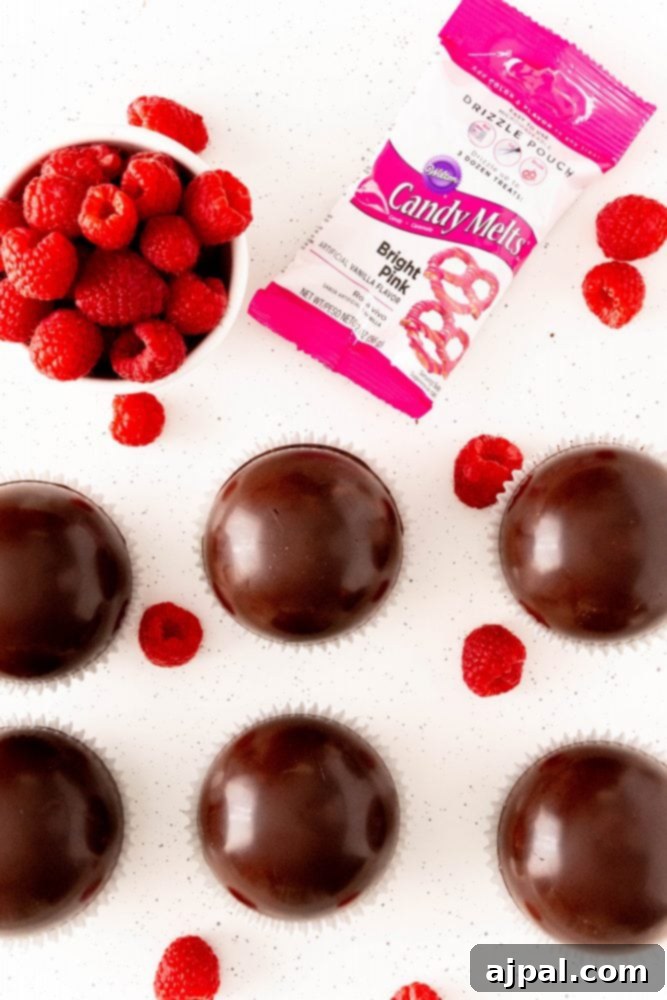
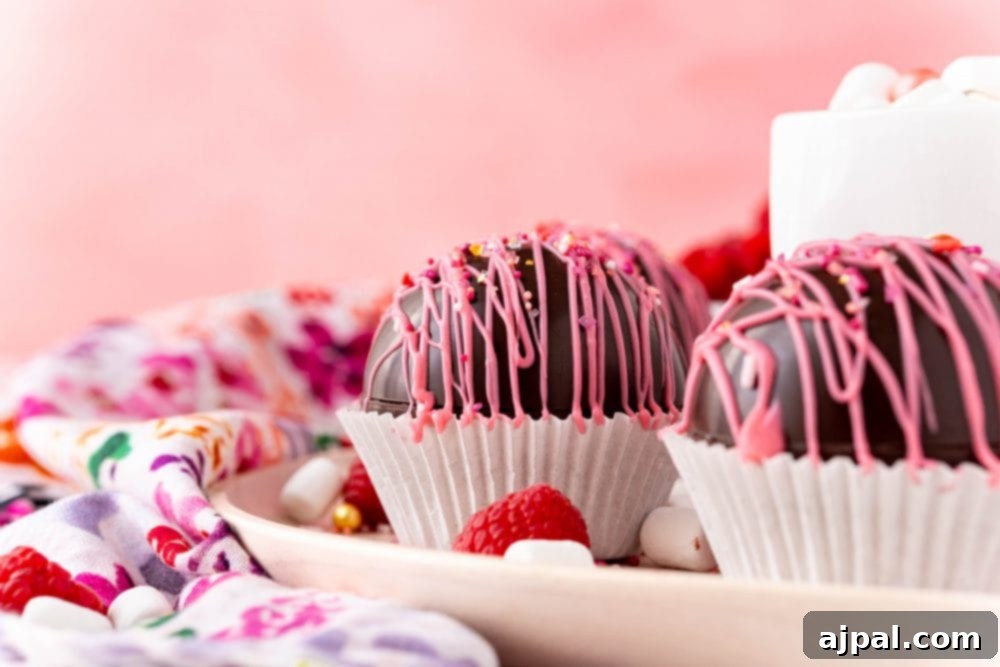
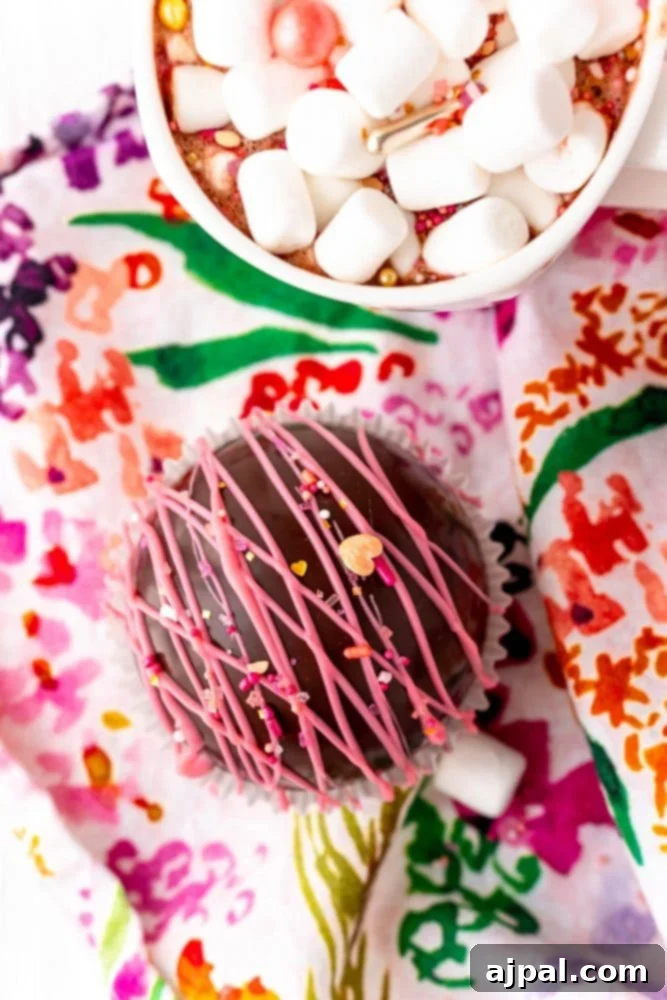
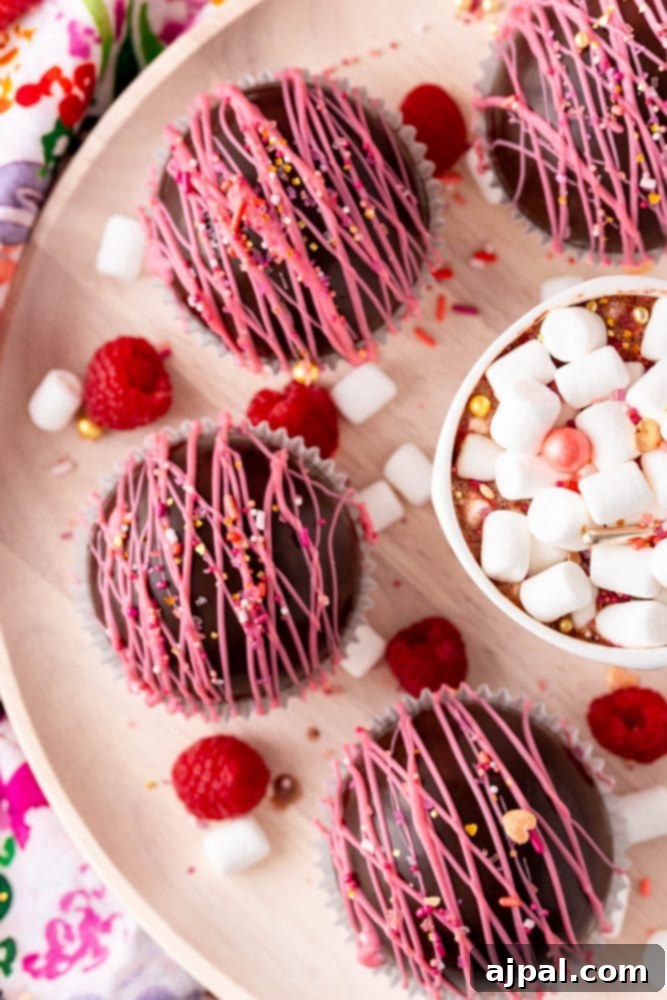
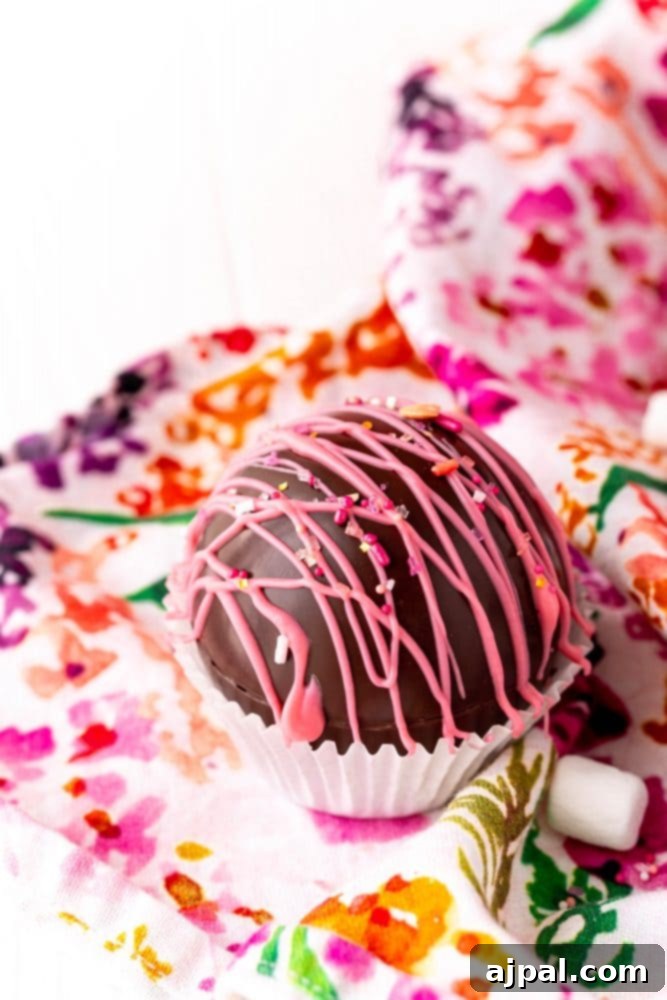
Allow your finished hot chocolate bombs to set for a few minutes until the chocolate is firm. For an extra touch, you can drizzle a bit more melted chocolate over the top and add a sprinkle of your favorite decorative elements. This adds a professional finish and makes each bomb uniquely beautiful.
How To Make Cocoa With Hot Chocolate Bombs
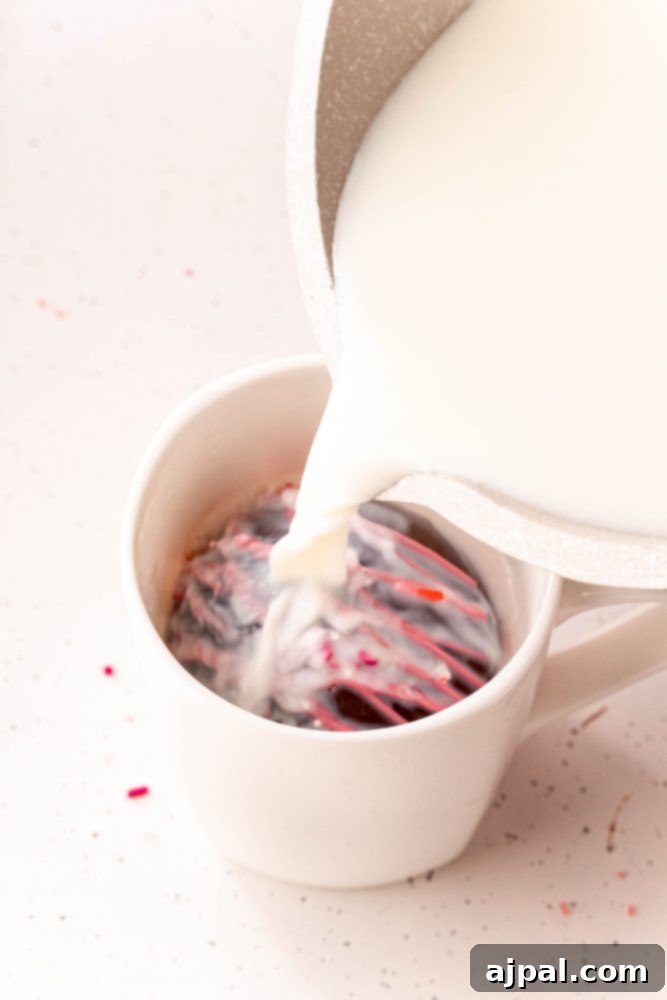
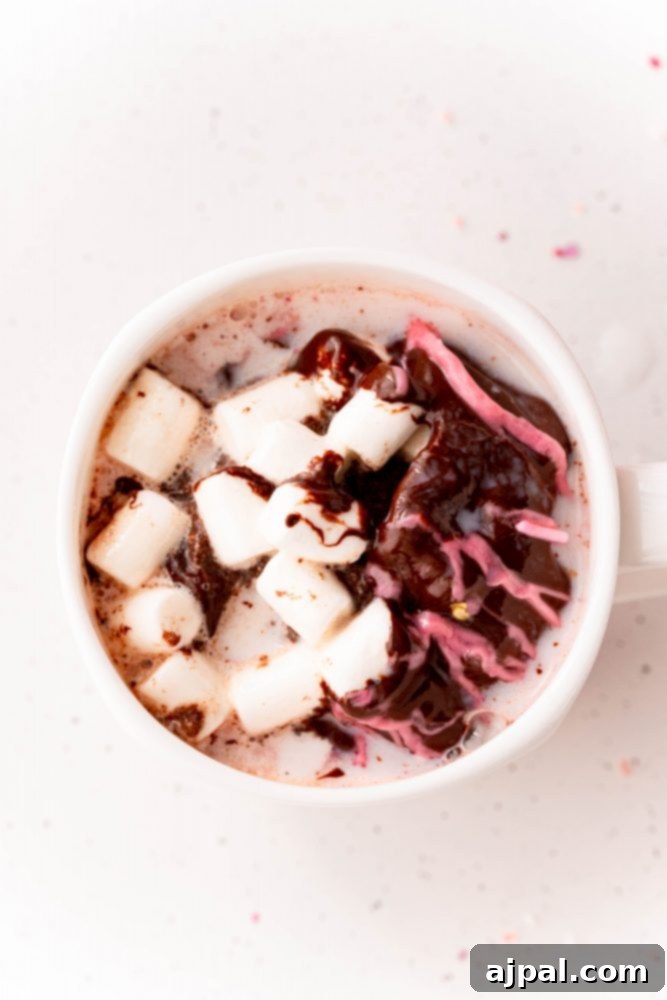
The magic truly happens when you transform your beautifully crafted hot chocolate bomb into a steaming cup of raspberry hot cocoa. To do this, simply heat 8 ounces of whole milk in a small saucepan over medium heat. Watch closely and remove it from the heat just as small bubbles begin to form around the edges – you don’t want it to boil vigorously.
Place one of your prepared raspberry hot chocolate bombs into a large, sturdy mug. Pour the hot milk directly over the bomb. As the warm liquid embraces the chocolate shell, it will slowly melt, allowing the cocoa mix, marshmallows, and sprinkles to emerge and swirl into the milk. Stir gently with a spoon until all the chocolate has dissolved and the ingredients are fully combined, creating a smooth, rich, and aromatic hot chocolate. While you can use water for a lighter version, we highly recommend whole milk for a truly velvety, well-balanced, and indulgent chocolate flavor experience.
Essential Tips and Tricks for Perfect Chocolate Bombs
Achieving flawless DIY hot cocoa bombs can be simple with these tried-and-true tips:
- Mastering Melted Chocolate:
- Finely Chop Your Chocolate: If you’re using chocolate bars, chop them very finely. Smaller pieces melt more quickly and evenly, which is crucial for successful tempering. A food processor or blender can achieve this perfectly.
- Gradual Melting: When melting chocolate, especially in the microwave, always do so in short intervals (15-30 seconds). Stir thoroughly after each interval. This prevents scorching and ensures even heat distribution. If a few stubborn pieces remain, continue stirring; the residual heat will often melt them without additional microwaving.
- Precision with a Thermometer: A quality instant-read kitchen thermometer is your best friend when tempering. It helps you hit and maintain the precise temperature ranges needed for different types of chocolate, ensuring a stable, shiny, and snappable finished product.
- Food Scale Accuracy: For best results, especially when using couverture chocolate, measure by weight using a food scale. This provides greater accuracy than volumetric measurements, contributing to consistent tempering.
- Crafting Perfect Chocolate Spheres:
- Silicone Mold Care: Silicone molds are excellent for their flexibility, making chocolate release easy. However, they can attract lint. Avoid drying them with a dishcloth; instead, air-dry them or pat them gently with a paper towel. While acrylic molds can also be used, silicone is often more forgiving for beginners.
- Don’t Rush the Layers: Applying two distinct layers of chocolate, with cooling time in between, is key. The first layer creates the initial shape, and the second reinforces the structure, especially the edges, making them less prone to cracking when assembled or handled.
- Spoon vs. Brush: While silicone brushes can offer control, a small rounded spoon often provides a better thickness for your chocolate shells in fewer coats, saving time and ensuring a robust bomb.
- The Importance of Real Chocolate:
- Avoid Candy Melts for the Shell: For the main shell of your hot chocolate bombs, always use real baking chocolate or couverture chocolate. Candy melts, despite their convenience, are not true chocolate. They lack cocoa butter and often contain other vegetable fats, which can result in a waxy texture, an inferior taste, and a less satisfying melt in your hot cocoa. While fine for decorative drizzles, they are not suitable for the bomb’s foundation.
- Choose Quality Cocoa: For the best flavor, select baking chocolate with a cocoa percentage between 55% and 80%. Critically, ensure “cocoa butter” is listed as one of the first ingredients. This signifies a higher quality chocolate that will melt smoothly and contribute richness to your drink.
- Flavor Enhancements and Variations:
- Add a Boozy Kick: For an adult twist, consider adding 2 ounces of your favorite alcohol to the hot milk before pouring it over the bomb, or even a tiny amount directly into the bomb’s filling. Vanilla or whipped cream flavored vodkas pair exceptionally well with raspberry hot chocolate, adding a sophisticated warmth.
- Customizable Fillings: Beyond marshmallows and cocoa, experiment with other fillings! Try mini chocolate chips, crushed peppermints, caramel bits, a pinch of chili powder for a spicy kick, or even a small amount of coffee powder for a mocha-raspberry experience.
- Gifting and Storage: These hot chocolate bombs make fantastic gifts! Package them individually in clear bags with a pretty ribbon. Store them in an airtight container at room temperature, away from direct sunlight, for up to 2-3 weeks. Avoid refrigeration, as it can cause chocolate bloom.
Frequently Asked Questions (FAQs)
While not strictly mandatory for the structural integrity of the bomb, wearing food-safe gloves is highly recommended. Gloves help prevent fingerprints, smudges, and streaks on your chocolate shells, ensuring a beautiful, shiny, and professional-looking finish. They also help maintain hygiene.
If your chocolate appears dull, chalky, or bends rather than snaps, it means it wasn’t tempered correctly. This usually happens if the chocolate overheated during melting or cooled too quickly without proper crystallization. Re-temper the chocolate by gently reheating it to the upper end of its melting temperature range (e.g., 115-120°F for dark chocolate), then bring it back down to its working temperature by stirring in more finely chopped untempered chocolate, or by using the seeding method (adding solid tempered chocolate to molten chocolate). Always use a thermometer!
Absolutely! Hot chocolate bombs are perfect for making in advance. Store them in an airtight container at cool room temperature, away from direct sunlight or heat sources. A pantry or cool cupboard is ideal. Avoid refrigerating them, as the humidity can cause condensation and sugar bloom (white spots) on the chocolate surface. Properly stored, they can last for 2-3 weeks.
Yes, this recipe is highly adaptable! While we love the raspberry flavor, feel free to experiment with other hot cocoa mixes like peppermint, salted caramel, or even a classic rich dark chocolate. You can also vary the sprinkles and marshmallows to match your chosen flavor profile.
Tools You’ll Need For Hot Chocolate Bombs
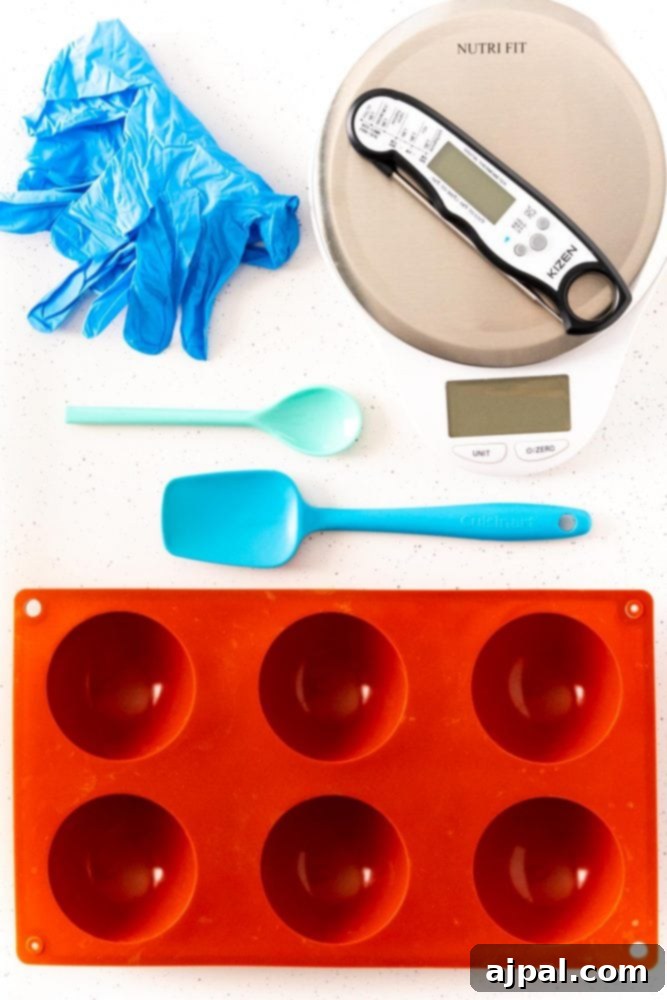
To embark on your raspberry hot chocolate bomb making journey, gather these essential tools:
- Couverture or High-Quality Baking Chocolate: Essential for the best texture and shine.
- Silicone Sphere Molds: Key for shaping your bombs.
- Instant-Read Kitchen Thermometer: Crucial for accurate chocolate tempering.
- Nitrile Food Prep Gloves: To prevent fingerprints and maintain a professional finish.
- Food Scale: For precise measurement of chocolate.
- Small Rounded Spoon or Clean Food Paintbrush: For spreading chocolate in molds.
- Rubber Spatula: For stirring and scraping chocolate.
- Medium Microwave-Safe Bowl: For melting chocolate.
- Small Baking Sheet: For transporting molds to and from the refrigerator/freezer.
- Cupcake Liners (optional): To hold bomb halves while filling and assembling.
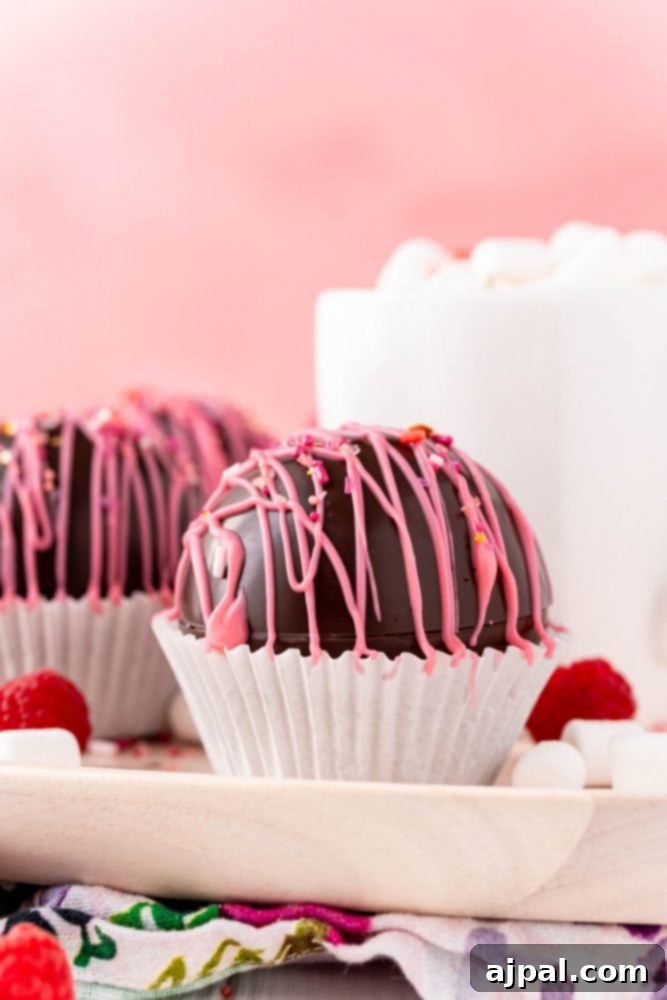
If you loved creating and enjoying this easy Raspberry Hot Chocolate Bombs recipe, please consider leaving a five-star rating and a comment below! Your feedback means the world to us. Don’t forget to share your beautiful creations on Instagram, Facebook, and Pinterest, tagging @sweetcsdesigns so we can see your fantastic work!
Share on Facebook
Share
Pin this now to find it later
Pin It
Follow on Instagram
Follow
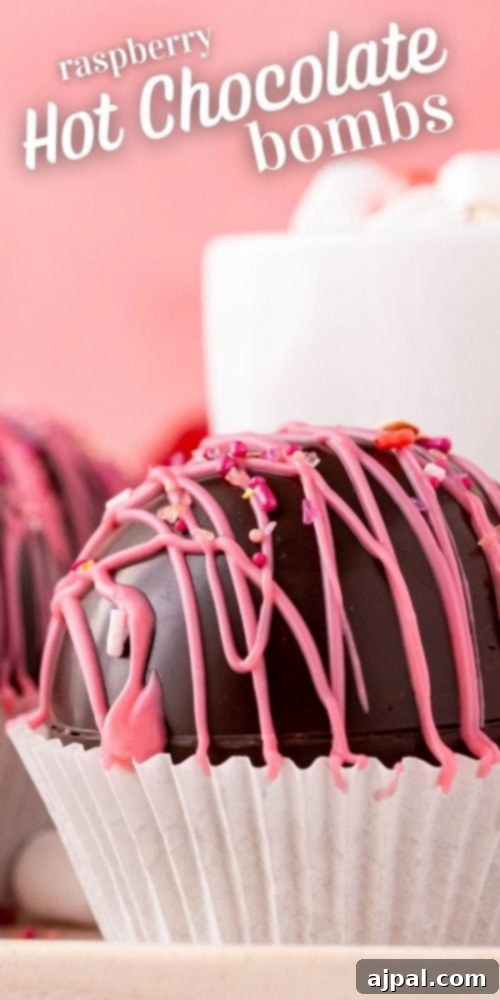
Only have 30 minutes to get dinner on the table? Sign up for my 30 minute dinner plans direct to your inbox!
Find and shop my favorite products in my Amazon storefront here!
Raspberry Hot Chocolate Bombs
Equipment
-
Hot Chocolate Cocoa Bomb Molds Silicone 2 Inch 4 Pack, Semi Ball Mould 6 cavity Large Circular Tray, BPA Free Non-Stick Half Sphere Holiday Valentine DIY Cake Jelly Dome Mousse
-
Land O Lakes Cocoa Classics Raspberry Cocoa Mix Pouch, 14.8 Ounce (Pack of 1)
-
Cordillera | Milk Chocolate Couverture | Cacao 32% | 2.2 Lb, Pack of 1 | Latin America Chocolate | Real & Sustainable Chocolate | High Fludity
Ingredients
- 12 ounces Ghirardelli baking chocolate, finely chopped
- 6 hot raspberry chocolate mix packets
- Mini marshmallows
- Sprinkles, optional
- 8 ounces whole milk, for serving
Instructions
-
Add 5 ounces of finely chopped chocolate to a medium, microwave-safe bowl. Microwave for 30 seconds, then remove and stir. Continue microwaving at 15-second intervals, stirring fully and scraping the sides of the bowl with a rubber spatula between each one, until almost completely melted. Continue to stir so that the residual heat melts any unmelted pieces. Check the temperature to ensure it reads between 88°F and 90°F. If it goes over 90°F, stir in an additional ounce of chocolate until melted to bring it back down to the target range. (If using two molds, you can start with 10 ounces then add in 2 ounces if needed. Avoid letting chocolate sit too long if you only have one mold.) Proper tempering ensures a shiny, non-chalky finish.
-
Spoon about 1 tablespoon of melted chocolate into each cavity of your silicone mold. Use the back of the spoon to spread it evenly around, making sure to coat all the way to the top of the rim without leaving exposed areas. Place the mold on a small baking sheet and refrigerate for 5 minutes.
-
Remove from the refrigerator and spoon another heaping spoonful of chocolate into the molds one at a time (working quickly so the chocolate doesn’t cool and thicken too fast). Use the back of the spoon to spread this second layer, building up the edges around the rim for extra strength. Freeze for 10 minutes.
-
Remove from the freezer. Wear food-safe gloves to gently remove the chocolate shells from the molds, preventing fingerprints. Repeat steps 1-4 if using a single mold to create enough halves.
-
Once all shells are made, microwave a flat plate for 2 minutes to warm it. Using a gloved hand, take 6 of the 12 chocolate halves one at a time and gently melt the rim on the warm plate, spinning slightly to smooth the edges. Place each melted half, round side down, into a regular-sized cupcake liner on your work surface. Wipe the plate clean.
-
Fill each of the 6 chocolate cavities with one packet of hot raspberry cocoa mix and a generous amount of mini marshmallows.
-
Reheat the plate for another 2 minutes. Repeat the melting process with the remaining 6 chocolate halves, then carefully place them on top of the cocoa-filled halves. Gently press to seal them together into complete spheres.
-
Let the assembled hot chocolate bombs set for a few minutes. If desired, drizzle with a bit more melted chocolate and add sprinkles for decoration.
-
To enjoy, heat 8 ounces of whole milk in a small saucepan over medium heat until small bubbles appear around the edges. Place one hot chocolate bomb in a large mug and pour the hot milk over it. Stir until the chocolate has completely melted and the ingredients are mixed. Enjoy!
Nutrition
Nutrition information is automatically calculated, so should only be used as an approximation.