
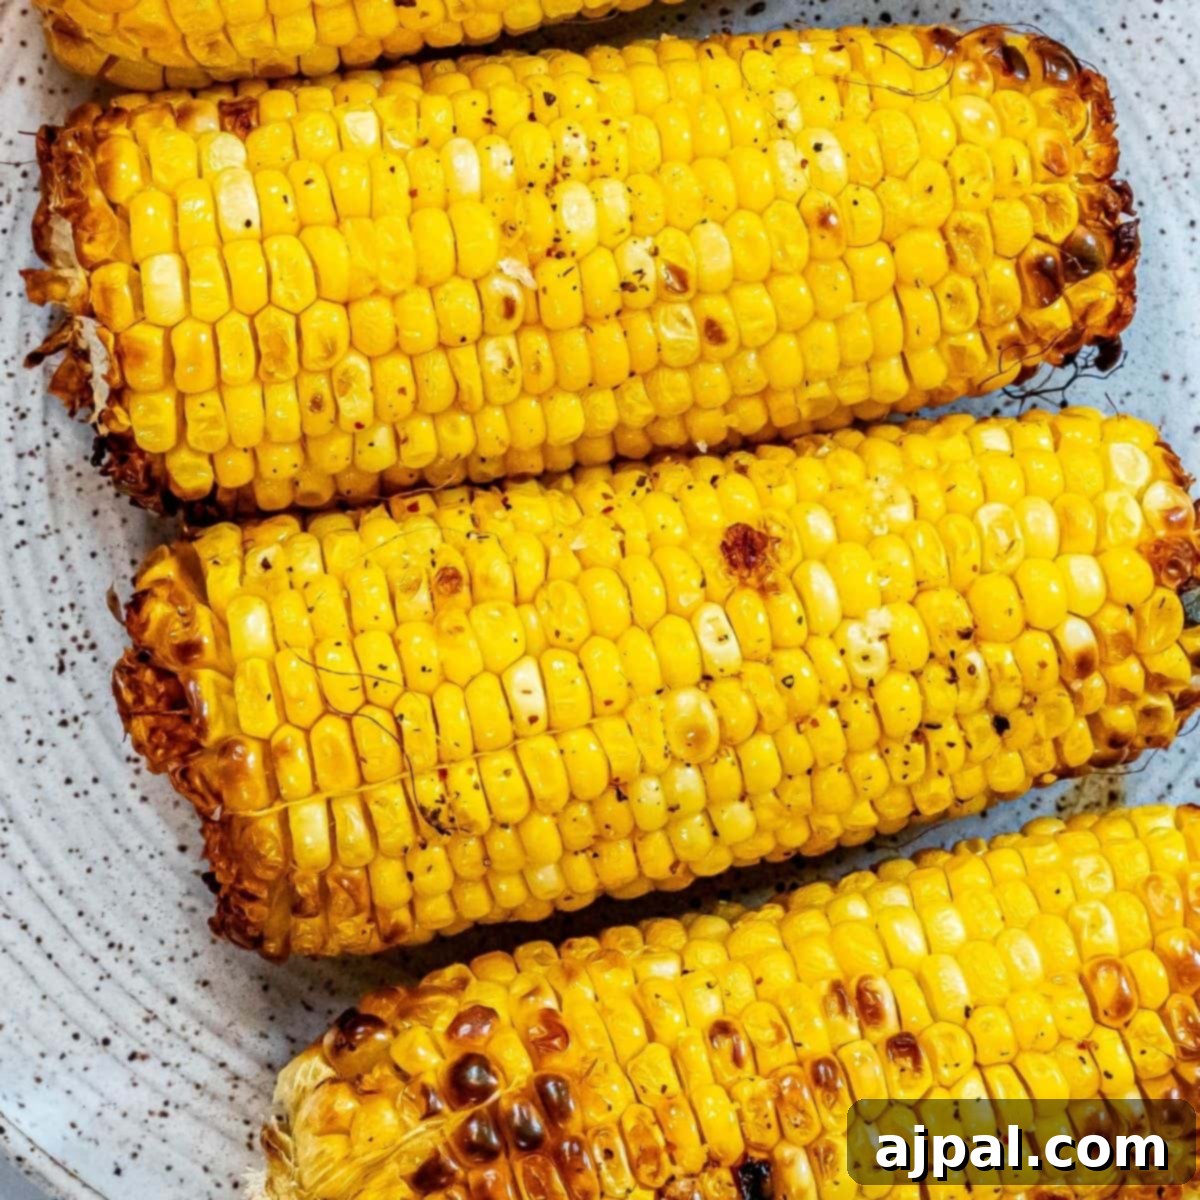
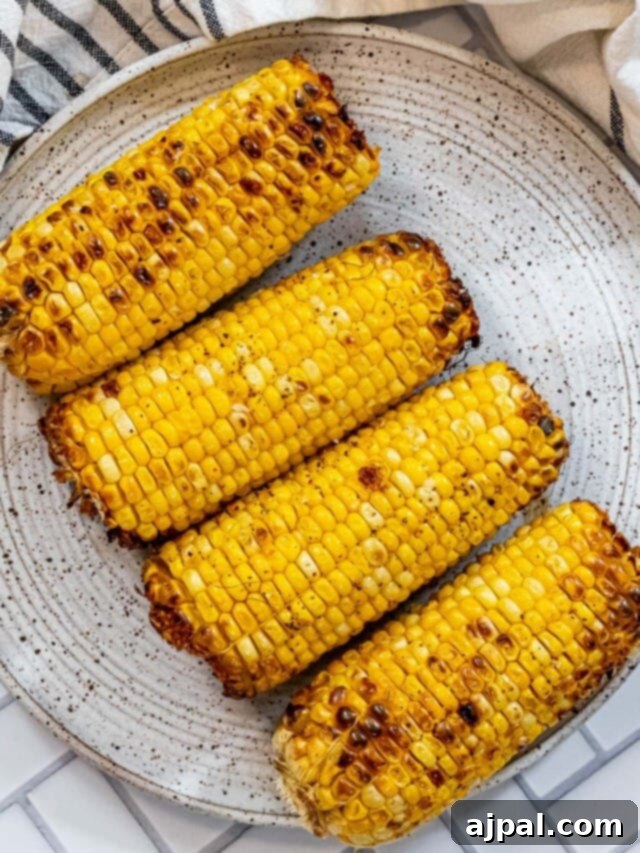
Unlock the secret to perfectly grilled corn on the cob every single time, without the hassle of pre-boiling! This comprehensive guide reveals the best foolproof method to achieve tender, sweet, and wonderfully charred kernels, ideal for your next cookout, BBQ party, or any casual summer gathering. Prepare to impress your guests with minimal effort and maximum flavor.
We’ve experimented with countless techniques for grilling corn, and through trial and error, we’ve discovered the ultimate approach that yields consistently outstanding results. This method creates the perfect base for popular dishes like Mexican street corn (Elote), adds a delightful crunch to fresh salads, and enhances any meal with its irresistible sweetness and smoky char.
As a home cook without formal training, my passion lies in empowering others in the kitchen. That’s why I strive to include extensive tips and explanations in all my recipes. My goal is to help you understand not just ‘how’ but ‘why’ each step and ingredient contributes to the final delicious outcome. You’ll gain the confidence to recreate these dishes, transforming even the most novice cook into a kitchen maestro.
Table of Contents
- Introduction: Master the Art of Grilled Corn
- Why This Method Reigns Supreme: No Pre-Boiling, Pure Flavor
- Gather Your Essentials: Simple Ingredients, Incredible Taste
- Step-by-Step Guide: Grilling Corn to Perfection
- Pro Tips for Grilled Corn Excellence
- Husks On or Off? Your Guide to Smoky Flavor or Perfect Char
- Mastering the Grill: Preventing Stickiness and Achieving Even Cooking
- How to Tell When Your Grilled Corn is Perfectly Done
- Elevate Your Corn: Creative Flavor Variations
- Storage and Reheating Tips for Leftover Grilled Corn
- Frequently Asked Questions About Grilled Corn
- Beyond the Cob: Delicious Pairings for Your Grilled Corn
- Conclusion: Your Go-To Grilled Corn Recipe
Introduction: Master the Art of Grilled Corn
There’s something uniquely satisfying about grilled corn on the cob. The sweet kernels, kissed by flame, develop a delightful smoky flavor and a tender bite that is simply unparalleled. It’s a quintessential summer side dish, evoking memories of backyard barbecues, festive picnics, and long, sunny days. However, achieving that perfect balance of tenderness, sweetness, and char can sometimes feel like a culinary challenge. Many recipes call for pre-boiling, soaking, or various other steps that add unnecessary time and effort, often diluting the corn’s natural flavor.
Forget everything you thought you knew about grilling corn. This guide introduces a revolutionary, foolproof method that eliminates pre-boiling and delivers consistently perfect results. Our technique focuses on a longer, gentler grilling process in foil, which steams the corn to juicy perfection while allowing the natural sugars to caramelize, creating a tender texture without becoming dry or rubbery. Whether you’re a grilling novice or a seasoned pitmaster, you’ll discover how simple it is to elevate your corn game with this easy-to-follow recipe.
Why This Method Reigns Supreme: No Pre-Boiling, Pure Flavor
The secret to our award-winning grilled corn lies in its simplicity and efficiency. Unlike methods that involve boiling or soaking, which can leach out essential flavors and nutrients, our technique locks in the corn’s natural sweetness and moisture. By wrapping the corn tightly in foil, we create a mini-steaming environment on the grill, ensuring each kernel becomes incredibly tender and succulent. The gentle, consistent heat of the grill then works its magic, allowing the corn’s sugars to caramelize, resulting in a slightly sweet, smoky char that adds depth and complexity.
This method not only saves you time and effort by skipping the pre-boiling step but also produces corn that is surprisingly soft and easy to eat, especially for children. The kernels become less stringy and don’t get stuck in your teeth as often, providing a more enjoyable eating experience. It’s an adaptable base too; once you master this foolproof technique, you can easily customize your grilled corn with various seasonings and toppings to suit any palate or occasion. From a simple buttery finish to a spicy, tangy street corn creation, the possibilities are endless. Prepare to make this your go-to recipe for grilled corn on the cob.
Gather Your Essentials: Simple Ingredients, Incredible Taste
Crafting the best grilled corn on the cob requires only a handful of fresh ingredients. The beauty of this recipe lies in how these simple components come together to highlight the corn’s natural deliciousness.
Grilled Corn on the Cob Ingredients
- Fresh Corn (4 ears): The foundation of our dish. While some prefer to grill with husks on for a smoky flavor, we achieve the best results by removing them entirely for direct seasoning and char. Regardless of your husk preference, ensure all corn silks (the long, silky “hair” inside the husks) are meticulously removed, as they can be unpleasant to eat. Look for plump, bright green husks and moist, firm kernels.
- Soft Butter or Olive Oil (4 tablespoons): Butter is our top choice for its rich, savory depth, which beautifully complements corn’s sweetness. However, if you prefer a dairy-free option or a lighter flavor, a good quality olive oil or another preferred cooking oil will work wonderfully. Ensure butter is softened to room temperature for easy, even application.
- Sea Salt and Freshly Ground Black Pepper (approx. 1/2 – 1/4 teaspoon per ear): Seasoning is crucial! You might find you need a bit more salt and pepper than initially expected, as some will inevitably fall off due to the corn’s cylindrical shape. Don’t shy away from generous seasoning; it enhances the corn’s natural flavors significantly. Adjust to your personal preference.
- Heavy-Duty Aluminum Foil (4 large squares): This is your secret weapon for preventing sticking and ensuring perfectly tender corn. Each ear will be individually wrapped, creating a sealed pouch that steams the corn while it grills, keeping it moist and allowing for even cooking without direct contact with the grates.
Step-by-Step Guide: Grilling Corn to Perfection
Follow these simple steps for perfectly grilled corn every time. This method ensures tender, flavorful corn with just the right amount of char.
The Foolproof Grilled Corn on the Cob Method
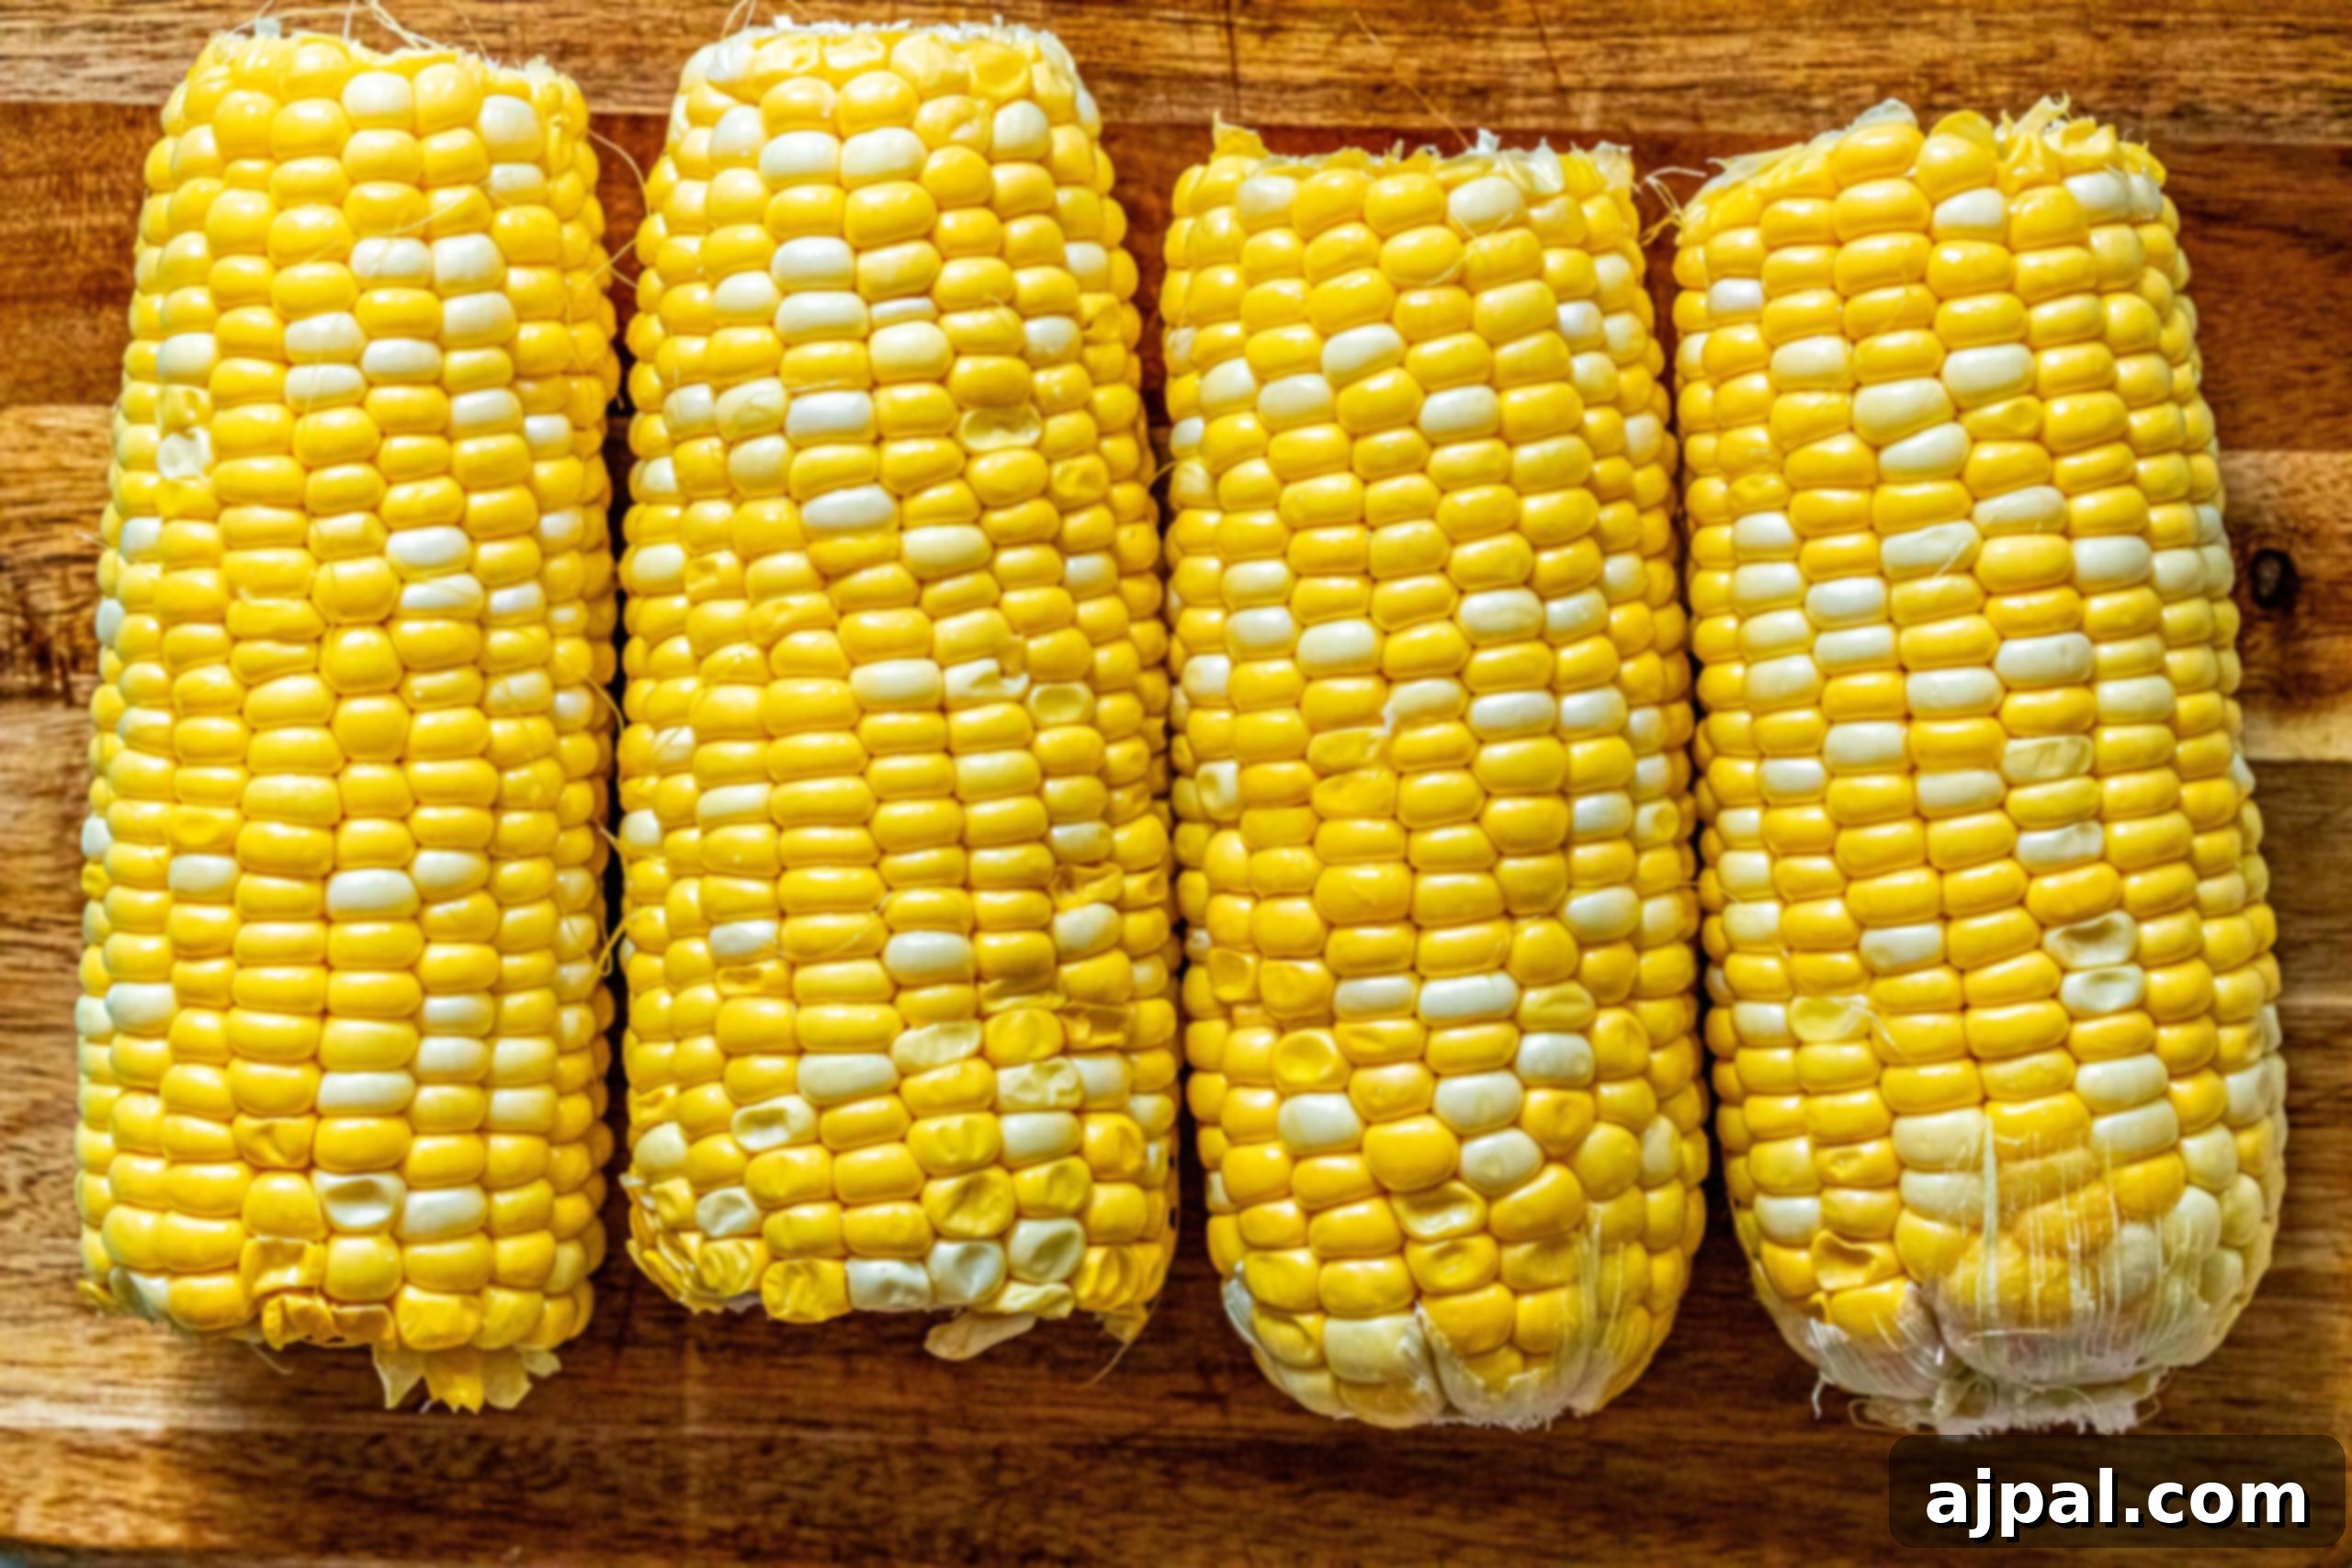
Step 1: Preheat Your Grill
Begin by preheating your grill to a consistent 450°F (or high heat if using a gas grill). Achieving the correct initial temperature is key for efficient cooking. Ensure your grill grates are clean to prevent sticking later on, even with the foil.
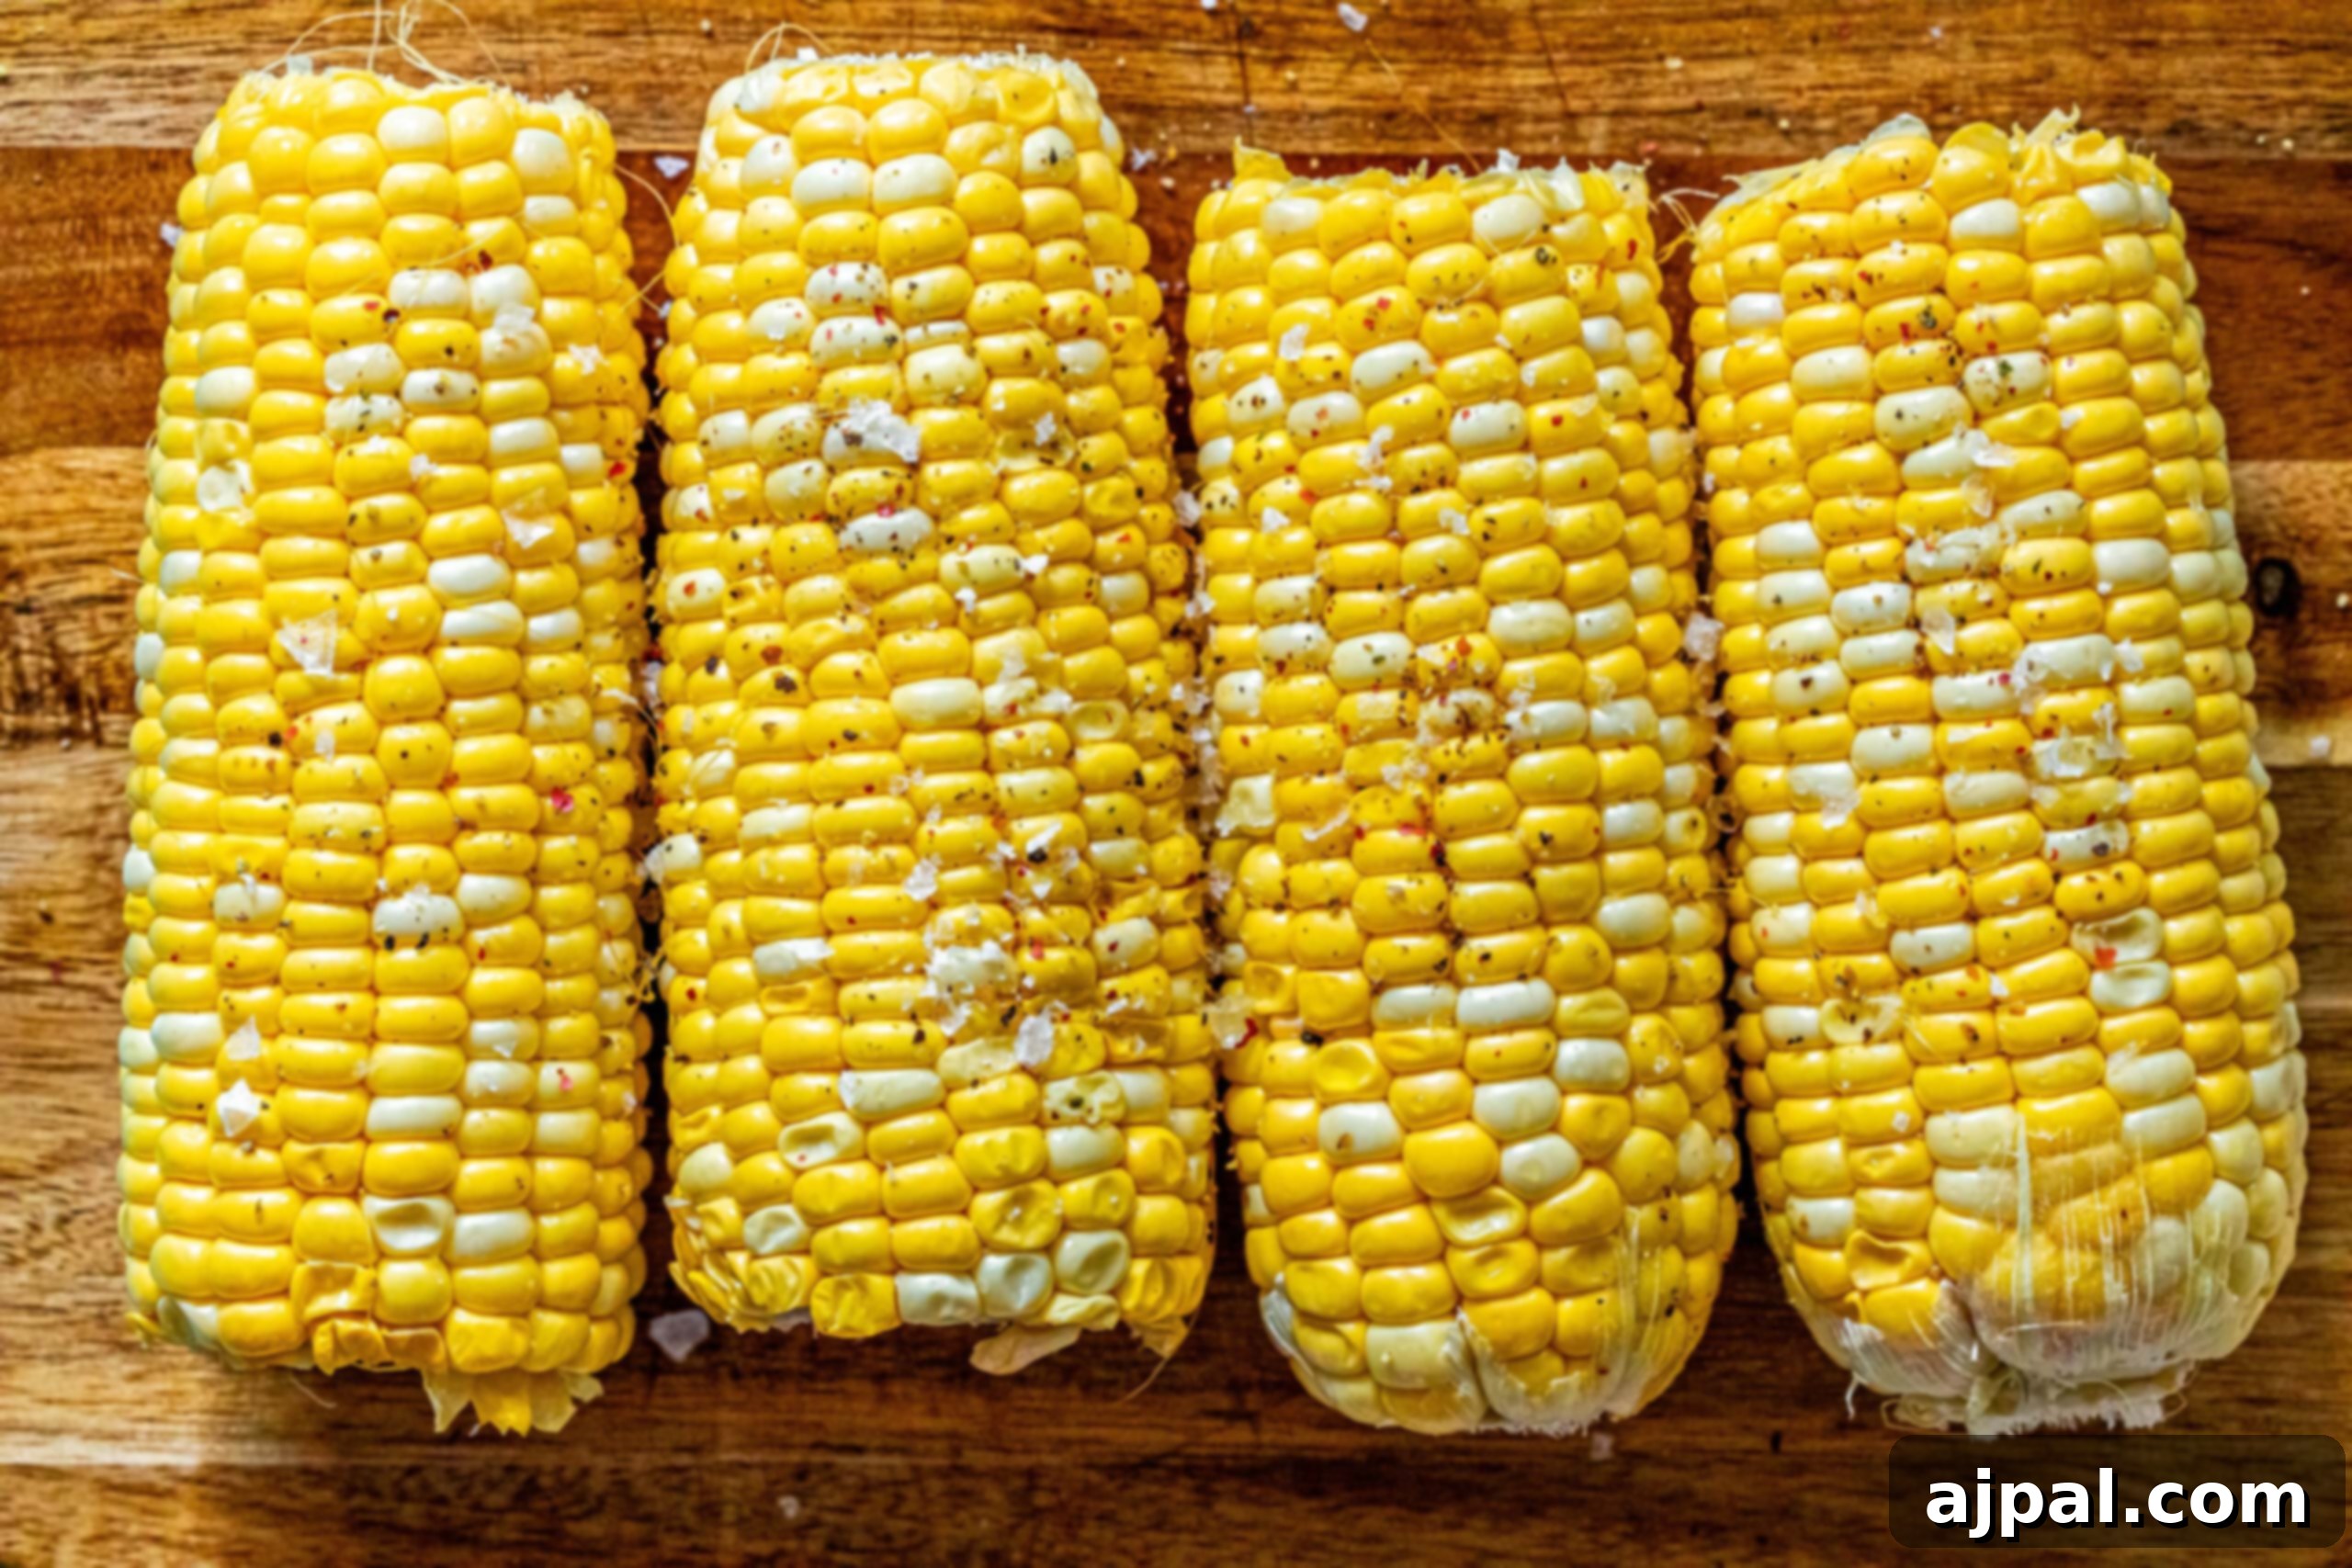
Step 2: Prepare and Season the Corn
Carefully de-husk each ear of corn, peeling back all layers and meticulously removing every strand of silk. Once cleaned, pat each cob thoroughly dry with paper towels. This crucial step removes excess moisture, helping the butter and seasonings adhere better and preventing the corn from becoming soggy. Now, generously coat each ear of corn with your softened butter or olive oil. Don’t be shy – the fat is essential for flavor and moisture. Finish by seasoning each cob generously with sea salt and freshly ground black pepper to your liking.
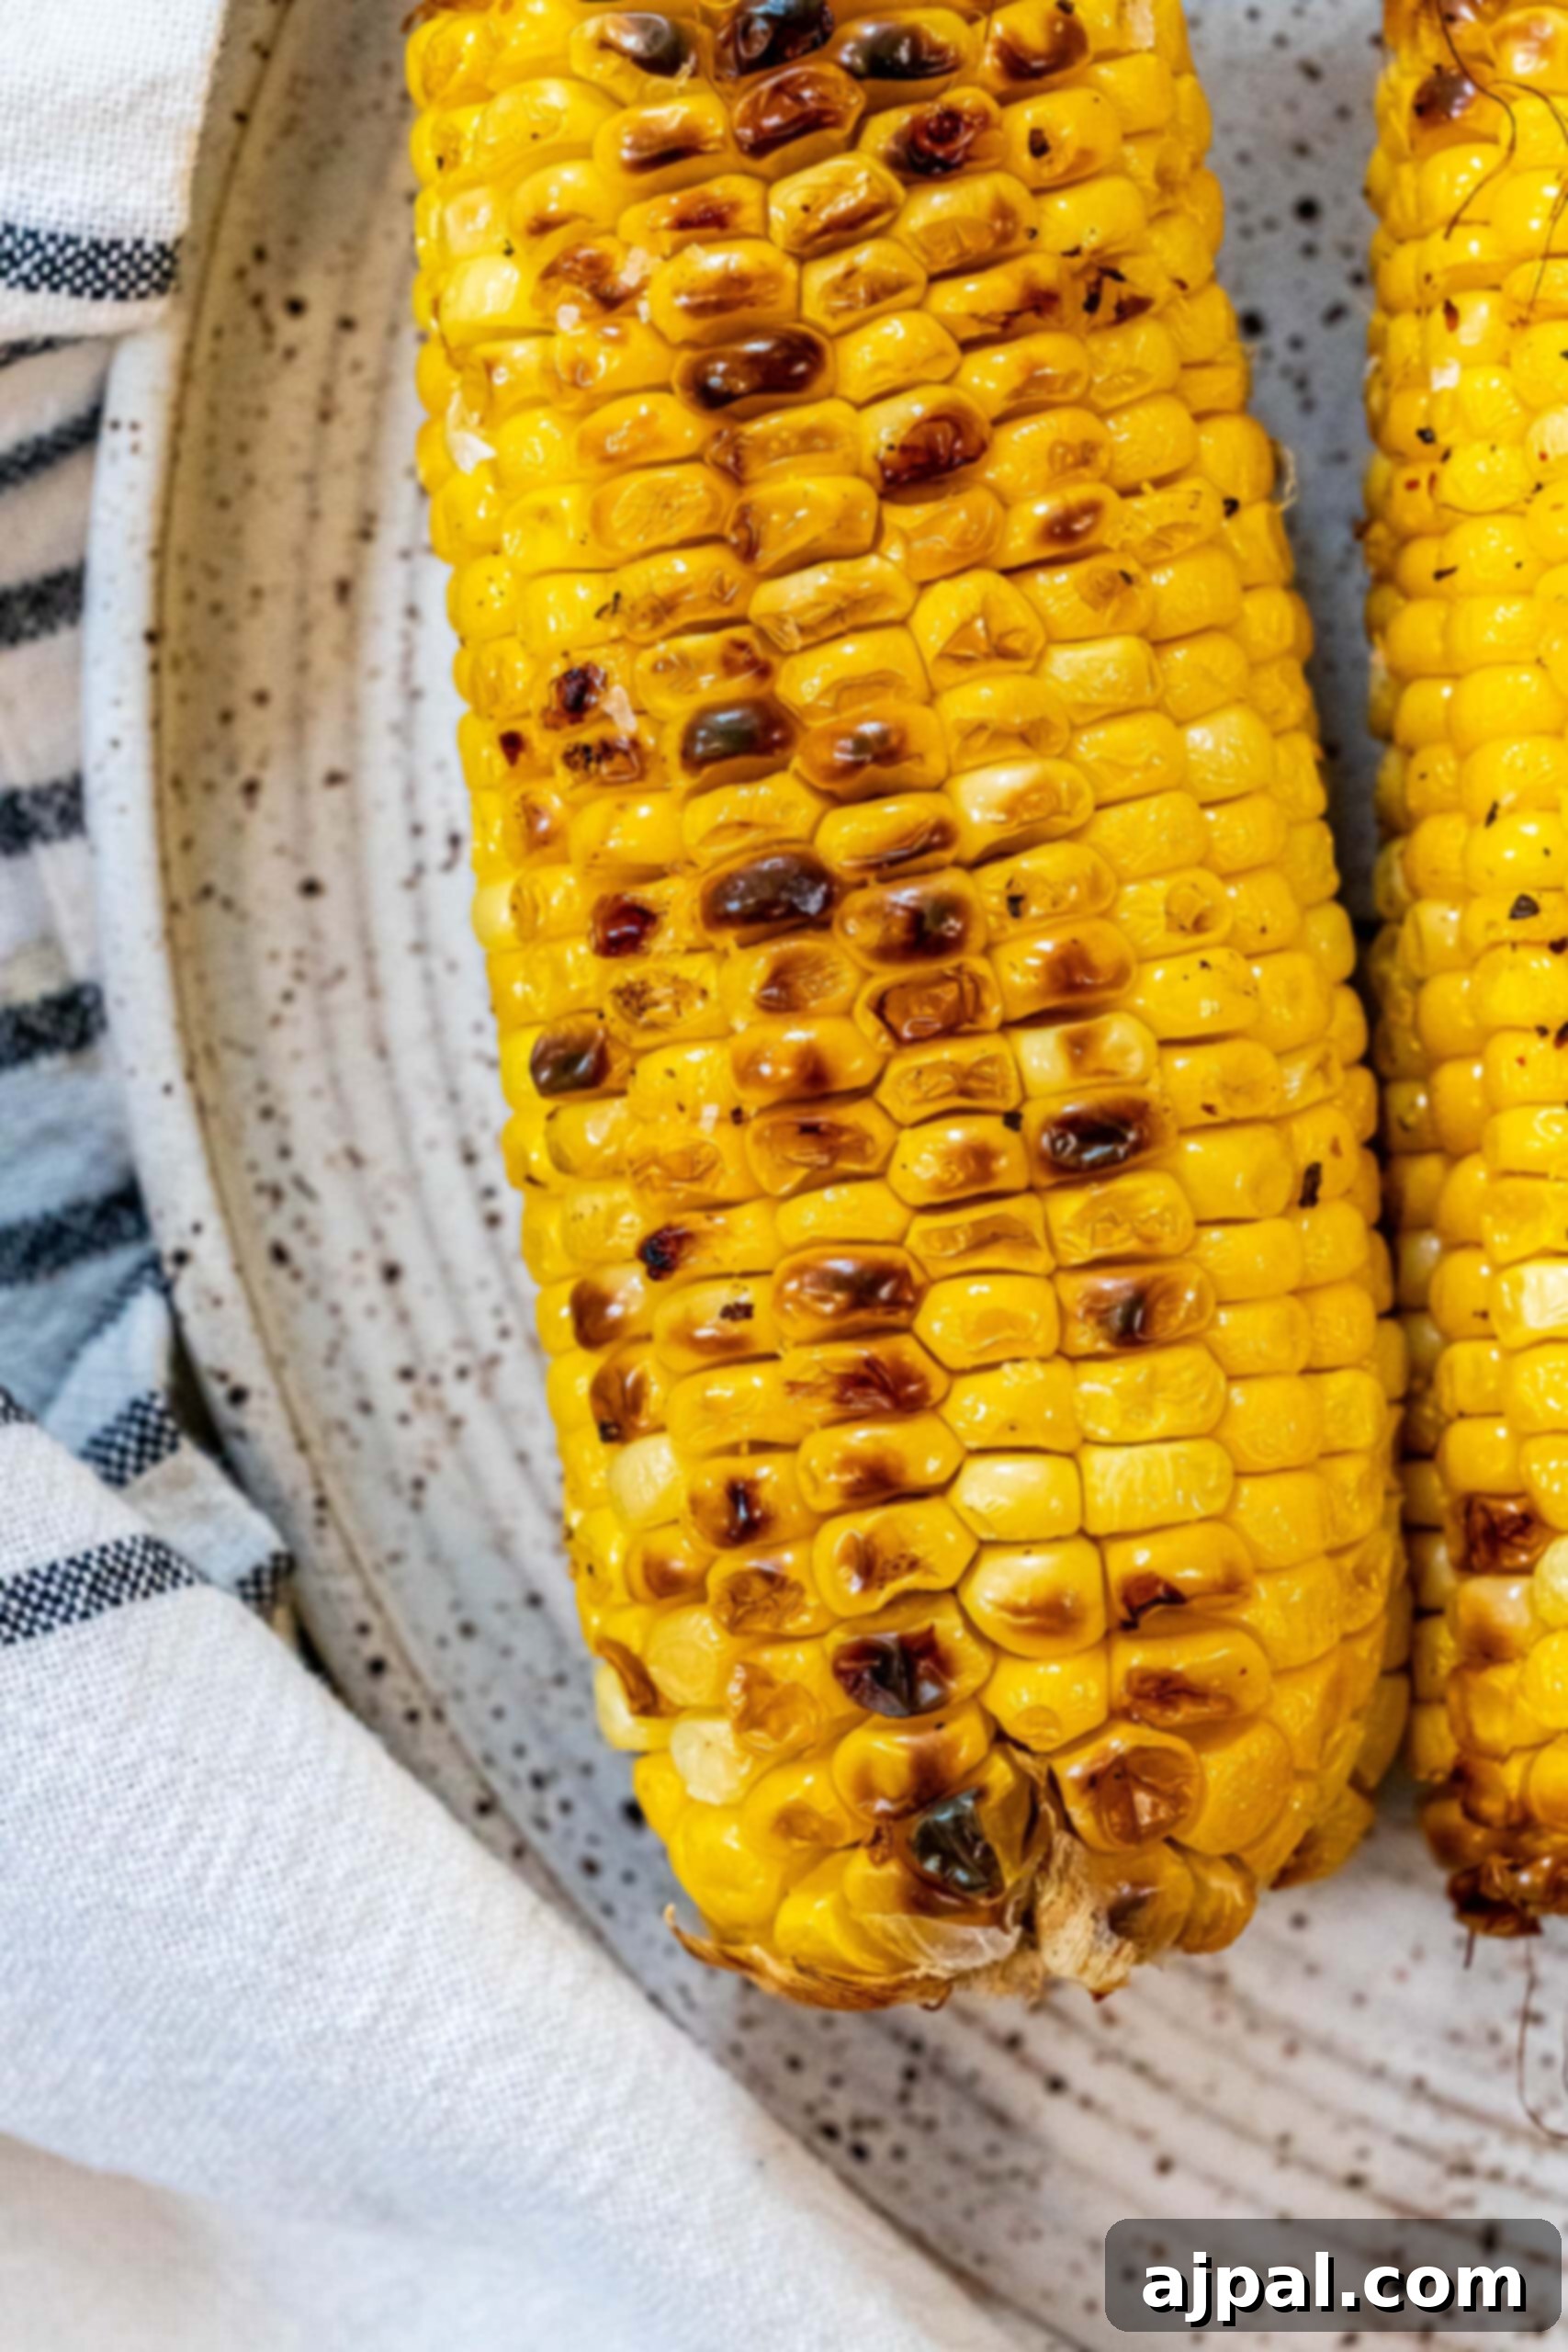
Step 3: Wrap and Grill to Golden Perfection
Individually wrap each seasoned ear of corn tightly in a large square of heavy-duty aluminum foil, ensuring it forms a sealed pouch. Place the foil-wrapped corn cobs on the top rack of your preheated grill. Grill for approximately 45 minutes, making sure to turn the cobs every 10 minutes. This regular rotation ensures even cooking and allows the corn to gently steam and caramelize on all sides within its foil packet, developing a sweet, smoky flavor and tender texture.
Step 4: Rest and Serve
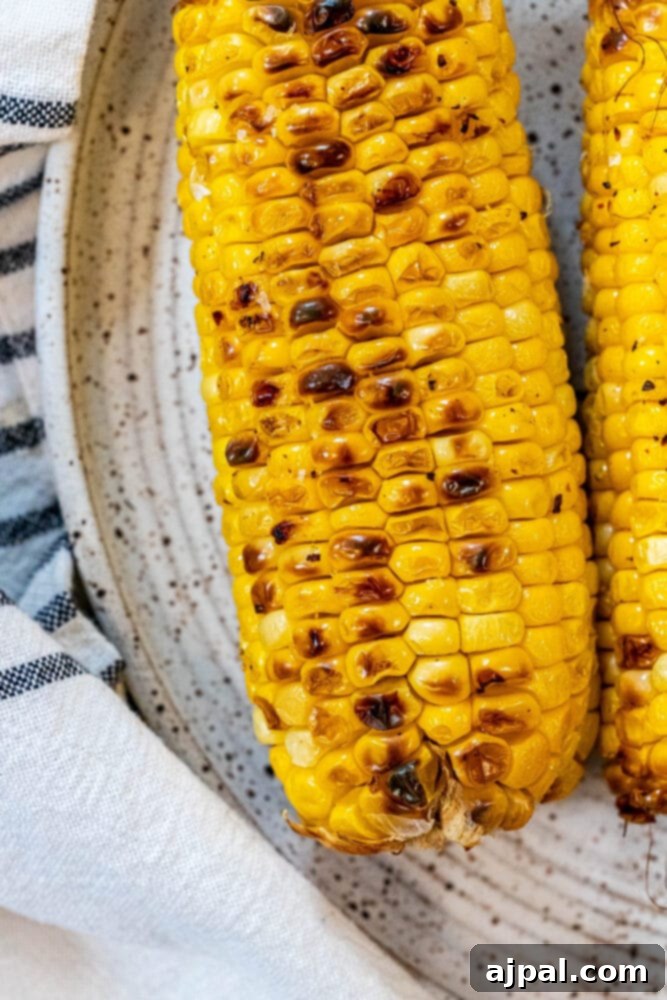
The corn is done when the kernels appear lightly charred (if any bits peeked out), are slightly wrinkled, and feel tender when gently squeezed or pierced with a fork. Carefully remove the foil-wrapped corn from the grill. Let them rest in their foil pouches for 5-10 minutes before unwrapping and serving. This resting period allows the residual heat to continue cooking the corn gently, ensures maximum tenderness, and allows the flavors to meld beautifully. Serve hot and enjoy your perfectly grilled corn!
Pro Tips for Grilled Corn Excellence
Achieving perfectly grilled corn is an art, but these tips and tricks will make you a master. From choosing between husks-on or husks-off to clever flavor combinations, elevate your grilled corn game with these expert insights.
Husks On or Off? Your Guide to Smoky Flavor or Perfect Char
The decision of whether to grill corn with the husks on or off can significantly impact its flavor and texture. Removing husks before grilling allows for direct seasoning and charring, which means you can achieve those beautiful golden-brown spots and infuse flavors directly into the kernels. However, it also makes the corn more susceptible to burning and sticking. This is where our foil method shines: it protects the corn while still allowing flavor infusion.
If you’re craving a more pronounced smoky flavor, consider grilling with the husks on, but with a slight modification. First, pull back the husks but do not remove them. Strip off all the silks, then re-wrap the husks around the corn. You can even soak the husks in water for 15-30 minutes beforehand to prevent them from burning too quickly and to create more steam. This method still steams the corn, but the husks impart an earthy, smoky essence. Alternatively, if you’re using a gas grill and want that smoky depth without directly charring the corn, remove the husks entirely as per our recipe, then place a few spare corn husks directly on the grill grates alongside your foil-wrapped corn. The charring husks will release a natural smoky aroma that will subtly flavor your cooking corn, without the mess or risk of burning the kernels themselves.
Mastering the Grill: Preventing Stickiness and Achieving Even Cooking
Nothing is more frustrating than having your delicious corn stick to the grill grates. Our foolproof method with foil largely eliminates this concern, but here are additional considerations for ensuring a perfectly non-stick experience and even cooking. Firstly, the generous application of butter or olive oil is paramount. This not only imbues the corn with rich flavor but also creates a protective barrier, encouraging caramelization rather than sticking. Don’t skimp on the fat!
Even when using foil, ensuring your grill grates are clean and lightly oiled can provide an extra layer of protection, especially if you plan to unwrap the corn for a final char. For truly mess-free grilling and consistent results, the foil pouch is your best friend. It encases the corn, preventing direct contact with the grates, which in turn prevents burning and sticking. Furthermore, turning the foil-wrapped corn cobs every 10 minutes is critical for even cooking. This consistent rotation ensures that all sides of the corn receive uniform heat, leading to uniformly tender kernels throughout.
How to Tell When Your Grilled Corn is Perfectly Done
Determining when grilled corn is perfectly cooked is crucial for optimal taste and texture. Our method, with its longer grilling time, ensures deep tenderness. Here are the key indicators:
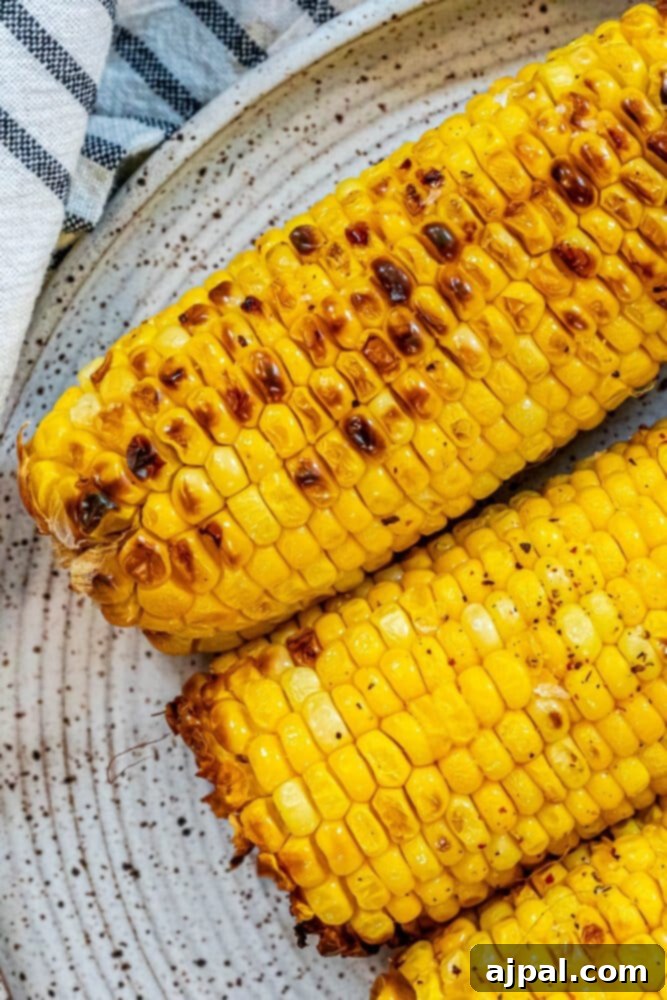
- Visual Cues: Look for kernels that appear slightly wrinkled, indicating they’ve softened and released some moisture. If you carefully peel back a corner of the foil, you might also see a light golden char on some kernels, a sign of delicious caramelization.
- Tactile Test: Gently squeeze the cob (through the foil or carefully unwrapped). It should feel soft and yield slightly under pressure, rather than being firm or hard.
- Taste Test: The most definitive method! Carefully unwrapping one ear and biting into a kernel will tell you immediately if it’s reached that sweet, tender perfection. It should be hot, juicy, and burst with flavor, without being tough or raw.
Avoid overcooking, which can lead to dry, chewy kernels. The ideal doneness is achieved when the corn is tender and sweet, just before the kernels begin to wilt excessively or pop open from dehydration.
Elevate Your Corn: Creative Flavor Variations
While classic butter, salt, and pepper are undeniably delicious, grilled corn is a fantastic canvas for adventurous flavors. Once you’ve mastered the basic grilling technique, consider these exciting variations:
- Classic Butter & Herb: After grilling, slather with more softened butter mixed with fresh chopped parsley, chives, or cilantro. A squeeze of lime juice adds a bright finish.
- Mexican Street Corn (Elote-inspired): After unwrapping, spread with a mixture of mayonnaise, sour cream (or Mexican crema), crumbled cotija cheese, chili powder, and a generous squeeze of lime juice.
- Spicy Sriracha Lime: Whisk together softened butter with sriracha, lime zest, and a touch of garlic powder before coating the corn. The heat and tang are irresistible.
- Garlic Parmesan: Mix softened butter with minced garlic, grated Parmesan cheese, and a pinch of dried oregano or basil. This savory combination is a crowd-pleaser.
- Smoky Paprika & Chili: Combine softened butter with smoked paprika, chili powder, and a dash of cayenne pepper for a robust, smoky kick.
Experiment with different spice blends, fresh herbs, and citrus juices to discover your new favorite grilled corn creation!
Storage and Reheating Tips for Leftover Grilled Corn
Should you be lucky enough to have leftover grilled corn, proper storage and reheating will ensure it remains delicious for future enjoyment.
Storage: Allow the corn to cool completely. You can store it on the cob, wrapped tightly in plastic wrap or aluminum foil, or in an airtight container in the refrigerator for up to 4 days. For longer storage, remove the kernels from the cob using a sharp knife, then place them in an airtight freezer-safe bag or container. Grilled corn kernels can be frozen for up to 4 months.
Reheating:
- On the cob: For refrigerated corn, wrap it in a fresh piece of foil and reheat on the grill for 10-15 minutes (or in an oven at 350°F/175°C) until warmed through. Alternatively, microwave for 1-2 minutes.
- Kernels: Thaw frozen kernels in the refrigerator overnight. Reheat on the stovetop in a skillet with a knob of butter, or microwave until hot. They are perfect for adding to salads, salsas, or stir-fries.
Frequently Asked Questions About Grilled Corn
For our foil-wrapped method, a grill temperature of 450°F (high heat on a gas grill) is ideal. This allows the corn to steam thoroughly within the foil, becoming tender, while still developing a hint of smoky flavor. If you are grilling other items at a lower temperature, such as 350°F (medium), you can place the corn on a higher rack or indirect heat zone, simply extending the cooking time slightly.
Perfectly grilled corn will have kernels that look slightly wrinkled and are soft to the touch when gently squeezed (carefully, as it will be hot!). It should be tender and juicy, bursting with sweet flavor when you take a bite, without any raw or tough texture. Avoid cooking until the kernels start to shrivel excessively or become hard.
Leftover grilled corn on the cob can be stored in an airtight container or wrapped tightly in plastic wrap in the refrigerator for up to four days. To reheat, wrap in foil and warm on the grill or in an oven at 350°F (175°C) for 10-15 minutes, or microwave for 1-2 minutes until heated through. If you remove the kernels, they can also be frozen for up to four months and reheated on the stovetop.
Always opt for fresh, sweet corn when grilling. Look for ears with bright green, tightly wrapped husks and moist, plump kernels. Varieties like ‘sweet corn’ or ‘super sweet corn’ are excellent choices for their high sugar content and tender texture, which caramelize beautifully on the grill.
Yes, you can grill corn without foil for a more intense char, but it requires more direct attention. If grilling husks-on, soak the husks for 15-30 minutes, then grill directly over medium-high heat, turning frequently, until husks are charred and corn is tender (about 15-20 minutes). If grilling bare cobs, brush generously with oil and grill over medium heat, turning often, until tender and charred on all sides (about 10-15 minutes). The foil method, however, is foolproof for tender, evenly cooked corn.
Beyond the Cob: Delicious Pairings for Your Grilled Corn
Grilled corn on the cob is a versatile side dish that complements an array of main courses, especially those fresh off the grill. Its sweet and smoky notes make it an ideal partner for savory meats and other vibrant summer dishes. Pair it with our Grilled Huli Huli Chicken Kabobs for a delightful blend of sweet and savory flavors. It’s equally fantastic alongside Easy Grilled Ribs, providing a fresh contrast to the rich, tender meat. For a Mediterranean twist, serve it with Perfect Grilled Souvlaki. And don’t forget to explore creative dessert options like Spicy Grilled Watermelon to complete your al fresco dining experience!
Try These Delicious Dishes with Your Grilled Corn:
For more hearty side dishes to complement your grilled favorites, explore our BBQ side dishes archive here.
Conclusion: Your Go-To Grilled Corn Recipe
This “Best Grilled Corn on the Cob Recipe” is designed to be your ultimate guide to grilling perfect corn every single time. By following our foolproof, no-pre-boiling method, you’ll consistently achieve tender, sweet kernels with a delightful smoky char. It’s the ideal side dish for any cookout, BBQ party, or weeknight meal, bringing that unmistakable taste of summer to your table with minimal fuss.
We encourage you to experiment with the flavor variations and serving suggestions to truly make this recipe your own. Don’t forget to share your creations and experiences! If you loved this recipe as much as we do, please consider leaving a five-star review and sharing it on your favorite social media platforms like Facebook and Pinterest.
For a quick visual demonstration and more insights into this incredible method, check out our web story about this grilled corn on the cob, it includes video!
Overall Rating: 4.41 out of 5 stars (from 20 votes)
Best Grilled Corn on the Cob
By: Courtney ODell
Servings: 4 people
Prep Time: 5 mins
Cook Time: 45 mins
Additional Time: 10 mins (resting)
Total Time: 1 hr
Share by Email
Print Recipe
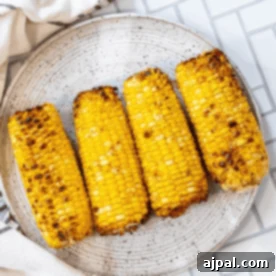
This is the ultimate foolproof method for grilling corn on the cob, yielding perfectly tender, sweet, and slightly charred kernels every single time without the need for pre-boiling. It’s the ideal side dish for any cookout, BBQ party, or casual summer meal, promising incredible flavor and a delightful texture that’s easy to eat.
Equipment
- Mess-free Butter Spreader (Optional, for easy buttering)
- Corn Holders (Optional, for serving)
Ingredients
- 4 ears of fresh corn, cleaned with husks and silks removed
- 4 tablespoons room temperature, soft butter or olive oil
- 1/2 – 1/4 teaspoon sea salt per ear of corn
- Freshly ground black pepper, to taste
- 4 large squares of heavy-duty aluminum foil (approx. 12×12 inches each)
Instructions
- Preheat your grill to 450°F (high heat on a gas grill).
- De-husk the corn and meticulously remove all silks. Ensure the corn is clean and free of any stringy bits.
- Pat the corn cobs thoroughly dry with a paper towel to remove any excess moisture. This helps the butter adhere better and promotes even cooking and charring.
- Generously coat each ear of corn with soft butter or olive oil. Don’t be shy; this adds rich flavor and prevents sticking. Season each ear generously with sea salt and freshly ground black pepper.
- Wrap each seasoned ear of corn tightly in its own large square of heavy-duty aluminum foil, creating a sealed pouch. Ensure the ends are crimped well to prevent steam from escaping.
- Place the foil-wrapped corn on the top rack of your preheated grill. Grill for 45 minutes, turning the cobs approximately every 10 minutes to ensure even cooking and gentle charring on all sides.
- The corn is done when the kernels appear lightly charred (if any bits peeked out), are slightly wrinkled, and feel tender when pierced with a fork.
- Carefully remove the corn from the grill and let it cool in the foil pouches for 5-10 minutes before unwrapping and serving. This resting period allows the steam to continue cooking the corn gently and infuses the flavors deeply.
Nutrition
Serving: 1g | Calories: 183kcal | Carbohydrates: 25g | Protein: 5g | Fat: 9g | Saturated Fat: 3g | Polyunsaturated Fat: 5g | Cholesterol: 8mg | Sodium: 340mg | Fiber: 3g | Sugar: 6g
Nutrition information is automatically calculated and should be used as an approximation. Actual values may vary based on ingredients and preparation methods.
Additional Info
Course: Side Dish
Cuisine: American, BBQ
Prep Type: Grilling
Occasion: Summer, BBQ, Cookout, Picnic, Family Dinner
Tried this recipe? Mention @sweetcsdesigns or tag #sweetcsdesigns! We love seeing your delicious creations!