
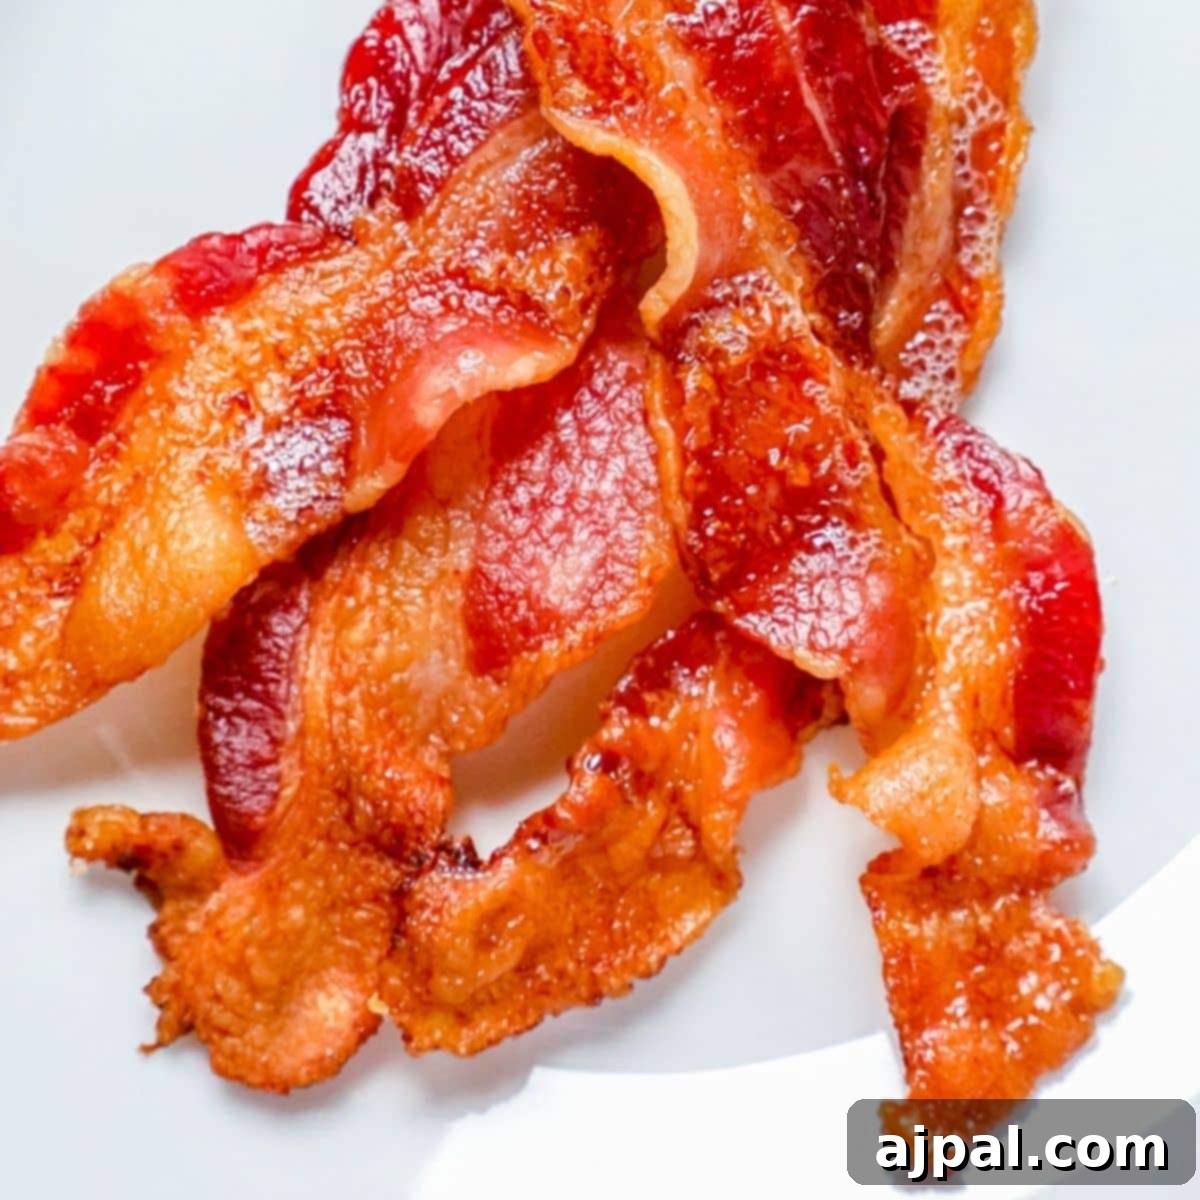
Unlock the secret to consistently perfect, crispy, and flavorful bacon right in your own kitchen! Say goodbye to greasy stovetop splatters and unevenly cooked strips. Baking bacon in the oven is a revolutionary method that delivers restaurant-quality results with minimal mess and effort. This comprehensive guide will walk you through everything you need to know, from selecting the best bacon to achieving your desired crispiness, and even clever ways to repurpose that delicious rendered fat.
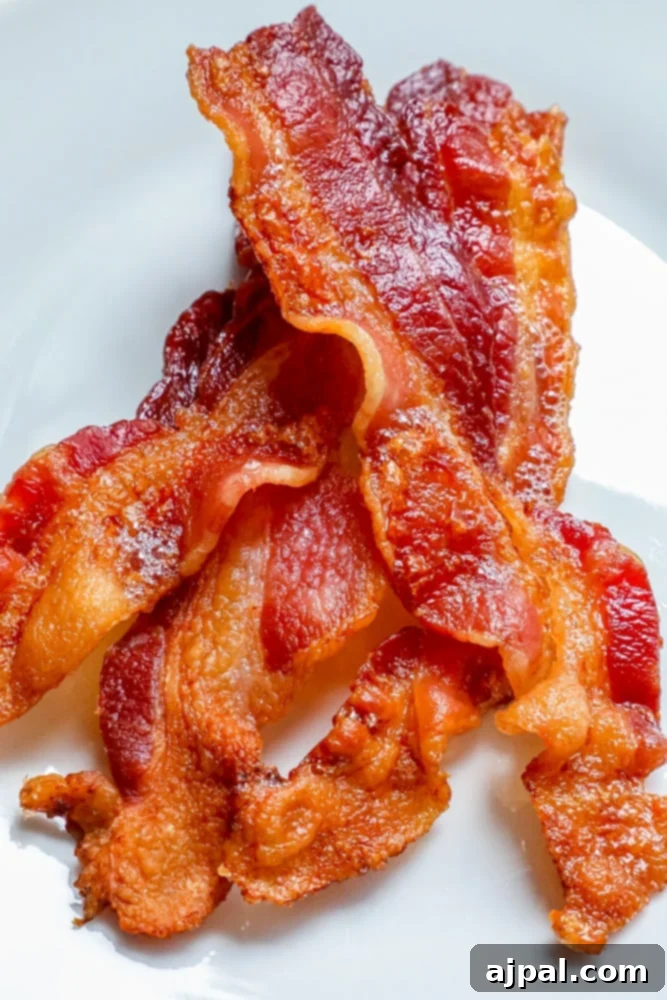
Looking for just the recipe? We’ve included a quick skip-to-recipe button at the top left of the page, and a clickable table of contents below, to help you navigate directly to what you need.
Here at Sweet C’s, we believe that understanding the ‘why’ behind a recipe can transform any home cook into a confident kitchen master. As a self-taught cook, my goal is to empower everyone, regardless of their experience level, to create incredible dishes with ease and confidence. Every tip and trick shared comes from real-world kitchen experience, ensuring you get the best possible results.
Table of contents
- The Ultimate Mess-Free Bacon Method
- Choosing the Right Bacon for Baking
- Essential Tools for Oven-Baked Bacon
- Step-by-Step Guide to Crispy Oven Bacon
- Tips for Perfectly Crispy Bacon
- Beyond Breakfast: Creative Uses for Bacon
- Easy Breakfast and Brunch Recipes
- More Mouth-Watering Bacon Recipes
- Recipe FAQs
The Ultimate Mess-Free Bacon Method
If you’ve ever dreaded the clean-up after cooking bacon, you’re not alone. The constant splattering of grease on the stovetop and countertops is a universal kitchen headache. That’s why oven-baked bacon has become our absolute favorite way to achieve perfectly crisp, crunchy, and savory strips with minimal fuss and virtually no mess! This method isn’t just about convenience; it consistently delivers bacon with an ideal texture that’s hard to beat.
By simply baking your bacon on a foil-lined sheet pan, you eliminate the constant tending, turning, and splattering associated with pan-frying. The foil acts as a barrier, collecting all the rendered fat and ensuring an incredibly easy clean-up. Once your bacon is cooked to perfection, you just lift the foil, discard it (along with the solidified grease), and your pan is practically spotless. It’s truly the easiest way to make delicious, crunchy bacon every single time.
Whether you’re preparing a hearty breakfast, need crisp bacon bits for a Caesar salad, or want to add a smoky, savory crunch to sandwiches and other dishes, this oven method is unparalleled. We’ve experimented with various techniques, including air frying and traditional pan-frying, but we always return to this super-simple oven-baking approach. The consistent crispiness and effortless clean-up make it too good to pass up!
Imagine serving up this perfectly cooked bacon alongside a luxurious Eggs Benedict, any of our favorite deviled eggs, a refreshing fruit salad, vibrant sangria mimosas, elegant peach bellinis, or a warming cardamom coffee for a truly crave-worthy breakfast or brunch. We are confident you’ll love this recipe as much as we do!
Choosing the Right Bacon for Baking
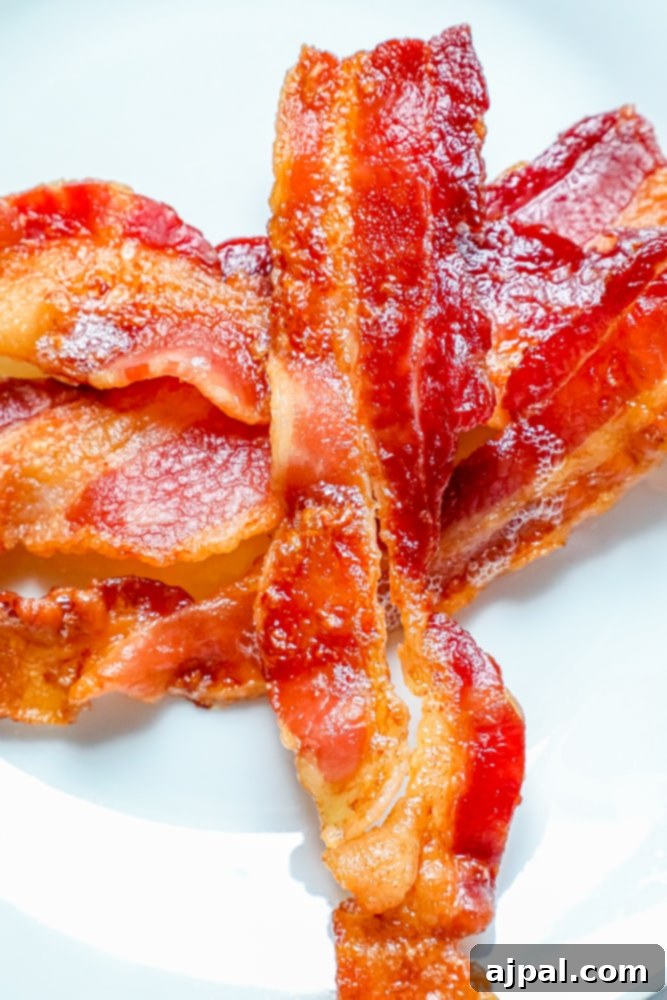
The type of bacon you choose can significantly impact the final texture and flavor of your oven-baked masterpiece. For this particular method, we highly recommend using a thick-cut, American-style streaky bacon. This is the classic cut with alternating layers of meat and fat, which renders beautifully in the oven, leading to an incredibly satisfying crunch.
- Thick-Cut Bacon: The Preferred Choice: Thick-cut bacon is ideal because it holds up well during the baking process, resulting in a more substantial and satisfyingly chewy-crisp texture. The extra thickness also allows for more even cooking without becoming overly brittle. Brands like Wright often offer excellent thick-cut options in resealable packaging, which is great for freshness.
- Why Avoid Thin-Sliced Bacon: While tempting, thin-sliced bacon tends to cook much faster and can easily become overly crisp or even burn in the oven. It also has a greater tendency to stick to the foil, making removal a bit more challenging and potentially leading to breakage. If you only have thin-sliced bacon, keep a very close eye on it and reduce the cooking time significantly.
- Beyond American Streaky Bacon: This method is specifically tailored for American-style streaky bacon. It is generally not the preferred way to cook other bacon varieties like Canadian bacon (which is cut from the loin and much leaner, similar to ham) or British-style back bacon (which includes both the loin and a small strip of fat). These types of bacon benefit from different cooking methods that prevent them from drying out due to their lower fat content.
Opting for quality thick-cut bacon ensures the best flavor and texture, making your oven-baked bacon truly shine.
Essential Tools for Oven-Baked Bacon
One of the many advantages of this method is the minimal equipment required. You likely already have most of these items in your kitchen! Here’s what you’ll need to set yourself up for success:
- Baking Sheet (with deep walls): This is arguably the most crucial piece of equipment. Choose a sturdy baking sheet with raised edges, ideally about 1-2 inches deep. The deep walls are essential for containing the rendered bacon grease, preventing it from overflowing into your oven and causing messy splatters or, worse, a grease fire. A standard half-sheet pan (approximately 18×13 inches) is perfect for a full pound of bacon.
- Nonstick Aluminum Foil: While regular aluminum foil can work, nonstick foil is a game-changer for oven-baked bacon. It ensures that your deliciously crisp bacon lifts easily off the pan without sticking, making both removal and cleanup a breeze. Some people prefer to place bacon on a wire cooling rack set over a baking sheet, but we find that cooking the bacon directly on the foil, in its own rendered fat, results in superior flavor development and an unparalleled crunch. If you don’t have nonstick foil, parchment paper is a good alternative, or you can lightly grease regular foil.
- Paper Towels: Since the bacon cooks in its own fat, it’s vital to drain off excess grease after baking. A generous stack of paper towels will be your best friend. Lay them on a plate or a separate clean baking sheet to absorb the fat as the bacon cools. This step not only makes the bacon less greasy but also enhances its crispiness and overall flavor.
- Oven: Of course, your oven is the star player! Ensure it’s preheated to the correct temperature for even cooking.
- Tongs: A good pair of heat-resistant tongs will be indispensable for safely transferring the hot bacon from the baking sheet to the paper towel-lined plate. They allow for easy handling without burning your fingers.
With these simple tools, you’re well on your way to enjoying the best oven-baked bacon you’ve ever made!
Step-by-Step Guide to Crispy Oven Bacon
Achieving perfectly crispy, mess-free bacon is simpler than you think. Follow these easy steps to elevate your breakfast game:
- Preheat Your Oven: Start by preheating your oven to 350 degrees Fahrenheit (175 degrees Celsius). A properly preheated oven ensures even cooking and helps the bacon crisp up beautifully from the start.
- Prepare Your Baking Sheet: Line a baking sheet with deep walls generously with nonstick aluminum foil. Make sure the foil extends up the sides of the pan to create a barrier, effectively containing all the rendered grease and making cleanup effortless. If you don’t have nonstick foil, you can use regular heavy-duty foil and lightly grease it with a little cooking spray or vegetable oil, or opt for parchment paper.
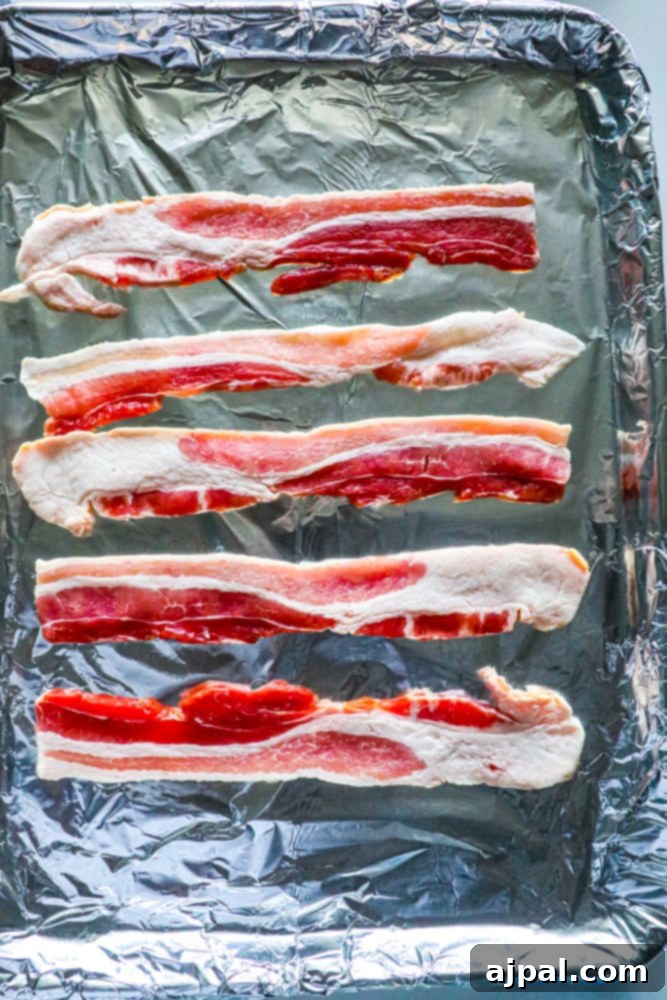
- Arrange the Bacon: Lay the strips of thick-cut bacon in a single layer on the prepared baking sheet. It’s okay if the slices are close together, as they will shrink during cooking. However, avoid overlapping the bacon strips, as this will prevent them from cooking evenly and achieving maximum crispiness. For best results, allow a little space between each strip.
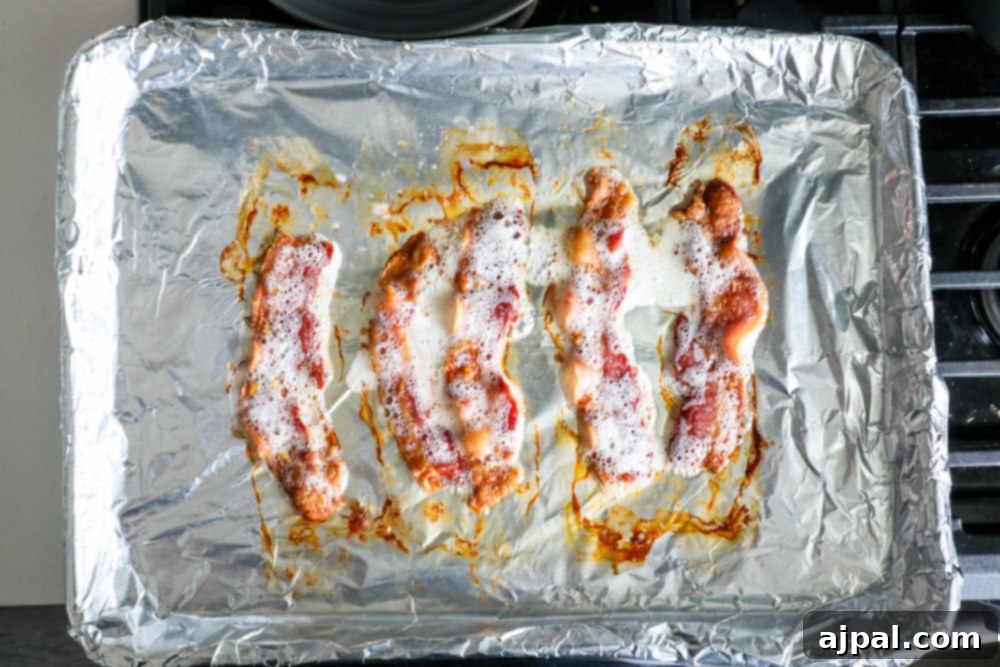
- Bake to Perfection: Place the baking sheet in the preheated oven and bake for 20-40 minutes. The cooking time will vary depending on your oven, the thickness of your bacon, and your desired level of crispiness.
- For lighter, slightly chewy bacon: Check closer to 20-25 minutes.
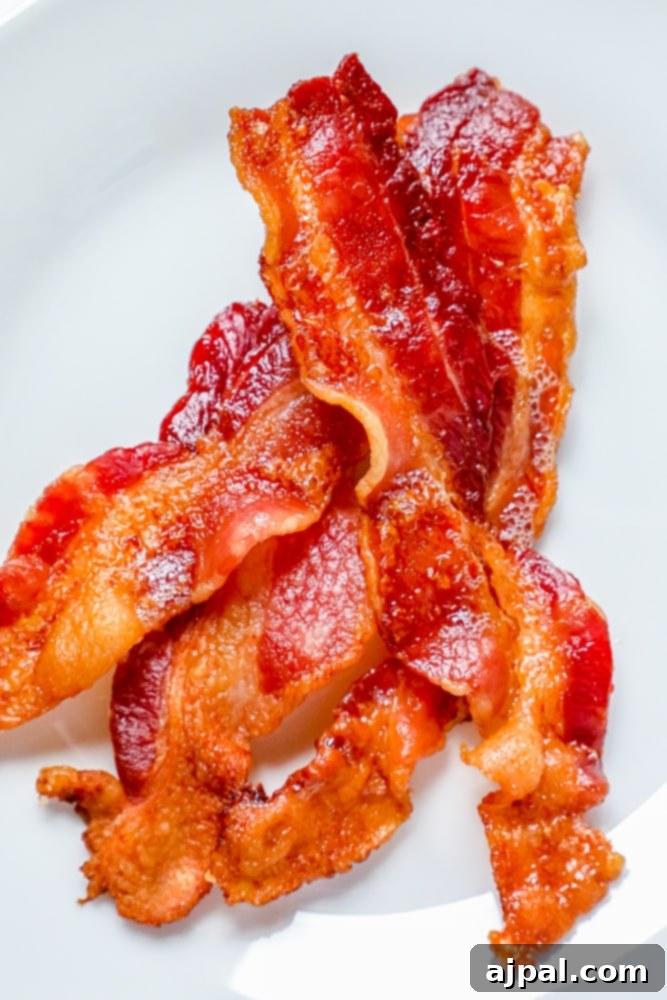
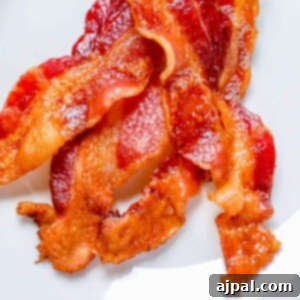
- For perfectly crisp, golden-brown bacon (our personal favorite): Aim for 30-35 minutes.
- For deep brown, extra-crispy bacon (ideal for crumbling): Cook closer to 40 minutes, but watch carefully to prevent burning.
Keep an eye on the bacon, especially during the last 10 minutes, as it can go from perfectly cooked to burnt very quickly.
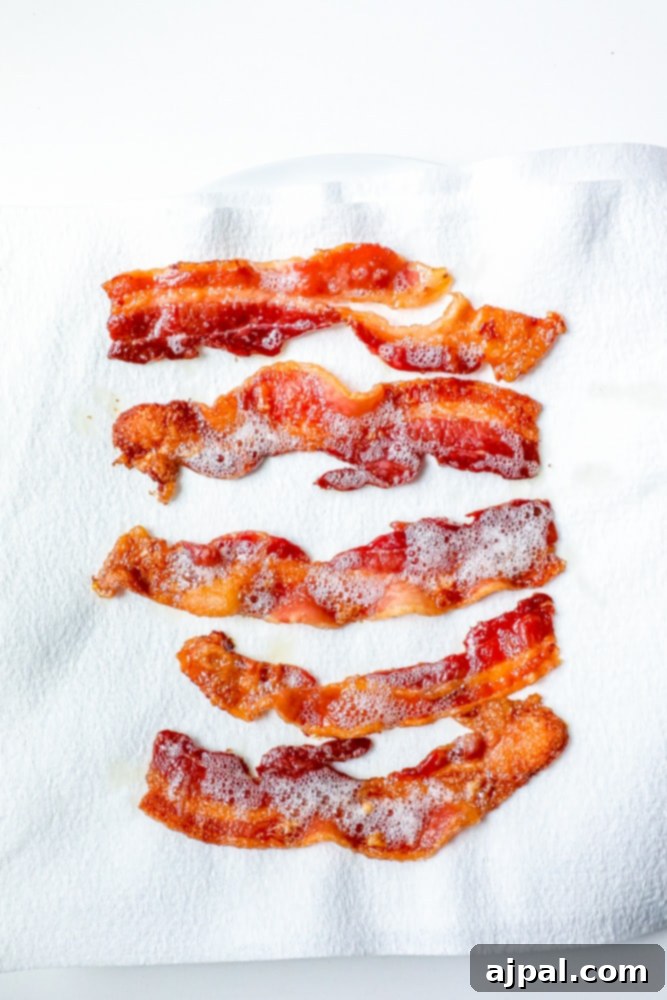
- Drain and Cool: Once the bacon reaches your preferred doneness, carefully remove the baking sheet from the oven. Using tongs or a fork, gently lift each bacon strip and transfer it to a plate lined with several layers of paper towels.
- Remove Excess Grease: Allow the bacon to cool for a few minutes on the paper towels. As it cools, the bacon will continue to crisp up, and the paper towels will absorb any remaining excess grease. You can lightly dab the top of the bacon with additional paper towels for an even less greasy result and enhanced crispiness.
- Effortless Cleanup: Once the rendered bacon grease on the foil has solidified and cooled, simply lift the foil off the baking sheet and discard it. Your baking sheet will be remarkably clean, requiring minimal, if any, washing. This is the magic of the mess-free method!
Tips for Perfectly Crispy Bacon
While the oven-baking method is inherently simple, a few extra tips can elevate your bacon from good to absolutely phenomenal:
- Start Cold (Optional, but effective): Some chefs swear by starting bacon in a cold oven. This allows the fat to render slowly and evenly, resulting in exceptionally crispy bacon. If trying this, place bacon on the lined pan, then put it in a cold oven before turning it on to 350°F. The cooking time will be slightly longer. However, our recipe above uses a preheated oven, which also yields fantastic results and is slightly faster.
- Don’t Overcrowd the Pan: While a little closeness is fine, ensure bacon strips are in a single layer without excessive overlap. Overcrowding can lead to steaming instead of crisping, resulting in soggy bacon. If you’re cooking a large batch, use two baking sheets.
- Pat Bacon Dry: Before arranging the bacon on the foil, lightly pat the raw strips dry with paper towels. Removing excess surface moisture helps the bacon crisp up more effectively.
- Flip Halfway (for extremely even cooking): While not strictly necessary, flipping the bacon strips halfway through the baking process (around the 15-20 minute mark) can help ensure a more uniform crispness on both sides.
- Season Your Bacon: For an extra flavor boost, consider seasoning your bacon before baking. A sprinkle of freshly ground black pepper is a classic choice. For a sweet and savory twist, try a light dusting of brown sugar or a drizzle of maple syrup for candied bacon. A pinch of cayenne pepper can add a subtle kick.
- Collect the Bacon Fat: Don’t throw away that flavorful rendered bacon fat! Once it has cooled and solidified on the foil, you can carefully pour or scrape it into an airtight container. Store it in the refrigerator (or even freeze it) and use it to add incredible flavor to scrambled eggs, roasted vegetables, cornbread, or sautéed greens. It’s liquid gold for cooking!
Beyond Breakfast: Creative Uses for Bacon
While bacon is a breakfast staple, its salty, smoky flavor profile makes it incredibly versatile for dishes throughout the day. Here are some inspiring ideas to incorporate your perfectly oven-baked bacon into various meals:
- Salads: Crumble crispy bacon into bits and sprinkle over green salads, potato salad, pasta salad, or a classic Caesar salad for an irresistible crunch and savory depth.
- Sandwiches and Wraps: Elevate any sandwich with a few strips of crispy bacon. BLTs are just the beginning – add it to grilled cheese, turkey clubs, or chicken wraps.
- Soups and Stews: Use crumbled bacon as a garnish for creamy tomato soup, lentil soup, split pea soup, or even a hearty clam chowder. The crispy texture and smoky flavor are fantastic.
- Baked Potatoes and Loaded Fries: A generous topping of crumbled bacon is essential for fully loaded baked potatoes, sweet potatoes, or a decadent plate of cheese fries.
- Burgers and Hot Dogs: Take your grilling to the next level by adding a crispy slice of bacon to your favorite burger or wrapping it around a hot dog before cooking.
- Vegetable Sides: Bacon pairs beautifully with many vegetables. Crumble it over roasted Brussels sprouts, green beans, or asparagus for a simple yet elegant side dish.
- Desserts (Yes, Desserts!): For the adventurous, consider incorporating bacon into sweet treats. Candied bacon is a popular choice, but you can also find recipes for bacon-infused chocolate, maple-bacon donuts, or even bacon ice cream.
- Bacon Jam: Transform rendered bacon and onions into a savory-sweet spread that’s perfect for toast, crackers, or as a condiment for burgers and sandwiches.
With oven-baked bacon, you’ll always have a delicious, versatile ingredient ready to enhance any meal.
Easy Breakfast and Brunch Recipes
Bacon is often the star of a fantastic breakfast or brunch spread. If you’re looking for other delicious recipes to serve alongside your crispy oven-baked bacon, explore our full breakfast recipe index here, or check out some of our reader favorites below:
The Best Blueberry Muffins
Easy Apple Fritter Bread Recipe
Easy Everything Low Carb Bagel
Cinnamon Apple Dutch Baby
Slow Cooker Breakfast Casserole
Baked Ham and Cheese Croissants
How To Dye Easter Eggs
Sourdough English Muffins
More Mouth-Watering Bacon Recipes
If your love for bacon goes beyond the breakfast plate, you’re in for a treat! Bacon’s irresistible savory, salty, and smoky notes make it a fantastic addition to countless dishes. Explore our extensive bacon recipe index here for even more inspiration, or browse some of our recent favorites below:
Polish Bigos Stew
Bacon Cheese Quiche
Bacon Cheese Dip
Broccoli Cauliflower Bacon Casserole
Polish Smalec Spread
Garlic Herb Bacon Wrapped Asparagus
Hashbrown Egg Cups
Fried Cabbage with Bacon Recipe
Recipe FAQs
Cooked bacon can be stored in an airtight container in the refrigerator for up to 4-5 days. For best flavor and texture, reheat gently in a skillet or microwave.
Yes, parchment paper is a great alternative to nonstick foil. It also prevents sticking and makes for easy cleanup. Just like foil, ensure it covers the baking sheet well, especially up the sides.
Soggy bacon usually happens for a few reasons: the oven wasn’t hot enough, the bacon was overcrowded on the pan (causing it to steam rather than crisp), or it wasn’t cooked long enough. Ensure your oven is fully preheated, give your bacon strips enough space, and don’t be afraid to cook it a bit longer until it reaches your desired crispiness.
Absolutely! Once cooked and cooled, place bacon strips in a single layer on a baking sheet and freeze until solid. Then transfer to a freezer-safe bag or container. Frozen cooked bacon can last for up to 1 month and can be reheated directly from frozen in the oven or microwave.
If you love this easy recipe, please take a moment to give it a five-star rating by clicking the stars below and leave a comment! Your feedback truly helps us. We’d also love for you to share your creations on Instagram, Facebook, and Pinterest – be sure to tag @sweetcsdesigns so we can see what you’ve cooked up!
Share on Facebook
Share
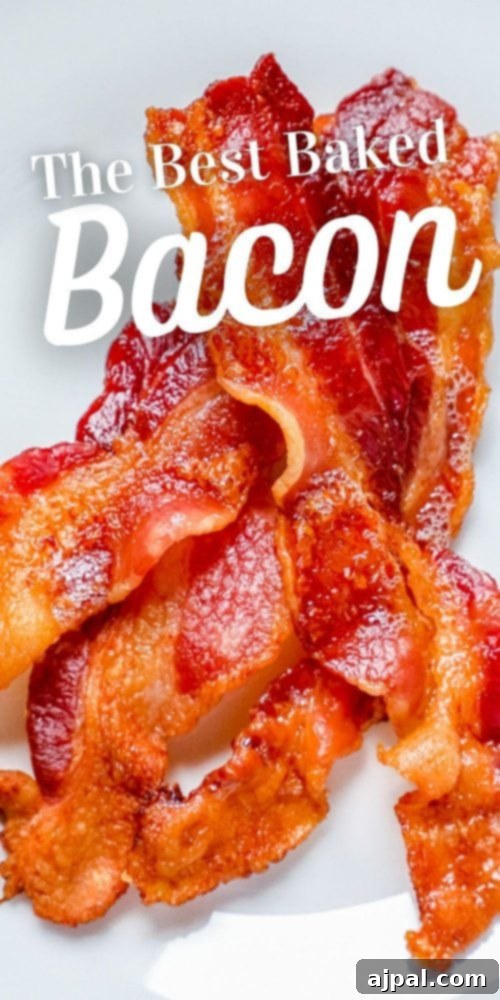
Pin this now to find it later
Pin It
Follow on Instagram
Follow
Only have 30 minutes to get dinner on the table? Sign up for my 30 minute dinner plans direct to your inbox!
Find and shop my favorite products in my Amazon storefront here!
Want to save this recipe for later? Just enter your email below to get it sent straight to your inbox! You’ll also receive new recipes from us every week. Don’t forget to tag @sweetcsdesigns on social media – we love to see your delicious creations!
How To Bake Bacon
Equipment
-
Thick-cut Bacon (such as Wright Oak Barrel Smoked Bacon)
-
Paper Towels
-
Non-Stick Aluminum Foil (or parchment paper)
-
Baking Sheet (with deep walls)
-
Tongs
Ingredients
- 12 strips thick-cut bacon
Instructions
-
Preheat oven to 350 degrees Fahrenheit (175°C).
-
Line a baking sheet with deep walls with nonstick aluminum foil, ensuring it covers the entire surface and extends up the sides.
-
Place bacon in a single layer on the foil-lined baking sheet. Keep the bacon strips close together to fit them on the pan, but do not let them overlap, which would prevent even cooking.
-
Bake for 20-40 minutes, depending on your preferred level of crispiness. For deep brown and extra crispy bacon, cook closer to 40 minutes. For a slightly lighter crisp, aim for 20-30 minutes. Monitor closely during the final minutes to prevent burning.
-
Remove bacon from the oven. Using tongs or a fork, carefully lift the bacon from the pan and place it on a plate lined with paper towels to drain excess grease.
-
Let bacon cool on the paper towels and dab off any remaining grease. This step enhances crispiness and reduces greasiness.
-
Allow the rendered bacon grease on the baking sheet to solidify and cool completely. Once solid, lift the foil to easily remove the grease for a mess-free cleanup.
Notes
Nutrition
Nutrition information is automatically calculated, so should only be used as an approximation.