
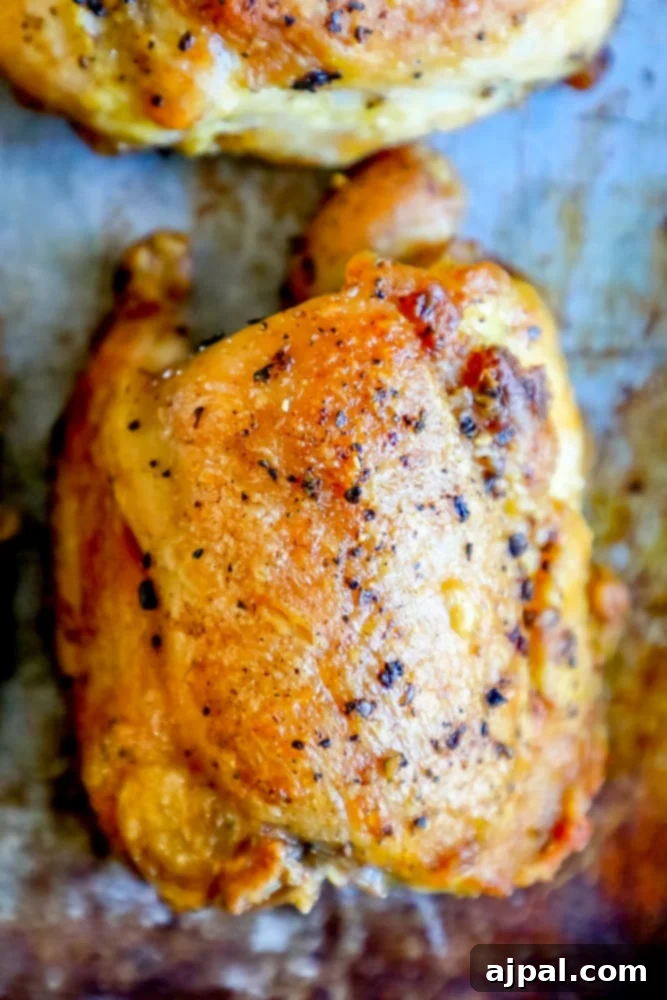
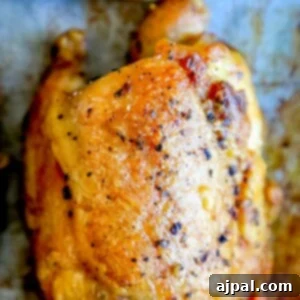
Unlock the secret to flawlessly crispy, incredibly juicy baked chicken thighs with this remarkably easy recipe. Forget dry, bland chicken – this method guarantees a succulent interior and a perfectly crunchy skin every single time, using only a handful of common ingredients you likely already have on hand. Ideal for busy weeknights or a relaxed Sunday dinner, this dish is a true crowd-pleaser that delivers restaurant-quality results with minimal effort.

This isn’t just another chicken recipe; it’s *the* baked chicken thigh recipe that will transform your kitchen experience. Designed to prevent the common pitfall of dried-out chicken, our technique focuses on maximizing flavor and texture, ensuring each bite is moist on the inside and satisfyingly crisp on the outside, straight from the oven.
Whether you’re a novice in the kitchen or a seasoned cook looking for a reliable, flavorful staple, this recipe is for you. Its simplicity makes it approachable for beginners – just season and bake – yet its profound flavor profile satisfies even those accustomed to more elaborate culinary creations. It’s a versatile dish that can stand alone or be elevated with your favorite toppings, like a vibrant Easy Broccoli Pesto for a fresh, zesty kick.
Beyond its incredible taste and ease, this baked chicken thigh recipe is also naturally gluten-free and low-carb, making it an excellent choice for those following a keto diet. Enjoy a protein-packed meal that aligns with your dietary goals without sacrificing an ounce of flavor or satisfaction. This keto-friendly chicken thigh recipe will quickly become a cherished part of your meal rotation.
Ready for the Recipe? Jump Right to It!
We understand that sometimes you just want the recipe without the preamble! While we’ve packed this post with invaluable tips and tricks to ensure your baked chicken thighs are perfect every single time, we’re happy for you to navigate directly to the cooking instructions. We believe in empowering our readers with knowledge, offering insights into why certain methods work and how to troubleshoot common cooking challenges. However, if you’re eager to start baking, simply scroll to the very bottom of the page where you’ll find the complete, easy-to-follow, and printable recipe card.
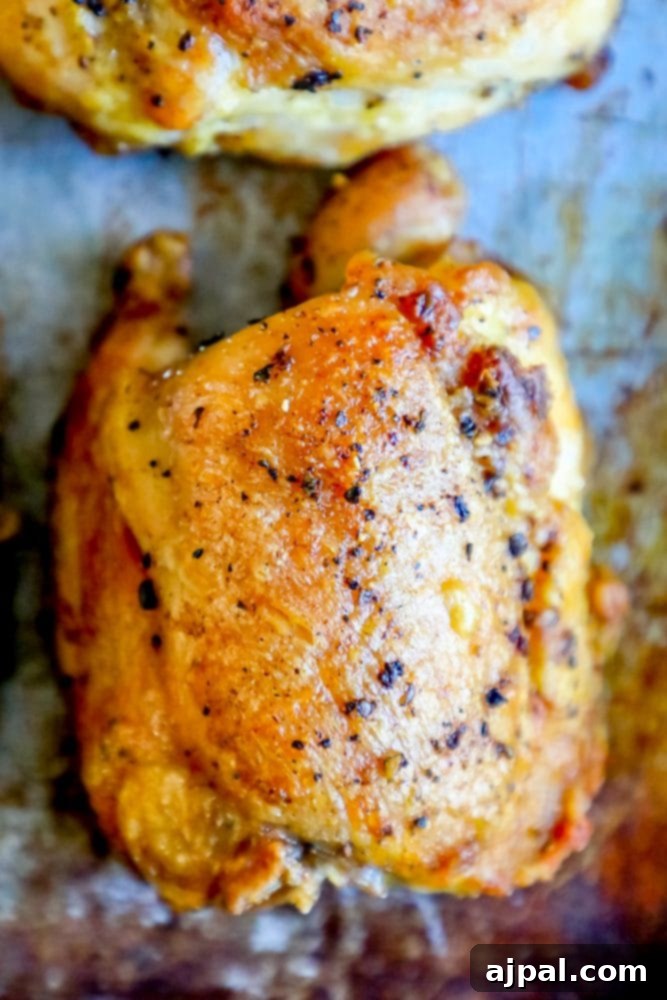
Achieving Perfect Crunchy Baked Chicken Thighs: Essential Tips
The journey to truly spectacular crunchy baked chicken thighs involves a few key techniques that elevate them from good to unforgettable. These tips are designed to ensure your chicken is not only crispy on the outside but also wonderfully juicy and tender on the inside. Follow these steps for consistently amazing results:
The Optional Yet Highly Recommended Pre-Sear
While optional, pre-searing your chicken thighs before baking is a game-changer, especially for skin-on varieties. This initial step in a hot pan creates an incredibly rich, deep flavor and renders some of the fat, leading to an extra-crispy skin that simply can’t be achieved by baking alone. To pre-sear, heat a large, heavy cast-iron skillet (or any oven-safe pan) over medium-high heat with about 2 tablespoons of olive oil, butter, or your preferred high-heat cooking fat. Place the chicken thighs skin-side down and sear for about 2-3 minutes per side, until they develop a beautiful golden-brown crust. This process not only adds a layer of complex flavor but also kickstarts the crisping process, contributing to that desirable crunch. Transfer the seared thighs directly to a parchment-lined baking sheet for the final bake, reducing the total oven cooking time slightly if you choose this method.
Flattening for Faster, Even Cooking
For remarkably crispier chicken that cooks more quickly and evenly, consider “rolling out” or flattening your chicken thighs. This technique ensures that the entire piece of chicken is of a uniform thickness, which prevents the edges from drying out while the thicker parts struggle to cook through. To do this, place the boneless chicken thigh between two sheets of plastic wrap or in a large freezer bag. Using a meat mallet or a heavy rolling pin, gently pound the thigh to an even thickness, typically around half an inch. This might make the chicken look a little unusual initially, but the benefits are undeniable: no more overcooked exteriors with undercooked centers. This method is particularly effective for achieving a consistent crispness across the entire surface of the thigh.
The Simple Genius of Parchment Paper
For a truly effortless cleanup experience, lining your baking sheet with parchment paper is a small step that makes a huge difference. Parchment paper provides a non-stick surface, ensuring your deliciously crispy chicken thighs slide right off the tray without any fuss. This not only preserves the integrity of your beautifully crusted chicken but also means you can simply discard the paper and minimize scrubbing. If parchment paper isn’t available, aluminum foil can be used, though a light spray of cooking oil is recommended to prevent sticking. However, for the easiest and most effective cleanup, parchment paper remains the top choice.
Prioritizing Internal Temperature Over Cook Time
The size, thickness, bone content, and even the initial temperature of chicken thighs can vary significantly. Furthermore, every oven is different. Relying solely on a prescribed cooking time can lead to inconsistent results – either undercooked (a food safety hazard) or overcooked (dry and rubbery). For consistently perfect and safe chicken, it is crucial to use a digital cooking thermometer. The USDA recommends cooking chicken to an internal temperature of 165°F (74°C). Insert the thermometer into the thickest part of the thigh, avoiding the bone. For ultimate convenience, consider investing in a probe thermometer that can stay in the chicken while it bakes, sending real-time temperature updates to a remote receiver or even your smartphone. This eliminates the need to constantly open the oven door, maintaining a stable cooking temperature and ensuring precise doneness.
Choosing Your Chicken Thighs: Bone-In, Skin-On vs. Boneless, Skinless
When it comes to selecting chicken thighs for baking, the choice between bone-in, skin-on and boneless, skinless largely comes down to personal preference and desired outcome. Both options yield delicious results with minor adjustments to the cooking process.
Boneless, Skinless Chicken Thighs: These are a fantastic choice for quicker cooking and easier eating. With less fat and no bone, they cook faster and offer a leaner protein option. They’re also simpler to slice or shred for salads, tacos, or meal prep. However, achieving that truly ‘crispy’ exterior can be a bit more challenging without the skin and fat to render. Marinating boneless, skinless thighs is highly recommended to prevent drying out and infuse maximum flavor. Pounding them flat (as discussed in the “Roll Out” tip) also helps significantly in achieving even cooking and a better sear.
Bone-In, Skin-On Chicken Thighs: For the ultimate crispy skin and a richer flavor, bone-in, skin-on thighs are the way to go. The bone helps to distribute heat more evenly and keep the meat moist, while the skin crisps up beautifully, offering a satisfying crunch. They typically take a bit longer to cook but are often more budget-friendly. The rendered fat from the skin also contributes immensely to the overall flavor. If crisp skin is your top priority, these are undoubtedly the best option, especially when combined with a pre-sear.
Regardless of your choice, remember that proper seasoning and monitoring internal temperature are key to success. This recipe provides modifications for both types, ensuring you can bake perfect chicken thighs, whichever you prefer.

Baking Boneless, Skinless Chicken Thighs to Perfection
Achieving perfectly moist and flavorful boneless, skinless chicken thighs can be surprisingly simple if you follow a few strategic steps. These thighs are renowned for their quick cooking time and tender texture, making them ideal for a variety of dishes. To ensure they don’t dry out and still develop a pleasant exterior, consider these tips:
- Marination is Key: Without the protective skin and bone, boneless thighs benefit greatly from a good marinade. A simple blend of olive oil, lemon juice, herbs, and spices (like garlic powder, salt, and pepper) will infuse flavor and help keep them moist during baking. Marinate for at least 30 minutes, or preferably several hours, in the refrigerator.
- Flatten for Evenness: As mentioned earlier, pounding the thighs to an even thickness ensures uniform cooking and prevents thinner edges from becoming tough and dry. This also helps in achieving a more consistent texture throughout.
- Don’t Overcrowd the Pan: Give each thigh enough space on the baking sheet. Overcrowding leads to steaming rather than baking, which hinders browning and crisping. Use multiple sheets if necessary.
- High Heat and Quick Cook: Boneless thighs cook relatively fast. A higher oven temperature (like 400°F/200°C) helps them brown quickly without prolonged exposure that leads to dryness.
- Broiler Boost: If you desire a slightly crisper finish, a quick 2-3 minute stint under the broiler at the end of cooking can work wonders. Keep a close eye on them to prevent burning.
- Rest, Then Serve: Always let your chicken rest for 5-10 minutes after baking. This allows the juices to redistribute, resulting in a more tender and juicy piece of meat.
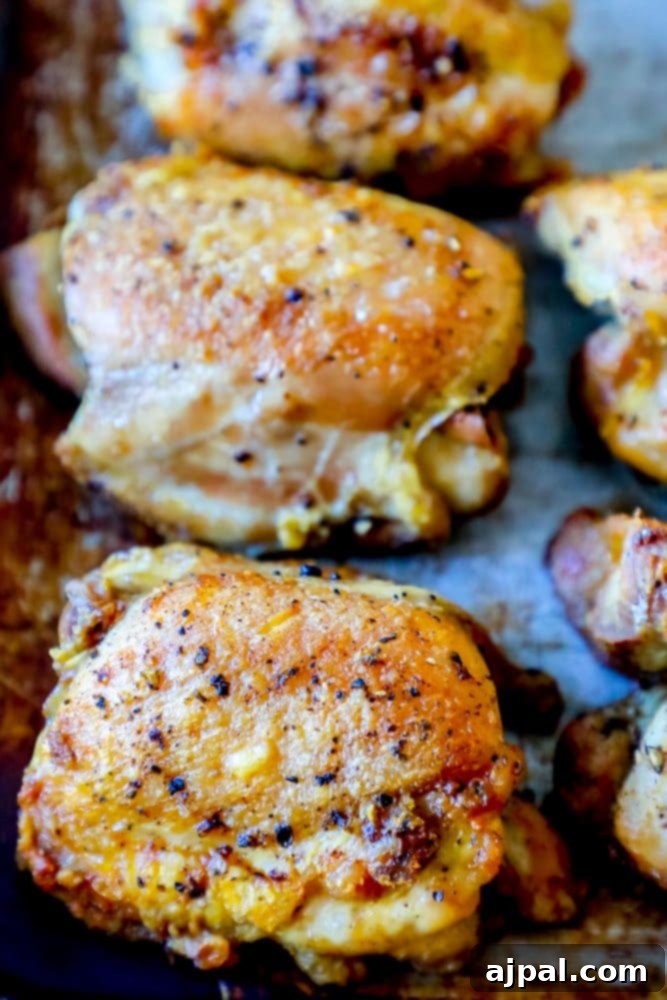
Mastering Bone-In, Skin-On Baked Chicken Thighs
For those who crave the ultimate crispy skin and deep, rich flavor, bone-in, skin-on chicken thighs are the superior choice. The bone helps insulate the meat, keeping it incredibly juicy, while the skin crisps up to a delightful crunch. Here are the secrets to achieving perfect bone-in, skin-on baked chicken thighs:
- Pat Dry, Always: This is perhaps the most crucial step for crispy skin. Moisture is the enemy of crispiness. Before seasoning, thoroughly pat the chicken thighs dry with paper towels. For best results, you can even leave them uncovered in the refrigerator for an hour or two (or overnight) to allow the skin to air-dry further.
- Season Liberally: Don’t be shy with your seasoning! The skin can take a generous amount of salt, pepper, garlic powder, and any other spices you love. Make sure to rub the seasoning directly onto the skin and a little under it for maximum flavor penetration.
- Rendering the Fat: The key to super crispy skin is rendering the fat underneath. This can be effectively achieved with a pre-sear (as detailed above) or by starting the chicken in a cold oven and gradually increasing the temperature.
- Crisp Skin First with Pre-Browning: While this recipe is fundamentally for baked chicken thighs, the absolute best way to ensure maximum crispiness for bone-in, skin-on thighs is to brown them in a hot pan (cast iron is ideal) for 2-3 minutes, skin-side down, before transferring them to the oven. This renders a significant amount of fat and creates an instant, golden crust.
- Broiling for a Finish: If pre-browning isn’t an option, or if your skin isn’t as crisp as you’d like at the end of baking, a final few minutes under a hot broiler can be your best friend. Place the chicken skin-side up, about 6-8 inches from the broiler element. Watch it *very* closely, as skin can go from perfectly crisp to burnt in a matter of seconds. Broil until golden and bubbly, typically 3-5 minutes.
- Allow to Rest: Just like boneless thighs, bone-in chicken benefits from a 10-minute rest after coming out of the oven. This allows the juices to redistribute, ensuring every bite is as tender and succulent as possible.
Easily Removing Chicken Thigh Bones (Deboning)
While bone-in chicken thighs offer enhanced flavor and moisture, some prefer the convenience of boneless meat for quicker cooking or easier eating. Deboning chicken thighs is a straightforward process that anyone can master with a sharp knife or kitchen shears. It’s not strictly necessary for this recipe, but it’s a useful skill to have. Follow these simple steps:
- Prepare the Thigh: Lay the chicken thigh skin-side down on a cutting board. If it’s rolled up, unroll it gently to lay it flat.
- Locate the Bone: Feel for the bone running through the center of the thigh. It’s usually a single, flat bone.
- Make Initial Cuts: Using a sharp boning knife or strong kitchen shears, make a cut along one side of the bone, trying to stay as close to the bone as possible.
- Expose the Bone: Gently lift the bone slightly with your fingers. You’ll see the membrane and connective tissue attaching it to the meat.
- Sever the Connections: Carefully cut along the underside of the bone, detaching it from the meat. Continue until the entire bone is free. You might need to make a few small cuts to fully release it.
- Trim if Needed: Once the bone is removed, you can trim any excess fat or gristle, then flatten the thigh as desired.
Remember to keep your knife sharp and work slowly and carefully. Deboned thighs will cook faster, so adjust your baking time accordingly and always rely on a meat thermometer.

Perfect Pairings: What to Serve with Crunchy Baked Chicken Thighs
These crispy, juicy baked chicken thighs are incredibly versatile and pair beautifully with a wide array of side dishes. Whether you’re looking for something quick and simple or a more elaborate accompaniment, here are some delicious ideas to complete your meal:
- Roasted Vegetables: Roasting vegetables alongside your chicken is an easy way to create a wholesome meal. Think tender asparagus, broccoli florets, or colorful bell peppers drizzled with olive oil and seasoned with salt and pepper.
- Creamy Mashed Potatoes: The ultimate comfort food, mashed potatoes offer a smooth, buttery contrast to the crispy chicken.
- Fresh Green Salad: A light, vibrant salad with a tangy vinaigrette can cut through the richness of the chicken, offering a refreshing balance.
- Garlic Parmesan Roasted Carrots: Sweet and savory, these carrots are simple to make and add a wonderful flavor dimension.
- Quinoa or Rice: For a more substantial meal, a serving of fluffy quinoa or fragrant rice provides a neutral base to soak up any delicious pan juices.
- Creamed Spinach: A rich and savory side that complements chicken perfectly, adding a touch of indulgence.
For more inspiration, check out some of our reader-favorite side dishes below:
- Buttery Garlic Parmesan Noodles
- Simple Roasted Brussels Sprouts with Balsamic Glaze
- Crispy Smashed Potatoes with Rosemary
More Easy Keto Chicken Thigh Recipes You’ll Love
If you’re as enamored with these easy baked chicken thighs as we are, and particularly if you’re following a low-carb or keto lifestyle, you’ll be delighted by our collection of other simple and delicious chicken thigh recipes. Each one is crafted with whole, unprocessed ingredients and designed to be packed with flavor, not unnecessary carbs. Explore these fantastic options to keep your low-carb meal plan exciting and satisfying:
- Creamy Garlic Parmesan Chicken Thighs: A rich and savory dish that’s incredibly satisfying and keto-friendly.
- Lemon Herb Roasted Chicken Thighs: Bright, zesty, and aromatic, perfect for a fresh take on chicken.
- Spicy Paprika Chicken Thighs: For those who love a bit of a kick, these thighs are full of smoky, vibrant flavor.
Discover more simple and delicious low-carb chicken thigh recipes here:
- Quick & Easy Air Fryer Chicken Wings
- One Pan Lemon Garlic Herb Chicken and Veggies
- Spicy Southwest Chicken Bake
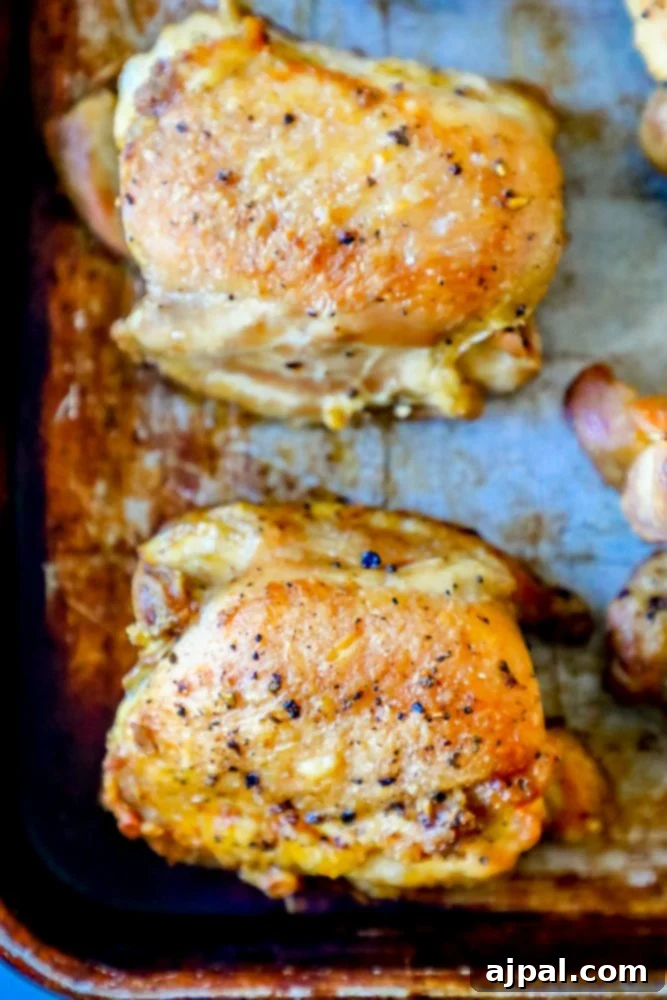
The Best Easy Baked Chicken Thighs Recipe
If you’ve enjoyed making and tasting this incredibly easy and delicious baked chicken thigh recipe, we would be thrilled if you could rate it five stars! Your feedback helps us reach more home cooks looking for reliable, tasty meals. Don’t forget to share your culinary success on Facebook and Pinterest, inspiring others to try this fantastic dish!

Only have 30 minutes to get dinner on the table? Sign up for our exclusive 30-minute dinner plans, delivered straight to your inbox!
Discover and shop our favorite kitchen products in our Amazon storefront here!
4.60 from 15 votes
The Best Easy Baked Chicken Thighs Recipe
Courtney ODell
6
5 minutes
25 minutes
30 minutes
Equipment
-
Reynolds Kitchens Cookie Baking Parchment Paper Sheets (SmartGrid, Non-Stick, 22 Sheets)
-
Bluetooth Meat Thermometer (Wireless Digital BBQ Thermometer for Grilling, Smoking, Oven)
Ingredients
- 6 boneless skinless chicken thighs, see notes above if using bone-in, skin-on thighs, which are also just as flavorful in this recipe.
- 2 tbsp olive oil
- 2 tsp celtic sea salt
- 1 tsp fresh cracked pepper
- 2 tsp garlic powder
- 1 tsp lemon juice
Instructions
-
Combine all ingredients in a bowl or large plastic bag. Mix well to ensure chicken thighs are thoroughly coated. Let marinate for at least 30 minutes at room temperature, or for best results, refrigerate overnight.
-
Preheat your oven to 400°F (200°C).
-
Line a baking sheet with parchment paper for easy cleanup and to prevent sticking.
-
Optional Pre-Browning Step: For extra crispy skin and deeper flavor (especially for bone-in, skin-on thighs), brown the chicken thighs in a large pan over high heat with 2 tbsp of olive oil until just golden-brown on both sides (about 2 minutes per side). If you perform this step, reduce the total oven cooking time by 5-8 minutes.
-
Place the seasoned chicken thighs on the prepared parchment paper, ensuring they are spaced sufficiently apart to allow for proper air circulation and crisping. Do not overcrowd the baking sheet.
-
Bake for 10 minutes. Then, carefully flip the chicken thighs and check their internal temperature with a digital meat thermometer. Continue baking for another 10 minutes, checking the temperature again.
-
Once the chicken reaches approximately 150°F (65°C) internally, turn on your oven’s broiler to high. Place the chicken under the broiler, skin-side up if applicable, and crisp until the internal temperature reaches a safe 165°F (74°C). This usually takes about 3-5 minutes, but watch it very closely to prevent burning.
-
Remove from oven and let the chicken thighs rest for 5-10 minutes before serving. This allows the juices to redistribute, resulting in incredibly moist and tender meat.
-
Store any leftovers in an airtight container in the refrigerator for up to 4 days, or freeze for up to 3 months.
Video
Watch how to make the best easy baked chicken thighs in our video below!
Nutrition
Calories: 274kcal
Carbohydrates: 1g
Protein: 32g
Fat: 16g
Saturated Fat: 4g
Polyunsaturated Fat: 12g
Cholesterol: 164mg
Sodium: 1012mg
Nutrition information is automatically calculated, so should only be used as an approximation.
Additional Info
Chicken
American
Sweet C’s Favorites
If you love this easy recipe, be sure to check out our reader favorites for more culinary inspiration!
- One Pan Lemon Garlic Chicken and Veggies
- Easy Garlic Parmesan Roasted Asparagus
- Crispy Air Fryer Broccoli