
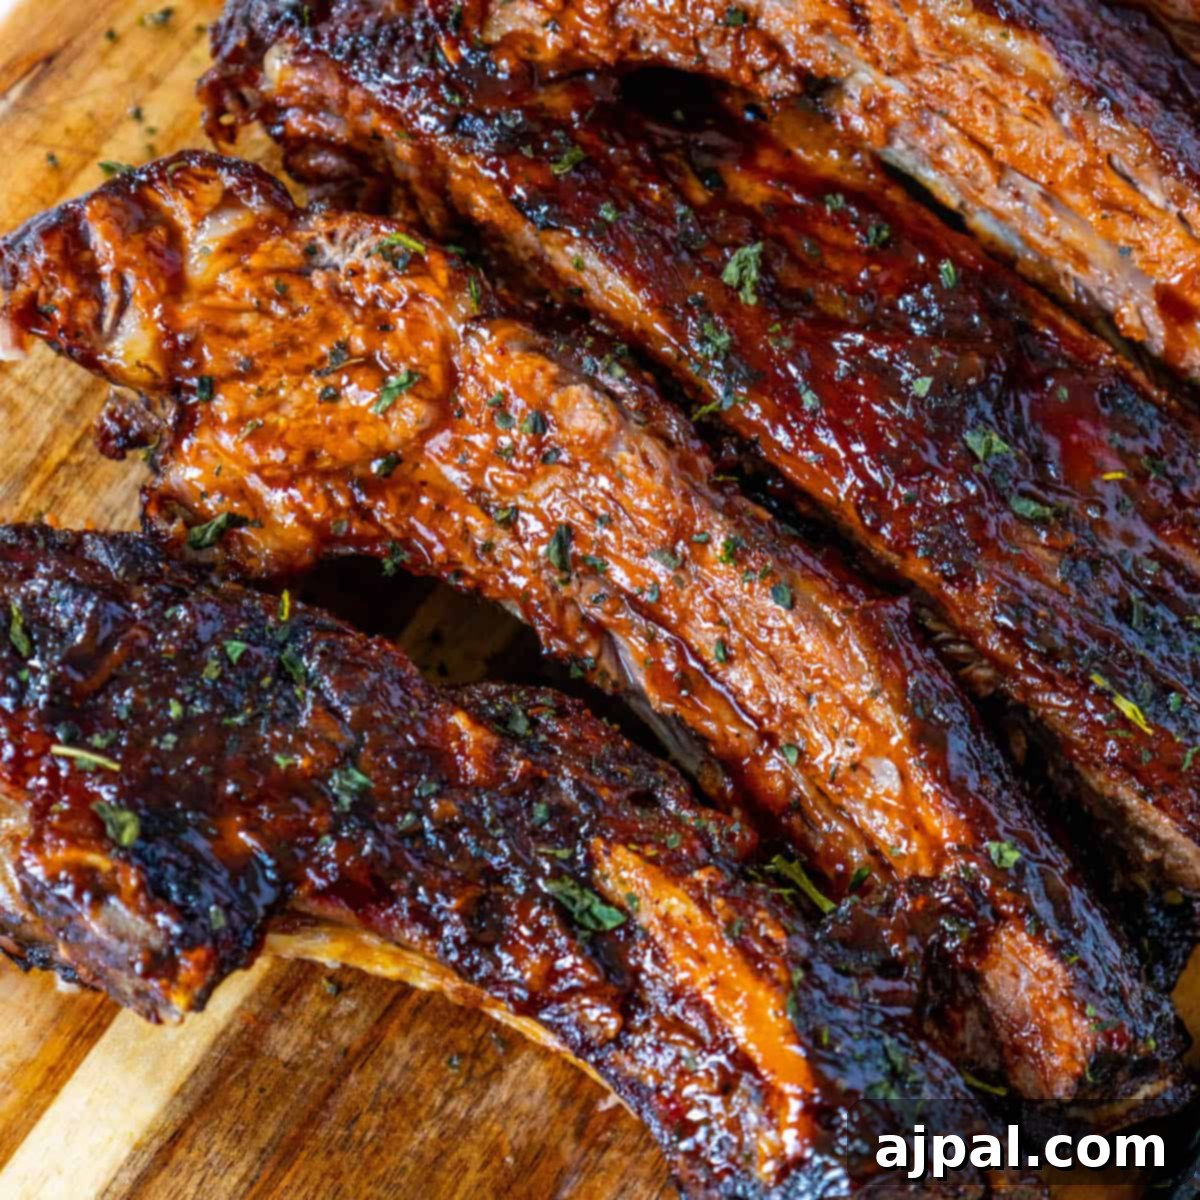
When the craving hits for intensely rich, beefy flavor and the classic fall-off-the-bone tenderness of barbecue ribs, but firing up the grill isn’t an option, these **Oven Baked Beef Ribs** are your ultimate answer. This easy recipe delivers that slow-cooked perfection right from your kitchen oven, making it incredibly accessible for any home cook, regardless of grilling experience.
My entire family adores this dish. It’s a fantastic alternative to our beloved smoked pork ribs, offering a distinct and equally satisfying experience. Prepare yourself for succulent meat glazed in a sticky, savory BBQ sauce that will have everyone reaching for more!
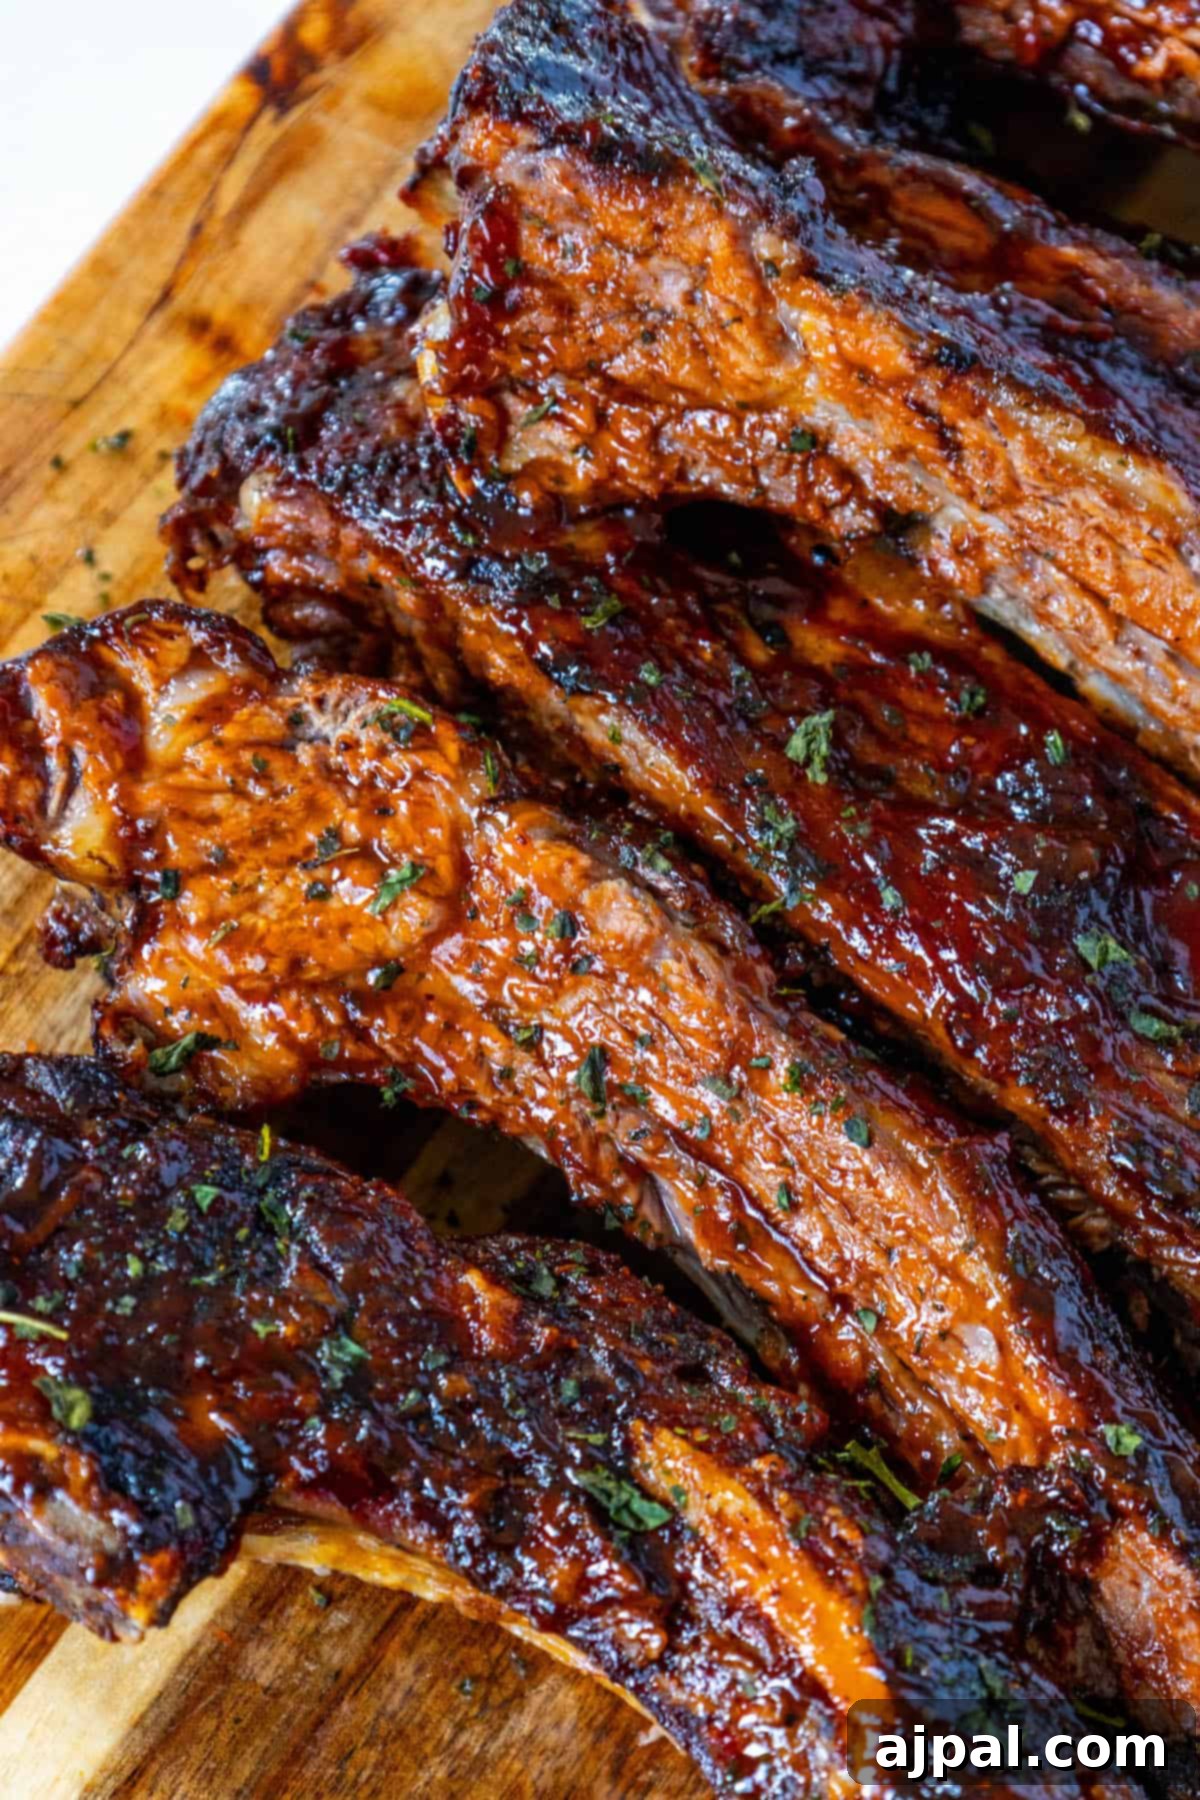
For those who prefer to dive straight into the cooking process, a clickable table of contents is available just below, designed to help you navigate this page with ease and find exactly what you’re looking for, whether it’s ingredients, instructions, or helpful tips.
At Sweet C’s, my passion lies in sharing comprehensive cooking tips within all my recipes. As a home cook without formal culinary training, I’ve found that understanding the ‘why’ behind each step and ingredient significantly boosts confidence in the kitchen. My primary goal is to empower every home cook, from novice to experienced, to feel capable and inspired to create delicious meals that taste incredible.
Table of Contents
- Why You’ll Love These Oven Baked Beef Ribs!
- The Secret to Fall-Off-The-Bone Tenderness
- Choosing the Best Beef Ribs for Baking
- Essential Ingredients for Oven Baked Beef Ribs
- Step-by-Step: How to Cook Beef Ribs in the Oven
- Expert Tips for Perfectly Baked Beef Ribs
- Frequently Asked Questions About Oven Baked Beef Ribs
- What to Serve With Baked Beef Ribs
- Oven Baked Beef Ribs Recipe Card
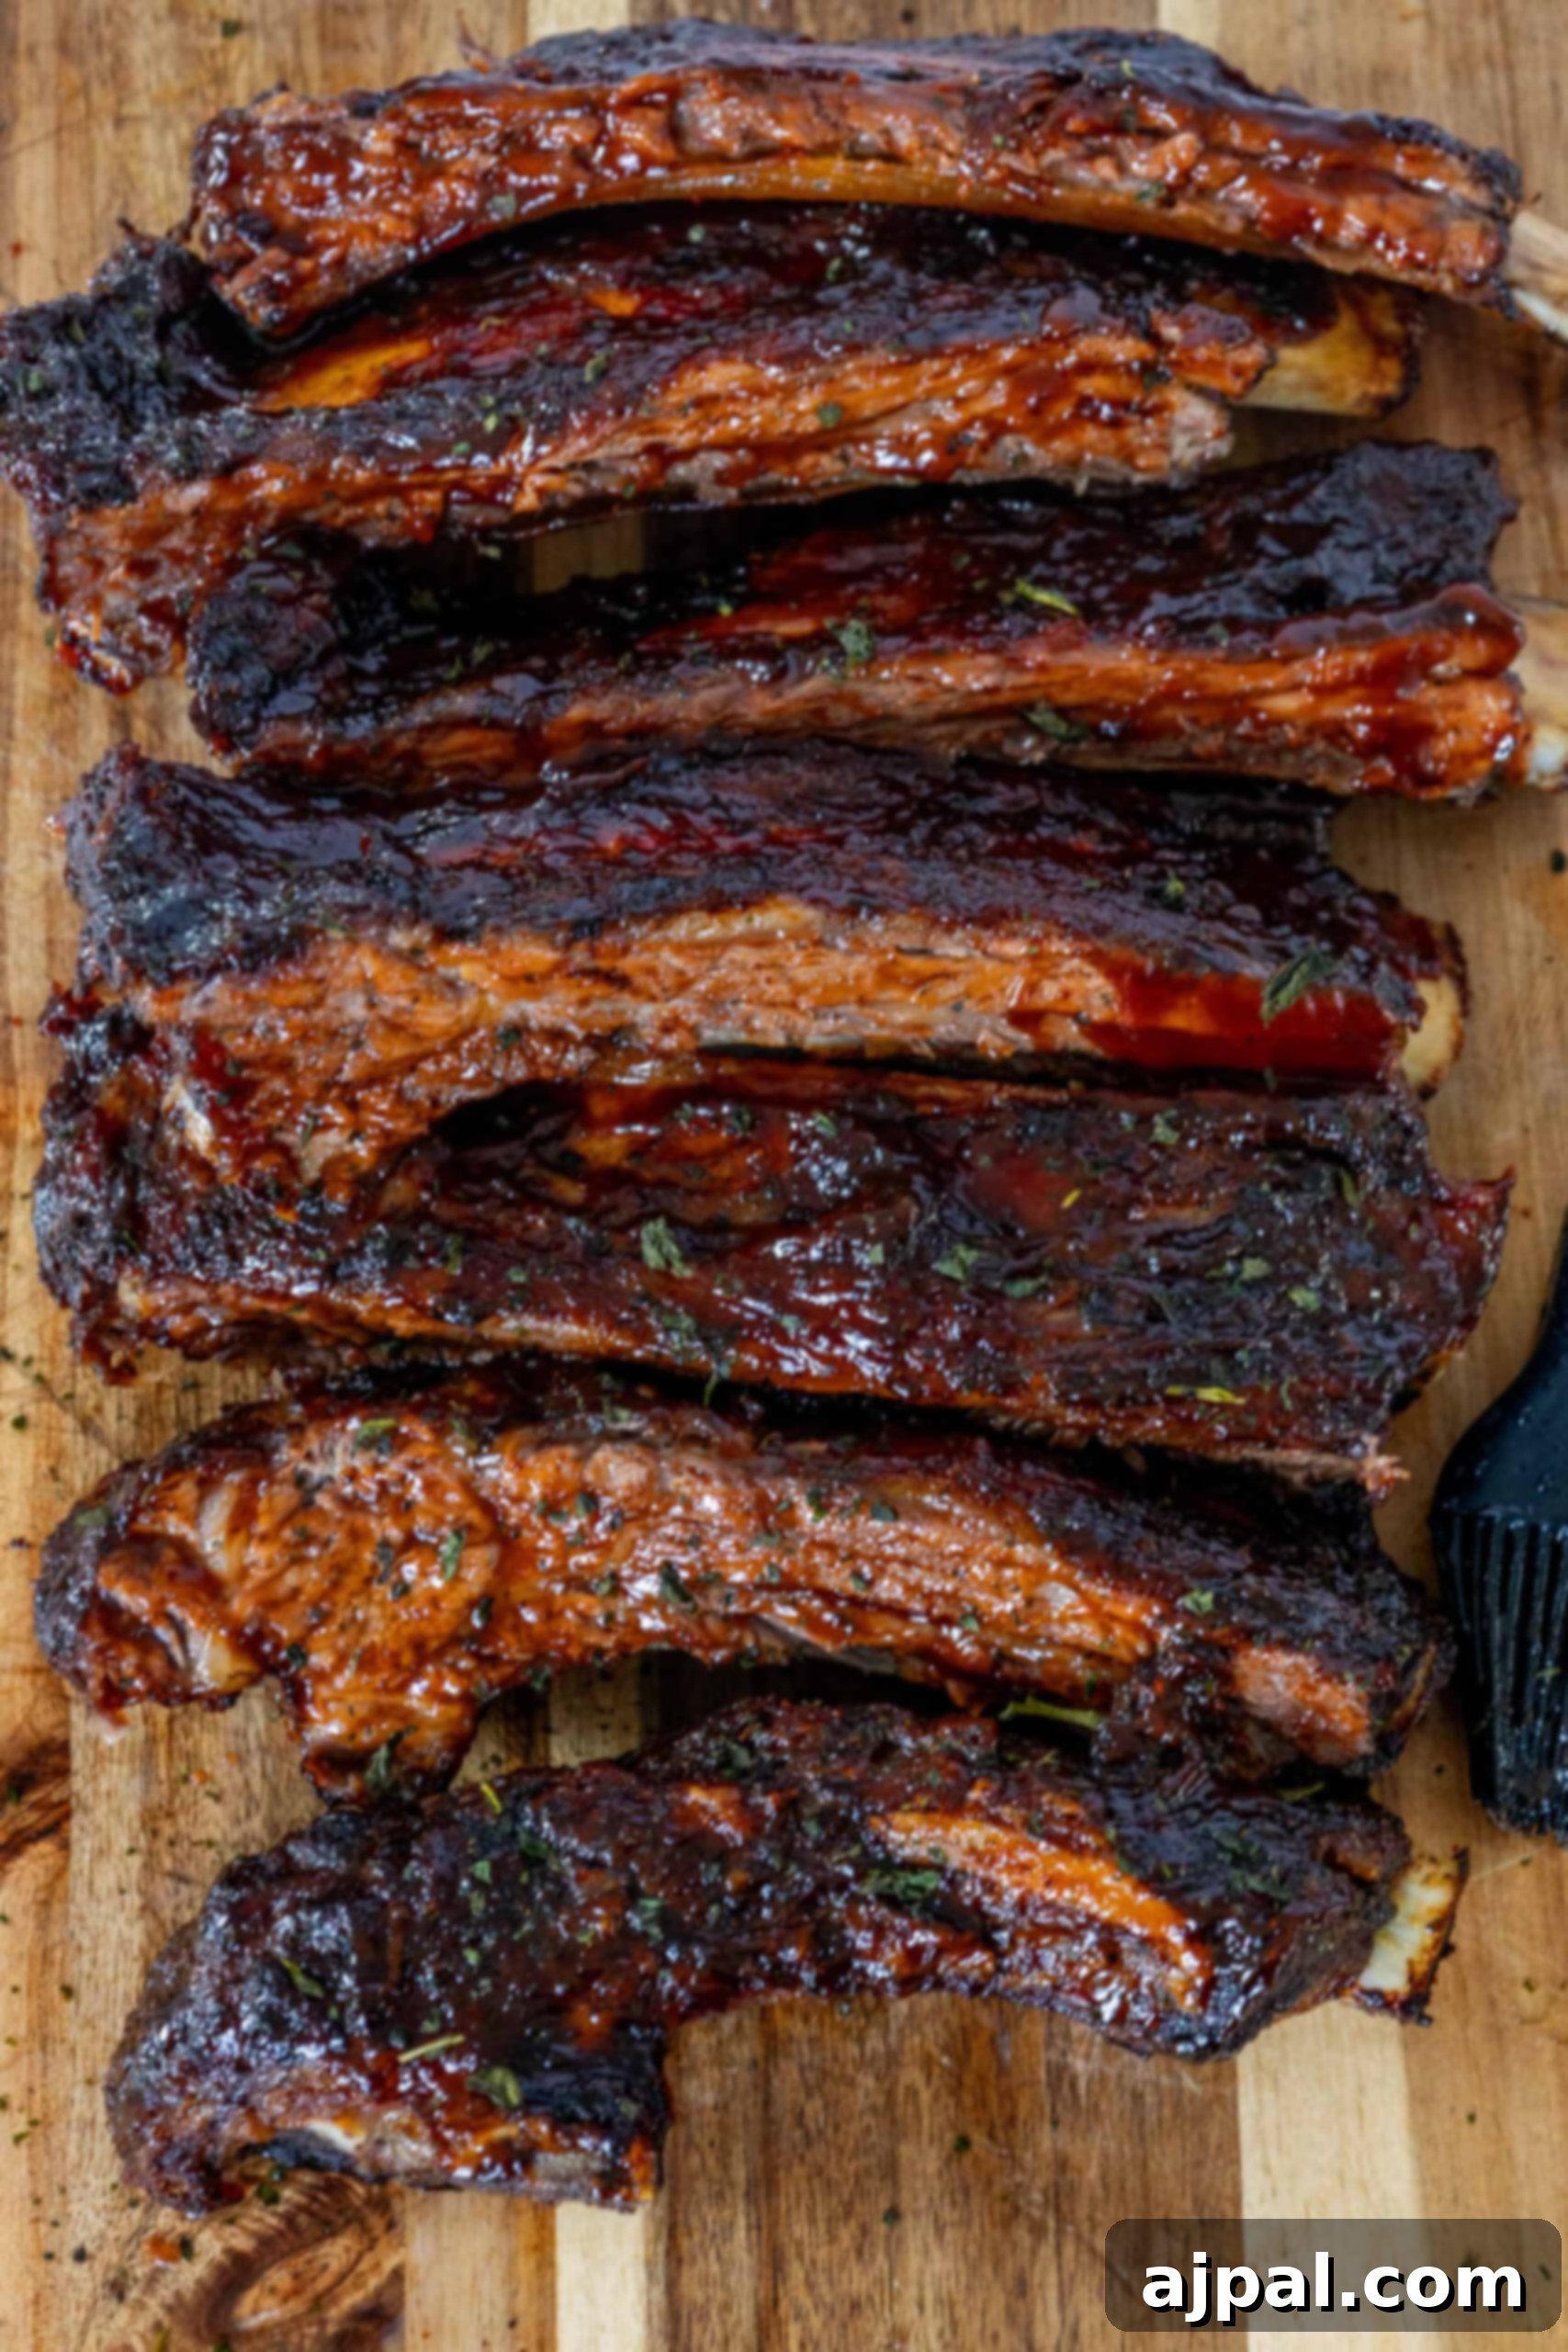
Why You’ll Love These Oven Baked Beef Ribs!
It’s no secret that I have a deep appreciation for ribs of all kinds. From robust smoked pork ribs to delightfully sticky Asian-style ribs, I simply can’t get enough of their incredible flavor and satisfying texture. What truly sets them apart, beyond their deliciousness, is how surprisingly easy they are to prepare and serve, making them perfect for any occasion.
Beef ribs stand out as a top contender for an otherworldly flavor experience. They are inherently succulent, rich, and incredibly simple to master, even when cooked right in your oven! While the unique smoky char from a traditional BBQ is undeniably fantastic, you can absolutely achieve that coveted, tender, fall-off-the-bone perfection by slow-roasting beef ribs in your oven. This method eliminates the need for specialized outdoor equipment, bringing gourmet BBQ flavor directly to your kitchen.
The magic happens as these beef ribs slowly roast, bathing in a savory, aromatic spice rub and later, your favorite BBQ sauce. This process creates a sticky, irresistibly crunchy “bark” on the outside, a hallmark of perfectly cooked ribs, while keeping the interior incredibly moist. This method not only enhances their incredible flavor but also simplifies the cooking process, making it approachable for weeknight dinners, special gatherings, or even the next big game day. We’ll certainly be making these often, and I’m confident you’ll love them just as much as we do!
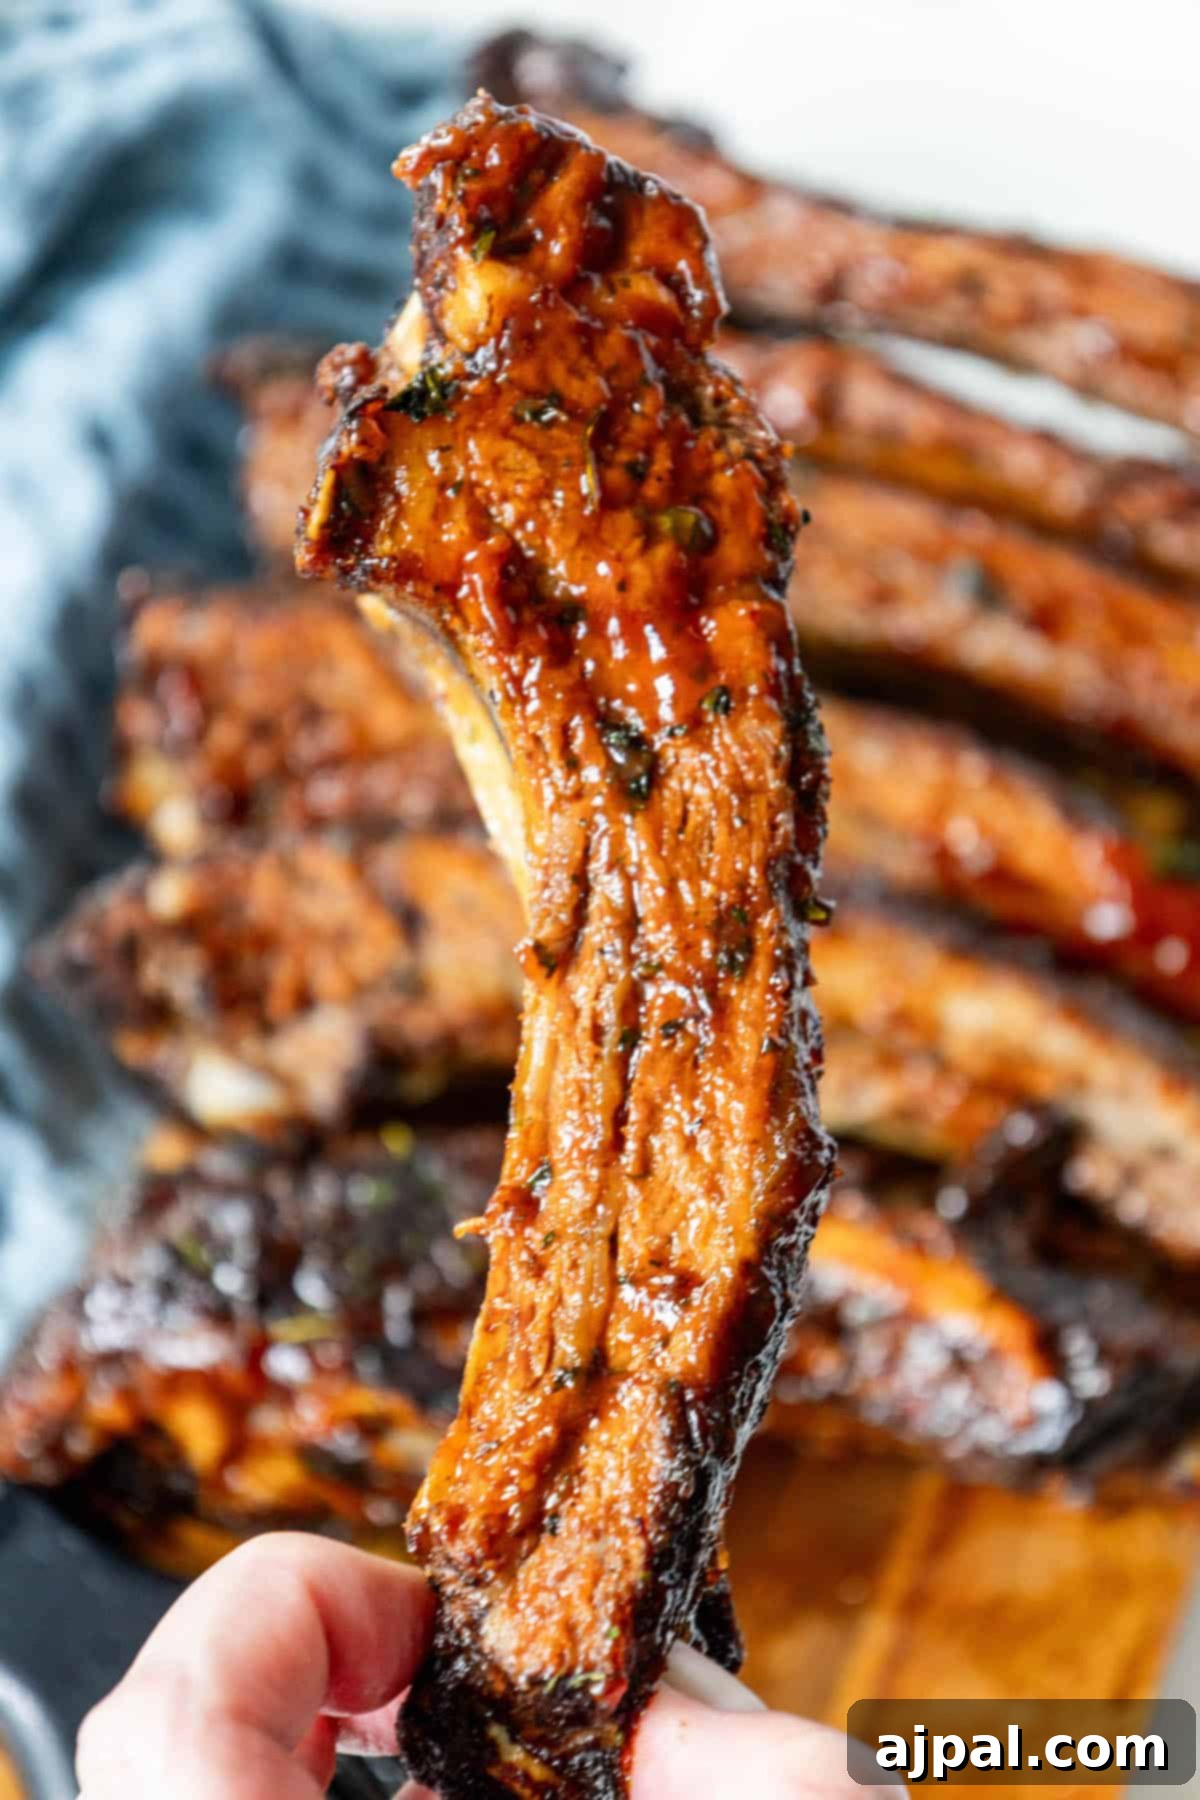
The Secret to Fall-Off-The-Bone Tenderness
Achieving truly fall-off-the-bone beef ribs in the oven might seem like a culinary challenge, but it’s remarkably straightforward once you understand the principles. The key lies in a time-honored method known as “low and slow” cooking. This technique involves baking the ribs at a relatively low temperature for an extended period, typically around 300°F (150°C) for several hours. This gentle, prolonged heat allows the tough connective tissues and collagen in the meat to gradually break down and transform into succulent gelatin. This transformation is what gives the ribs their characteristic melt-in-your-mouth texture.
Wrapping the ribs tightly in aluminum foil during the initial cooking phase is crucial for this process. The foil creates a sealed, steamy environment, effectively braising the ribs in their own rendered juices and any added liquids or sauces. This moist heat prevents the meat from drying out while ensuring uniform tenderness throughout the rack. Once the meat is sufficiently tender, typically after about 2.5 to 3 hours, removing the foil and applying your favorite BBQ sauce allows the ribs to finish baking uncovered. During this final stage, the sauce caramelizes and thickens, forming that coveted sticky, slightly crispy bark that adds another incredible layer of flavor and texture, making these ribs truly irresistible. This two-stage cooking process guarantees moist, flavorful, and incredibly tender results every single time.
Choosing the Best Beef Ribs for Baking
Not all beef ribs are created equal when it comes to oven baking. Selecting the right cut is paramount for achieving that desirable tender, juicy, and flavorful outcome. Understanding the different types of beef ribs available will help you make the best choice for this recipe. Here are the two most common types of beef ribs suitable for slow roasting in the oven:
- Beef Short Ribs: These are arguably the most popular choice for slow-cooked rib dishes due to their impressive meatiness and rich flavor. Short ribs are typically cut from the plate, chuck, or brisket section of the cow. They feature generous layers of meat interspersed with fat and connective tissue, all of which render beautifully during the low and slow cooking process. This rendering fat contributes significantly to their incredibly rich, succulent taste and buttery texture. Short ribs are often sold in thick, individual pieces or as a larger slab (flanken style or English cut). If you’re looking for a truly decadent and intensely flavorful rib that virtually melts in your mouth, short ribs are an excellent option.
- Beef Back Ribs: These ribs are cut from the prime rib area, essentially what’s left on the bone after the prime rib roast or ribeye steaks have been removed. They tend to have less meat compared to short ribs, with the majority of the meat located between the bones rather than on top. However, what meat they do have is highly flavorful, thanks to its proximity to the tenderloin. Back ribs tend to be leaner than short ribs but still benefit immensely from slow, moist cooking methods like oven baking. If you prefer a less fatty rib with concentrated beef flavor and a slightly less robust but equally tender bite, back ribs are a great choice.
When selecting your ribs at the butcher or grocery store, always look for good marbling – those small streaks of fat within the muscle – as this is a key indicator of moisture and flavor potential. Also, ensure the ribs have a decent amount of meat on them. Don’t hesitate to ask your butcher for guidance; they can often provide the freshest and best cuts for your specific cooking needs and can even prepare them (like removing the silver skin) for you.
Essential Ingredients for Oven Baked Beef Ribs
To craft these incredibly tender and flavorful oven-baked beef ribs, you’ll need a carefully selected array of quality ingredients. Each component plays a vital role in building the robust flavor profile, achieving the perfect texture, and creating that irresistible finish. Here’s a detailed look at what you’ll need and why each ingredient is important:
- Rack of Beef Ribs: This is, without a doubt, the absolute star of our dish. As discussed, whether you choose beef short ribs or beef back ribs, aim for a rack with good meat coverage and visible marbling. The quality of your ribs directly impacts the final tenderness and depth of flavor. Slow roasting is specifically designed to transform this cut into something truly spectacular and memorable.
- Avocado Oil: This versatile oil is chosen for its very high smoke point and neutral flavor, making it ideal for coating the beef ribs before seasoning. It creates a thin barrier that helps the spice rub adhere effectively and, more importantly, aids in sealing in moisture during cooking, ensuring the meat stays incredibly juicy and succulent throughout the long baking process.
- Cumin: A cornerstone of many savory rubs, cumin contributes a warm, earthy, and slightly nutty flavor. Its distinct aroma beautifully complements the inherent richness of the beef, adding a layer of sophisticated depth and complexity to the overall taste profile.
- Chili Powder: This common spice blend typically includes ground chili peppers, cumin, oregano, and garlic powder, among others. It provides a foundational, mild, and smoky heat along with a savory base flavor that is essential for achieving that classic BBQ rub taste we all love.
- Cayenne Pepper: For those who enjoy a little extra kick and a vibrant heat, cayenne pepper is your secret weapon. It provides a bright, spicy note to the seasoning blend. You have full control over the heat level – add more for a fiery experience, or less for just a subtle warmth, catering to all palates.
- Garlic Powder: A staple in virtually any good meat rub, garlic powder infuses the meat with its distinct pungent, savory, and aromatic notes of garlic. It’s a key player in enhancing the overall savory profile of the ribs, creating a deeply satisfying flavor.
- Fresh Cracked Black Pepper: There’s nothing quite like the bold, robust, and slightly spicy bite of freshly cracked black pepper. Using fresh cracks instead of pre-ground pepper provides a superior aroma and flavor, elevating the beef’s natural taste and adding a pleasant zest to the rub.
- Parsley: While primarily used as a beautiful garnish, fresh chopped parsley adds more than just visual appeal. Its vibrant green color and mild, herbaceous freshness provide a delightful counterpoint that brightens the rich, savory flavors of the cooked ribs. It’s the perfect finishing touch to awaken the palate.
- Your Favorite BBQ Sauce: This is where you can truly personalize your ribs and make them uniquely yours! Whether you prefer a sweet and sticky, tangy and tart, smoky and robust, or spicy and bold sauce, your choice will form the glorious, caramelized glaze during the final baking stage. This sauce adds a crucial layer of flavor and is responsible for creating that irresistible sticky, sweet, and slightly crispy bark that makes BBQ ribs so sought after.
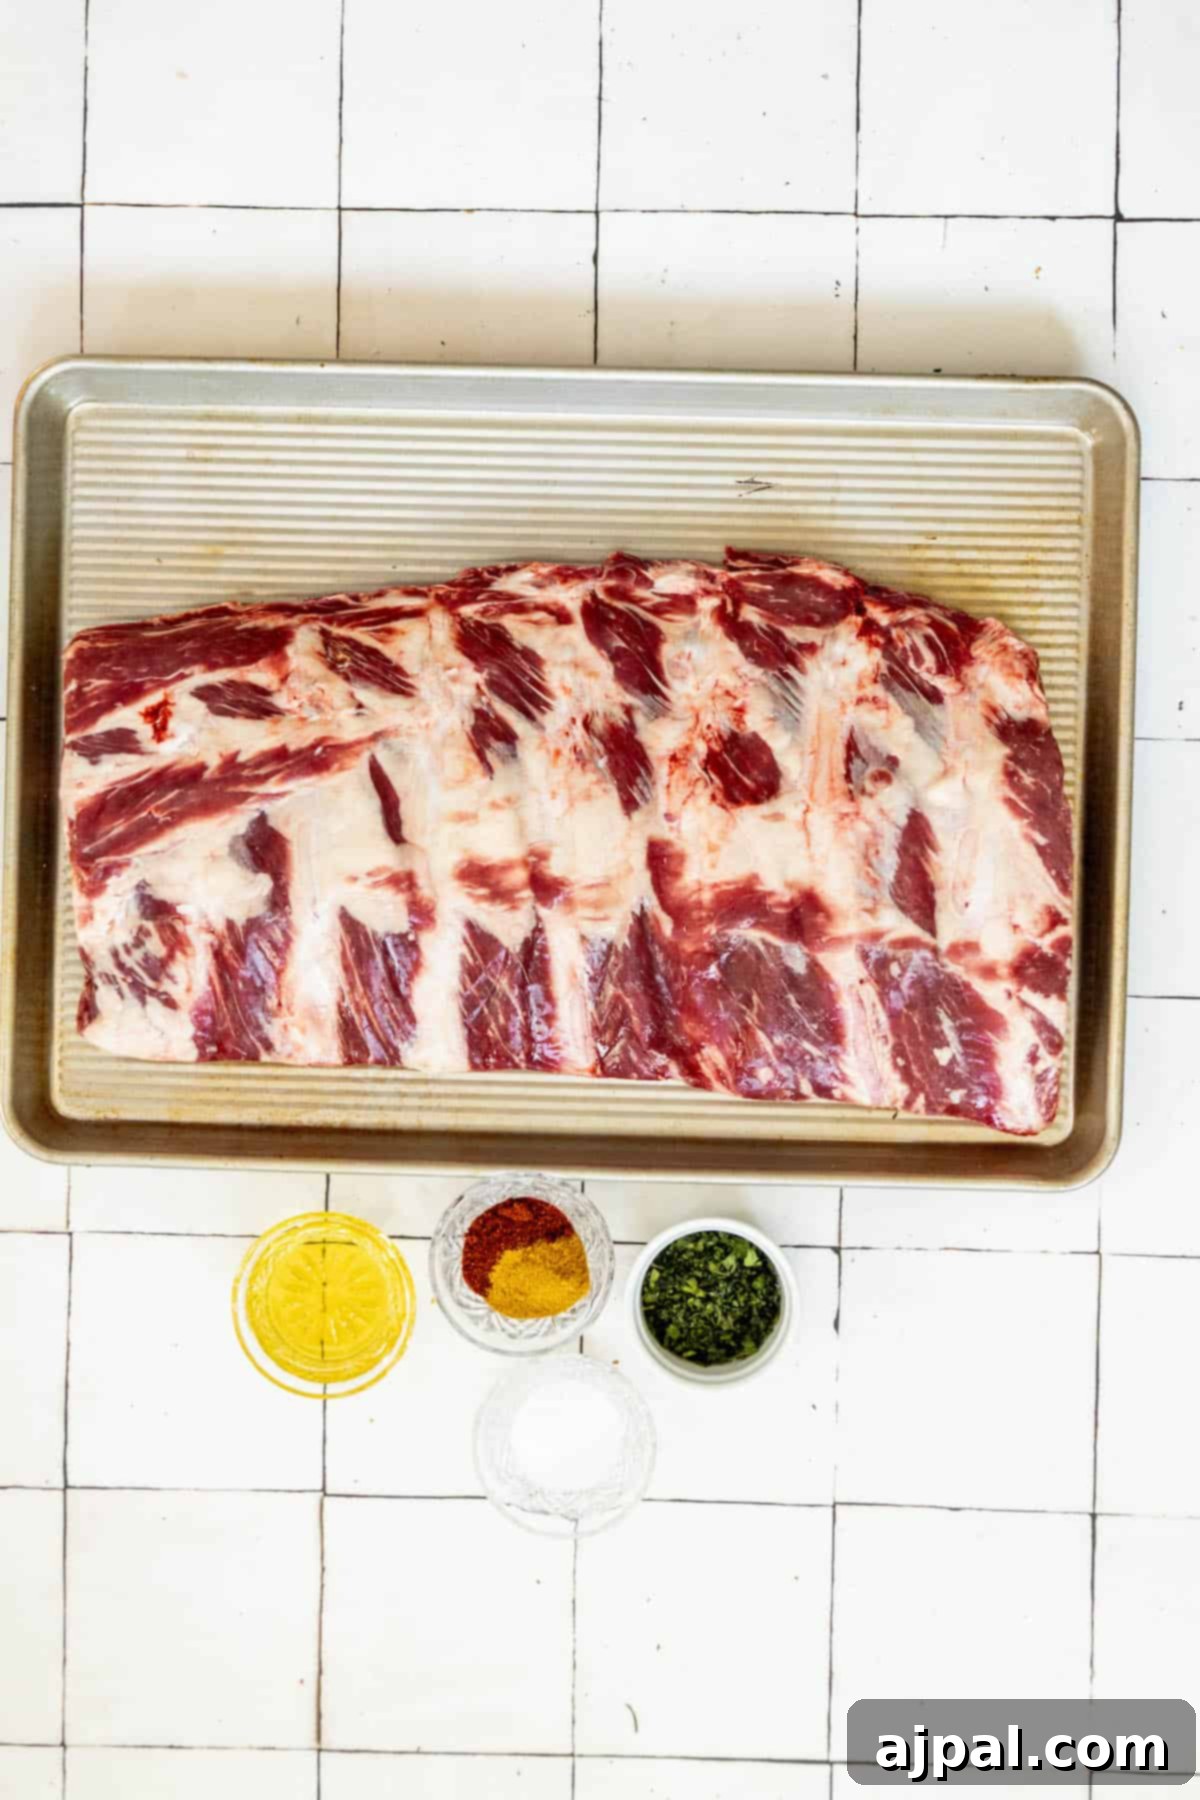
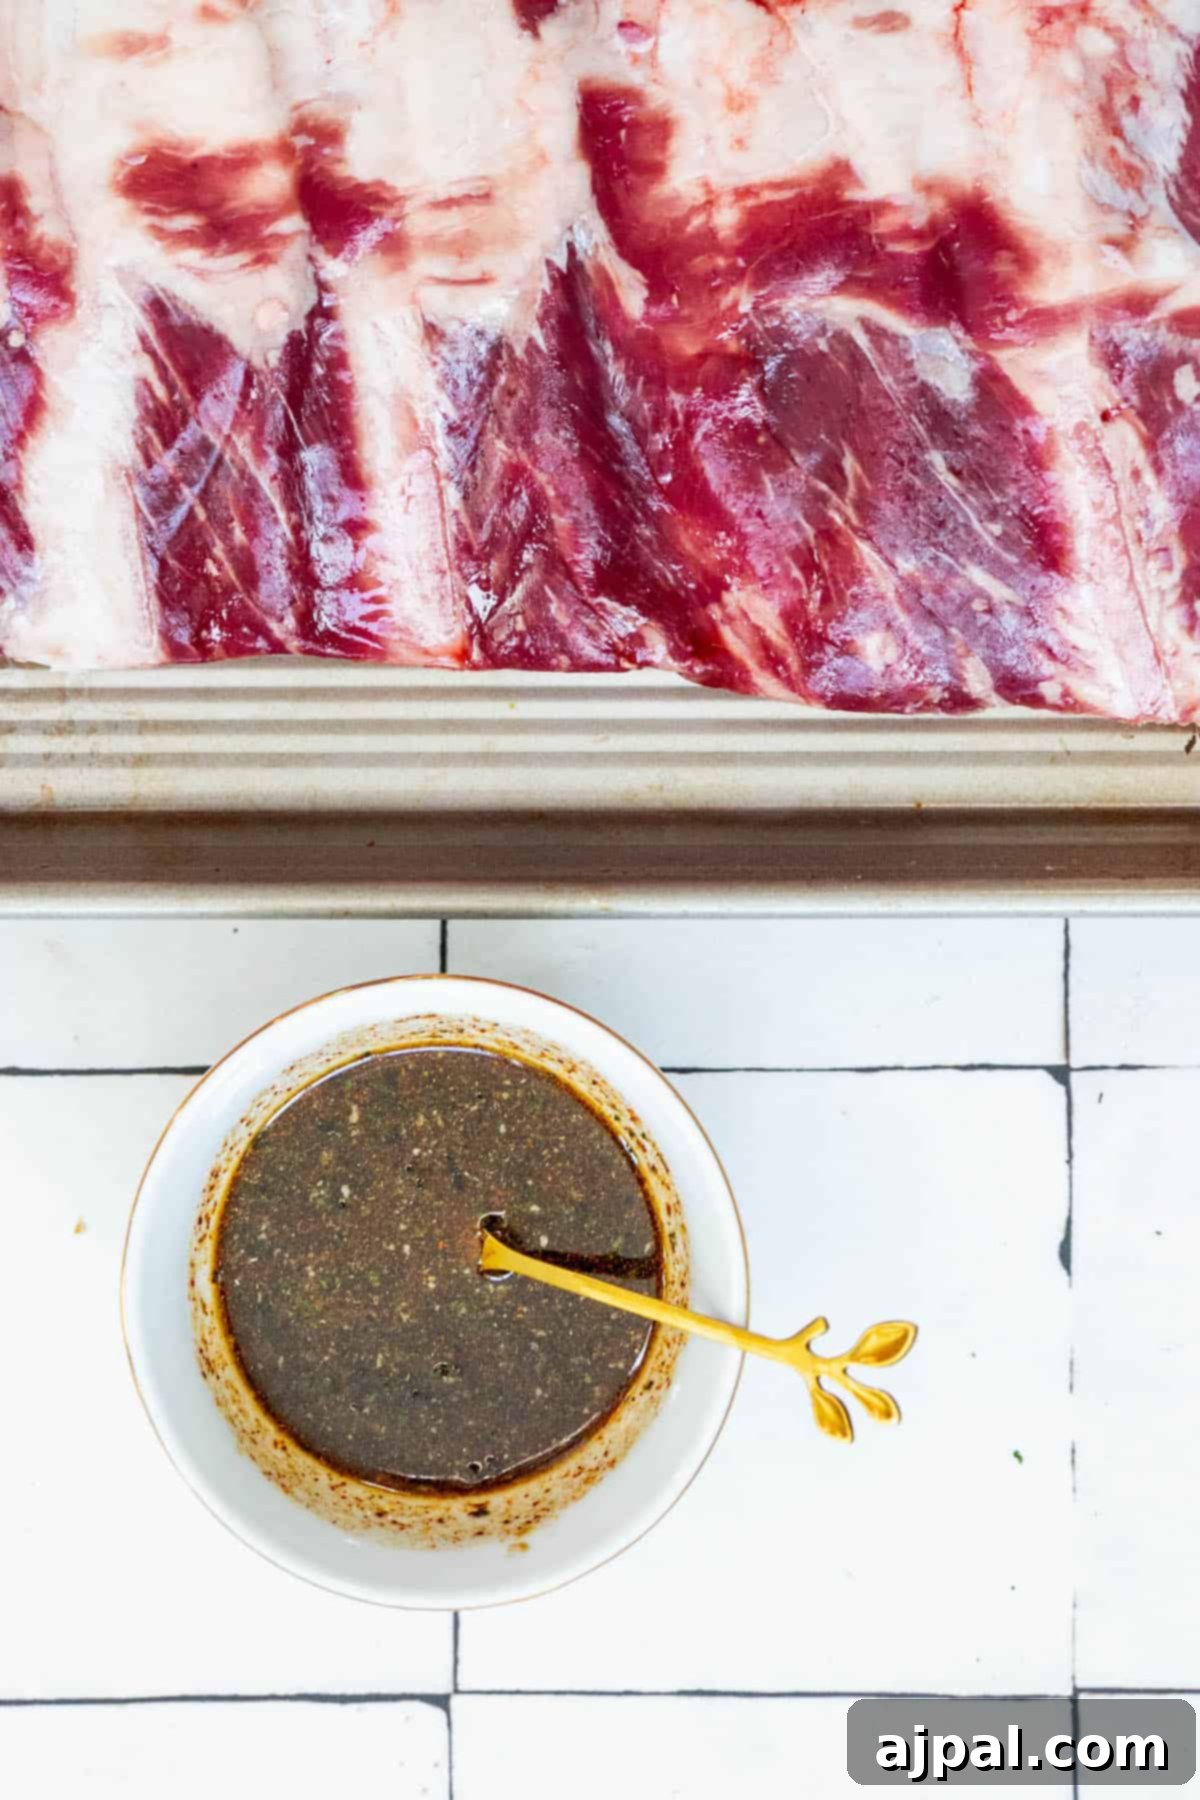
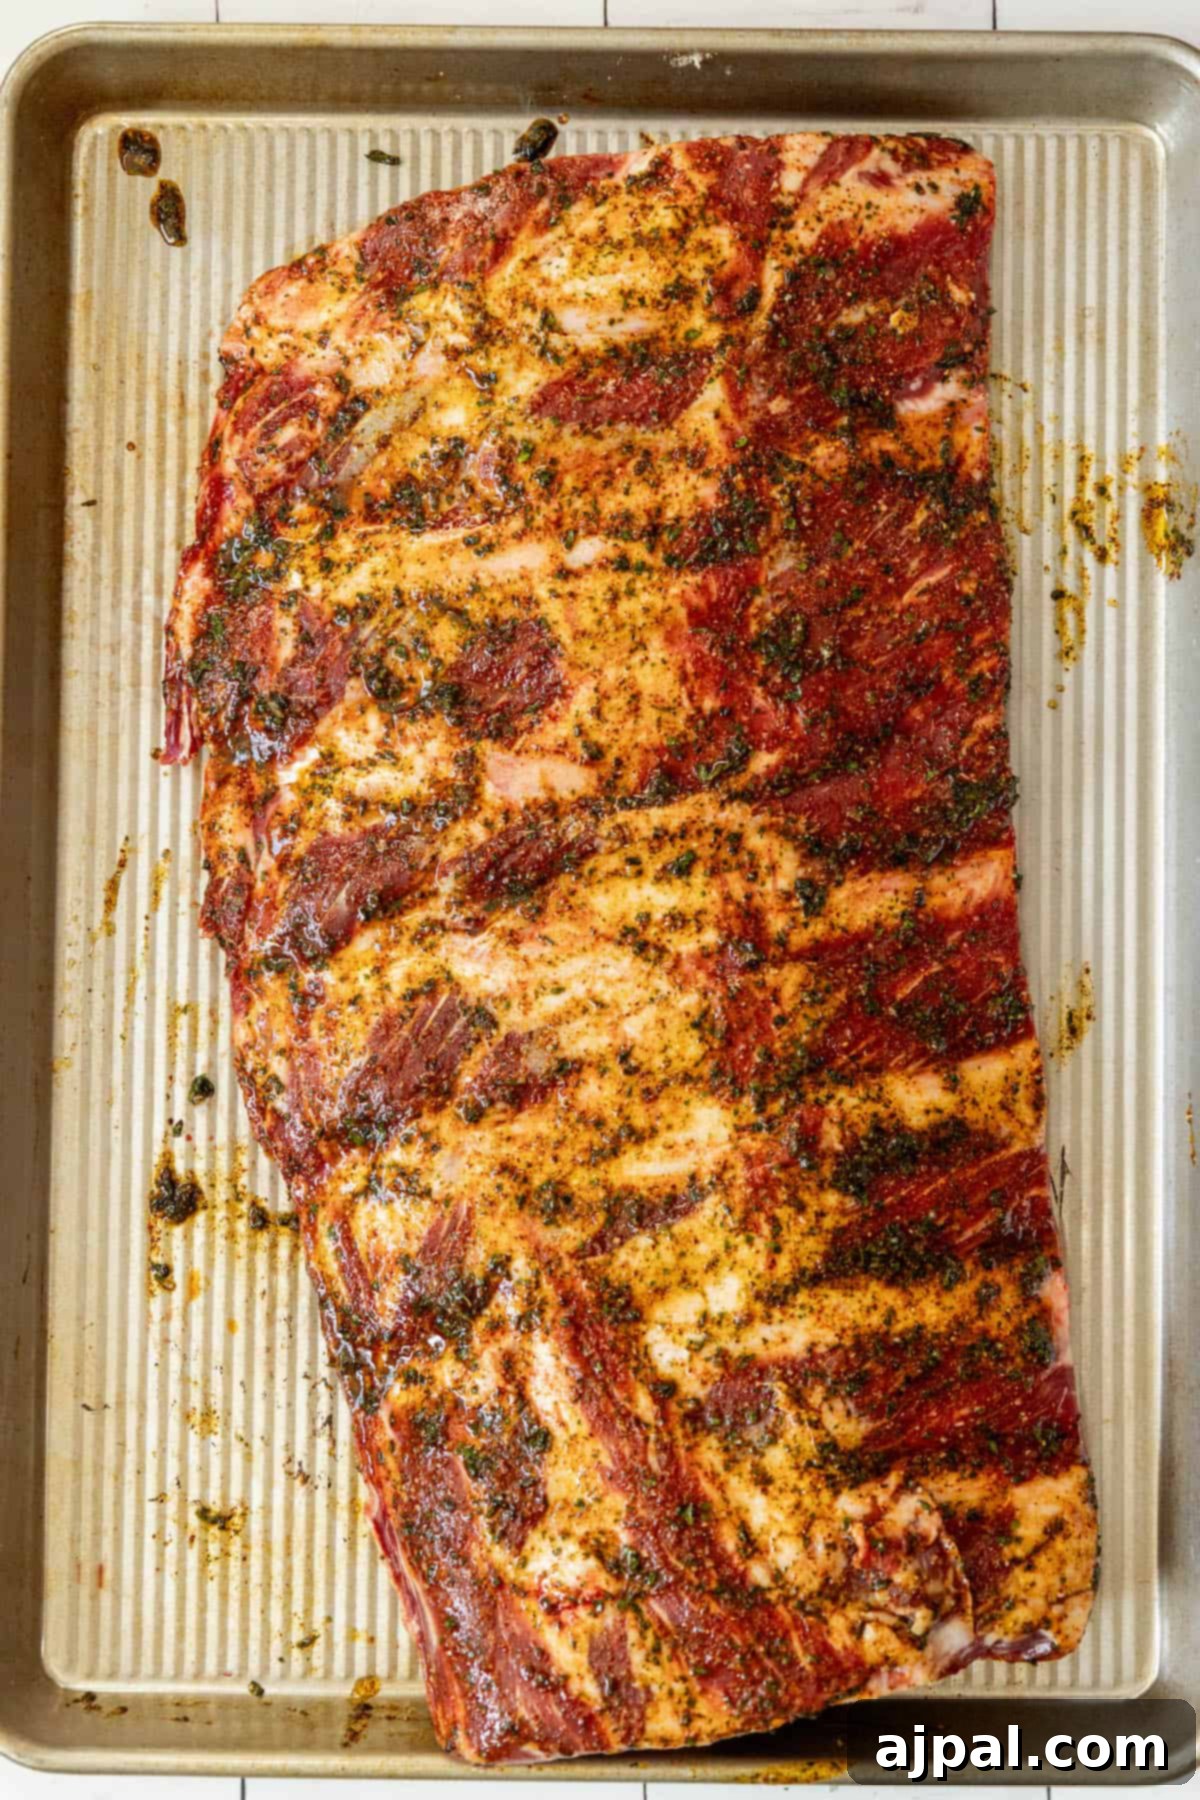
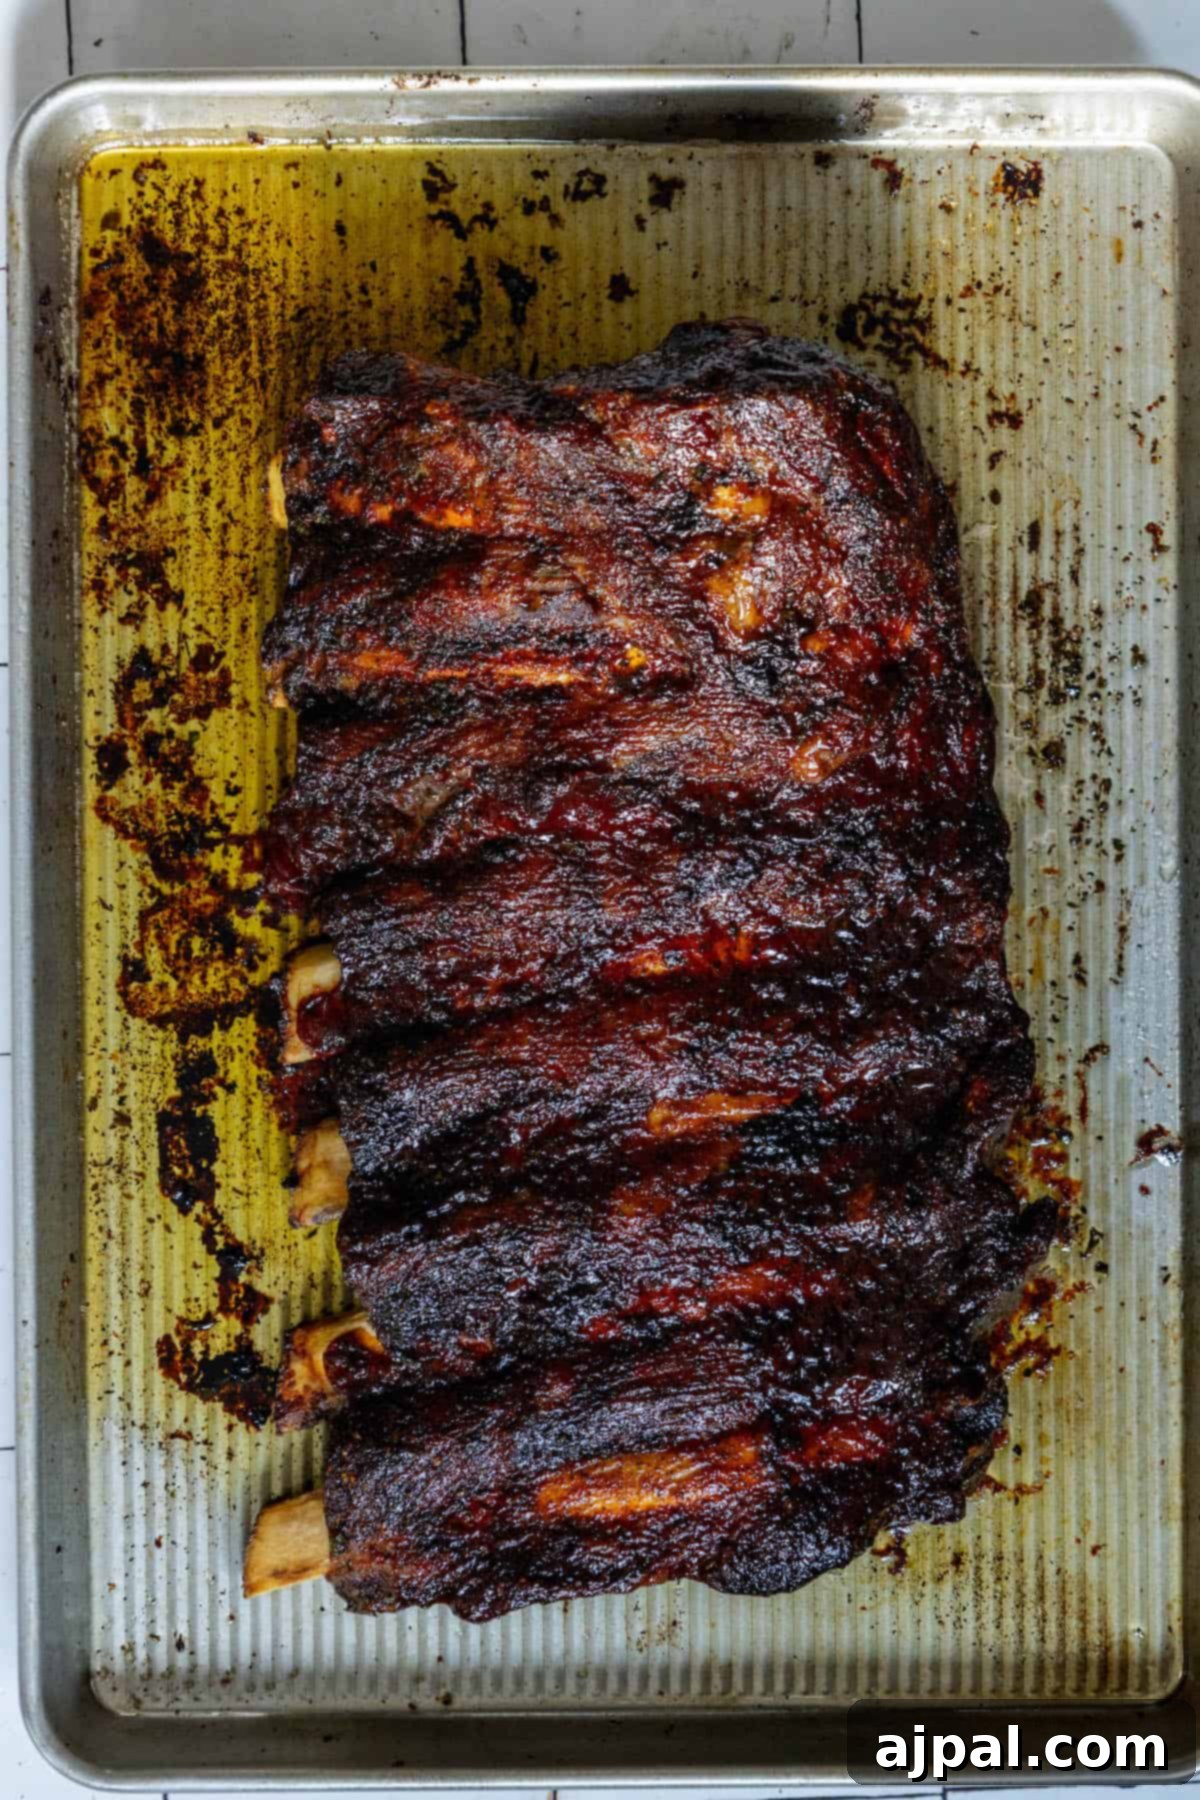
Step-by-Step: How to Cook Beef Ribs in the Oven
Once you’ve gathered all your ingredients and prepared your ribs, follow these simple, detailed steps to create perfectly tender, juicy, and flavorful oven-baked beef ribs that everyone will rave about:
- Preheat Oven & Initial Rib Preparation: Begin by preheating your oven to a steady 300°F (150°C). This ensures the oven is at the correct temperature for even cooking. While the oven heats, take your beef ribs and, if necessary, trim any excessive, hard fat. While some fat is good for flavor and moisture, too much can make them greasy. Crucially, consider removing the tough silver skin membrane from the bone-side of the ribs if your butcher hasn’t done so already. This membrane can become unpleasantly tough and chewy after cooking. To remove it, slide a knife under the membrane at one end, then grip it firmly with a paper towel or a clean cloth, and pull it off in one motion.
- Craft Your Aromatic Rub: In a small bowl, combine all your dry seasoning ingredients: the cumin, chili powder, cayenne pepper (remember to adjust this to your preferred spice level), garlic powder, and a generous amount of freshly cracked black pepper. Mix these spices thoroughly with a spoon or your fingertips until they are well combined. This creates your aromatic and flavorful dry rub.
- Oil and Generously Season the Ribs: Lightly brush the entire rack of beef ribs with avocado oil. This step is crucial for two reasons: the oil helps the dry spice rub adhere better to the meat, creating an even coating, and it aids in sealing in moisture during the slow cooking process, ensuring the meat stays incredibly juicy and succulent. Once oiled, generously rub your prepared spice mixture evenly over all surfaces of the ribs, ensuring every crevice and side is coated for maximum flavor penetration.
- The Slow Roast to Perfection (Covered): Place the seasoned beef ribs on a sturdy baking sheet or a roasting pan, ensuring they are bone-side down. This positioning allows the meat to cook evenly. Now, cover the entire pan tightly with heavy-duty aluminum foil. This creates a moist, steamy environment, effectively braising the ribs. Bake in your preheated oven for approximately 2.5 to 3 hours. This “low and slow” method is the absolute key to breaking down the tough connective tissues, resulting in incredibly tender meat that easily pulls away from the bone.
- Apply the BBQ Glaze: After the initial slow roast, carefully remove the pan from the oven and gently peel back and discard the aluminum foil. The ribs should already be looking tender and flavorful. Using a basting brush, generously coat all surfaces of the ribs with your favorite BBQ sauce. Don’t be shy – a good, even layer of sauce is what will create that beautiful, irresistible caramelized bark and add a final layer of tangy-sweet flavor.
- Final Bake and Caramelization (Uncovered): Return the now uncovered ribs to the oven and continue baking for an additional 30 minutes. During this crucial final stage, the BBQ sauce will caramelize, thicken, and form a delicious, sticky glaze with a slight crust. Keep a close eye on them to prevent the sauce from burning, but allow it to truly set and meld with the meat. The ribs should reach your desired level of tenderness, easily yielding when gently prodded with a fork or when the meat visibly recedes from the bone.
- Rest Before Serving: Once baked to perfection, remove the beef ribs from the oven. It’s incredibly important to let them rest, loosely tented with foil, for at least 10-15 minutes before you slice into them. This resting period allows the muscle fibers to relax and reabsorb all those delicious juices that have gathered, ensuring every single bite is moist, tender, and intensely flavorful. Skipping this step can lead to dry ribs.
- Garnish and Enjoy: To serve, transfer the rested ribs to a clean cutting board. For a final flourish and a burst of contrasting freshness, garnish the ribs with freshly chopped parsley. Slice the ribs carefully between the bones into individual portions and arrange them on a platter. Serve immediately with extra BBQ sauce on the side for dipping or drizzling, allowing everyone to customize their perfect bite.
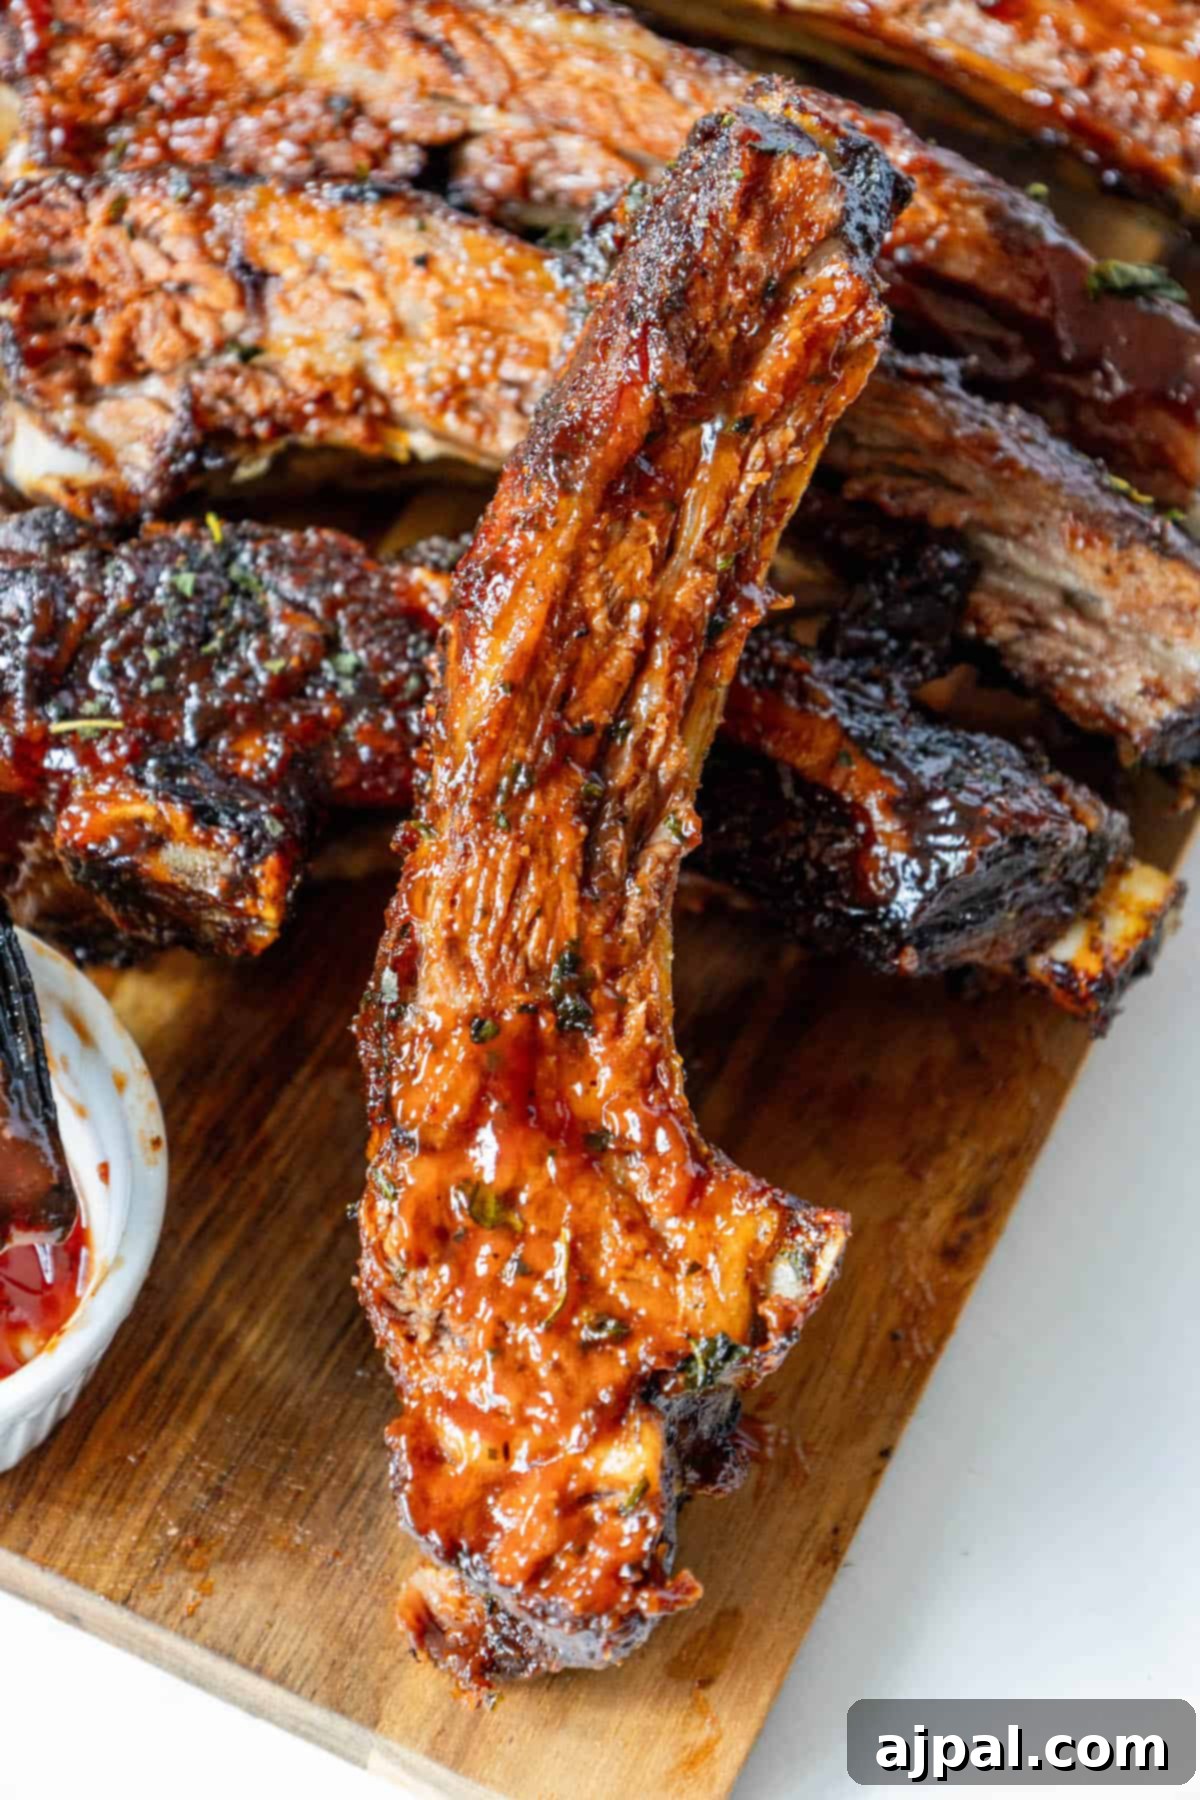
Expert Tips for Perfectly Baked Beef Ribs
Achieving restaurant-quality oven-baked beef ribs is easier than you think, especially with a few expert tips and tricks up your sleeve. Follow these guidelines to ensure your ribs are consistently tender, juicy, and bursting with flavor every time:
- Choose the Right Ribs: As emphasized, the foundation of great ribs starts with the cut. Opt for meaty beef short ribs or beef back ribs with good marbling. Marbling, the small streaks of fat within the muscle, is crucial as it renders during cooking, contributing significantly to moisture and flavor. Avoid ribs that look excessively lean or dry.
- Prepare Ribs Properly:
- Trim Excess Fat: While some fat is good, thick chunks of hard, unrendered fat can make the ribs greasy and unappetizing. Trim visible large pieces of hard fat, but don’t over-trim the flavorful intramuscular fat (marbling).
- Remove Silver Skin: This is a game-changer! On the bone-side of the ribs, there’s often a thin, tough membrane called silver skin. If not removed, it becomes chewy and prevents the rub from penetrating the meat. To remove it, slide a butter knife or the blunt end of a spoon under the membrane at one end, then grip it firmly with a paper towel (for better grip) and pull it off in one continuous strip.
- Marinate or Season in Advance: For the deepest flavor penetration and enhanced tenderness, it’s highly recommended to apply your dry rub or wet marinade at least 2-4 hours before baking. For even more intense flavor, prepare them the night before and let them marinate in the refrigerator for up to 24 hours. This allows the spices to truly meld with the meat.
- Preheat Oven Thoroughly: Always ensure your oven is fully preheated to the specified temperature (300°F or 150°C) before placing the ribs inside. A consistently heated oven is crucial for even cooking from the start and maintaining the low-and-slow environment necessary for tenderness.
- Consider Searing (Optional but Recommended): For an extra layer of savory flavor and a beautiful browned crust, consider searing the ribs on all sides in a very hot, oven-safe skillet with a little high-smoke-point oil (like avocado or grapeseed oil) before they go into the oven. This step helps to develop the Maillard reaction, locking in juices and adding a rich, complex exterior.
- Use a Sturdy Roasting Pan: Choose an oven-safe roasting pan with high sides to comfortably contain the ribs and any drippings. While not strictly necessary if wrapping tightly, a wire rack placed inside the pan can also help lift the ribs slightly, allowing air to circulate and excess fat to drain away, preventing them from sitting in their own rendered fat.
- The “Low and Slow” Method is Key: This cannot be stressed enough. Resist the urge to crank up the heat to speed things up. The magic of truly tender ribs happens at lower temperatures (around 300°F) over an extended period. This gentle heat slowly breaks down tough collagen into succulent gelatin, resulting in that desired fall-off-the-bone, melt-in-your-mouth texture. Patience is a virtue here!
- Seal with Foil for Moisture: Wrapping the ribs tightly in heavy-duty aluminum foil during the initial baking phase is paramount. This creates a self-contained, moist, and steamy environment within the package, effectively braising the ribs and ensuring they become incredibly tender without drying out. Ensure the foil is crimped tightly around the edges to prevent steam from escaping.
- Basting for Moisture and Flavor: While the ribs are covered, they essentially self-baste in their own juices. Once you remove the foil to apply the BBQ sauce, consider basting them periodically (every 10-15 minutes) with extra sauce or pan juices during the final uncovered baking stage. This helps to keep them moist, builds multiple layers of flavor, and develops a richer, stickier glaze.
- Check for Doneness, Not Just Time: While cooking times are a guide, the ultimate test for perfectly cooked ribs is tenderness. The meat should be exceptionally tender and easily pull away from the bone with minimal effort. You shouldn’t need a knife to separate the meat; a fork should suffice. For the most precise measurement, an internal temperature of 190-205°F (88-96°C) typically indicates optimal tenderness, though a simple fork test is often sufficient.
- The Importance of Resting: After removing the ribs from the oven, allow them to rest, loosely tented with foil, for at least 10-15 minutes (or even longer, up to 30 minutes, for larger racks). This crucial resting period allows the muscle fibers to relax and reabsorb all the delicious juices that have been pushed to the center during cooking, ensuring the ribs remain moist, tender, and incredibly flavorful when sliced.
- Customize Your Sauce: Don’t be afraid to experiment with different BBQ sauces. Sweet, spicy, smoky, tangy, or a homemade concoction – find what you love! You can even layer different sauces or add a dash of apple cider vinegar or Worcestershire sauce to enhance store-bought options.
- Garnish for Freshness: A sprinkle of fresh herbs like chopped parsley, cilantro, or even sliced green onions adds a vibrant pop of color and a refreshing counterpoint to the rich, savory ribs, brightening the overall dish.
Frequently Asked Questions About Oven Baked Beef Ribs
Beef short ribs and beef back ribs are both excellent choices for oven baking. Beef short ribs are prized for their rich flavor and abundant, tender meat, becoming incredibly succulent when slow-roasted. Beef back ribs, while leaner and with less meat, also yield delicious, concentrated beefy flavor and tender results when prepared using the low-and-slow oven method.
While not strictly mandatory, marinating or generously seasoning the ribs before baking is highly recommended for optimal flavor penetration and depth. Using a well-balanced dry rub or a flavorful wet marinade for at least a few hours, or ideally overnight in the refrigerator, allows the spices and flavors to infuse deeper into the meat, resulting in a significantly more delicious final product. Even a simple, robust seasoning of salt and freshly cracked pepper makes a big difference.
Searing the ribs in a hot skillet or on a grill before placing them in the oven is an optional but highly recommended step if you desire an extra layer of flavor and a beautiful crust. Searing creates a rich, brown crust through the Maillard reaction, which significantly enhances their overall taste and visual appeal. It also helps to lock in those precious juices before the long slow cook.
The ideal temperature for baking beef ribs in the oven to achieve that desirable fall-off-the-bone tenderness is a low and slow setting. Typically, you should preheat your oven to around 275-300°F (135-150°C). This gentle, consistent heat allows the tough connective tissues in the ribs to slowly break down and convert into gelatin, resulting in incredibly tender, melt-in-your-mouth meat without drying it out.
The total cooking time for oven-baked beef ribs can vary depending on the thickness of the ribs, whether they are short ribs or back ribs, and your desired level of tenderness. Generally, beef ribs require approximately 2.5 to 3 hours of covered baking (wrapped tightly in foil) at 300°F. This is followed by an additional 30 minutes of uncovered baking with BBQ sauce for caramelization. This brings the total active cooking time to approximately 3 to 3.5 hours for tender, delicious results.
Yes, wrapping the ribs tightly in aluminum foil during the initial, longer baking phase is absolutely crucial. This method, sometimes referred to as the “Texas Crutch” in the BBQ world, traps steam and moisture within the foil packet. This creates a humid, steamy environment that effectively braises the ribs, ensuring they become incredibly tender and juicy without drying out. Remember to remove the foil for the last 30 minutes to allow the BBQ sauce to caramelize and form a delicious bark.
Beef ribs are perfectly done when the meat is exceptionally tender and easily pulls away from the bone. You should be able to gently twist a bone from the rack with minimal effort, or probe the thickest part of the meat with a fork and feel very little resistance – it should feel like butter. While not strictly necessary for home cooks, for the most precise measurement, an internal temperature of 190-205°F (88-96°C) typically indicates optimal tenderness, especially for rendering collagen.
Absolutely! Basting the ribs, especially during the final uncovered baking stage with your chosen BBQ sauce, is an excellent way to keep them moist, build up multiple layers of flavor, and develop a beautiful, sticky caramelized glaze. You can also baste them with any pan juices during the covered phase if you wish, though the foil itself does a superb job of retaining moisture.
Yes, resting the ribs after baking is a vital step that significantly impacts their final juiciness and flavor. Allow them to rest, loosely tented with aluminum foil, for at least 10-15 minutes after removing them from the oven. This process allows the muscle fibers to relax and reabsorb all the delicious juices that have concentrated during cooking, ensuring every slice remains moist, tender, and incredibly flavorful. Cutting into them too soon will cause juices to run out.
Oven-baked beef ribs are incredibly versatile and pair wonderfully with a wide array of classic BBQ and comfort food side dishes. Popular choices include creamy coleslaw, hearty baked beans, fluffy cornbread, rich mashed potatoes, and a variety of roasted or grilled vegetables like corn on the cob or asparagus. Don’t forget to have extra BBQ sauce on hand for dipping!
Indeed! Applying your favorite barbecue sauce or a homemade glaze during the final 30 minutes of the baking process (after removing the foil) is not just for added flavor; it’s essential for creating that signature sticky, caramelized exterior. This step truly elevates the dish, infusing the ribs with a wonderful sweet, tangy, and smoky finish that makes them irresistible.
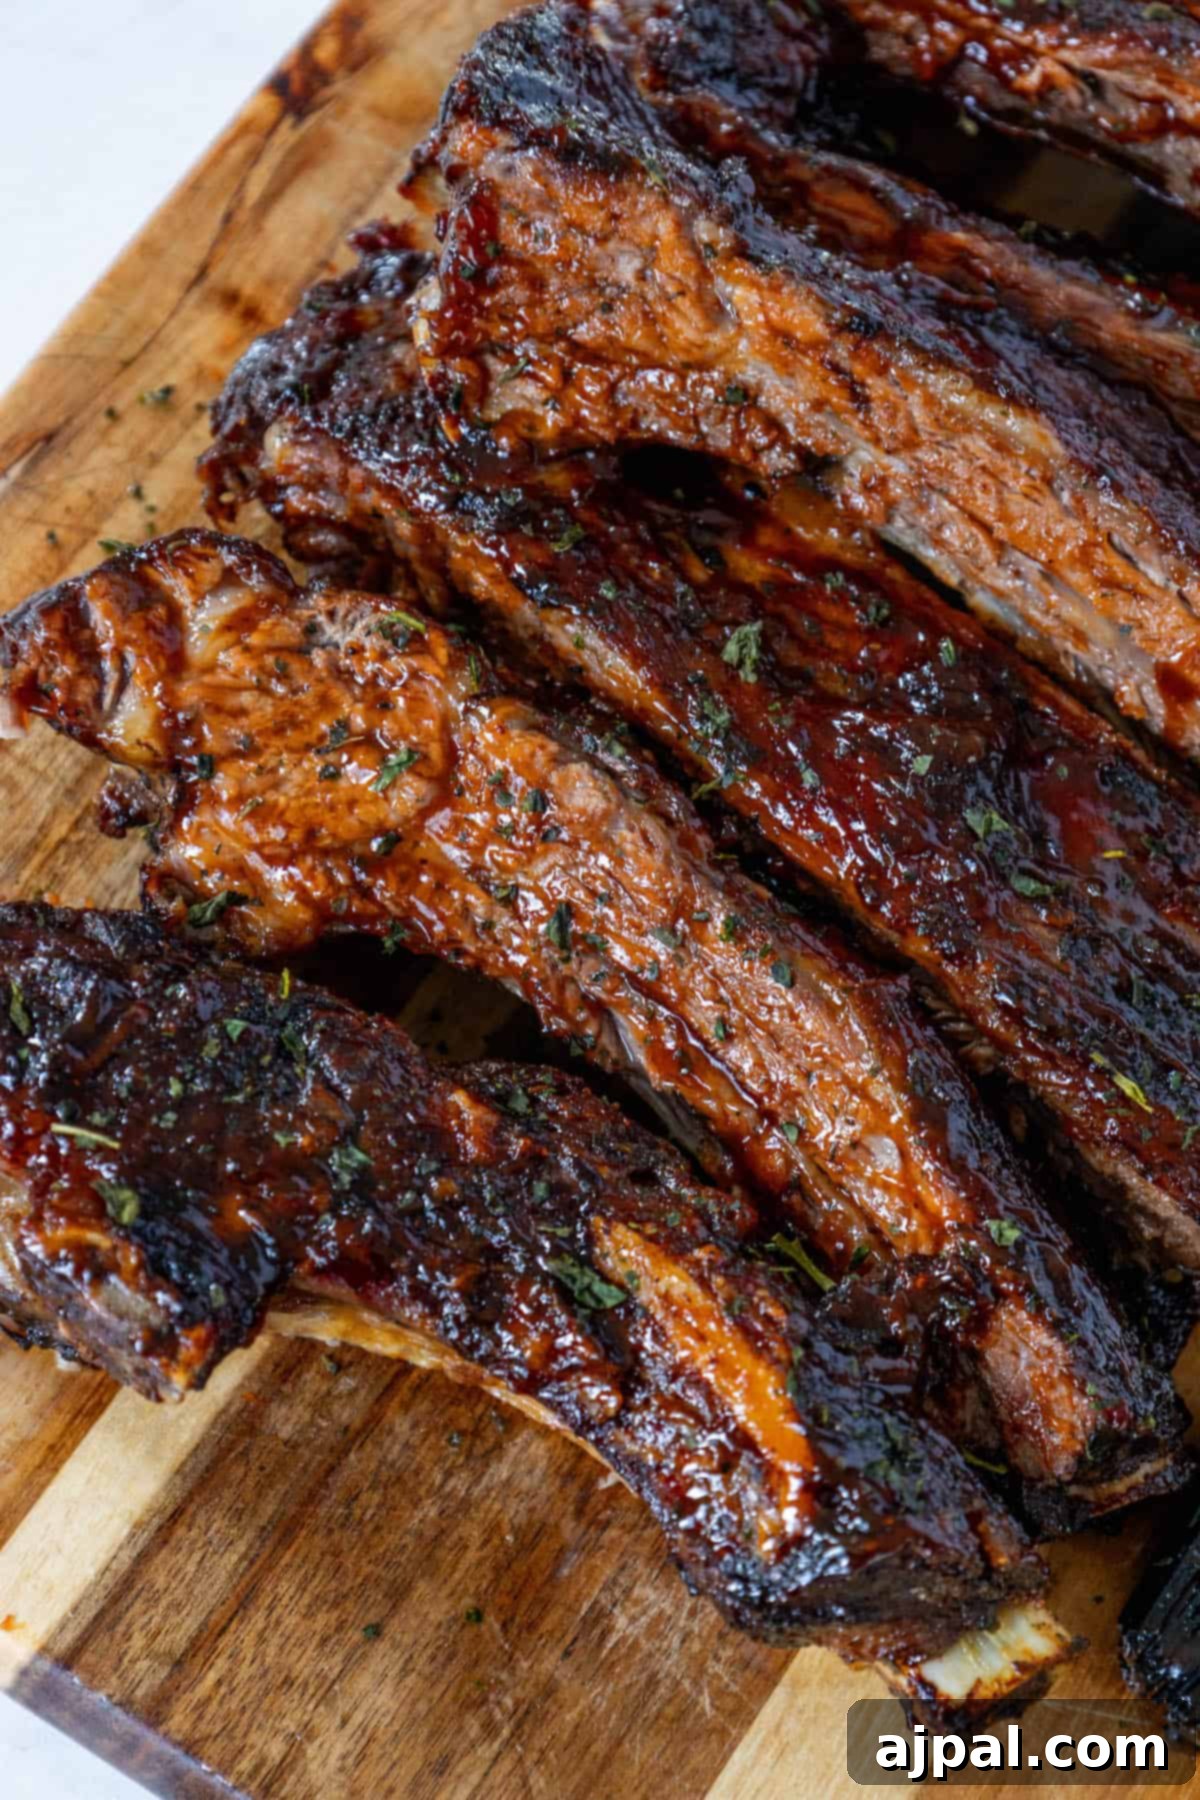
What to Serve With Baked Beef Ribs
These magnificent oven-baked beef ribs are the star of any meal, but they truly shine when accompanied by the right side dishes. Pairing them with complementary flavors and textures elevates the entire dining experience. Here are some delectable options that perfectly complement their rich, savory flavor and tender texture:
- Creamy Macaroni and Cheese: Nothing says comfort food quite like a rich, cheesy mac and cheese. Its creamy texture and mild, comforting flavor provide a wonderful contrast to the robust, savory beef ribs. The combination of tender meat and gooey pasta is hard to resist. Try our best mac and cheese ever for an unforgettable pairing.
- Tangy Potato Salad: A classic potato salad, especially one with a tangy, slightly acidic dressing and a bit of crunch from celery or onions, offers a refreshing counterpoint that cuts through the richness of the ribs. It’s a staple for a reason!
- Crispy Garlic Bread: Slices of warm, buttery garlic bread or savory garlic knots are absolutely perfect for soaking up every last drop of that delicious BBQ sauce and any flavorful pan juices. It’s simple, satisfying, and always a crowd-pleaser.
- Sweet Cornbread: A skillet of warm, moist cornbread (or individual cornbread muffins) is a fantastic addition to any BBQ spread. Its slight sweetness and crumbly texture pair beautifully with the savory, saucy ribs, offering a delightful balance of flavors.
- Fresh Coleslaw: A crunchy, vibrant coleslaw, whether creamy or vinegar-based, offers a crisp, cool, and refreshing element that provides a welcome contrast to the richness of the ribs. It cleanses the palate and adds a much-needed textural component.
- Roasted or Grilled Vegetables: Simple roasted asparagus, green beans, corn on the cob, or a colorful medley of bell peppers and onions add a healthy, fresh, and flavorful component to your meal without overpowering the main dish.
- Baked Beans: Hearty, smoky baked beans are a quintessential BBQ side dish. Their sweet and savory profile, often with hints of molasses and bacon, complements beef ribs perfectly, creating a truly classic American meal. Check out our best slow cooker baked beans recipe for a perfect companion.
Try These Delicious BBQ Sides:
Funeral Potatoes
Scalloped Corn Casserole Recipe
Salt Baked Potato with Herbed Butter
The Best Slow Cooker Baked Beans Recipe
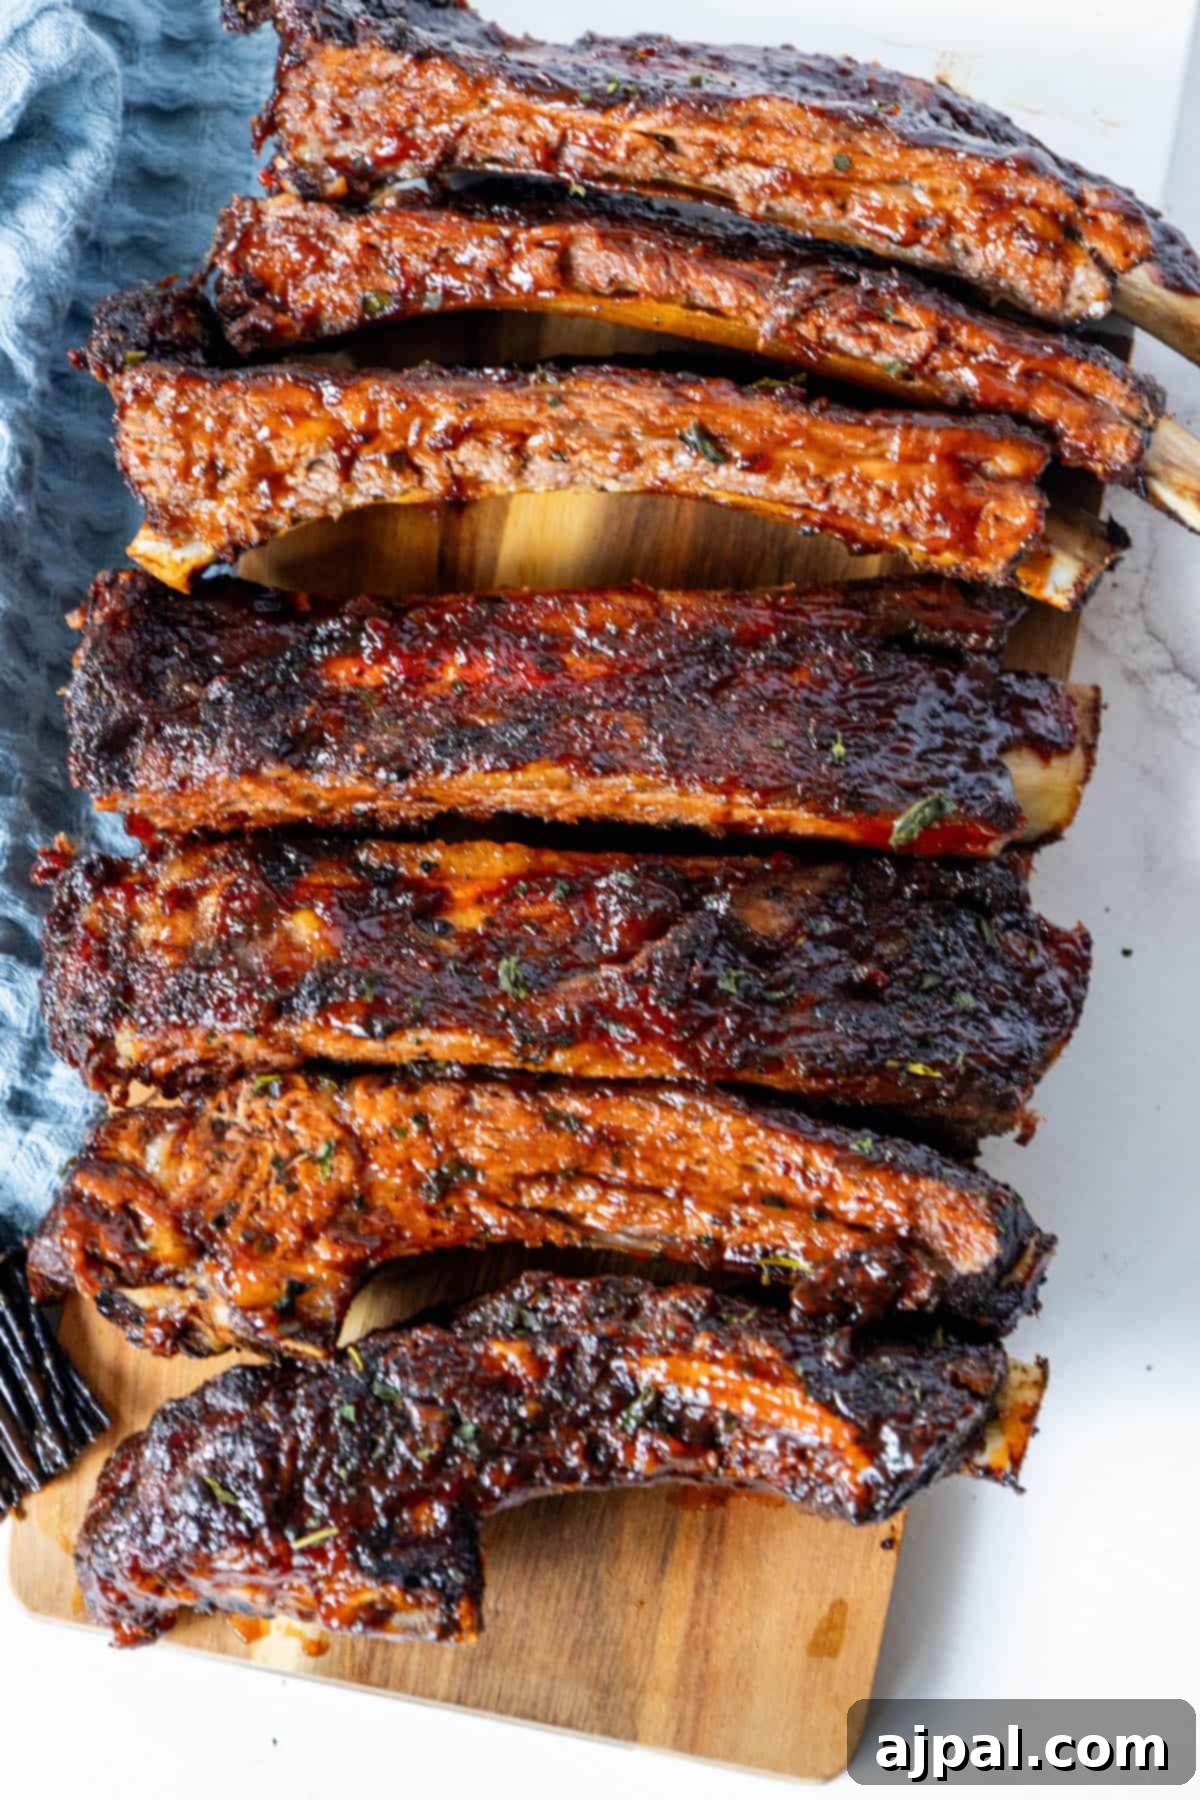
If you’ve loved preparing and savoring this easy recipe, please take a moment to rate it five stars using the stars below and share your thoughts in the comments section! Your feedback is invaluable to us and helps other home cooks discover delicious meals. Also, help us spread the word by sharing your culinary creations on Instagram, Facebook, and Pinterest – we absolutely love seeing what you make and how you personalize our recipes!
Share on Facebook
Share
Pin this now to find it later
Pin It
Follow on Instagram
Follow
Click here to view the web story for this recipe!
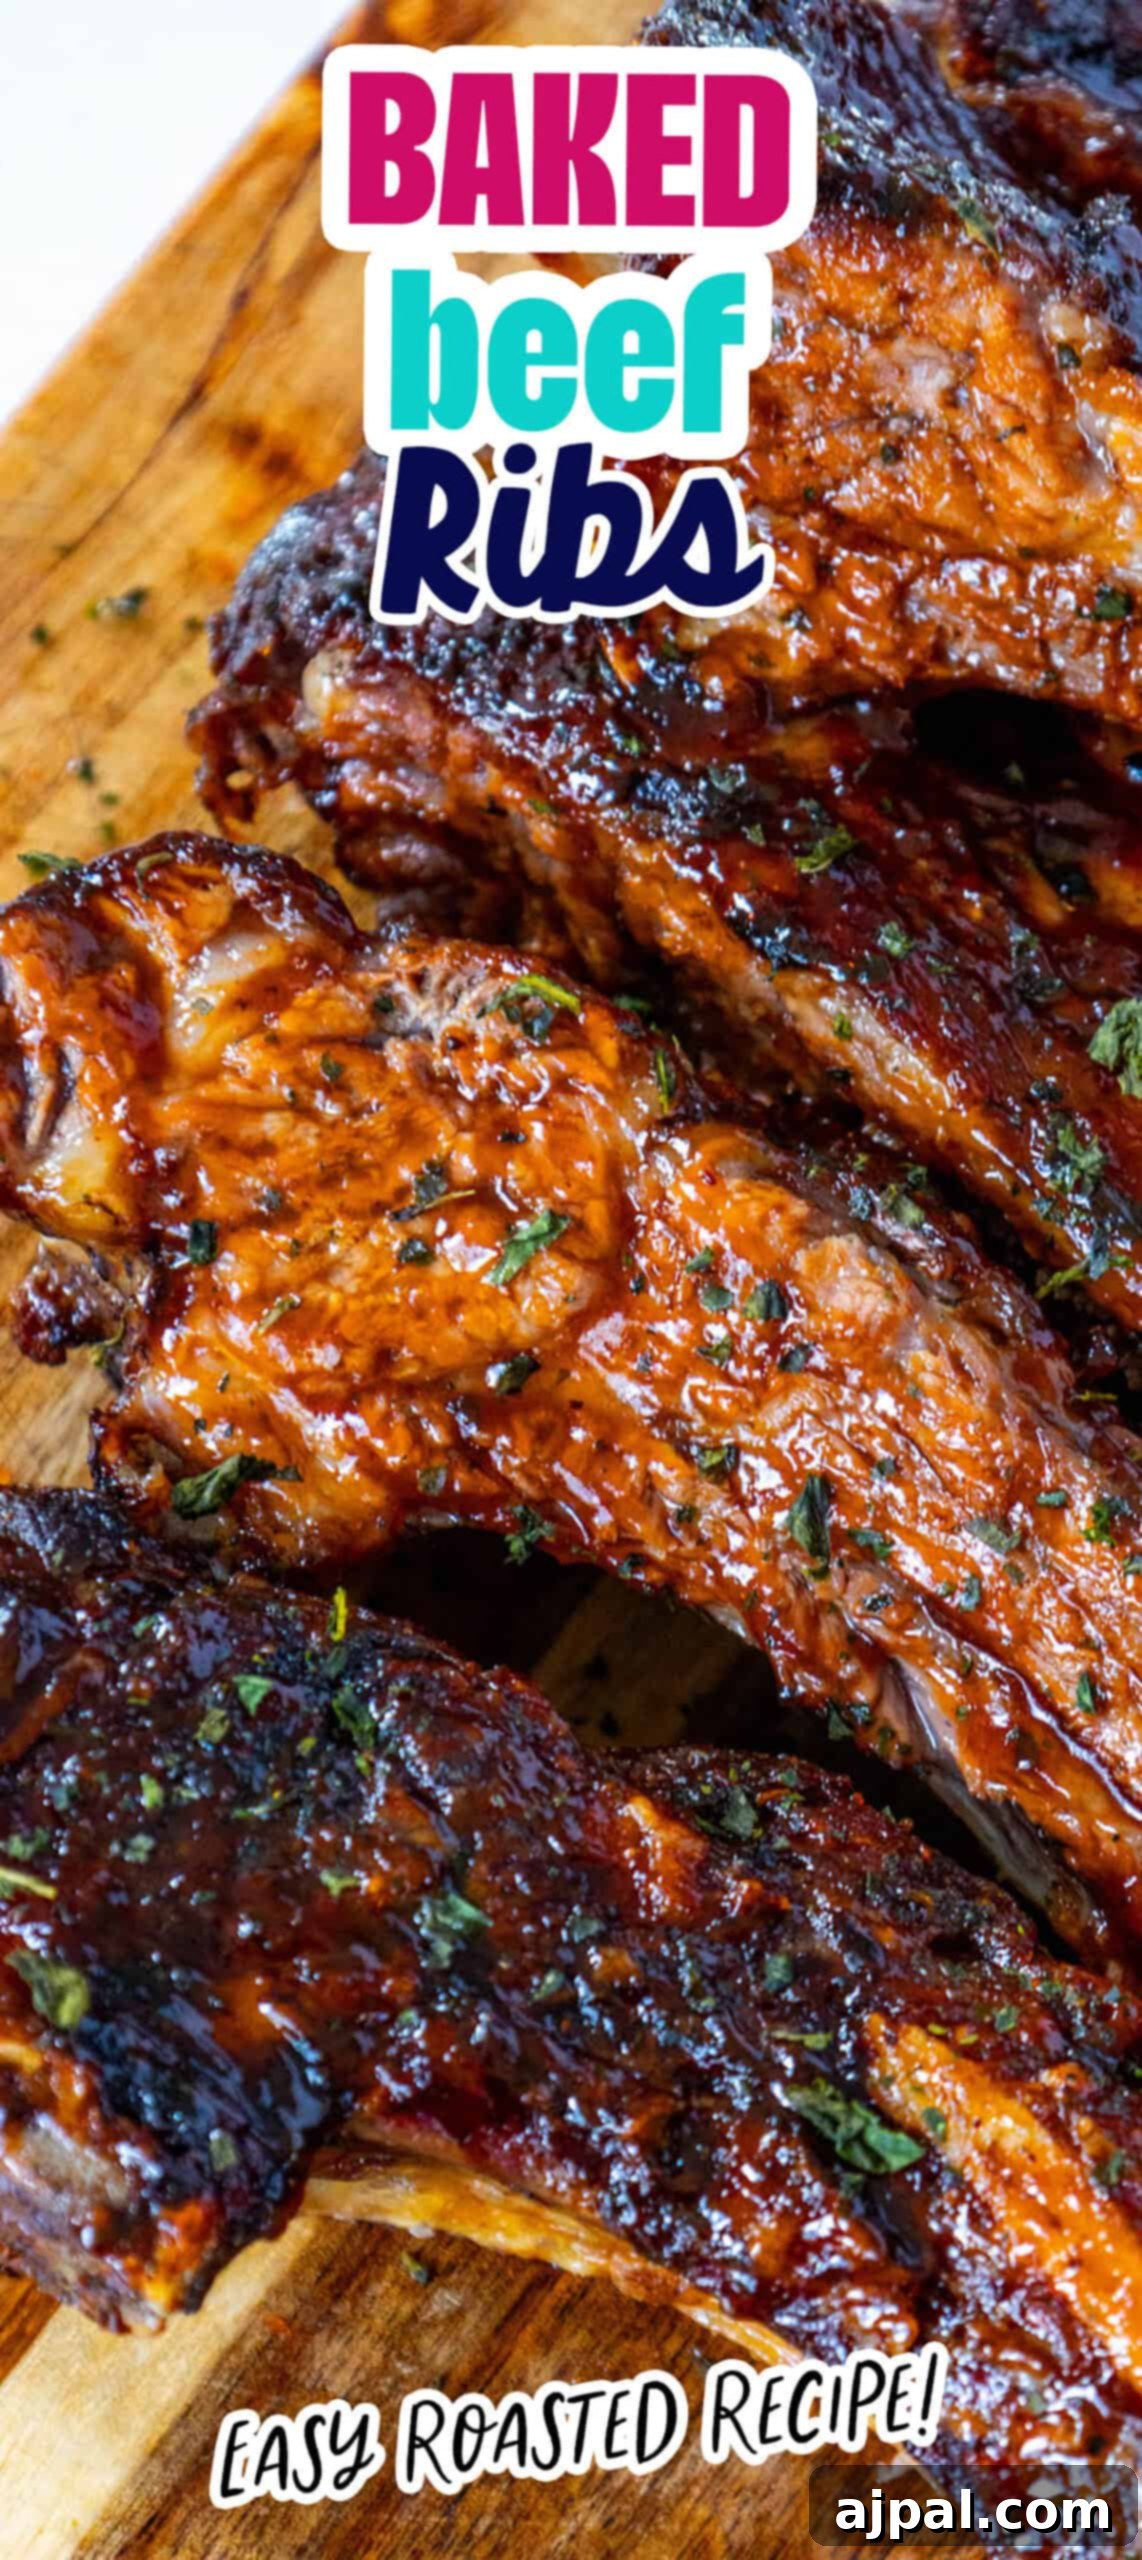
Only have 30 minutes to get dinner on the table? Sign up for my 30 minute dinner plans direct to your inbox!
Find and shop my favorite products in my Amazon storefront here!
Oven Baked Beef Ribs Recipe Card
Beef Ribs in the Oven
Servings: 4 servings
Cook: 3 hrs
Total: 3 hrs 15 mins
Share by Email
Print Recipe
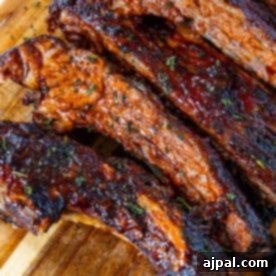
These delicious, mouthwatering beef ribs are effortlessly baked in the oven, yielding a perfect fall-off-the-bone result that’s bursting with flavor!
Equipment
- AmazonFresh Avocado Oil, 33.8 fl oz (1L)
- USA Pan Bakeware Half Sheet Pan, Warp Resistant Nonstick Baking Pan, Made in the USA from Aluminized Steel 17 1/4 x12 1/4 x1
Ingredients
- 1 rack of beef ribs
- 2 tablespoons avocado oil
- 1 teaspoon cumin
- 1 teaspoon chili powder
- ¼ teaspoon cayenne, adjust to your preferred level of spiciness
- 1 teaspoon garlic powder
- Fresh cracked black pepper, to taste
- Chopped parsley, for garnish
- Your favorite BBQ sauce
Instructions
- Preheat your oven to 300°F (150°C).
- Start by preparing the beef ribs. If there’s excess fat, trim it down to your preference. Consider removing the silver skin membrane from the bone-side for best results (see Expert Tips).
- In a small bowl, mix together the cumin, chili powder, cayenne, garlic powder, and fresh cracked black pepper to create your dry rub.
- Brush the rack of beef ribs with avocado oil to help seal in moisture during cooking and aid rub adhesion.
- Rub the spice mixture evenly over all surfaces of the ribs, ensuring they are well coated for maximum flavor.
- Place the seasoned beef ribs on a baking sheet or roasting pan, bone side down.
- Cover the ribs tightly with aluminum foil and bake in the preheated oven for approximately 2.5 to 3 hours. This slow-roasting method is key to making the ribs incredibly tender and flavorful.
- After the initial slow roast, carefully remove the pan from the oven and discard the aluminum foil. Brush the ribs generously with your favorite BBQ sauce, using a basting brush for even coverage.
- Return the uncovered ribs to the oven and continue baking for an additional 30 minutes, or until the ribs develop a beautiful caramelized glaze and reach your desired level of fall-off-the-bone tenderness.
- Once done, remove the beef ribs from the oven and let them rest, loosely tented with foil, for at least 10-15 minutes. This allows the juices to redistribute, ensuring moist and flavorful ribs.
- To serve, garnish with freshly chopped parsley for a burst of freshness and color.
- Slice the ribs between the bones into individual portions and serve immediately with extra BBQ sauce on the side for dipping or drizzling.
Nutrition
Calories: 337kcal
Carbohydrates: 5g
Protein: 17g
Fat: 27g
Saturated Fat: 9g
Polyunsaturated Fat: 15g
Cholesterol: 61mg
Sodium: 155mg
Fiber: 1g
Sugar: 3g
Nutrition information is automatically calculated, so should only be used as an approximation.
Additional Info
Cuisine: American
Tried this recipe?
Mention @sweetcsdesigns or tag #sweetcsdesigns!