

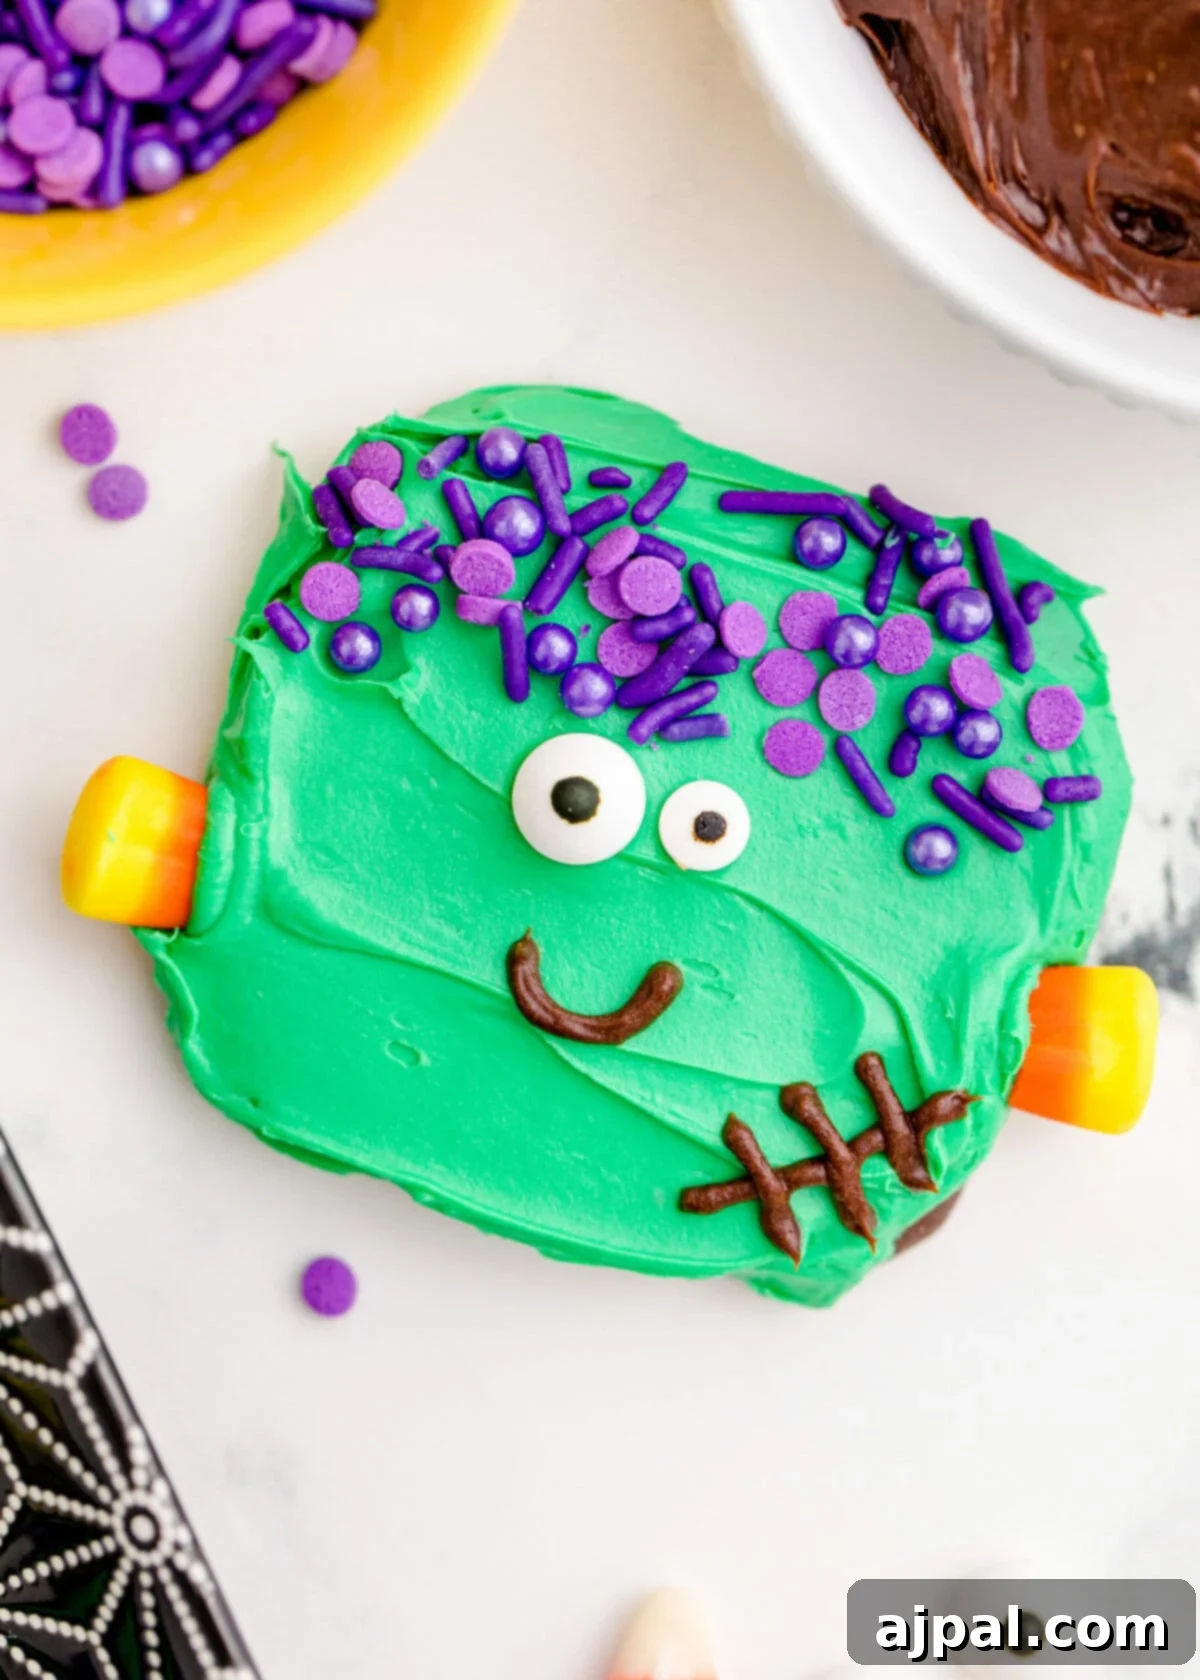
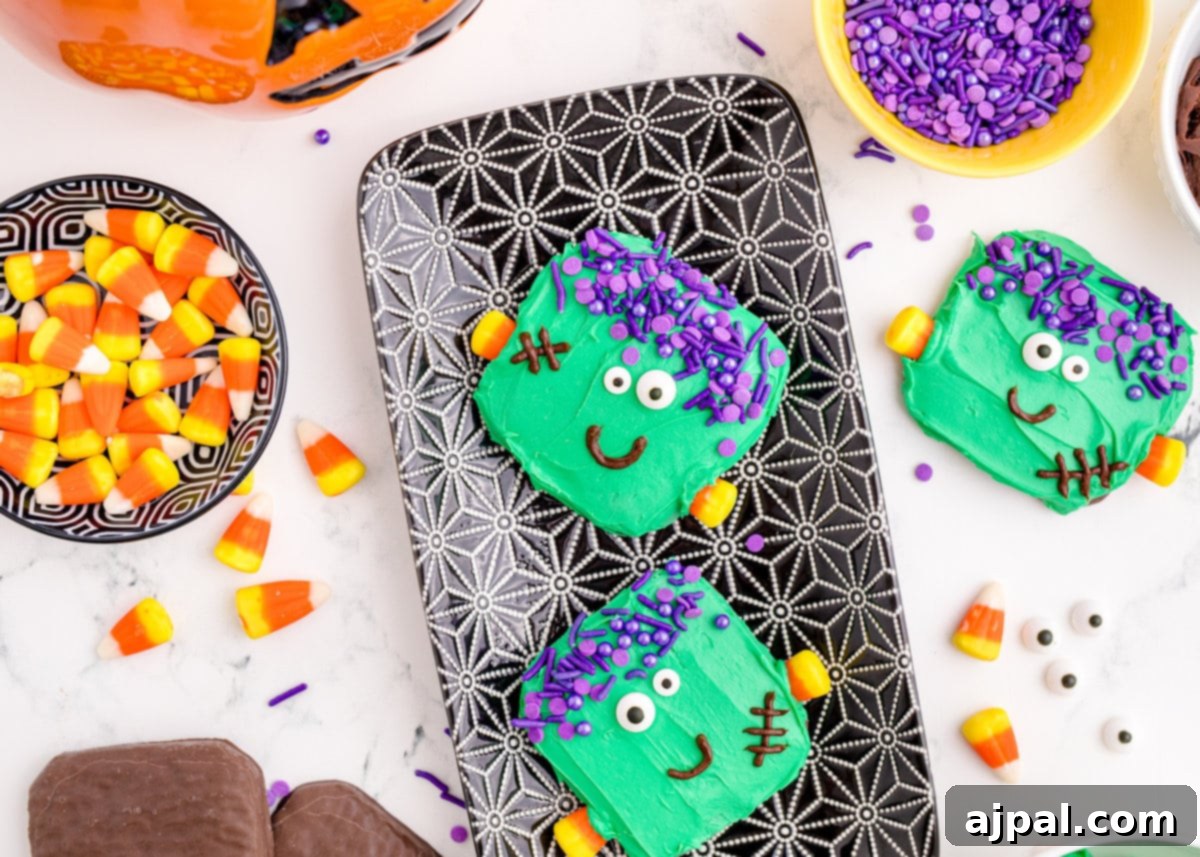
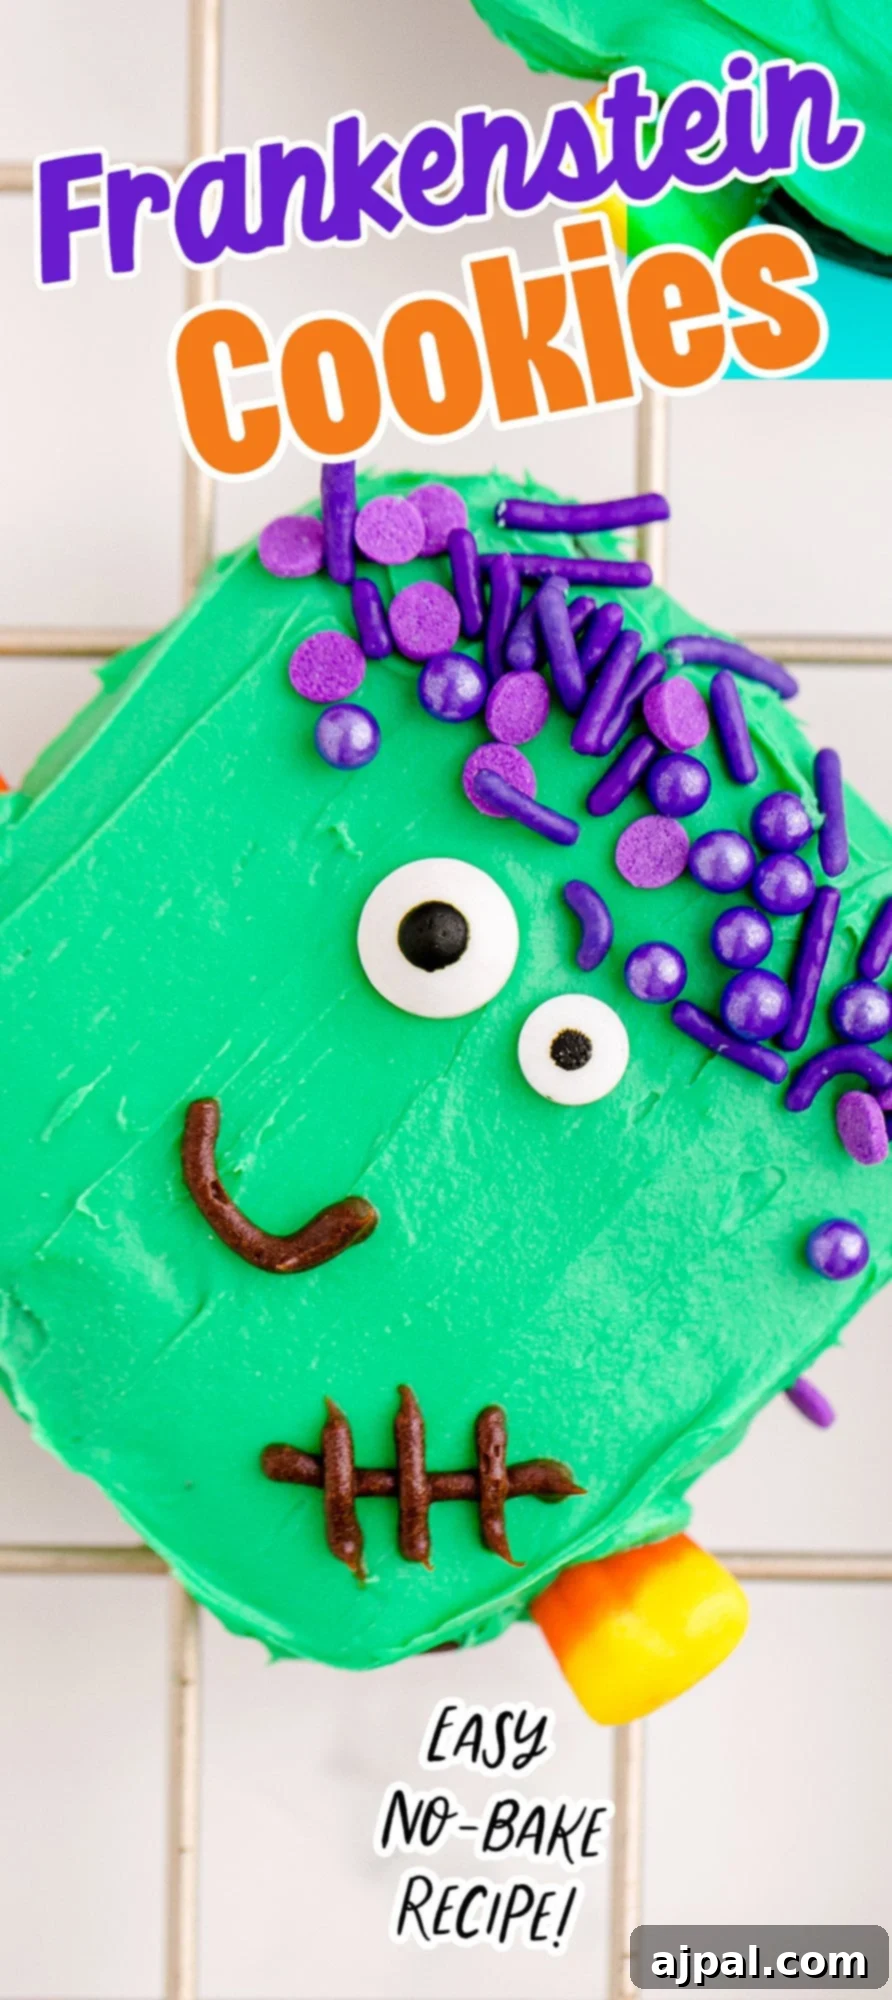
Step into the festive spirit of Halloween with these absolutely adorable and surprisingly simple Frankenstein cookies! A delightful fusion of spooky charm and sweet indulgence, these cookies are a guaranteed hit at any Halloween gathering. Whether you’re a seasoned baker or a complete novice in the kitchen, this guide will empower you to create these cute, monstrous treats with ease, using a combination of vibrant icing, playful sprinkles, and readily available store-bought cookies.
Forget complicated baking techniques and endless hours in the kitchen. Our recipe focuses on accessible methods, allowing anyone to bring these iconic green-faced monsters to life. From dipping and decorating to adding those quirky candy eyes and signature neck bolts, we’ll walk you through every step, ensuring your Halloween party spread is both memorable and delicious. Get ready to unleash your inner mad scientist and create a batch of Frankenstein cookies that are almost too cute to eat!
For your convenience, we’ve designed this page to be easily navigable. You’ll find a clear table of contents below, allowing you to jump directly to the sections that interest you most, from ingredients to step-by-step instructions. At Sweet C’s, our passion lies in empowering every home cook, regardless of their experience level. As a self-taught cook, I understand the value of knowing not just *what* to do, but *why* each step and ingredient is important. My goal is to equip you with the confidence and understanding needed to create delightful dishes, making your time in the kitchen enjoyable and rewarding.
Table of contents
- The Ultimate Easy Frankenstein Cookies for Halloween
- Why These Frankenstein Cookies Are a Halloween Must-Make
- Essential Ingredients for Your Frankenstein Cookies
- Step-by-Step Guide to Decorating Frankenstein Cookies
- Pro Tips and Tricks for Flawless Frankenstein Cookies
- Frequently Asked Questions About Frankenstein Cookies
- What to Serve With Your Spooky Frankenstein Cookies
The Ultimate Easy Frankenstein Cookies for Halloween
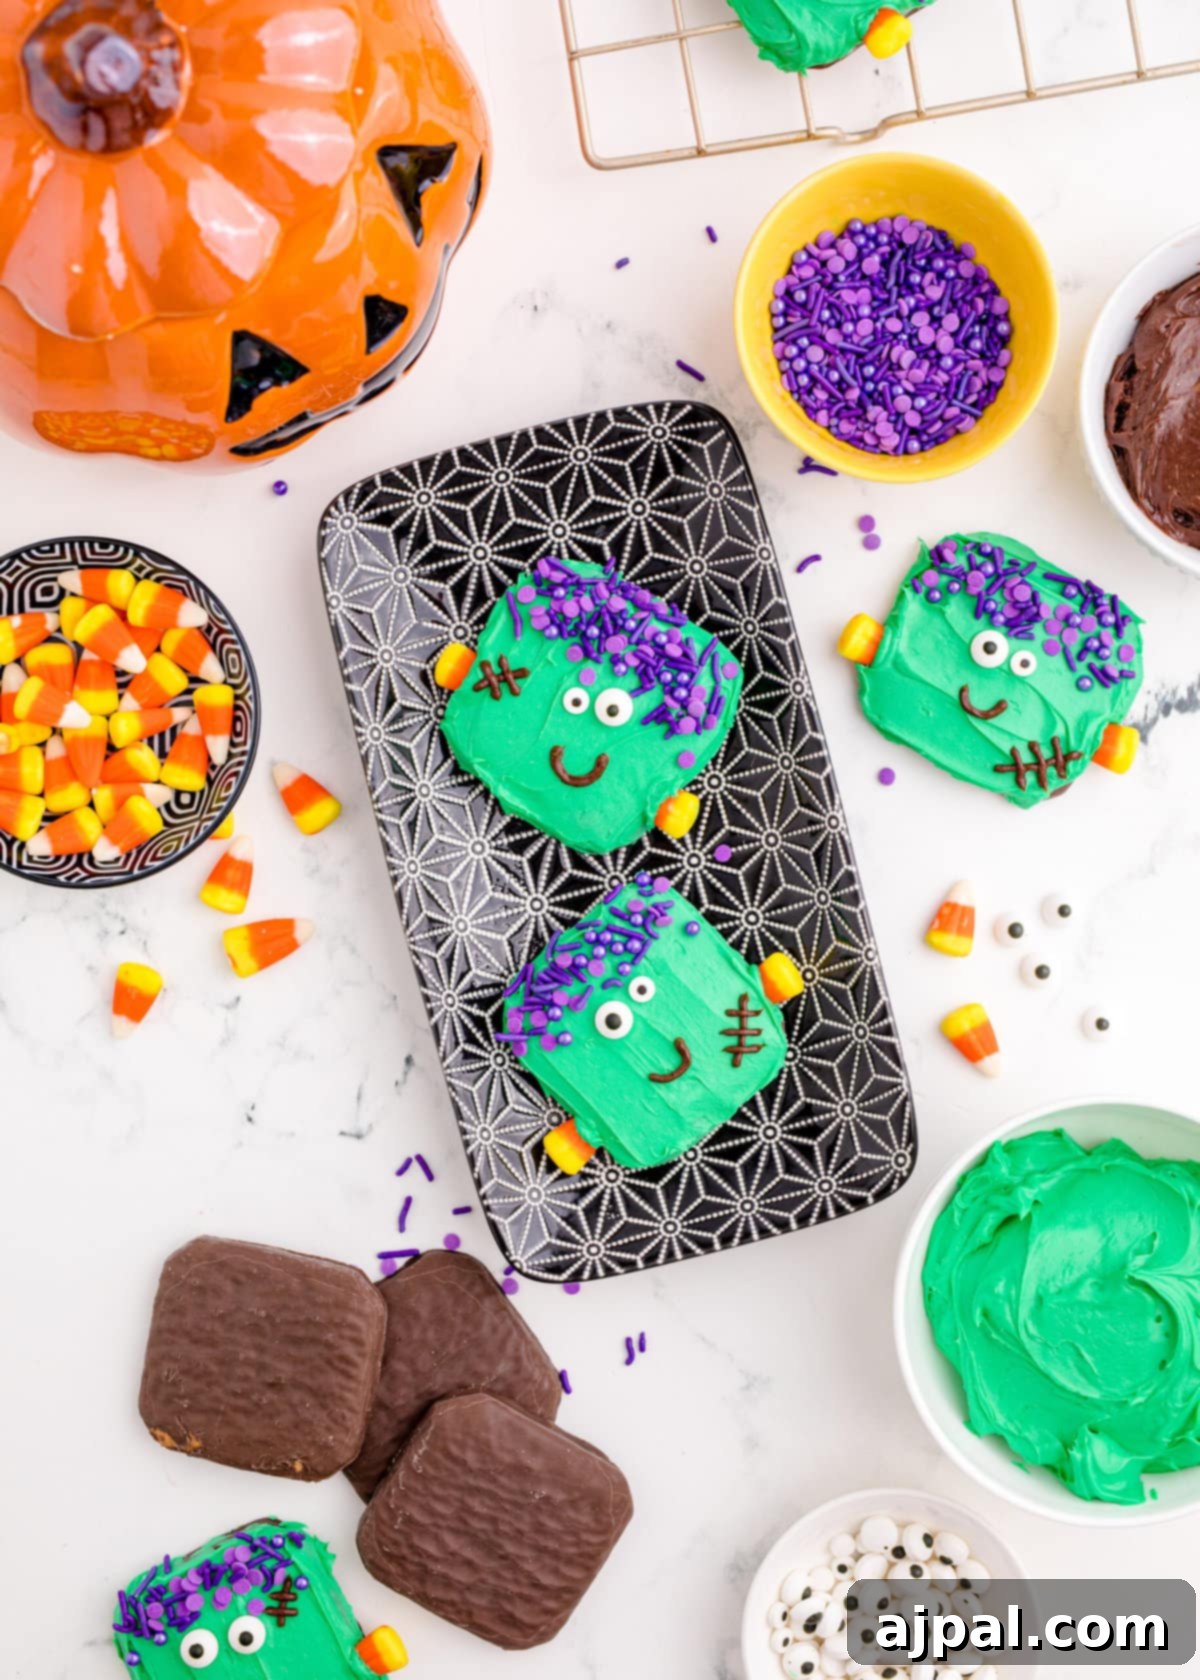
Halloween is a time for spooky fun, creative costumes, and, of course, deliciously eerie treats! These Easy Dipped Frankenstein Cookies fit the bill perfectly, offering a delightful and simple project that brings everyone into the festive spirit. My kids absolutely adore Halloween, and our annual party wouldn’t be complete without a spread of ghoulish delights that they’ve helped create. This particular cookie recipe has become a treasured tradition, largely because it’s so hands-on and forgiving, making it ideal for aspiring young chefs.
The beauty of this recipe lies in its simplicity. By utilizing a pre-made cookie base, we eliminate the need for baking from scratch, cutting down preparation time significantly. This allows more time for the truly fun part: decorating! From slathering on vibrant green icing to carefully placing sprinkles for hair and drawing whimsical chocolate smiles, every step is designed to be engaging for children. In fact, my oldest often takes the lead on the Frankenstein cookies, meticulously overseeing their transformation into friendly monsters. The process is straightforward enough for even the youngest helpers to contribute, fostering creativity and a sense of accomplishment.
It’s important to remember that Frankenstein, in Mary Shelley’s classic novel, refers to the brilliant but ultimately misguided scientist, Victor Frankenstein, who brought a man-like creature to life. Over time, popular culture has come to associate the name “Frankenstein” with the creature itself—a patchwork being, stitched together from various parts. This narrative is wonderfully reflected in our cookies! Don’t fret if your Frankenstein monsters look a little rough around the edges, or if their stitches are a bit crooked. That’s precisely the charm of these cookies! Their imperfect, ‘stitched-together’ appearance only adds to their authentic monster appeal, making each one unique and full of character. The most important ingredient in this recipe is a dash of creativity and a generous sprinkle of fun as you bring these delicious, iconic monsters to life.
Essential Ingredients for Your Frankenstein Cookies
Crafting these Frankenstein cookies is incredibly fun, and the right ingredients make all the difference. While we emphasize ease with store-bought items, feel free to use homemade alternatives if you prefer. Here’s a detailed look at what you’ll need to bring your monstrous creations to life:
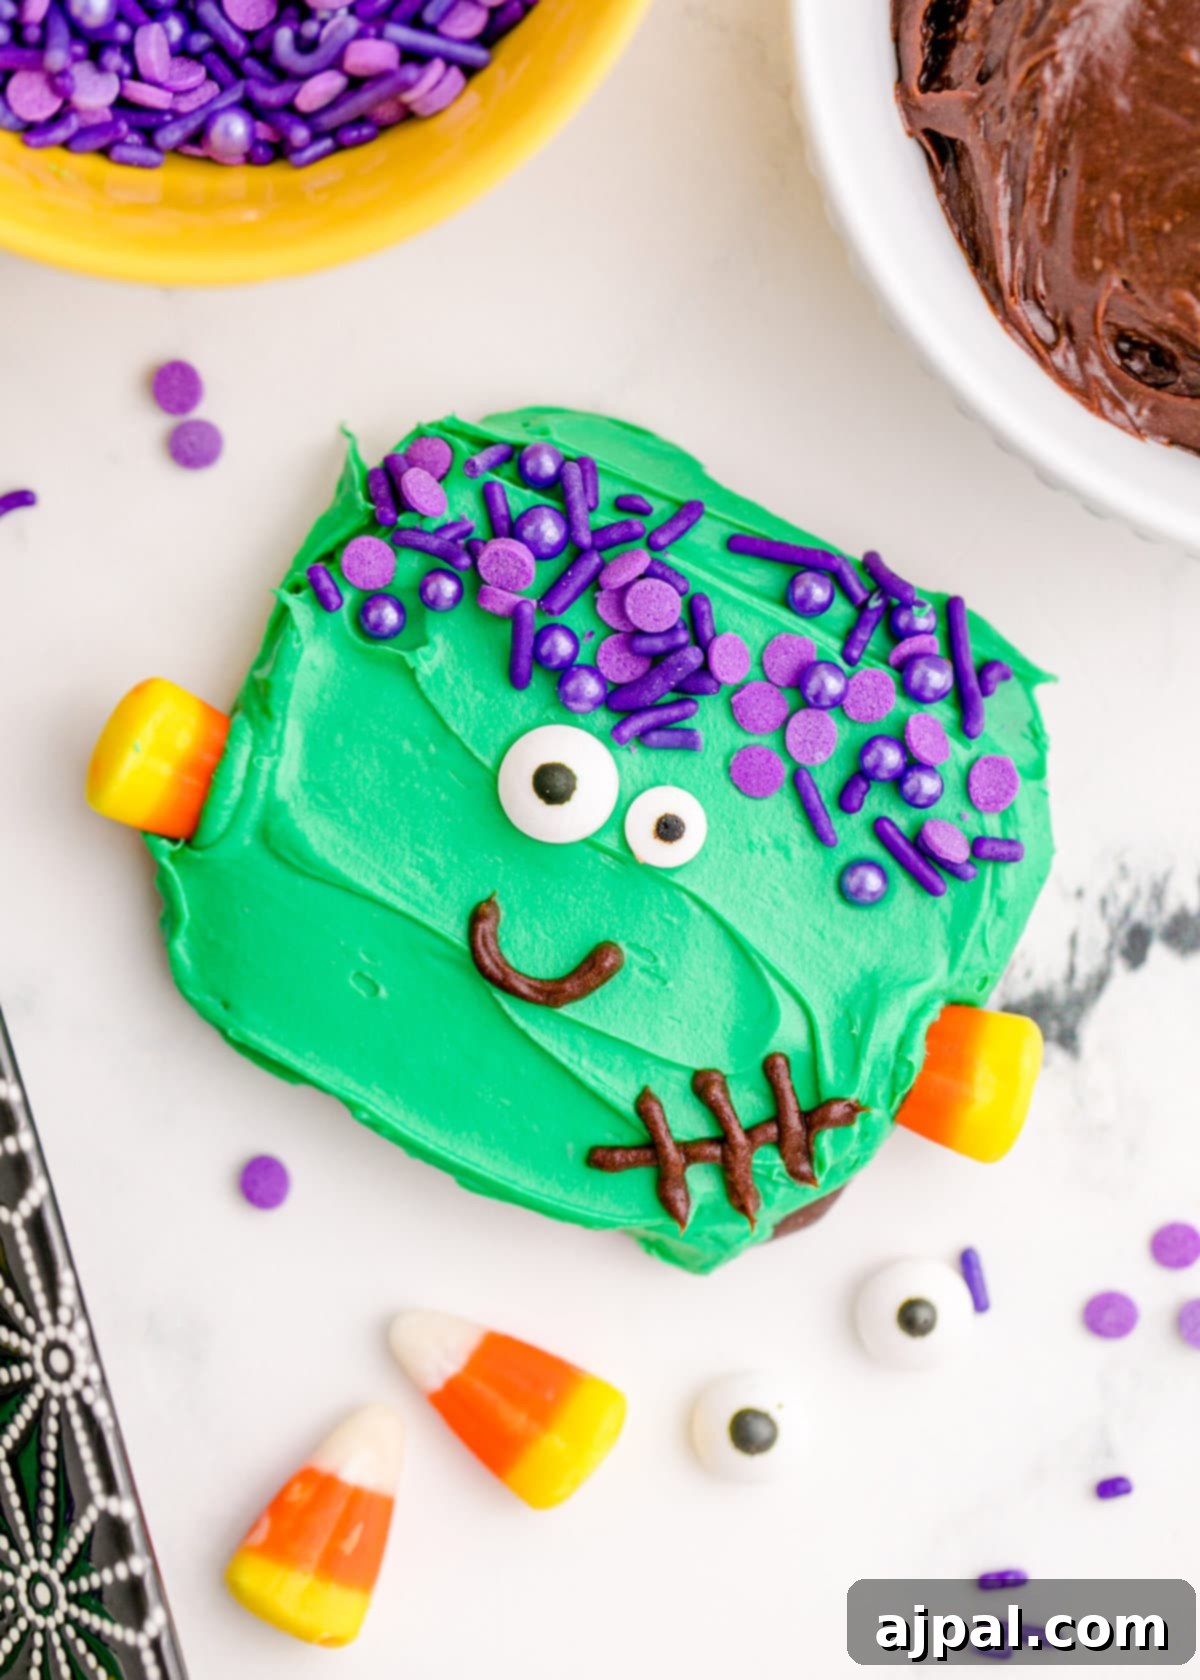
- Chocolate-Covered Graham Cracker Cookies: These are our secret weapon for speed and convenience! Their flat, rectangular shape provides the perfect base for Frankenstein’s head, making them instantly recognizable. The chocolate coating also adds a delicious flavor profile that complements the frosting. If you can’t find these, opt for other flat, rectangular cookies like plain graham crackers dipped in melted chocolate, or even rectangular shortbread cookies. The key is to have a sturdy, somewhat flat surface to work with.
- Green Frosting: The iconic green hue is non-negotiable for authentic Frankenstein flair! Pre-made green frosting is a fantastic time-saver, readily available in most grocery stores, especially during the fall season. However, if you prefer to make your own buttercream or royal icing, simply add a few drops of liquid green food coloring until you achieve your desired vibrant shade. Ensure your frosting is of a spreadable consistency – not too thin to drip, and not too thick to be unmanageable.
- Chocolate Frosting: This will be used for Frankenstein’s distinctive hair, scars, and mouth. The rich chocolate flavor and dark color provide a fantastic contrast against the green. Again, store-bought chocolate frosting is perfectly fine. If making your own, a simple chocolate buttercream works wonders for piping details.
- Candy Eyeballs: These are the ultimate shortcut to giving your monsters personality! Look for assorted sizes to add variety to your cookie “faces.” You can typically find them in the baking aisle during Halloween season, or readily online. If you’re feeling ambitious, you can even make your own (see our tips section for details!).
- Purple Sprinkles: We love purple sprinkles for Frankenstein’s hair because the color creates a striking, playful contrast with the green body, adding to the fun, spooky Halloween aesthetic. While purple is our top pick, feel free to experiment with other Halloween-friendly colors like black, orange, or even a mix of dark sprinkles for a truly wild hairstyle. Just be mindful of color choices – bright red might veer into Christmas territory!
- Candy Corn: These classic Halloween candies are ingeniously repurposed as Frankenstein’s neck bolts. Their distinct shape and color make them ideal for this detail. When selecting your candy corn, ensure they are firm enough to be gently pressed into the side of the cookie and will hold their position. If candy corn isn’t your preference, small pieces of a Rolo, a mini chocolate bar cut into squares, or even large chocolate chips can work as alternative “bolts.”
Having all your ingredients ready before you start decorating will make the process smooth and enjoyable, especially when little hands are eager to help!
Step-by-Step Guide to Decorating Frankenstein Cookies
Once you’ve gathered all your spooky supplies, it’s time to transform those chocolate-covered cookies into delightful Frankenstein monsters! Follow these simple steps for a seamless and fun decorating experience:
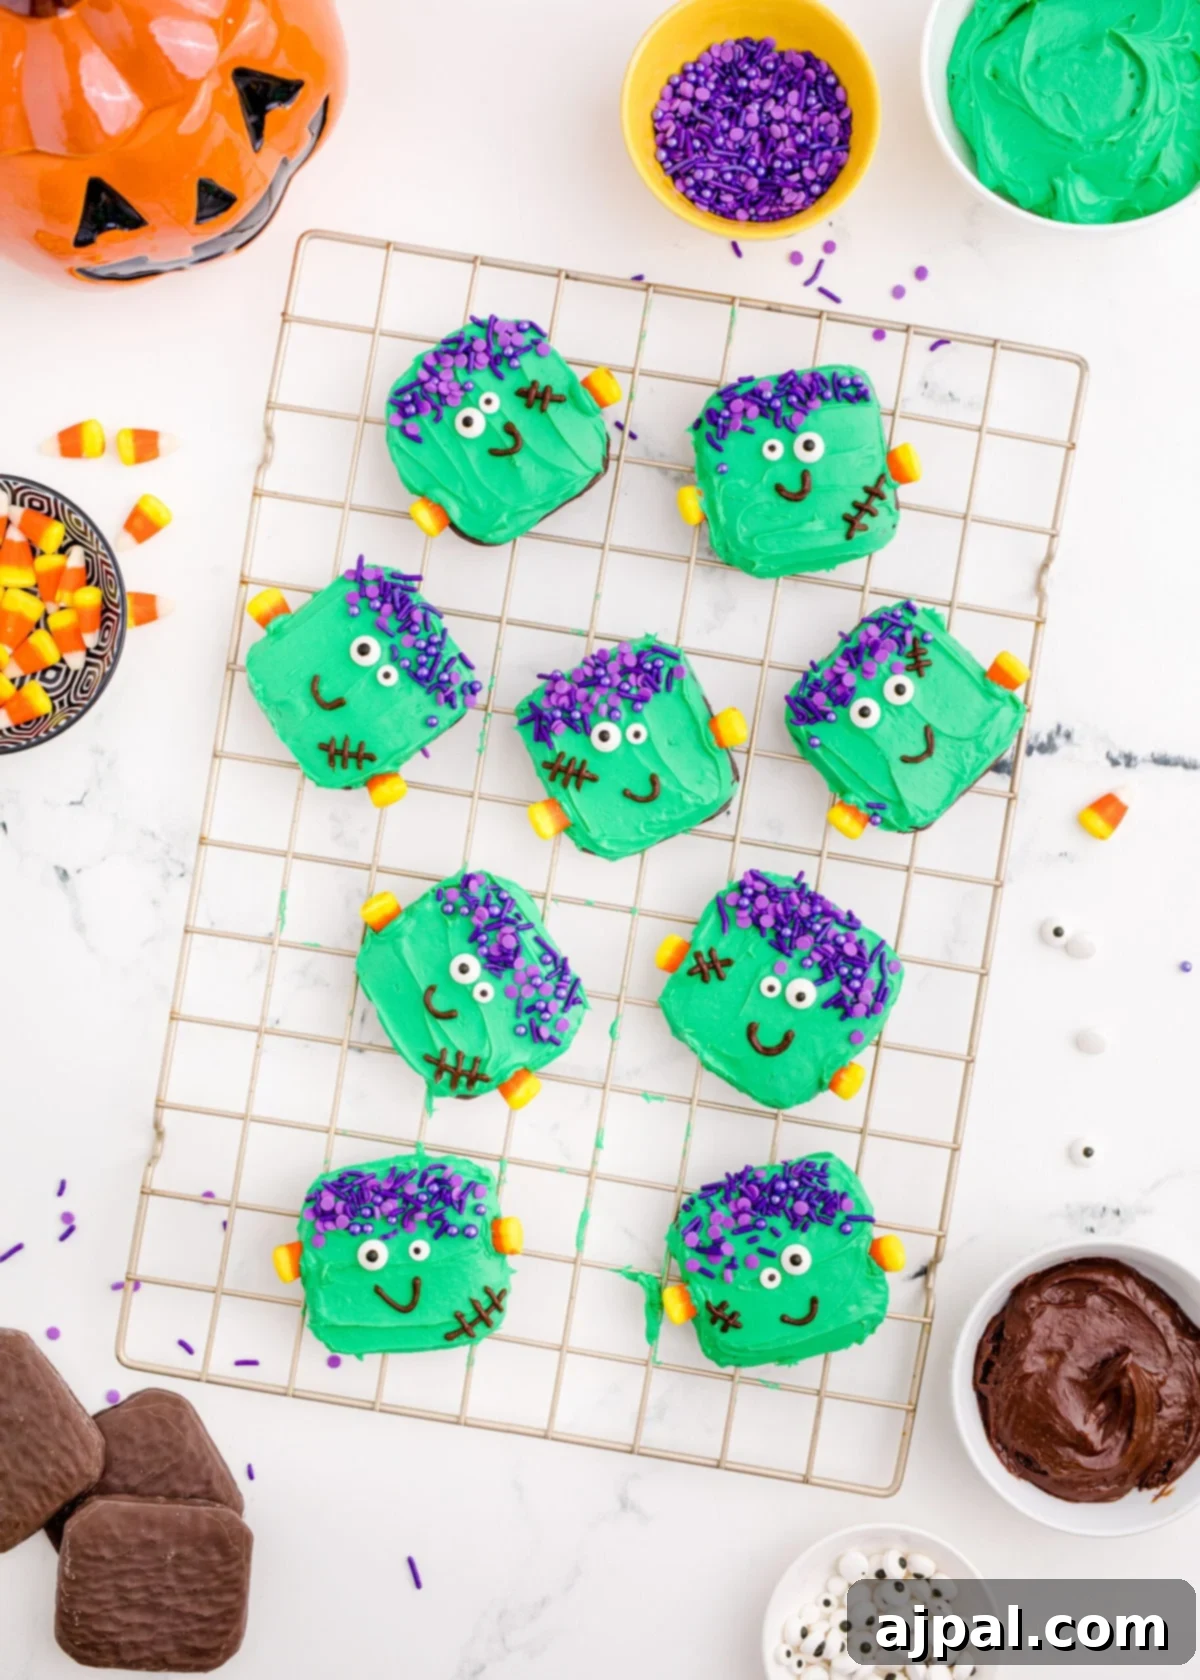
- Prep Your Workspace: Before you begin, set up a clean and organized decorating station. Line a baking sheet with parchment paper; this will prevent your freshly iced cookies from sticking and make cleanup a breeze. Alternatively, a cooling rack works perfectly for this no-bake project. Lay out your chocolate-covered graham cracker cookies evenly spaced on the parchment paper or rack, ensuring each one has enough room for decoration. Have all your frosting, sprinkles, candy eyes, and candy corn ready and within easy reach.
- Apply the Green Foundation: Using a small offset spatula or a butter knife, generously spread a tablespoon and a half of green frosting over each cookie. Be sure to cover the entire top surface and gently extend the frosting down the sides of the cookie for complete coverage. Don’t worry too much about perfection; Frankenstein’s “skin” is meant to be a little uneven and textured!
- Create Frankenstein’s Hair: Once the green frosting is applied, immediately sprinkle the purple sprinkles onto the top third of each cookie. This creates Frankenstein’s signature messy, spiky hair. Gently press the sprinkles into the frosting to ensure they adhere well. You can aim for a neat line or a more wild, textured look – both will contribute to the monster’s charm!
- Give Your Monster Eyes: Next, carefully place two candy eyeballs just below the sprinkle hairline. The frosting should still be soft enough to hold the eyes securely. Experiment with different placements – close together for a surprised look, or further apart for a more bewildered expression. This is where your monster truly begins to get its personality!
- Pipe the Details: Now it’s time for Frankenstein’s scars and a mouth. Transfer your chocolate frosting to a piping bag (or a sturdy plastic baggie with a tiny corner snipped off for a makeshift piping bag). Pipe a jagged line across the forehead for a scar, and then draw a simple smile or a mischievous grin below the eyes. Feel free to get creative with your expressions; some monsters might be happy, others grumpy, or even a little silly!
- Add the Neck Bolts: Earlier, you should have cut the white tips off your candy corn pieces. Dip the cut end of each candy corn piece into a tiny bit of green frosting. This acts as a “glue.” Carefully press one candy corn bolt onto each side of the cookie, just below where the head meets the neck. Ensure they are firmly attached and stand outward slightly, completing the iconic Frankenstein silhouette.
- Enjoy Your Creations: Your Frankenstein cookies are now complete! You can enjoy them immediately, or for a firmer frosting set, place them in the refrigerator for about 15-30 minutes. This helps the frosting firm up, making the cookies easier to handle and less messy, especially if you plan to stack them (though a single layer is always recommended for frosted cookies).
These cookies are not just a treat but a fun activity that brings joy and creativity to your Halloween celebrations!
Pro Tips and Tricks for Flawless Frankenstein Cookies
These Frankenstein cookies are designed to be fun and easy, especially when making them with kids. To ensure your decorating process is as smooth and delightful as possible, here are some expert tips and tricks:
- Make Your Own Edible Eyeballs: If you can’t find candy eyeballs or simply want to try a homemade option, it’s surprisingly simple! Melt a small amount of white chocolate chips and dark chocolate chips separately. On a piece of parchment paper, pipe small dots of melted white chocolate for the base of the eyes. Let them set in the refrigerator for about 5 minutes until firm. Then, using a toothpick or a very fine piping tip, add a smaller dot of melted dark chocolate to the center of each white chocolate dot for the pupils. Refrigerate again to set completely. Once firm, they’re ready to be placed on your Frankenstein cookies!
- Precision Placement with Tools: Getting those candy eyeballs perfectly aligned can be a tricky and sometimes messy task, especially for little hands. Kitchen tweezers or the flat side of clean kitchen scissors can be incredibly helpful for picking up and precisely placing the candy eyes and even individual sprinkles. These tools offer better control, resulting in cleaner and more accurate placement without smudging your green frosting.
- Frosting Consistency is Key: Ensure your green frosting is not too thin, or it will drip off the cookies. If it’s too thick, it will be hard to spread smoothly. If using store-bought frosting, you might need to stir it for a minute or two to achieve a nice, spreadable consistency. If making homemade frosting, adjust with a tiny bit of milk or powdered sugar as needed.
- Create Different Expressions: Encourage creativity! While a simple smile is classic, try piping different mouths – a grumpy frown, a surprised ‘O’ shape, or even a crooked smirk – to give each Frankenstein cookie a unique personality. Varying the size and angle of the candy eyes can also dramatically change their expression.
- Kid-Friendly Setup: To make decorating with children even easier, portion out small amounts of frosting and sprinkles into individual bowls for each child. This minimizes mess and gives them their own creative space. Remember to emphasize that imperfections are part of the fun and character of Frankenstein!
What tools do I need to make Frankenstein cookies?
Having the right tools can make your decorating experience more enjoyable and efficient:
- Baking Sheet: Essential for lining with parchment paper and holding your cookies while you work.
- Cookie Cooling Rack: An alternative to parchment paper for holding cookies, allowing air circulation.
- Offset Spatula: Perfect for smoothly spreading frosting over the cookies, especially useful for reaching edges.
- Parchment Paper: Essential for a non-stick surface and easy cleanup.
- Kitchen Tweezers: Excellent for precise placement of small decorations like candy eyeballs and individual sprinkles.
- Kitchen Shears: Handy for snipping the tips off candy corn precisely.
- Piping Bags and Tips (Optional): While a plastic baggie works, a dedicated piping bag with a small round tip offers more control for drawing facial features and scars with chocolate frosting.
Frequently Asked Questions About Frankenstein Cookies
To keep your Frankenstein cookies fresh and prevent the decorations from smudging, store them in an airtight container. It’s best to arrange them in a single layer to avoid the frosting sticking to other cookies. If you must stack them, place a sheet of parchment paper between layers. Stored this way, they will stay fresh and festive for up to 3 days at room temperature.
While any store-bought or homemade frosting will work for this recipe, we highly recommend using royal icing if you want the cleanest lines and a frosting that sets hard. Royal icing dries firm, preventing smudges and making the cookies easier to handle and transport. This firm set also gives a professional, crisp finish to the piped mouths and scars. If you prefer a softer bite, a standard buttercream frosting is also delicious and works well.
Absolutely! While store-bought cookies offer maximum convenience, you can certainly use your favorite homemade sugar cookies or shortbread cookies. Just ensure they are baked into a rectangular or square shape to best resemble Frankenstein’s head. Allow them to cool completely before applying any frosting or decorations.
You can prepare and decorate these Frankenstein cookies up to 2-3 days in advance of your event. If using royal icing, they will hold up particularly well. Store them in an airtight container at room temperature. For optimal freshness and appearance, we recommend decorating them no more than a few days before serving.
What to Serve With Your Spooky Frankenstein Cookies
These adorable Frankenstein cookies are a fantastic centerpiece for any Halloween spread, but no monster mash is complete without an array of other delicious and spooky treats! Pairing them with complementary dishes enhances the festive atmosphere and provides a variety of flavors and textures for your guests. Here are some of our favorite Halloween and fall-themed recipes that perfectly accompany these Frankenstein cookies:
- Halloween Bark: A colorful and crunchy treat, easy to make and visually stunning, complementing the green cookies with vibrant oranges and blacks.
- Spooky Halloween Punch with gummy worms and eyes: A vibrant and fun beverage that’s perfect for kids and adults, with eerie garnishes that tie into the monster theme.
- Halloween Oreo Rice Krispie Treats: These chewy, crunchy treats get a spooky twist with Oreos, adding another classic favorite to your dessert table.
- Pumpkin Spice Dump Muffins with Chocolate Chips and Hazelnuts: For those who love the flavors of fall, these muffins offer a comforting, aromatic contrast to the sweet cookies.
- Easy Baked Apples with Figs Recipe: A wholesome and warm dessert that brings a touch of rustic charm to your Halloween feast.
- Instant Pot Pumpkin Cinnamon Rolls Recipe: A gooey, spicy, and sweet treat that’s perfect for a cooler autumn evening, adding another layer of seasonal delight.
Together, these recipes will create a truly unforgettable and delightfully spooky Halloween celebration!
More Festive Fall & Holiday Recipes
Air Fryer Cajun Turkey Breast
Herb Roasted Turkey in a Bag
Easy Cranberry Fluff Salad
Cranberry Bars
If you loved creating these easy Frankenstein cookies, please consider leaving a five-star rating and a comment below! Your feedback helps us share more delicious recipes. Don’t forget to share your creations on Instagram, Facebook, and Pinterest – we love seeing what you bake!
Share on Facebook
Share
Pin this now to find it later
Pin It
Follow on Instagram
Follow
Craving more quick and easy meal ideas? Sign up for our 30-minute dinner plans delivered directly to your inbox for stress-free weeknights!
Discover and shop our favorite kitchen products in our Amazon storefront here!
Frankenstein Cookies
10
cookies
5 minutes
25 minutes
30 minutes

Equipment
-
1 Bottle Candy Eyeballs Eyes Cake Cupcake Toppers Cookie Decorations Edible Dessert Sprinkles for Halloween Christmas Cake Cupcakes Decoration
-
Piping Bags and Tips Set, Cake Decorating Supplies for Baking with Reusable Pastry Bags and Tips, Standard Converters, Silicone Rings, Cake Decorating Tools for Cookie Icing, Cake, Cupcake
-
Kitchen Shears, iBayam Kitchen Scissors Heavy Duty Meat Scissors Poultry Shears, Dishwasher Safe Food Cooking Scissors All Purpose Stainless Steel Utility Scissors, 2-Pack (Black Red, Black Gray)
-
Tangoowal 2 Pcs High Quality 12-Inch Fine Tweezer Tongs,Extra-Long Stainless Steel Tweezers Tongs
-
Icing Spatula, U-Taste Offset Spatula Set with 6″, 8″, 10″ Blade, 18/0 Stainless Steel with PP Plastic Handle Angled Cake Decorating Frosting Spatula Set of 3 (Teal/Aqua Sky)
-
Nordic Ware 3 Piece Baker’s Delight Set, 1 Pack, Aluminum
Ingredients
- 10 chocolate covered graham cracker cookies
- 1 cup green frosting
- ½ cup chocolate frosting
- 20 candy eyeballs, assortment of small and large
- 1 cup of purple sprinkles
- 10 pieces of candy corn
Instructions
-
First, carefully cut the white tips off all 10 candy corn pieces. These trimmed pieces will be used for Frankenstein’s neck bolts, so set them aside.
-
Prepare your workspace by lining a baking sheet with parchment paper or setting up a cookie cooling rack. Place each of the chocolate-covered graham cracker cookies evenly spaced on the prepared surface.
-
Using a butter knife or an offset spatula, spread approximately one and a half tablespoons of green icing over the top and both sides of each cookie. Ensure the cookie is completely covered to create Frankenstein’s iconic green skin.
-
Next, generously sprinkle the purple sprinkles onto the top third of each green-iced cookie. This will create Frankenstein’s distinctive, spiky hair. Gently press the sprinkles into the wet frosting to secure them.
-
Immediately after adding the hair, place two candy eyes just below the sprinkle hairline. The soft frosting will hold them in place.
-
Now, transfer the chocolate frosting into a plastic baggie (with a tiny corner snipped off) or a piping bag fitted with a small round tip. Pipe on a smile and a few scar marks onto each little Frankenstein’s face, adding to their monstrous charm.
-
Finally, dip the cut side of each candy corn piece into a small amount of green frosting (this acts as an edible glue). Press two of these candy corn pieces onto each side of the cookie, creating the iconic neck bolts for your Frankenstein monsters.
Notes
- These cookies can be enjoyed immediately after decorating. To help the frosting set and reduce stickiness, you can place the decorated cookies in the refrigerator for about 15-30 minutes. They are designed to be a little messy and incredibly fun for kids to decorate and eat!
- For more precise placement of the candy eyeballs and sprinkles, consider using kitchen tweezers or the flat side of clean kitchen scissors.
Nutrition
Calories: 398kcal
Carbohydrates: 63g
Protein: 1g
Fat: 17g
Saturated Fat: 5g
Polyunsaturated Fat: 11g
Cholesterol: 2mg
Sodium: 117mg
Fiber: 1g
Sugar: 51g
Nutrition information is automatically calculated, so should only be used as an approximation.
Additional Info
Tried this recipe?
Mention @sweetcsdesigns or tag #sweetcsdesigns!