
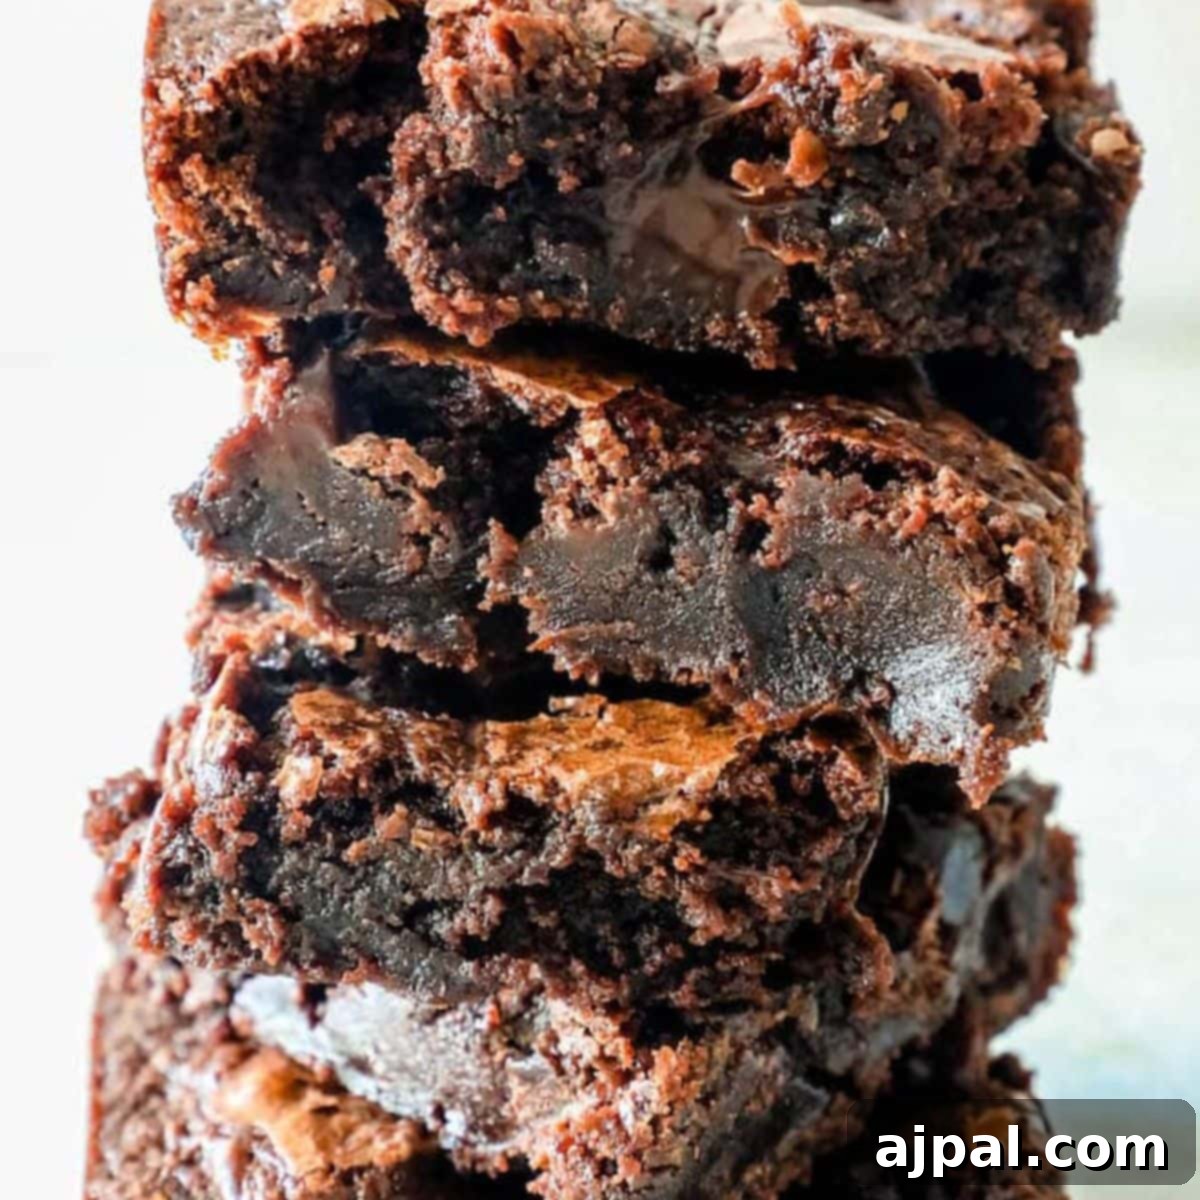
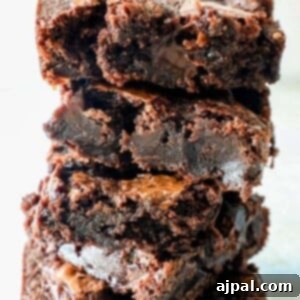
Prepare yourself for an extraordinary treat: the ultimate fudge brownies! These aren’t just any brownies; they are incredibly simple to make, profoundly delicious, and boast an unbeatable gooey texture with rich, hot fudge in every single bite. If you’ve been searching for a dessert that combines ease with an intensely satisfying chocolate experience, look no further. This recipe promises to deliver the most decadent, fudgy brownies you’ve ever tasted, making them your new go-to for any chocolate craving.
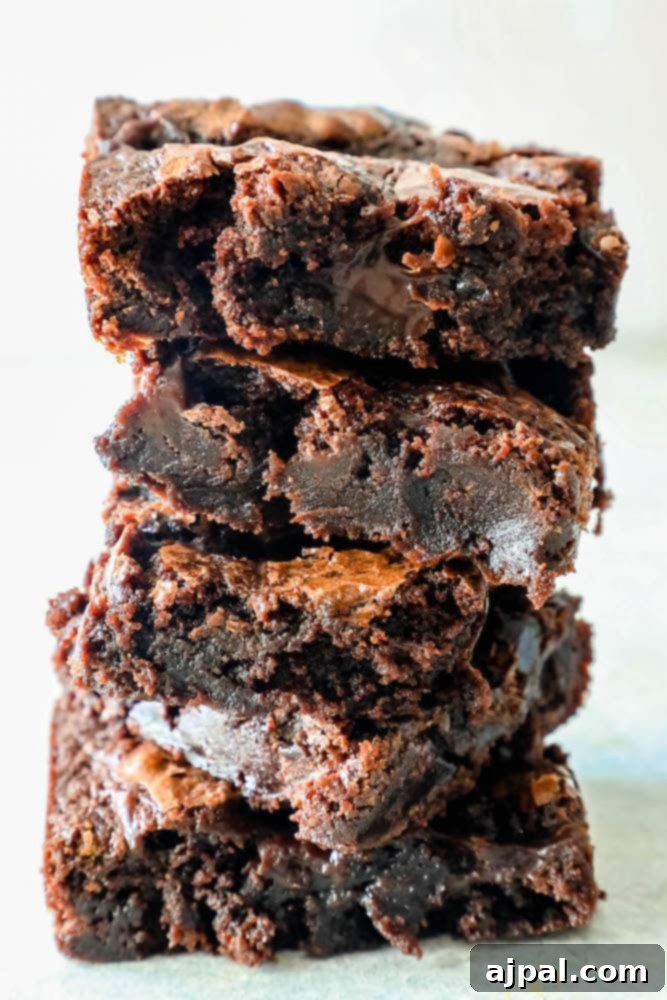
Crafting the perfect batch of fudge brownies doesn’t require culinary school training. As a home cook myself, I believe in empowering everyone in the kitchen by explaining not just the “how” but also the “why” behind each step and ingredient. My goal is to help even the most novice bakers feel confident and excited about creating showstopping desserts. These fudgy brownies are truly one of my all-time favorite creations. They are irresistibly ooey, gooey, and packed with intense chocolate flavor, yet surprisingly easy to prepare. Whether you’re making them for a special occasion or just to satisfy a sweet craving, they are guaranteed to impress.
Unlocking the Secret to The Best Fudge Brownies
What makes a brownie truly exceptional? For many, it’s that distinct fudgy texture – a dense, moist interior that’s rich with chocolate, rather than a dry, cake-like consistency. The “best” fudge brownies strike a perfect balance: a slightly crisp top crust giving way to a luxuriously soft, melting center. Our recipe elevates this classic by incorporating a generous swirl of hot fudge, which infuses every layer with an extra burst of molten chocolate goodness. This isn’t just a simple brownie; it’s a double fudge experience designed for ultimate indulgence.
The secret lies in the quality of ingredients and a few simple techniques that ensure that signature gooeyness. We’ll delve into the precise measurements and methods that contribute to this irresistible texture. From the moment you mix the batter to the first decadent bite, these brownies promise a symphony of chocolatey bliss.

Mastering the Art of Cutting Fudgy Brownies
Thick, gooey, and intensely fudgy brownies are a dream to eat, but can sometimes be a challenge to cut into neat squares. The key to achieving clean, beautiful cuts lies in patience and a few clever techniques:
- Allow Them to Cool Completely: This is arguably the most critical step. Warm brownies are structurally fragile, making them prone to crumbling and smearing. Allowing them to cool, preferably at room temperature for several hours or even overnight, gives the fats and sugars time to solidify, resulting in a much firmer and easier-to-cut brownie.
- Chill Slightly Before Cutting: For even crisper lines, pop the cooled brownies into the refrigerator for 30-60 minutes before slicing. The slight chill further firms them up without making them too hard.
- Use a Sharp Knife: A sharp, thin-bladed knife (like a chef’s knife or even a plastic knife for truly fudgy brownies) will glide through the dense texture more easily.
- Clean Your Knife Between Cuts: This is a game-changer! After each cut, wipe your knife clean with a damp paper towel to remove any sticky residue. This prevents chocolate smears from transferring to subsequent slices, ensuring every brownie looks as perfect as it tastes.
- Use a Gentle Sawing Motion: Instead of pressing straight down, use a gentle sawing motion to cut through the brownies. This minimizes tearing and creates cleaner edges.
By following these simple guidelines, you’ll be able to present your homemade fudge brownies with the precision they deserve, making them even more appealing.
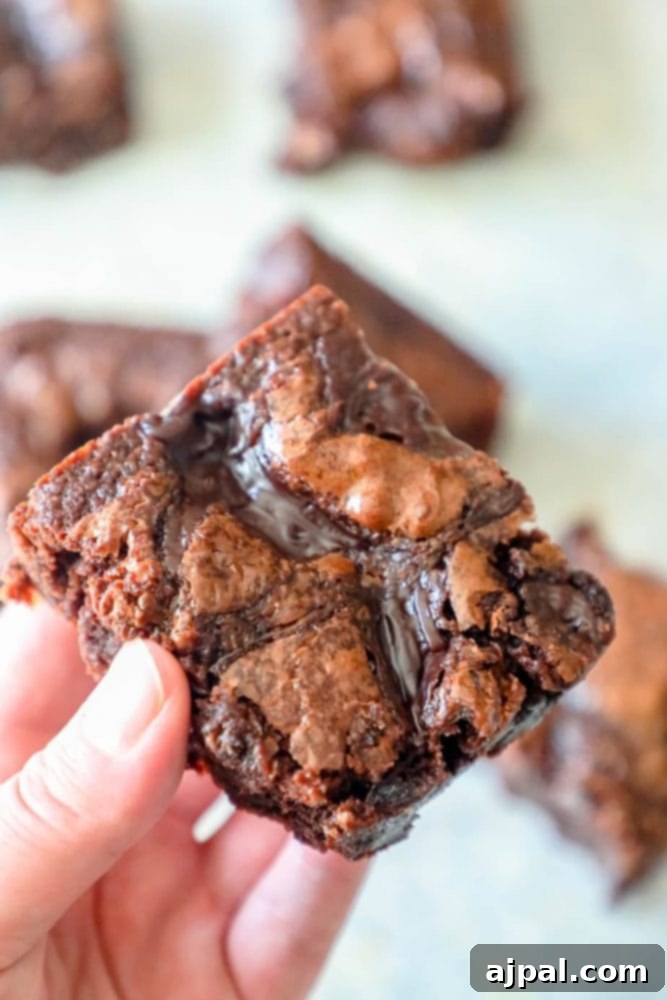
Ensuring a Clean Release: How to Keep Brownies From Sticking to the Pan
Nothing is more frustrating than a batch of perfectly baked brownies sticking stubbornly to the pan. A well-prepared pan is crucial for effortless removal and pristine presentation. Here’s how to ensure your fudgy brownies lift out cleanly every time:
- Use a High-Quality Baking Pan: While any pan can work, a good quality, non-stick metal pan (like an aluminized steel pan) provides superior heat distribution and helps prevent sticking.
- Grease and Flour Thoroughly: Liberally grease the entire inside surface of your baking pan with butter, shortening, or cooking spray. Then, lightly dust it with all-purpose flour, tapping out any excess. The flour creates a barrier that prevents the batter from adhering directly to the pan. For chocolate brownies, you can even dust with cocoa powder instead of flour to avoid a white residue on the edges.
- Parchment Paper Sling: For ultimate non-stick assurance, line your pan with parchment paper, leaving an overhang on two opposite sides. This “sling” acts as handles, allowing you to easily lift the entire slab of cooled brownies out of the pan before cutting. Simply grease the pan first, then press the parchment paper into place, and grease the parchment as well.
- Melt Ingredients Gently: For best results, melt butter and chocolate in a double boiler rather than a microwave. This ensures even melting and prevents scorching, which can affect the final texture of your brownies.
- Preheat Your Oven: Always preheat your oven to the specified temperature (350°F for this recipe) before adding the brownies. An evenly preheated oven ensures consistent baking and prevents the brownies from developing an uneven texture or sticking due to cold spots.
- Baking Time Matters: Bake for approximately 30 minutes, then check for doneness. Brownies can take up to 40 minutes, but ovens and ingredients vary, so monitoring is key. Look for a crust that has set and slightly pulled away from the edges of the pan.
- Cool Completely Before Slicing: As mentioned before, patience is a virtue! Let the brownies cool completely in the pan on a wire rack before attempting to slice or remove them. This allows them to firm up, making clean removal and cutting much easier.
Achieving That Perfect Gooey Brownie Texture
The hallmark of a truly indulgent brownie is its gooey, almost-underbaked interior contrasted with satisfyingly crunchy edges and a delicate crackle on top. Unlike cake-like brownies, which are lighter and more aerated, fudgy brownies are dense, rich, and intensely chocolatey, often described as having a texture similar to firm fudge. This dense quality comes from a higher fat-to-flour ratio and minimal aeration.
To ensure your brownies achieve this coveted moist and fudgy texture, rather than a dry or crumbly result, consider these essential baking tips:
- Don’t Rely Solely on the Toothpick Method: While a common baking test, the toothpick method can be misleading for fudgy brownies, especially when hot fudge is swirled throughout the batter. If you insert a toothpick through a layer of hot fudge, it will inevitably come out with streaks of melted chocolate, making it seem undercooked. Instead, look for visual cues:
- A set, slightly crunchy crust on the surface.
- The edges of the brownies beginning to pull away from the sides of the pan.
- A slight wobble in the very center when gently shaken, indicating a gooey interior without being raw.
If you must use a toothpick, try to insert it into a part of the brownie that appears to have less fudge swirl. It should come out with moist crumbs, but not wet batter.
- Preheat Oven Thoroughly: A properly preheated oven is vital for even baking. Placing brownie batter into a cold or partially heated oven can lead to uneven cooking, where the edges might burn while the center remains raw, or vice versa. Give your oven ample time to reach and stabilize at the target temperature.
- Do Not Overmix the Batter: Once you’ve added the dry ingredients (flour and cocoa), mix just until combined. Overmixing develops the gluten in the flour, which can lead to tough, chewy, and more cake-like brownies rather than the desired fudgy texture. A few streaks of flour are acceptable; they’ll disappear during baking.
- The Role of Ingredients:
- Butter: High fat content from butter contributes significantly to moistness and richness.
- Sugar: Both granulated and brown sugar add sweetness, but brown sugar also adds moisture and a slight chewiness due to its molasses content.
- Eggs: Eggs bind the ingredients, add richness, and contribute to the fudgy texture. Using four large eggs, as in this recipe, provides ample moisture and structure.
- Cocoa Powder: Using pure cocoa powder (sifted for smoothness) provides intense chocolate flavor without adding extra fat or sugar from melted chocolate, allowing for greater control over the final texture.
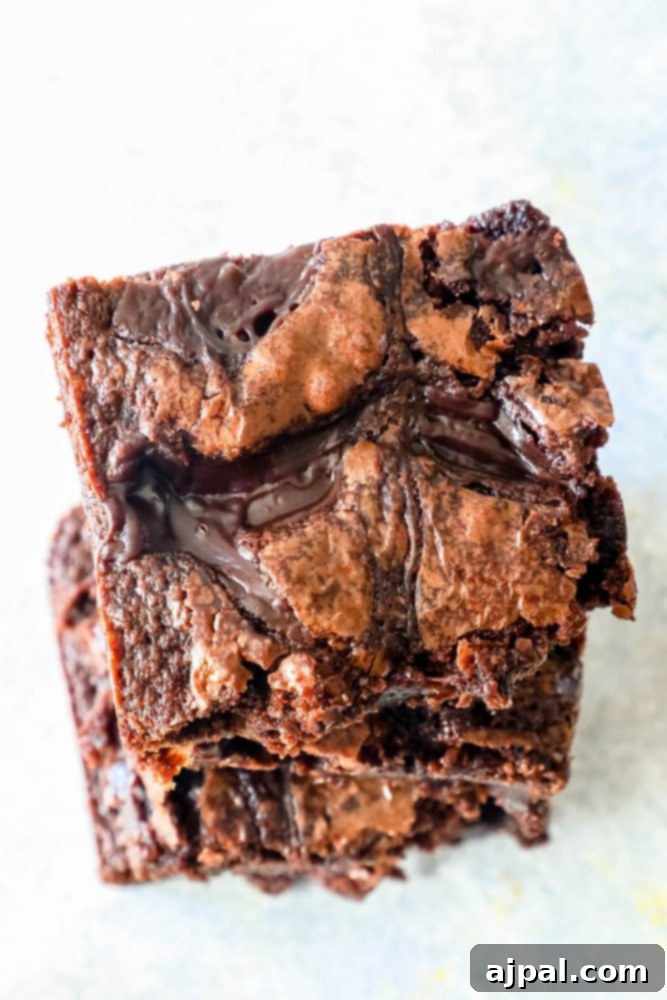
Batch Baking and Freezing Brownies for Later
These decadent fudge brownies are so delicious, you might want to make a big batch to enjoy later or to have on hand for unexpected guests. Freezing brownies is an excellent way to preserve their freshness and flavor, and it’s surprisingly simple. With these tips, you can enjoy homemade gooey brownies whenever the craving strikes!
Follow these easy steps to freeze and later enjoy your brownies:
Step 1: Cool Completely
Prepare your brownie recipe as directed. Once baked, allow the brownies to cool completely in the pan for at least 1-2 hours, then transfer to a wire rack to ensure they reach room temperature. This firming-up process is crucial for preventing ice crystals and maintaining texture when freezing.
Step 2: Slice into Individual Portions
Using a large, sharp serrated knife, cut the cooled brownies into your desired individual serving sizes. Cutting them before freezing makes it easier to thaw and serve single portions without having to defrost the entire batch.
Step 3: Individual Wrapping for Protection
Wrap each individual brownie tightly in plastic wrap or heavy-duty aluminum foil. Ensure there are no gaps or air pockets, as this is your first line of defense against freezer burn. Rolling or folding the wrap tightly around each brownie helps maintain its moisture and flavor.
Step 4: Secure in an Airtight Container
Place the individually wrapped brownies into a freezer-safe plastic bag or an airtight container. Press out any excess air from the bag before sealing. This double layer of protection further safeguards against freezer burn and prevents the brownies from absorbing any freezer odors.
Step 5: Store and Thaw
Store the brownies in the freezer for no longer than four months for optimal taste and texture. To enjoy, simply remove the desired number of brownies from the freezer and let them defrost naturally in the refrigerator overnight, or at room temperature for a few hours. For a warm, freshly-baked experience, you can gently reheat thawed brownies in the microwave for 10-20 seconds.
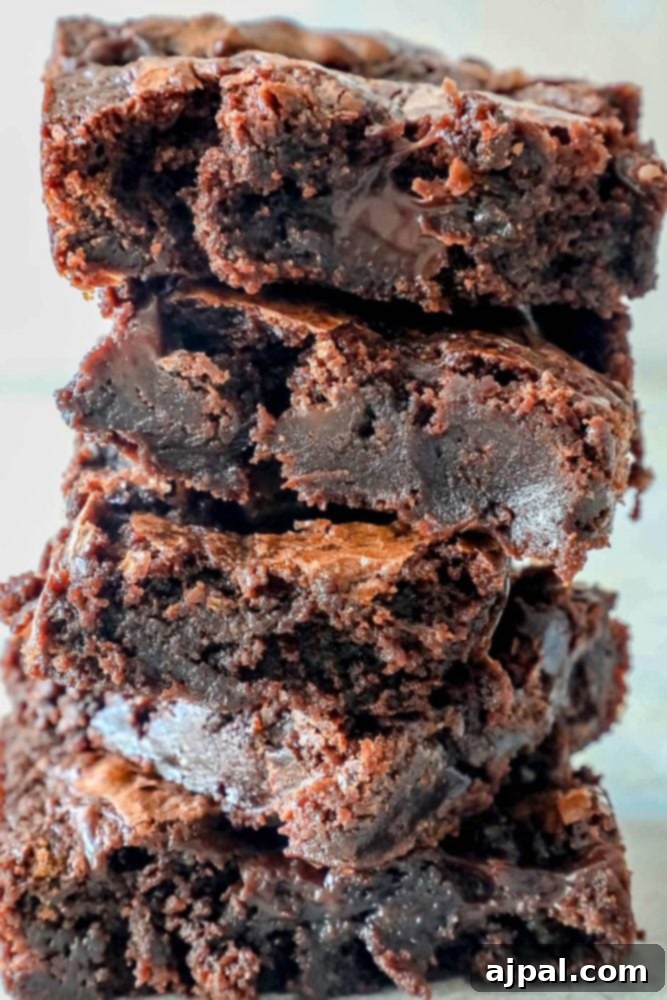
Explore More Easy & Irresistible Desserts
If you’re a fan of these incredible fudge brownies and crave more delightful treats that are both simple to make and incredibly delicious, you’re in for a treat! Discover a variety of other easy dessert recipes that are perfect for any occasion, from cozy nights in to festive gatherings. Click the links below to find your next favorite sweet indulgence.
Easy Cranberry Fluff Salad
Cranberry Bars
Best Chocolate Truffles
Cranberry Apple Pie
White Chocolate Dipped Ghost Cookies
Pumpkin Bread Mini Pumpkins
20+ of the best Halloween treats!
Grandma’s Apple Pie
Some of my personal favorites include The Best Chewy M&M Peanut Butter Cookies Ever Recipe, The Best Chewy Oatmeal Raisin Cookies Recipe, 3 Ingredient Chocolate Cherry Dump Cake, Smores Rice Krispie Treats, and The Best Easy Snickerdoodle Muffins. Each recipe is designed for ease and maximum flavor, ensuring you can whip up something special with minimal fuss.
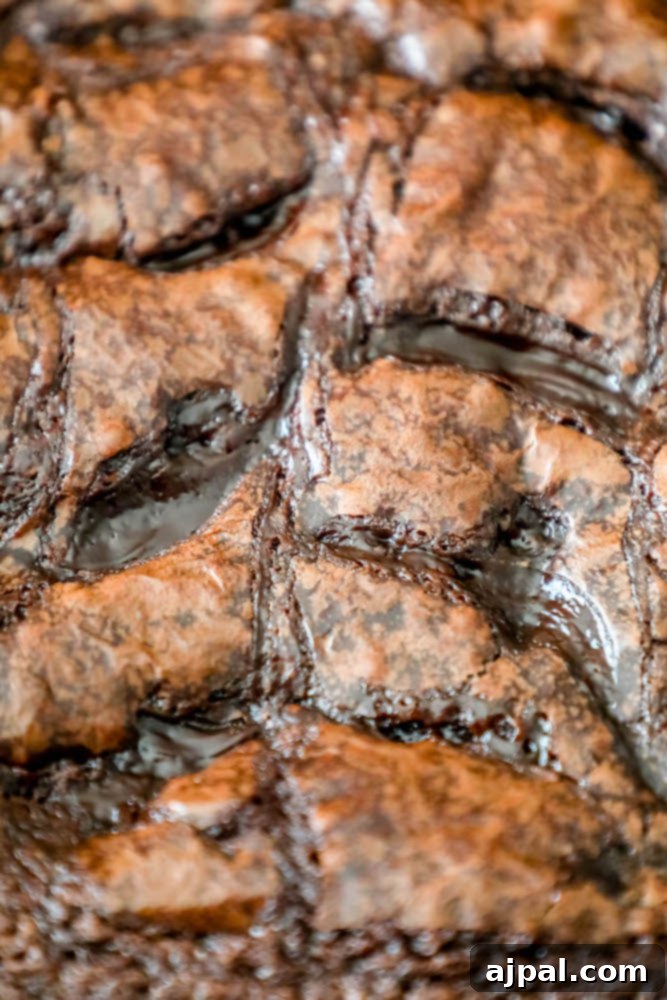
The Best Fudge Brownies Recipe: Your New Favorite Dessert
Get ready to bake the most incredible fudge brownies that are guaranteed to become a household favorite. This recipe combines simplicity with sensational flavor, delivering a rich, gooey, and deeply chocolatey dessert every time. Follow these steps for an unforgettable treat!
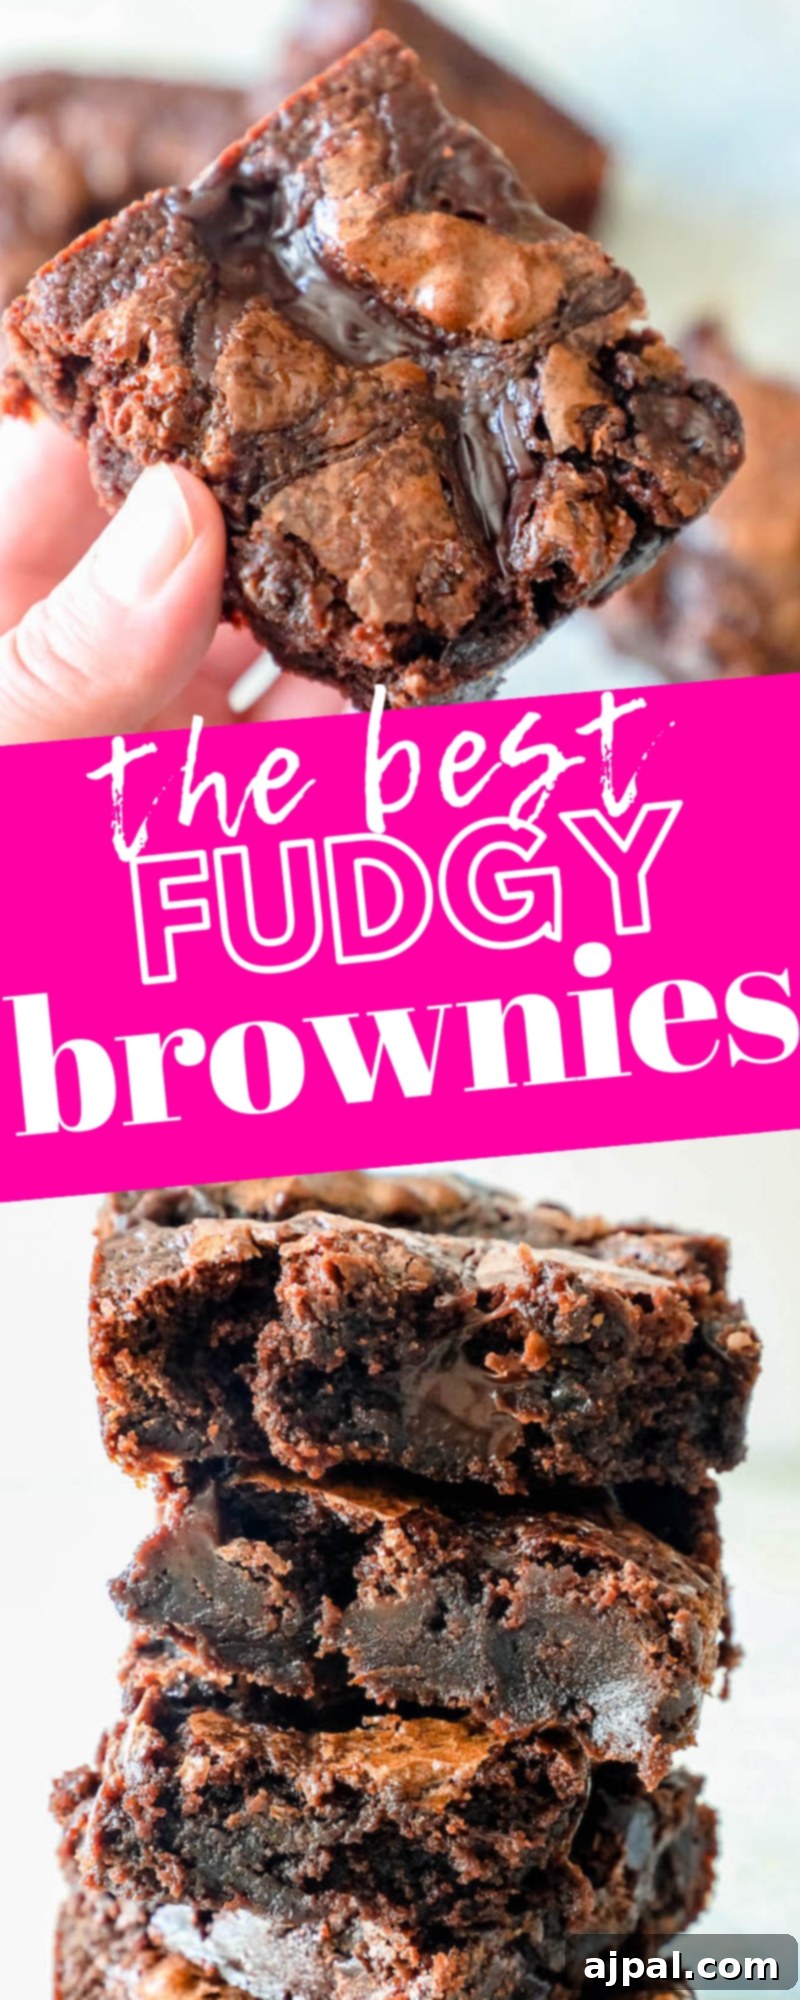
If you adore this Best Fudge Brownies Recipe as much as I do, please share your love by leaving a five-star review and spreading the word on Facebook and Pinterest! Your feedback helps others discover these amazing brownies.
Short on time? Sign up for my exclusive 30-minute dinner plans delivered straight to your inbox!
Discover and shop my favorite kitchen tools and ingredients in my Amazon storefront here!
Best Fudge Brownies
Equipment
-
OXO Good Grips 11-Inch Balloon Whisk
-
USA Pan Bakeware Square Cake Pan, 9 inch, Nonstick & Quick Release Coating, Made in the USA from Aluminized Steel
-
Mrs Richardsons Topping Fudge Hot, Packaging May Vary
Ingredients
- ½ cup butter
- 1 ½ cup sugar
- ½ cup brown sugar
- 1 tsp vanilla extract
- 4 large eggs
- ½ cup flour
- 1 cup cocoa, sifted
- 5 tbsp hot fudge sauce, divided
Instructions
- Preheat oven to 350 degrees F (175 C).
- Lightly grease a 9×9 inch baking pan with cooking spray or butter. For easier removal, consider lining the pan with parchment paper, leaving an overhang on two sides, then greasing the parchment.
- In a large mixing bowl, combine the granulated sugar and softened butter. Beat until the mixture is light and fluffy, about 2-3 minutes.
- Add the vanilla extract and crack in the eggs one at a time, mixing well after each addition until thoroughly incorporated.
- Gently fold in the sifted flour and cocoa powder. Mix just until no streaks of dry ingredients remain. Be careful not to overmix, as this can lead to tougher brownies.
- Stir in 2 tablespoons of lightly warmed hot fudge sauce into the batter until just combined.
- Pour the brownie batter into the prepared 9×9 inch pan, spreading evenly with a spatula.
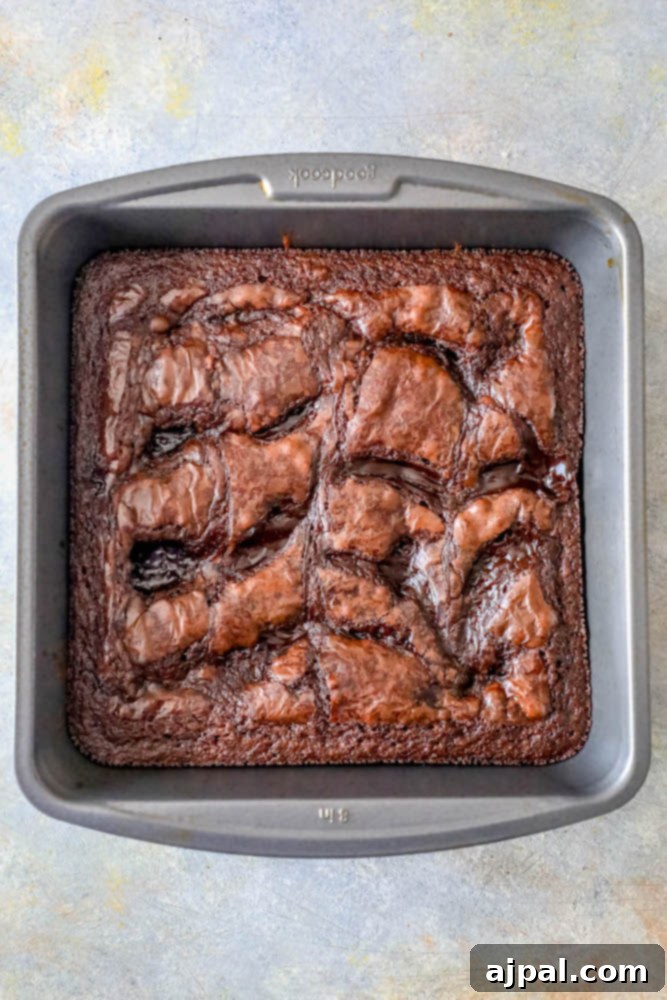
- Drizzle the remaining 3 tablespoons of hot fudge sauce over the top of the brownie batter. For a beautiful design, you can make 3 long lines across the top, then drag a spoon or knife back and forth through the fudge to create a marble effect.
- Bake for 30-40 minutes, or until the sides of the brownies appear set and have slightly pulled away from the edges of the pan. The center should still have a slight wobble when gently shaken. A toothpick inserted into the center may not come out perfectly clean due to the swirled hot fudge, but it should not have wet batter.
- Allow the brownies to cool completely in the pan on a wire rack before slicing. This can take several hours, but is essential for clean cuts and the best fudgy texture.
Nutrition
Calories: 390kcal
Carbohydrates: 61g
Protein: 6g
Fat: 14g
Saturated Fat: 8g
Polyunsaturated Fat: 5g
Cholesterol: 110mg
Sodium: 153mg
Fiber: 2g
Sugar: 47g
Nutrition information is automatically calculated, so should only be used as an approximation.