
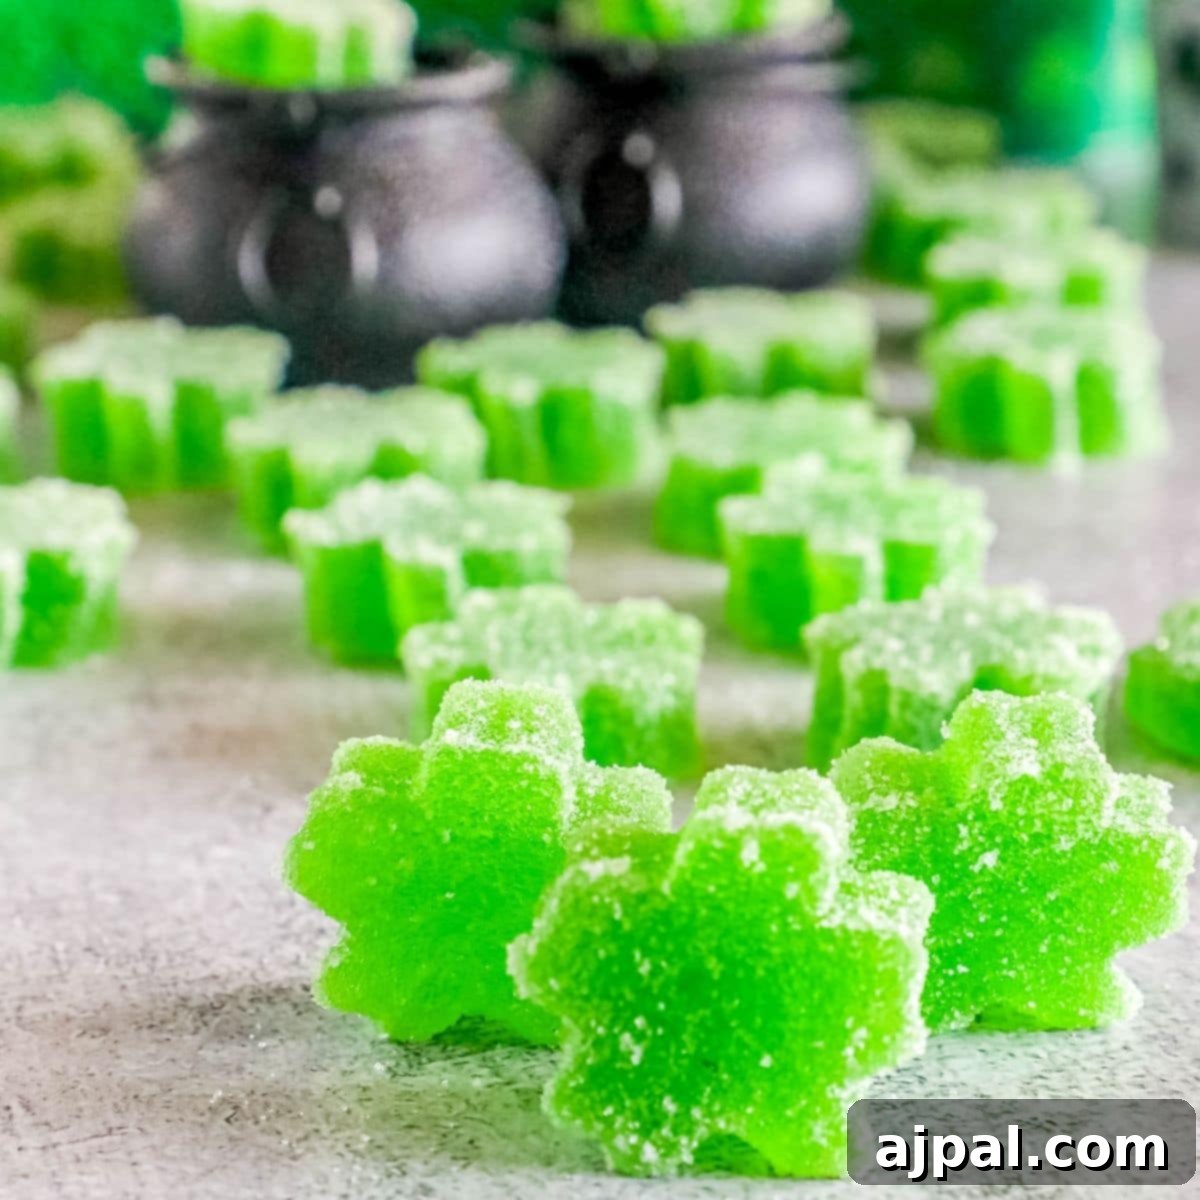
Easy Homemade Shamrock Gummies: Your Ultimate Guide to a Festive St. Patrick’s Day Treat
Get ready to add a burst of vibrant green fun to your St. Patrick’s Day celebrations with these incredibly easy and irresistibly chewy shamrock gummies! These delightful homemade candies are not only simple enough for kids to help make, but they also offer a fantastic festive treat that everyone will love. Forget store-bought sweets; crafting your own gummies means you control the ingredients, making them a healthier and more personalized option for your holiday festivities. Imagine the smiles when these charming, jiggly shamrocks appear on your party table!
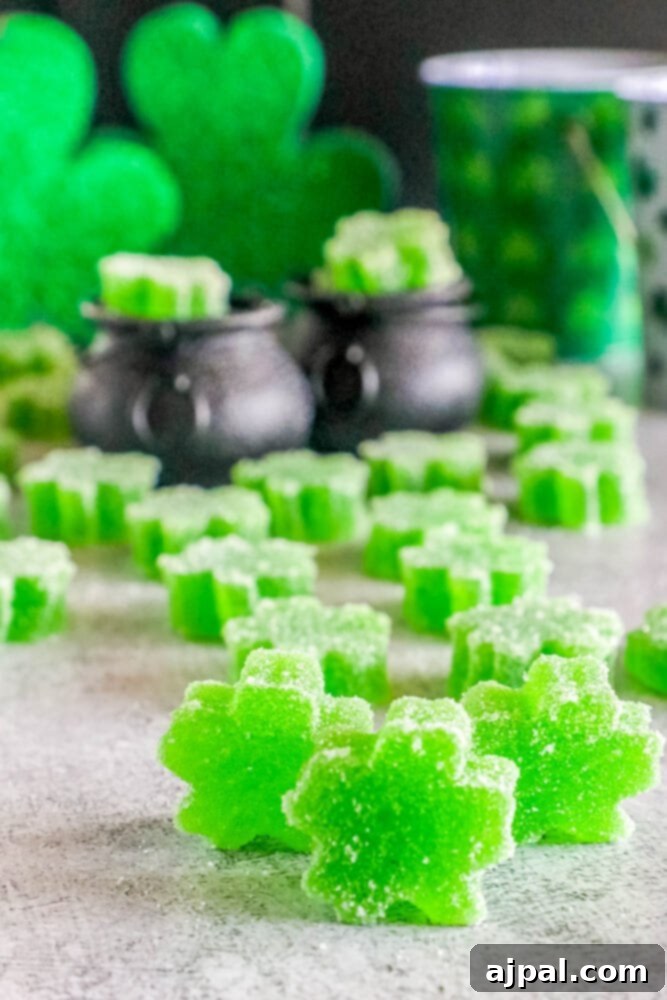
Looking for just the recipe? We understand! Skip directly to the full recipe card below for quick access, or use our clickable table of contents to easily navigate through our comprehensive guide. We’ve packed this post with valuable tips, tricks, and insights to ensure your homemade gummies turn out perfectly every time.
At Sweet C’s, our passion is empowering home cooks, regardless of their experience level. As a self-taught chef, I believe that truly understanding the ‘why’ behind each ingredient and technique builds confidence in the kitchen. My goal is to equip even the most beginner home cook with the knowledge to create delicious dishes with ease and enjoyment.
Table of contents
- Why You’ll Love Making Homemade Shamrock Gummies
- Essential Ingredients for Vibrant Shamrock Gummies
- Understanding Your Ingredients
- Step-by-Step Guide to Crafting Perfect Shamrock Gummies
- Expert Tips & Tricks for Your Best Homemade Gummies
- Shamrock Gummies Frequently Asked Questions (FAQs)
- More Festive Recipes You’ll Adore
- Your Go-To Shamrock Gummies Recipe Card
Why You’ll Love Making Homemade Shamrock Gummies
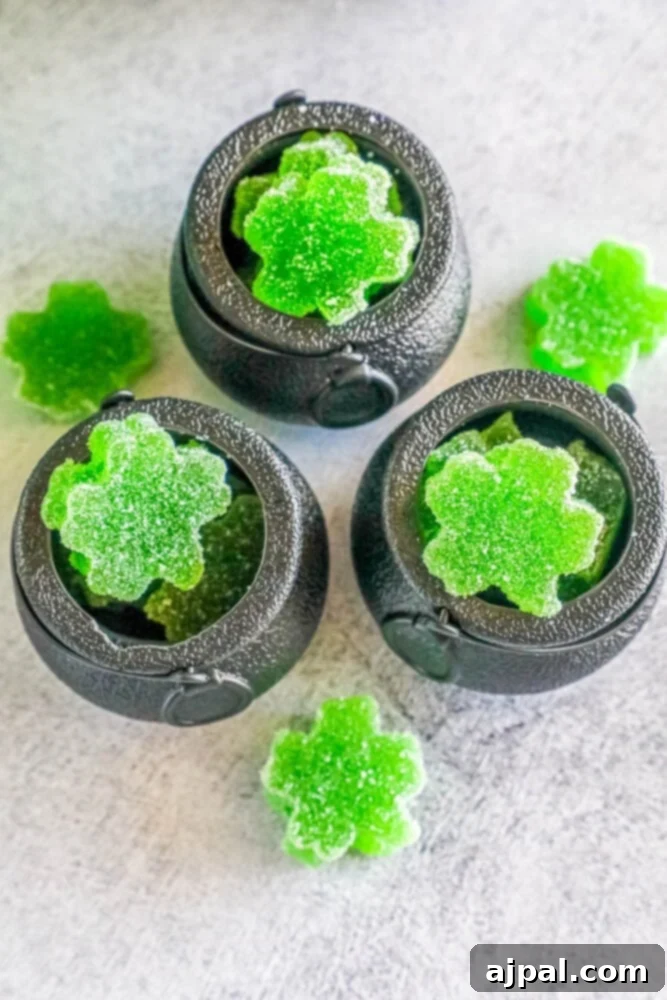
Making homemade chewy gummies is an incredibly rewarding experience, especially when you involve the whole family! Beyond the joy of creating something delicious from scratch, these shamrock gummies offer several compelling advantages over their store-bought counterparts. For starters, you have complete control over the sweetness level, often resulting in a candy that’s less cloyingly sweet and contains less added sugar. This makes them a fantastic, slightly healthier alternative for snack time or special occasions.
The beauty of this recipe lies in its versatility. While we love the classic applesauce base for a light, fruity flavor, you can easily customize these gummies with other fruit purees or juices to experiment with different tastes. Want to add a vitamin boost? Consider incorporating a touch of fruit and vegetable juice. The possibilities are endless, allowing you to tailor them precisely to your family’s preferences or dietary needs.
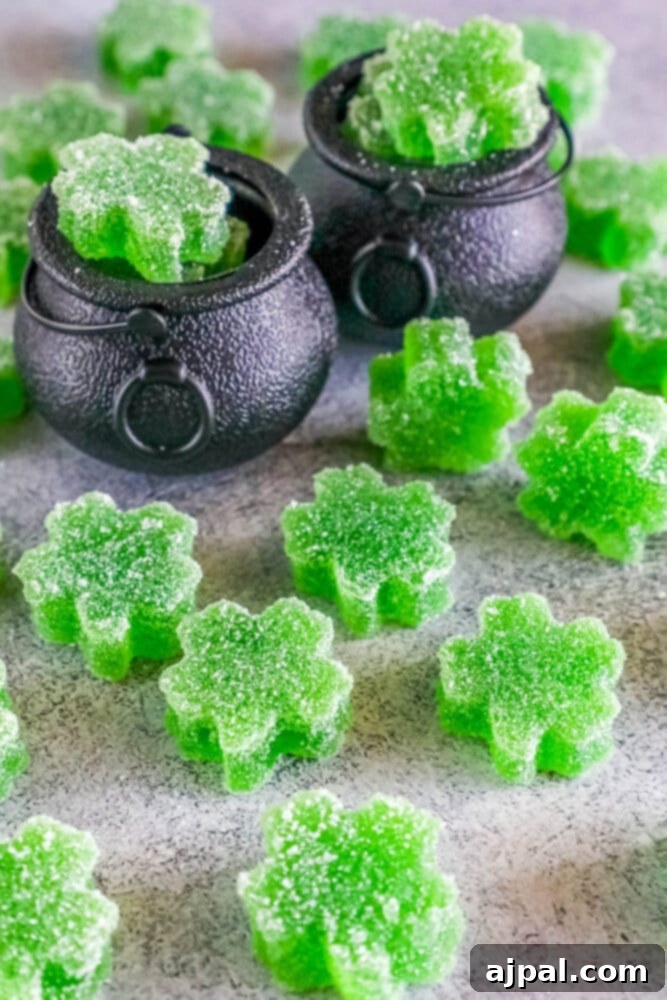
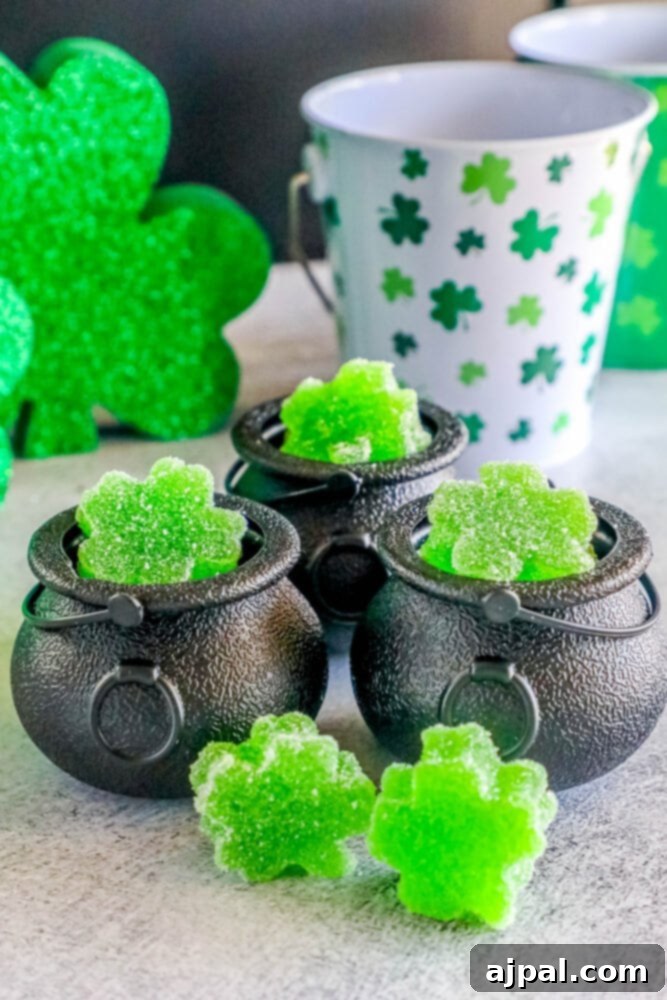
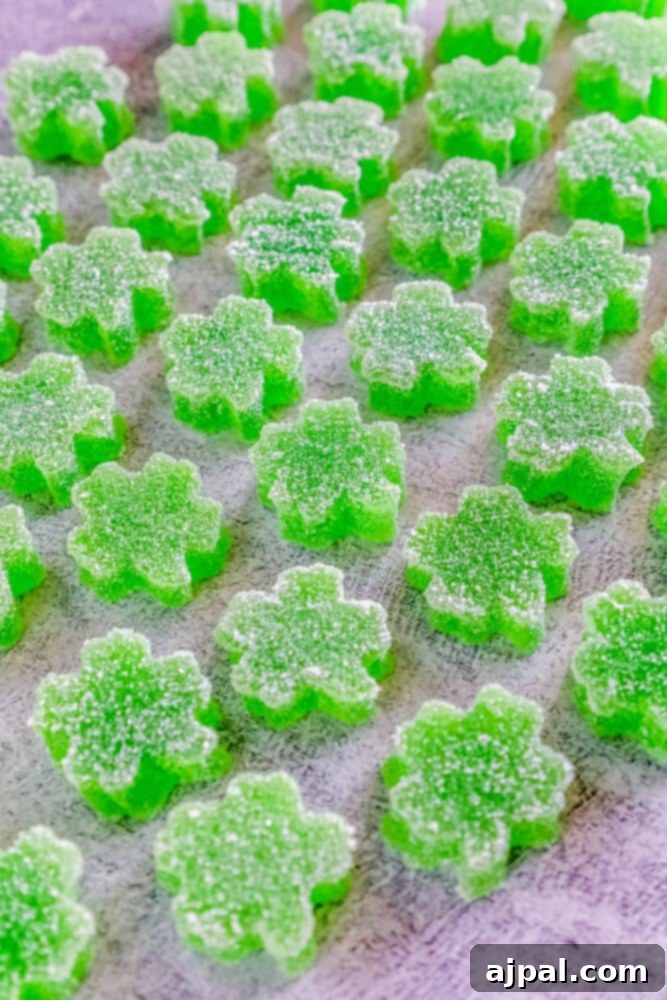
For St. Patrick’s Day, rolling these festive shamrock-shaped gummies in granulated sugar creates a dazzling, sparkling finish that truly captures the holiday spirit. They’re perfect for classroom parties, a delightful surprise from a mischievous leprechaun, or simply a fun and colorful snack to enjoy while celebrating Irish traditions. Imagine the delight on children’s faces as they bite into these homemade emerald treasures!
If you’re a visual learner, be sure to check out our step-by-step video guide that walks you through the entire process. Seeing the techniques in action can make all the difference, ensuring your gummy-making adventure is a resounding success.
Essential Ingredients for Vibrant Shamrock Gummies
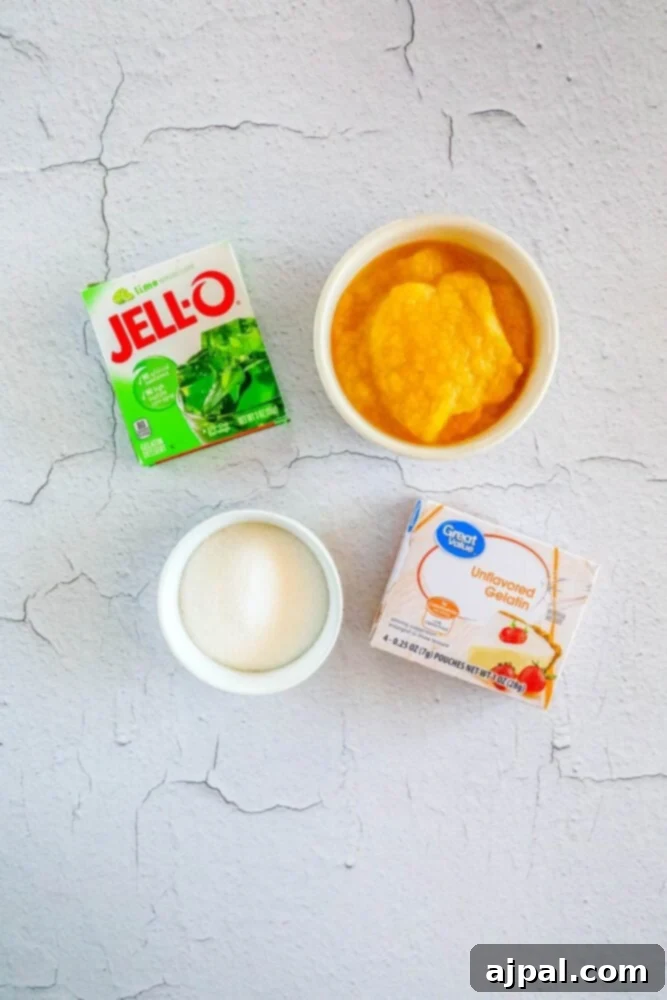
Crafting these delightful shamrock gummies requires just a few key ingredients, each playing a crucial role in achieving that perfect chewy texture and festive flavor. Here’s what you’ll need to gather:
- 1 1/2 cups Applesauce: Our chosen base, applesauce, provides a wonderful light fruit flavor without being overly sweet. It also contributes to the smooth texture of the gummies. For a different twist, feel free to experiment with other fruit sauces like pear, peach, or even a mixed berry puree. Just ensure they are smooth and unsweetened if you want more control over the sugar content.
- 2 1/4 cups Granulated Sugar: This recipe utilizes sugar in two ways. Firstly, it sweetens the fruit candy mixture, enhancing the natural flavors. Secondly, it’s used as a coating, giving the finished gummies a beautiful sparkling appearance and a touch of extra sweetness. You can adjust the amount used for coating based on your preference.
- 2 3 oz boxes of Lime Jell-O: To achieve that iconic St. Patrick’s Day green and infuse a tangy, refreshing flavor, lime Jell-O is our secret weapon. The vibrant color it imparts is simply perfect for shamrocks! While lime is ideal for this theme, you can certainly substitute it with other Jell-O flavors if you’re making gummies for a different occasion or prefer a different taste profile.
- 2 packs of Unflavored Gelatin: This is the structural hero of our gummies. Unflavored gelatin is essential for providing the bouncy, chewy texture that defines a great gummy. It allows the mixture to set firmly and maintain its shape, giving your homemade fruit chews that satisfying give.
Understanding Your Ingredients
A little knowledge about each ingredient can go a long way in perfecting your gummies and confidently experimenting with variations.
- **The Role of Applesauce:** Beyond flavor, applesauce adds moisture and a subtle pectin-like quality, contributing to the overall mouthfeel. Using unsweetened applesauce allows you to precisely control the final sweetness.
- **Sugar’s Dual Purpose:** The sugar within the mixture is vital for taste balance and acts as a preservative. The external coating not only looks appealing but also helps prevent the gummies from sticking together and adds a delightful textural contrast.
- **Jell-O for Color and Flavor:** While lime Jell-O is perfect for green shamrocks, consider cherry or strawberry for red holiday shapes, or lemon for yellow springtime treats. For more natural coloring, you could try a tiny bit of spirulina powder (which is very green!) or natural food dyes, adjusting the Jell-O flavor accordingly.
- **Gelatin Science:** Gelatin is a protein derived from collagen. When dissolved in hot liquid and then cooled, its protein strands form a network that traps water, creating a gel. The amount of gelatin directly impacts the firmness of your gummies. If you want a softer chew, you might slightly reduce the unflavored gelatin; for a firmer gummy, you could add a bit more. For vegetarian or vegan options, agar-agar is a common substitute, but the ratios and setting process will differ from this recipe and require specific adjustments.
Step-by-Step Guide to Crafting Perfect Shamrock Gummies
Making these delightful shamrock gummies is a straightforward process that yields impressive results. Follow these simple steps for a successful batch:
- **Combine and Heat:** Begin by pouring all your measured ingredients — applesauce, granulated sugar, lime Jell-O, and unflavored gelatin — into a medium-sized saucepan. Place the saucepan over medium-to-high heat on your stovetop.
- **Stir to Dissolve and Boil:** Continuously stir the mixture as it heats. This constant stirring is crucial to ensure all the sugar and gelatin dissolve completely, preventing any lumps and ensuring an even texture. Keep stirring until the mixture reaches a rolling boil.
- **Boil for One Minute:** Once boiling, continue to boil the mixture vigorously for exactly one minute. This step is essential for fully activating the gelatin and ensuring your gummies will set properly with the desired chewy consistency.
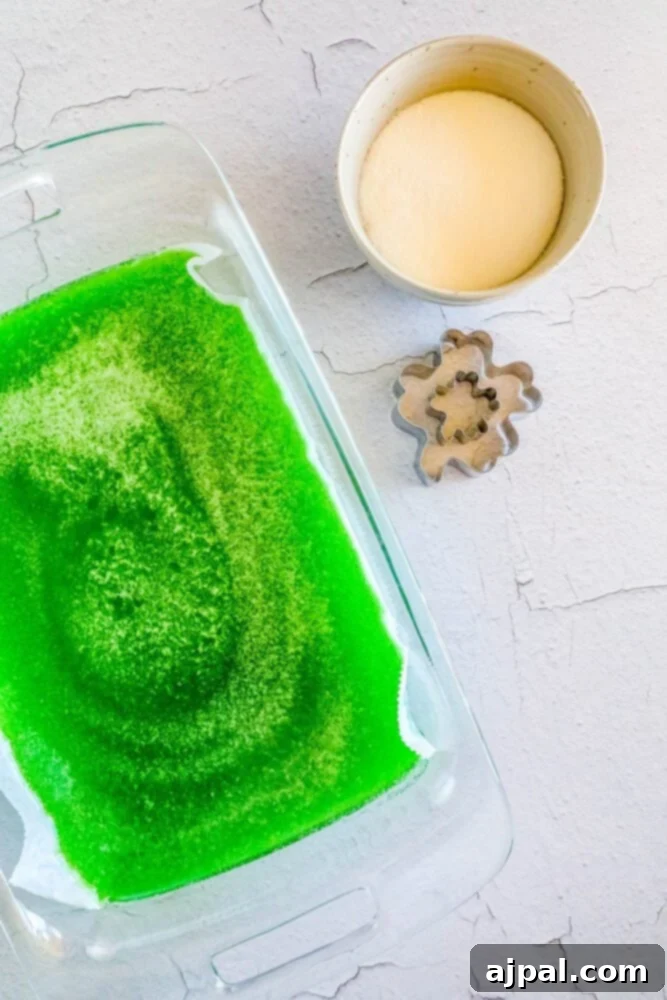
- **Prepare for Setting:** Immediately remove the saucepan from the heat. Carefully pour the hot gummy mixture into a 13×9 inch pan that you’ve lined with parchment paper. The parchment paper is vital for easy removal of the set gummies later.
- **Chill to Set:** Transfer the pan to the refrigerator and chill for at least 2 hours, or until the mixture is completely firm and set. You should be able to touch the surface without it feeling sticky or liquid. For best results, overnight chilling is even better.
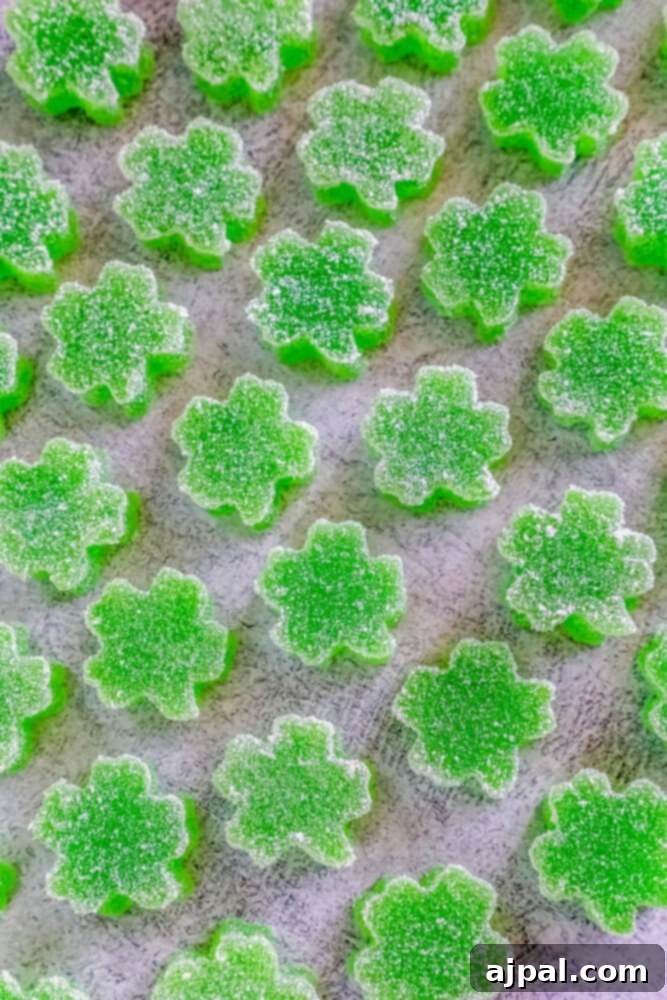
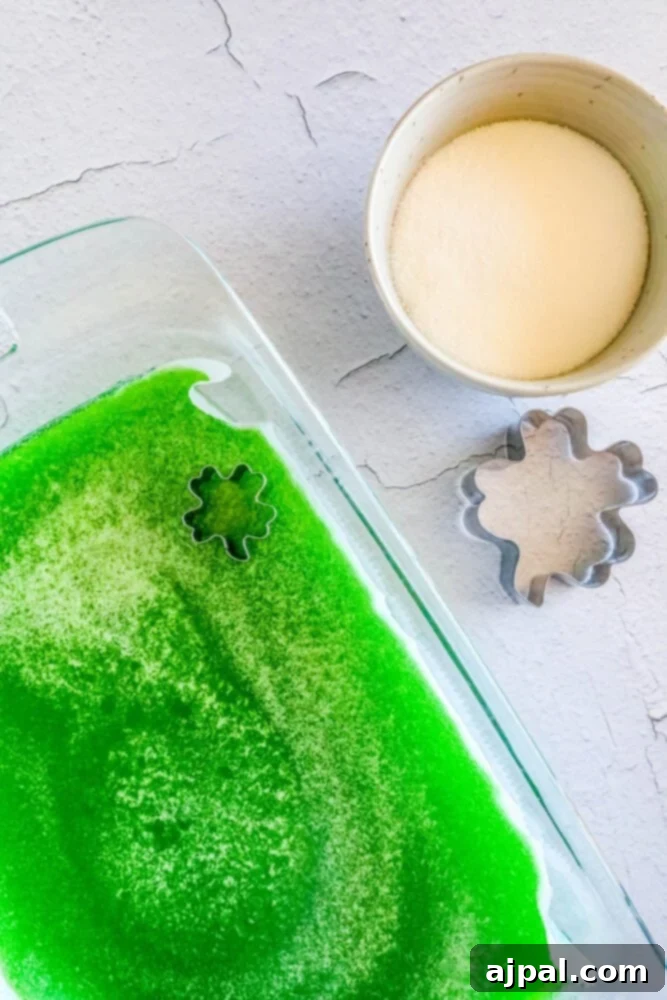
- **Shape and Coat:** Once fully set, remove the gummy slab from the pan using the parchment paper. Lightly dip your shamrock-shaped cookie cutter in a bowl of extra granulated sugar before each cut. This prevents sticking and ensures clean, crisp shamrock shapes. Cut out as many shamrocks as possible.
- **Sugar Roll for Sparkle:** After cutting each shamrock, roll it gently in the bowl of granulated sugar until fully coated. This step adds a beautiful sparkle and a delightful texture to the gummies.
- **Final Arrangement:** Place your sugar-coated shamrock gummies on a separate cookie sheet lined with fresh parchment paper. Repeat the cutting and coating process until you’ve used all the gummy mixture.
- **Store Properly:** Store your finished shamrock gummies in an airtight container in the refrigerator. They will remain fresh and delicious for up to two weeks. Enjoy!
Expert Tips & Tricks for Your Best Homemade Gummies
Achieving perfectly chewy and delicious homemade gummies is simple with a few insider tips. Here’s how to elevate your shamrock gummies from great to absolutely exceptional:
- **Mix Up the Color and Flavor:** This recipe is incredibly adaptable! While lime is perfect for St. Patrick’s Day, you can easily change the Jell-O flavor and color to suit any holiday or occasion. Use red Jell-O with a heart cutter for Valentine’s Day, or orange for Halloween pumpkins. You can even create multi-colored layers by chilling each layer briefly before adding the next. For more natural colors, consider using fruit puree like raspberry for red, blueberry for purple, or spinach juice for an even more vibrant green (though this will affect the flavor).
- **Controlling Sweetness:** If you prefer a less sweet gummy, you can reduce the amount of granulated sugar in the initial mixture. Remember that the Jell-O itself contains sugar, and the sugar coating adds an extra layer of sweetness. Experiment to find your ideal balance.
- **Achieving the Perfect Chewiness:** The boiling time is crucial for texture. Boiling for exactly one minute ensures the gelatin is fully activated, giving your gummies their characteristic bounce. If your gummies are too soft, try boiling for an extra 30 seconds next time. If they’re too firm, a slightly shorter boil might be the trick.
- **Troubleshooting Sticky Gummies:** If your gummies feel a bit sticky after setting and coating, you can allow them to air dry on a parchment-lined tray at room temperature for an hour or two. This helps create a slightly drier exterior. Ensuring your cookie cutter is well-coated in sugar before each cut also significantly reduces stickiness during the shaping process.
- **Creative Shaping:** Don’t limit yourself to just shamrocks! Any small cookie cutter will work. Think stars, circles, animals, or even mini geometric shapes. For a truly unique look, consider using silicone candy molds for intricate designs.
- **Parchment Paper is Your Friend:** Always line your pan with parchment paper, leaving an overhang on the sides. This creates “handles” that make it incredibly easy to lift the entire set gummy slab out of the pan without any sticking or breakage.
- **Proper Storage for Longevity:** Storing your homemade gummies in an airtight container in the refrigerator is key to maintaining their freshness and chewy texture. Exposure to air can cause them to dry out or become overly sticky.
Shamrock Gummies Frequently Asked Questions (FAQs)
Here are answers to some common questions about making and storing homemade gummies:
When stored properly in an airtight container in the refrigerator, homemade gummies can last for up to two weeks. While they might still be safe to eat beyond that, their texture and freshness are best within this timeframe.
Yes, absolutely! The base recipe is quite forgiving for simple additions. You could add a few drops of food-grade essential oils (like peppermint for an extra festive touch), a tiny pinch of citric acid for more tang, or even a different flavor extract (like vanilla or almond) to complement the fruit flavor. If you’re considering “adult additives,” ensure you are well-versed in proper ratios and safety guidelines, as this recipe is designed for family-friendly consumption.
This particular recipe relies on animal-derived gelatin for its unique chewy texture. To make a vegetarian or vegan version, you would need to substitute the gelatin with an appropriate plant-based gelling agent like agar-agar powder or carrageenan. However, the ratios and cooking methods for these substitutes are different from gelatin, so you would need to adapt the recipe significantly or find a recipe specifically designed for plant-based gummies.
The most common reason for gummies not setting is insufficient gelatin activation or an incorrect ratio of liquid to gelatin. Ensure you bring the mixture to a full boil and maintain it for the full minute as instructed. Also, double-check your measurements to ensure you’re using the correct amount of unflavored gelatin. Proper chilling time in the refrigerator is also crucial for the gelatin to fully firm up.
More Festive Recipes You’ll Adore
Beyond these delightful shamrock gummies, St. Patrick’s Day offers a wonderful opportunity to explore a variety of delicious and festive dishes. Whether you’re planning a full Irish feast or simply looking for more green-themed treats, we have plenty of inspiration for you. Explore some of our favorite recipes and creative ideas below to make your celebration truly memorable!
Get into the spirit of St. Patrick’s Day with our The Best Irish Potato Pancakes Ever, perfect for a savory start to your day. For more sweet treats, don’t miss our festive St. Patrick’s Day Dipped Oreos and the enchanting Homemade Lucky Charms Treats Recipe. And for the adults, our elegant Irish Cream White Russian Cocktail Recipe is sure to be a hit!
Try these other delicious recipes from our kitchen to yours:
Cranberry Bars
Dilly Bread Recipe
Cabbage and Noodles
Lemon Chicken Tortellini Soup
Cranberry Chutney
Bacon Rye Stuffing
Air Fried Chicken Fried Steak
Garlic Roasted Rack of Lamb
For even more delightful St. Patrick’s Day recipes, click here.
Your Go-To Shamrock Gummies Recipe Card
If you loved this easy and fun recipe, we’d be thrilled if you could show your support by rating it five stars and leaving a comment below! Your feedback helps us share more delicious ideas with our community. Don’t forget to spread the joy by sharing your creations on Instagram, Facebook, and Pinterest – we love seeing what you make!
Share on Facebook
Share
Pin this now to find it later
Pin It
Follow on Instagram
Follow
5 from 1 vote
Shamrock Gummies
Share by Email
Print Recipe
Shamrock gummies are a fun, delicious homemade fruit snack perfect to celebrate Saint Patrick’s Day with your kids!
Equipment
- Pyrex Deep 9×13-Inch Glass Baking Dish with Lid
- Cuisinart Saucepan with Cover
- Jello Lime Gelatin 6oz Box
- NuNaturals Unflavored Beef Gelatin Powder
Ingredients
- 1 ½ cups applesauce
- 2 ¼ cups granulated sugar
- 6 oz lime Jell-O
- 2 packs of unflavored gelatin
Instructions
- Pour all the ingredients into a saucepan. Mix together over medium to high heat. Stir until it reaches a boil. Boil for one minute.
- Remove from heat and add to a 13×9 pan lined with parchment paper. Place the pan into the refrigerator and chill for 2 hours or until set.
- Dip the cookie cutter in sugar to help avoid sticking. Cut out the shamrocks and then roll them in a bowl of sugar. Set aside a parchment-lined cookie sheet. Repeat until there is no more room to cut out shamrocks.
- Store in the refrigerator for up to two weeks, enjoy!
Nutrition
Calories: 83 kcal
Carbohydrates: 21g
Sodium: 1mg
Sugar: 20g
Nutrition information is automatically calculated, so should only be used as an approximation.
Additional Info
Only have 30 minutes to get dinner on the table? Sign up for my 30-minute dinner plans direct to your inbox!
Find and shop my favorite products in my Amazon storefront here!