
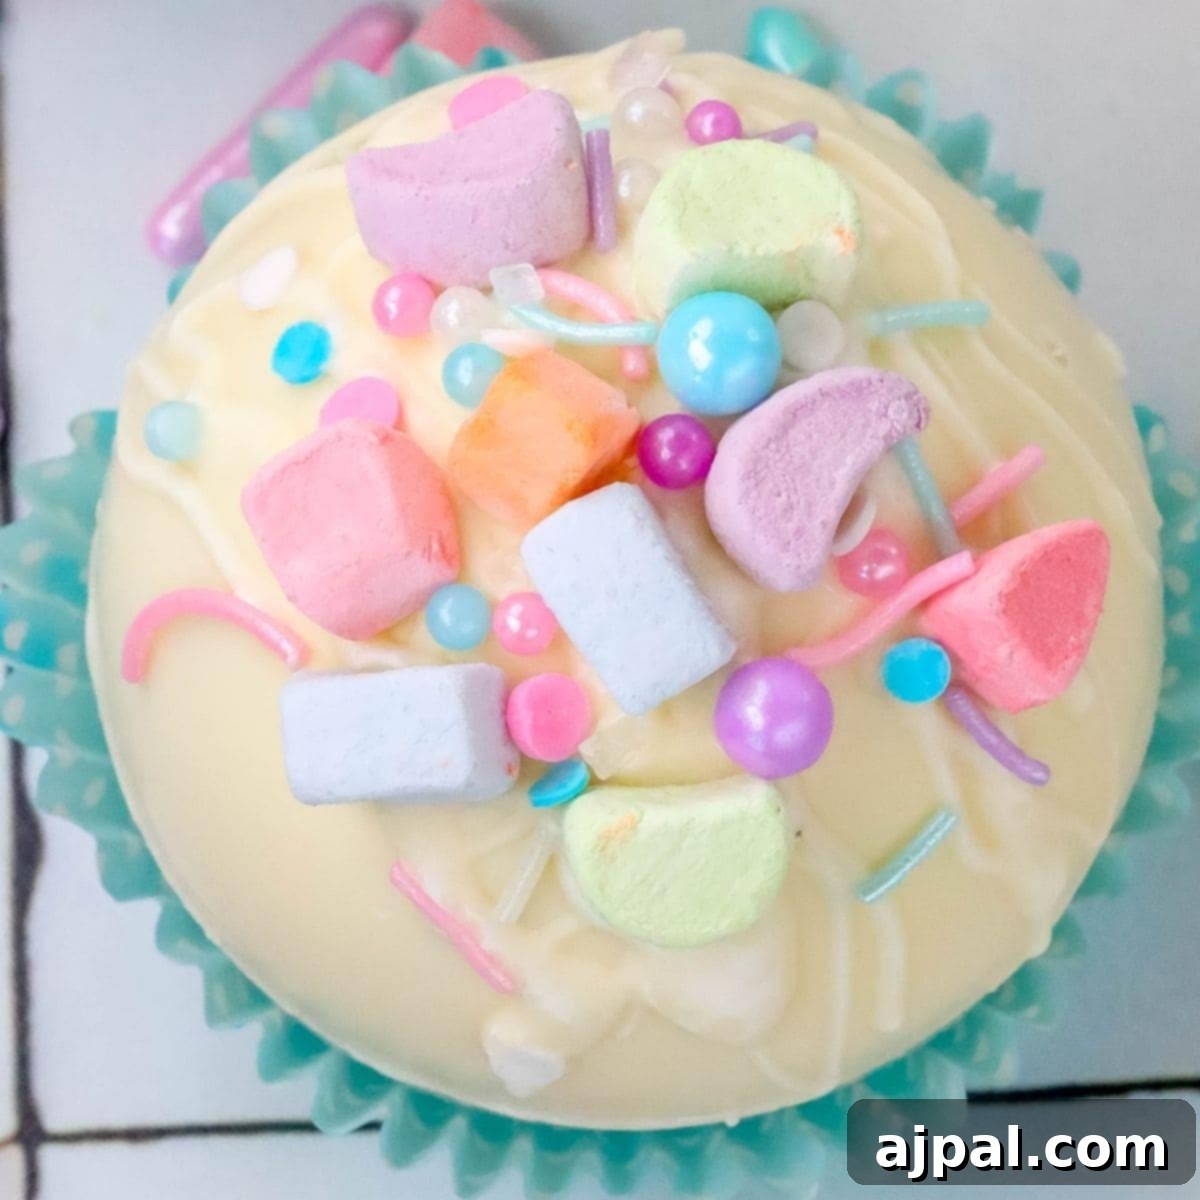
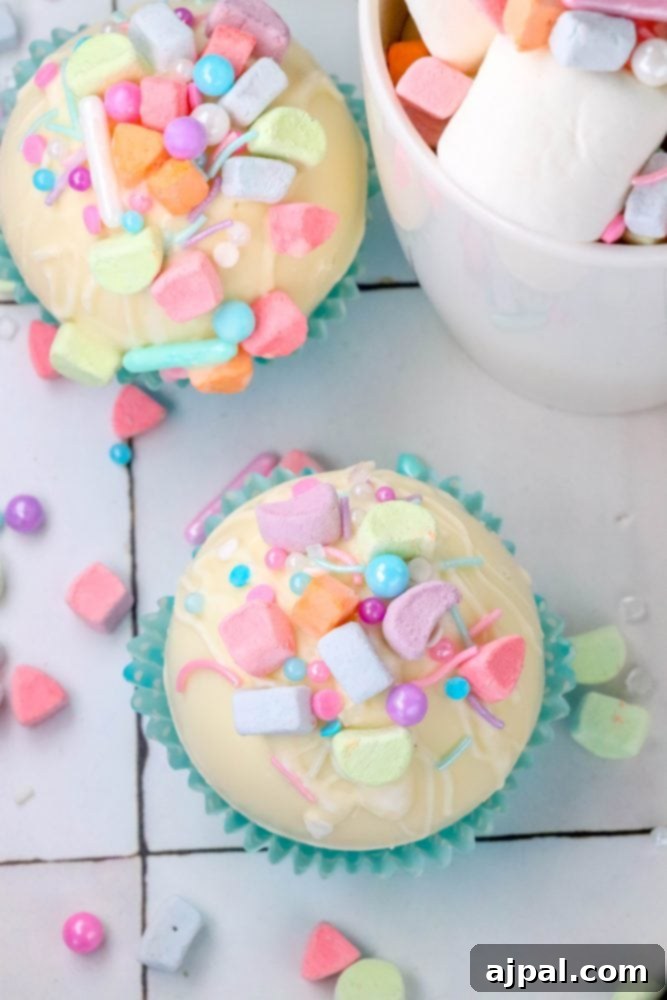
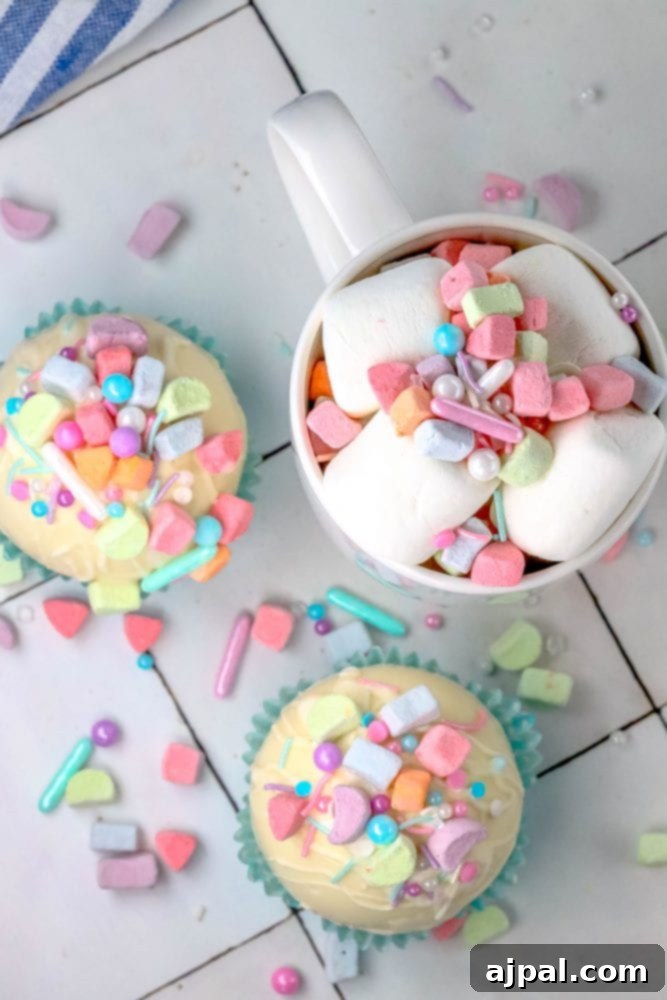
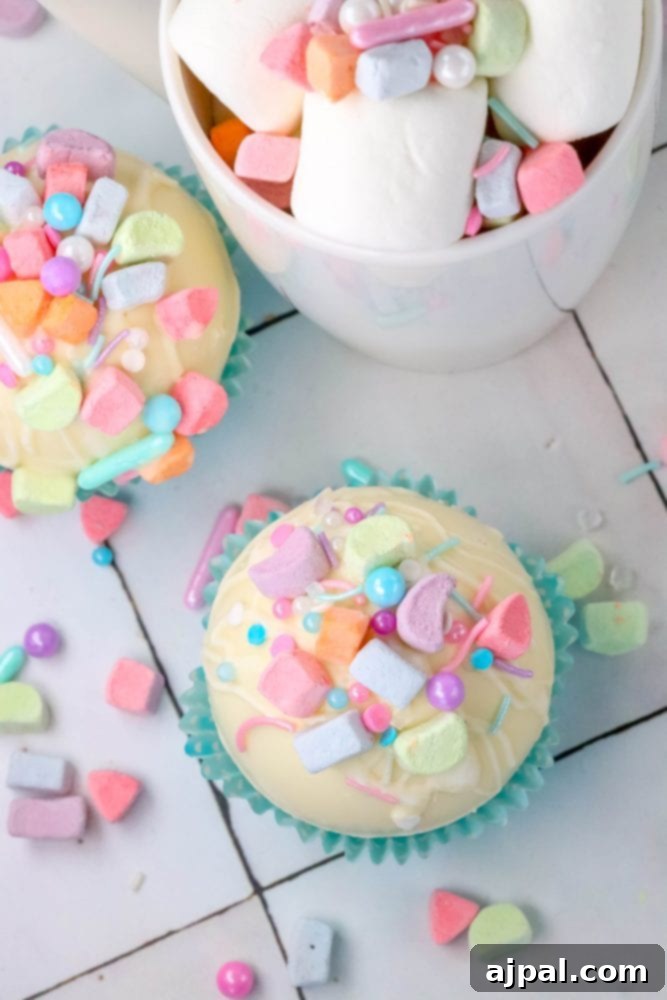
Unleash a cascade of sweet delight with these enchanting White Chocolate Lucky Charms Hot Chocolate Bombs! Imagine a creamy, luxurious white chocolate shell bursting open in warm milk to reveal a magical swirl of Lucky Charms marshmallows. This recipe isn’t just about making a drink; it’s about crafting an experience that kids adore and adults find utterly charming. Perfect for a cozy afternoon, a festive holiday, or a fun family activity, these hot cocoa bombs transform a simple beverage into a spectacular treat.
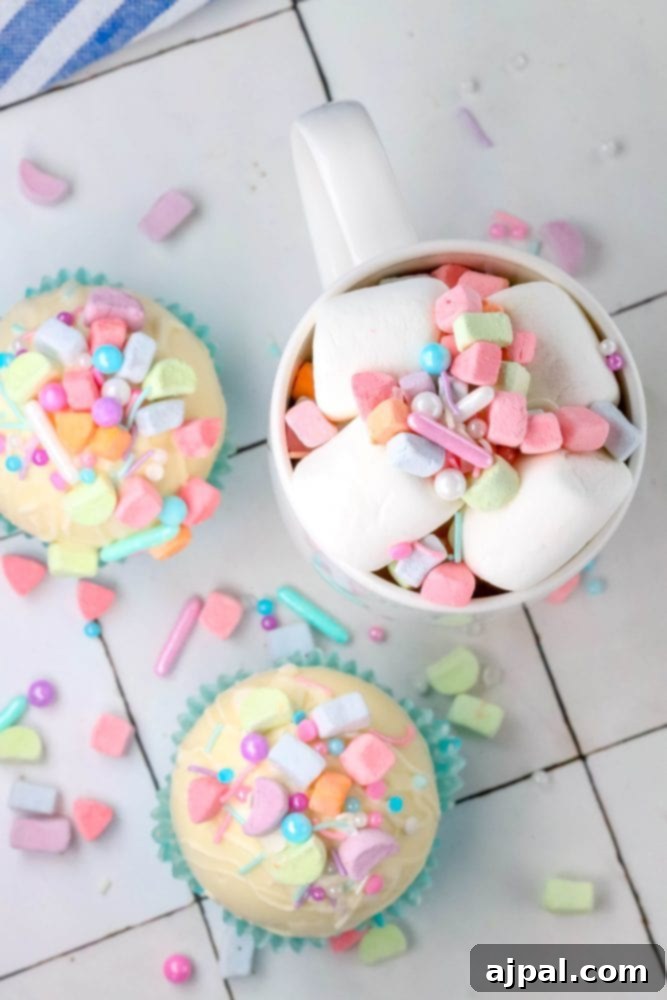
When the trend of hot chocolate bombs first swept the internet, many, including ourselves, felt a little intimidated by the intricate-looking process. However, we quickly discovered that crafting these delightful spheres is surprisingly straightforward and incredibly rewarding. Our journey began with our popular Mint Hot Chocolate Bombs Recipe, and since then, we’ve been utterly captivated by the endless creative possibilities. We’ve explored unique flavors like Raspberry Hot Chocolate Bombs and the rich indulgence of Peanut Butter Hot Cocoa Bombs. It’s safe to say, we’re completely hooked!
Making hot chocolate bombs has become a cherished bonding activity in our home. My daughter eagerly joins in, learning the art of spooning melted chocolate into molds (I handle the tempering for consistency!), and together we meticulously fill and decorate each bomb. This shared creative experience is truly magical, creating lasting memories alongside delicious treats.
With Saint Patrick’s Day approaching, we decided to infuse a touch of Irish charm into our latest creation. What better way than to incorporate our beloved Lucky Charms marshmallows, just like we do in our Homemade Lucky Charms Treats! These white chocolate hot cocoa bombs are not only completely adorable but also provide fantastic fun for all ages. They’re a brilliant activity to enjoy with family and friends, or a charming homemade gift to share at school or a festive Saint Patrick’s Day party. Living in Colorado, where March often brings the heaviest snowfalls, there’s no better time to whip up a large batch of these comforting and whimsical cocoa bombs to chase away the chill. We genuinely hope you’ll adore this recipe as much as our family does!
Looking for specific recipe details without all the extra tips and stories? We’ve included a convenient “skip to recipe” button at the top left of this page. For easier navigation, you’ll also find a clickable table of contents just below.
Here at Sweet C’s, every recipe comes packed with extensive tips and insights. As a home cook without formal culinary training, I thrive on understanding the “why” behind each step and the role of every ingredient in enhancing flavor. My mission is to empower even the most novice home cooks, helping them feel confident and successful in their own kitchens.
Table of Contents
- How To Make Hot Chocolate Bombs Step-by-Step
- Tips and Tricks for Perfect Lucky Charms Hot Cocoa Bombs
- Recipe FAQs
- Other Hot Chocolate Bomb Recipes to Try
How To Make Hot Chocolate Bombs Step-by-Step
Crafting these magical hot chocolate bombs is an art form that’s surprisingly accessible. The basic process involves melting chocolate, carefully coating silicone molds, filling them with your favorite hot cocoa mix and delightful additions, sealing the halves, and finally, decorating your creations. To ensure your White Chocolate Lucky Charms Hot Chocolate Bombs turn out perfectly every time, we’ve detailed the essential tools and ingredients you’ll need, along with comprehensive tips for success.
Essential Equipment for Hot Chocolate Bombs:
- High-Quality Couverture White Chocolate: Essential for a smooth melt and shiny finish.
- Lucky Charms Marshmallows (or other festive dehydrated marshmallows): The star of the show!
- Colorful Sprinkles: For an extra touch of whimsy.
- Silicone Sphere Molds: The key to shaping your bombs.
- Instant-Read Kitchen Thermometer: Crucial for accurate chocolate tempering.
- Nitrile Food Prep Gloves: To prevent fingerprints and ensure hygiene.
- Food Scale: For precise measurement of chocolate.
- Small Spoon or Clean Food Paintbrush: For coating the molds.
- Rubber Spatula: For stirring and scraping chocolate.
- Medium Bowl: For melting chocolate.
- Small Baking Sheet: For chilling molds.
- Cupcake Liners (optional): To hold the finished bombs.
Tips and Tricks for Perfect Lucky Charms Hot Cocoa Bombs
While the concept of making hot chocolate bombs is simple, achieving a flawless, shiny, and delicious result requires attention to a few key details. Master these techniques, and you’ll be creating gourmet-level treats at home in no time.
Choosing the Right Chocolate for Hot Chocolate Bombs
The foundation of an exquisite hot chocolate bomb lies in the quality of your chocolate. For this recipe, we highly recommend using a premium bar of high-quality chocolate or couverture chocolate. Look for white chocolate that contains cocoa butter as one of its primary ingredients, ideally between 55% and 80% cocoa solids (though for white chocolate, this refers to cocoa butter content and other milk solids). We’ve extensively tested various chocolates, and our findings consistently point to the superiority of couverture chocolate. Its higher cocoa butter content ensures a beautifully smooth melt, a luxurious mouthfeel, and a gorgeous glossy finish that truly elevates your hot cocoa bombs. Avoid melting wafers and standard chocolate chips; these often contain stabilizers or less cocoa butter, making them less ideal for molding and tempering, which can result in a grainy texture or a dull appearance.
A Crucial Distinction: Avoid Candy Melts. It’s important to understand that candy melts are not real chocolate. While they might be convenient for certain decorations (and we’ll use a touch for this recipe’s final flourish), they should never form the base of your hot chocolate bombs. Candy melts typically lack cocoa butter, substituting it with vegetable fats. Even “chocolate-flavored” candy melts simply add cocoa powder without the essential cocoa butter, which will significantly compromise the texture, flavor, and melting consistency of your finished hot cocoa. For a rich, velvety hot chocolate, real chocolate is non-negotiable.
Tips for Perfectly Melted Chocolate
- Finely Chop Your Chocolate: If you’re using chocolate bars, ensure they are very finely chopped. For best results, you can even use a food processor or blender to achieve small, uniform pieces. Smaller pieces melt more quickly and evenly, which is critical for successful tempering and a smooth consistency.
- Gentle Melting is Key: When melting chocolate, whether in a microwave or a double boiler, patience is key. Heat in short intervals (15-30 seconds in the microwave) and stir thoroughly between each. The residual heat will continue to melt remaining pieces. If a few stubborn pieces remain, a final 5-second burst in the microwave should do the trick. Overheating chocolate will cause it to seize and become unusable.
- Precision with a Food Scale: For couverture chocolate, which is highly sensitive to ratios, a food scale is indispensable for accurate measurement. If you’re using baking chocolate bars, they often come in pre-portioned blocks (e.g., 0.5-1 ounce each), making them slightly easier to measure by breaking off segments.
Mastering Chocolate Tempering for Hot Cocoa Bombs
Tempering chocolate is the secret to achieving that beautiful, glossy finish and satisfying snap, preventing “bloom” (white streaks caused by improper crystallization). While it sounds advanced, with an instant-read thermometer, it’s very achievable:
- Target Temperatures: For white chocolate, you’ll want to heat it to a working temperature between 82 and 84 degrees F (28-29°C). If you were using milk chocolate, the range would be 86-88°F, and for dark chocolate, 88-90°F. If your chocolate goes above the recommended temperature for white chocolate, quickly stir in a few additional ounces of finely chopped untempered chocolate. This “seeds” the chocolate with stable crystals and brings the temperature back down to the ideal working range.
- The Parchment Paper Test: To confirm your chocolate is perfectly tempered, spread a small amount onto a piece of parchment paper and place it in the refrigerator for a few minutes. If it sets quickly, is shiny, and breaks with a clean “snap,” your chocolate is tempered and ready to use. If it remains soft, looks dull, or bends, it needs further tempering.
How To Shape Your Hot Chocolate Bombs
We’ve found that the most effective and easiest method for creating perfectly shaped chocolate spheres is to “paint” the inside of a silicone mold. Using the back of a spoon allows you to apply a thicker, more even layer of chocolate in one go, compared to a silicone brush which often results in thinner layers requiring multiple coats and more time. Aim for a consistent coating that reaches all the way to the rim of each cavity.
Tips for Perfect Chocolate Spheres
- Clean Molds are Essential: Silicone molds tend to attract lint and dust. Avoid drying them with a dishcloth, as fibers can stick to the surface. Instead, allow them to air dry completely, or gently pat them with a paper towel. A clean mold ensures smooth, blemish-free chocolate shells.
- Silicone vs. Acrylic Molds: While we primarily use silicone molds for their flexibility and ease of demolding, acrylic molds can also be used. If you opt for acrylic, ensure your chocolate is impeccably tempered, as it’s more critical for easy release from rigid molds.
Once you have beautifully crafted, well-tempered chocolate shells, it’s time for the exciting part: filling your Lucky Charms White Chocolate Hot Chocolate Bombs!
You might notice this recipe calls for a more generous amount of hot cocoa powder compared to some others you’ve encountered online. After numerous tests, we’ve discovered that using 8 ounces of hot cocoa mix (versus the common 2 ounces) delivers an unparalleled smooth, rich, and truly chocolatey flavor. Trust us on this – it makes all the difference! If using individual 1oz packets, each typically contains about 3 tablespoons of powder.
And of course, no Lucky Charms bomb is complete without a generous helping of Lucky Charms marshmallows! We often buy larger bags online to ensure we have plenty for these and other festive treats.
How to Seal Your Hot Chocolate Bombs
Sealing the two chocolate hemispheres into a perfect sphere is a critical step, and there are several effective “gluing” methods using melted chocolate:
- The Warm Plate Method (Recommended): This is our preferred method for its clean finish. Heat a flat plate in the microwave for approximately 2 minutes. Carefully hold the rim of one chocolate hemisphere with a gloved hand and gently rub it against the warm plate for a few seconds. This lightly melts the edge. Immediately place this melted edge onto a filled half-sphere and press gently to seal. The gloves help prevent fingerprints and keep the chocolate pristine. Remember to wipe the plate clean and reheat it as needed for subsequent bombs.
- The Spoon Chocolate Method: An alternative is to spoon a small amount of melted, tempered chocolate around the rim of a filled half-sphere. Then, carefully place an unfilled top half onto the melted chocolate and allow it to set. This method can be a bit messier but is effective.
- The Piped Chocolate Method: For a decorative seal, you can pipe a thin line of melted chocolate around the rim of a filled cocoa bomb cup using a piping bag (or a ziploc bag with a corner snipped off). Place the other half on top, and while the piped chocolate is still wet, roll the seam in sprinkles for a beautifully decorated middle line. This adds a charming, festive touch.
After testing these various techniques, we consistently found that the warm plate method yielded the cleanest, most professional-looking results for our hot chocolate bombs.
How To Make Delicious Cocoa with Hot Chocolate Bombs
The moment of truth! Unleashing the magic of your hot chocolate bomb is simple:
- Heat Your Milk: In a small saucepan, gently heat about 8 ounces of whole milk (or your preferred milk) over medium heat. Watch it carefully and remove it from the heat just as small bubbles begin to form around the edges. Avoid boiling the milk aggressively, as this can scorch it.
- The Grand Reveal: Place one of your homemade hot chocolate bombs into a large mug. Pour the warm milk directly over the bomb. As the hot milk melts the chocolate shell, the cocoa mix and Lucky Charms marshmallows inside will burst forth, creating a beautiful and delicious swirl.
- Stir and Enjoy: Stir gently until all the chocolate has melted and the contents are fully mixed into a rich, creamy hot chocolate.
- Milk vs. Water: While you can technically use hot water to make cocoa with these bombs, we strongly recommend using milk. Milk provides a luscious, velvety texture and a much richer, well-balanced chocolate flavor that water simply cannot replicate. For a truly indulgent experience, dairy milk or a creamy plant-based alternative is the way to go.
Recipe FAQs
These homemade hot chocolate bombs are at their absolute best within 24 hours of being made, when the chocolate is freshest and most vibrant. However, they can be stored in an airtight container in a cool, dark place (away from direct sunlight or heat, which can melt or discolor the chocolate) for up to four days. For longer storage, you can gently wrap each bomb in plastic wrap and place it in an airtight container in the refrigerator for up to two weeks, but be aware that condensation can sometimes affect the chocolate’s shine when brought to room temperature.
Absolutely! While Lucky Charms marshmallows add a whimsical, colorful touch, feel free to get creative. You can use mini dehydrated marshmallows, regular mini marshmallows (though they might clump a bit if not dehydrated), or even add a few drops of food coloring to plain marshmallows for a custom look. Just ensure they fit inside your chocolate shell!
Chocolate can seize (become thick, grainy, and unworkable) if it gets too hot or if even a tiny drop of water gets into it. If your chocolate becomes too thick but hasn’t seized completely, you can try adding a very small amount (half a teaspoon) of vegetable oil or melted cocoa butter and stir vigorously until smooth. If it has seized and is completely crumbly, unfortunately, it’s often beyond repair for molding and best used for something like chocolate bark or discarded.
Yes, these hot chocolate bombs are excellent for making ahead! Follow the storage guidelines above to ensure they stay fresh. Preparing them in advance allows you to enjoy your event without the last-minute rush, making them perfect for holiday gatherings, birthdays, or as charming homemade gifts.
Other Hot Chocolate Bomb Recipes to Try
If you’ve fallen in love with the whimsical charm of these White Chocolate Lucky Charms Hot Chocolate Bombs, you’ll be thrilled to explore more of our creative concoctions. Be sure to check out our refreshing Raspberry Hot Chocolate Bombs for a fruity twist, and our decadent Peanut Butter Hot Cocoa Bombs for a rich, nutty indulgence. Each recipe brings its own unique flavor profile and offers another delightful way to enjoy the hot cocoa bomb trend!
More rich drink recipes:
Simple Eggnog Recipe
The Best Homemade Slow Cooker Hot Chocolate
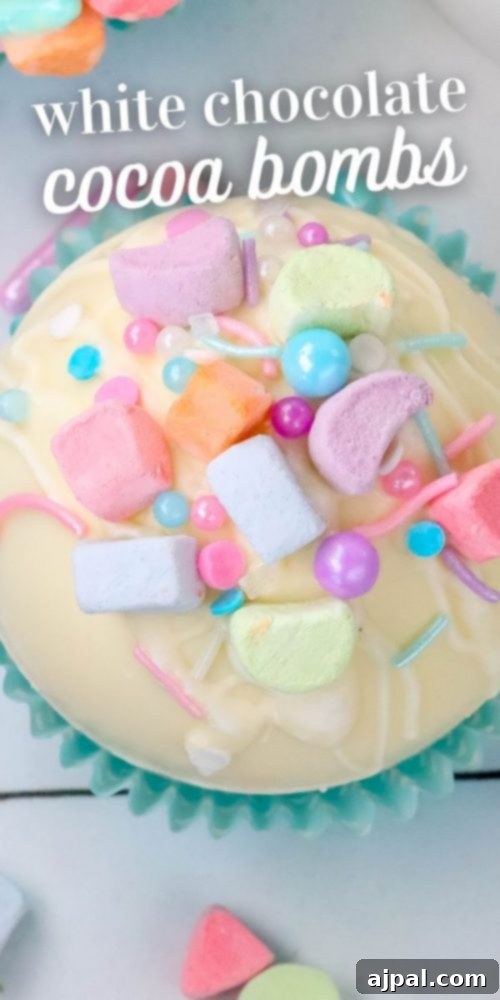
White Chocolate Lucky Charms Hot Chocolate Bombs
Saint Patrick’s Day Hot Chocolate Bombs Recipe
We hope you’ve enjoyed learning how to create these delightful White Chocolate Lucky Charms Hot Chocolate Bombs. If you love this easy recipe, please take a moment to give it a five-star rating below and share your thoughts in a comment! Your feedback and ratings help others discover these fun treats. Don’t forget to share your creations on Instagram, Facebook, and Pinterest – be sure to tag @sweetcsdesigns so we can see your incredible work!
Share on Facebook
Share
Pin this now to find it later
Pin It
Follow on Instagram
Follow
Only have 30 minutes to get dinner on the table? Sign up for my 30-minute dinner plans direct to your inbox!
Find and shop my favorite products in my Amazon storefront here!
White Chocolate Lucky Charms Hot Chocolate Bombs
Equipment
-
Thermapen Mk4 Instant-read Thermometer for meat & more
-
2 Packs Hot Chocolate Bomb Mold, 6-Cavity Large Semi Sphere Circle Silicone Mold
-
Manvscakes Easter sprinkles | Pastel sprinkles | Cake sprinkle
Ingredients
- 12 ounces white chocolate couverture chocolate morsels
- 6 white chocolate cocoa mix packets
- Lucky charms marshmallows or other dehydrated marshmallows
- Sprinkles, optional
- 8 ounces whole milk, or milk of choice for serving
Instructions
-
Add 5 ounces of finely chopped white chocolate (or white chocolate morsels) to a medium, microwave-safe bowl. Microwave for 30 seconds, then remove and stir thoroughly with a rubber spatula, scraping the sides of the bowl. Continue microwaving in 15-second intervals, stirring completely after each, until the chocolate is almost entirely melted and smooth. The goal is to melt it gently using residual heat to avoid scorching.
-
Once almost melted, continue stirring for another minute or two. The heat from the already melted chocolate should be sufficient to melt any remaining small pieces, ensuring a silky-smooth consistency. This prevents overheating and helps maintain temper.
-
Using an instant-read thermometer, check the temperature of your white chocolate. It should read between 82 and 84 degrees F (28-29°C) for optimal tempering. If the temperature exceeds 84 degrees, quickly stir in an additional ounce of cold, finely chopped white chocolate until it melts and brings the temperature back into the desired range. This “seeding” method helps stabilize the chocolate crystals. Note: If you are using two molds, you can prepare 10 ounces of chocolate and add 2 ounces for tempering if needed. However, if using only one mold, it’s best to work in smaller batches to prevent the chocolate from cooling and requiring reheating, which can affect its temper. Improperly tempered chocolate can result in a dull, chalky, or streaky finish instead of a beautiful, glossy shine.
-
Spoon approximately 1 tablespoon of the tempered white chocolate into each cavity of your silicone sphere mold. Using the back of the spoon, carefully spread the chocolate evenly around the inside of each mold, ensuring it reaches all the way to the top rim and leaves no thin or exposed areas. Place the filled mold onto a small baking sheet for stability and refrigerate for 5 minutes to allow the first layer to set.
-
Remove the mold from the refrigerator. Spoon another generous spoonful of melted white chocolate into one mold cavity at a time (working quickly with one cavity at a time prevents the chocolate from cooling and thickening too rapidly, which makes it harder to spread). Use the back of the spoon to spread this second layer, paying special attention to building up and reinforcing the edges around the rim. A slightly thicker edge helps prevent the chocolate shells from cracking when you remove them or attempt to seal them. Freeze the mold for 10 minutes until the chocolate is firm.
-
Once fully set, remove the mold from the freezer. Put on food-safe nitrile gloves to prevent fingerprints and carefully invert the mold to gently pop out the hardened chocolate shells. They should release easily if properly tempered and chilled.
-
If you are working with a single mold or need more shells, repeat steps 1 through 4 to create enough chocolate hemispheres for your desired number of hot chocolate bombs.
-
To prepare for sealing, microwave a clean, flat plate for 2 minutes until it’s warm. Take 6 of your 12 chocolate hemispheres (these will be the bottom halves). One at a time, gently hold a hemisphere with a gloved hand and carefully lower its rim onto the warm plate. Spin it very lightly for just a second or two to create a smooth, slightly melted edge. Immediately place this bottom half, round side down, into a regular-sized cupcake liner on your work surface. Wipe the plate clean before proceeding to the next hemisphere.
-
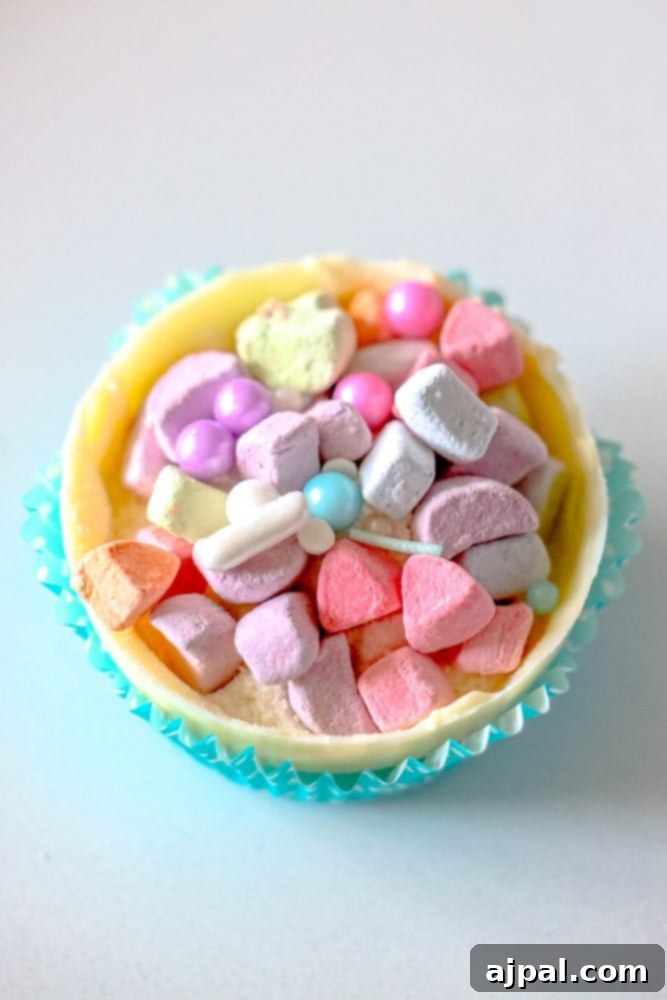
Fill each of the prepared bottom chocolate halves (resting in their cupcake liners) with one packet of white chocolate hot cocoa mix, a generous amount of Lucky Charms marshmallows, and a sprinkle of colorful sprinkles if desired.
-
Reheat the flat plate in the microwave for another 2 minutes.
-
Repeat the warm plate process with the remaining 6 chocolate hemispheres (these will be the top halves). Once the edge is slightly melted, carefully place each top half directly onto a filled bottom half, gently pressing to create a secure seal.
-
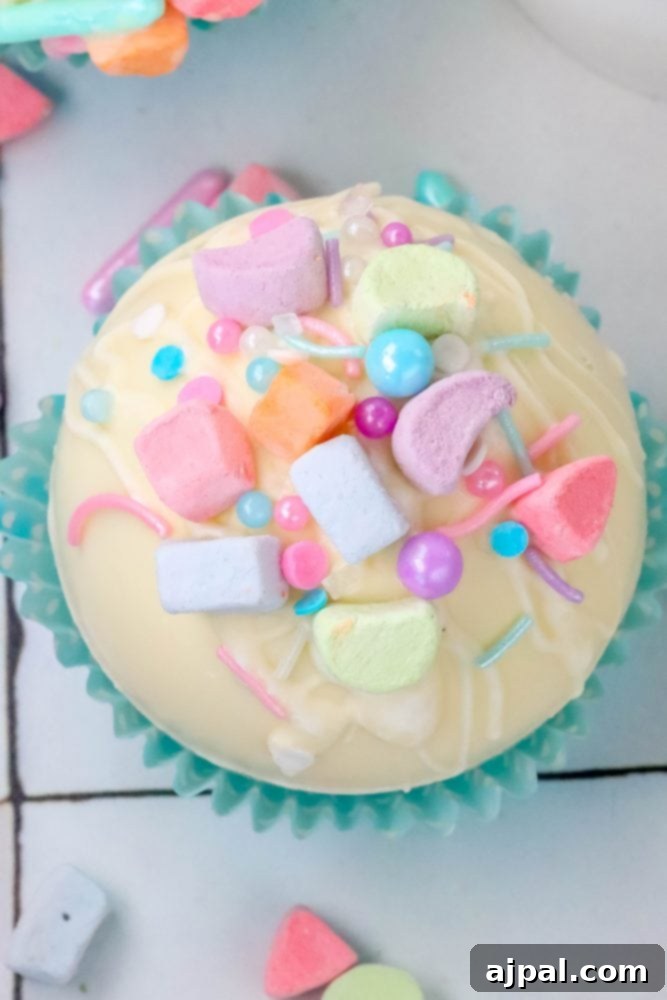
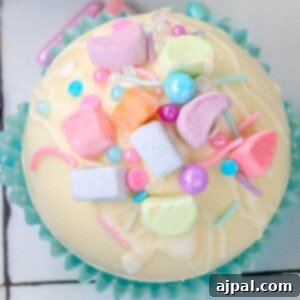
Allow the assembled hot chocolate bombs to set for a few minutes. For an extra decorative touch, drizzle a bit of leftover melted white chocolate over the top and immediately add more sprinkles before the chocolate sets. Your magical White Chocolate Lucky Charms Hot Chocolate Bombs are now ready to enjoy or gift!
Nutrition
Nutrition information is automatically calculated, so should only be used as an approximation.