
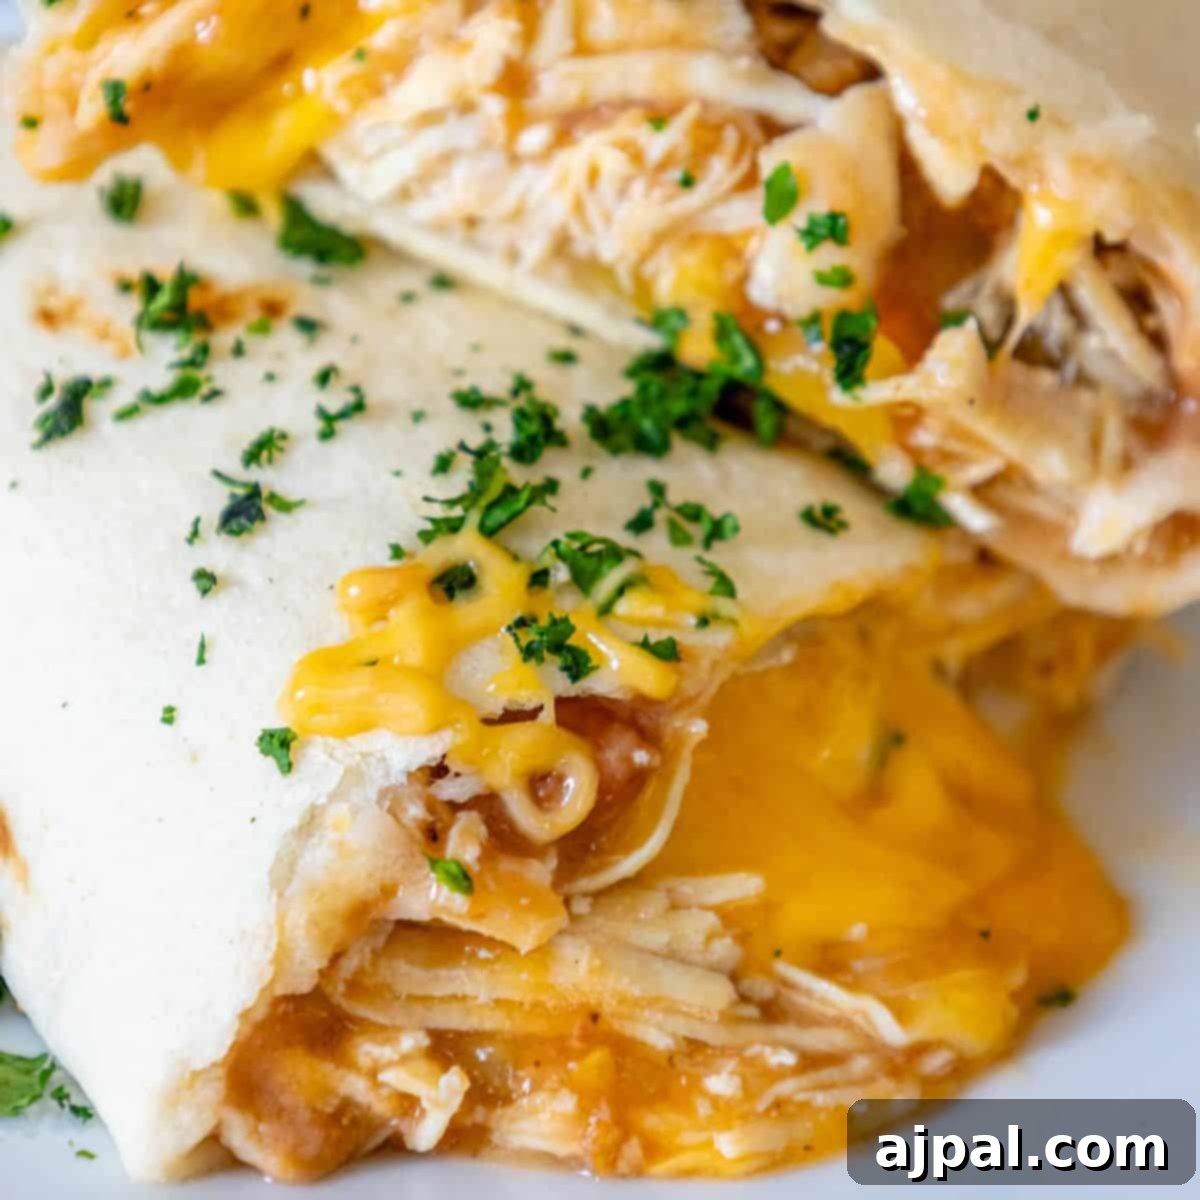
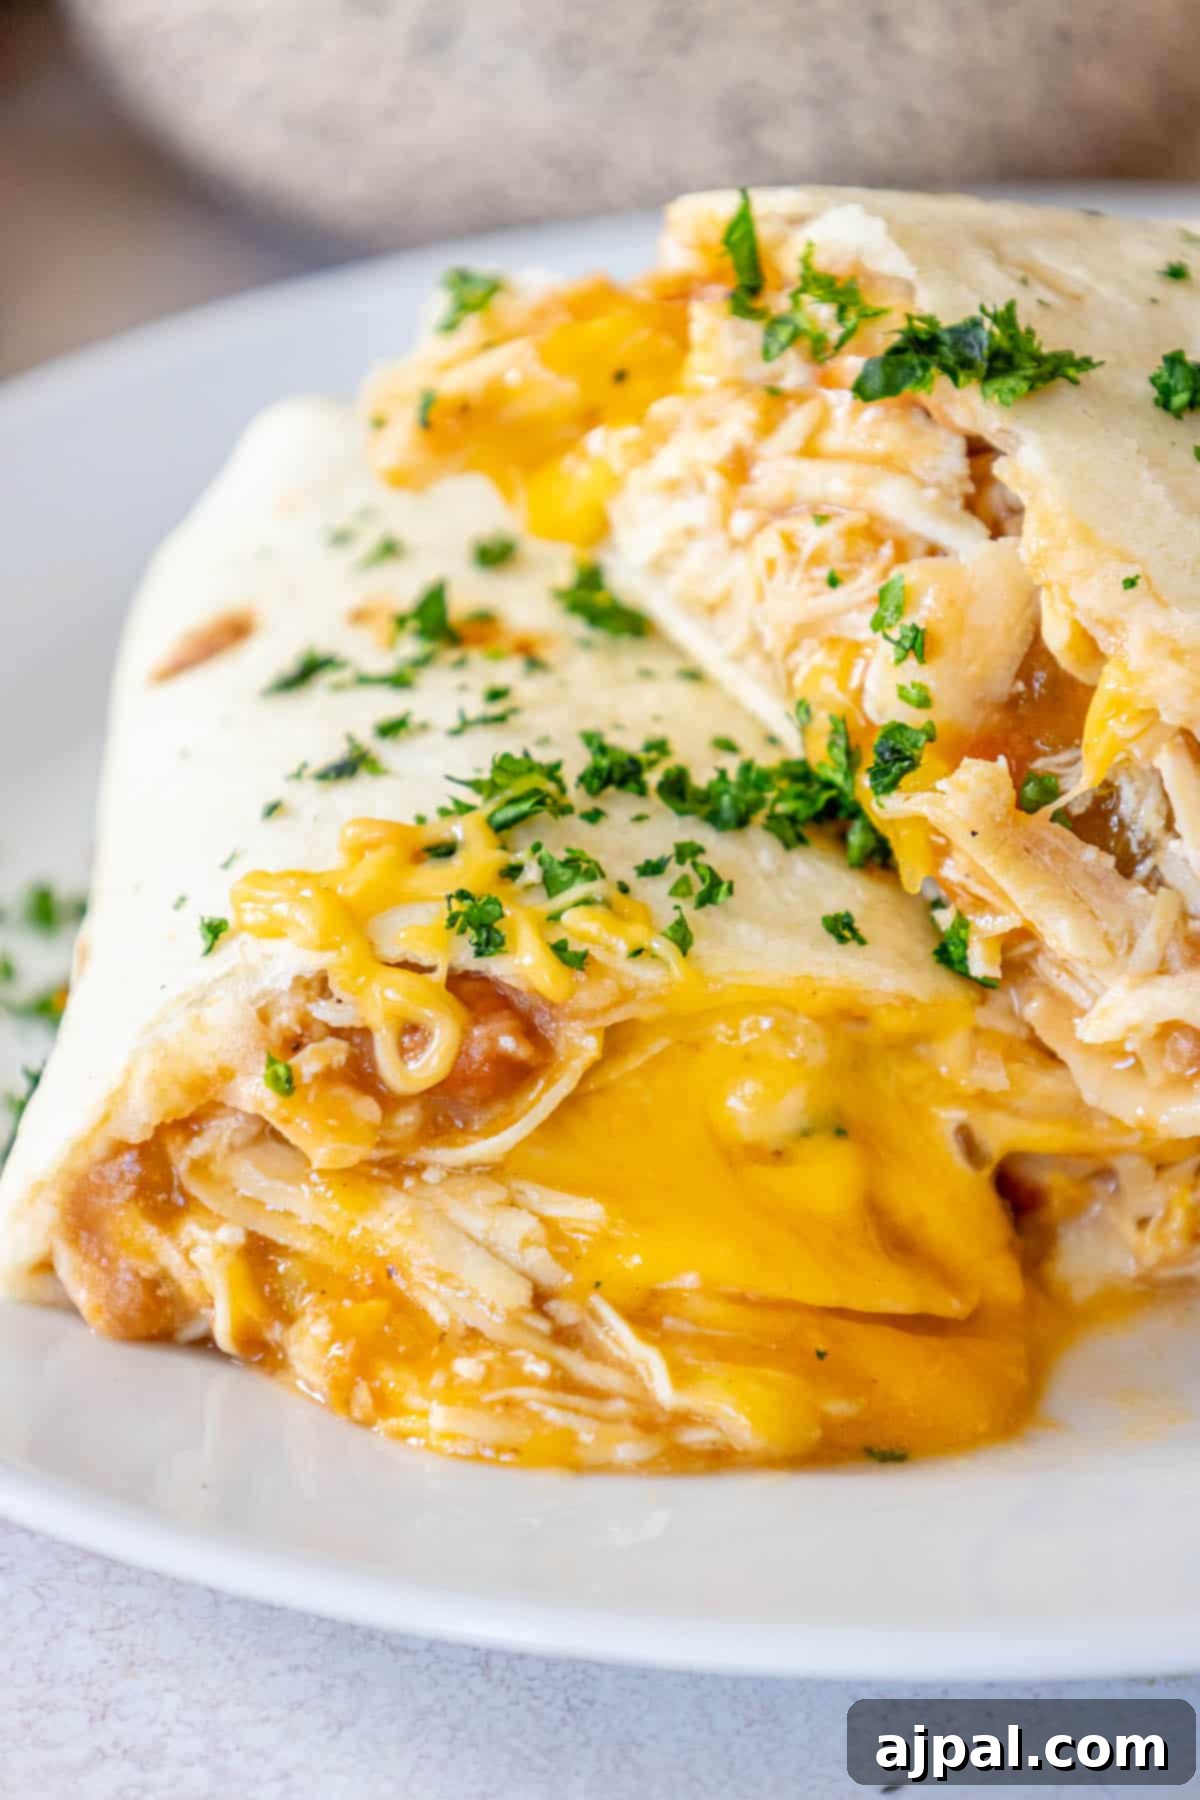
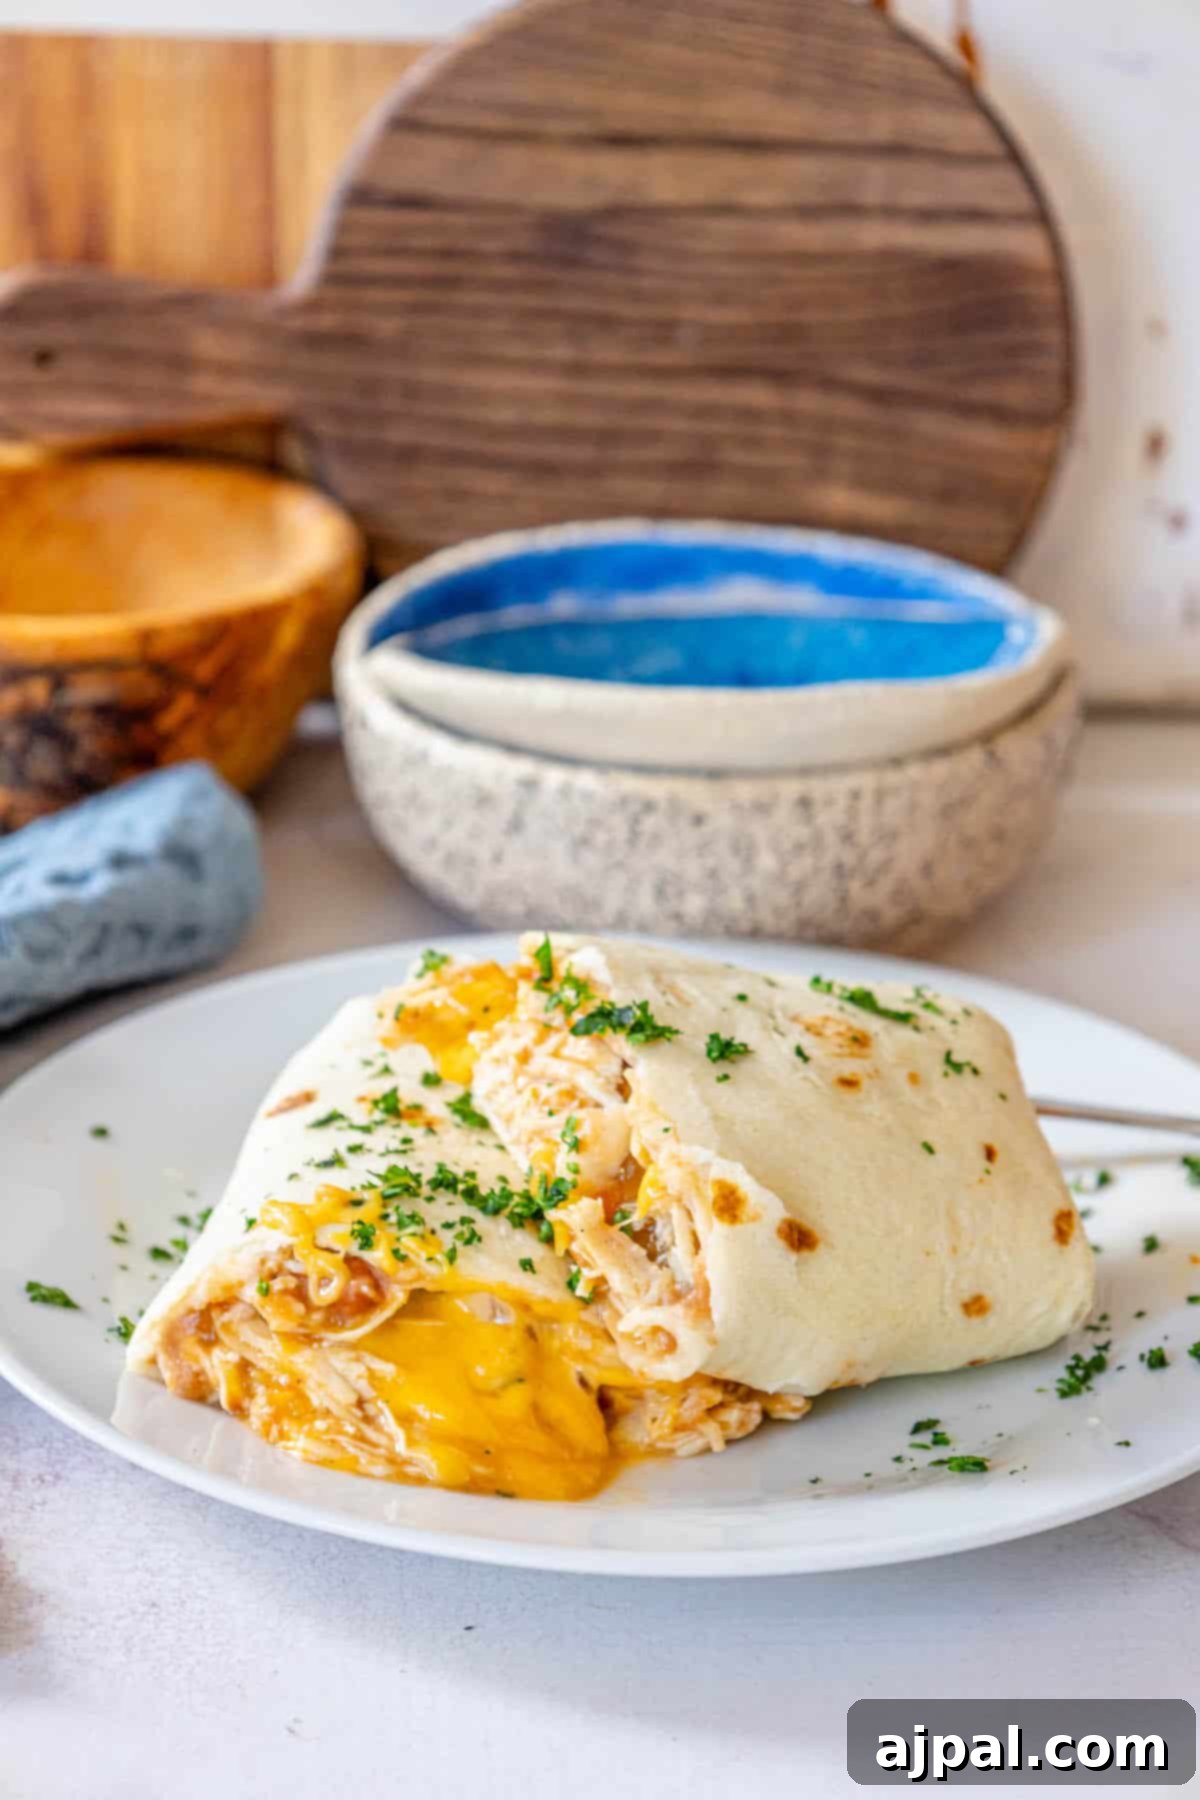
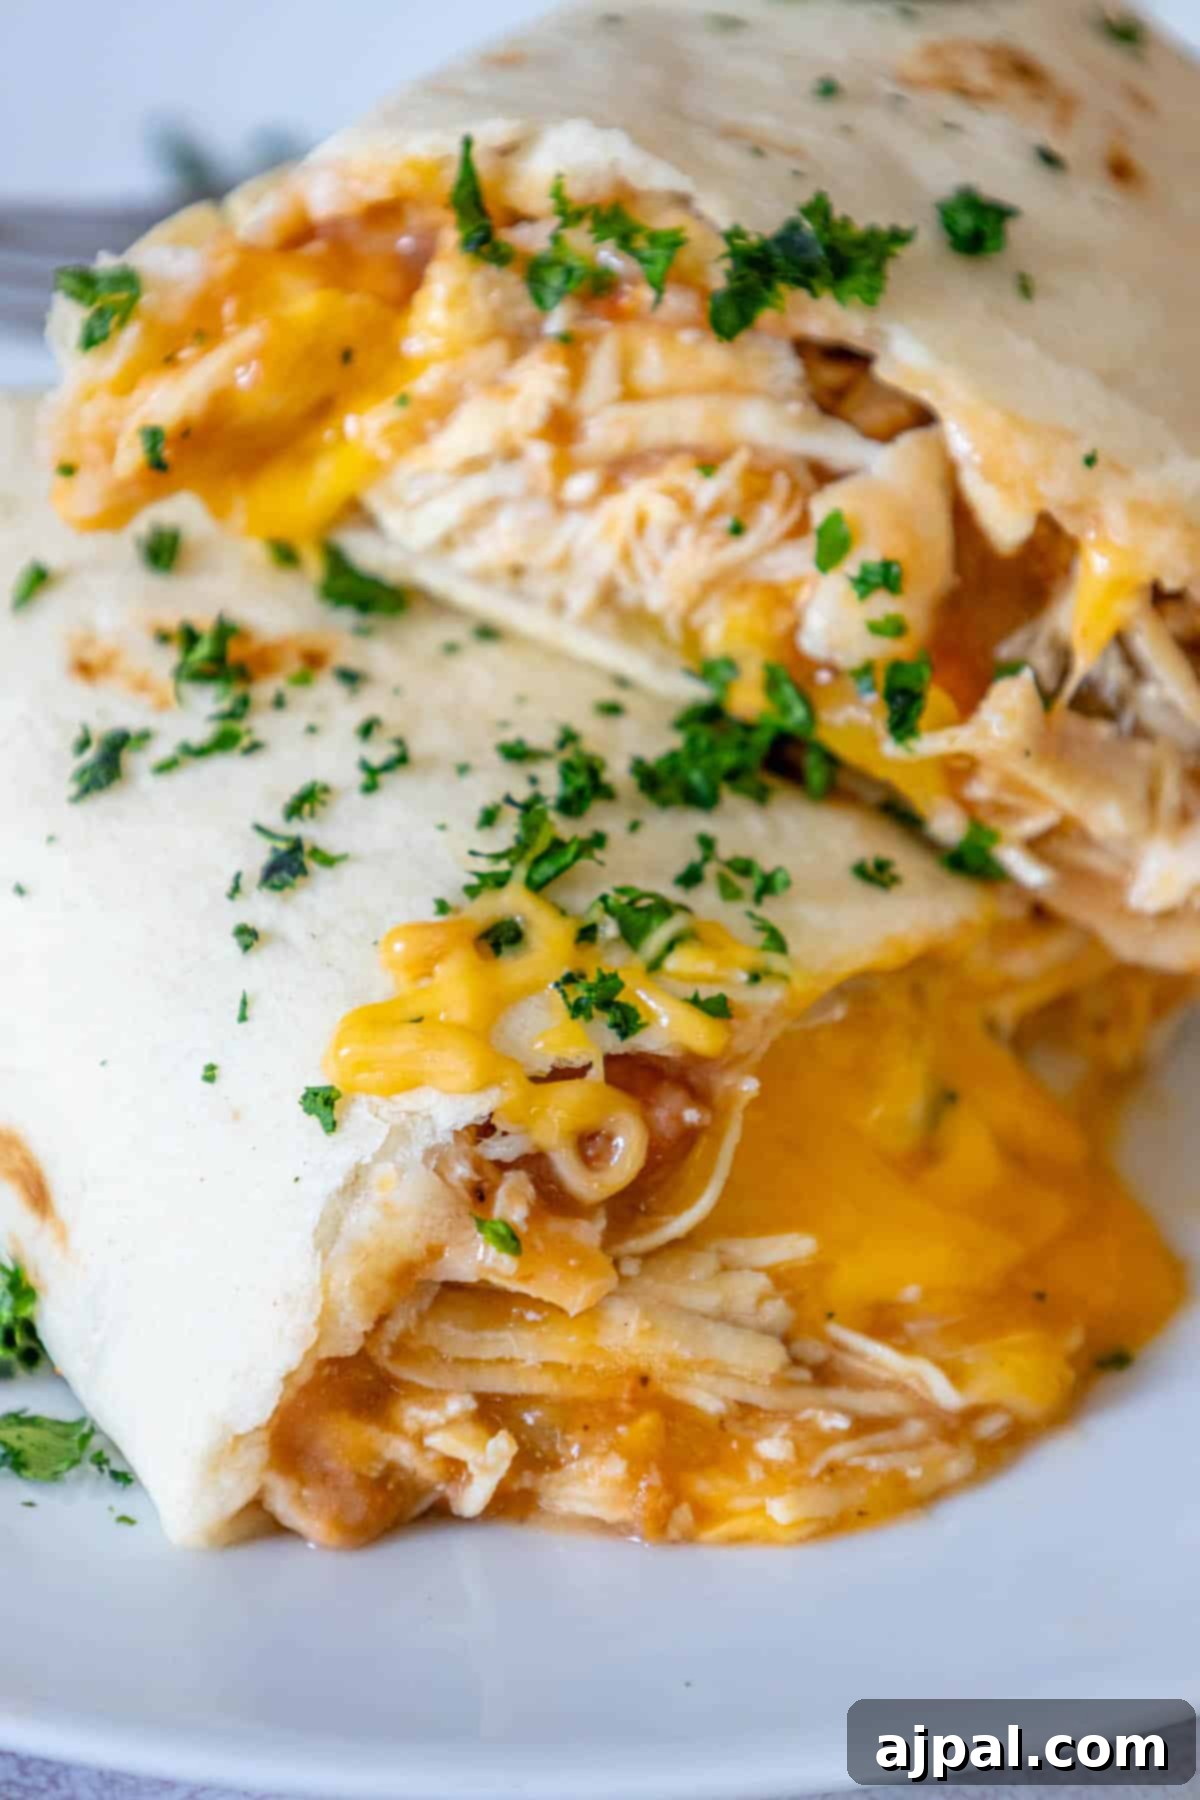
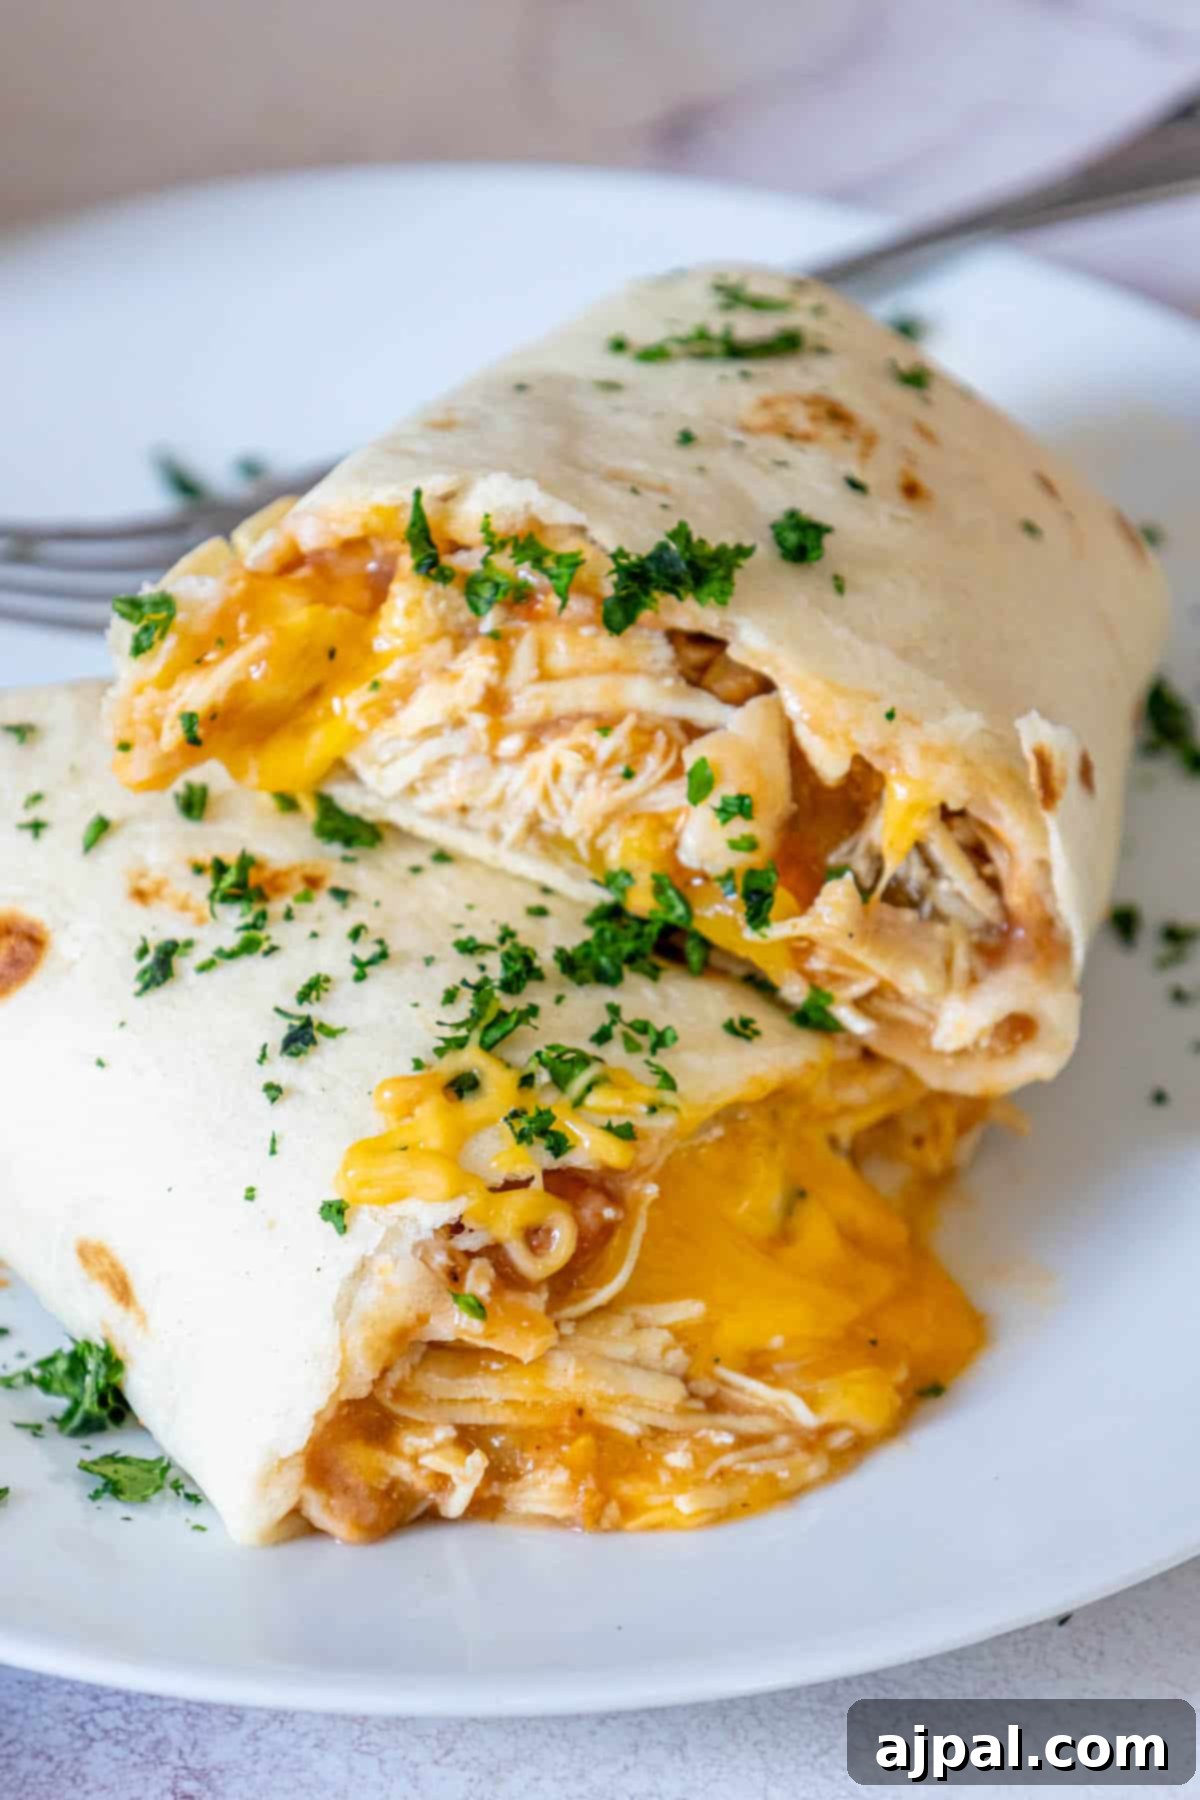
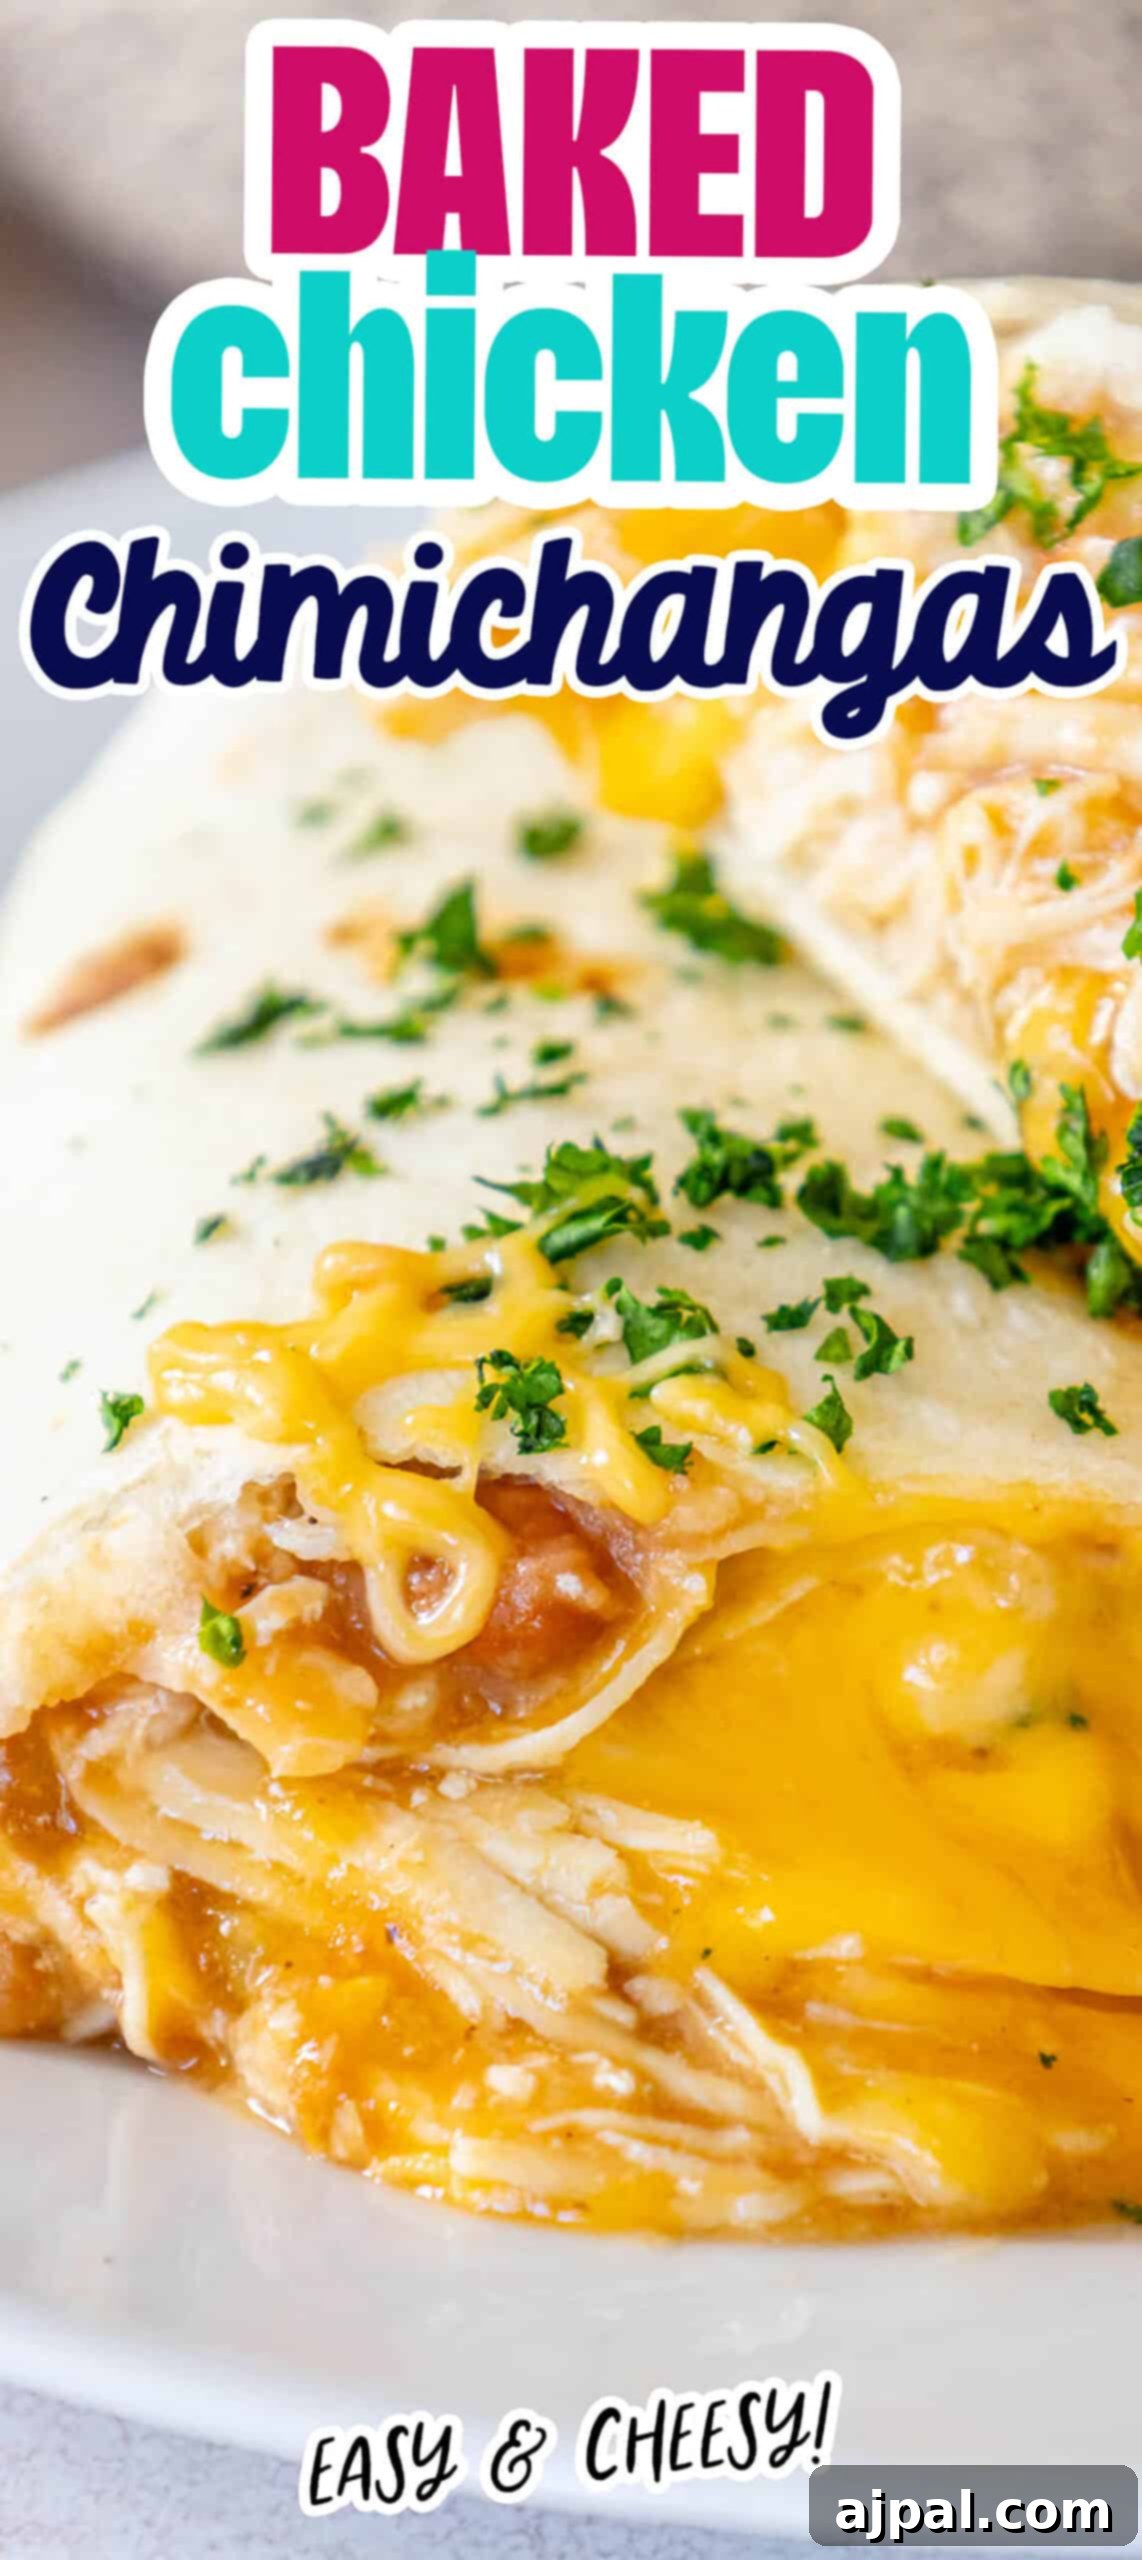
My family absolutely adores chimichangas. They constantly ask for more of that irresistible combination of gooey, melted cheese and crisp, crunchy tortillas. My Baked Chicken Chimichangas recipe delivers all the incredible flavor they crave, without the hassle or unhealthiness of deep-frying!
This dish has become a reliable favorite in our household, appearing on our dinner table several times a month. It pairs wonderfully with tender slow cooker shredded chicken or perfectly boiled chicken. It’s also a fantastic way to transform Chicken Tingaleftovers into a brand new, exciting meal!
We understand that sometimes you just want the recipe without all the extra details. That’s why we always include a “skip to recipe” button at the top left of our pages, along with a clickable table of contents just below. These tools are designed to help you navigate our content with ease and find exactly what you’re looking for quickly.
At Sweet C’s, my approach to cooking is rooted in my experience as a home cook, not someone with formal culinary training. This perspective drives me to share abundant tips and insights with every recipe. I believe that understanding the ‘why’ behind each step and the role of every ingredient empowers even the most novice home cook to feel confident and successful in the kitchen. My goal is to make gourmet-tasting meals accessible and enjoyable for everyone.
Table of Contents
- The Irresistible Appeal of Baked Chimichangas
- Why Baked is Better Than Fried
- How to Make Baked Chicken Chimichangas
- Essential Ingredients for Perfect Chimichangas
- Step-by-Step Baking Instructions
- Pro Tips and Tricks for Baked Chicken Chimichangas
- Chimichanga FAQs
- What to Serve With Baked Chicken Chimichangas
The Irresistible Appeal of Baked Chimichangas
For me, the magic of a chimichanga lies in the delightful contrast of textures: the luscious, creamy, melted cheese nestled within a perfectly crisp and crunchy tortilla. Chimichangas are a cornerstone of Tex-Mex cuisine and have long been one of my personal favorites, a sentiment wholeheartedly shared by both of my children.
This easy baked recipe was specifically designed for maximum adaptability, making it incredibly versatile for any palate or pantry. While chicken is a classic choice, feel free to substitute it with taco-seasoned ground beef, rich barbacoa, or even succulent shredded pork. For a fantastic vegetarian option, simply increase the amount of beans and load up on your favorite vegetables.
Beyond its versatility, this dinner is also a dream for meal prep. You can easily assemble and bake it ahead of time, then refrigerate or freeze individual portions for a quick and hearty meal later. It’s the ultimate convenient solution for busy weeknights and even the pickiest of eaters, guaranteeing a satisfying and flavorful dish whenever hunger strikes.
Why Baked is Better Than Fried
Traditionally, chimichangas are deep-fried, giving them their characteristic crispy exterior. While undeniably delicious, deep-frying can be messy, labor-intensive, and adds a significant amount of unhealthy fats. This baked version achieves that coveted crispiness without any of the drawbacks, making it a healthier and more approachable option for home cooks.
Baking allows the tortillas to become beautifully golden brown and crunchy, replicating the texture of a fried chimichanga but with a lighter, cleaner taste. It also makes for easier cleanup and a less intimidating cooking process. You won’t have to deal with hot oil splatters or the disposal of used cooking oil, making weeknight dinners much more enjoyable. Plus, the oven bakes evenly, ensuring every chimichanga is cooked to perfection, with the cheese inside wonderfully melted and the filling heated through.
Another benefit of baking is the ability to easily prepare multiple chimichangas at once in a single baking dish, perfect for feeding a family or batch cooking. The consistent heat of the oven ensures even cooking, transforming simple ingredients into a gourmet-quality meal with minimal effort.
How to Make Baked Chicken Chimichangas
Creating these delightful baked chicken chimichangas is simpler than you might imagine. With a few key ingredients and straightforward steps, you’ll have a mouthwatering meal ready in no time. Let’s break down what you’ll need and how to bring it all together.
Essential Ingredients for Perfect Chimichangas
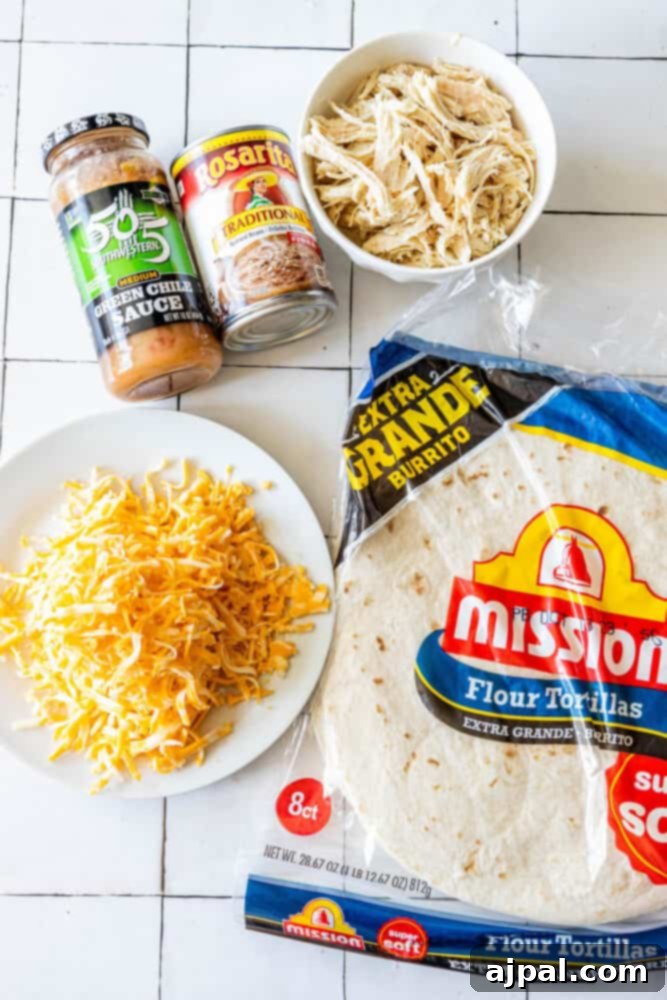
- Refried Beans (1 can): These provide a wonderfully creamy, savory base that binds the filling together. They add an earthy, authentic Tex-Mex flavor and a smooth texture that contrasts beautifully with the crispy tortilla.
- Soft Flour Tortillas (4 extra-large): The foundation of our chimichangas. Using extra-large tortillas ensures you have ample space for filling and makes them easier to roll. When baked, they achieve that desired crisp exterior, offering a satisfying crunch. Warming them slightly before assembly is key for flexibility!
- Shredded Chicken (1 pound): The hearty protein star of this dish. Shredded chicken offers a lean, savory component that readily absorbs the accompanying flavors. You can use pre-cooked rotisserie chicken for convenience, or prepare your own using methods like crockpot or boiled chicken for optimal flavor and texture.
- Green Chile Sauce (1 cup, mild or medium): This sauce infuses the chimichangas with a tangy, slightly spicy depth. It’s a critical flavor enhancer that ties all the ingredients together. Adjust the heat level to your family’s preference – mild for a gentle warmth or medium for a more pronounced kick.
- Monterey Jack Cheese (8 oz, shredded): The ultimate melty cheese for Tex-Mex cuisine. Monterey Jack contributes an incredible gooey richness and a mild, creamy flavor that complements the other ingredients without overpowering them. Its excellent melting properties ensure a perfect cheese pull with every bite.
Step-by-Step Baking Instructions
Once you have gathered all your fresh ingredients, follow these simple steps to create perfectly baked chicken chimichangas:
- Prepare Your Oven: Begin by preheating your oven to a precise 375°F (190°C). This ensures even cooking and a consistent crispness from the moment your chimichangas enter the oven.
- Warm the Tortillas for Flexibility: For optimal pliability and to prevent any tearing during folding, gently warm your flour tortillas. A quick zap in the microwave for 15-20 seconds per tortilla, or a brief few seconds on a dry skillet, will make them wonderfully soft and easy to work with.
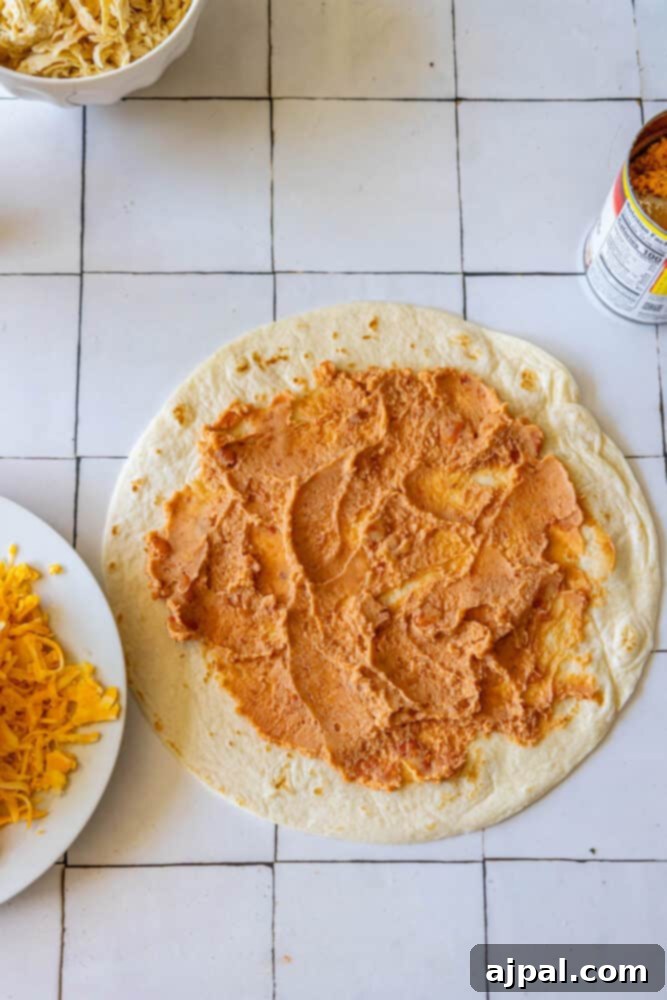
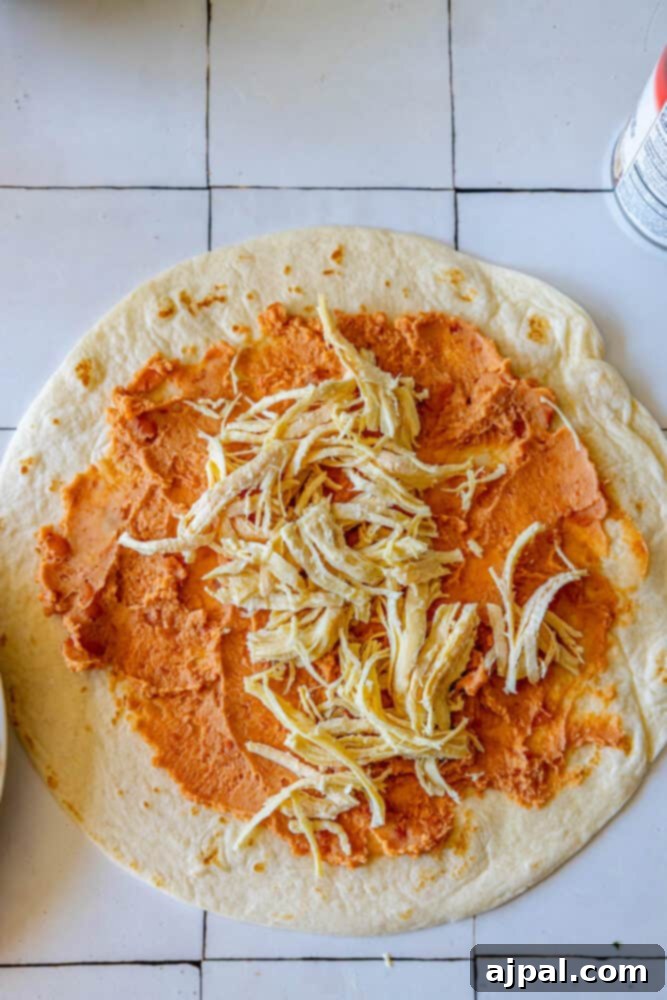
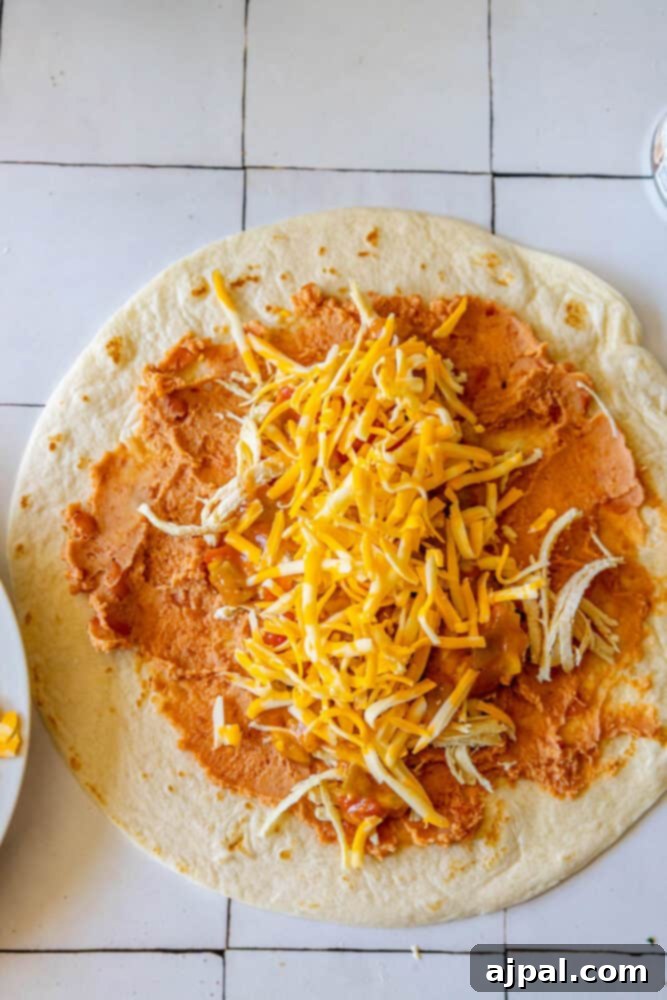
- Assemble the Flavorful Filling: Lay each warmed tortilla flat on your work surface. In the center of each, spread a generous spoonful (about 1/4 cup) of refried beans. Follow this with a hearty portion of shredded chicken, ensuring even distribution. Finally, sprinkle a good amount of shredded Monterey Jack cheese over the chicken.
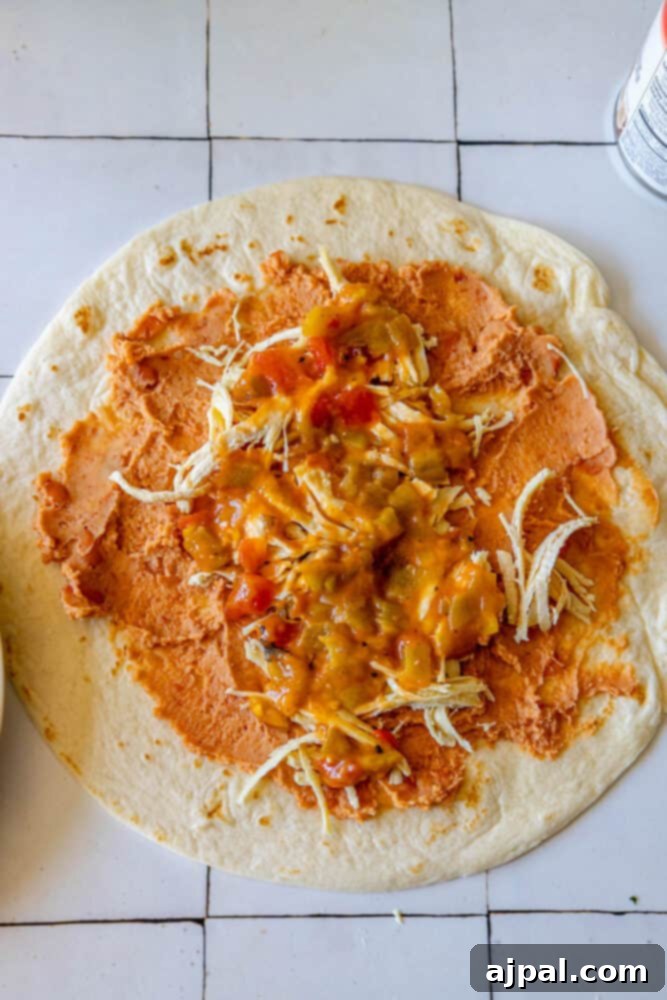
- Introduce the Green Chile Sauce: Carefully drizzle approximately 1/4 cup of your chosen mild or medium green chile sauce over the chicken and cheese on each tortilla. This step adds a crucial layer of zesty, spicy flavor.
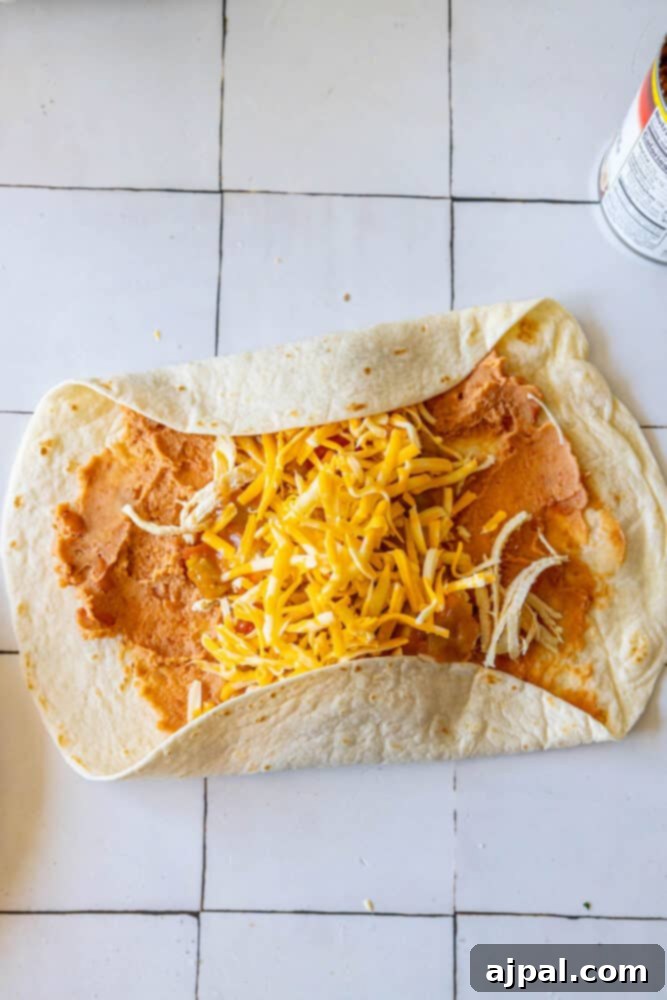
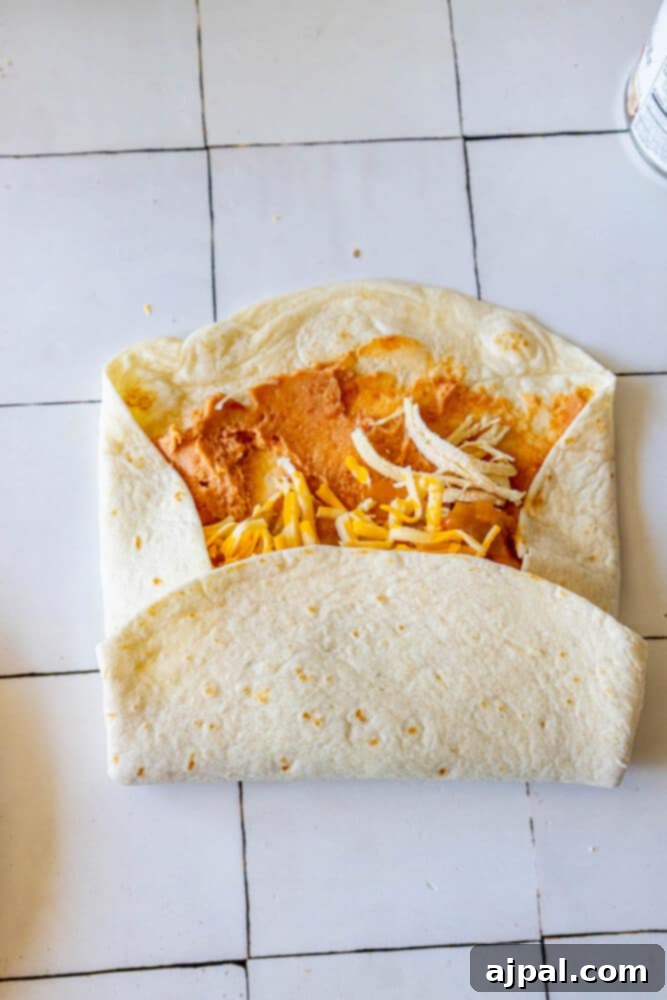
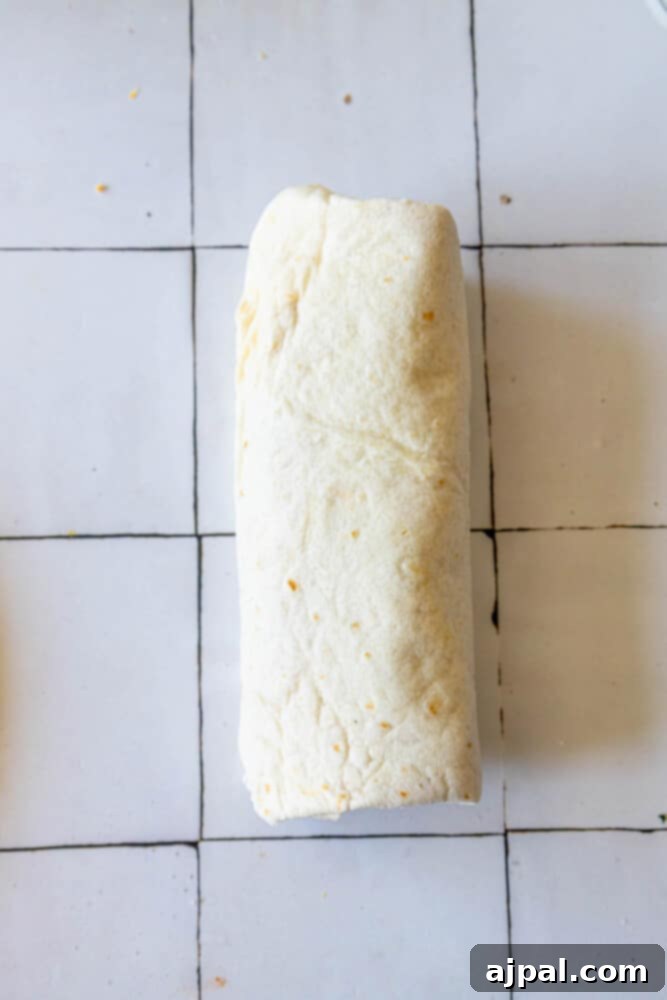
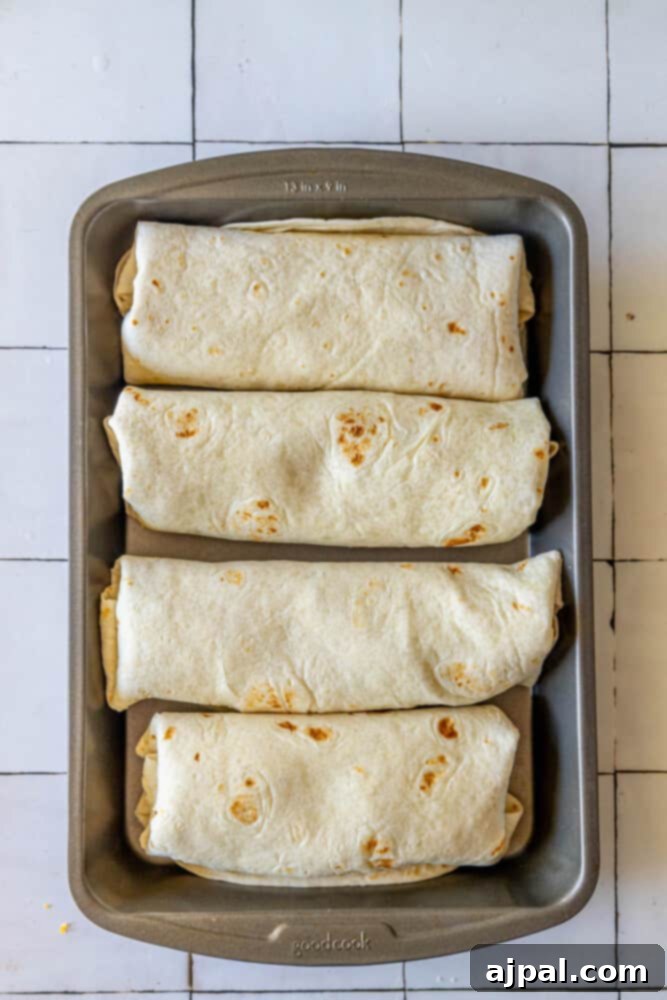
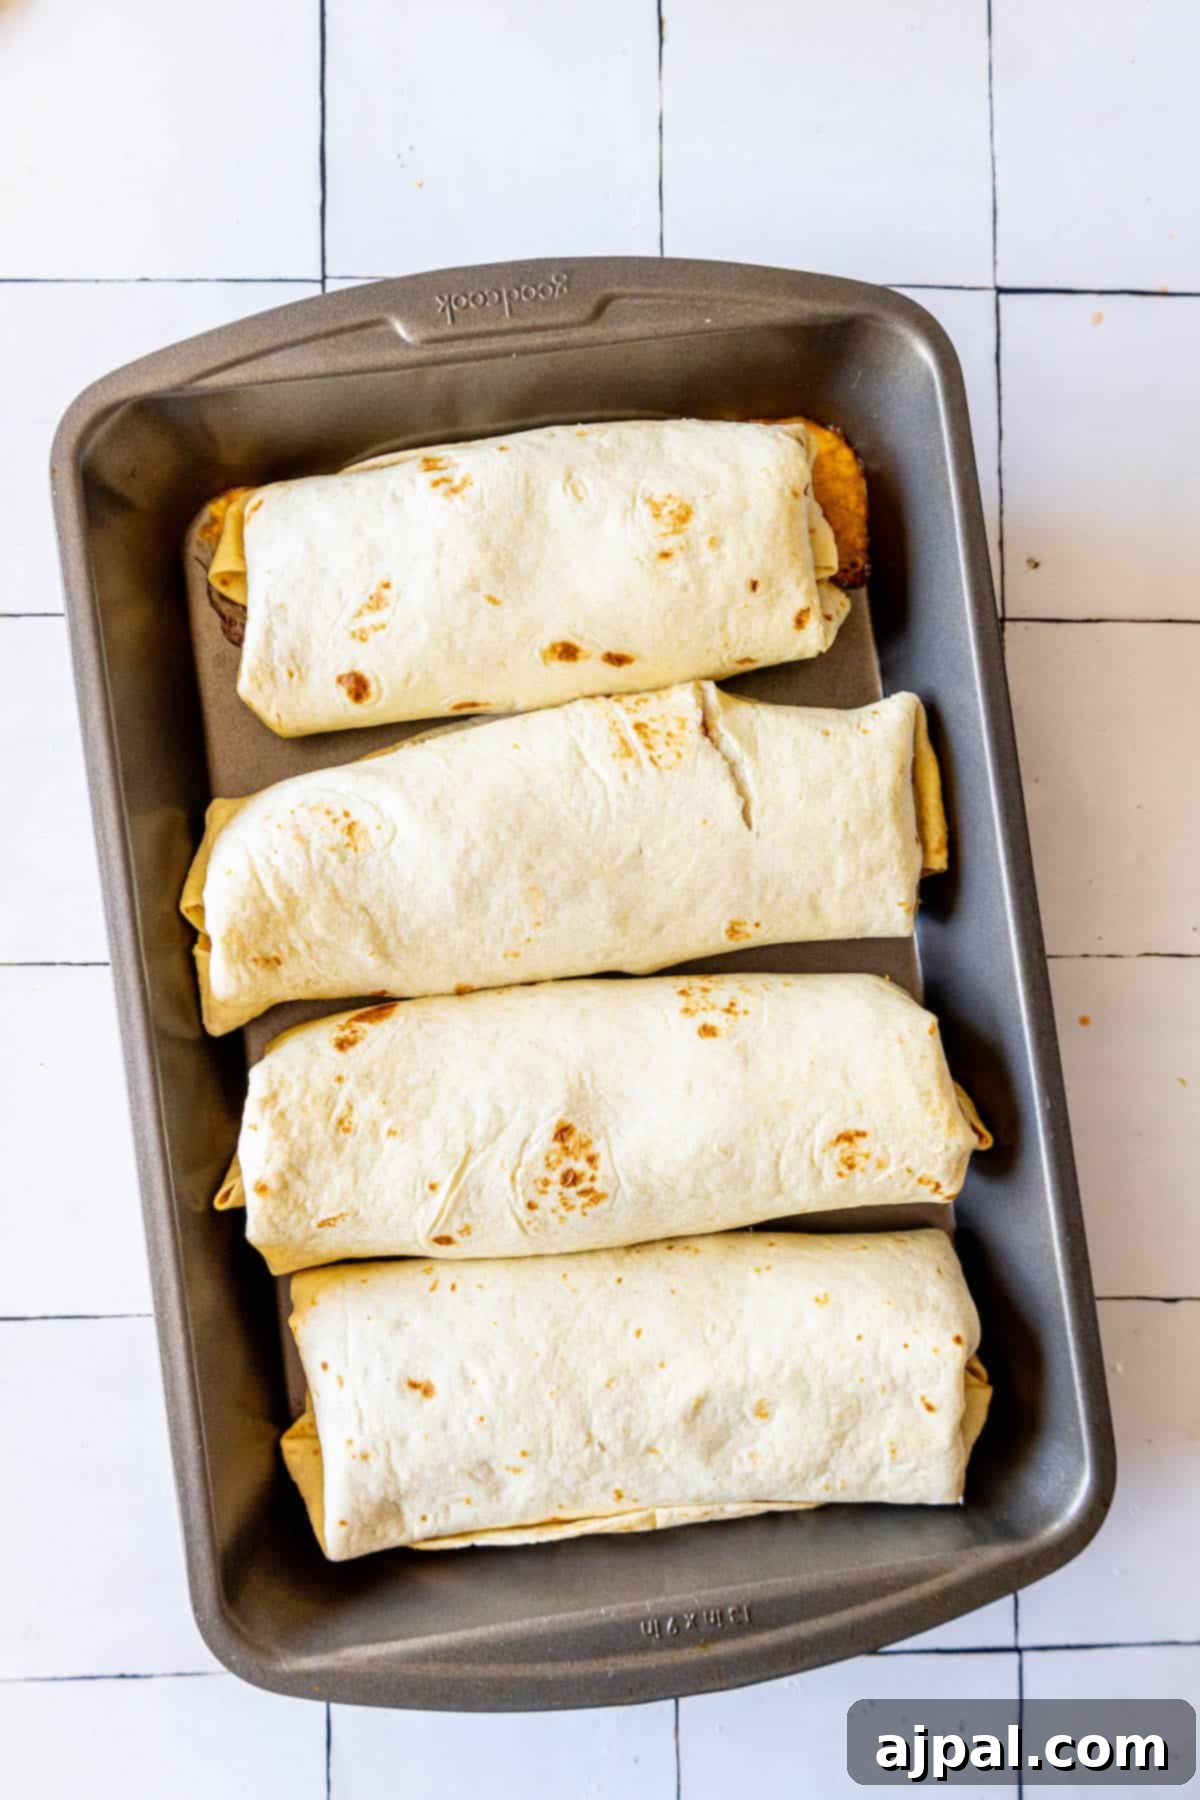
- Master the Fold and Roll: To create a tightly sealed chimichanga, fold the two opposite sides of the tortilla inward, over the filling. Then, starting from one of the remaining open ends, roll the tortilla up tightly, as you would a burrito. Place each perfectly rolled chimichanga seam-side down into a prepared baking dish.
- Top with More Cheese and Sauce: For an extra layer of flavor and indulgence, sprinkle the remaining shredded Monterey Jack cheese evenly over the tops of all the rolled chimichangas. If you have any green chile sauce left, pour it generously over them as well.
- Bake to Golden Perfection: Transfer the baking dish to your preheated oven. Bake for approximately 20-25 minutes, or until the chimichangas achieve a beautiful golden-brown color and the cheese is thoroughly melted and bubbling enticingly.
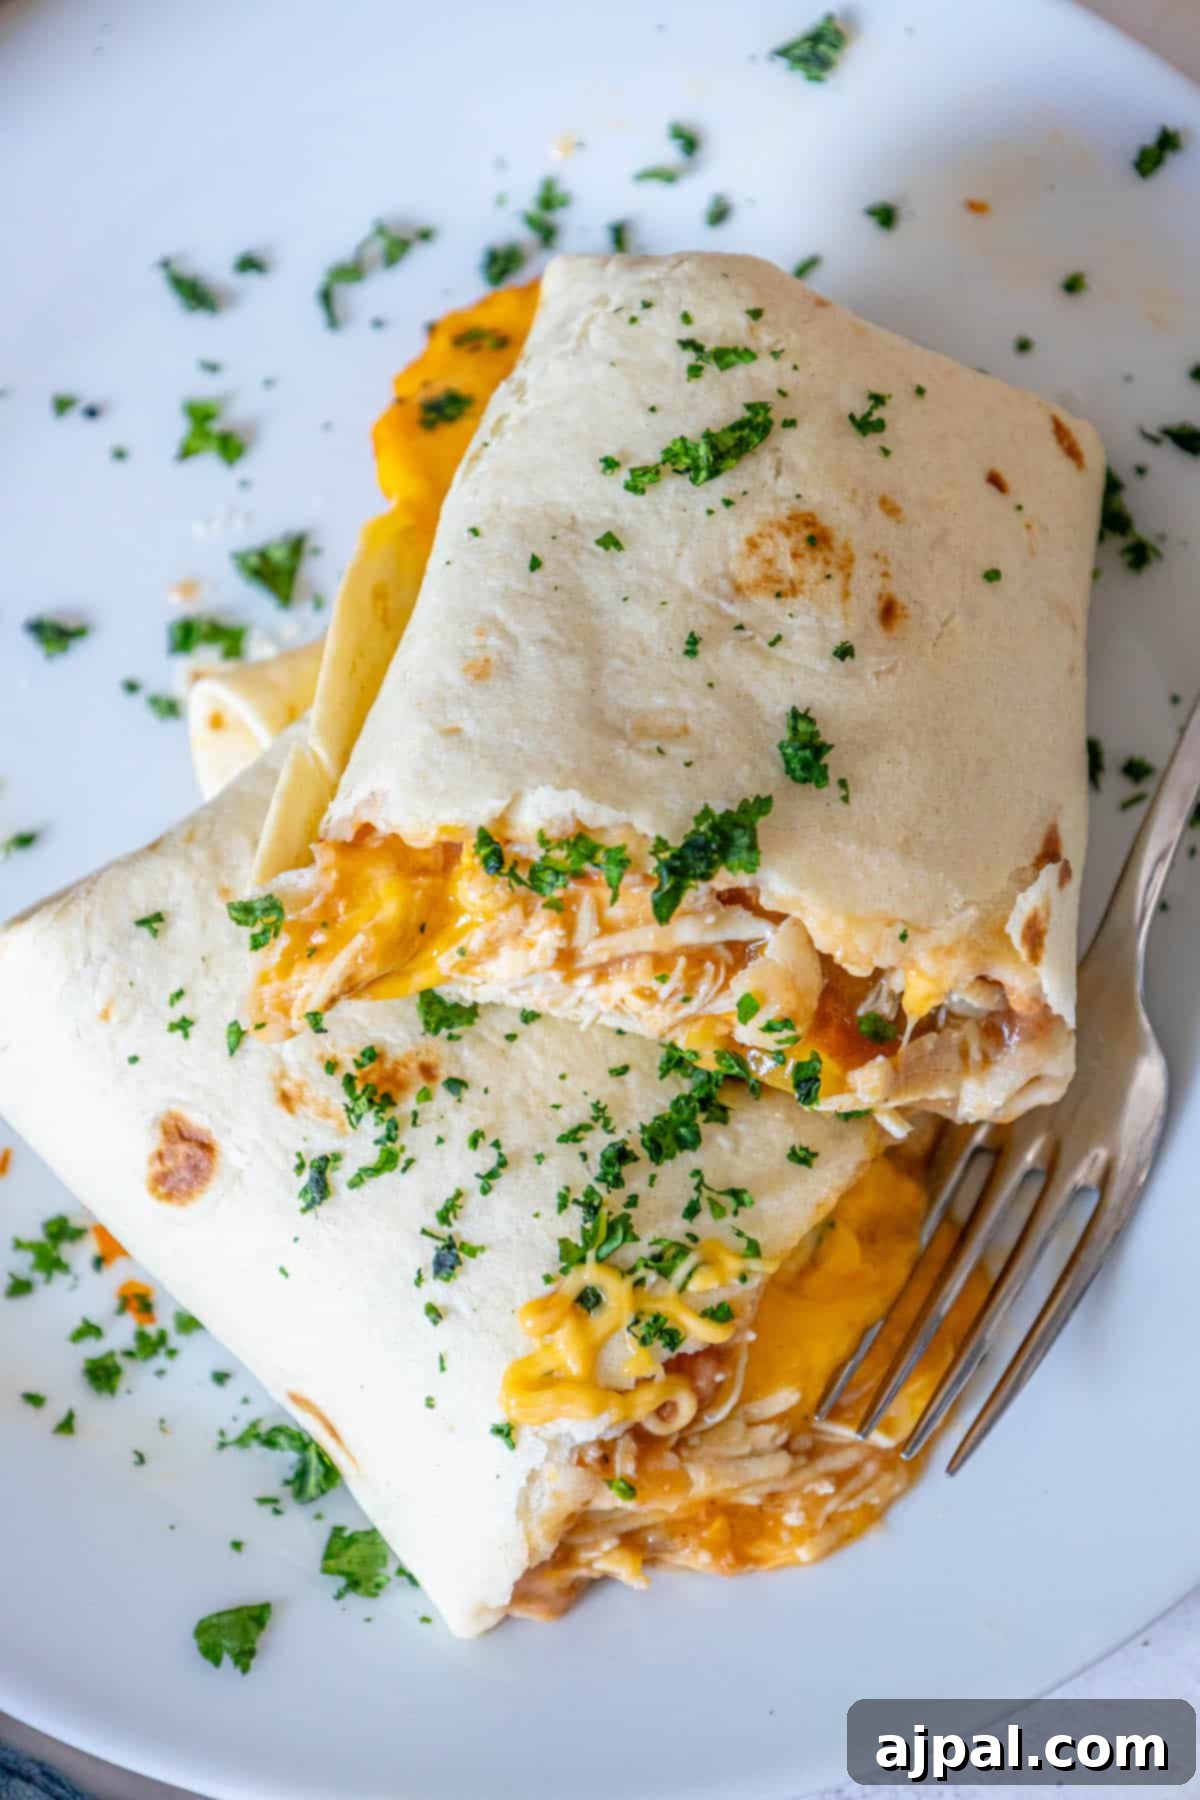
- Serve and Enjoy: Once baked, carefully remove the chimichangas from the oven. Allow them to cool for just a minute or two – this helps the filling set and prevents burns. Serve them hot, perhaps with an extra side of green chile sauce for dipping, and savor your homemade, crispy delight!
Pro Tips and Tricks for Baked Chicken Chimichangas
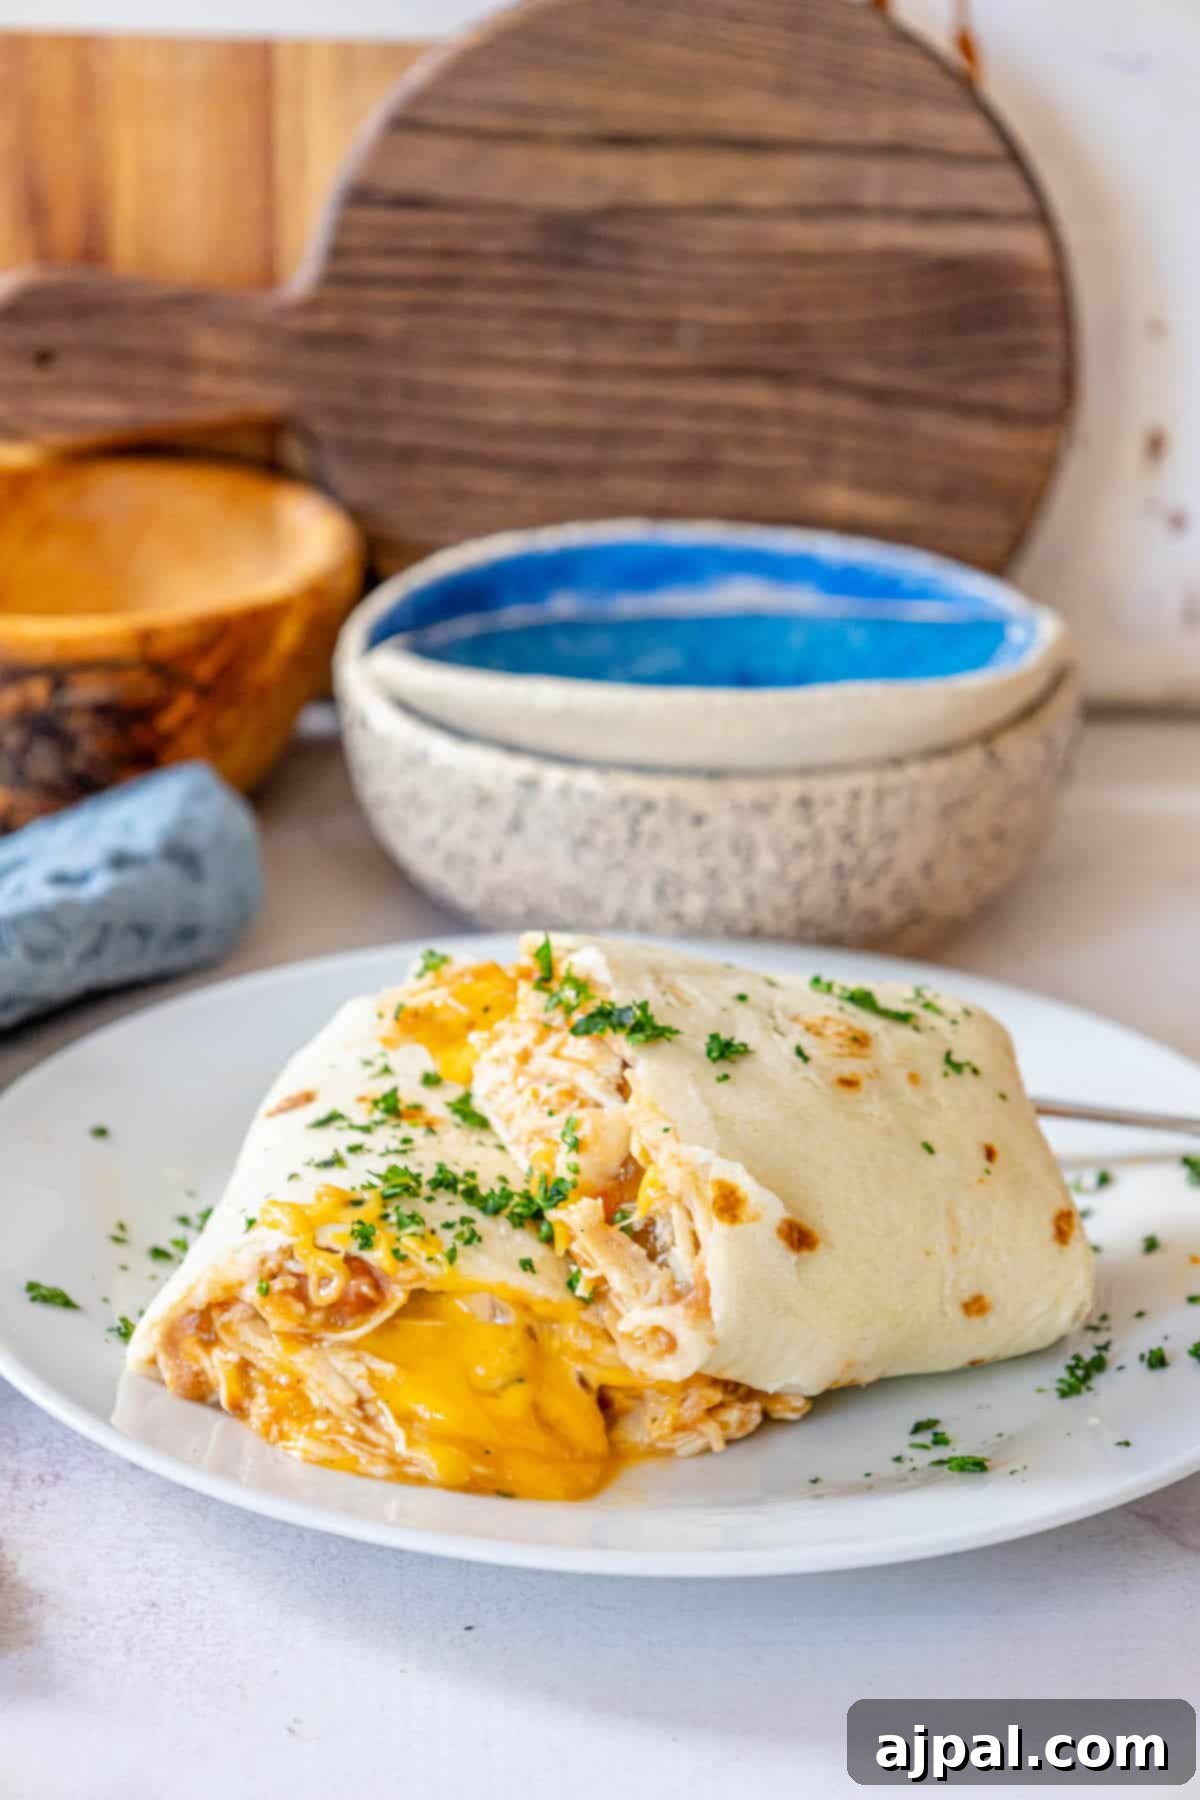
Achieving restaurant-quality baked chimichangas at home is easier than you think, especially with these expert tips and tricks:
Season Your Chicken to Perfection: The flavor journey begins with your shredded chicken. Don’t be shy with seasonings! Incorporate a generous blend of your favorite spices such as chili powder, cumin, smoked paprika, garlic powder, and onion powder. Allowing the chicken to marinate or simply sit with the spices for a short while will deepen its flavor profile significantly.
Select the Ideal Tortillas: Opt for extra-large, soft flour tortillas. Their size allows for ample filling, and their softness is crucial for preventing cracks during rolling. Always warm your tortillas slightly—a quick zap in the microwave or a few seconds on a dry skillet makes them incredibly pliable.
Strategic Filling Placement: When assembling, remember to place your delicious filling directly in the center of each tortilla, leaving a good border around the edges. This margin is essential for a clean and secure fold, preventing any messy spillage during baking.
Master the Art of Sealing: After folding the sides of the tortilla over the filling, roll it up firmly, tucking the edges in as you go. For an extra secure seal, lightly moisten the final edge with a dab of water or a beaten egg white. This acts like a glue, ensuring your chimichangas stay intact and the filling remains beautifully contained.
Always Preheat Your Oven: Patience is a virtue in baking. Ensure your oven reaches the specified temperature completely before introducing your chimichangas. A properly preheated oven is key to even cooking and achieving that coveted crispy exterior from the start.
Leverage a Baking Rack for Ultimate Crispness: To maximize air circulation and ensure your chimichangas crisp up uniformly on all sides, arrange them on a wire baking rack placed inside a baking sheet. This setup prevents the bottoms from becoming soggy and promotes an all-around golden crunch.
Brush for a Golden Finish: Before they go into the oven, lightly brush the tops of your chimichangas with a thin layer of olive oil or a quick spray of cooking oil. This simple step is vital for developing a gorgeous golden-brown color and an extra crispy texture.
Rotate for Even Browning: Ovens can have hot spots. If you notice some chimichangas browning faster than others, rotate your baking sheet halfway through the cooking time. This ensures an even, consistent golden finish across all your delicious creations.
Fresh Toppings Elevate the Experience: The magic doesn’t end with baking! Garnish your hot chimichangas with a vibrant array of fresh toppings. Think finely chopped cilantro, diced ripe tomatoes, thinly sliced green onions, and a refreshing squeeze of lime juice. These additions introduce bursts of freshness and complement the rich flavors beautifully.
Allow a Moment of Rest: Just like with meats, letting your chimichangas rest for a few minutes after baking is crucial. This brief pause allows the internal filling to settle and firm up, making them much easier and cleaner to handle and serve without falling apart.
Customize the Heat Level: Tailor the spiciness to everyone’s liking. Choose between mild or medium green chile sauce, and for those who enjoy an extra kick, offer a selection of hot sauces or sliced jalapeños on the side. This way, everyone can enjoy their perfect level of heat.
Vary Your Sides: Transform your chimichangas into a complete meal with a diverse selection of side dishes. Consider fluffy cilantro lime rice, savory black beans, a crisp garden salad, or a refreshing corn salsa. A balanced array of sides enhances the dining experience significantly.
Chimichanga FAQs
Baked chimichangas are cooked in the oven, offering a lighter, often healthier alternative with a crisp exterior without the added oil of traditional deep-frying.
Absolutely! You can assemble the chimichangas and refrigerate them, tightly wrapped in plastic wrap or foil, for up to 24 hours before baking. This makes meal prep incredibly convenient.
For best results, reheat baked chimichangas in a preheated oven at 350°F (175°C) for about 15-20 minutes until heated through and crispy again. While a microwave works, it won’t maintain the crispiness as well.
Yes! Assemble them, wrap each individually in plastic wrap then foil, and store in an airtight container or freezer bag for up to 3 months. Bake from frozen, adding an extra 10-15 minutes to the baking time, until golden and hot.
Beyond chicken, experiment with shredded beef, seasoned ground beef, tender shredded pork, or even a vegetarian mix of sautéed bell peppers, onions, and black beans.
Corn tortillas can be used for a gluten-free option. Keep in mind they are typically smaller and less pliable. Lightly warm them and handle with care to prevent cracking when rolling.
To create a secure seal, moisten the final edge of the tortilla with a little water or a dab of beaten egg white just before folding and rolling. This helps it stick together during baking.
Enhance your chimichangas with classic toppings like sour cream, guacamole, fresh salsa, shredded lettuce, diced tomatoes, or sliced black olives. Customize to your personal taste!
Definitely! A delicious vegetarian filling can include sautéed bell peppers, onions, corn, black beans, and your favorite cheese, seasoned with Tex-Mex spices.
For maximum crispiness, brush the tortillas with a thin layer of oil or cooking spray before baking. Baking them on a wire rack set over a baking sheet also significantly improves air circulation, leading to a crispier result.
What to Serve With Baked Chicken Chimichangas
Baked Chicken Chimichangas are a meal in themselves, but they truly shine when served alongside complementary sides and toppings. Here are some fantastic ideas to round out your Tex-Mex feast:
- Fresh Salsas and Guacamole: A vibrant pico de gallo, a zesty corn salsa, or a rich, creamy guacamole adds a burst of freshness and flavor.
- Sour Cream or Greek Yogurt: A dollop of cool sour cream or a healthier Greek yogurt option provides a delightful contrast to the warm, spicy filling.
- Shredded Lettuce and Diced Tomatoes: Offer a simple, crisp salad on the side or use these as fresh toppings for added texture and nutrition.
- Cilantro Lime Rice: A classic pairing, cilantro lime rice is light, fragrant, and perfectly balances the richness of the chimichangas.
- Black Beans or Refried Beans: Serve an extra side of warm black beans, seasoned to perfection, or more creamy refried beans for a hearty and satisfying addition.
- Mexican Street Corn (Esquites): A bowl of creamy, zesty Mexican street corn is an incredible side dish that complements the flavors of the chimichangas beautifully.
Consider these recipes for additional inspiration:
Chicken Posole Verde
Spicy One Pot Taco Rice
Spicy Jalapeño Beef Stew
Rojo Pozole
If you loved this easy and delicious recipe, please show your support by clicking the stars below to give it a five-star rating and leaving a comment! Your feedback means the world to us. Don’t forget to help us spread the word by sharing your creations on Instagram, Facebook, and Pinterest – we love seeing what you cook!
Share on Facebook
Share
Pin this now to find it later
Pin It
Follow on Instagram
Follow
Click here to view the web story for this recipe!
Only have 30 minutes to get dinner on the table? Sign up for my 30 minute dinner plans direct to your inbox!
Find and shop my favorite products in my Amazon storefront here!
Baked Chicken Chimichangas
Print Recipe
Equipment
- 505 Southwestern Flame Roasted Green Chile, Medium (3-16oz Value Pack)
Ingredients
- 1 can refried beans
- 4 extra large soft flour tortillas
- 1 pound shredded chicken
- 1 cup mild or medium green chile sauce
- 8 oz Monterrey jack cheese, shredded
Instructions
-
Start by preheating your oven to 375°F (190°C).
-
To make the tortillas more pliable, you can quickly warm them in the microwave or on a dry skillet for a few seconds. This makes them easier to fold without cracking.
-
Lay out each tortilla, and in the center of each one, spread a generous spoonful of refried beans. Top the beans with shredded chicken and a sprinkle of shredded Monterey Jack cheese.
-
Drizzle about 1/4 cup of mild or medium green chile sauce over the chicken and cheese on each tortilla.
-
Fold the sides of the tortilla over the filling, then roll it up tightly, similar to a burrito. Place each rolled chimichanga seam side down in a baking dish.
-
Sprinkle the remaining shredded Monterey Jack cheese over the top of the chimichangas. Pour any remaining green chile sauce over them as well.
-
Place the baking dish in the preheated oven and bake for about 20-25 minutes, or until the chimichangas are golden brown and the cheese is melted and bubbly.
-
Carefully remove the chimichangas from the oven and let them cool for a minute or two. Serve them hot with additional green chile sauce if desired.
Nutrition
Calories: 589kcal
Carbohydrates: 29g
Protein: 49g
Fat: 30g
Saturated Fat: 14g
Polyunsaturated Fat: 13g
Trans Fat: 1g
Cholesterol: 142mg
Sodium: 1070mg
Fiber: 6g
Sugar: 4g
Nutrition information is automatically calculated, so should only be used as an approximation.
Additional Info
Tried this recipe?Mention @sweetcsdesigns or tag #sweetcsdesigns!