
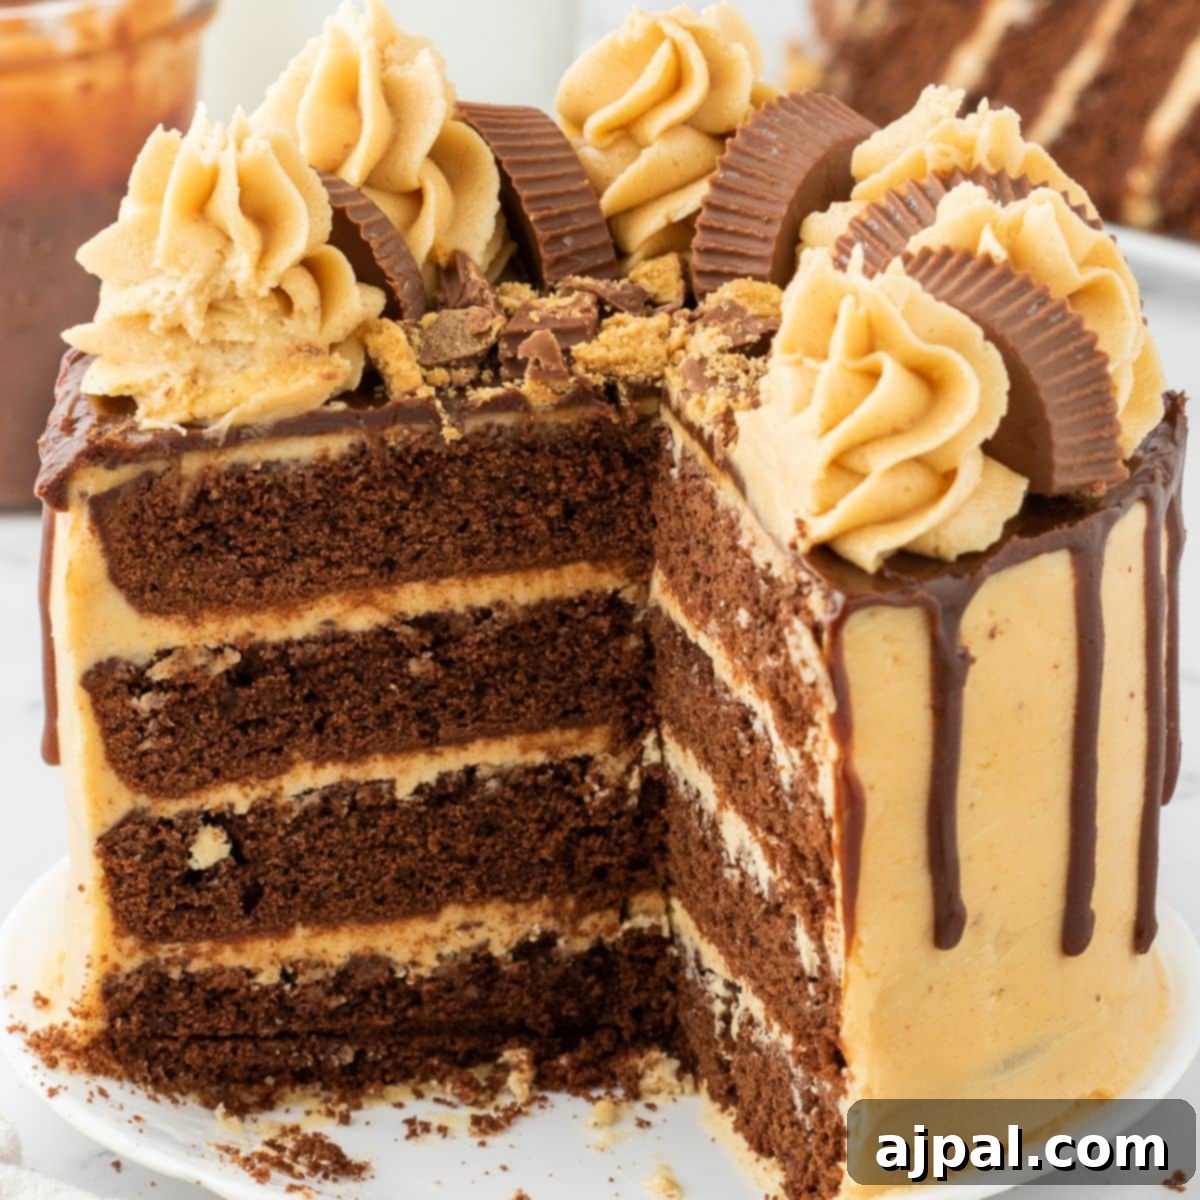
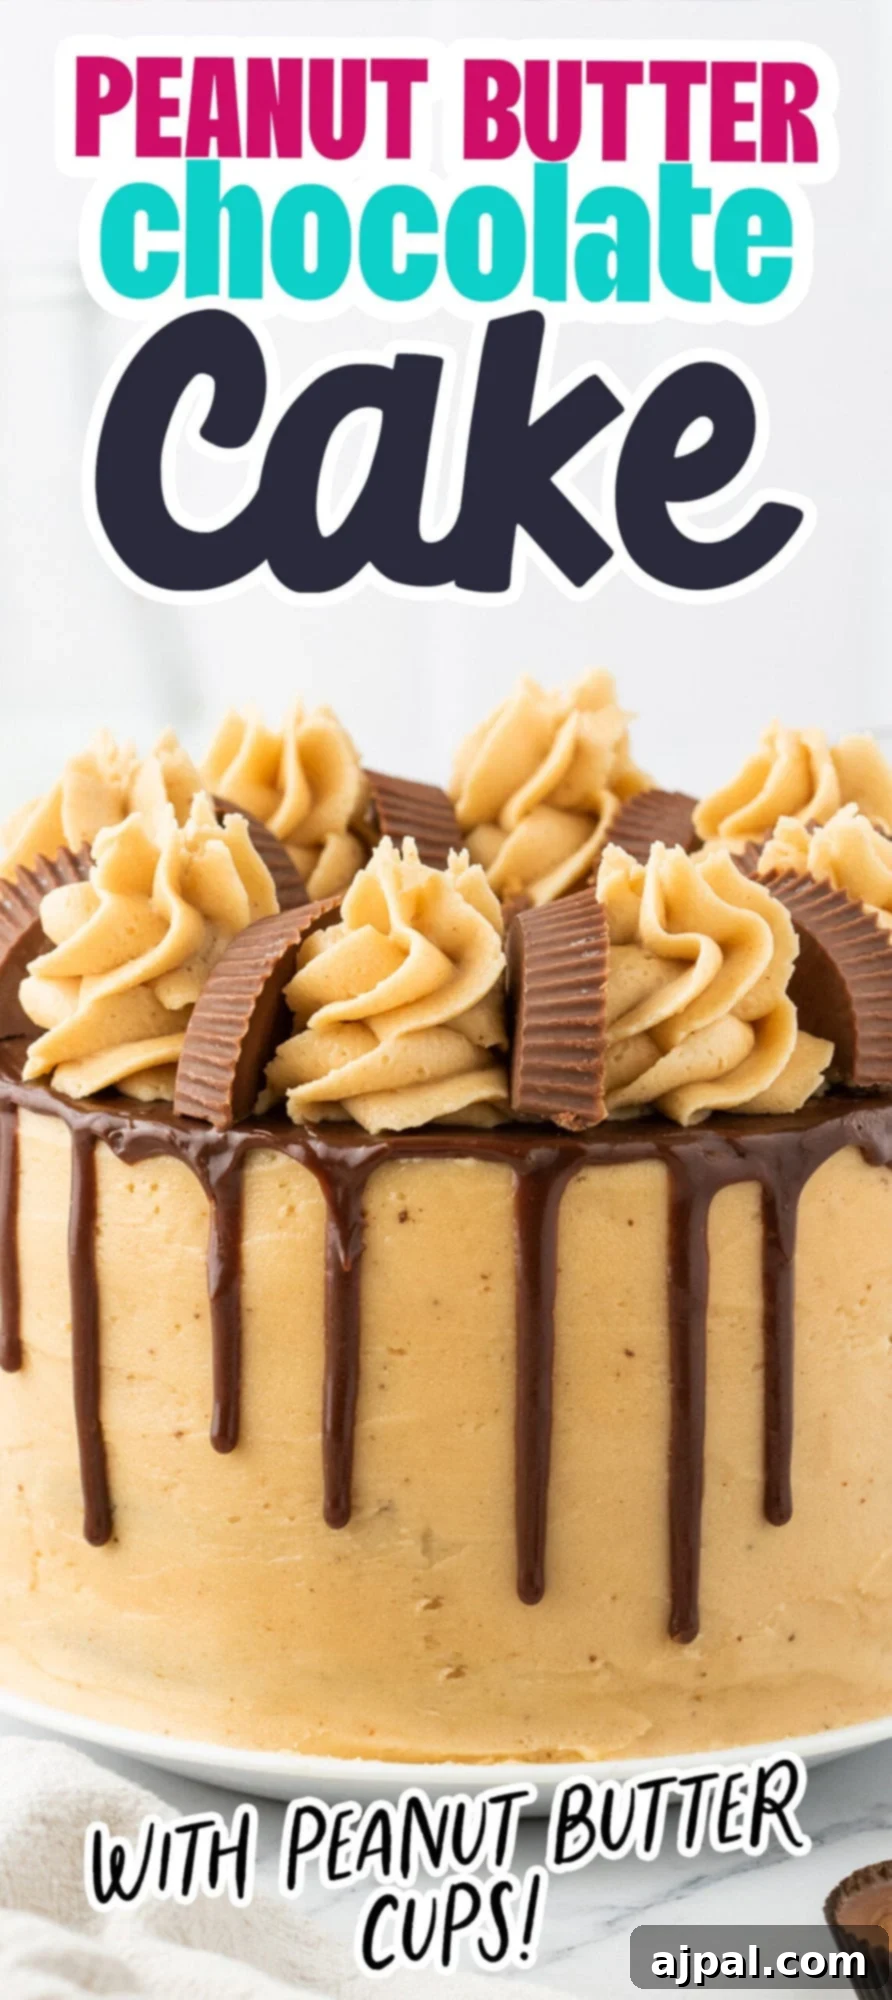
Prepare for an unparalleled culinary journey with the ultimate **Chocolate Peanut Butter Layer Cake**. This masterpiece is a symphony of rich, decadent chocolate cake layers perfectly complemented by a luscious peanut butter frosting. Topped with a silky chocolate ganache drizzle and adorned with iconic Reese’s Peanut Butter Cups, this dessert is the epitome of indulgence. While its gourmet appearance might suggest complexity, this show-stopping cake is surprisingly easy to create using readily available ingredients, making it accessible for home bakers of all skill levels. It’s more than just a cake; it’s a celebration of two beloved flavors coming together in perfect harmony, guaranteed to impress and delight at any gathering or simply as a well-deserved personal treat.
Seeking specific information within this delicious recipe? We’ve made it simple to navigate. Utilize our convenient table of contents below to jump directly to sections like ingredient details, step-by-step instructions, helpful baking tips, or frequently asked questions. Our goal is to empower every home cook, from novice to seasoned baker, with the confidence to create this exquisite dessert. We believe that understanding the ‘why’ behind each step and ingredient not only improves your baking skills but also enriches your entire kitchen experience, transforming you into a more confident and adventurous culinary artist.
Table of contents
- The Ultimate Chocolate Peanut Butter Layer Cake
- Mastering the Chocolate Peanut Butter Cake
- Essential Tips for a Perfect Layer Cake
- Frequently Asked Questions
- Perfect Pairings: What to Serve With This Decadent Cake
- Chocolate Peanut Butter Layer Cake Recipe
The Ultimate Chocolate Peanut Butter Layer Cake
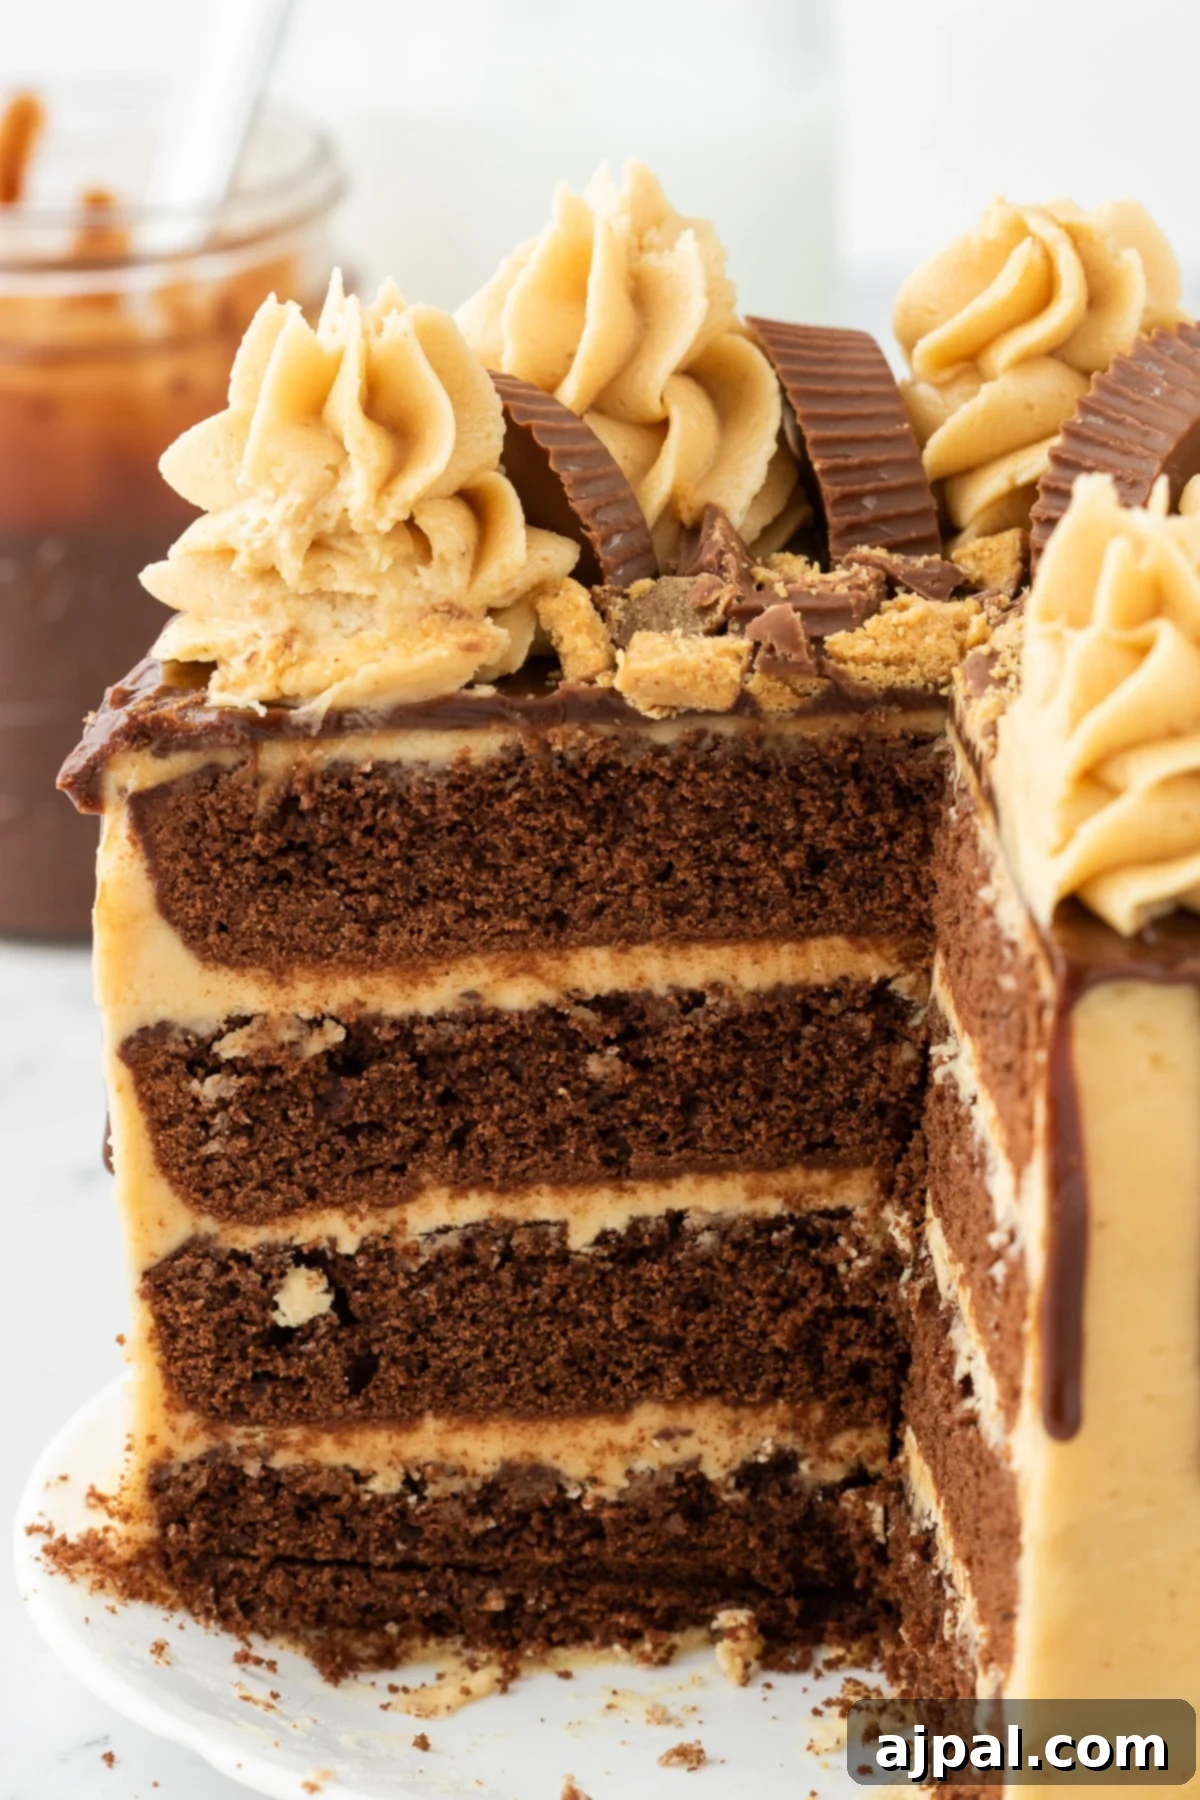
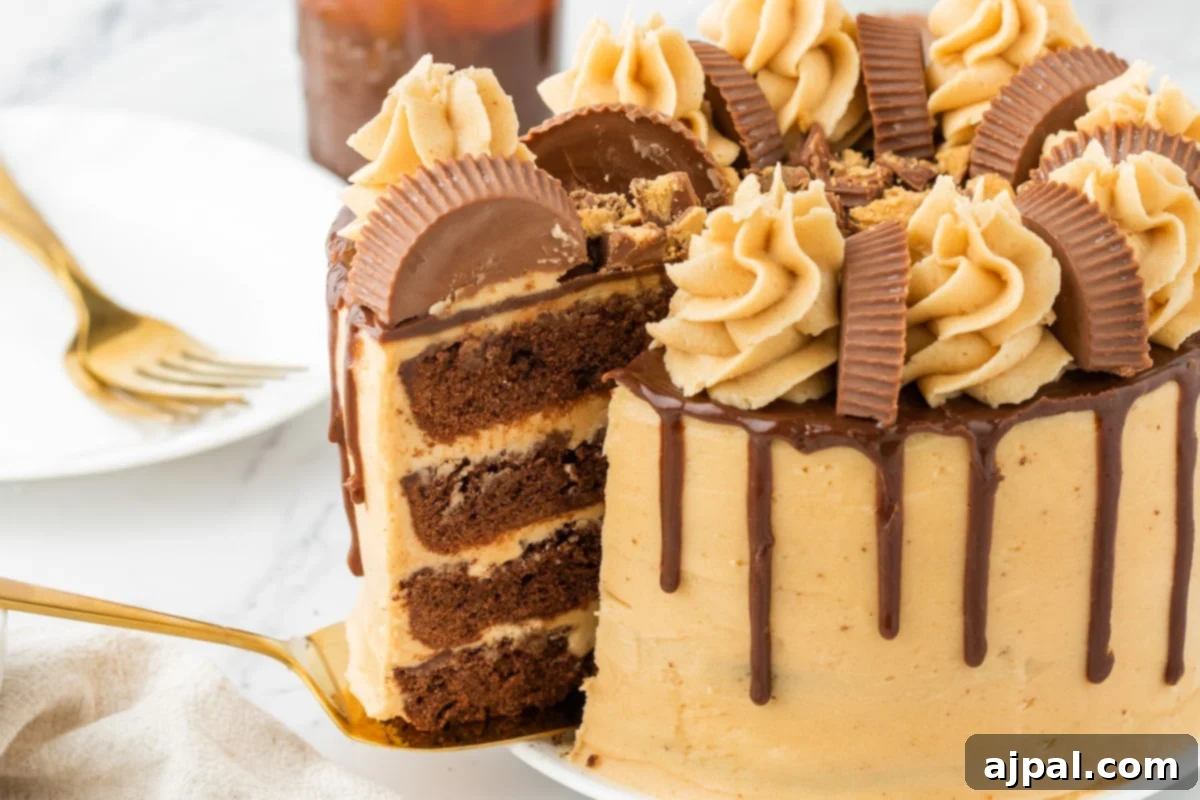
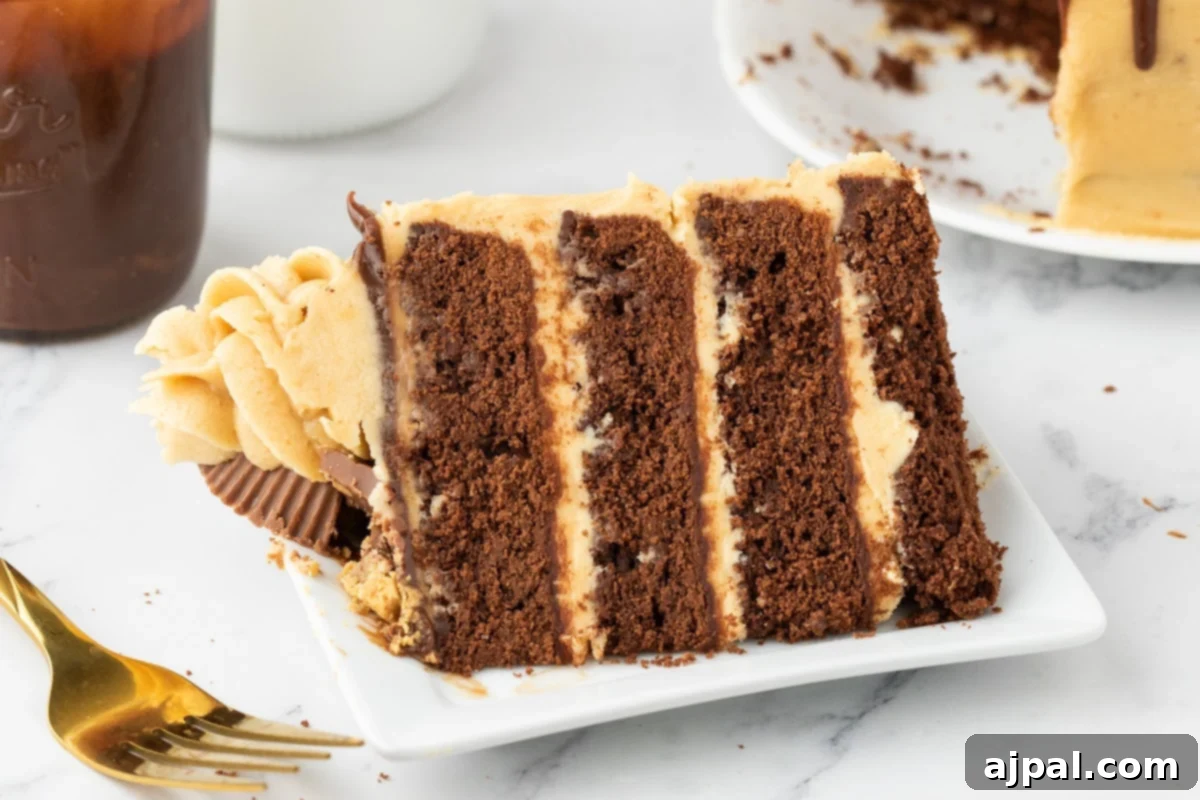
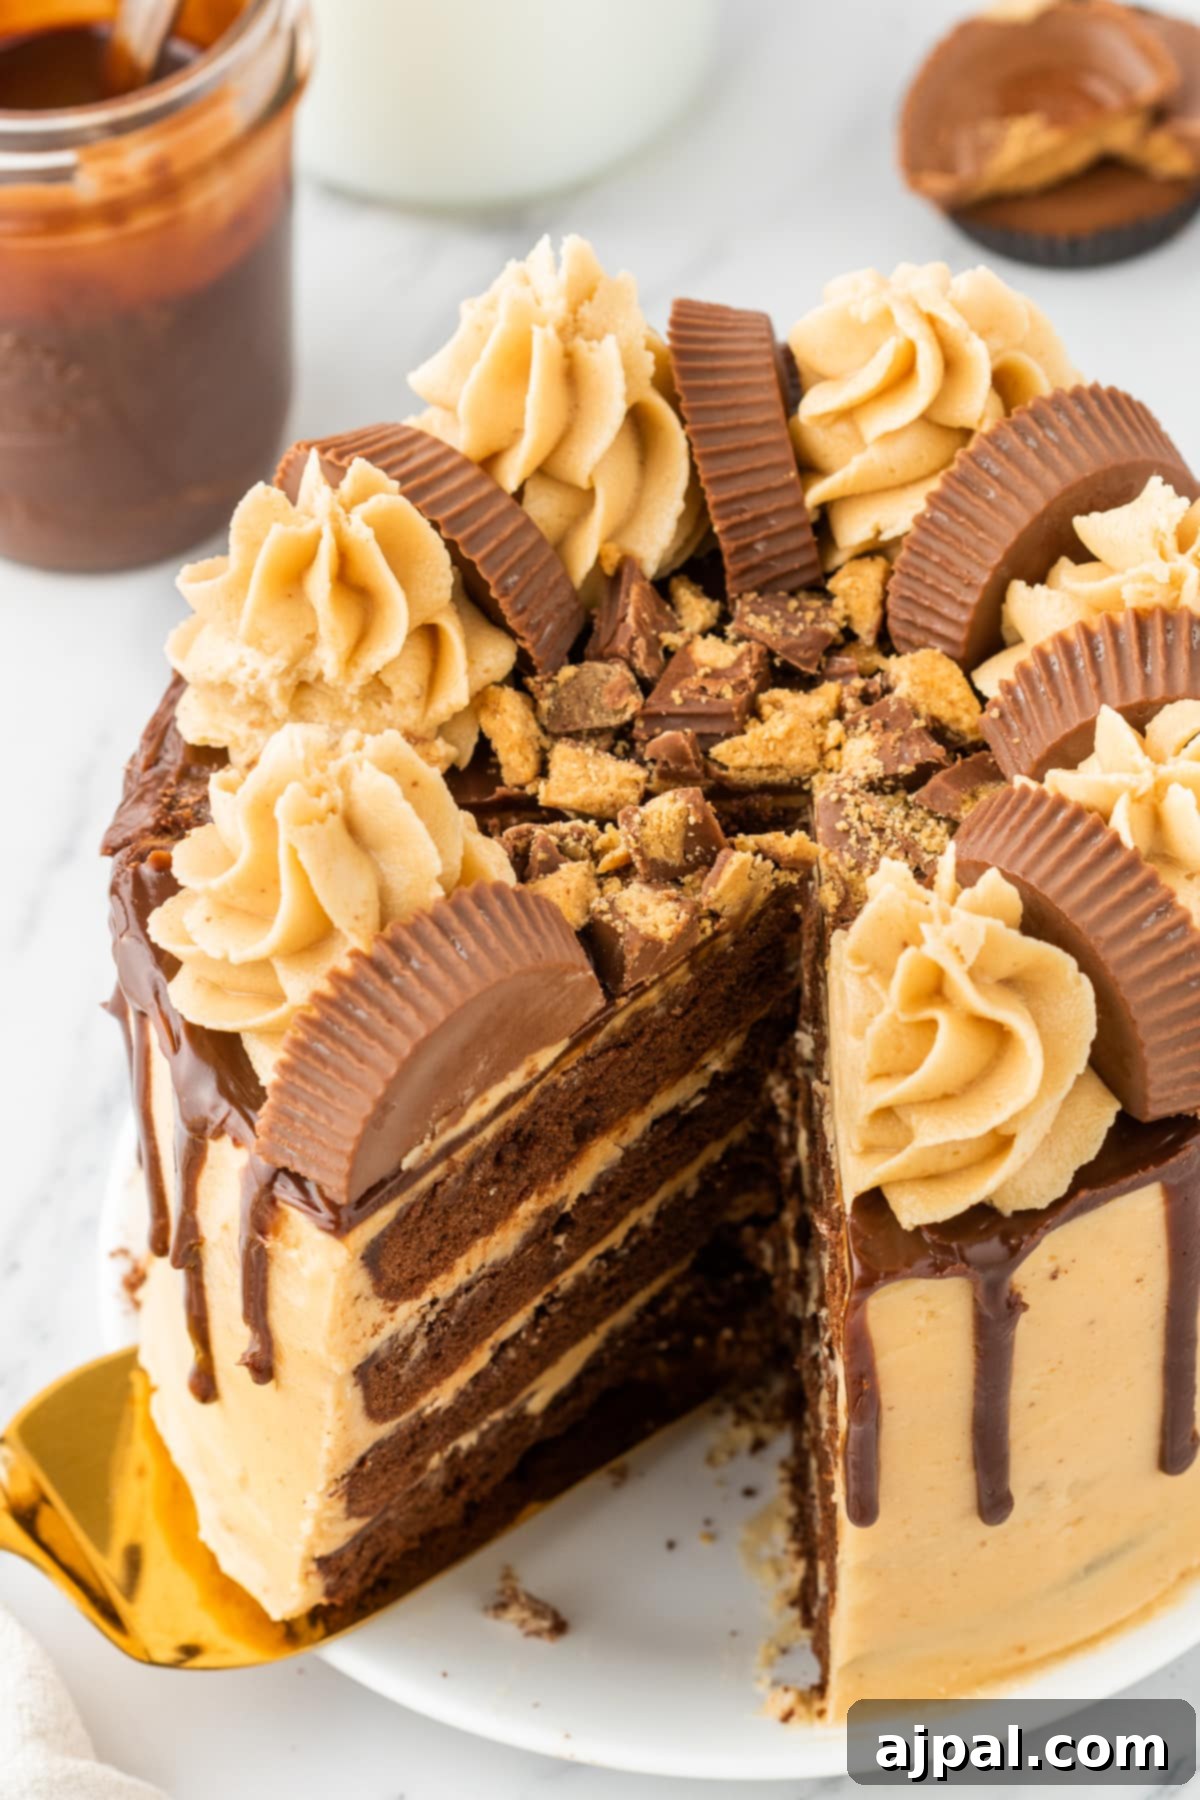
Embark on a culinary adventure that marries two of the most universally adored flavors: rich chocolate and creamy peanut butter. This **Peanut Butter Cup Chocolate Cake** is more than just a dessert; it’s an experience designed to captivate your senses and elevate any occasion. From the first glance to the final bite, every element of this cake is crafted for maximum enjoyment and indulgence. The visual appeal alone, with its towering layers, smooth frosting, and crowning glory of Reese’s cups, hints at the deliciousness within.
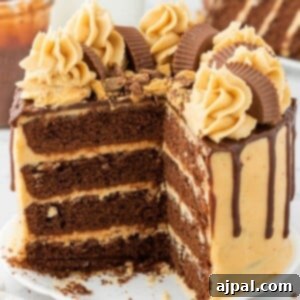
At the heart of this majestic dessert are the deeply flavored chocolate cake layers. Baked to perfection, they possess a moist, tender crumb that melts in your mouth, infused with an intense cocoa flavor that is both robust and elegantly sweet. We achieve this profound chocolatey essence by using high-quality cocoa powder, ensuring each bite delivers a satisfying depth of flavor. These layers provide the perfect foundation, a dark canvas against which the vibrant peanut butter flavor can truly shine.
Elevating the chocolate base is a generous amount of our homemade peanut butter frosting. This isn’t just any frosting; it’s a dreamy, velvety concoction made with softened butter and premium peanut butter, creating a light yet rich spread that perfectly balances the cake’s sweetness. The nutty, slightly salty notes of the peanut butter frosting provide an irresistible contrast to the deep chocolate, creating that iconic flavor combination that so many adore. Each layer of cake is generously spread with this creamy delight, ensuring a burst of flavor in every forkful.
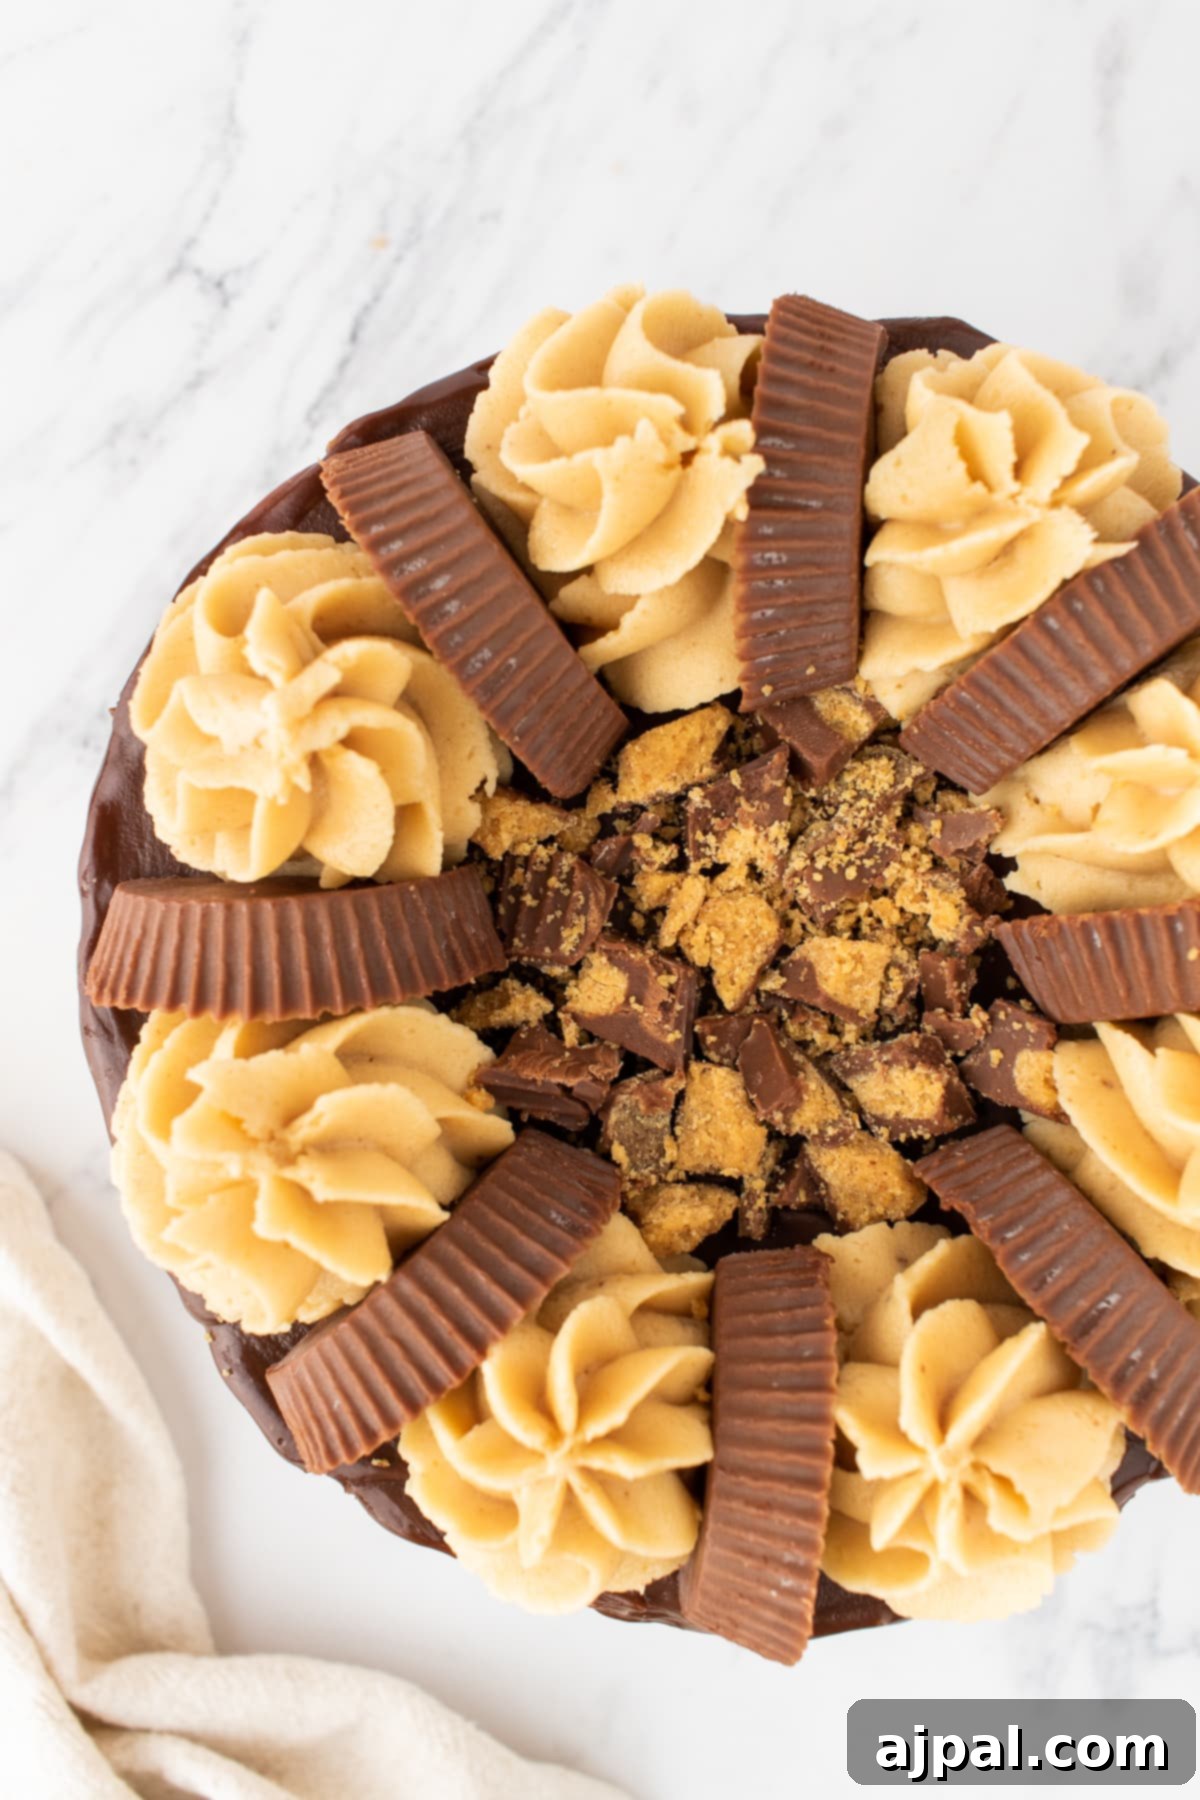
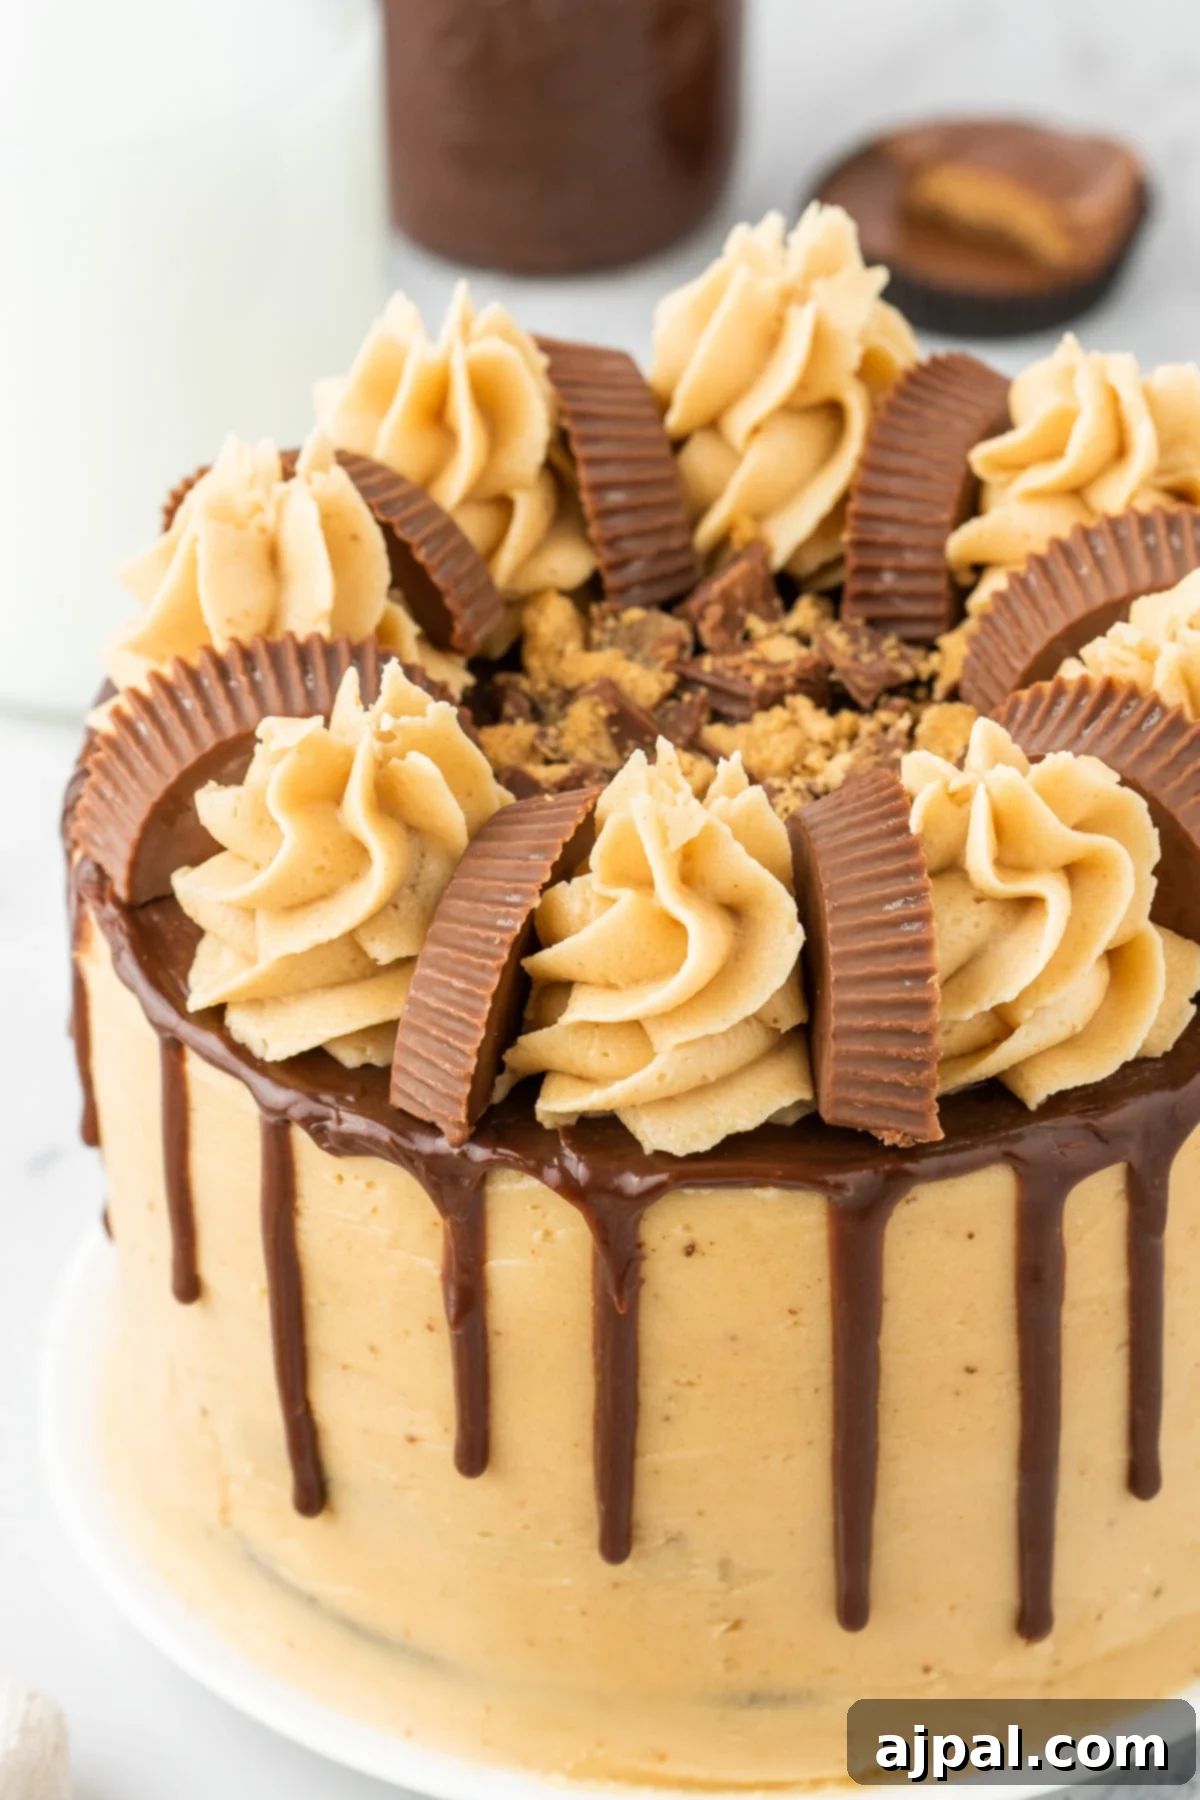
But the indulgence doesn’t stop there. A luscious chocolate ganache, prepared with smooth milk chocolate chips and heavy whipping cream, is artfully drizzled over the top, cascading down the sides like a molten cascade of pure bliss. This ganache adds another layer of chocolatey richness and a beautiful glossy finish. To complete this masterpiece, we crown the cake with whole and halved Reese’s Peanut Butter Cups, transforming it into a true showstopper. These iconic treats not only add a delightful textural crunch and an extra punch of peanut butter and chocolate flavor but also make the cake instantly recognizable as a tribute to this classic duo.
Whether you’re celebrating a birthday, a holiday, or simply indulging in a weekend treat, this **Chocolate Peanut Butter Layer Cake** is guaranteed to be the centerpiece of your dessert table. It’s a testament to the fact that some of the most decadent desserts can also be the most approachable to make at home. Get ready to slice into pure bliss and watch as faces light up with every delicious bite. Your taste buds are in for a truly unforgettable experience!
Mastering the Chocolate Peanut Butter Cake
Crafting this delicious **Peanut Butter Chocolate Layer Cake** begins with understanding the role of each ingredient. Here’s a breakdown of what you’ll need and why it’s essential for achieving perfect results.
For the Rich Chocolate Cake Layers:
- All-Purpose Flour (2 2/3 cups): The structural backbone of our cake. Flour provides the necessary framework, ensuring the cake rises beautifully and holds its shape while maintaining a tender, moist texture.
- Cocoa Powder (1 cup): This is where the deep, intense chocolate flavor comes from. Using a good quality unsweetened cocoa powder is key for that rich, authentic chocolate taste. It gives the cake its signature dark color and robust flavor.
- Baking Powder (1 tablespoon): Our primary leavening agent. Baking powder reacts when wet and with heat to produce carbon dioxide, creating air pockets that make the cake light and airy, preventing a dense, heavy crumb.
- Salt (1/2 teaspoon): A crucial flavor enhancer. Salt doesn’t just make things salty; it balances the sweetness of the sugar and deepens the overall chocolate and peanut butter flavors, making them pop.
- Unsalted Butter (1/2 cup, softened) and Vegetable Oil (1/2 cup): This dynamic duo provides unparalleled moisture and richness. Butter contributes a classic, dairy-rich flavor, while vegetable oil ensures a supremely moist crumb that stays tender longer than butter alone, preventing dryness. Using unsalted butter allows you to control the total salt content.
- Granulated Sugar (1 1/2 cups): Beyond sweetness, sugar plays a vital role in tenderizing the cake, retaining moisture, and contributing to its beautiful golden-brown crust. It also works with the leavening agents for proper rise.
- Large Eggs (4): Eggs are binders, emulsifiers, and a source of moisture. They provide structure, help lift the cake, and contribute to its rich flavor and smooth texture. Using large eggs ensures consistency in moisture content.
- Milk (1 1/4 cups): Adds necessary liquid to the batter, creating a soft, tender, and evenly textured cake. It helps to activate the dry ingredients and create a cohesive batter.
For the Creamy Peanut Butter Frosting:
- Unsalted Butter (1 1/2 cups, softened): The foundation of our luxurious frosting. Softened butter whips up beautifully, creating a light, airy, and incredibly rich base that carries the peanut butter flavor perfectly.
- Peanut Butter (3/4 cup): The star of the frosting, bringing its signature nutty, savory-sweet profile. Creamy peanut butter is recommended for the smoothest texture, creating a delightful contrast to the chocolate cake.
- Powdered Sugar (4 cups): Also known as confectioners’ sugar, this fine sugar sweetens the frosting and, most importantly, gives it its smooth, stable, and spreadable consistency, essential for a beautifully frosted layer cake.
For the Decadent Chocolate Ganache and Topping:
- Milk Chocolate Chips (1 cup): Melted down, these chips form the silky, pourable ganache. Milk chocolate provides a sweet, creamy chocolate flavor that complements both the dark cake and the peanut butter.
- Heavy Whipping Cream (1/3 cup): The secret to a perfect ganache. Heated heavy cream melts the chocolate chips into a glossy, velvety smooth sauce that can be poured or drizzled.
- Reese’s Peanut Butter Cups (5): The ultimate garnish! These iconic candies add an extra layer of peanut butter and chocolate flavor, a delightful texture, and make for a visually stunning presentation.
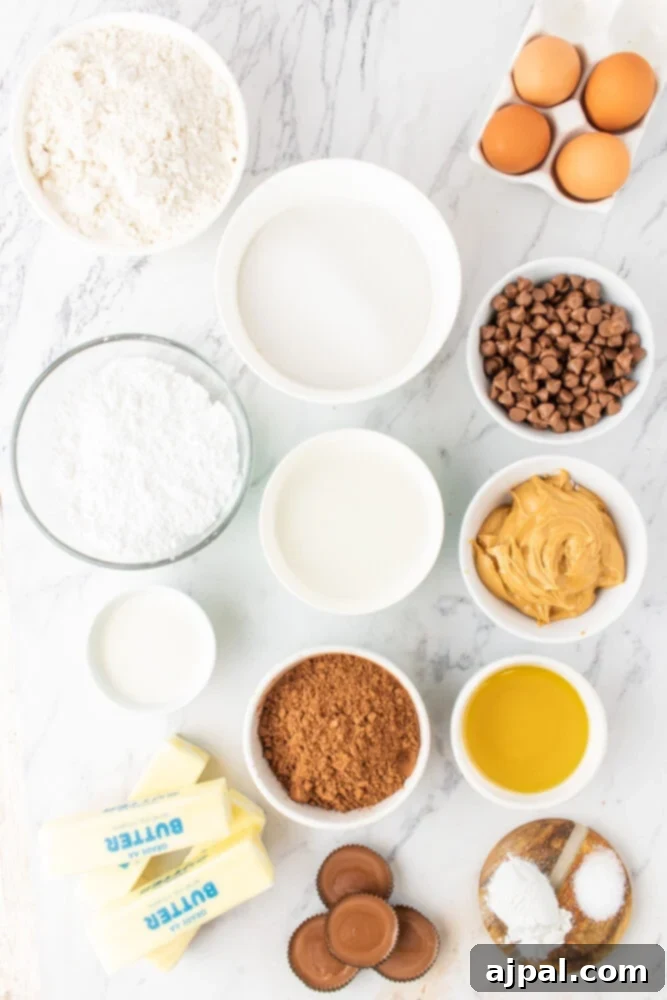
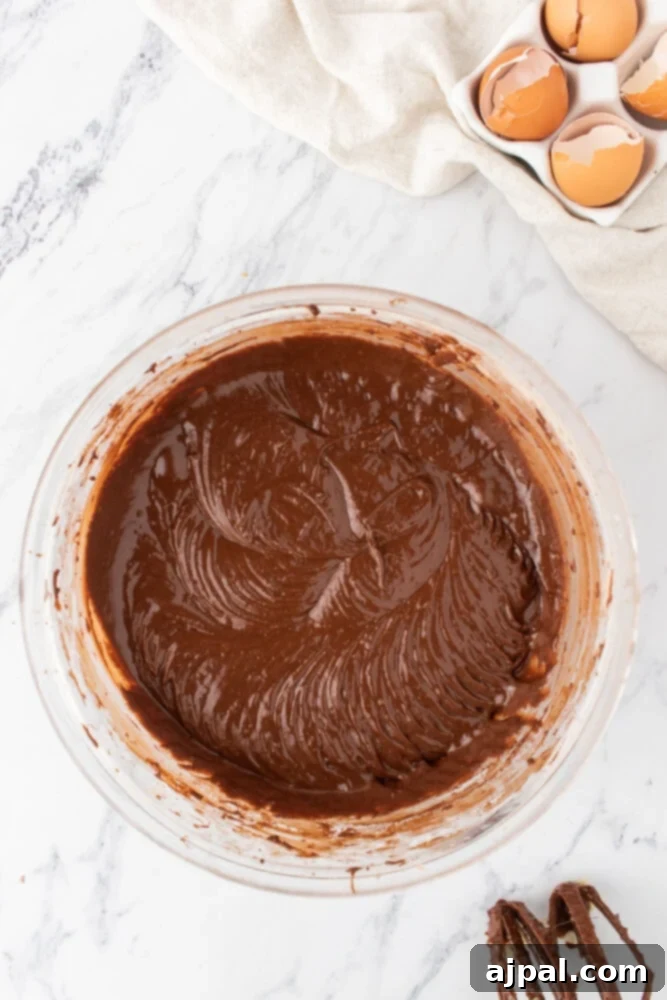
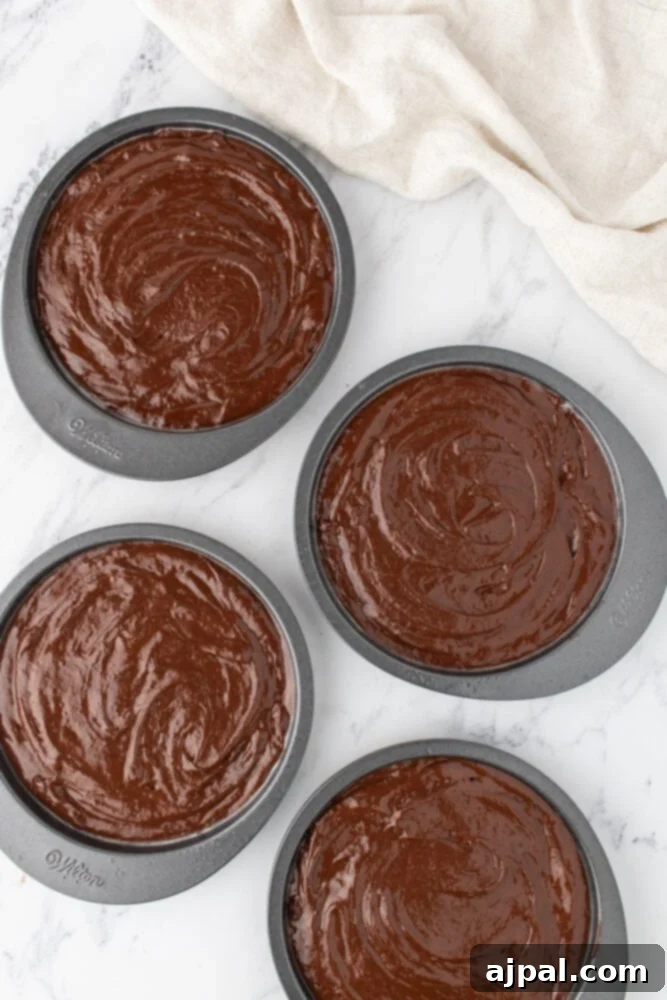
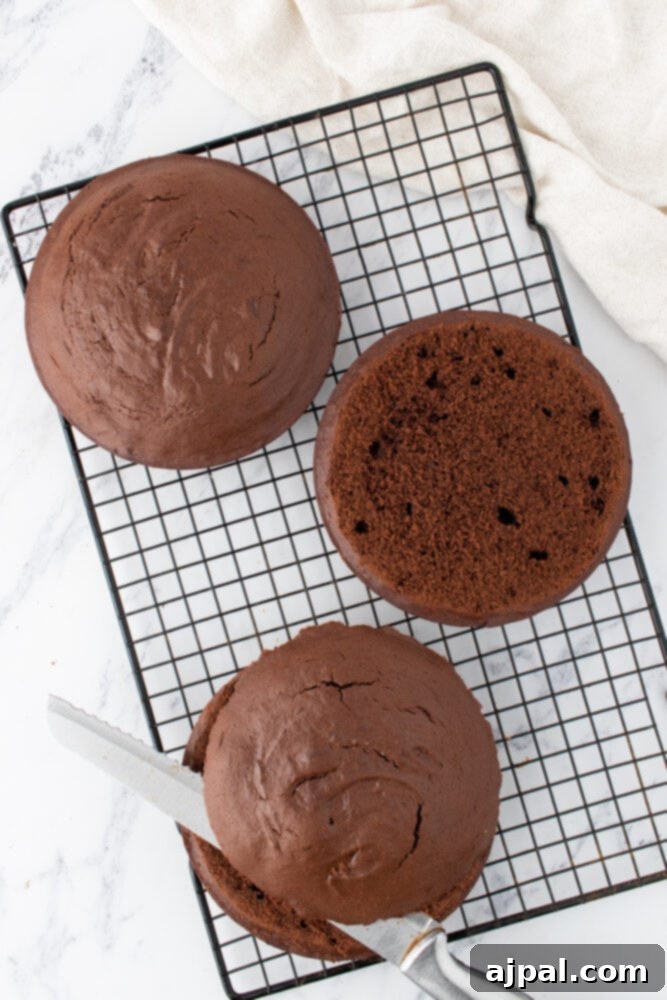
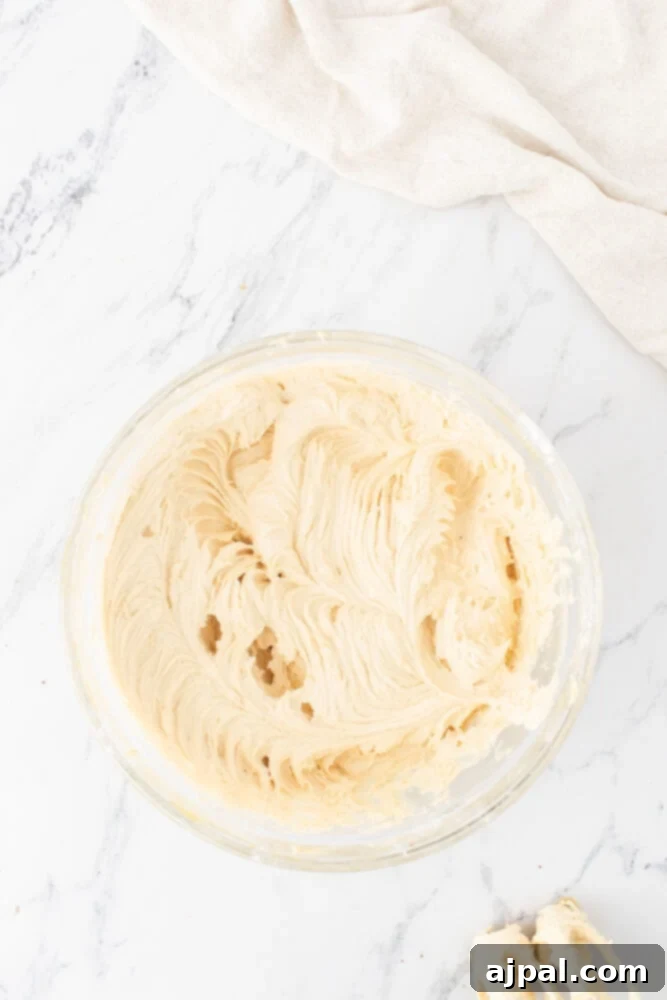
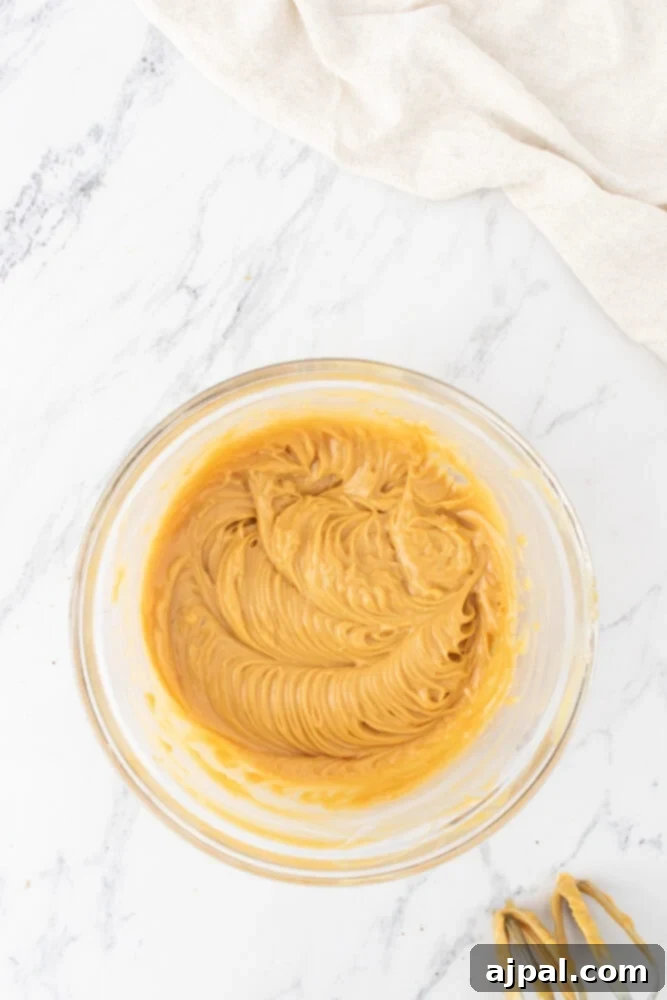
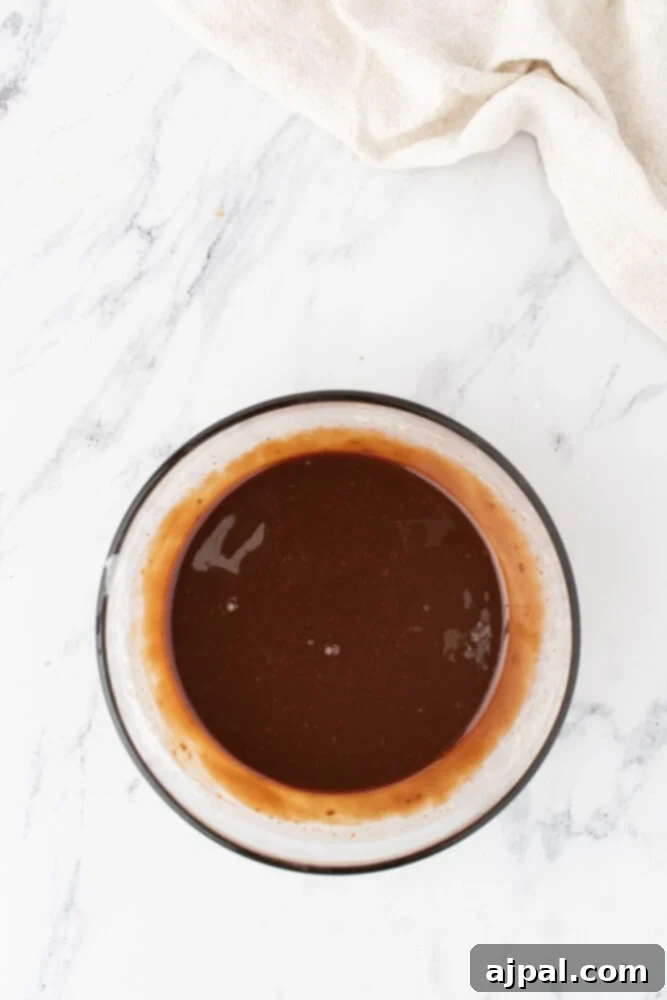
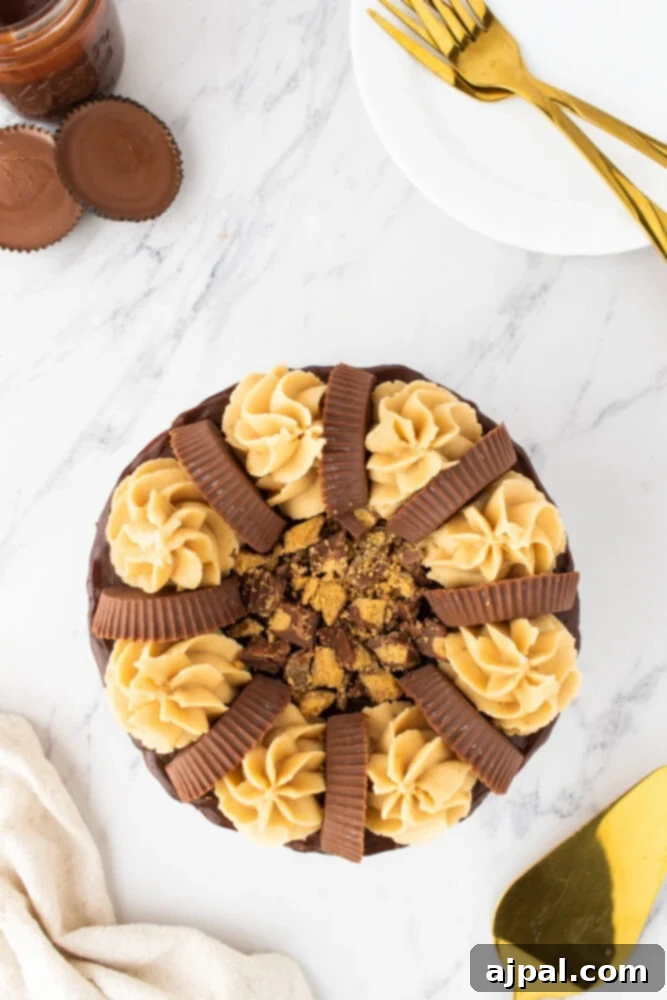
Once you’ve gathered your ingredients, here’s the straightforward method to bring your **Peanut Butter Chocolate Layer Cake** to life:
For the Cake:
- Preheat your oven to 350°F (175°C). Prepare four 8-inch round cake pans by greasing and flouring them, or lining with parchment paper and spraying with cooking spray. Set them aside.
- In a medium mixing bowl, whisk together the all-purpose flour, cocoa powder, baking powder, and salt until well combined. This ensures the leavening and flavoring agents are evenly distributed. Set the dry mixture aside.
- In a separate large mixing bowl, using a hand mixer or stand mixer, beat the softened unsalted butter, vegetable oil, and granulated sugar until the mixture is light, fluffy, and pale in color. This creaming process incorporates air, which is crucial for a tender cake.
- Add the eggs one at a time, beating well after each addition until fully incorporated. Scrape down the sides of the bowl as needed to ensure everything is mixed evenly.
- Gradually add the dry flour mixture to the wet ingredients, alternating with the milk. Begin and end with the dry ingredients. Mix until just combined, being careful not to overmix, which can lead to a tough cake.
- Divide the batter evenly among the four prepared cake pans. Use a spatula to spread the batter into an even layer in each pan.
- Bake for 20-25 minutes, or until a wooden skewer or toothpick inserted into the center of a cake comes out clean or with a few moist crumbs attached.
- Allow the cake layers to cool in their pans on a wire rack for about 10-15 minutes before carefully inverting them onto the wire rack to cool completely. Cooling thoroughly is essential before frosting to prevent melting.
For the Creamy Peanut Butter Frosting:
- In a large mixing bowl, using a hand mixer or stand mixer, beat the softened unsalted butter and peanut butter until the mixture is smooth, creamy, and well combined.
- Gradually add the powdered sugar, a cup at a time, beating on low speed until incorporated, then increasing to medium-high speed until the frosting is light, fluffy, and smooth. If the frosting is too thick, you can add a tablespoon of milk until desired consistency is reached.
For the Decadent Chocolate Ganache:
- Place the milk chocolate chips in a heatproof bowl.
- In a separate microwave-safe bowl, heat the heavy cream until it just begins to boil, or small bubbles form around the edges (about 1-2 minutes on high power).
- Pour the hot cream over the chocolate chips. Let it sit undisturbed for 5 minutes to allow the residual heat to melt the chocolate thoroughly.
- After 5 minutes, gently whisk the mixture from the center outwards until it is completely smooth, glossy, and emulsified into a beautiful ganache.
- Allow the ganache to cool for at least 10-15 minutes at room temperature before using. It should thicken slightly to a pourable consistency.
To Assemble Your Masterpiece:
- Once the cake layers are completely cool, use a large serrated knife or a cake leveler to carefully level the tops of each cake layer, creating a flat, even surface for easy stacking.
- Place one leveled cake layer on your serving platter or cake stand. Spread an even layer of peanut butter frosting over the top. Repeat with the next two cake layers, stacking them one by one.
- Place the final cake layer on top. Apply a thin, even layer of peanut butter frosting over the top and around the sides of the entire cake. This is known as a “crumb coat,” and it seals in any loose crumbs, creating a smooth surface for your final frosting layer.
- Transfer the cake to the freezer for at least 15-20 minutes to allow the crumb coat to firm up. This step is crucial for achieving a neat and professional finish.
- Once the crumb coat is set, remove the cake from the freezer. Frost the entire cake with the remaining peanut butter frosting, creating a smooth and even outer layer.
- Carefully pour the cooled (but still pourable) chocolate ganache over the top center of the cake. Use an offset spatula to gently spread it towards the edges, allowing some of the ganache to drip down the sides for an elegant effect. For more control over the drips, you can use a squeeze bottle or a piping bag with the tip snipped.
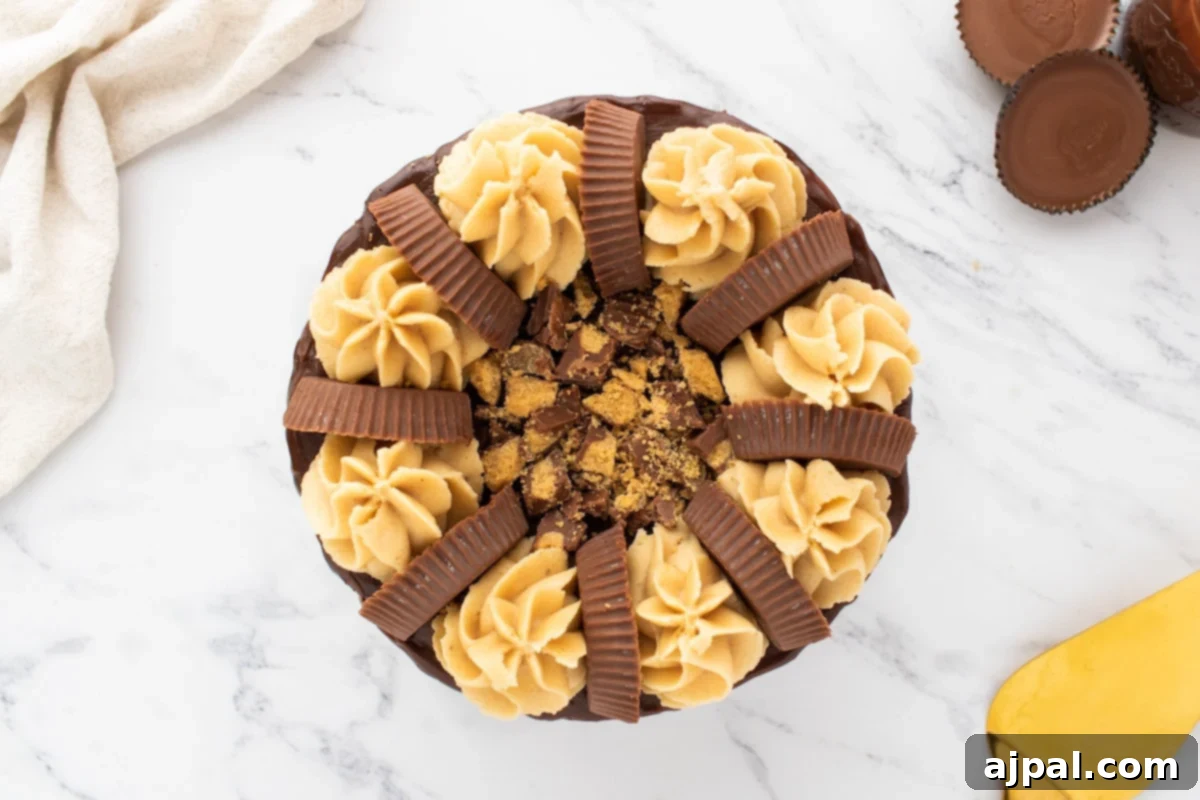
- If desired, arrange the Reese’s Peanut Butter Cups on top of the ganache. You can use whole cups, halved cups, or even chop them for a festive look. You may also pipe additional frosting swirls around the edges for extra decoration.
- Slice and enjoy your magnificent **Chocolate Peanut Butter Layer Cake**!
Essential Tips for a Perfect Layer Cake
Baking a **Chocolate Peanut Butter Layer Cake** can be a rewarding experience, and with these expert tips, you’ll achieve perfection every time:
- Measure Ingredients Accurately: Baking is a precise science. Always use dry measuring cups for dry ingredients (flour, sugar) and liquid measuring cups for wet ingredients (milk, oil) for exact quantities. Spoon flour into the measuring cup and level it off with a straight edge rather than scooping directly from the bag to avoid over-packing.
- Use Quality Ingredients: The flavor of your cake is directly related to the quality of your ingredients. Invest in good cocoa powder, fresh eggs, real butter, and your favorite creamy peanut butter for the best taste.
- Preheat the Oven Thoroughly: Always allow your oven to fully preheat to the specified temperature before placing cakes inside. An oven that hasn’t reached temperature can lead to uneven baking and a dense cake.
- Prepare Cake Pans Properly: To prevent sticking and ensure easy release, grease and flour your cake pans thoroughly. For an extra layer of security, line the bottoms with parchment paper. This step is critical for pristine layers.
- Avoid Overmixing the Batter: Mix the cake batter just until the ingredients are combined and no streaks of flour remain. Overmixing develops the gluten in the flour, resulting in a tough, chewy cake rather than a tender, moist one.
- Ensure Room Temperature Ingredients: For cake batter, use room temperature eggs, butter, and milk. This allows them to emulsify better, creating a smoother, more uniform batter and a finer crumb in the finished cake.
- Alternate Dry and Wet Ingredients: When combining the dry and wet mixtures, alternate adding them to the batter. This technique helps in incorporating ingredients evenly and prevents the batter from separating or becoming overmixed.
- Evenly Divide Batter for Consistent Layers: For perfectly uniform cake layers, use a kitchen scale to weigh the batter and divide it equally among the prepared pans. This ensures all layers bake at the same rate and have the same height.
- Check for Doneness Accurately: Insert a toothpick or a cake tester into the center of the cake layers. It should come out with a few moist crumbs attached, but not wet batter. If it comes out completely clean, the cake might be slightly overbaked.
- Cool Cakes Completely: Allow the baked cake layers to cool in their pans for about 10-15 minutes before transferring them to a wire rack. Then, let them cool completely, preferably for several hours or even overnight, before frosting. Warm layers will cause frosting to melt and slide.
- Level the Cake Layers: Once cooled, use a serrated knife or a dedicated cake leveler to trim the domed tops of the layers, creating flat surfaces. This is essential for a stable, professional-looking stacked cake.
- Apply a Crumb Coat: This is a thin layer of frosting applied to the entire cake to trap any loose crumbs. Chill the cake for 15-30 minutes after the crumb coat before applying your final, thicker layer of frosting. This ensures a smooth, crumb-free finish.
- Chill Between Frosting Layers: For a stable and easier frosting process, refrigerate the cake for short intervals (15-20 minutes) after applying each significant layer of frosting, especially between the crumb coat and the final coat.
- Smooth Frosting Techniques: Use an offset spatula or a bench scraper to achieve smooth, even frosting on the sides and top of the cake. Warm your spatula slightly for an extra smooth finish.
- Chill Before Adding Ganache: Ensure the final frosting layer is firm and chilled before pouring the chocolate ganache. This prevents the ganache from melting into the frosting or sliding off.
- Perfect Ganache Consistency: For the best pourable ganache, ensure it’s slightly warm, not hot. A lukewarm ganache will be smooth, glossy, and drip beautifully without being too runny. If it’s too thick, gently rewarm it.
- Allow the Cake to Set: After assembling and garnishing, let the cake sit in the refrigerator for at least 30 minutes. This allows the ganache and frosting to fully set, making for cleaner slices.
- Garnish with Flair: Don’t forget the finishing touches! Decorate with extra chopped or whole Reese’s Peanut Butter Cups, chocolate shavings, or a light drizzle of melted peanut butter for added visual appeal and flavor.
Frequently Asked Questions
While you can use natural peanut butter, be aware that its consistency and oil separation can affect the frosting’s texture. It might result in a slightly less stable or creamier frosting compared to stabilized, no-stir peanut butter. You may need to adjust the amount of powdered sugar or butter to achieve the desired consistency.
Absolutely! Feel free to experiment with your favorite chocolate for the ganache. Dark chocolate will offer a more intense, less sweet contrast, while semi-sweet chocolate is a great all-rounder. Adjusting the sweetness of the ganache can significantly change the overall flavor profile of the cake.
Yes, this cake is perfect for making ahead! You can bake the chocolate cake layers up to two days in advance, wrap them tightly, and store them at room temperature, or freeze them for up to a month. Thaw frozen layers in the refrigerator overnight before assembling. The assembled and frosted cake can be stored in the refrigerator for 2-3 days.
Certainly! While peanut butter frosting is a classic pairing, this chocolate cake base is versatile. Consider a rich chocolate buttercream, a light vanilla buttercream, or even a tangy cream cheese frosting for a different flavor experience. Ensure your chosen frosting is stable enough for a layer cake.
Yes, you can typically use a high-quality 1:1 gluten-free all-purpose flour blend in place of regular all-purpose flour in the cake recipe. Look for blends that specifically state they are suitable for baking and follow any additional instructions on the packaging for best results.
Absolutely! To enhance the cake, you can fold in chocolate chips, chopped nuts (like pecans or walnuts), or even crushed mini Reese’s Peanut Butter Cups into the batter before baking for added texture and flavor bursts.
Due to the dairy in the frosting and ganache, the assembled cake should be stored in the refrigerator. Cover it loosely with plastic wrap or place it in an airtight cake carrier to prevent it from drying out and to protect it from absorbing other odors from the fridge. Let it come to room temperature for about 30 minutes before serving for the best flavor and texture.
Yes, this recipe can easily be adapted for cupcakes! Simply divide the batter among lined cupcake tins. The baking time will be shorter, typically around 18-22 minutes for standard-sized cupcakes. You can then frost them with the peanut butter frosting and drizzle with ganache.
For convenience, you can certainly use store-bought frosting. To maintain the essence of the cake, look for a peanut butter-flavored frosting, or mix some creamy peanut butter into a vanilla or chocolate canned frosting for a quick homemade twist.
Of course! The peanut butter cups are a fantastic garnish, but they are entirely optional. The cake will still be incredibly delicious without them. You can decorate with chocolate curls, sprinkles, or simply leave the ganache as the final touch.
Perfect Pairings: What to Serve With Peanut Butter Chocolate Layer Cake
This rich **Chocolate Peanut Butter Layer Cake** is a showstopper on its own, but pairing it with the right accompaniment can elevate the experience even further. Here are some delightful suggestions to complement its decadent flavors:
- Coffee or Espresso: A classic pairing for any rich chocolate dessert. The slight bitterness and robust flavor of a freshly brewed cup of coffee or a strong shot of espresso beautifully cut through the sweetness of the cake, creating a balanced and sophisticated taste. Consider a fragrant Cardamom Coffee or a refreshing Greek Frappe for an inspired touch.
- Cold Milk: For a comforting and nostalgic pairing, a tall, cold glass of milk is simply unbeatable. The creamy texture and gentle sweetness of milk offer a perfect soothing contrast to the intense flavors of the cake, bringing out its pure deliciousness.
- Vanilla Ice Cream: The ultimate warm-cold contrast. A scoop of high-quality vanilla bean ice cream melting alongside a slice of this cake creates a heavenly blend of textures and temperatures. The simplicity of vanilla allows the cake’s complex flavors to shine.
- Fresh Whipped Cream: A light and airy dollop of freshly whipped cream provides a delicate counterpoint to the cake’s richness. For an extra touch of elegance, sprinkle a pinch of cocoa powder or a few chocolate shavings on top of the cream.
- Fresh Berries: Bright, tart berries like strawberries, raspberries, or blackberries offer a refreshing burst of fruity acidity. Their natural sweetness and vibrant colors provide a beautiful visual and flavor contrast, balancing the cake’s richness.
- Assorted Nuts: Since peanut butter is a key component, a small bowl of lightly roasted and salted nuts, such as peanuts, almonds, or cashews, can add an appealing crunch and enhance the nutty notes in the cake.
- Port Wine or Dessert Wine: For an indulgent adult pairing, a glass of robust Port wine or a sweet dessert wine (like a late-harvest Riesling) can create a luxurious experience. Their rich, fruity, and sometimes nutty undertones complement both chocolate and peanut butter beautifully.
- Peanut Butter Hot Chocolate: Lean into the theme with a homemade peanut butter-infused hot chocolate. It’s like a warm, drinkable version of the cake itself – pure comfort in a mug. You could even try Peanut Butter Hot Cocoa Bombs for an extra fun element.
- Salted Caramel Sauce: A drizzle of homemade salted caramel sauce adds another layer of complexity. The sweet and salty notes of caramel harmonize wonderfully with the chocolate and peanut butter, elevating the cake to new heights of deliciousness.
- Toasted Marshmallows: Evoke the cozy feeling of a campfire with toasted marshmallows. Their gooey texture and slightly smoky sweetness make a playful and delicious addition, reminiscent of s’mores with a twist.
- Nutella Spread: For those who can’t get enough chocolate and hazelnut goodness, a small side of Nutella or a similar chocolate-hazelnut spread can provide an additional layer of decadent flavor to swirl into each bite.
More Delicious Drinks to Enjoy
See more Drinks
Best Mulled Cider Ever
Easy Apple Cider Mojitos Recipe
Easy Tropical Green Smoothie Recipe
Pumpkin Pie Punch
Easy Peach Simple Syrup Recipe
Peach La Croix Mocktail
Bourbon Peach Smash Cocktail
Stone Fruit Sangria Mocktail
Chocolate Peanut Butter Layer Cake Recipe
If you loved creating and tasting this easy **Chocolate Peanut Butter Layer Cake** recipe, please consider giving it a five-star rating by clicking the stars below and leaving a comment! Your feedback helps us share these delicious recipes with more home cooks. Don’t forget to share your creations on Instagram, Facebook, and Pinterest – we love seeing what you bake!
Share on Facebook
Share
Pin this now to find it later
Pin It
Follow on Instagram
Follow
Only have 30 minutes to get dinner on the table? Sign up for my 30 minute dinner plans direct to your inbox!
Find and shop my favorite products in my Amazon storefront here!
Peanut Butter Chocolate Layer Cake
Equipment
- Piping Bag and Tips Cake Decorating and Baking Supplies Kit
- KitchenAid 8-Quart Commercial Countertop Mixer
- USA Pan Bakeware Round Cake Pan, 9 inch, Nonstick
Ingredients
Chocolate cake
- 2 ⅔ cups all-purpose flour
- 1 cup cocoa powder
- 1 tablespoon baking powder
- ½ teaspoon salt
- ½ cup unsalted butter, softened
- ½ cup vegetable oil
- 1 ½ cups granulated sugar
- 4 large eggs
- 1 ¼ cups milk
Peanut butter frosting
- 1 ½ cups unsalted butter, softened
- ¾ cup peanut butter
- 4 cups powdered sugar
Chocolate ganache/ topping
- 1 cup milk chocolate chips
- ⅓ cup heavy whipping cream
- 5 Reese’s peanut butter cups
Instructions
-
Preheat the oven to 350°F (175°C). Prepare four 8-inch round cake pans with cooking spray. Set aside.
-
In a medium mixing bowl, combine the flour, cocoa powder, baking powder and salt with a whisk. Set aside.
-
In a separate large mixing bowl with a hand mixer, beat the butter, oil, and sugar until smooth and fluffy. Add the eggs, mix until combined.
-
Add the dry mixture, alternating with the milk until completely combined.
-
Divide the batter evenly into the 4 cake pans and spread into an even layer with a spatula.
-
Bake for 20-25 minutes or until a toothpick can be inserted and come out clean.
-
Allow the cakes to cool completely while making the frosting.
-
For the frosting: In a large mixing bowl with a hand mixer, beat the softened butter and peanut butter until smooth and creamy. Gradually add the powdered sugar until completely combined.
-
For the chocolate ganache: Add the chocolate chips to a heatproof bowl.
In a separate bowl, microwave the heavy cream until it begins to boil. -
Pour the hot cream over the chocolate chips and allow to sit for a few minutes to melt the chocolate. Mix until smooth and combined.
-
Allow the ganache to cool for at least 10 minutes before using.
-
Assemble: Use a large serrated knife to level the cakes and create an even surface. Stack the cakes with a layer of frosting between each cake layer. Use a large icing spatula to spread a thin even layer of frosting on top of and around the cake to create a crumb coat. Place the cake in the freezer for at least 15 minutes to set the crumb coat. Frost the entire cake with the remaining frosting.
-
Pour the ganache over the top of the cake and spread into an even layer, allow some ganache to drip down the sides. You can use a squeeze bottle or piping bag to get a cleaner drip.
-
If desired, you can decorate with extra frosting and Reese’s peanut butter cups. Slice and enjoy!
Nutrition
Calories: 524kcal
Carbohydrates: 52g
Protein: 5g
Fat: 89g
Saturated Fat: 10g
Polyunsaturated Fat: 41g
Trans Fat: 1g
Cholesterol: 125mg
Sodium: 120mg
Fiber: 6g
Sugar: 62g
Nutritional information is an approximation calculated automatically and should be used as a general guide.
Additional Info
Tried this recipe?
Mention @sweetcsdesigns or tag #sweetcsdesigns!