
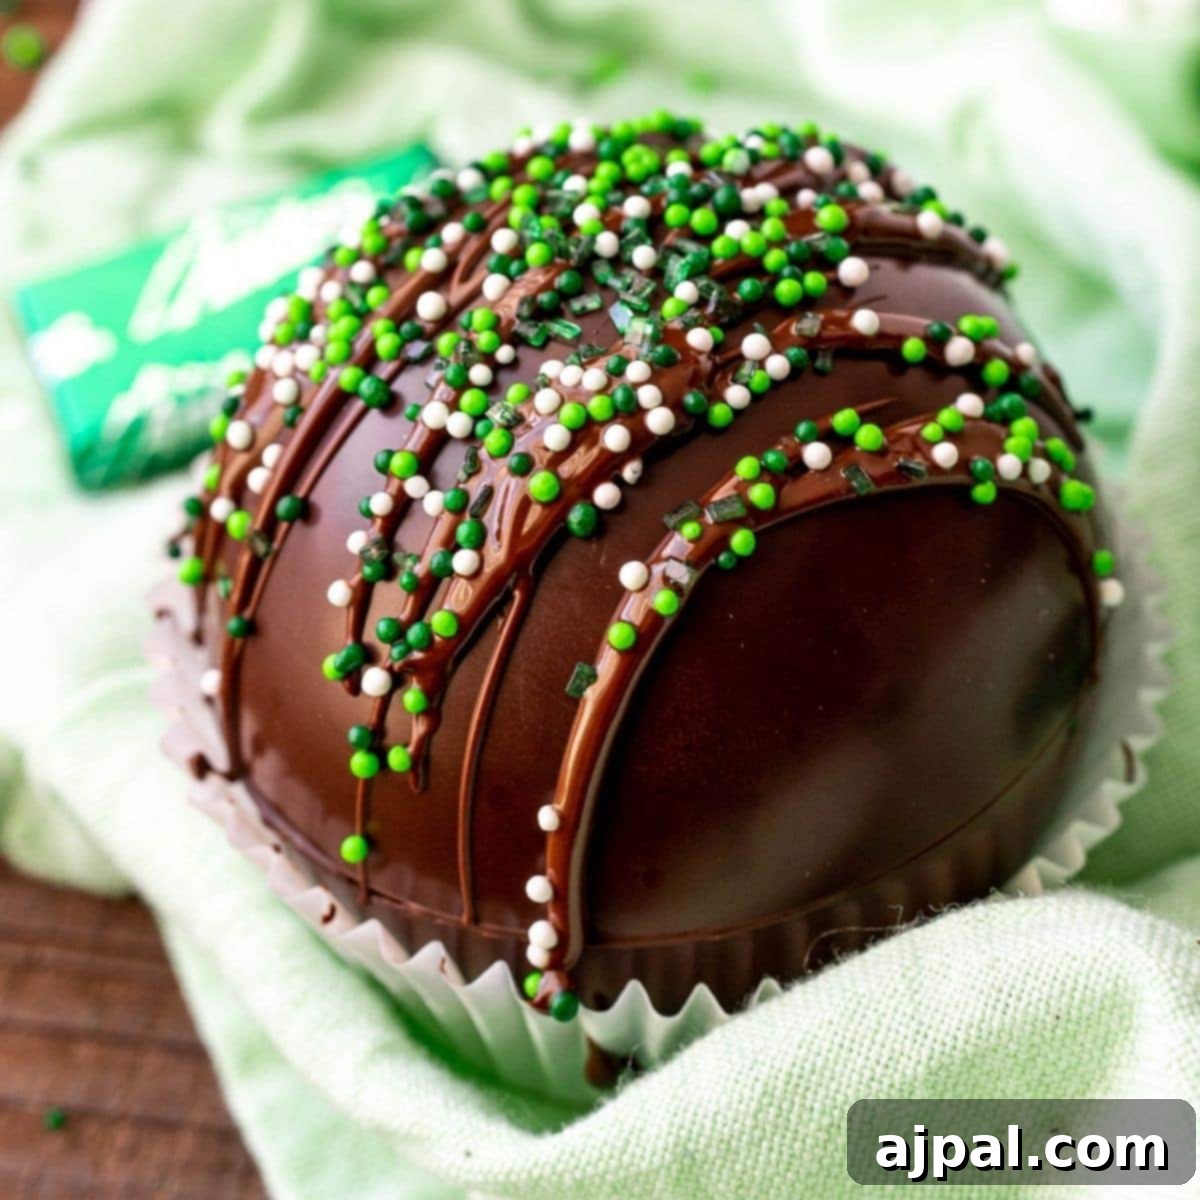
Ultimate Guide to Crafting Decadent Mint Hot Chocolate Bombs
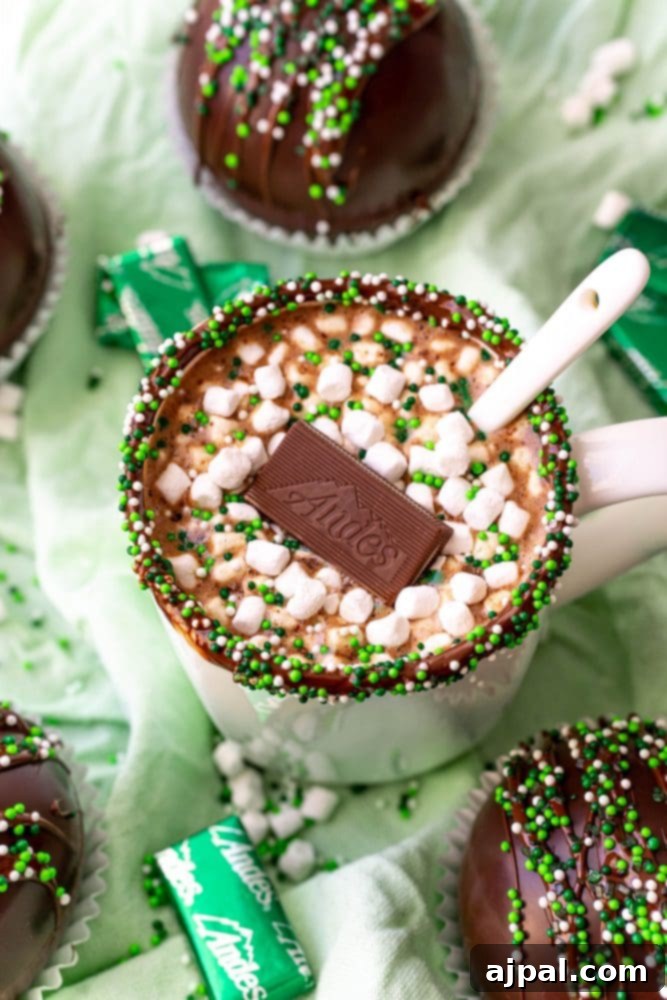
Prepare to be enchanted by these truly decadent melting mint hot chocolate bombs! Each sphere is a little parcel of joy, bursting with the luxurious flavors of rich cocoa and refreshing Andes mints. Whether you’re seeking a cozy treat for yourself on a chilly evening or an imaginative, heartwarming gift for friends and family during the holiday season, these homemade hot chocolate bombs are an absolute showstopper.
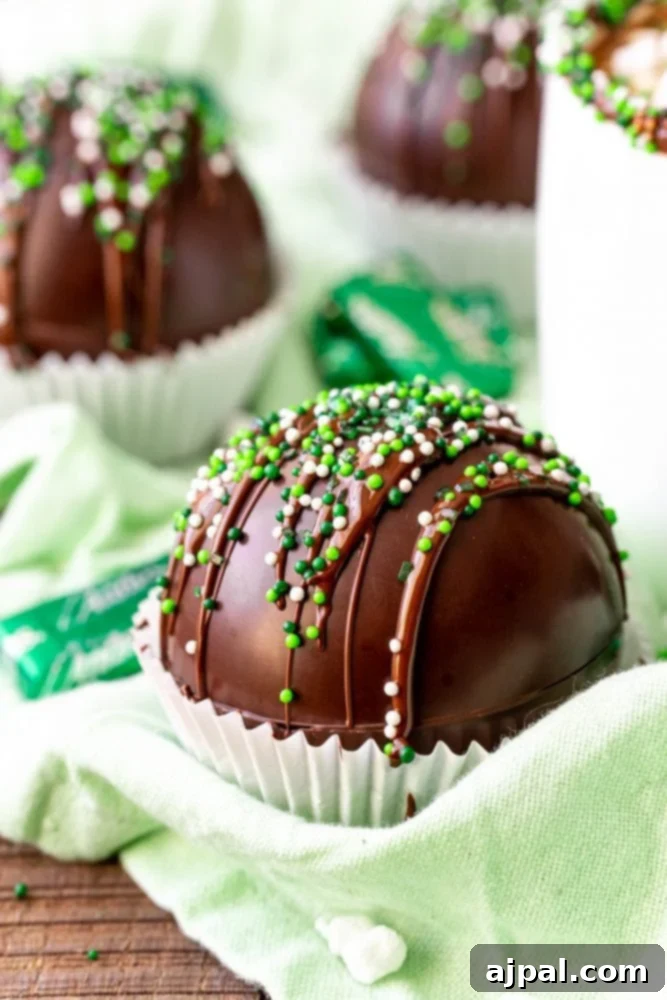
At Sweet C’s, we believe that cooking should be an accessible and enjoyable experience for everyone, regardless of their culinary background. As a home cook who started without formal training, I’ve always found that understanding the ‘why’ behind each step and the role of every ingredient empowers confidence in the kitchen. My goal is to equip even the most beginner home cook with the knowledge and tips needed to master delicious dishes, and these mint hot chocolate bombs are no exception. Get ready to create something truly magical!
Table of Contents
- Introduction to Mint Hot Chocolate Bombs
- The Allure of Mint and Chocolate
- How to Make Hot Chocolate Bombs: Step-by-Step
- Essential Ingredients for Perfect Bombs
- Detailed Method for Assembling Your Bombs
- Mastering the Art of Chocolate: Tips and Tricks
- Perfecting Your Chocolate Spheres
- Tips for Flawless Melted Chocolate
- Testing for Tempered Chocolate
- Frequently Asked Questions (FAQs)
- Serving and Gifting Your Hot Chocolate Bombs
- Explore More Hot Chocolate Bomb Recipes
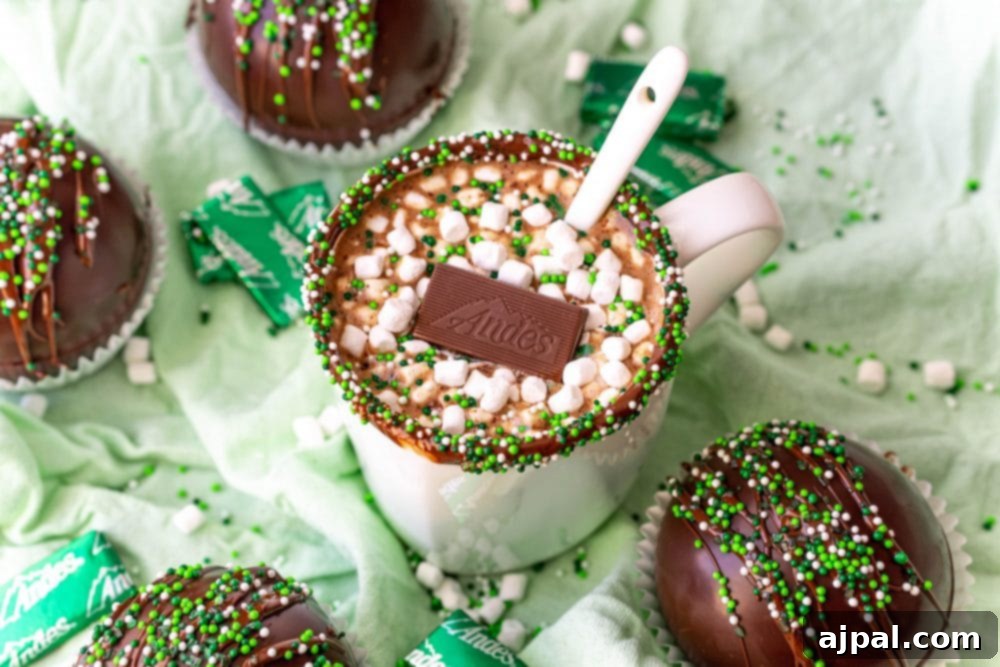
Introduction to Mint Hot Chocolate Bombs
Hot chocolate bombs have taken the world by storm, offering a delightful and interactive way to enjoy a classic beverage. These ingenious creations are essentially hollow chocolate spheres filled with cocoa powder, marshmallows, and various sweet surprises. When hot milk is poured over them, the chocolate shell melts away, revealing the delicious contents inside and transforming into a rich, creamy cup of hot chocolate right before your eyes. Our mint hot chocolate bombs elevate this experience further with the refreshing zest of mint, thanks to a combination of mint-flavored cocoa mix and iconic Andes mint candies. The result is a truly luxurious and comforting drink that’s perfect for any occasion, especially during cooler months or as a festive treat.
The Allure of Mint and Chocolate
The pairing of mint and chocolate is a timeless classic, a harmonious blend of cool freshness and deep, rich cocoa. It’s a flavor profile that evokes holiday cheer, reminiscent of candy canes and after-dinner mints, yet equally enjoyable year-round. Andes mints, with their distinctive green layer and smooth chocolate, are particularly well-suited for these hot chocolate bombs. Their subtle mint flavor melts beautifully, infusing the hot chocolate with a refreshing taste without overpowering the chocolate’s natural richness. This combination creates a sophisticated yet comforting beverage that appeals to both children and adults, making these bombs an instant favorite.
If you’re a fan of unique hot chocolate experiences, don’t forget to explore our other fantastic creations like the Raspberry Hot Chocolate Bombs for a fruity twist, and the Peanut Butter Hot Cocoa Bombs for a nutty indulgence.
How to Make Hot Chocolate Bombs: Step-by-Step
Essential Ingredients for Perfect Bombs
Crafting exquisite hot chocolate bombs begins with selecting the right ingredients. Quality makes all the difference in flavor, texture, and the overall melting experience. Here’s a closer look at what you’ll need and why each component is crucial:
- High-Quality Chocolate (Morsels or Finely Chopped): The foundation of your bomb! We recommend using finely chopped high-quality chocolate, such as Ghirardelli baking chocolate, or couverture chocolate. High-quality chocolate has a higher cocoa butter content, which results in a smoother melt, a richer flavor, and a beautiful shine (especially if tempered correctly). Avoid chocolate chips designed to hold their shape in baking, as they may not melt as smoothly. For the best results, look for chocolate with 55% to 80% cocoa solids.
- Mint Hot Chocolate Mix Packets: These packets provide the convenient base for your hot cocoa, infused with a lovely mint flavor. If you can’t find pre-mixed mint hot chocolate, don’t worry! You can easily substitute regular hot chocolate mix and add a tiny drop of pure peppermint extract (food grade) into each bomb for that refreshing minty kick. Be mindful not to overdo the extract, as a little goes a long way.
- Andes Mints: These iconic layered chocolate mints are the secret weapon for an extra burst of authentic mint chocolate flavor. They melt wonderfully within the hot chocolate, adding a luxurious creaminess and unmistakable taste. You can chop them into smaller pieces or place a whole mini Andes mint inside each bomb for a delightful surprise.
- Mini Marshmallows: What’s hot chocolate without marshmallows? Mini marshmallows are perfect for tucking inside the bombs, adding a soft, sweet cloudiness as they melt into your drink. If you only have regular-sized marshmallows on hand, simply snip them into smaller pieces with kitchen shears. They’ll still provide that special, fluffy surprise!
- Sprinkles (Optional, but Recommended): Sprinkles add a festive touch and visual appeal, making your hot chocolate bombs even more exciting, especially if you’re gifting them. Green sprinkles are ideal for indicating the mint flavor, but feel free to use any color or mix that sparks joy!
- Whole Milk: For the ultimate rich and creamy hot chocolate experience, whole milk is highly recommended. Its higher fat content creates a velvety smooth beverage that perfectly complements the melted chocolate and mint. While you can use lower-fat milk or even water, whole milk truly elevates the indulgence.
Detailed Method for Assembling Your Bombs
Once you’ve gathered all your ingredients, it’s time to bring these delightful mint hot chocolate bombs to life. Precision and patience are key, especially when working with chocolate.
Step 1: Melt the Chocolate to Perfection
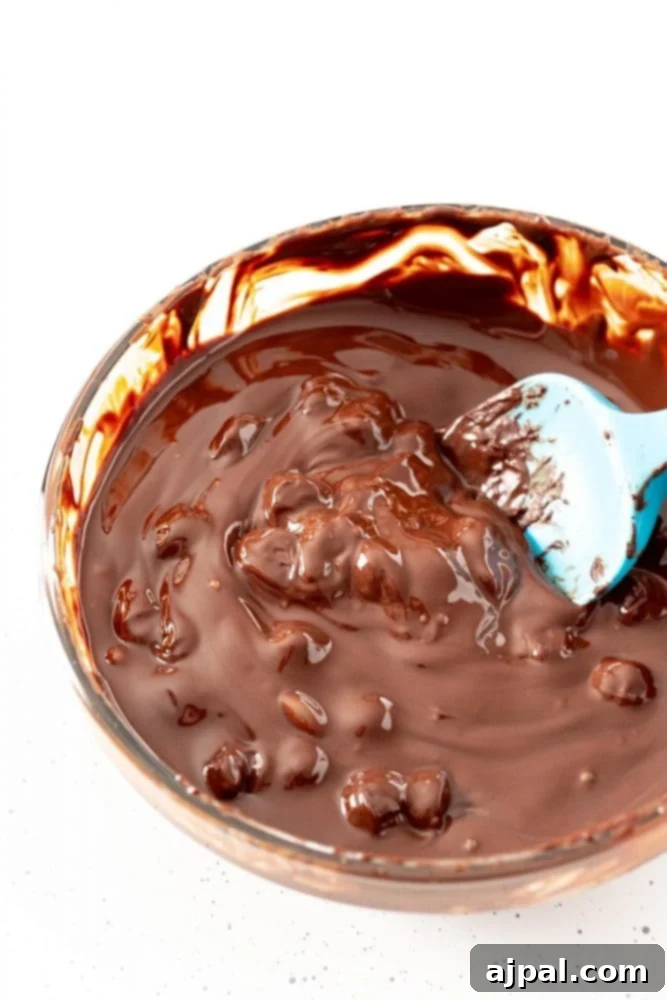
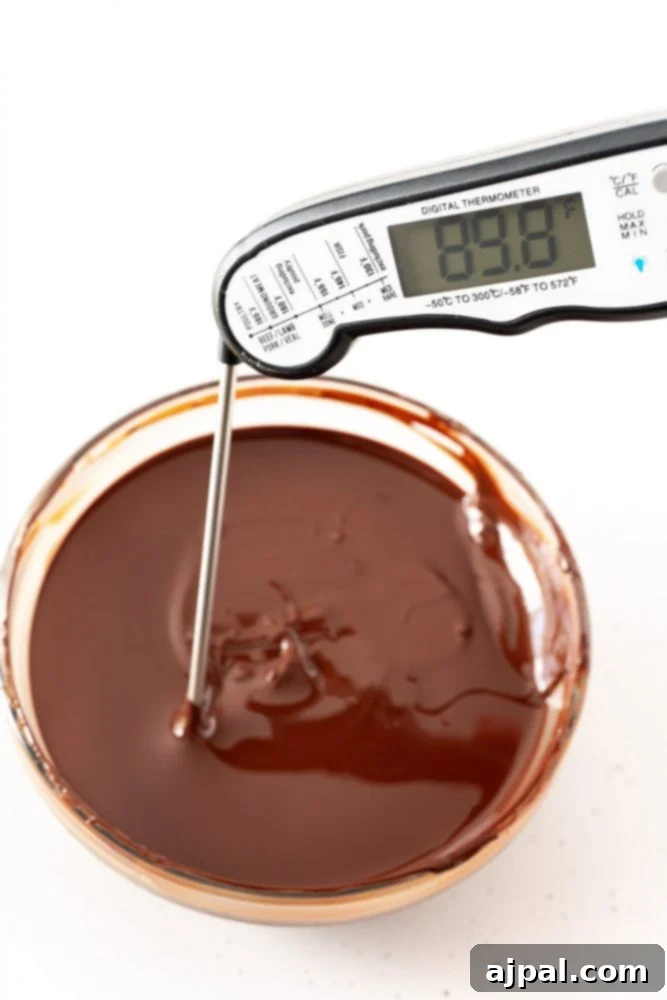
Carefully melt your chosen chocolate. The microwave method is quick and convenient: place the chocolate morsels or finely chopped chocolate in a microwave-safe bowl. Microwave on high for 1 minute, then remove and stir thoroughly. Continue microwaving in 30-second increments, stirring well after each interval, until the chocolate is completely smooth and melted. This typically takes 1 to 2 minutes longer after the initial minute. To achieve a beautiful, glossy finish on your chocolate bombs, it’s crucial that the chocolate’s temperature does not exceed 90°F (32°C). Using a food thermometer can help ensure you stay within this ideal range, signifying that your chocolate is perfectly tempered for a shiny, snappy result.
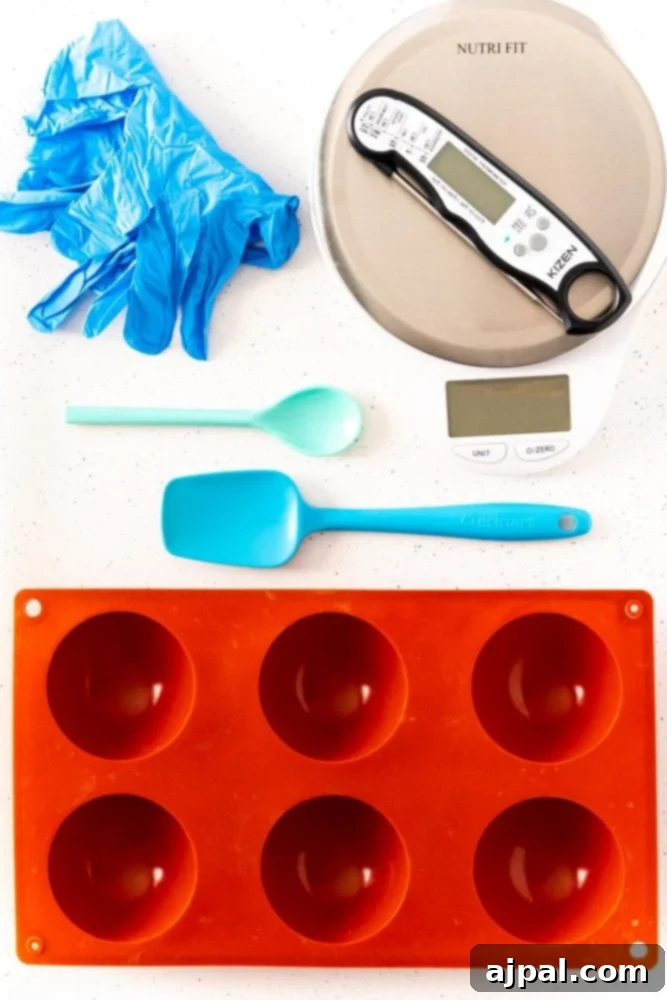
Step 2: Create the Chocolate Shells
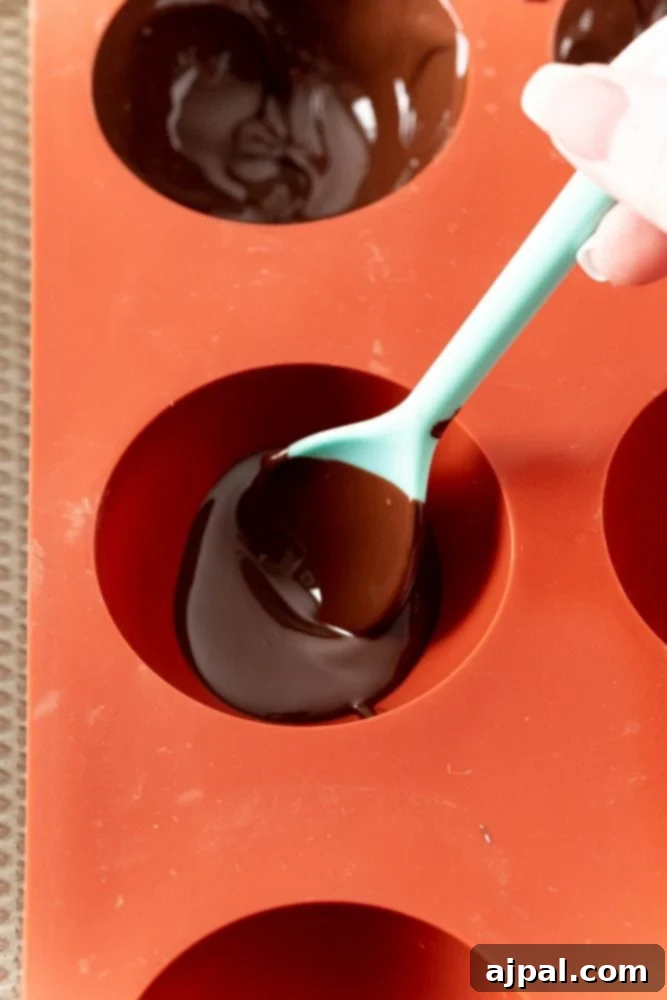
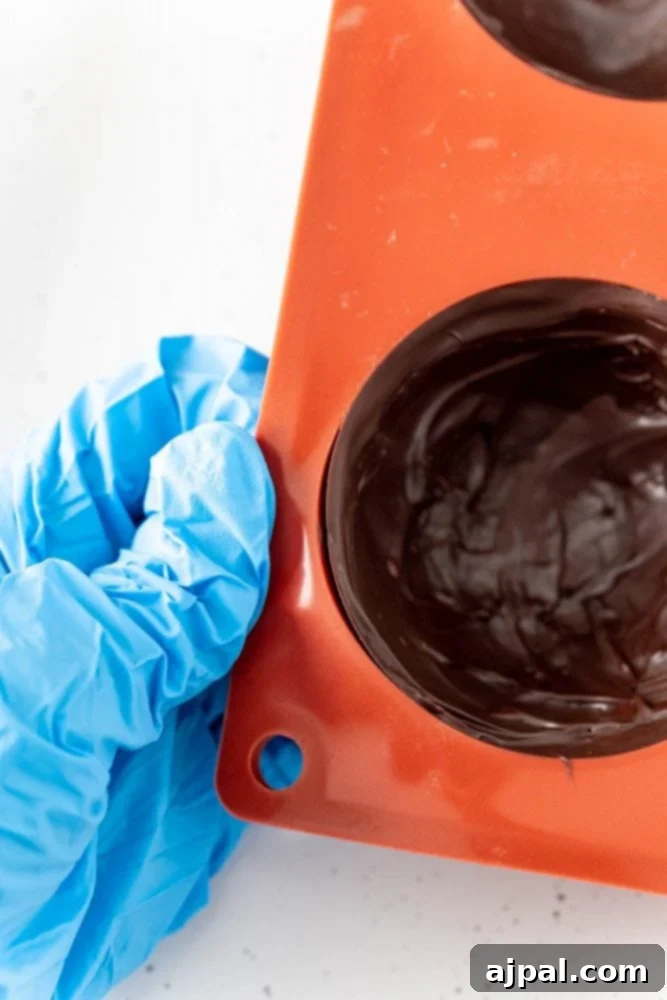
Using a small spoon or a silicone brush, generously coat the inside of your silicone sphere molds with about 1 tablespoon of melted chocolate per cavity. Ensure the chocolate covers all surfaces evenly, especially the edges, to create a sturdy shell. Place the molds in the refrigerator for 5 minutes to allow the first coat to set. Once firm, apply a second coat of chocolate, paying attention to any thin spots, and return to the fridge to set again. Repeat this process for a third coat. This layering ensures your chocolate shells are robust enough to handle filling and sealing without cracking. After the third coat, let the molds chill in the fridge for a final 10 minutes to completely harden. Once fully set, gently flex the silicone molds to carefully remove the shiny chocolate hemispheres.
Step 3: Fill Your Hot Chocolate Bombs
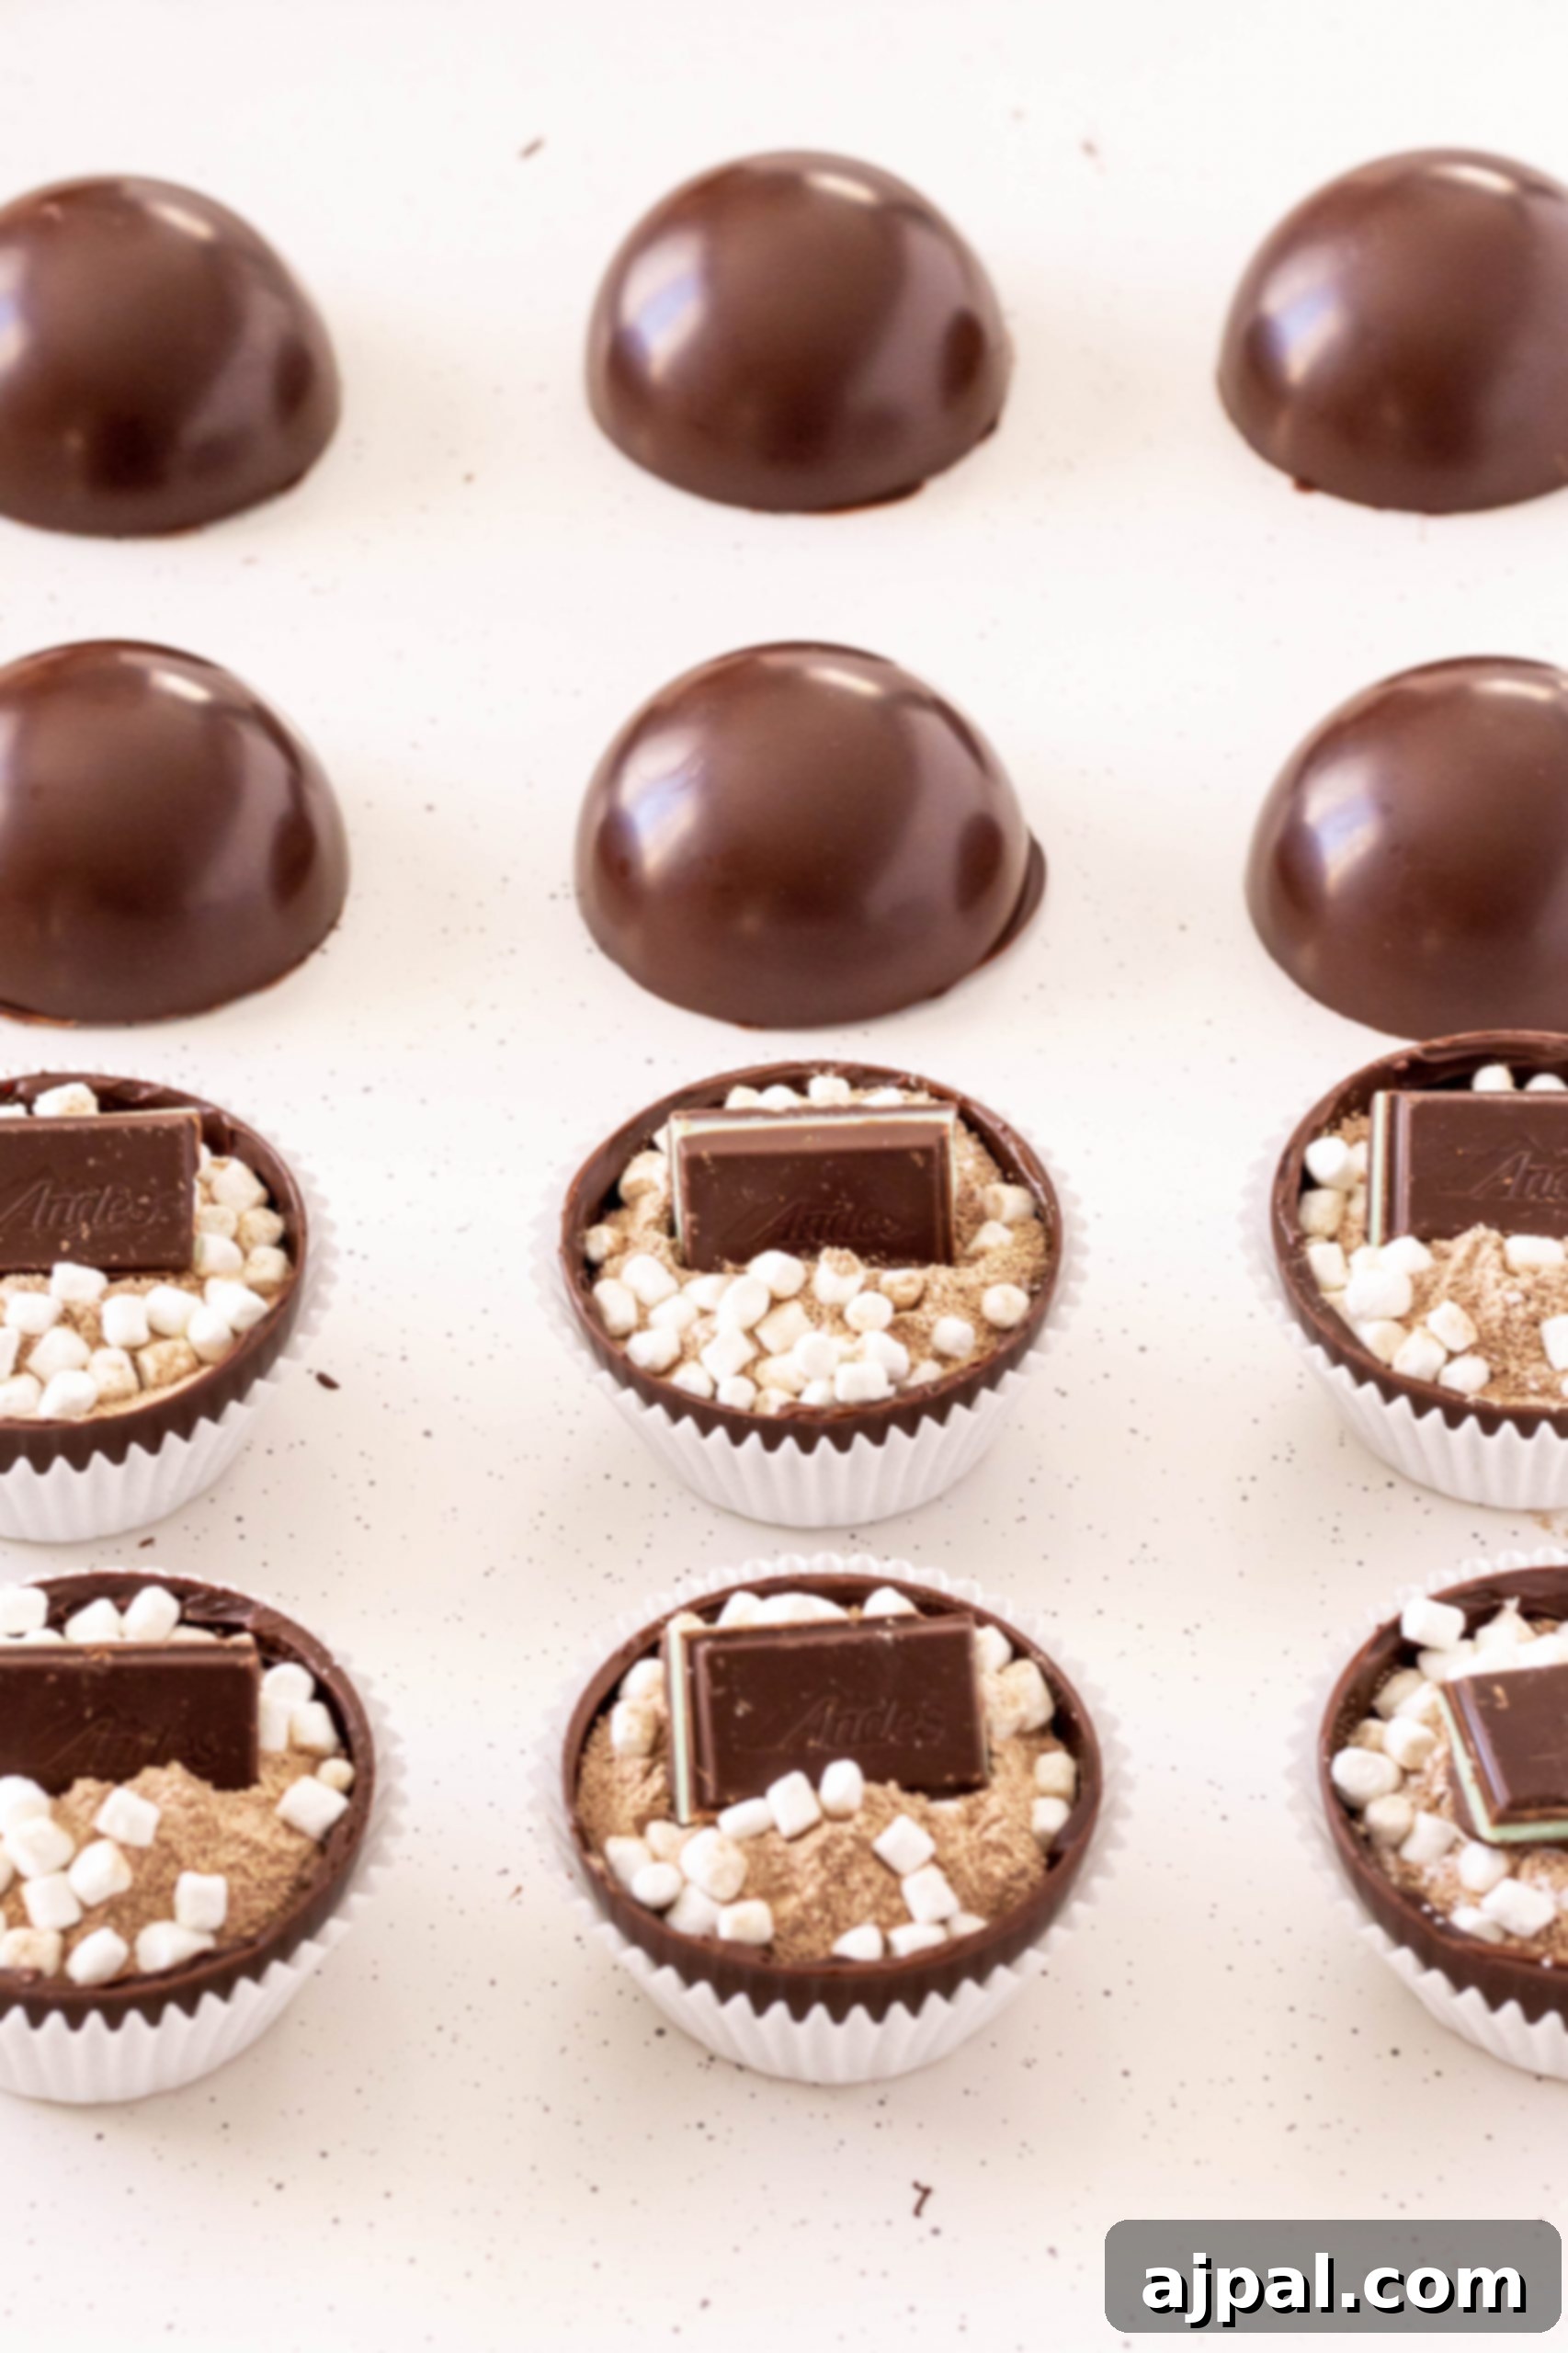
While your chocolate shells are setting, prepare the filling. In a small bowl, combine the mint hot chocolate mix packets, any crushed Andes mints (if not using whole), and a generous amount of mini marshmallows. Once your chocolate hemispheres are ready, carefully fill half of them with this delightful mixture. Top each filled half-sphere with one whole Andes mint candy, nestling it into the marshmallow and cocoa blend. This ensures every bomb delivers that signature minty kick.
Step 4: Seal the Chocolate Spheres
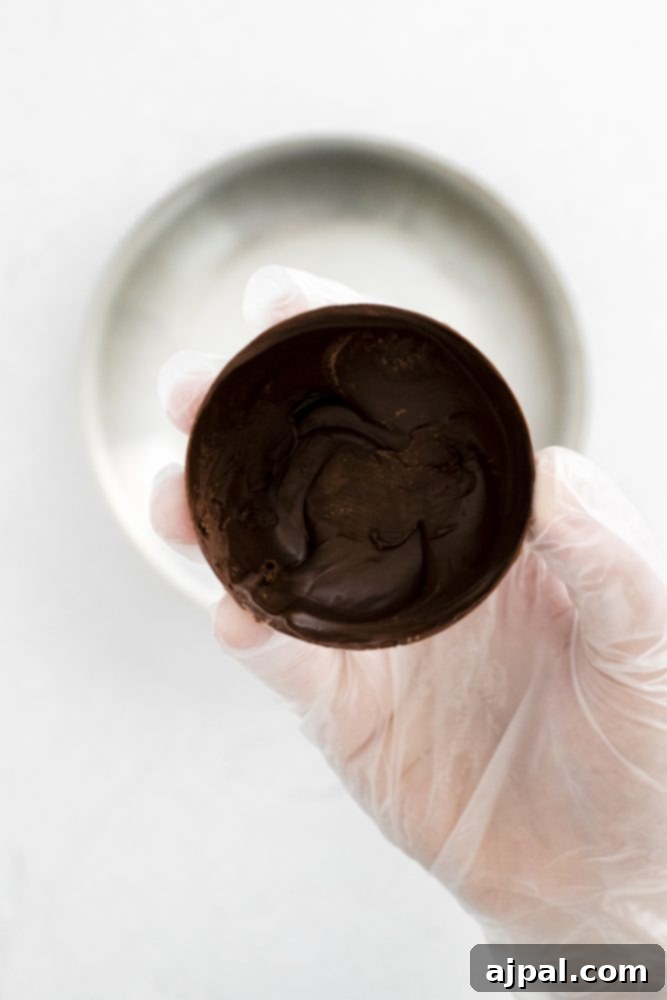
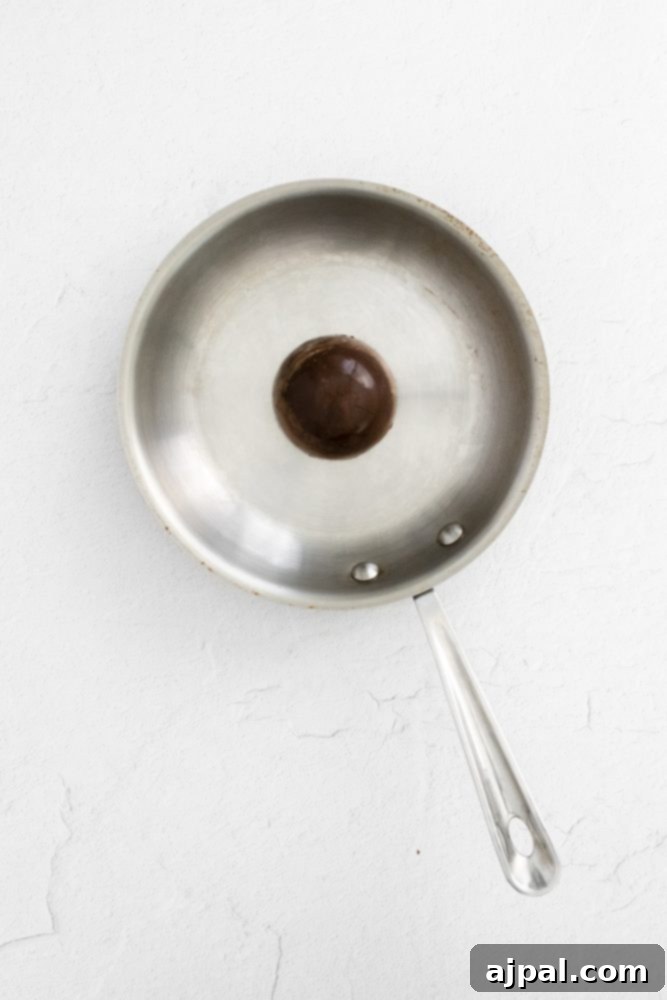
To join the two chocolate halves, gently heat a small pan on your stovetop over low heat until it’s just warm to the touch. Carefully take an empty chocolate hemisphere (the top of a finished bomb) and briefly place its rim onto the warm pan for just a few seconds. This will slightly melt the edge, creating a perfect seal. Quickly remove it and press it onto a filled chocolate hemisphere, twisting gently to bond the two halves together. The warmth from the pan will create a smooth, seamless seal. Work swiftly but carefully to avoid melting the chocolate excessively.
Step 5: Decorate and Prepare for Gifting (Optional)
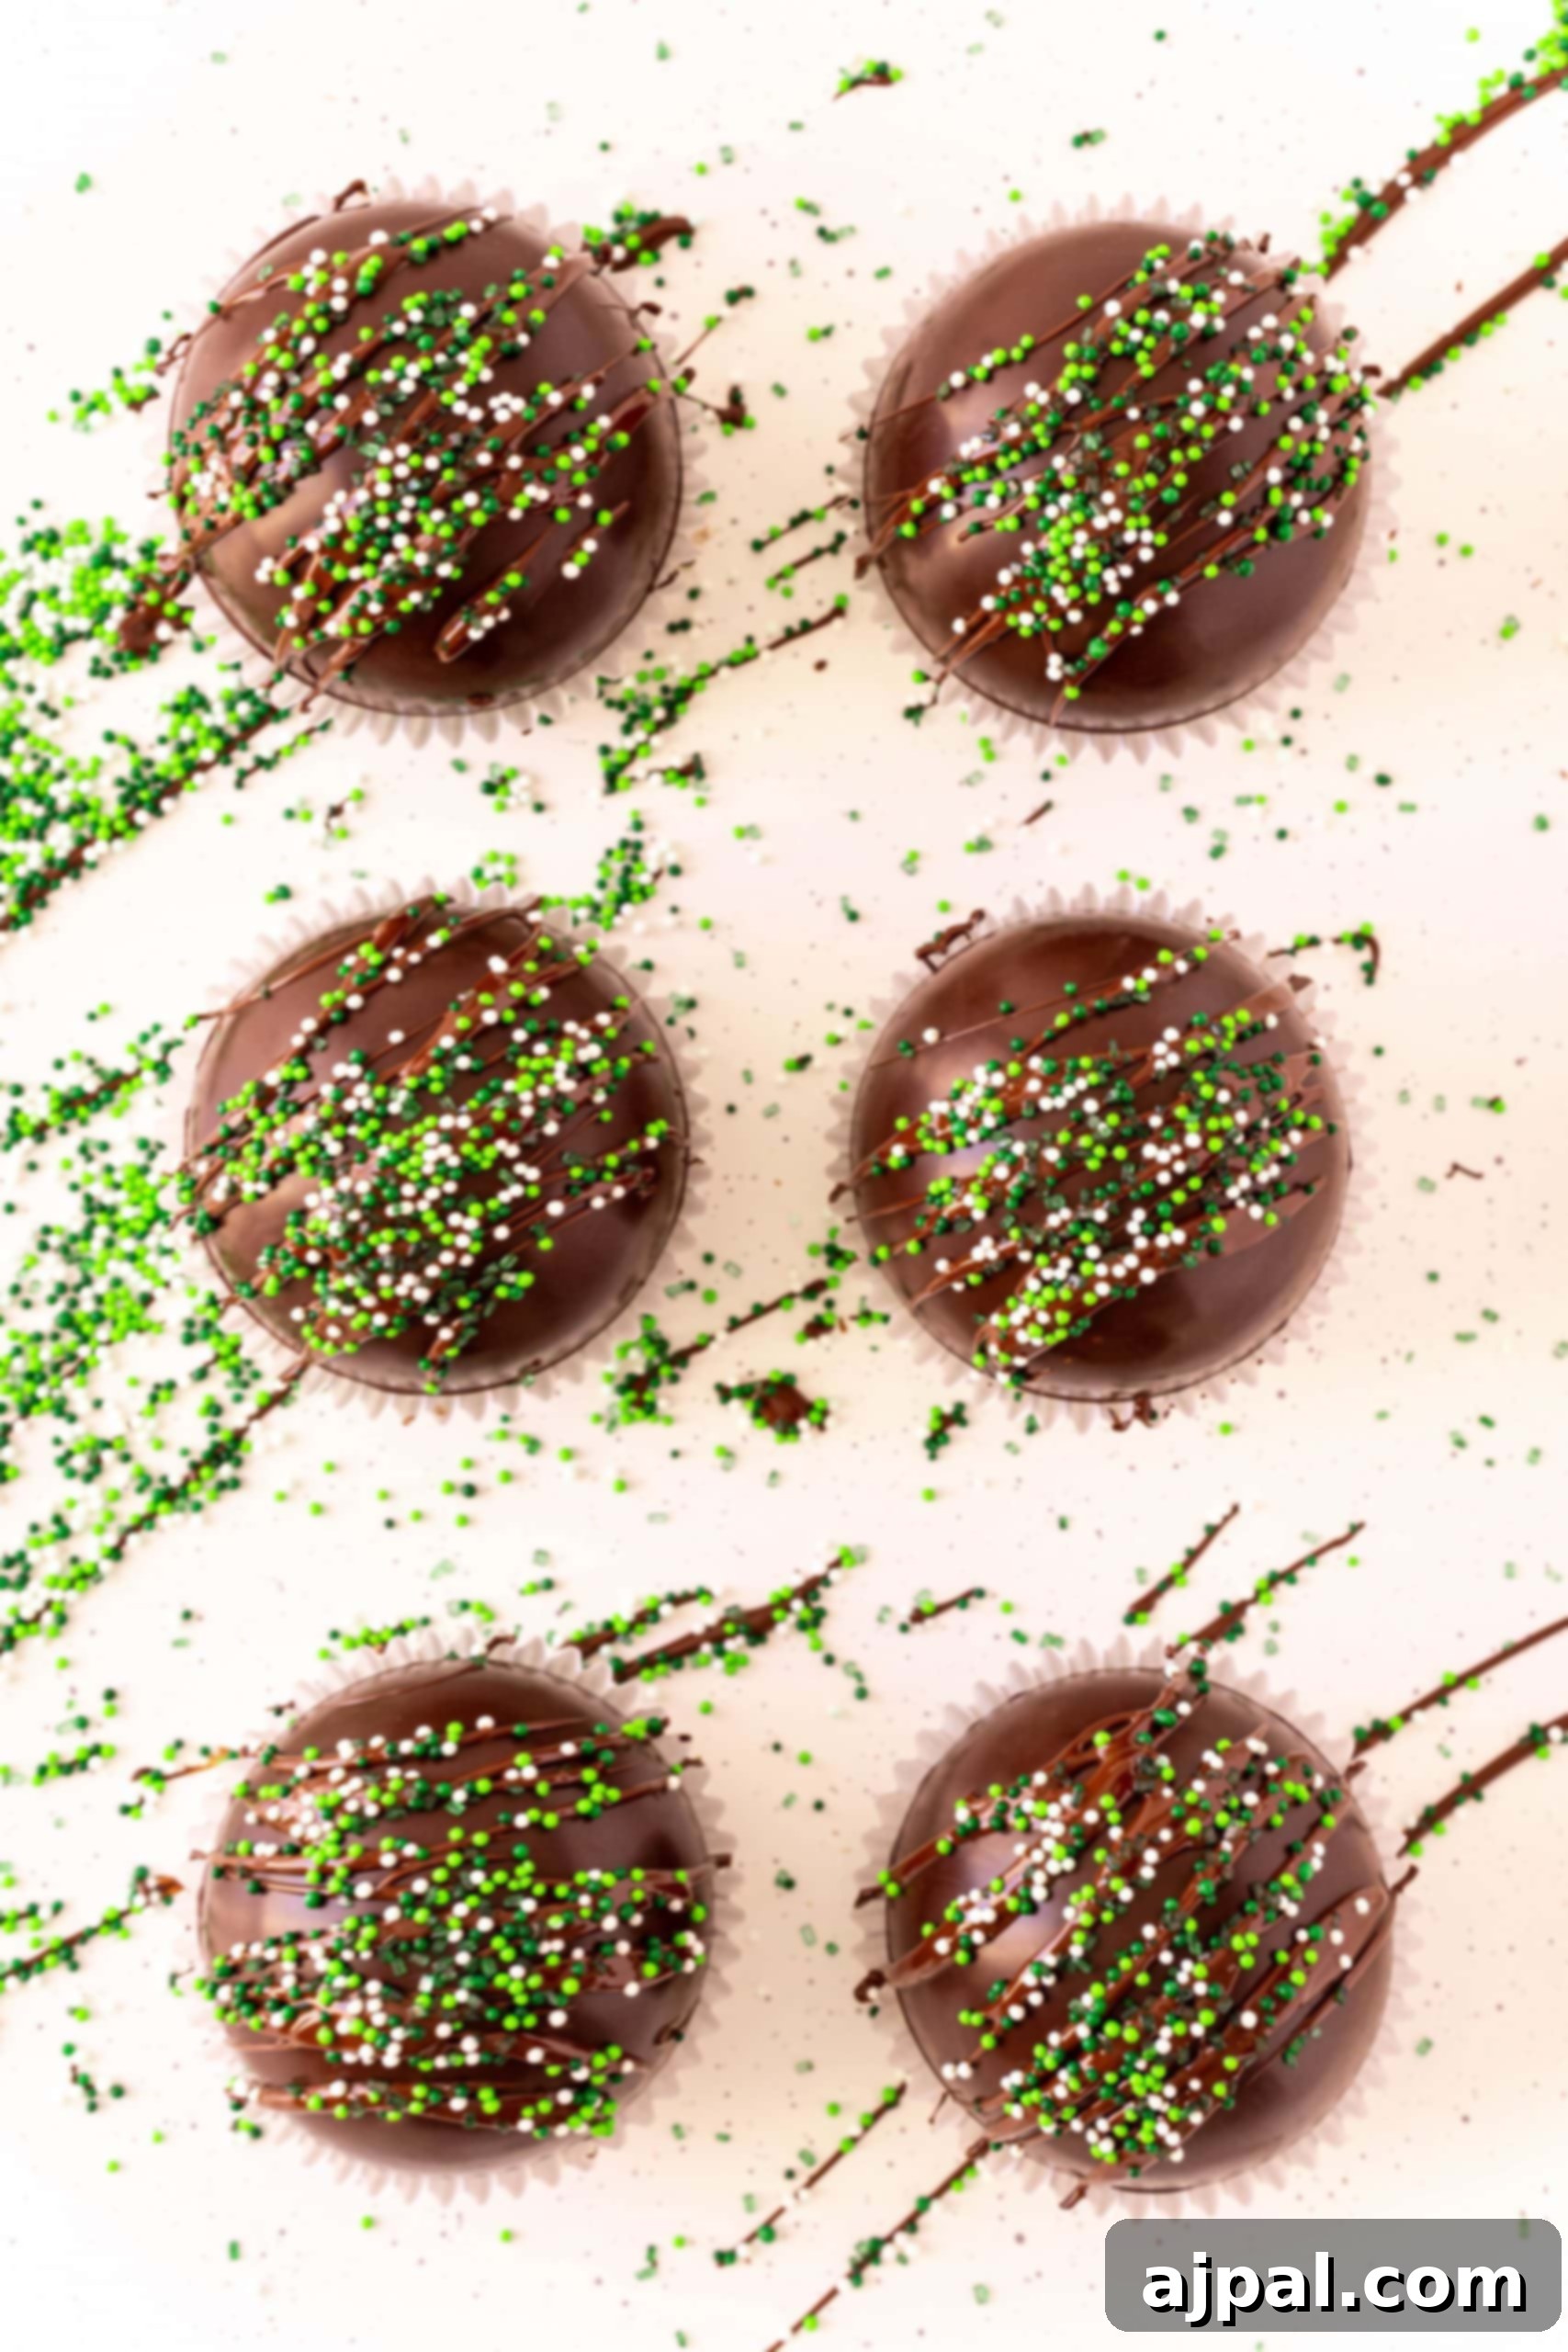
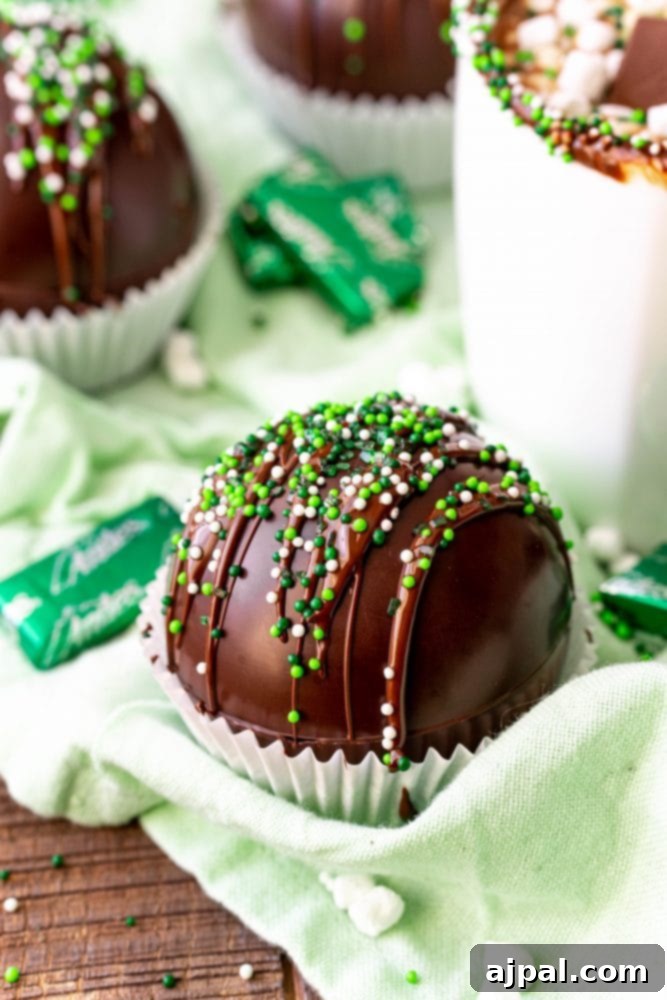
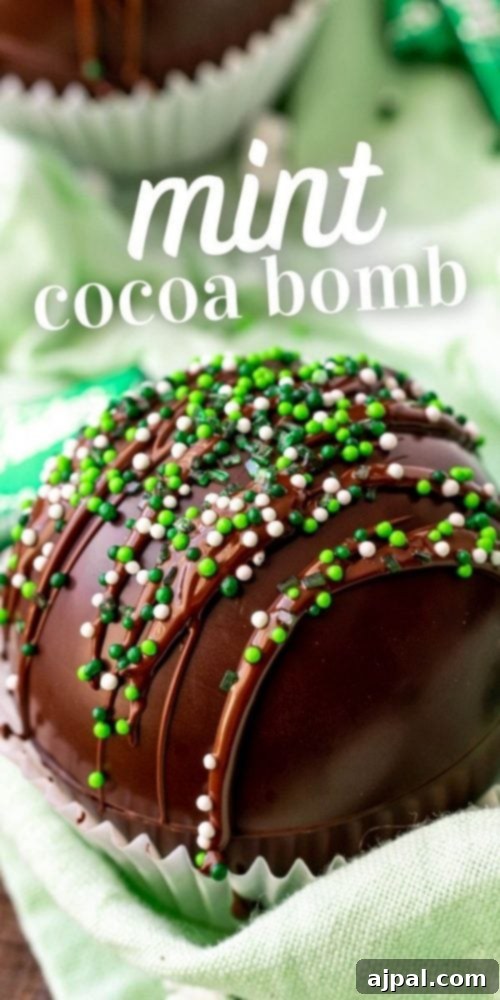
Now for the fun part – decoration! If you have any leftover melted chocolate, reheat it slightly and drizzle it artfully over the sealed mint hot chocolate bombs. While the drizzle is still wet, liberally sprinkle with green sprinkles or any other decorations you prefer. This adds a professional touch and makes them extra appealing. To prevent the bombs from touching and potentially sticking together, place each finished bomb into individual cupcake liners. This also makes them easier to handle and perfect for gifting. Allow the decorations to set completely before storing.
Step 6: Enjoy Your Mint Hot Chocolate Bomb!
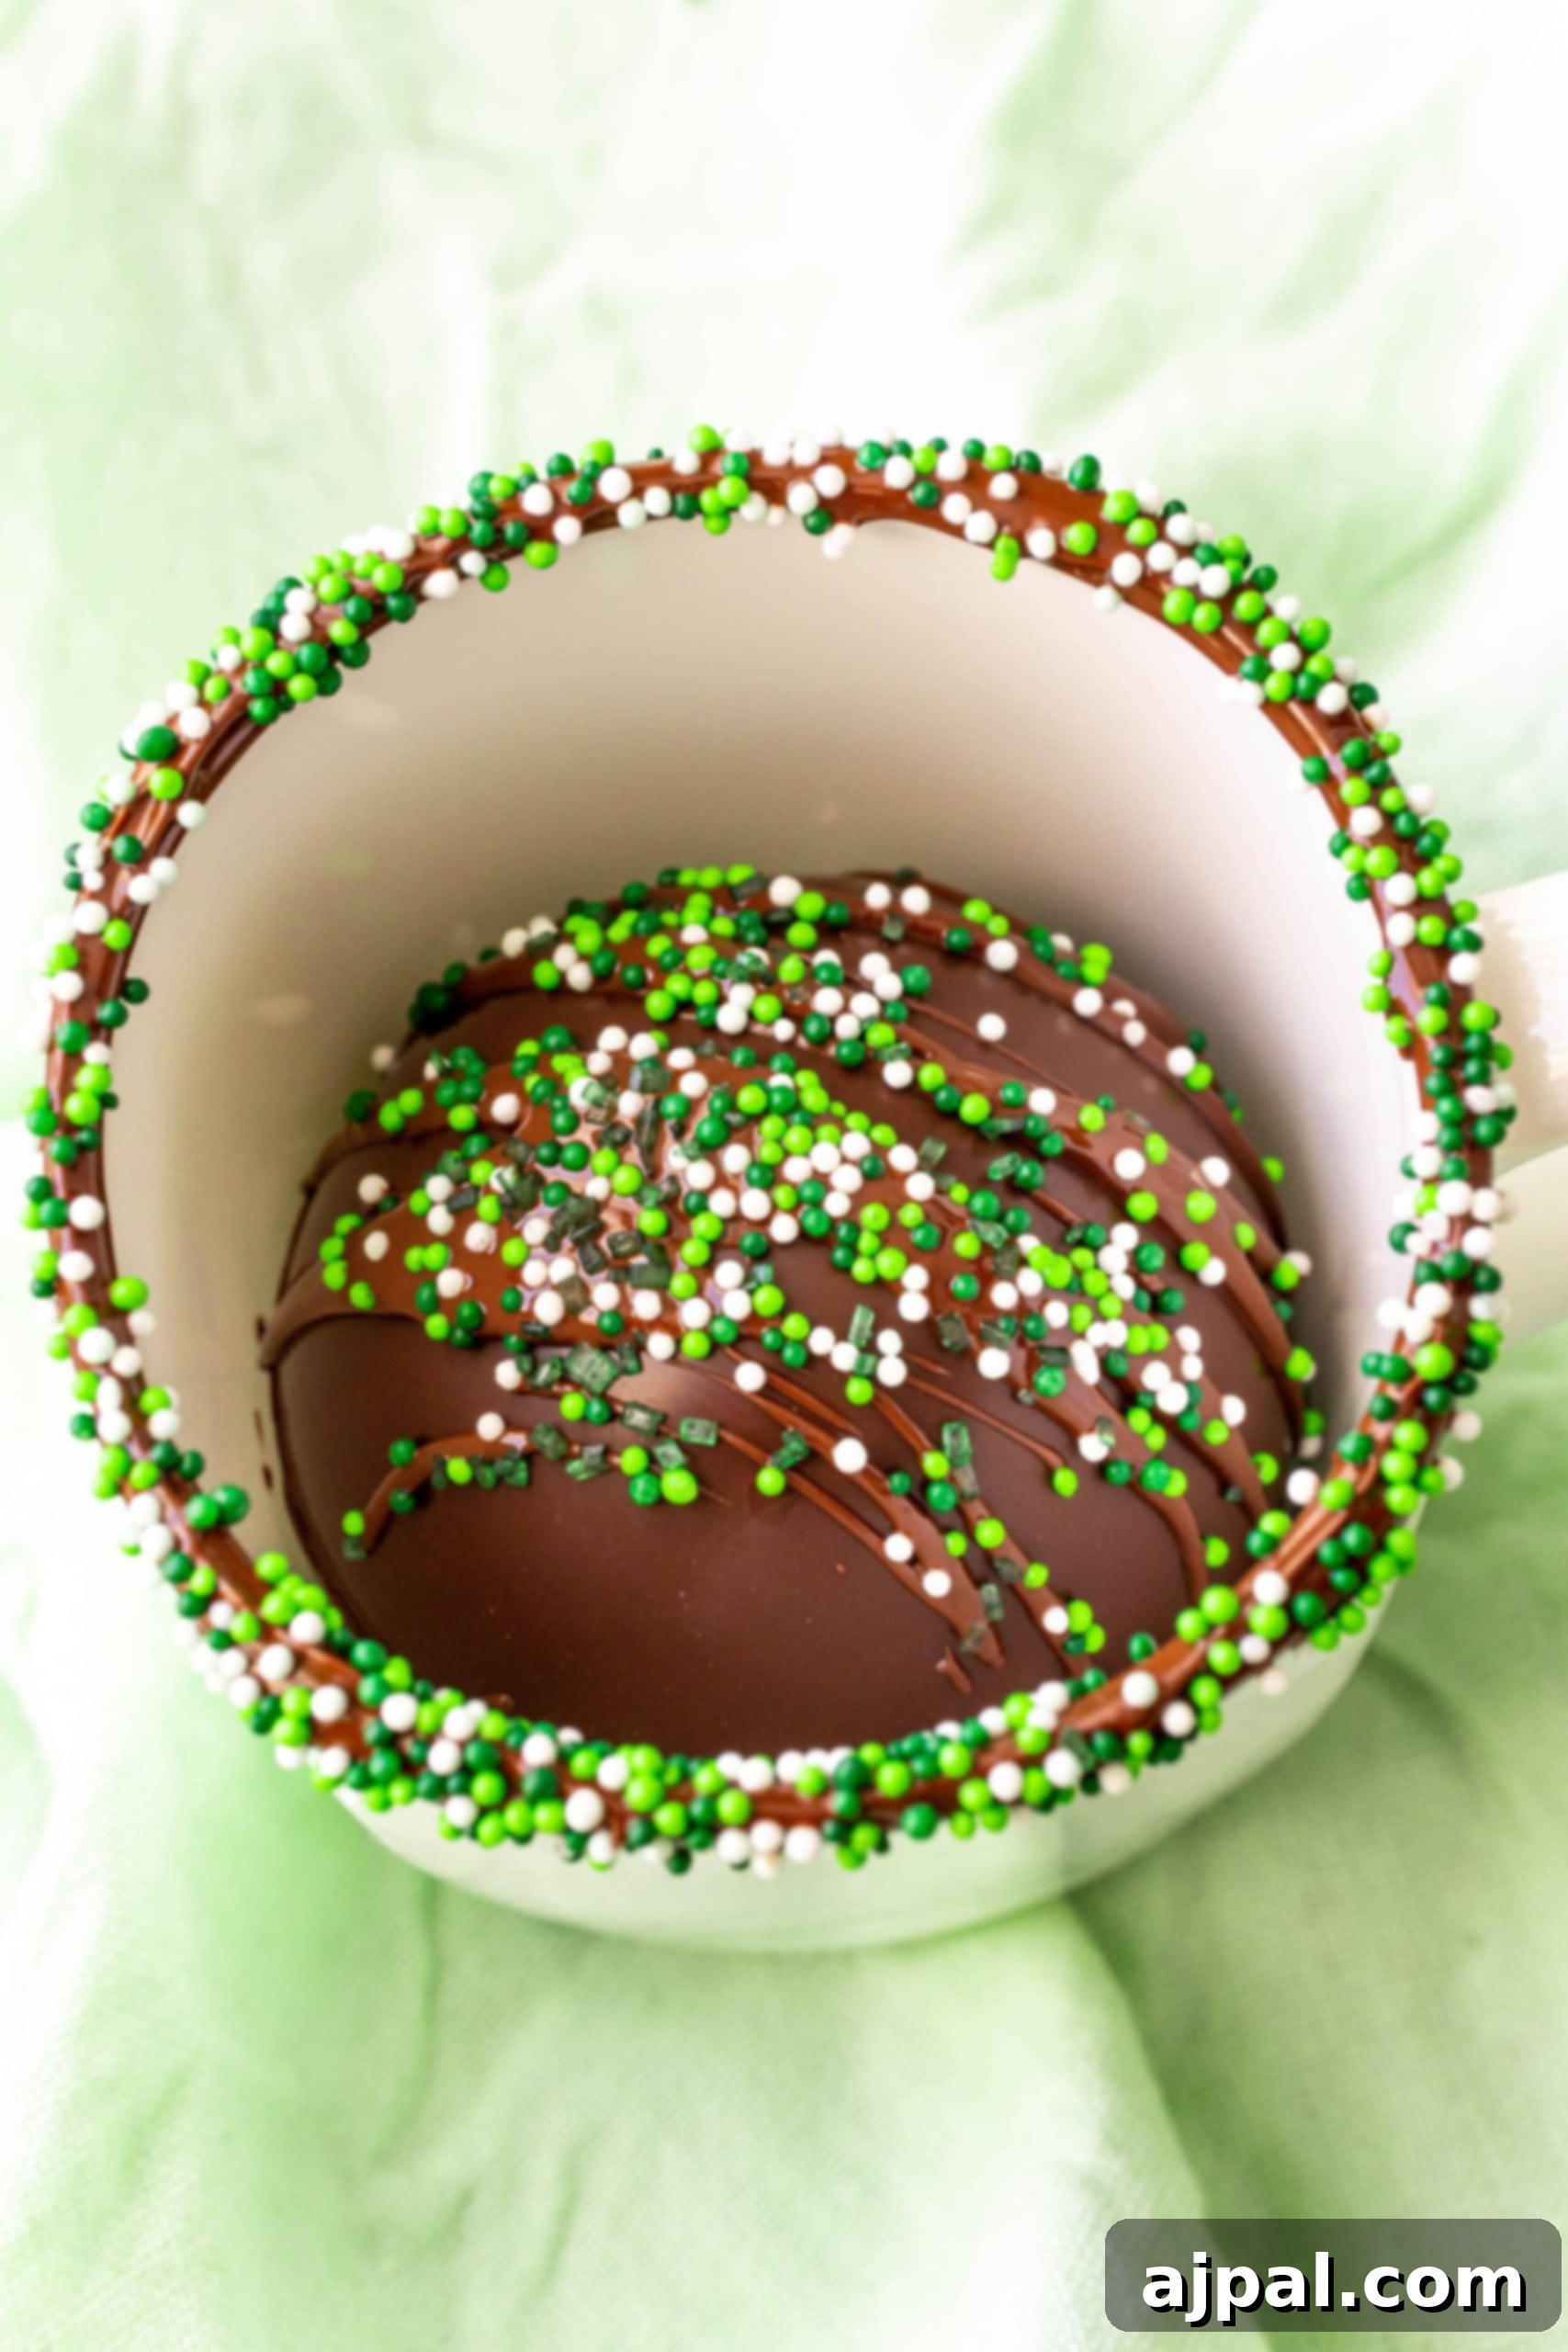
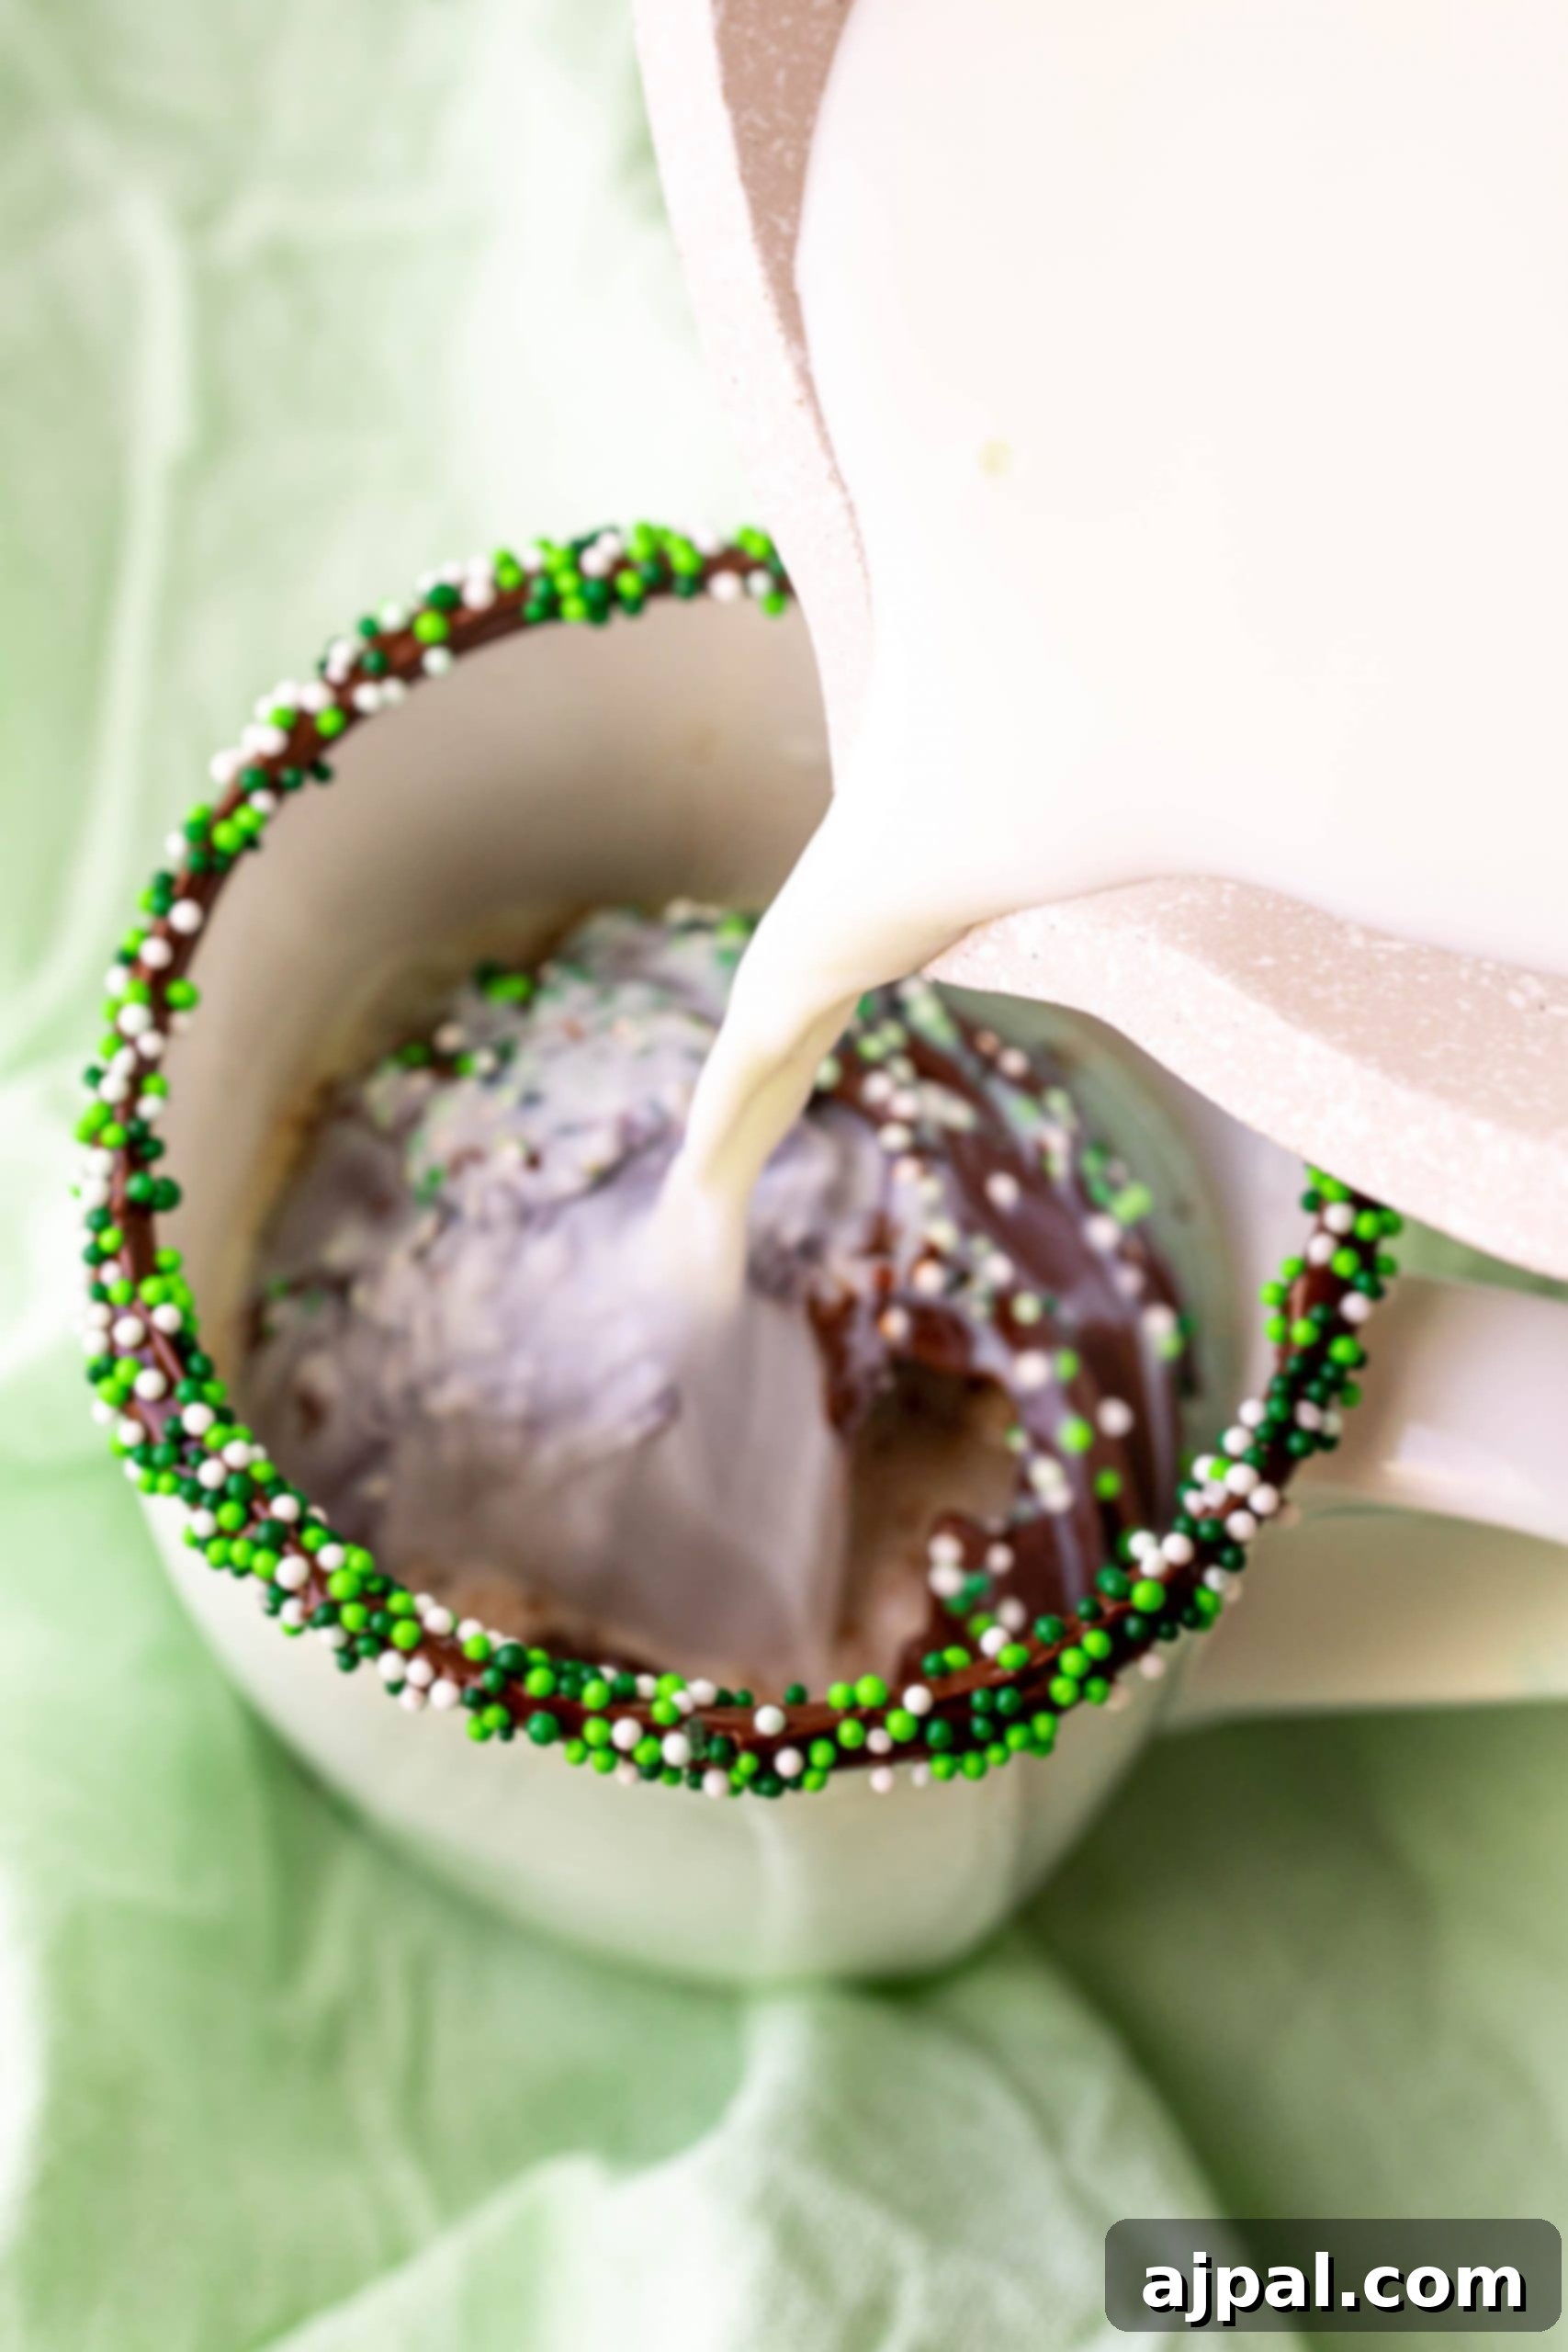
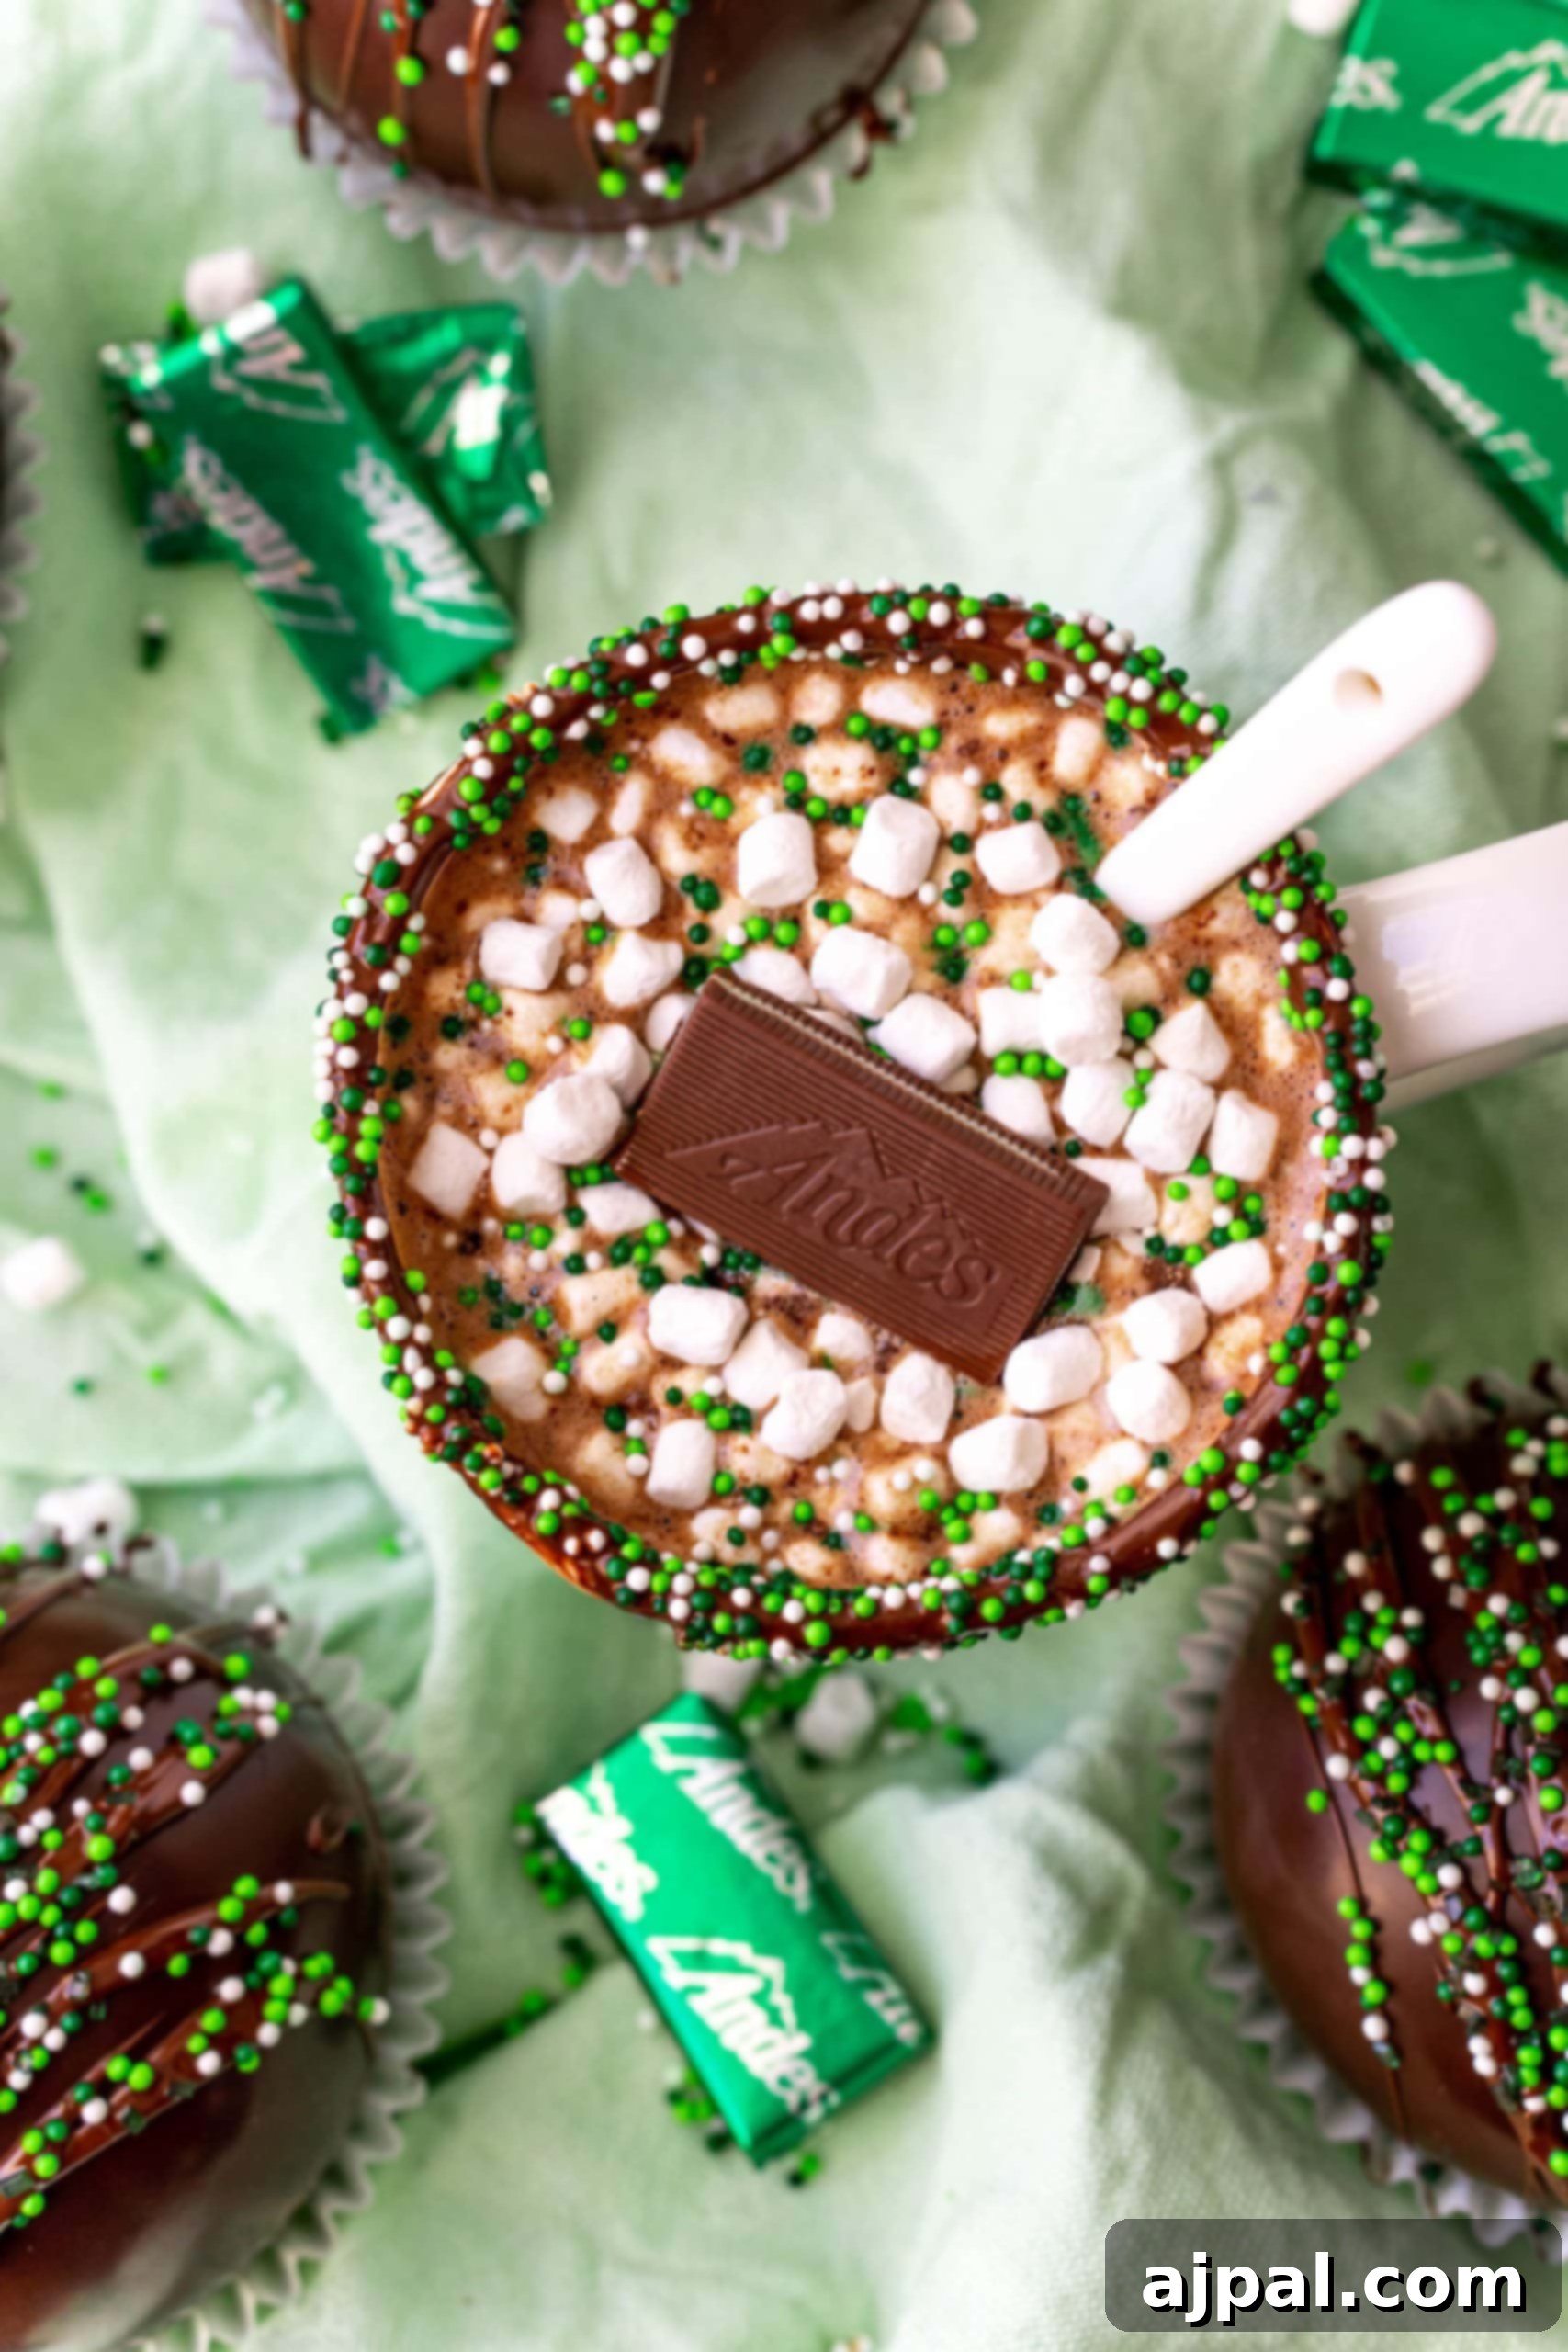
The moment of truth! To prepare your delicious hot chocolate, heat 8 ounces of whole milk per bomb in a small saucepan over medium heat, or in the microwave, until it’s hot and just begins to gently bubble around the edges. Do not let it boil. Place one mint hot chocolate bomb into a large mug. Pour the steaming hot milk directly over the bomb. Watch in anticipation as the chocolate shell melts away, releasing the cocoa mix, marshmallows, and Andes mint into the milk. Stir thoroughly until all the ingredients are fully dissolved and blended, creating a rich, minty hot chocolate. Sip and savor!
Mastering the Art of Chocolate: Tips and Tricks
Working with chocolate can seem daunting, but with a few expert tips, you can achieve professional-looking results every time. Here’s how to ensure your mint hot chocolate bombs are flawless:
Perfecting Your Chocolate Spheres
- Mold Selection and Care: Silicone molds are popular for their flexibility, which makes unmolding easier. However, they can attract lint, so it’s best to rinse them well and let them air dry completely, or gently pat them with a paper towel, before use. Acrylic or polycarbonate molds can also be used, often yielding a super shiny finish due to their rigid, smooth surface, but they require precise tempering to prevent the chocolate from sticking. While this recipe primarily uses silicone molds, the principles of chocolate application remain similar for other types.
- Even Coating is Key: When painting the molds, aim for an even thickness across the entire surface. Pay extra attention to the rim, as this is where your two halves will join. Thicker rims provide a stronger bond and prevent breakage during assembly.
- Gentle Unmolding: Once the chocolate is completely set and firm (it should feel cool and firm to the touch, not sticky), gently push from the bottom of the silicone mold and peel the sides away. Avoid twisting or bending the chocolate itself, as this can cause cracks or breaks.
Tips for Flawless Melted Chocolate
Achieving perfectly smooth, shiny, and stable chocolate is critical for successful hot chocolate bombs. Here are some detailed tips:
- Finely Chop Your Chocolate: If you’re using chocolate bars, ensure they are very finely chopped. Smaller pieces melt more quickly and evenly, reducing the risk of overheating. A food processor or blender can achieve this perfectly. Even chocolate morsels benefit from being as uniform in size as possible.
- The Microwave Method: When using a microwave, always heat in short bursts (30 seconds maximum) and stir thoroughly between each interval. Chocolate continues to melt even after it’s out of the microwave due to residual heat. Overheating will cause it to seize (become thick and clumpy) or burn, making it unusable. If it still has small lumps, continue stirring vigorously; the heat from the melted chocolate will often dissolve them. If not, another 5-second burst should do the trick.
- Double Boiler Method (Alternative): For more controlled melting, consider a double boiler. Place chopped chocolate in a heatproof bowl over a saucepan of simmering water, ensuring the bottom of the bowl does not touch the water. Stir continuously until melted and smooth. This method offers gentler, more consistent heat.
- Temper Your Chocolate for Shine and Snap: Tempering is the process of heating and cooling chocolate to specific temperatures to stabilize the cocoa butter crystals. This gives chocolate a glossy finish, a firm snap when broken, and prevents “blooming” (white streaks) as it sets. While the microwave method in our recipe aims for a basic melt that often yields good results for home cooks, for truly professional shine and stability, proper tempering is recommended. The ideal working temperature for dark chocolate is around 88-91°F (31-33°C), milk chocolate 86-88°F (30-31°C), and white chocolate 82-84°F (28-29°C).
- Accurate Measurement: When using couverture chocolate, a food scale is invaluable for precise measurement, especially if you’re trying to achieve perfect tempering. For baking chocolate bars, they are often marked in half-ounce or one-ounce sections, making measurement a bit simpler.
Testing for Tempered Chocolate (No Thermometer Needed)
If you don’t have a thermometer but want to check if your chocolate is properly tempered for that professional finish, try this simple test: smear a small amount of melted chocolate onto a piece of parchment paper. Place it in the refrigerator for just a few minutes (about 3-5 minutes). If the chocolate sets quickly, looks shiny, and snaps cleanly when you try to break it, then your chocolate is well-tempered. If it remains soft, dull, or bends rather than snaps, it means your chocolate is not tempered, and you might need to adjust your melting process or try a more controlled tempering method.
Frequently Asked Questions (FAQs)
These hot chocolate bombs are best enjoyed within 24 hours of making for optimal freshness and texture. However, they can be stored in an airtight container in a cool, dark place (away from direct sunlight or heat) for up to four days. If properly tempered and stored, they can last even longer, but the flavor of the cocoa mix and marshmallows might slightly diminish.
Absolutely! While the warm pan method creates a beautifully seamless seal, you can also seal a hot cocoa bomb by spooning a small amount of melted chocolate around the rim of a filled half-sphere. Then, carefully place an empty top half-sphere onto the melted chocolate and let it set. You can also use a warmed plate to gently melt the edges of both halves before pressing them together.
For the best results, use a high-quality chocolate with a cocoa content between 55% and 80%. Critically, check the ingredient list to ensure cocoa butter is one of the first ingredients. This indicates a higher quality chocolate that will melt smoothly and give your bombs a luxurious texture and shine. Avoid “baking chips” that are designed to hold their shape, as they often contain less cocoa butter and more stabilizers, which can make them harder to melt smoothly and temper.
Yes, you can certainly use skim milk instead of whole milk to make the hot chocolate. However, be aware that the resulting drink will be less rich and creamy due to the lower fat content. The flavor will still be delicious, but the mouthfeel will be lighter. Dairy-free milk alternatives like almond, oat, or soy milk also work well for a plant-based option, though their flavor profiles will subtly alter the final taste.
While Andes mints are ideal for their melt and flavor, you can experiment with other mint candies like peppermint patties (chopped) or even a few drops of pure peppermint extract mixed with regular hot cocoa powder. Just be sure to use food-grade extracts and adjust the quantity to your taste, as extracts can be very potent.
Once decorated and fully set, store your hot chocolate bombs in an airtight container at room temperature, in a cool, dark place, away from direct sunlight or heat sources. Humidity can cause chocolate to “bloom” (develop white streaks), so avoid storing them in the refrigerator unless your home is particularly warm and humid.
Serving and Gifting Your Hot Chocolate Bombs
These mint hot chocolate bombs are not just a delicious beverage; they are an experience! The act of watching them dissolve is part of the fun. For an extra special touch, serve your finished hot chocolate with a swirl of whipped cream, a dusting of cocoa powder, or a few extra mini marshmallows. A fresh mint leaf or a crushed Andes mint on top can also enhance the presentation and flavor.
As gifts, hot chocolate bombs are incredibly thoughtful and impressive. Package them individually in clear cellophane bags, tied with festive ribbons, or arrange a few in a decorative box. Add a small tag with simple instructions: “Place in a mug, add 8 oz hot milk, stir, and enjoy!” They make perfect stocking stuffers, hostess gifts, or a charming treat for neighbors during the holidays or any special occasion.
Explore More Hot Chocolate Bomb Recipes
If you’ve fallen in love with the magic of these mint hot chocolate bombs, you’ll be thrilled to discover the variety of other flavors you can create! Be sure to check out our Raspberry Hot Chocolate Bombs for a delightful fruity twist, and our indulgent Peanut Butter Hot Cocoa Bombs for a rich, nutty treat. The possibilities are endless when it comes to customizing these delightful drinks!
More Delicious Drink & Dessert Recipes
Simple Eggnog Recipe
The Best Homemade Slow Cooker Hot Chocolate
White Chocolate Lucky Charms Hot Chocolate Bombs
Saint Patricks Day Hot Chocolate Bombs Recipe
Mint Hot Chocolate Bombs Recipe
Peanut Butter Hot Cocoa Bombs Recipe
Raspberry Hot Chocolate Bombs
For even more delightful drink recipes from Sweet C’s, click here!
We hope you thoroughly enjoy creating and savoring these amazing Mint Hot Chocolate Bombs! If you loved this recipe, please consider giving it a five-star rating and leaving a comment below. Your feedback helps us grow and inspires other home cooks. Don’t forget to share your creations on Instagram, Facebook, and Pinterest – tag @sweetcsdesigns so we can see your beautiful bombs!
Share on Facebook
Share
Pin this now to find it later
Pin It
Follow on Instagram
Follow
Discover our visual web story for this recipe for a quick, engaging overview.
Short on time? Sign up for our 30-minute dinner plans and get delicious meal ideas delivered directly to your inbox!
Explore and shop our favorite kitchen products on our Amazon storefront here!
Mint Hot Chocolate Bombs Recipe
Courtney O’Dell
6
1 hr
30 mins
1 hr 30 mins
These amazing mint hot chocolate bombs are the perfect delicious gift around the holidays! They offer a rich, minty chocolate experience that’s both fun to make and delightful to drink.
Equipment
- Cordillera | Milk Chocolate Couverture | Cacao 32% | 2.2 Lb, Pack of 1
- Hot Chocolate Bomb Mold Silicone Semi Sphere 2.5 Inches | 2 Pack 6-Cavity Baking Mold
- Land-O-Lakes Mint Hot Cocoa Mix 15 oz (Pack of 12)
Ingredients
- 12 ounces couverture chocolate morsels or finely chopped high-quality chocolate such as Ghirardelli baking chocolate
- 6 mint hot chocolate mix packets
- 6 Andes mints
- Mini marshmallows
- Sprinkles, optional
- 8 ounces whole milk, per bomb
Instructions
- Heat the chocolate in a microwave-safe bowl uncovered on high for 1 minute. Stir well, then microwave in 30-second increments, stirring in between, until the chocolate is completely melted and smooth (this usually takes 1-2 minutes longer). For a shiny chocolate finish, the temperature should not exceed 90°F (32°C).
- Using the back of a spoon or a silicone brush, paint 1 tablespoon of melted chocolate into each cavity of your silicone molds. Ensure an even coat, especially around the edges.
- Place the molds in the refrigerator for 5 minutes to set. Add another coat of chocolate and let them set in the fridge again. Repeat for a total of 3 coats. Save any remaining melted chocolate for decorating later.
- Allow the chocolate cups to set and cool in the fridge for another 10 minutes to ensure they are completely hardened.
- Meanwhile, in a small bowl, combine the mint hot chocolate mix packets, any crushed Andes mints, and the mini marshmallows.
- Carefully remove the hardened chocolate hemispheres from their molds. Fill half of these hemispheres with the dry hot chocolate mixture. Place one Andes mint on top of the mixture in each filled hemisphere.
- To seal the chocolate bombs, heat a small pan on the stovetop until it’s gently warm (not hot). Take an empty chocolate hemisphere and briefly place its rim on the warm pan for just a few seconds until it slightly melts. Quickly remove it and place it on top of a filled hemisphere, pressing gently to seal the two halves together. Allow them to cool and fully seal.
- Reheat any extra chocolate if needed. Using a piping bag (or a resealable plastic bag with a small corner snipped off), drizzle the melted chocolate over the sealed bombs. Immediately add sprinkles (if desired) before the chocolate sets.
- To serve: Heat 8 ounces of whole milk per chocolate bomb in a saucepan or microwave until steaming hot (just before boiling). Place one chocolate bomb in the bottom of a large mug. Pour the hot milk over the bomb, watch it melt and release its contents, then stir until fully mixed. Enjoy your delicious mint hot chocolate!
Nutrition
Calories: 457kcal
Carbohydrates: 51g
Protein: 9g
Fat: 24g
Saturated Fat: 15g
Polyunsaturated Fat: 7g
Cholesterol: 22mg
Sodium: 115mg
Fiber: 3g
Sugar: 41g
Nutrition information is automatically calculated, so should only be used as an approximation.
Additional Info
Drinks
American