
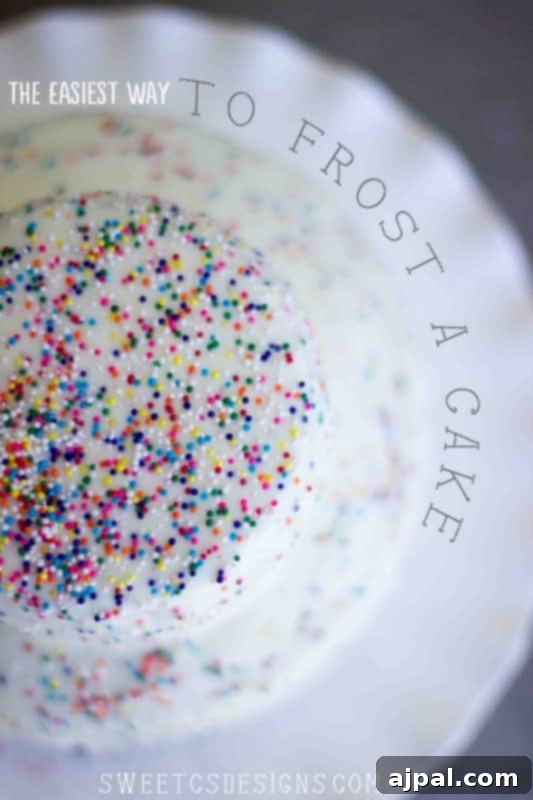
Transform your homemade cakes into stunning, professional-looking masterpieces with the ultimate “easy poured frosting” hack! Discover how to effortlessly melt store-bought canned icing in the microwave and pour it over your cakes, cupcakes, or even petit fours for an unbelievably smooth, faux-fondant finish. This game-changing technique delivers gourmet results in minutes, saving you time and effort without compromising on taste or elegance.
Prepare to revolutionize your baking with a simple, yet incredibly effective, cake decorating method that promises a flawless finish every time. This ingenious hack is so good, you’ll want to save it and share it with every baking enthusiast you know! Imagine achieving a sleek, professional-looking cake in just minutes, all thanks to a can of readily available store-bought icing. No more spending hours on intricate frosting techniques or wrestling with traditional fondant. This method is your secret weapon for quick, beautiful desserts.
For newcomers to the world of effortless baking, and for our loyal followers seeking a refresher, we’re thrilled to re-share one of our most popular and highly-viewed posts. This tip is undeniably one of the best you’ll find online, designed to save you immense time when decorating not just cakes, but also cupcakes, cookies, and elegant petit fours. It simplifies the art of creating smooth, visually appealing confectionery, making it accessible to everyone, regardless of their baking skill level.
Unlocking the Secret to Effortless Cake Decorating
Do you often crave a stunningly beautiful cake, but find yourself short on time? Perhaps you’ve invested in numerous cake decorating classes, only to realize that achieving a truly beautiful cake demands an enormous amount of effort. Or maybe you’ve read about pourable fondant or intricate techniques to smooth icing to mimic fondant, but the thought of executing it before a big event feels daunting. It’s time to put those worries aside and embrace a revolutionary way to frost a smooth-looking cake with a pourable faux-fondant in mere minutes!
We’re excited to share the most incredible trick in the world for achieving a perfectly smooth cake that appears to be covered in poured fondant. The best part? You’ll be using convenient, delicious store-bought icing, allowing you to create stunning desserts in any flavor you desire, with minimal fuss. This technique eliminates the need for complex recipes or specialized equipment, making elegant cake decorating accessible to everyone.
This ingenious method is ideal for creating a professional-looking finish for a wide array of occasions. Whether you’re preparing birthday cakes, elegant baby shower cakes, adorable cake pops, decadent brownie pops, uniquely shaped cakes, delicate petit fours, or even sophisticated wedding cakes, this poured frosting technique will elevate your creations. It provides a flawless, glossy sheen that looks impressively complex but is remarkably simple to achieve, making every dessert feel special.
Essential Supplies for Poured Frosting
To embark on your journey to beautifully frosted cakes, gather these simple items:
- A cooled cake, cupcakes, bundt cake, or cake pops. Ensure your baked goods are completely cool to prevent the frosting from melting too quickly.
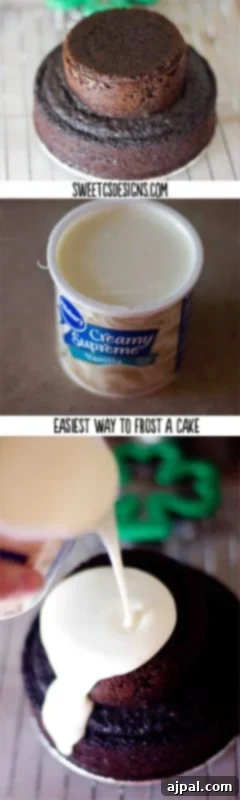
- One can of store-bought icing (a standard 16 oz can is usually sufficient for a single-layer cake; for larger or multi-tiered cakes, plan for two or more). We recommend Pillsbury Creamy Supreme for its excellent flavor and reliable setting properties.
- A microwave for quickly melting the icing.
- A cooling rack to allow excess frosting to drip away evenly.
- A thin, flexible cutting mat or baking sheet to place under the cooling rack, catching any drips for potential reuse or easy cleanup.
- Sprinkles or other decorative elements (optional, but highly encouraged for a festive touch!).
Step-by-Step Guide to Pouring Frosting
- Prepare Your Workstation: Begin by placing your completely cooled cake on a cooling rack. Position this rack over a flexible cutting board, a baking sheet, or parchment paper. This setup is crucial for neatly catching any excess icing that drips off, allowing you to scoop it up and reuse it if desired, or simply making cleanup a breeze.
- Melt the Frosting: Open your can of store-bought icing and transfer it to a microwave-safe bowl. Microwave the frosting in two short 15-second bursts. After each burst, stir the frosting to check its consistency. Your goal is for the icing to be completely melted and pourable, resembling a thick syrup, but not hot. Overheating can cause the icing to become too thin and difficult to work with.
- Achieve the Right Temperature: Once melted, let the liquid frosting sit for a minute or two to cool slightly. It should still be liquid and easily pourable, but you want to eliminate any significant warmth. A slightly cooler temperature helps the frosting set more quickly and evenly on your cake.
- The First Pour: Using a steady, circular motion, begin pouring the melted frosting directly over the center of your cake. Allow it to naturally flow and spread towards the edges. Use approximately one-quarter of the can for this initial layer. Ensure the top and sides are adequately covered.
- Allow to Set: After the first pour, let the cake sit undisturbed for about 10 minutes. This crucial resting period allows the initial layer of frosting to firm up slightly, creating a stable base for subsequent layers and preventing the next pour from immediately running off.
- Second Microwave Burst: While the first layer is setting, microwave the remaining icing for another 15 seconds to maintain its pourable consistency.
- Build a Thicker Layer: Repeat the pouring step, using more of the melted icing. This second application will create a thicker, more even, and wonderfully smooth layer, enhancing the faux-fondant appearance.
- Optional Third Layer: If you desire an even more opaque or robust coating, you can repeat the microwaving and pouring steps one more time after the second layer has cooled and set for a few minutes.
- Final Transfer: Once the frosting on your cake has fully set and is firm to the touch, carefully slide it off the cooling rack and onto your desired clean cake plate or serving stand.
- Decorate and Enjoy: Now comes the fun part! Decorate your beautifully frosted cake with sprinkles, small fondant shapes, edible glitter, or any other embellishments you wish. The smooth surface provides a perfect canvas for your creative touches.
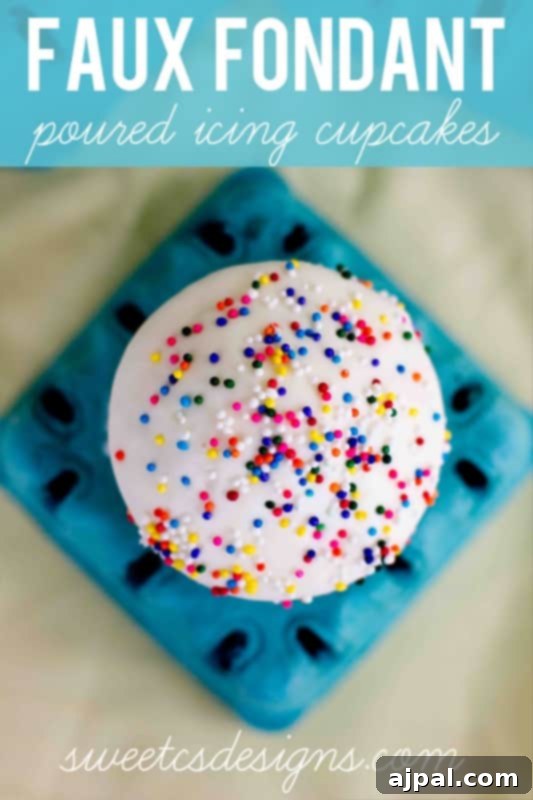
Enjoy your effortlessly elegant cake! For a slightly tweaked version of this technique to achieve picture-perfect faux-fondant poured icing cupcakes every time, please check out this dedicated post, which offers tailored tips for smaller treats.
If you’re interested in making your own pourable icing from scratch, we have you covered! Visit this new post for a fantastic homemade recipe that can also be used with this pouring technique.
Troubleshooting Common Poured Frosting Issues
Even with the simplest techniques, a few challenges can arise. Here are some quick tips and tricks to help you navigate any bumps along the way:
- Lumpy Cake Surface: If your cake has an uneven or lumpy appearance after the first pour, don’t despair! Take a knife or an offset spatula and gently smooth the cooled icing. Then, proceed with adding a second, thin layer of slightly warm icing over the cake. The fresh layer will help mask imperfections and create a smoother canvas.
- Icing Running Off Too Much: If your frosting seems to be running off the cake excessively, it’s likely too warm. Allow the melted icing to sit for an extra minute or two to cool further before pouring. A slightly thicker, cooler consistency will adhere better.
- When All Else Fails: Sometimes, things don’t go perfectly, and that’s perfectly fine! Embrace the situation by generously sprinkling your cake with colorful sprinkles. Sprinkles are an instant beauty booster for cakes and are always a hit, especially with kids. They can artfully disguise minor imperfections and add a festive touch.
- Timing for Decorations: Patience is key when adding sprinkles or other decorations. Wait a couple of minutes after your final pour for the frosting to begin setting, but before it’s completely firm. If you add them too early, like in the photo below where some sprinkles sank, they might disappear into the still-liquid frosting. A partially set surface will allow them to adhere perfectly.
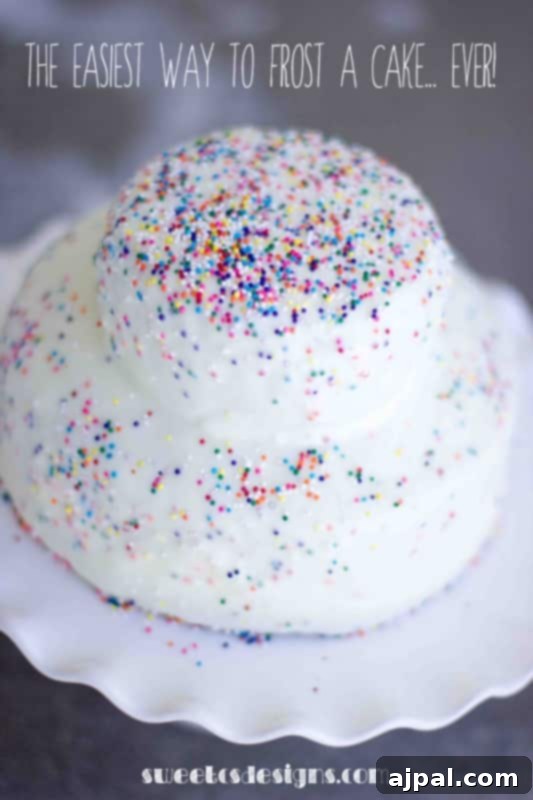
Achieving a Silky Smooth Poured Frosting Finish
The beauty of this poured frosting technique lies in its ability to mimic the pristine finish of traditional fondant, but with the delicious taste of buttercream. If, after pouring and setting, you notice any minor lumpy areas, you can further refine the surface. Gently take a paper towel or a piece of parchment paper and softly rub it across the cooled, firm frosting. This light buffing action can help eliminate small imperfections, creating an even more polished, fondant-like smooth look. Think of it as polishing your cake to a perfect shine.
This technique makes the icing incredibly spreadable and self-leveling, much like the delicate glaze on petit fours. For truly perfect results, it’s always beneficial to ensure your cake itself is as level and free of major lumps as possible before you begin frosting. While the poured icing does a fantastic job of masking minor flaws, starting with a well-prepared cake will always yield the most exceptional finish. This method allows you to focus on the fun part – decorating – rather than battling with difficult frosting applications.
FAQs About Easy Poured Frosting
- Can I use any brand of canned frosting? Most creamy canned frostings will work well. We’ve found Pillsbury Creamy Supreme to be particularly effective due to its consistency and setting quality. Avoid gel or whipped frostings as they may not melt or set correctly.
- How long does it take for the frosting to set? The setting time can vary based on the temperature of your kitchen and the thickness of the frosting layers. Generally, each layer will set in about 10-15 minutes, with full firmness achieved after 30-60 minutes. Chilling the cake briefly can speed up the process.
- Can I store leftover melted frosting? Yes, you can. Allow any leftover melted frosting to cool and solidify in an airtight container at room temperature. When you’re ready to use it again, simply microwave it in short bursts until it reaches a pourable consistency once more.
- Does it really taste like fondant? No, and that’s the beauty of it! This technique gives you the smooth, polished appearance of fondant but with the familiar and delicious taste of your favorite store-bought buttercream frosting. It’s the best of both worlds.
- Can I color the frosting? Absolutely! You can add gel food coloring to your canned frosting before microwaving it. Stir thoroughly until you achieve your desired hue. This is a fantastic way to customize your cake for any theme or celebration.
- What kind of cakes work best? This method is perfect for any cake that can sit on a cooling rack, especially those with relatively flat tops and sides. Single-layer cakes, bundt cakes, and even simple sheet cakes can be beautifully transformed.
Easy Poured Frosting Recipe
If you love this easy cake decorating idea, be sure to rate it five stars and help me share it on Facebook and Pinterest! Your support helps us bring more fantastic tips and tricks to fellow bakers.
Only have 30 minutes to get dinner on the table? Sign up for my 30-minute dinner plans direct to your inbox!
Find and shop my favorite products in my Amazon storefront here!
Easy Poured Frosting Recipe
Ingredients
- 1 box cake mix, baked to package directions
- 1 16 oz can store bought icing
- ¼ cup sprinkles
Instructions
-
First, ensure your cake is completely cool and place it on a cookie rack over a flexible cutting board to catch drips.
-
Microwave the canned frosting in a microwave-safe bowl for two 15-second bursts, stirring between each, until completely melted but not hot.
-
Let the melted frosting cool for a minute or two until it’s liquid but no longer warm.
-
In a circular motion, pour about 1/4 of the icing over the cake, covering it evenly. Let it sit and firm up for about 10 minutes.
-
Microwave the remaining icing again for 15 seconds to keep it pourable.
-
Repeat the pouring step to create a thicker, more even layer. Repeat once more if needed after the layer has cooled slightly.
-
Once the frosting has fully set, carefully slide the cake off the cooling rack onto a clean cake plate.
-
Decorate with sprinkles, fondant shapes, or other desired embellishments.
-
Enjoy your beautifully frosted cake!
Nutrition
Nutrition information is automatically calculated, so should only be used as an approximation.