
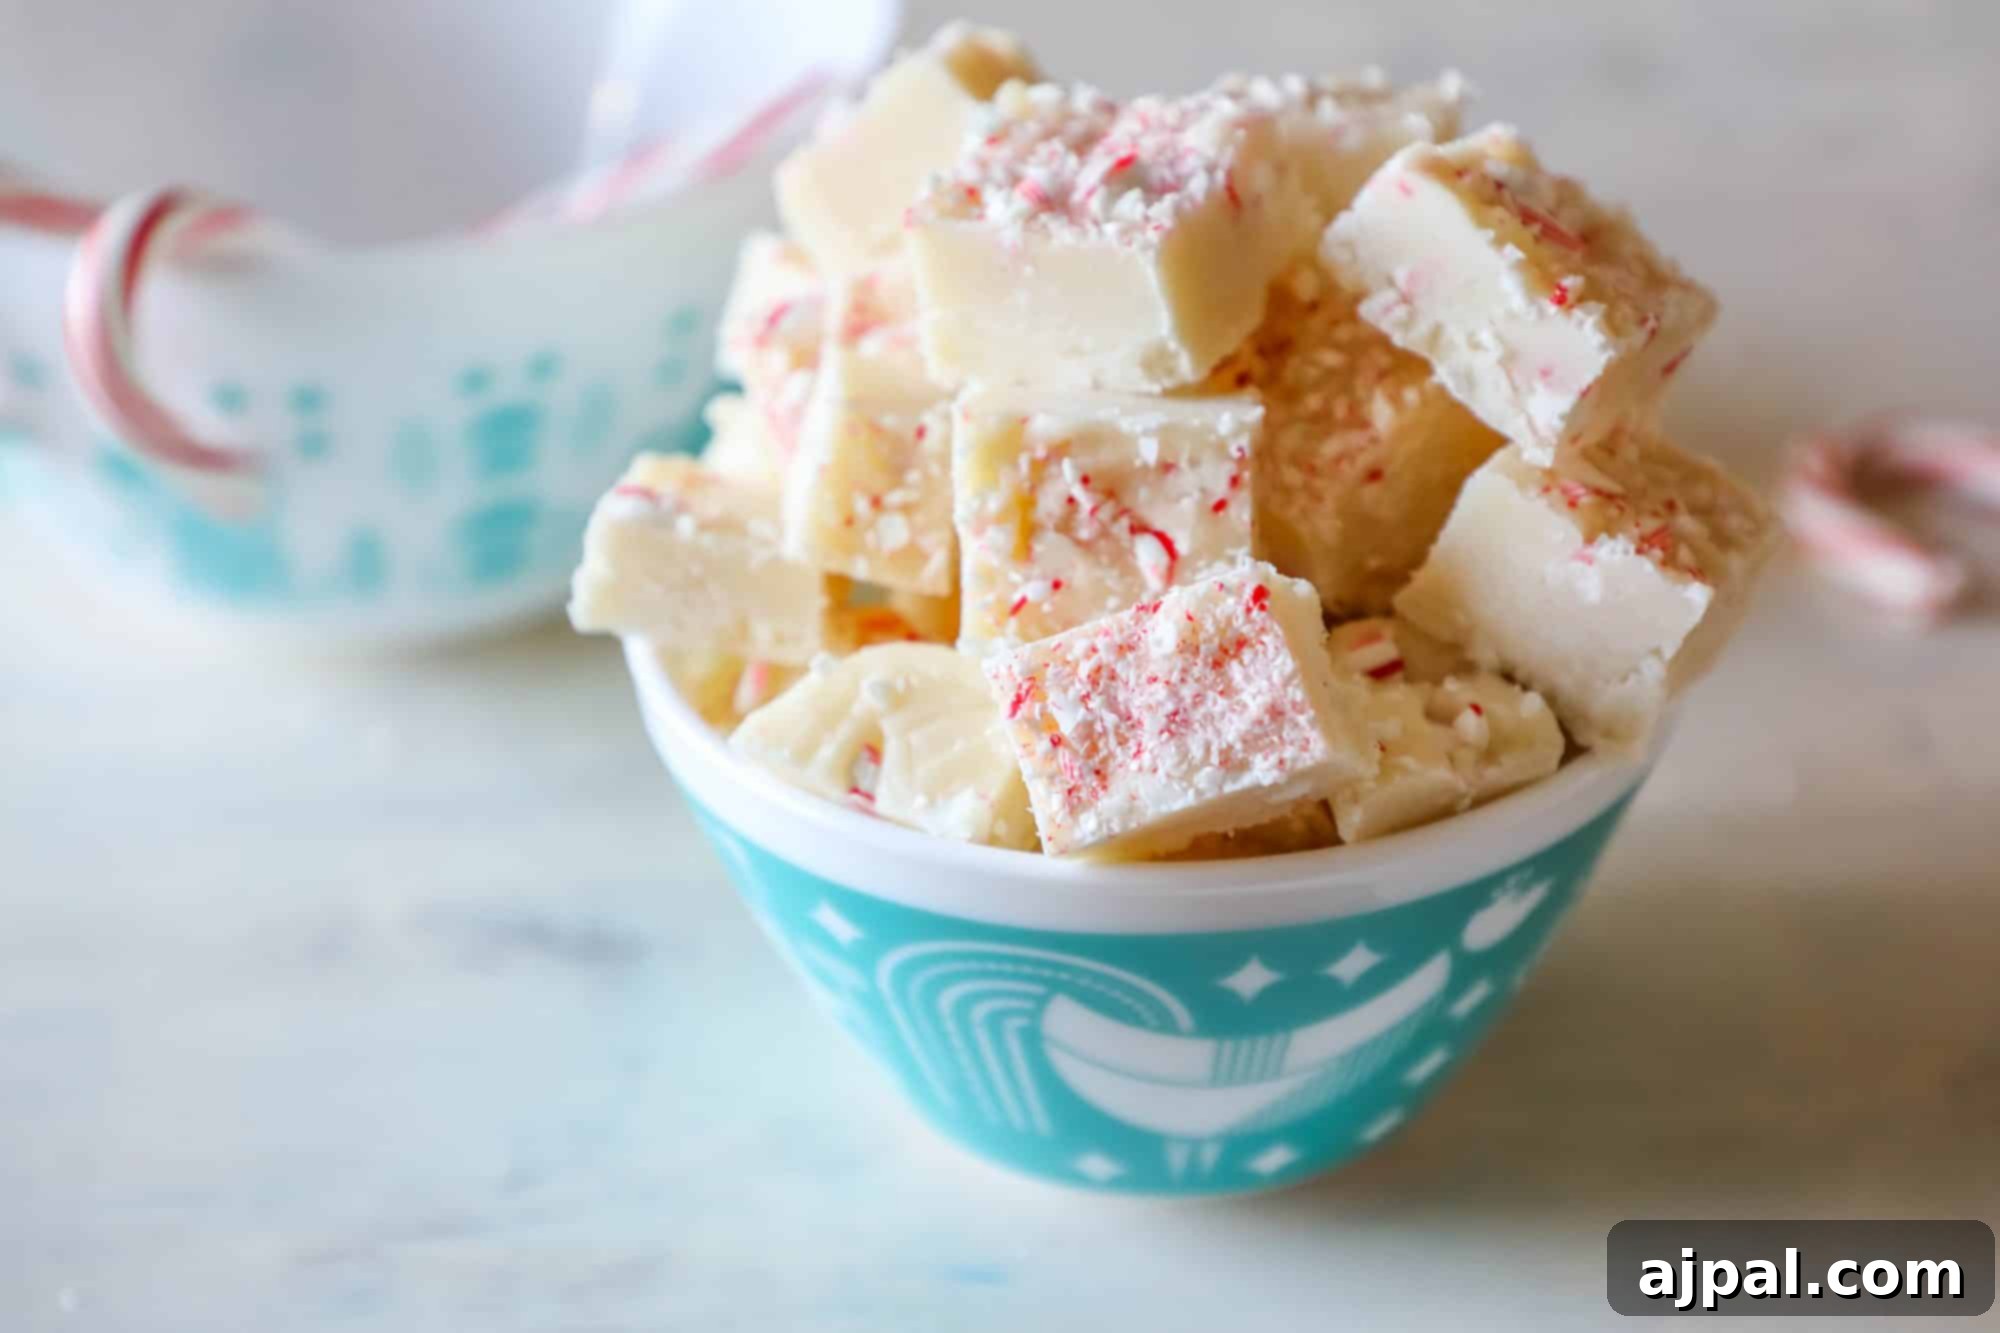
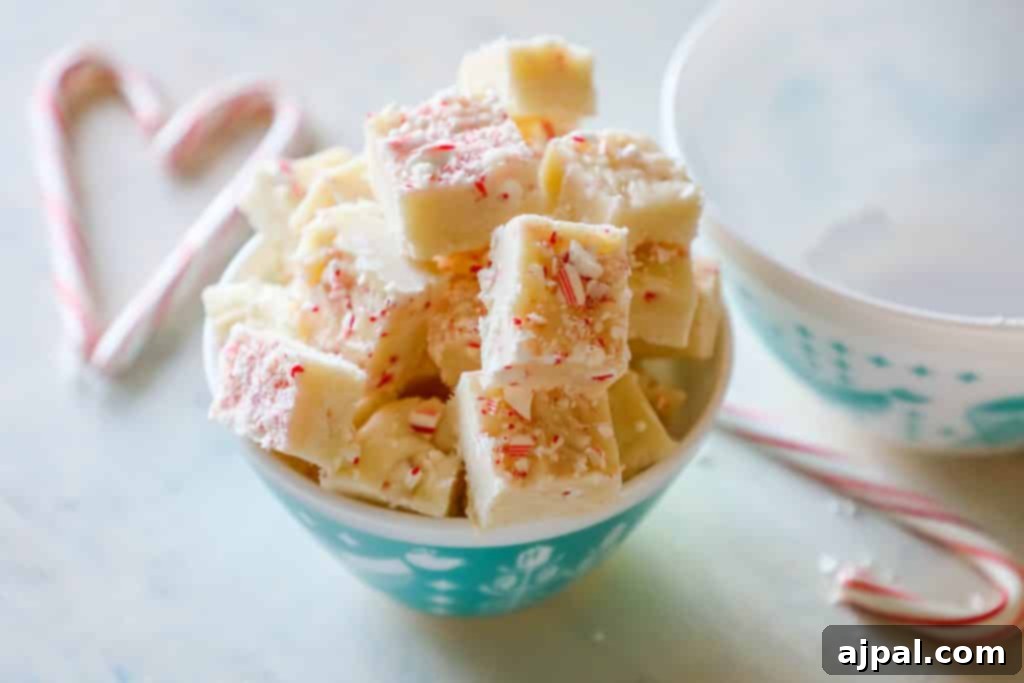
Delight your taste buds this holiday season with the ultimate effortless treat: Cake Batter Candy Cane Microwave Fudge! This incredibly simple, lusciously delicious, and utterly satisfying no-cook fudge is brimming with festive cheer, requiring only minutes of preparation to bring a burst of peppermint and cake batter flavor to your celebrations. Perfect for holiday parties, thoughtful homemade gifts, or simply a sweet indulgence, this fudge promises to be a standout star, captivating everyone with its whimsical charm and irresistible taste.
As November ushers in the crisp, enchanting air of the approaching holiday season, I find myself brimming with excitement, eager to dive into the annual traditions of festive cooking, decorating, and creating cherished memories with my family. The holidays, for many, are a whirlwind of joyful activity, and for me, it’s a time to truly embrace the spirit of giving and togetherness. Knowing that December often brings travel to enchanting European Christmas markets, I make it a point to prepare as much as possible in advance, ensuring that the magic of the season isn’t overshadowed by last-minute stress.
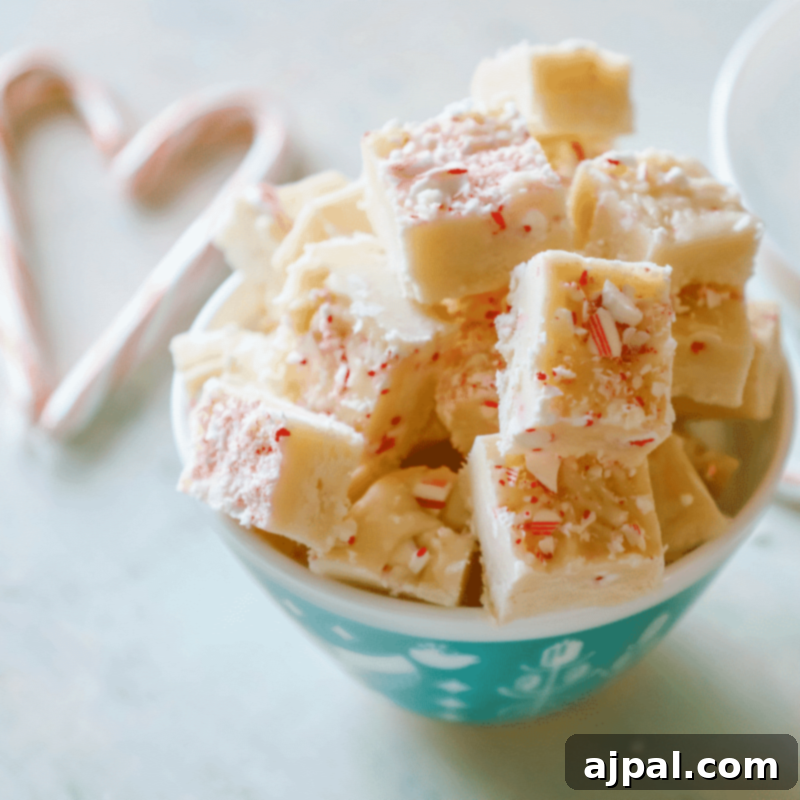
This is precisely where our spectacular Candy Cane Cake Batter Fudge steps into the spotlight. It’s not just a recipe; it’s a brilliant holiday hack, offering a perfect solution for those seeking pre-made Christmas gifts that radiate thoughtfulness and homemade charm. Imagine delightful packages of this vibrant, peppermint-infused fudge, ready to be presented to teachers, neighbors, friends, and loved ones. The best part? All you need is a microwave, and with my expert tips and tricks, you can create and store this divine fudge well in advance, preserving its fresh, melt-in-your-mouth taste for all your holiday gifting needs.
Fudge holds a special place in my heart as a holiday staple. Its versatility, ease of creation, and undeniable appeal make it an ideal choice for both gifting and entertaining. There’s something inherently joyful about a tray piled high with beautifully cut pieces of homemade fudge, adding a touch of whimsical delight to any festive spread. This particular fudge, with its vibrant colors and irresistible cake batter flavor, is more than just a sweet treat; it’s a conversation starter, a centerpiece, and undeniably, the standout star of any holiday gathering. Its rich, creamy texture combined with the festive crunch of candy canes creates a symphony of flavors that is both comforting and exhilarating, proving that incredible taste doesn’t have to come with complicated preparations.
Quick Access: Your Cake Batter Candy Cane Microwave Fudge Recipe Awaits!
Craving the simple indulgence of this Candy Cane Cake Batter Fudge right away? If you’re eager to skip straight to the preparation steps and gather your ingredients, simply scroll down to the bottom of this page, just above the comments section. There, you’ll find the complete, easy-to-follow recipe, designed for quick reference and printing. For those who appreciate detailed insights, storage advice, and expert tips to ensure your fudge is perfect every time, I encourage you to continue reading. I’ve packed this guide with everything you need to master this delightful holiday dessert.
Mastering Fudge Storage: Keep Your Treats Fresh for Longer
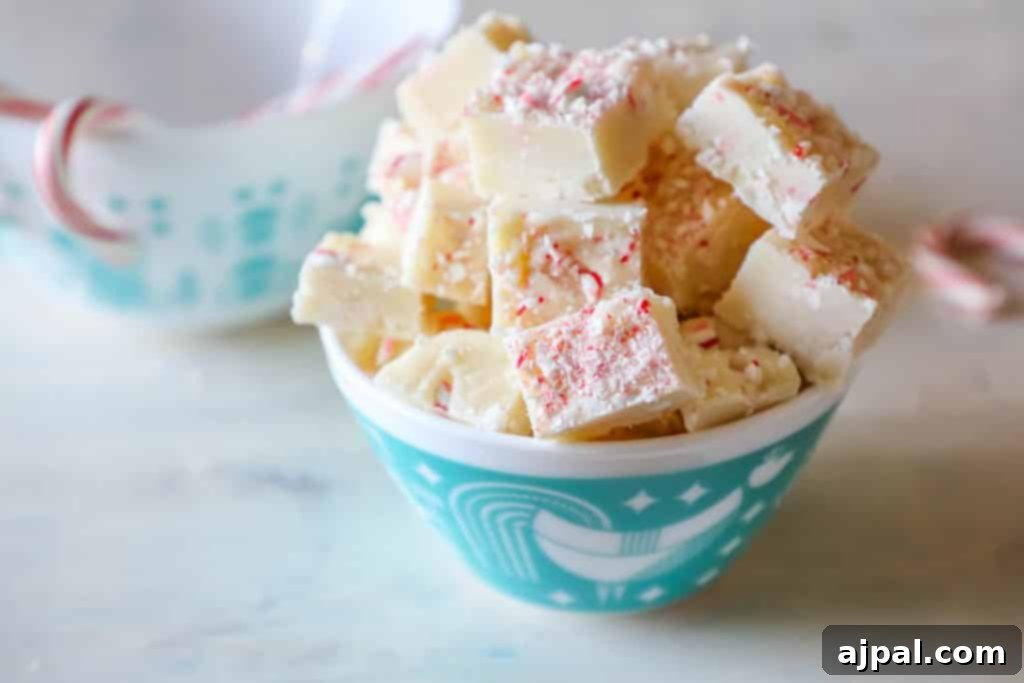
One of the most appealing aspects of this Candy Cane Cake Batter Fudge is its suitability for make-ahead preparation, especially for holiday gifting. To ensure your delicious creation remains as fresh and delectable as the day it was made, proper storage is crucial. Follow these expert tips for optimal fudge preservation:
- Freezing for Extended Freshness: If you’re preparing your fudge well in advance of the holidays, the freezer is your best friend. Keep the fudge in one large, unsliced sheet within an airtight freezer-safe bag. This prevents individual pieces from drying out and helps maintain moisture. Ensure all excess air is pushed out of the bag before sealing. Fudge can be stored this way for up to three months, making it an excellent option for proactive holiday bakers.
- Double Bagging for Protection: To provide an extra layer of defense against freezer burn, I highly recommend placing your tightly sealed bag of fudge inside a second, larger freezer bag. This additional barrier significantly reduces the risk of ice crystals forming and compromising the fudge’s texture and flavor, ensuring it tastes freshly made when thawed.
- Slice Just Before Serving or Gifting: Resist the urge to cut your fudge into individual squares until you are ready to present it or serve it. Keeping the fudge in a large block minimizes its exposed surface area, which is key to preventing it from drying out prematurely and losing its signature creamy texture.
- Short-Term Storage: For uneaten fudge that you plan to enjoy within a week, an airtight container stored in a cool, dry place is ideal. If you need to extend its freshness for up to two weeks, simply transfer the airtight container to the refrigerator. Always ensure the container is truly airtight to prevent any moisture loss or absorption of other food odors.
What Exactly is Cake Batter Fudge? The Secret to Effortless Sweetness
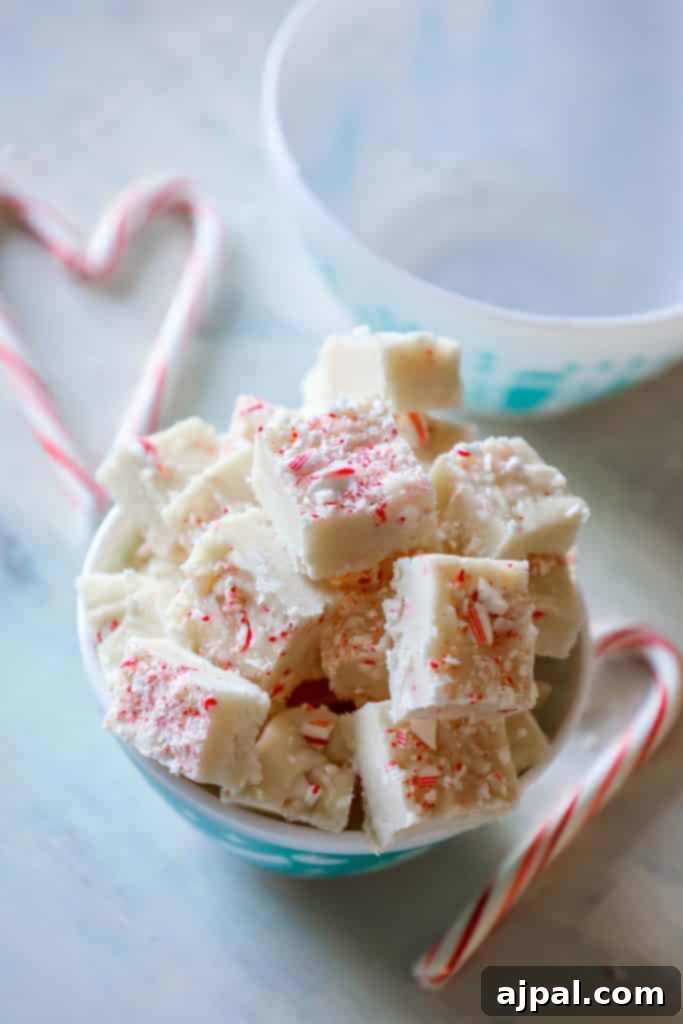
Cake batter fudge is truly a revelation in the world of easy desserts, and it’s quickly become one of my all-time favorite go-to recipes, especially when time is of the essence. At its core, cake batter fudge ingeniously sidesteps the traditional, often tedious, process of boiling fudge to precise temperatures. Instead, it leverages the convenience and delightful flavor profile of a boxed cake mix to form the base of the fudge. This innovative approach means your fudge will carry the beloved, nostalgic taste of raw cake batter – a flavor many find utterly irresistible!
This brilliant trick transforms what can often be a complex confectionery into a remarkably fast and straightforward treat. Forget the candy thermometers, constant stirring, and the anxiety of reaching the “soft ball” stage. With cake batter fudge, the process is streamlined: simply combine your ingredients, give them a quick melt and stir in the microwave, and then let it cool. It really is that simple. The boxed cake mix acts as a thickening agent and flavor base, eliminating much of the fuss associated with traditional fudge making, delivering a creamy, flavorful result every single time.
The beauty of using cake mix isn’t just in its simplicity; it also allows for incredible flavor customization. While we’re focusing on a festive white cake mix with candy canes here, the possibilities are endless for other variations. This method opens up a world of quick dessert creations, making you a kitchen hero with minimal effort. It’s perfect for busy schedules, impromptu cravings, or when you need a crowd-plepleasing dessert without the extensive time commitment. The unique, playful flavor of cake batter combined with the ease of preparation makes this fudge a true game-changer for home bakers.

Achieving Perfection: How to Cut Fudge into Flawless Squares
Cutting fudge into neat, uniform squares can sometimes feel like a challenge, but with the right technique, it’s incredibly easy to achieve professional-looking results. Whether you’re preparing your Candy Cane Cake Batter Fudge for a party platter or for individually wrapped gifts, these handy tips will ensure every piece is a perfect bite-sized masterpiece:
- Embrace Complete Cooling: This is arguably the most crucial step. Attempting to cut warm or even slightly soft fudge will inevitably lead to uneven, messy pieces. For the cleanest cuts, ensure your fudge is thoroughly chilled and firm. This typically means allowing it to set for at least 2 hours in the refrigerator, or for a quicker set, about 1 hour in the freezer. The colder and firmer the fudge, the crisper your edges will be.
- Select the Right Tool: The type of knife you use can make a significant difference. I highly recommend a knife with good balance and a sturdy, sharp blade. A 5-inch santoku knife, for instance, is an excellent choice due to its comfortable grip and thick blade, which allows for a firm, controlled press. Alternatively, a large chef’s knife or even a clean, un-serrated bread knife can work well. The key is sharpness and stability.
- The Press-and-Break Method: Once your fudge is perfectly chilled and you have your ideal knife, position the blade where you want to make your cut. Instead of sawing back and forth, apply firm, even pressure straight down. If the fudge is sufficiently chilled, it should snap cleanly. For very thick pieces, you might need to press down firmly until the blade is almost through, then gently rock it to separate the fudge or simply break it apart along the score line. For truly pristine squares, wipe your knife clean with a damp cloth after each cut to prevent sticky residue from transferring to the next piece. This simple step ensures crisp, defined lines throughout your entire batch.
Expert Tips for Perfectly Creamy Cake Batter Fudge Every Time
While this cake batter fudge recipe is celebrated for its incredible simplicity and almost foolproof nature, a few nuanced tips can elevate your results from great to absolutely perfect. Paying attention to these details will ensure your fudge is consistently creamy, perfectly set, and utterly irresistible:
- Mind the Consistency: Since we’re utilizing a store-bought cake mix as the foundation for this easy fudge, its precise composition can vary slightly between brands and even be affected by the ambient humidity or dryness of your climate. The goal is a very thick, yet pliable consistency – thick enough to hold its shape but still manageable with a spoon. If your fudge mixture appears overly thick or crumbly, indicating the cake mix has absorbed too much moisture, don’t despair! Simply add milk, one teaspoon at a time, mixing thoroughly after each addition, until you reach that ideal, thick, yet workable consistency. It’s better to add too little and gradually increase than to add too much at once.
- Allow for Complete Cooling and Setting: Patience is a virtue when it comes to fudge. For the best texture, cleanest cuts, and easiest handling, your fudge needs to be completely cooled and set. Rushing this process can lead to a sticky, soft, or crumbly fudge. Allow the recommended time for setting in the refrigerator or freezer. A properly set fudge will be firm to the touch and hold its shape beautifully, making it a joy to cut and eat.
- Ensure Thorough Mixing: To achieve that smooth, uniform cake batter flavor and texture throughout your fudge, thorough mixing is essential. After combining all the ingredients, stir vigorously until there are absolutely no visible lumps of dry cake mix or powdered sugar. Any unmixed pockets can result in a grainy texture or uneven flavor. A sturdy spatula or a stand mixer with a paddle attachment can be incredibly helpful in achieving a perfectly smooth, lump-free mixture, ensuring every bite is a consistent delight.

The Perfect Finish: How to Top Your Candy Cane Fudge
The visual appeal of your fudge is just as important as its delicious taste, especially when it comes to festive holiday treats. Adorning your cake batter fudge with crushed candy canes adds that quintessential Christmas sparkle and a delightful textural contrast. To ensure your topping adheres beautifully and stays in place, follow these simple steps:
- Timing is Everything: For the best adherence, apply the crushed candy cane topping immediately after pouring the warm, mixed fudge into your prepared pan, and before it begins to cool and set. The slight warmth and stickiness of the freshly poured fudge will act as a natural adhesive, securing the candy pieces in place.
- Gentle Pressure for Optimal Adherence: Once you’ve scattered the crushed peppermint candy evenly over the surface of the fudge, gently press them into the top layer using the back of a spoon or your fingertips. This slight pressure helps embed the candy pieces, preventing them from sliding off once the fudge has fully set and hardened. Avoid pressing too hard, as this might push them too deep or cause the fudge to warp.
- Crushing Candy Canes Made Easy: To get perfectly crushed candy canes, there are a few methods. You can place them in a sturdy zip-top bag and gently crush them with a rolling pin or the flat side of a meat mallet. For a finer crush, a food processor can do the job quickly, but be careful not to turn them into a fine powder unless that’s your desired effect. The ideal crush for this fudge offers a delightful crunch without being too sharp or overwhelming. Remember, the more vibrant the red and white pieces, the more festive your fudge will look!

More Irresistible Christmas Recipes You’ll Adore:
If you’ve fallen in love with the ease and festive charm of this Candy Cane Cake Batter Fudge recipe, you’re in for a treat! The holidays are a perfect time to explore more delightful desserts that are sure to impress and satisfy. Here are some other fantastic recipes, perfect for your Christmas celebrations, gifting, or simply indulging your sweet tooth:
- German Chocolate Cake Batter Fudge: Dive into the rich, decadent flavors of German chocolate cake transformed into an incredibly easy, no-cook fudge.
- Dulce De Leche Cake Batter Fudge: Experience a taste of creamy caramel heaven with this delightful cake batter fudge variation, offering a sweet, rich indulgence.
- The Best Chewy Oatmeal Raisin Cookies Recipe: Sometimes, a classic is all you need. These soft, chewy cookies are packed with wholesome oats and juicy raisins for comforting perfection.
- Peppermint Crunch Andes Candies Fudge: For another minty chocolate delight, this fudge combines the beloved Andes mints with festive peppermint crunch for an irresistible treat.
- Chocolate Chip Cookie Dough Fudge: Indulge in the nostalgic taste of raw cookie dough in a safe, edible fudge form, studded with mini chocolate chips.
- Candy Cane Martini: For the adults, this festive martini offers a refreshing and spirited way to enjoy the classic peppermint flavor of the holidays.

If you’ve enjoyed making and tasting this incredibly easy Candy Cane Cake Batter Microwave Fudge, I would be absolutely thrilled if you could show your appreciation! Please consider leaving a five-star review – your feedback helps fellow bakers discover this delightful recipe. And don’t forget to share your creations and this recipe on Facebook and Pinterest, spreading the holiday cheer one delicious piece of fudge at a time!

Only have 30 minutes to get dinner on the table? Sign up for my 30-minute dinner plans direct to your inbox!
Find and shop my favorite products in my Amazon storefront here!
Candy Cane Cake Batter Fudge

Ingredients
- ▢ 2 Cups white cake mix
- ▢ 2 Cups powdered sugar
- ▢ ½ Cup butter, 1 stick butter, cut into small pieces
- ▢ ¼ Cup milk, keep up to 1/4 cup milk to the side if your cake mix needs more milk, add slowly if too dry to make a thick consistency
- ▢ ½ cup white chocolate almond bark
- ▢ 6 candy canes, smashed into small pieces
Instructions
-
In a large bowl, combine the white cake mix and powdered sugar. Mix well to ensure they are thoroughly combined.
-
In a separate medium-sized microwave-safe bowl, place the butter (cut into small pieces) and the white chocolate almond bark.
-
Microwave this mixture for 30 seconds. Stir thoroughly, then continue to microwave in 15-second intervals, stirring after each, until the butter and almond bark are completely melted and smooth. Be careful not to overheat.
-
Once melted, add the milk to the butter and almond bark mixture. Stir vigorously until all ingredients are well incorporated and the mixture is smooth.
-
Pour the liquid mixture (melted butter, almond bark, and milk) into the bowl containing the cake mix and powdered sugar.
-
Stir the entire mixture very well until there are absolutely no lumps and a thick, uniform fudge consistency is achieved. If the mixture is too thick, add milk one teaspoon at a time until desired consistency.
-
Gently fold in the crushed candy canes, ensuring they are evenly distributed throughout the fudge.
-
Pour the fudge mixture into a 9×9 inch casserole dish that has been lined with parchment paper or foil for easy removal, or use a silicone dish.
-
Allow the fudge to set completely. This will take approximately 3-6 hours in the refrigerator or 1-2 hours in the freezer until firm.
-
Once set, lift the fudge out using the parchment paper/foil and cut it into small, even squares. If making ahead for freezing, you can leave it as one large chunk and cut it just before serving.
Video
Nutrition
Serving: 1g
Calories: 354kcal
Carbohydrates: 52g
Protein: 4g
Fat: 15g
Saturated Fat: 8g
Polyunsaturated Fat: 6g
Cholesterol: 26mg
Sodium: 350mg
Fiber: 1g
Sugar: 33g
Nutrition information is automatically calculated, so should only be used as an approximation.