
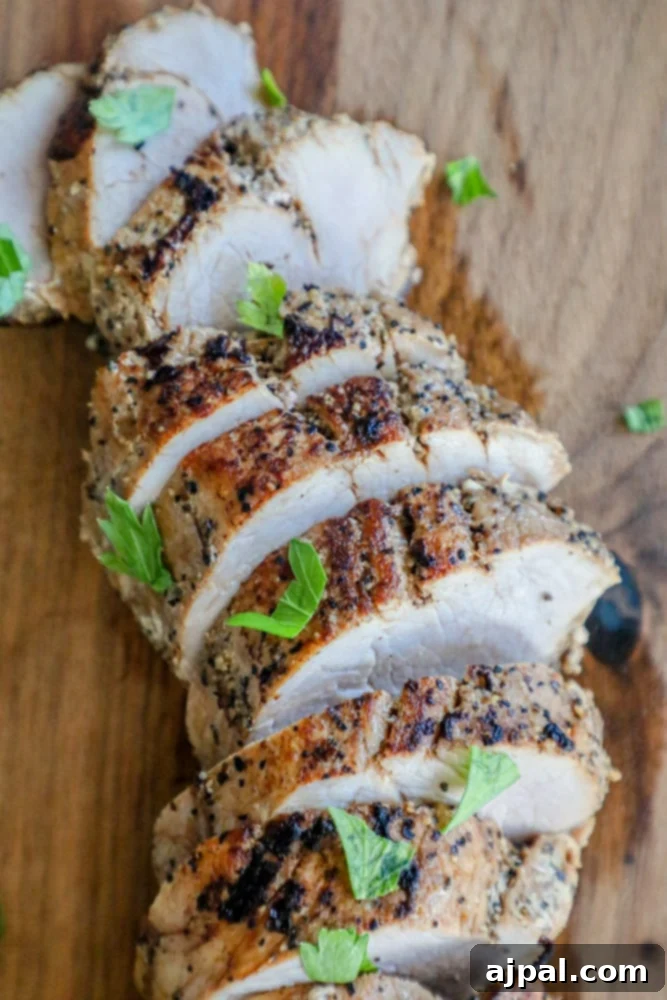
Unlock the secret to incredibly tender, flavor-packed pork medallions with this ultimate Instant Pot Pork Tenderloin recipe. Forget dry, bland pork – your pressure cooker transforms a simple tenderloin into a juicy, succulent masterpiece bursting with savory flavors. Perfect for a quick weeknight meal or an impressive dinner party, this recipe is designed for ease and guaranteed deliciousness.
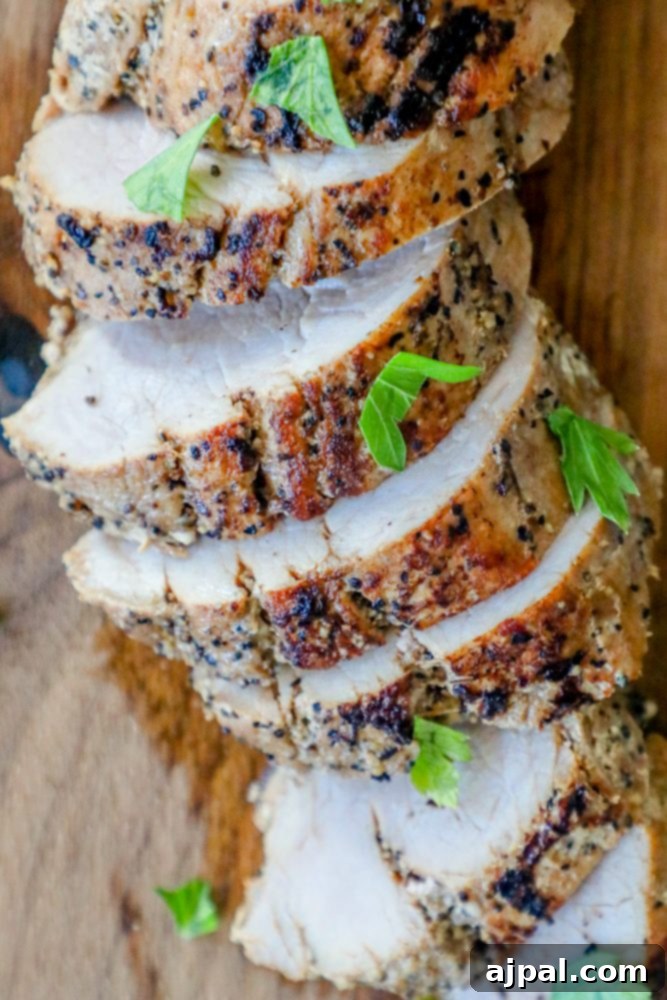
Navigating this Recipe: We understand you might be eager to start cooking! To make your experience as smooth as possible, we provide a convenient skip-to-recipe button at the top left of the page. Alternatively, use the clickable table of contents below to jump directly to sections like preparation, tips, FAQs, or serving suggestions. Our goal is to empower every home cook, from novice to experienced, with the knowledge and confidence to create truly amazing dishes.
Table of Contents
- Why This Instant Pot Pork Tenderloin is a Must-Try
- Pork Tenderloin vs. Pork Loin: Understanding the Difference
- How to Make the Best Instant Pot Pork Tenderloin: Step-by-Step
- Essential Tips for Perfect Instant Pot Pork Tenderloin
- Storing and Reheating Your Pressure Cooker Pork Tenderloin
- Instant Pot Pork Tenderloin FAQs
- What to Serve With Instant Pot Pork Tenderloin
Why This Instant Pot Pork Tenderloin is a Must-Try
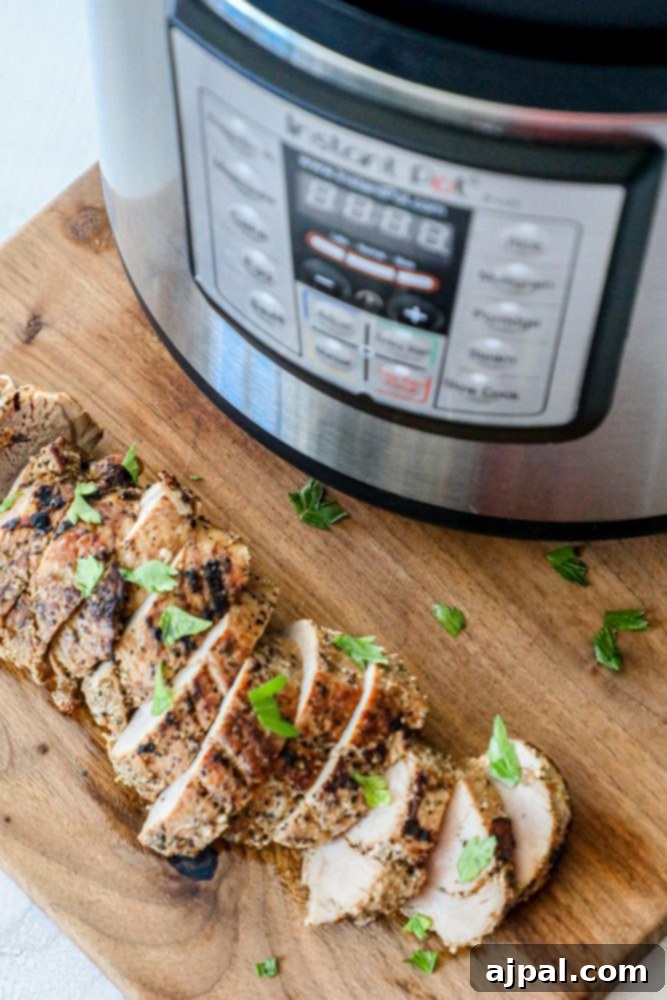
This Instant Pot Pork Tenderloin recipe takes inspiration from our incredibly popular Baked Garlic Pork Tenderloin, but elevates it with the speed and efficiency of your pressure cooker. The result is a dish that is unbelievably rich, buttery, and packed with an explosion of flavor in every bite. It’s designed to be a weeknight hero, requiring minimal preparation yet delivering maximum taste and tenderness.
Imagine a gourmet-quality meal with just a few simple steps: season your pork, quickly brown it for a beautiful crust, and let your Instant Pot handle the rest. This method ensures that the pork remains incredibly juicy, a common challenge when cooking leaner cuts. We’ve meticulously crafted this recipe for convenience, making it ideal for busy individuals, small kitchens, dorm rooms, or anywhere an oven or stove might be impractical. You’ll be amazed at how effortlessly you can create a restaurant-worthy dish right in your electric pressure cooker.
If you’re looking to further expand your Instant Pot repertoire, don’t miss our fantastic Instant Pot Pot Roast recipe. It delivers a complete, hearty meal with tender pot roast and vegetables, all cooked to perfection in a single pot. These pressure cooker recipes are designed to save you time without ever compromising on flavor or quality, proving that delicious, home-cooked meals don’t have to be complicated.
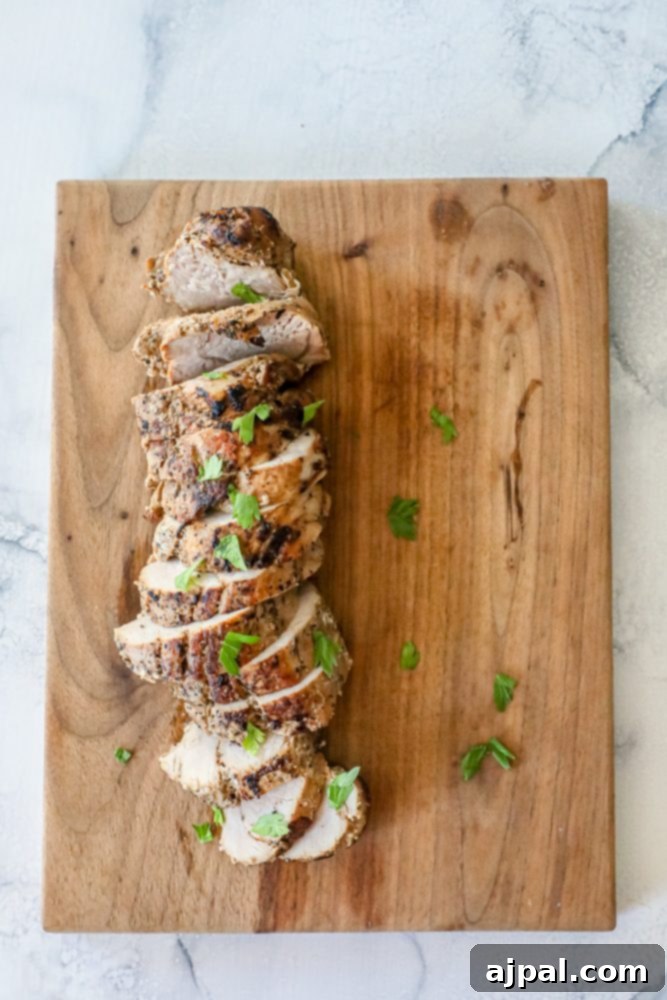
Pork Tenderloin vs. Pork Loin: Understanding the Difference
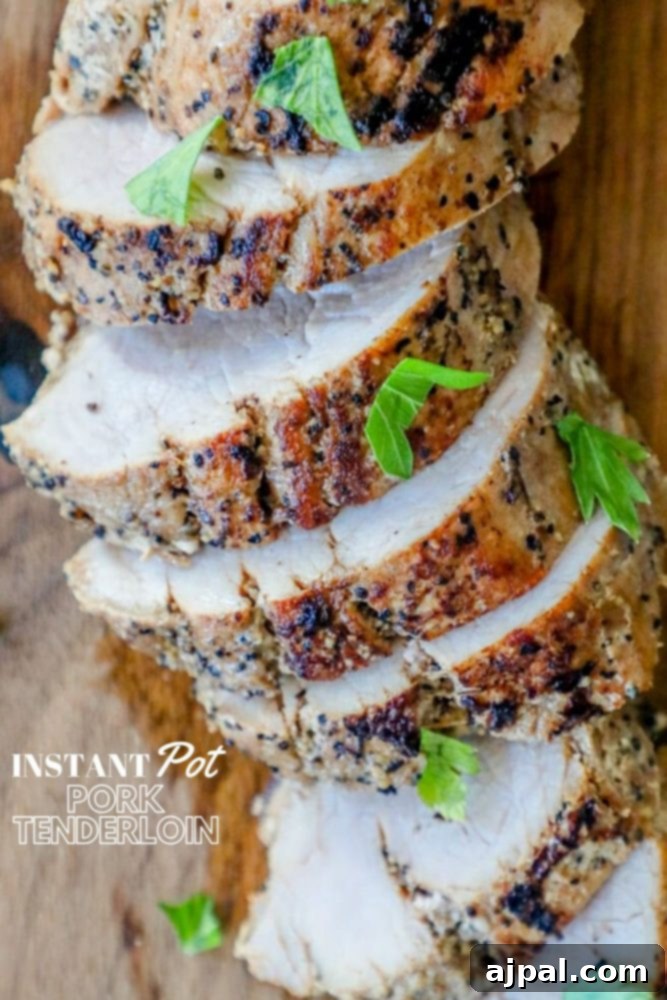
A common point of confusion for many home cooks is the difference between a pork tenderloin and a pork loin. While both are lean cuts from the back of the pig and can often be prepared using similar cooking methods, they are distinct and require slight adjustments for optimal results, especially in an Instant Pot.
- Pork Tenderloin: This cut is long, thin, and typically weighs between 1 to 2 pounds. It’s incredibly lean and cooks quickly, making it prone to drying out if overcooked. Its delicate nature means it benefits from quick cooking methods, like searing and pressure cooking, which seal in moisture and flavor.
- Pork Loin: In contrast, a pork loin is much thicker and wider, often weighing over 3 pounds. It’s a larger, more robust cut, sometimes sold as a “pork loin roast.” While still lean, it contains a bit more fat than a tenderloin, which can help keep it moist. Due to its size, a pork loin requires a longer cooking time than a tenderloin to reach the proper internal temperature without becoming dry.
This recipe specifically calls for a pork tenderloin. However, if you have a pork loin on hand, you can absolutely adapt this recipe with a few modifications to the cooking time, which we will detail in the instructions. Understanding these differences is key to achieving perfectly cooked, juicy pork every time, regardless of the cut you choose.
How to Make the Best Instant Pot Pork Tenderloin: Step-by-Step
Achieving a perfectly tender and flavorful pork tenderloin in your Instant Pot is surprisingly simple. Follow these steps for a dish that will impress with minimal effort.
- Optional Marinade (for ultimate flavor and moisture): For the most tender and flavorful pork, consider marinating your tenderloin. Place the pork tenderloin in Italian salad dressing (or your preferred marinade) for at least 2 hours, or up to 24 hours, in the refrigerator. Marinating helps to infuse the meat with flavor and guarantees an exceptionally juicy result, preventing any dryness. After marinating, rinse the pork gently and pat it thoroughly dry with paper towels. If you skip marinating, simply pat the raw tenderloin dry before proceeding.
- Prepare Your Herb Blend: In a small bowl, combine your aromatic herbs: diced garlic, dried basil, dried oregano, dried thyme, and dried parsley. You can also use 1 tablespoon of a good quality Italian Herb Seasoning blend as a convenient alternative. This herb mixture forms the backbone of our savory flavor profile.
- Season the Pork: After patting the pork dry (whether marinated or not), generously season the entire tenderloin with sea salt and fresh cracked pepper. Then, rub the prepared herb blend all over the surface of the pork, ensuring it’s evenly coated. Don’t be shy – this builds incredible flavor!
- Preheat Your Instant Pot: Set your Instant Pot to the “Sauté” function on medium-high heat. Allow it to heat up for a few minutes until the inner pot is hot.
- Brown the Pork: Add 2 tablespoons of extra virgin olive oil to the hot Instant Pot. Once the oil is shimmering, carefully add the seasoned pork tenderloin. Sear the pork on all sides until it develops a beautiful, dark golden-brown crust. This crucial step, known as the Maillard reaction, creates deep, rich flavors and helps lock in juices. This browning stage takes approximately 2-3 minutes per side.
- Remove and Deglaze: Once browned, remove the tenderloin from the Instant Pot and set it aside on a plate. Immediately add 1 cup of chicken stock to the Instant Pot. Use a wooden spoon or spatula to scrape up any browned bits stuck to the bottom of the pot. This process, called deglazing, prevents a “burn” error and incorporates all those flavorful bits into your cooking liquid.
- Set Up for Pressure Cooking: Place a trivet (the metal rack that comes with your Instant Pot) into the pot. Carefully place the browned pork tenderloin on top of the trivet. Distribute 4 ounces of thin-sliced butter (cut into 4-6 pats) over the top of the pork. The butter will melt into the stock, adding richness and moisture.
- Pressure Cook: Secure the lid on your Instant Pot and ensure the sealing valve is in the “Sealing” position. Select the “Pressure Cook” or “Manual” setting and set the cooking time to High pressure for just 2 minutes. Yes, this is correct! The tenderloin will continue to cook as the pot comes to pressure, and this short active cooking time prevents overcooking.
- Natural Pressure Release (NPR): Once the cooking cycle is complete, allow the pressure to release naturally for 7-10 minutes. This “natural release” period is vital as it allows the internal temperature of the pork to stabilize and the juices to redistribute, resulting in a more tender and moist outcome. After 7-10 minutes, carefully quick-release any remaining pressure by turning the sealing valve to “Venting.”
- Check Doneness & Rest: Open the lid. Carefully remove the pork tenderloin to a clean cutting board. Insert an instant-read meat thermometer into the thickest part of the pork. The internal temperature should read 145°F (63°C). If it’s not quite there (e.g., 5-10 degrees shy), simply place the lid back on the pot and let the residual heat finish cooking the pork for another 5-10 minutes without bringing it back to pressure. This carryover cooking usually does the trick.
- Rest Before Slicing: This step is non-negotiable! Let the pork tenderloin rest on the cutting board for at least 10 minutes before slicing. Resting allows the juices to redistribute evenly throughout the meat, ensuring every slice is incredibly moist and tender. Slicing too early will cause the juices to run out, leading to dry pork.
- Serve Immediately: Slice the rested pork tenderloin into medallions and serve hot with your favorite side dishes.
Modifying Cook Time for a Pork Loin
If you’re using a larger pork loin (typically over 3 pounds) instead of a tenderloin, the overall cooking approach is similar, but the pressure cooking time needs to be adjusted:
- Place a trivet in the Instant Pot and set the pork loin on top.
- Add the chicken stock and butter as per the main recipe.
- Secure the lid and cook on High pressure for 15 minutes.
- Allow a natural pressure release for 15 minutes, then quick-release any remaining pressure.
- Check the internal temperature with an instant-read meat thermometer. It should register 145°F (63°C). If not, cover and let the carryover heat finish cooking as described above.
- Remember to rest the pork loin for 10-15 minutes before slicing.
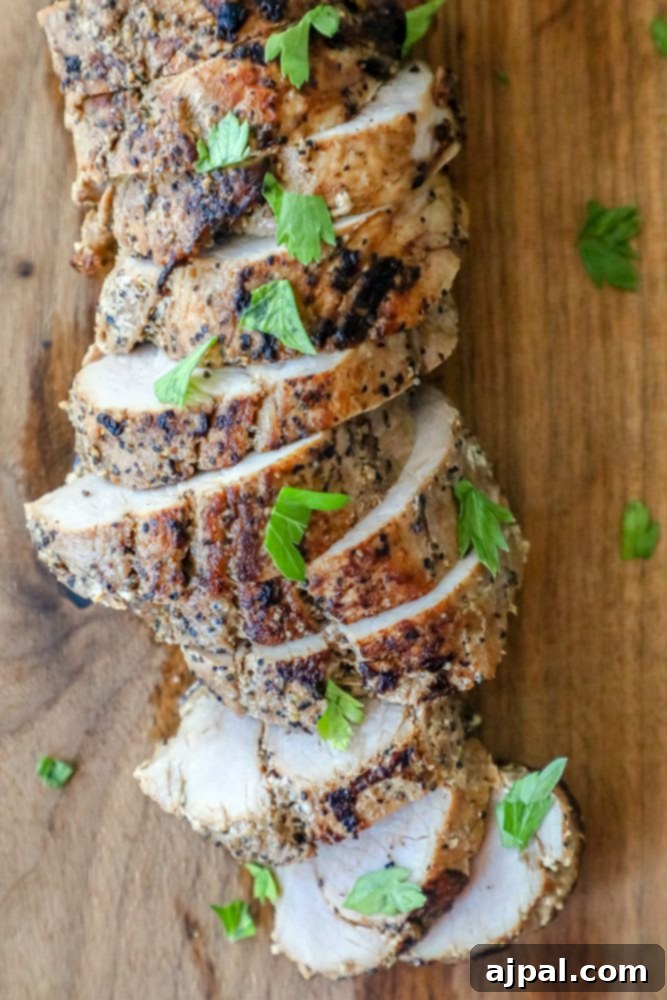
Essential Tips for Perfect Instant Pot Pork Tenderloin
While this recipe is straightforward, a few key tips and insights will help you achieve consistently perfect, juicy, and tender pork tenderloin every single time.
- Using Other Electric Pressure Cookers (Ninja Foodi, etc.): This recipe is not exclusive to the Instant Pot. Any electric pressure cooker, such as a Ninja Foodi or Crock-Pot Express, can be used successfully. The basic principles of pressure cooking remain the same across brands: searing, adding liquid, pressure cooking, and releasing pressure. Follow your specific appliance’s instructions for setting pressure and sealing, but the cooking times and temperatures will be consistent.
- Instant Pot Specifics for Success:
- Ensuring a Proper Seal: Always double-check that your Instant Pot lid is securely locked and the sealing ring is properly in place. Make sure the steam release valve is set to the “Sealing” position before beginning the pressure cooking cycle. A faulty seal will prevent your pot from coming to pressure.
- Liquid is Key: For pressure cooking to work, you always need liquid in the pot. Our recipe uses chicken stock, which also adds a layer of savory flavor. Never operate your Instant Pot dry during the pressure cooking phase.
- Safety First: Always follow your Instant Pot’s safety guidelines. Never force open a lid before all pressure has been safely released, either naturally or with a quick release.
- The Power of Marinating: While pork tenderloin is a quick-cooking, lean cut, marinating can elevate it from good to absolutely phenomenal.
- Flavor Infusion: A marinade allows herbs and spices, like garlic and Italian seasoning, to penetrate deep into the meat, ensuring a more pronounced and well-rounded flavor throughout.
- Moisture Retention: Marinating, especially with a slightly acidic base like Italian dressing, helps to break down muscle fibers slightly and adds an extra layer of moisture, making the pork even more tender and acting as a safeguard against any potential dryness.
- Flexibility: Even a short marinade of 30 minutes can make a difference. For best results, aim for 2-4 hours, or even overnight if time allows. If you’re short on time, don’t worry – simply seasoning well before searing will still yield a delicious result.
- Why Searing is Crucial: Don’t skip the browning step! Searing the pork tenderloin before pressure cooking creates a beautiful, caramelized crust through the Maillard reaction. This reaction develops complex, savory flavors that you wouldn’t get from simply boiling the meat. It also adds a textural contrast that enhances the overall eating experience.
- Deglazing for Flavor: After searing, make sure to deglaze the pot by adding a liquid (chicken stock in this case) and scraping up any browned bits from the bottom. These “fond” bits are packed with flavor and will contribute to a richer sauce or broth. This step also prevents a “burn” notice on your Instant Pot.
- Resting Period is Essential: Just like with steaks or roasts, allowing your pork tenderloin to rest for 10 minutes after cooking is vital. This time allows the muscle fibers to relax and reabsorb the juices that have migrated to the center of the meat during cooking. Skipping this step will result in the juices running out when you slice, leaving you with drier, tougher pork.
Storing and Reheating Your Pressure Cooker Pork Tenderloin
Proper storage and reheating are key to enjoying delicious leftovers. Follow these guidelines to keep your Instant Pot Pork Tenderloin tasting great:
- To Store Leftovers (Refrigerator): Once the pork has cooled to room temperature, transfer any leftover pork tenderloin slices into an airtight container. Store in the refrigerator for up to 3-4 days.
- To Freeze Leftovers: For longer storage, wrap individual portions or the entire tenderloin tightly in plastic wrap, then place in a freezer-safe bag or container. This helps prevent freezer burn. Frozen pork tenderloin can be stored for up to 3 months. Thaw overnight in the refrigerator before reheating.
- To Reheat Leftovers (Best Method): For optimal results, avoid reheating pork tenderloin in the microwave, as it can quickly dry out the meat. Instead, preheat your oven to 300-350°F (150-175°C). Place the pork slices in an oven-safe dish with a splash of chicken broth or water to add moisture, then cover tightly with aluminum foil. Bake for 15-20 minutes, or until heated through to your desired temperature. The foil and added liquid will help keep the pork moist and tender.
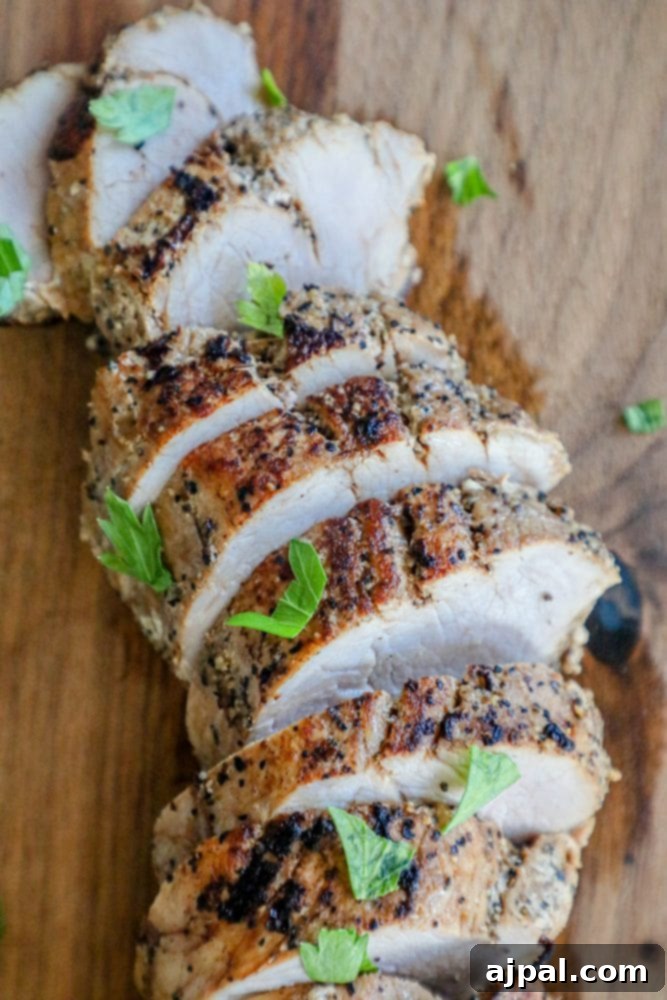
Instant Pot Pork Tenderloin FAQs
The USDA recommends cooking pork to an internal temperature of 145°F (63°C), followed by a 3-minute rest. When your pork tenderloin has completed its natural release in the Instant Pot, insert a digital meat thermometer into the middle of the thickest part. It should read 145°F for perfectly safe and juicy pork.
Cooked pork tenderloin can be safely stored in an airtight container in the refrigerator for up to 3-4 days. For longer storage, it can be frozen for up to 3 months.
If your pork tenderloin is slightly undercooked (e.g., 5-10 degrees below 145°F), simply place the lid back on the Instant Pot. The residual heat inside the pot will continue to cook the pork through “carryover cooking” without the need to bring the pot back to pressure. Let it sit for another 5-10 minutes, then check the temperature again.
Yes, absolutely! Modern pork safety guidelines mean that pork cooked to 145°F (63°C) with a 3-minute rest can still have a slight pink hue in the center, particularly lean cuts like tenderloin. This is perfectly safe and often indicates a more tender and juicy result. Don’t rely solely on color to judge doneness; always use a reliable meat thermometer.
Resting the meat for at least 10 minutes after cooking allows the internal juices, which are pushed to the center during the cooking process, to redistribute throughout the entire cut. If you slice immediately, these juices will simply run out onto your cutting board, leaving you with dry and less flavorful meat. Resting ensures a uniformly moist and tender final product.
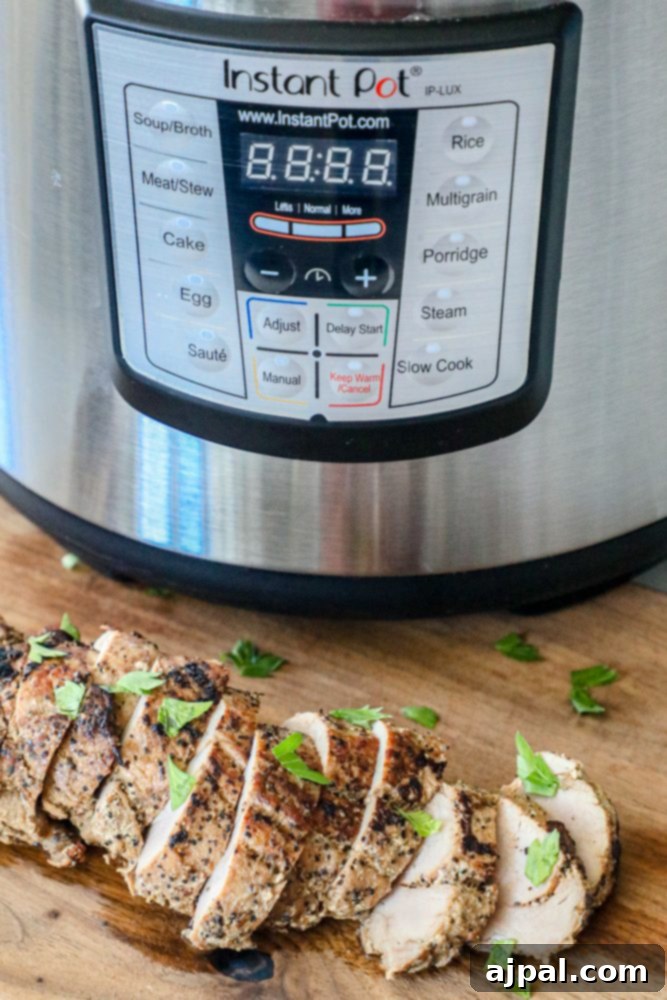
What to Serve With Instant Pot Pork Tenderloin
This versatile Instant Pot Pork Tenderloin pairs beautifully with a variety of side dishes, whether you’re following a specific diet or simply craving comforting classics. Its rich, savory flavor makes it an excellent centerpiece for any meal.
For those adhering to a keto or low-carb diet, this recipe is a perfect fit due to its naturally low carbohydrate content. Consider these delicious pairings:
- Roasted Cauliflower with Cashew Pesto: A flavorful and satisfying alternative to starchy sides, offering a delightful nutty crunch.
- Roasted Asparagus: Simple, elegant, and quick to prepare, roasted asparagus complements the pork without overpowering it.
- Keto Ham and Cheese Rolls: These savory rolls add a comforting, bready element while staying within low-carb guidelines.
- If you’re looking for more quick and easy keto sides, explore our collection of Deviled Egg Recipes – they’re perfect for a backyard picnic or a simple make-ahead side.
If you’re not counting carbs, this Instant Pot Pork Tenderloin is an absolute knockout alongside more traditional, hearty accompaniments:
- Fresh Baked No-Knead Bread: Perfect for soaking up all the delicious juices and butter from the Instant Pot.
- Crispy Baked French Fries: A classic comfort food pairing that’s always a hit.
- Crispy Roasted Potatoes: Fluffy on the inside, crispy on the outside – a timeless side for any pork dish.
- Rice Pilaf: A flavorful and aromatic rice dish that makes a wonderful base for the tender pork.
You can find our entire collection of delicious pork recipes here for even more culinary inspiration.
Try these sides:
Easy Cranberry Fluff Salad
Dilly Bread Recipe
Cabbage and Noodles
Bacon Rye Stuffing
Roasted Potatoes and Sauerkraut
Brussels Sprouts Hash
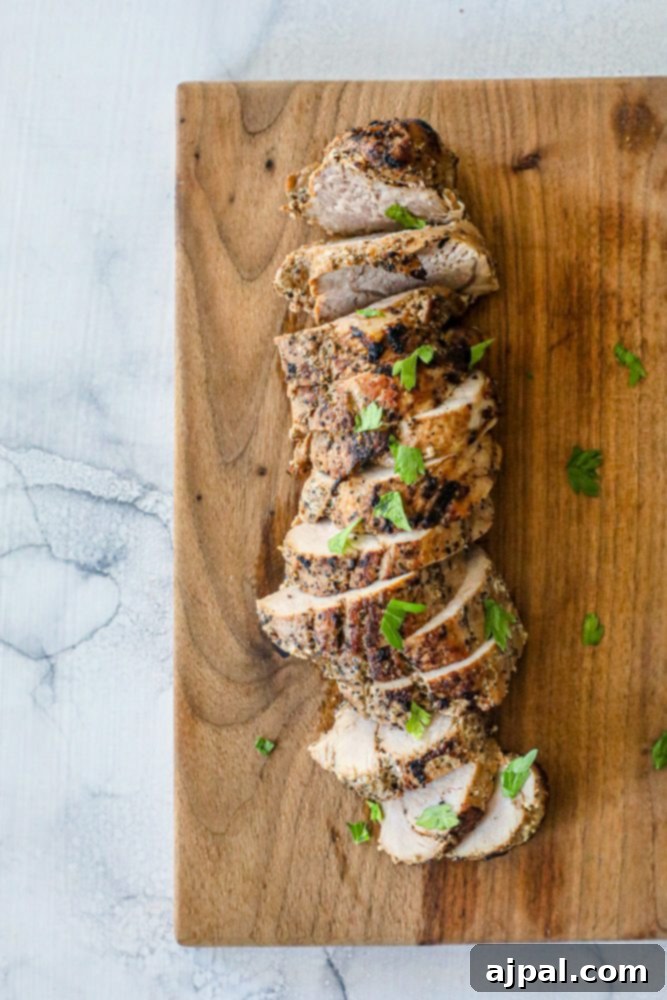
If you’ve enjoyed making this Instant Pot Pork Tenderloin as much as we love sharing it, please consider leaving a five-star review and sharing this recipe with your friends and family on Facebook and Pinterest! Your support helps us continue to create and share delicious, easy-to-make recipes.
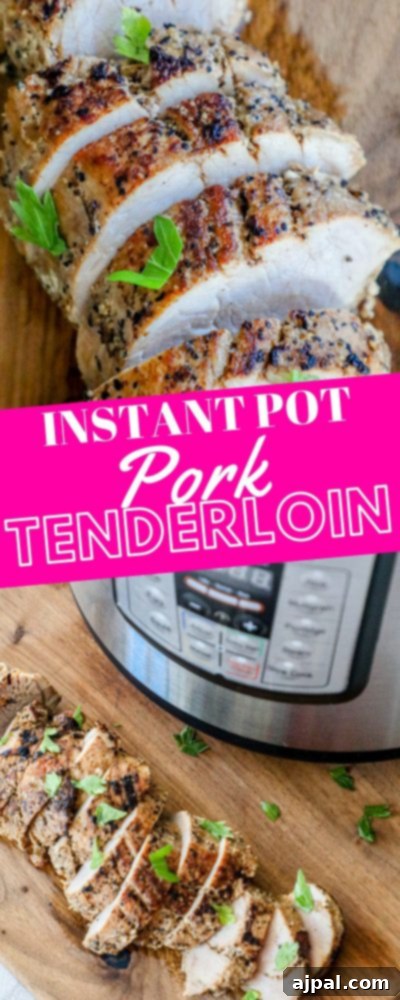
Only have 30 minutes to get dinner on the table? Sign up for our 30-minute dinner plans direct to your inbox!
Find and shop my favorite products in my Amazon storefront here!
★
★
★
★
Pressure Cooker Pork Tenderloin
Courtney O’Dell
6
5 mins
31 mins
36 mins
Share by Email
Print Recipe

Equipment
- Instant Pot Ultra, 6 Quart
- Lavatools Javelin PRO Duo Digital Instant Read Meat Thermometer
Ingredients
-
1
bottle Italian Salad Dressing, optional for marinade -
2
tbsp
extra virgin olive oil -
1
teaspoon
sea salt and fresh cracked pepper -
2
lb
pork tenderloin, optional: pre-marinate pork before cooking for foolproof never dry tenderloin -
4
oz
butter, thin sliced into 4-6 pats -
2
tbsp
diced garlic -
1
tsp
dried basil* -
1
tsp
dried oregano* -
1
tsp
dried thyme* -
1
tsp
dried parsley* -
½
tsp
dried sage* - *OR 1 tbsp Italian Herb Seasoning Blend
-
1
cup
chicken stock
Instructions
- Optional – marinade the tenderloin in the Italian salad dressing for 2 hours or up to 24 in the refrigerator. After marinating, rinse and pat dry.
- In a small bowl, combine garlic, basil, oregano, thyme, parsley, and sage.
- Remove pork from marinade (if used), rinse, and pat dry. Generously season tenderloin with salt and pepper, as well as the herb mixture.
- Heat Instant Pot to medium-high on the “Sauté” function.
- Add oil to Instant Pot; heat until shimmering.
- Add tenderloin to the pot and cook on all sides until dark golden brown.
- When the tenderloin has browned (but is not cooked through), remove it and set aside.
- Scrape up any brown bits from the bottom of the Instant Pot using a wooden spoon.
- Add stock to the Instant Pot.
- Add a trivet to the Instant Pot.
- Place the pork tenderloin on top of the trivet, then top with pats of butter.
- Place the lid on the Instant Pot and set it to the “Sealing” position.
- Cook on the High Pressure setting for 2 minutes. (This short time is correct; the pork cooks as the pot comes to pressure, plus an extra minute of active cooking.)
- Let pork tenderloin naturally release pressure for about 7-10 minutes, then quick-release any remaining pressure.
- Let sit for 10 minutes before slicing to allow juices to redistribute.
- Serve immediately.
Nutrition
Serving:
1g
Calories:
500kcal
Carbohydrates:
3g
Protein:
48g
Fat:
32g
Saturated Fat:
15g
Polyunsaturated Fat:
14g
Trans Fat:
1g
Cholesterol:
177mg
Sodium:
1509mg
Fiber:
1g
Sugar:
1g
Nutrition information is automatically calculated, so should only be used as an approximation.
Additional Info
Pork Tenderloin
American
Tried this recipe?
Mention @sweetcsdesigns or tag #sweetcsdesigns!