
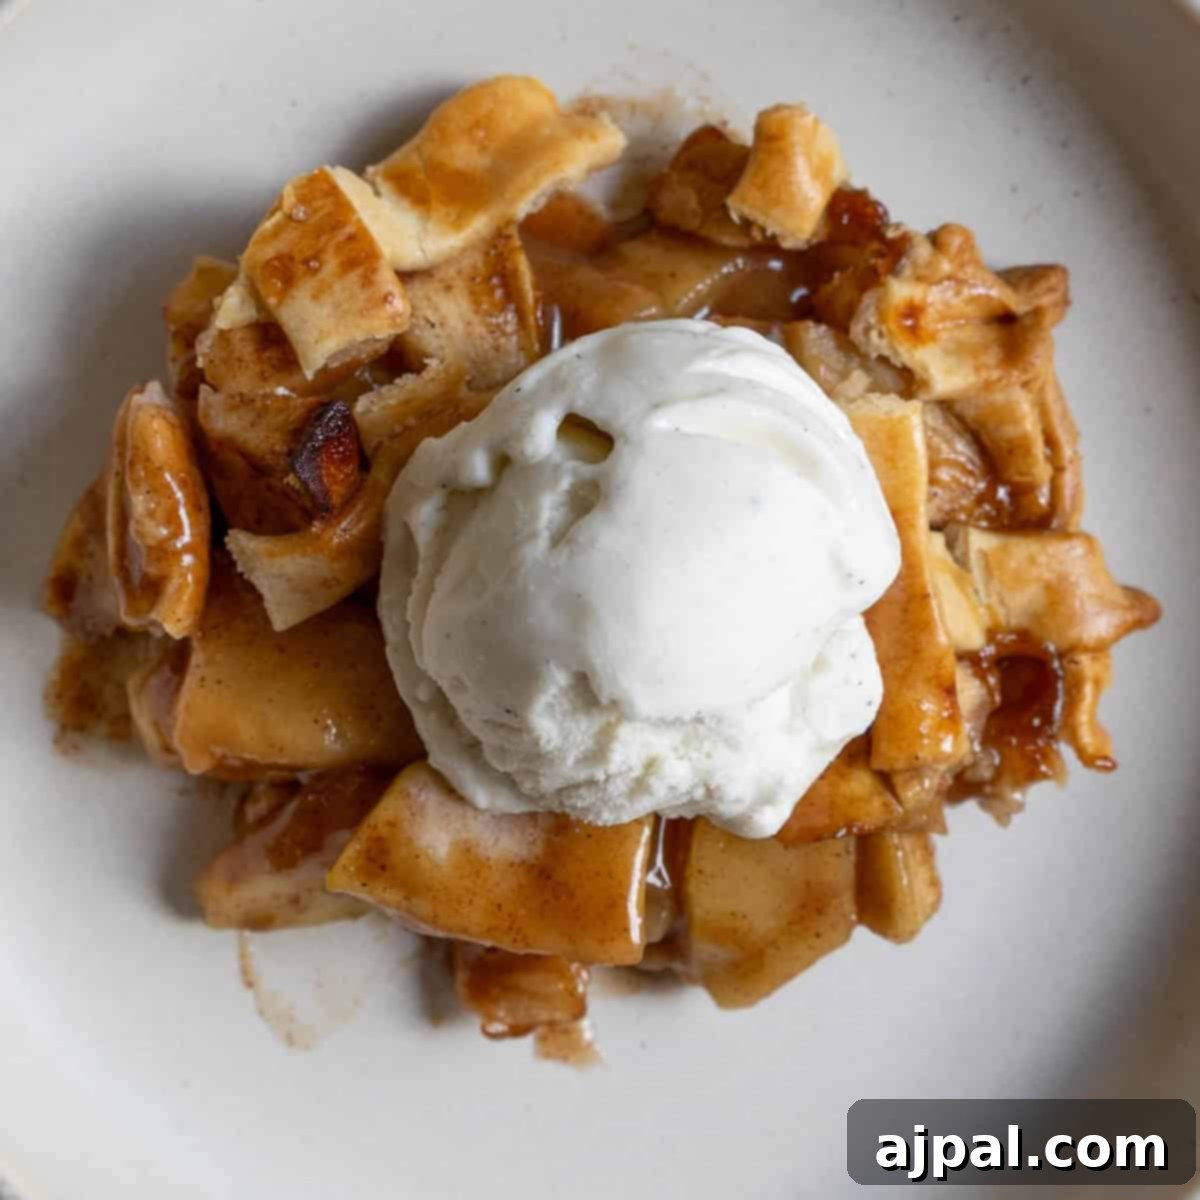
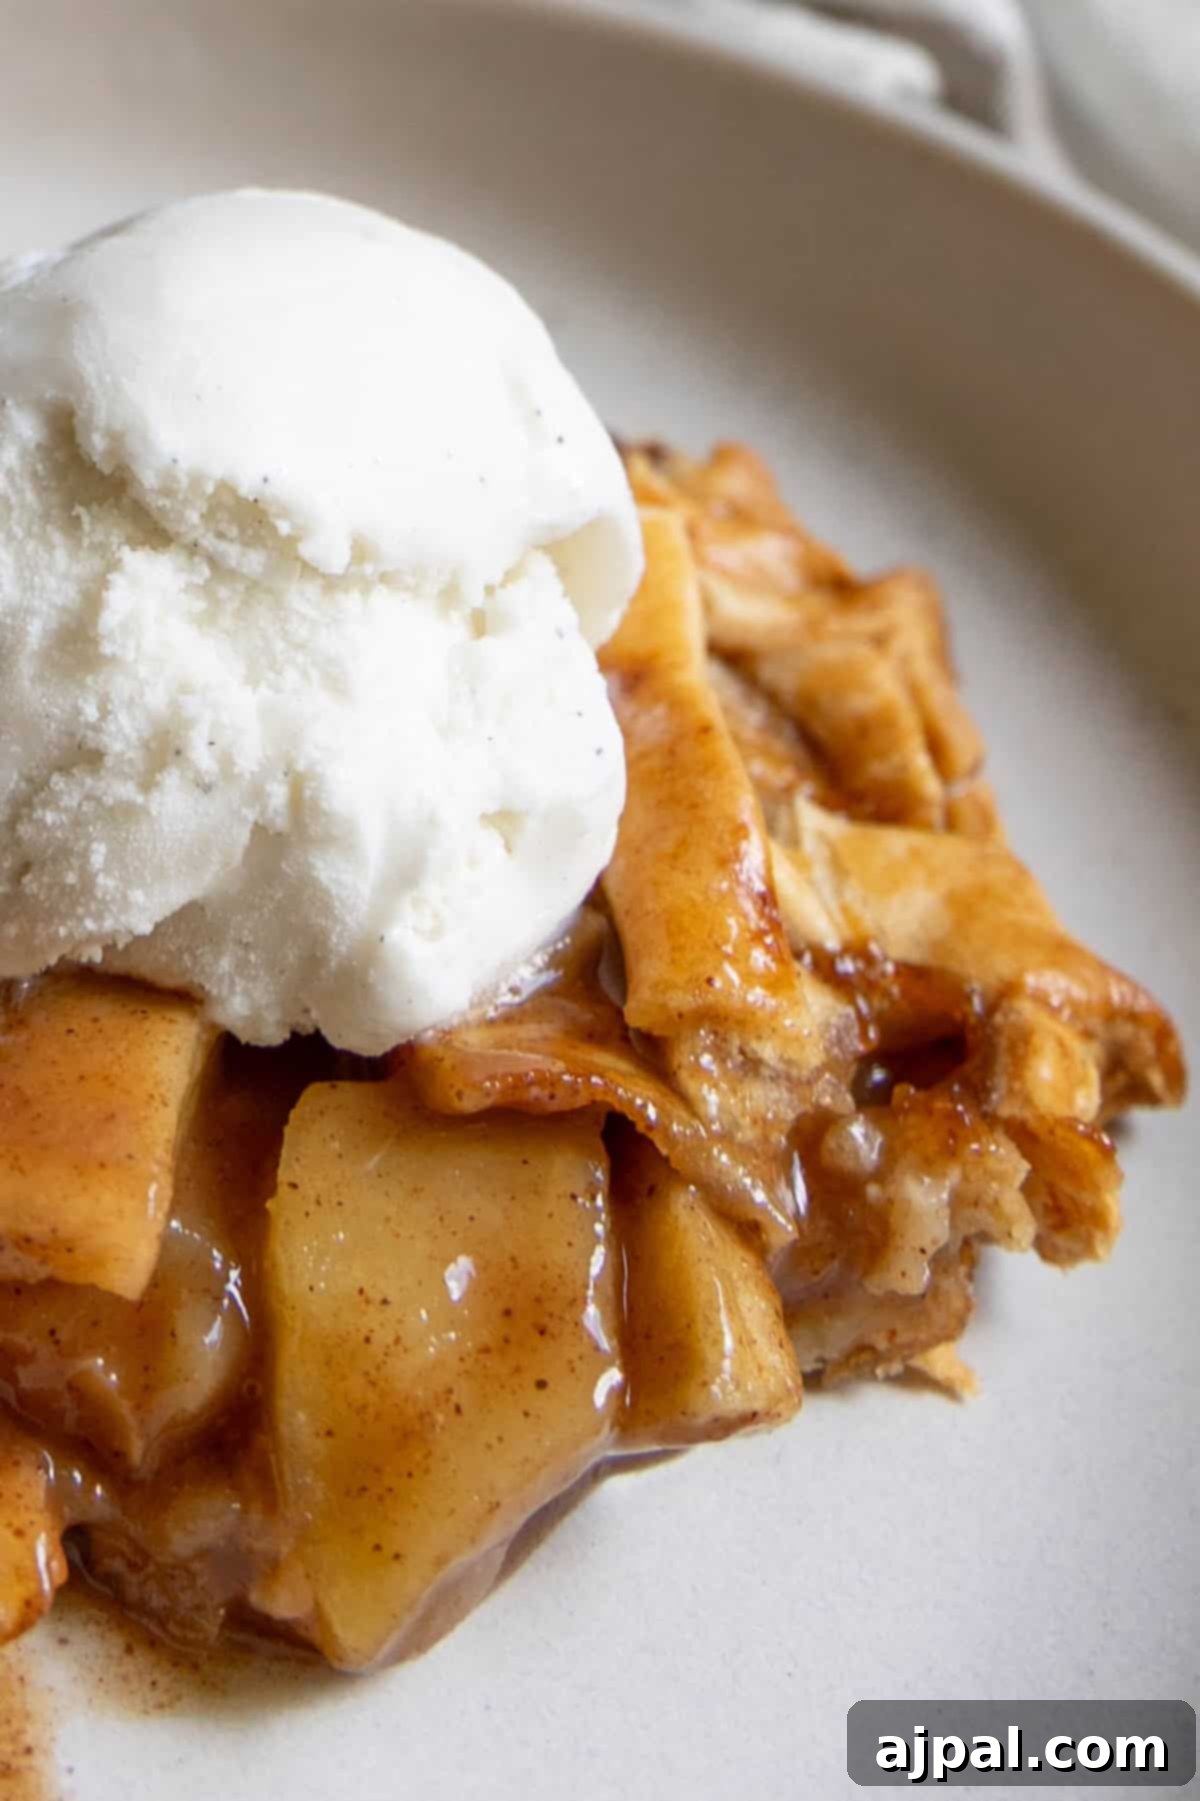
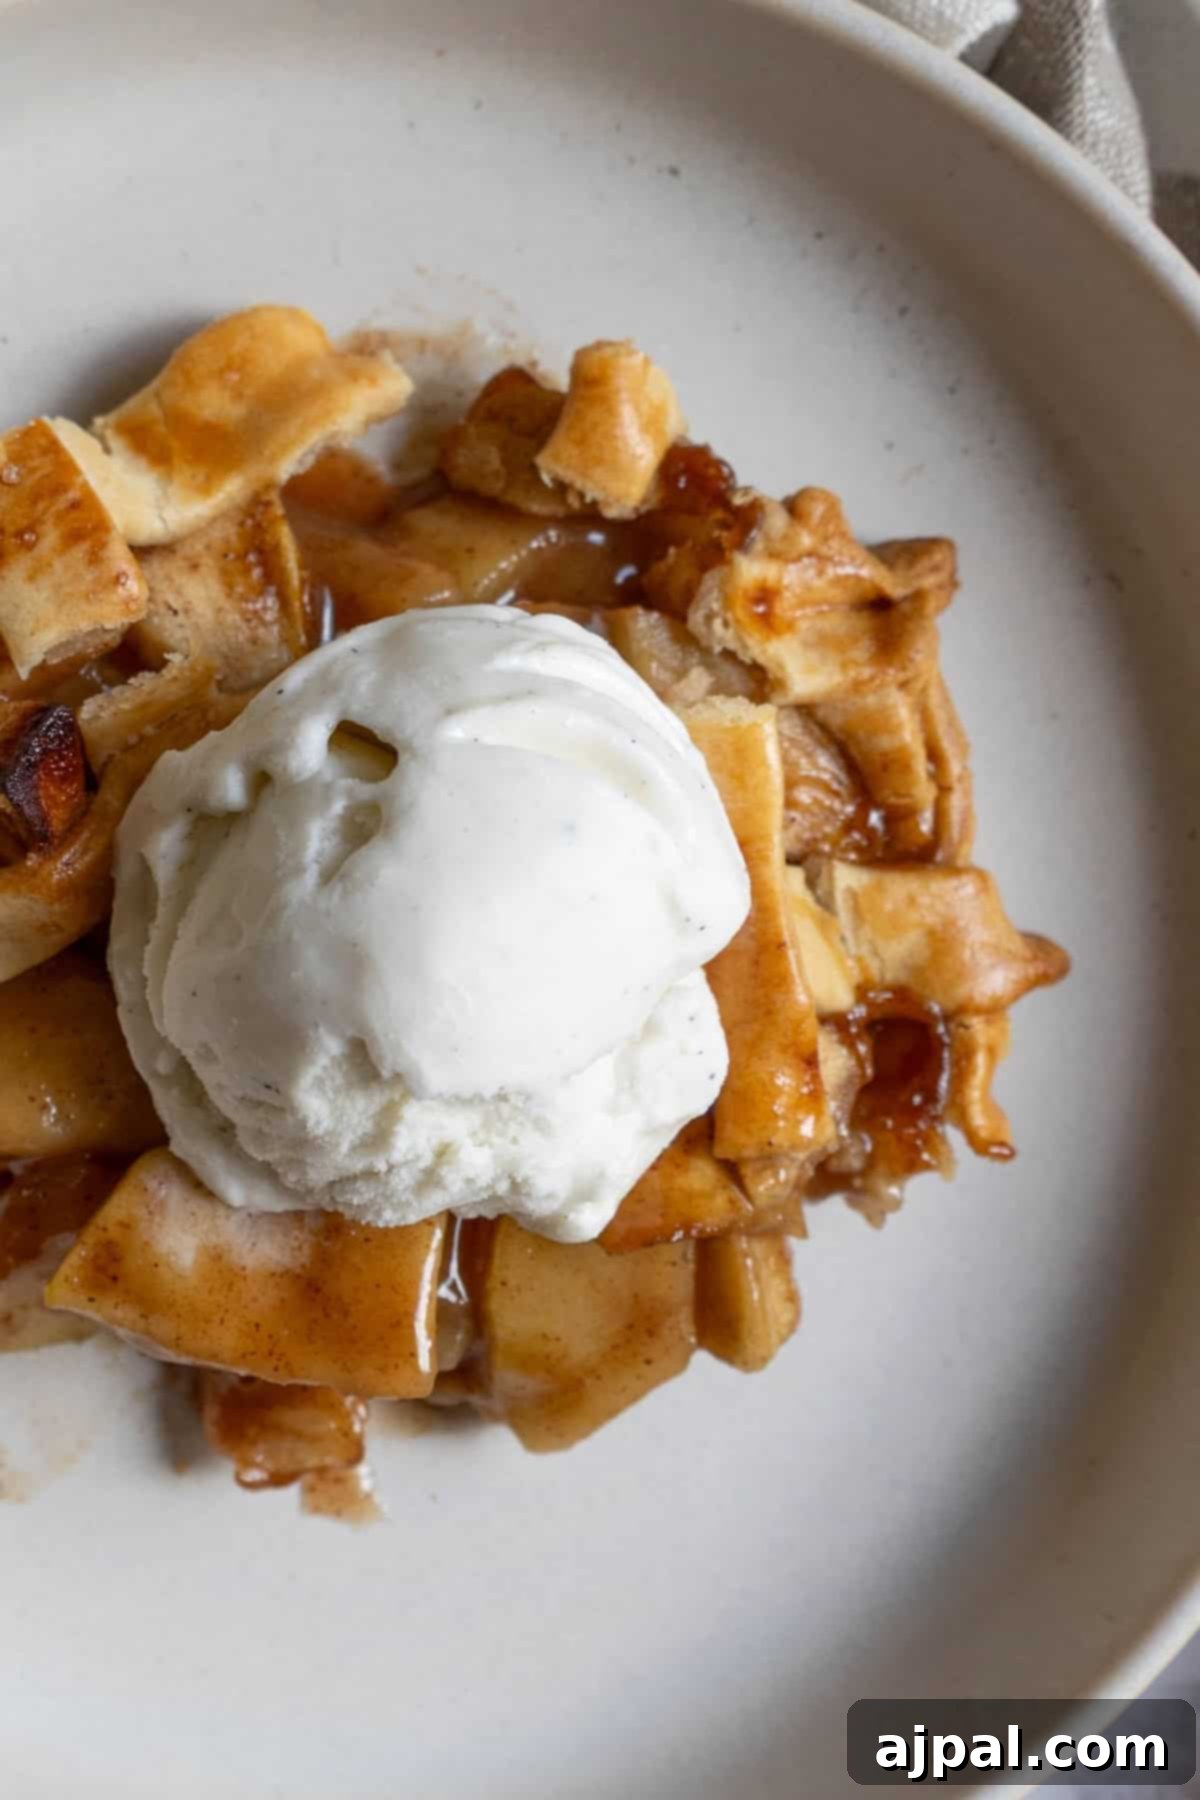
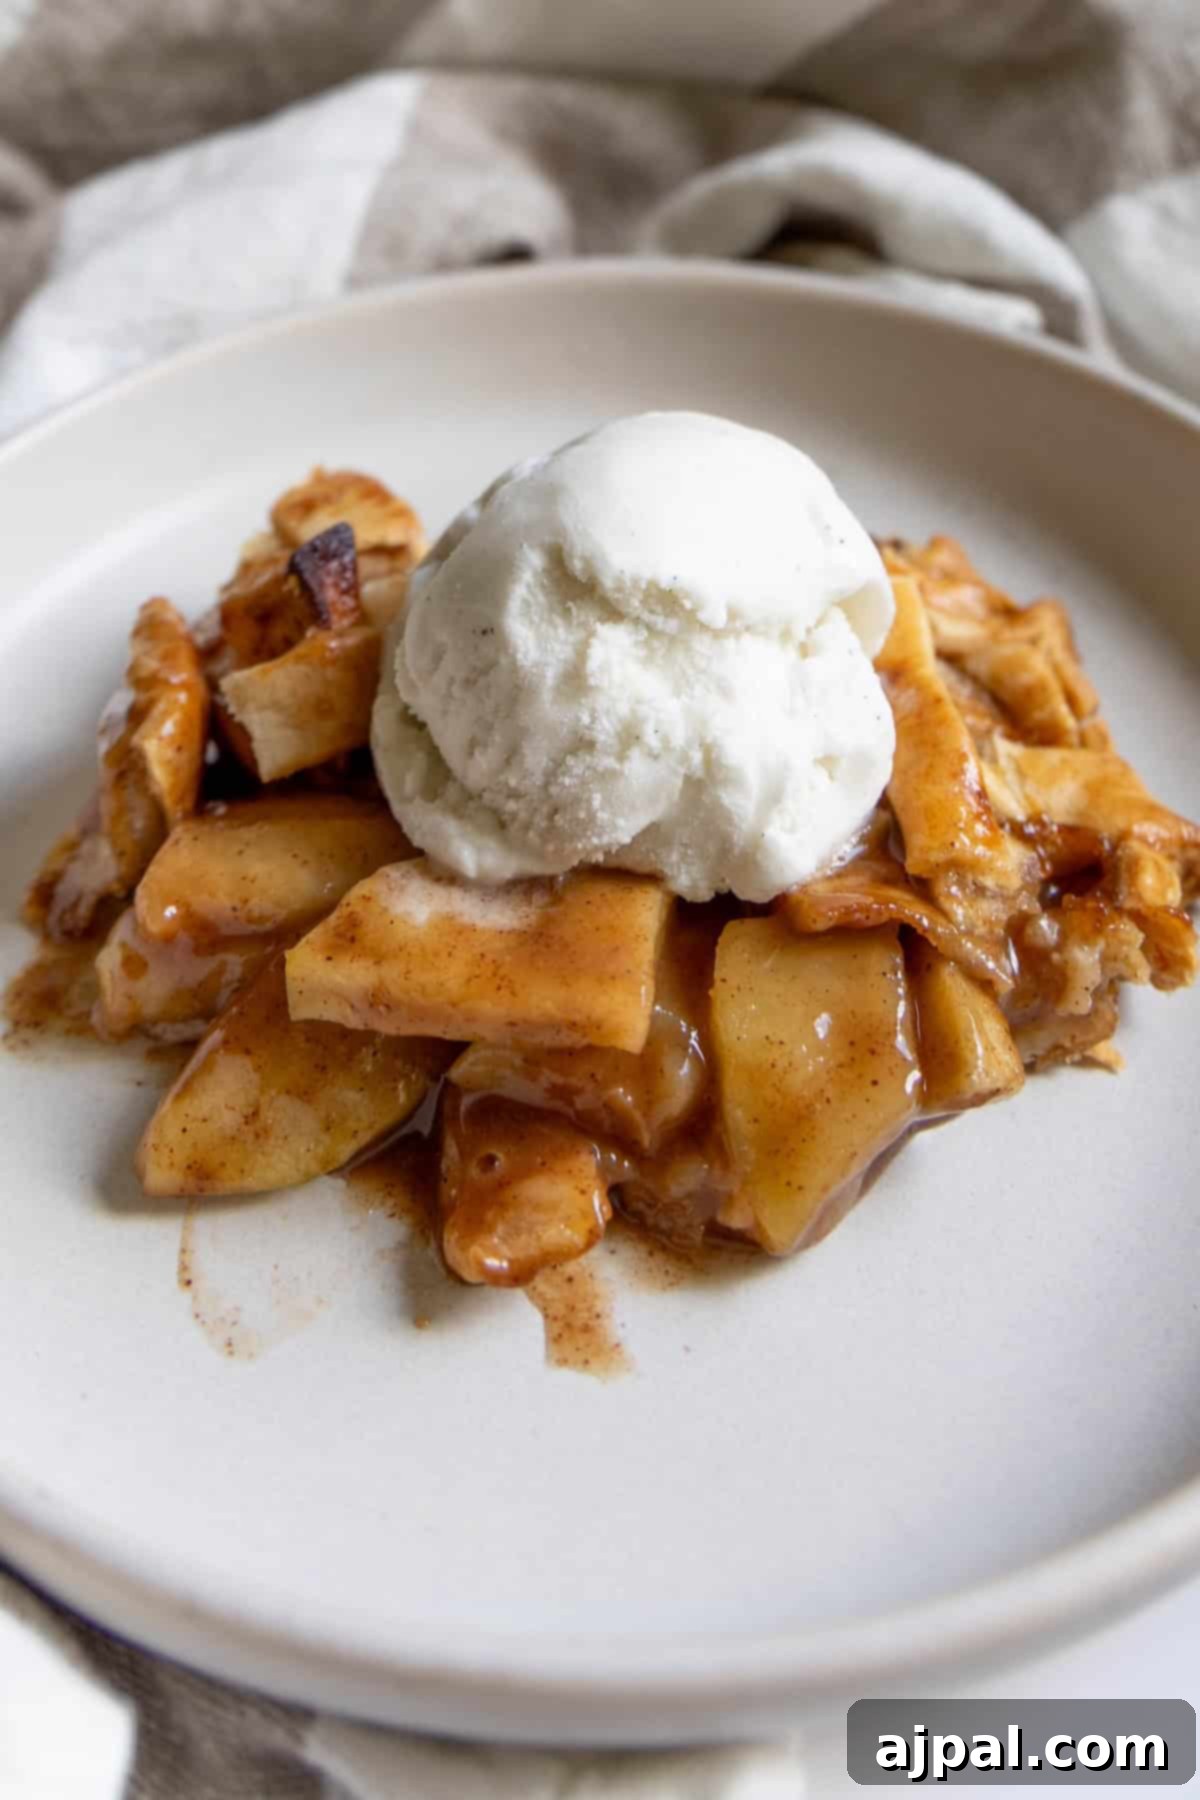
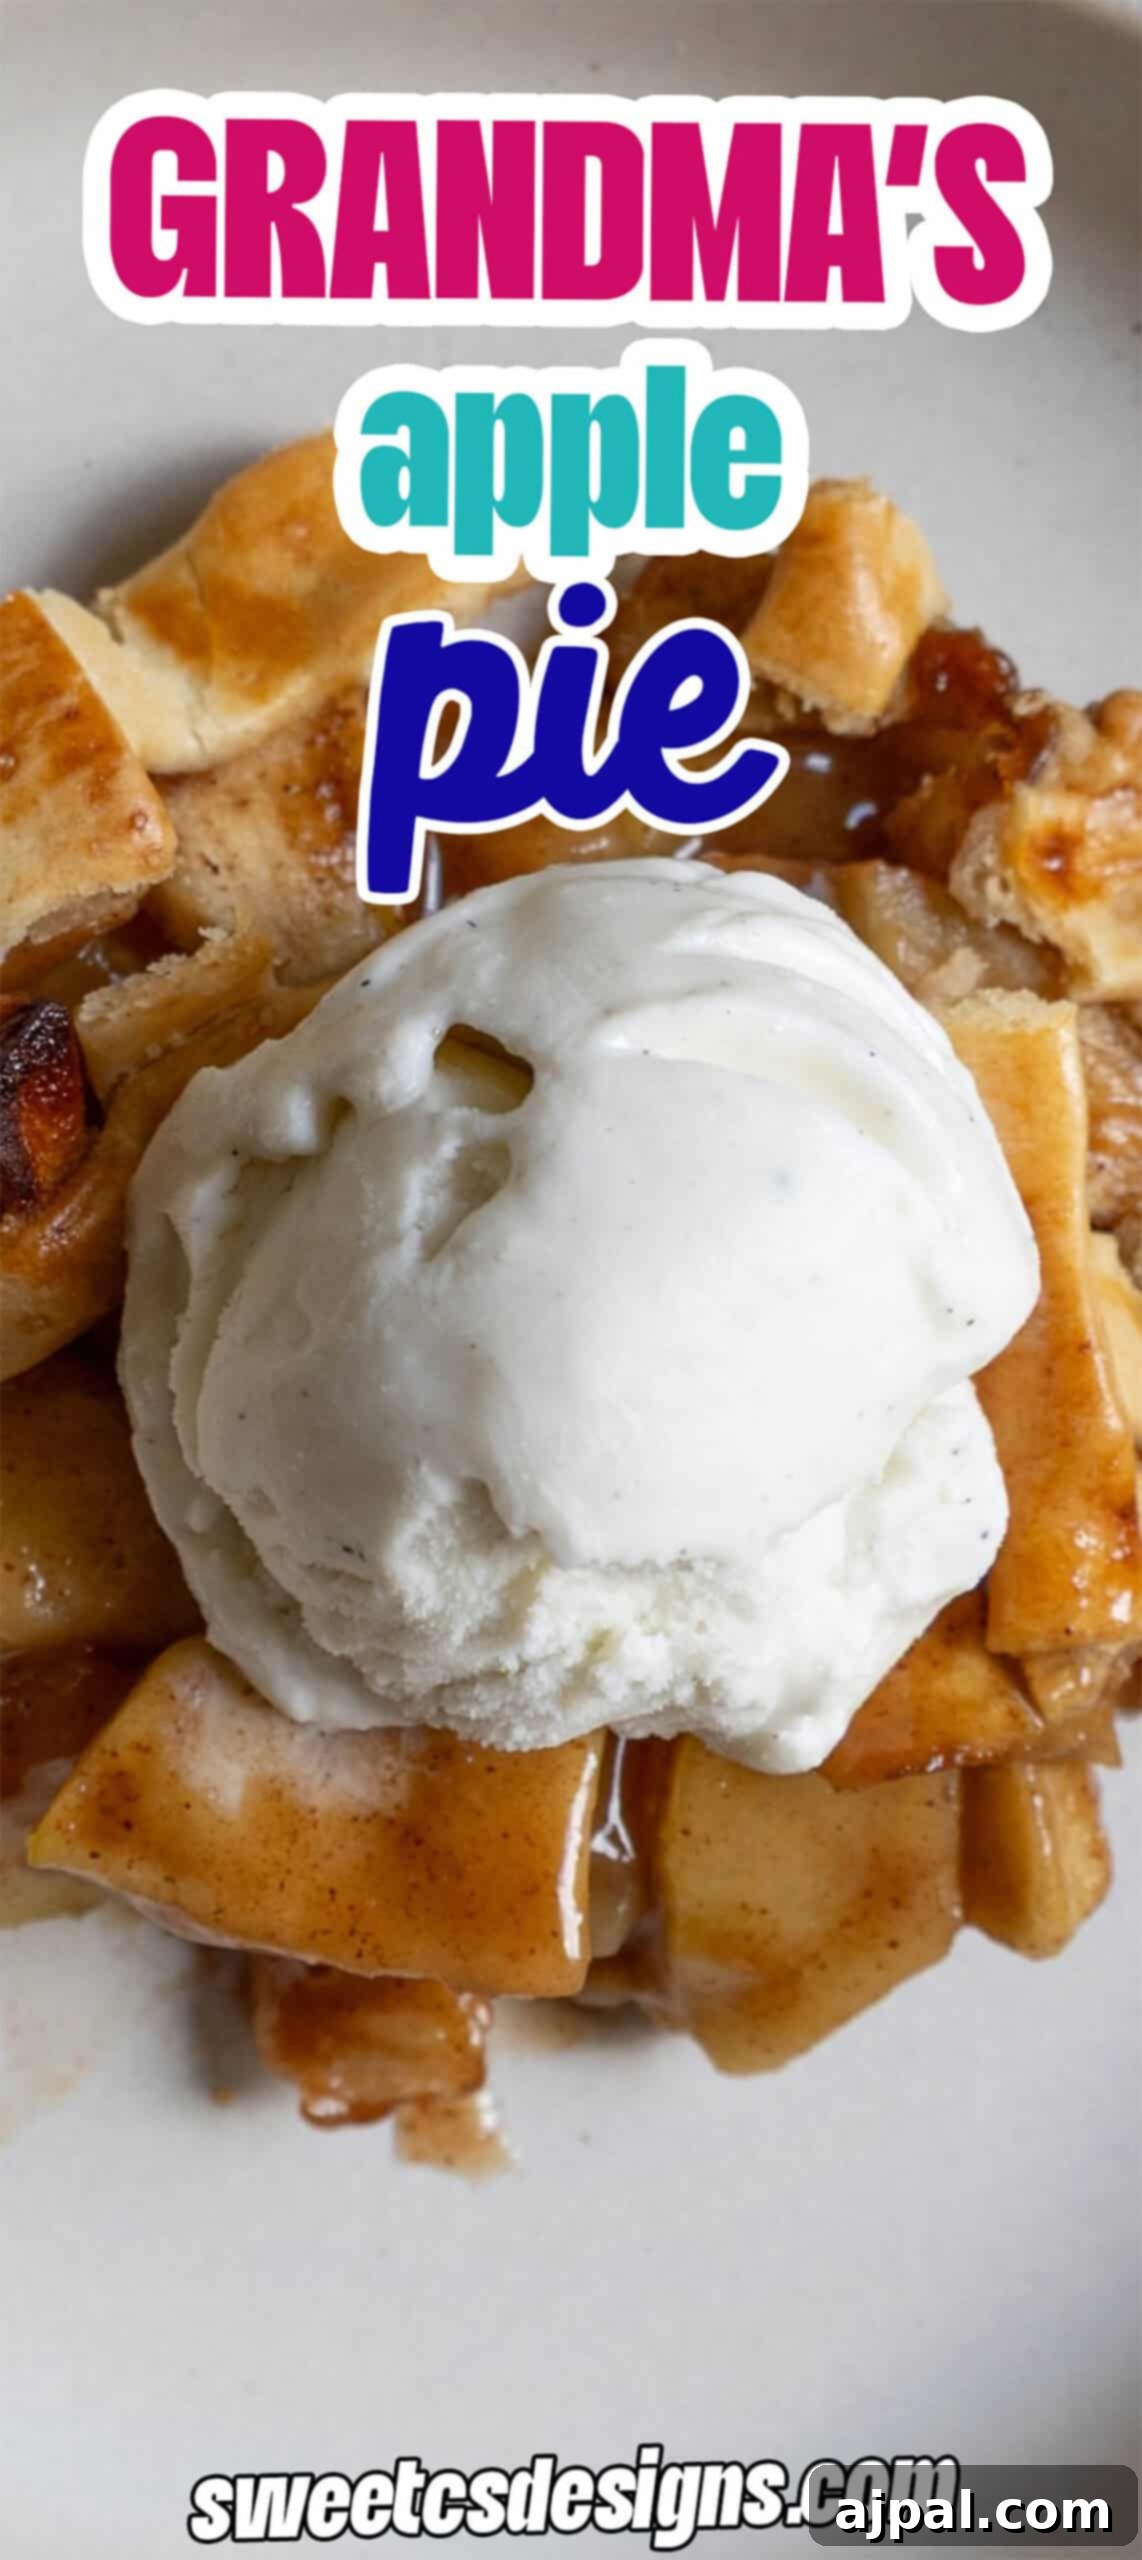
My Grandma Anne’s Apple Pie is more than just a dessert; it’s a treasured family tradition, a symbol of warmth and togetherness that has graced our holiday tables for generations. Each year, my Grandma Anne would meticulously craft her County Fair award-winning apple pie for Thanksgiving and Christmas, and its perfect balance of tart and sweet, encased in a beautiful, rustic lattice crust, was simply irresistible. When I got married, she lovingly passed down this cherished recipe, and I’m delighted to say my own family now adores it just as much.
This recipe offers the authentic taste of a homemade apple pie, designed to bring people together. While the classic lattice top adds a touch of rustic elegance, you can also opt for a delicious Dutch crumble topping for a different, equally delightful texture. You’ll find instructions and tips for both options, along with many other secrets, in the dedicated sections below. During peak apple season, I love transforming fresh orchard apples into this incredible apple pie filling, which can be frozen and enjoyed throughout the year in pies, as a topping for ice cream, or even stirred into oatmeal for a cozy breakfast!
Want to jump straight to the recipe? We’ve included a convenient table of contents below to help you navigate this page quickly. Simply click on the section you’re interested in!
Here at Sweet C’s, my goal is to empower every home cook, regardless of experience level. As someone without formal culinary training, I understand the value of knowing *why* a recipe works and how each ingredient contributes to the final flavor and texture. That’s why I pack all my recipes with extensive tips and insights, ensuring that even the most beginner home chef can feel confident and successful in the kitchen.
Table of Contents
- How to Make the Best Apple Pie
- Choosing the Perfect Apples for Your Pie
- The Secret to a Flaky Pie Crust
- Tips and Tricks for Perfect American Apple Pie
- More Delightful Apple Recipes
- Grandma’s Apple Pie Recipe
How to Make the Best Homemade Apple Pie
Creating a truly memorable apple pie is simpler than you might think. This recipe guides you through each step, ensuring a golden, flaky crust and a perfectly spiced, tender apple filling that will earn rave reviews. From selecting the right apples to mastering the lattice top, we’ll cover everything you need for success.
Essential Ingredients for Grandma’s Apple Pie
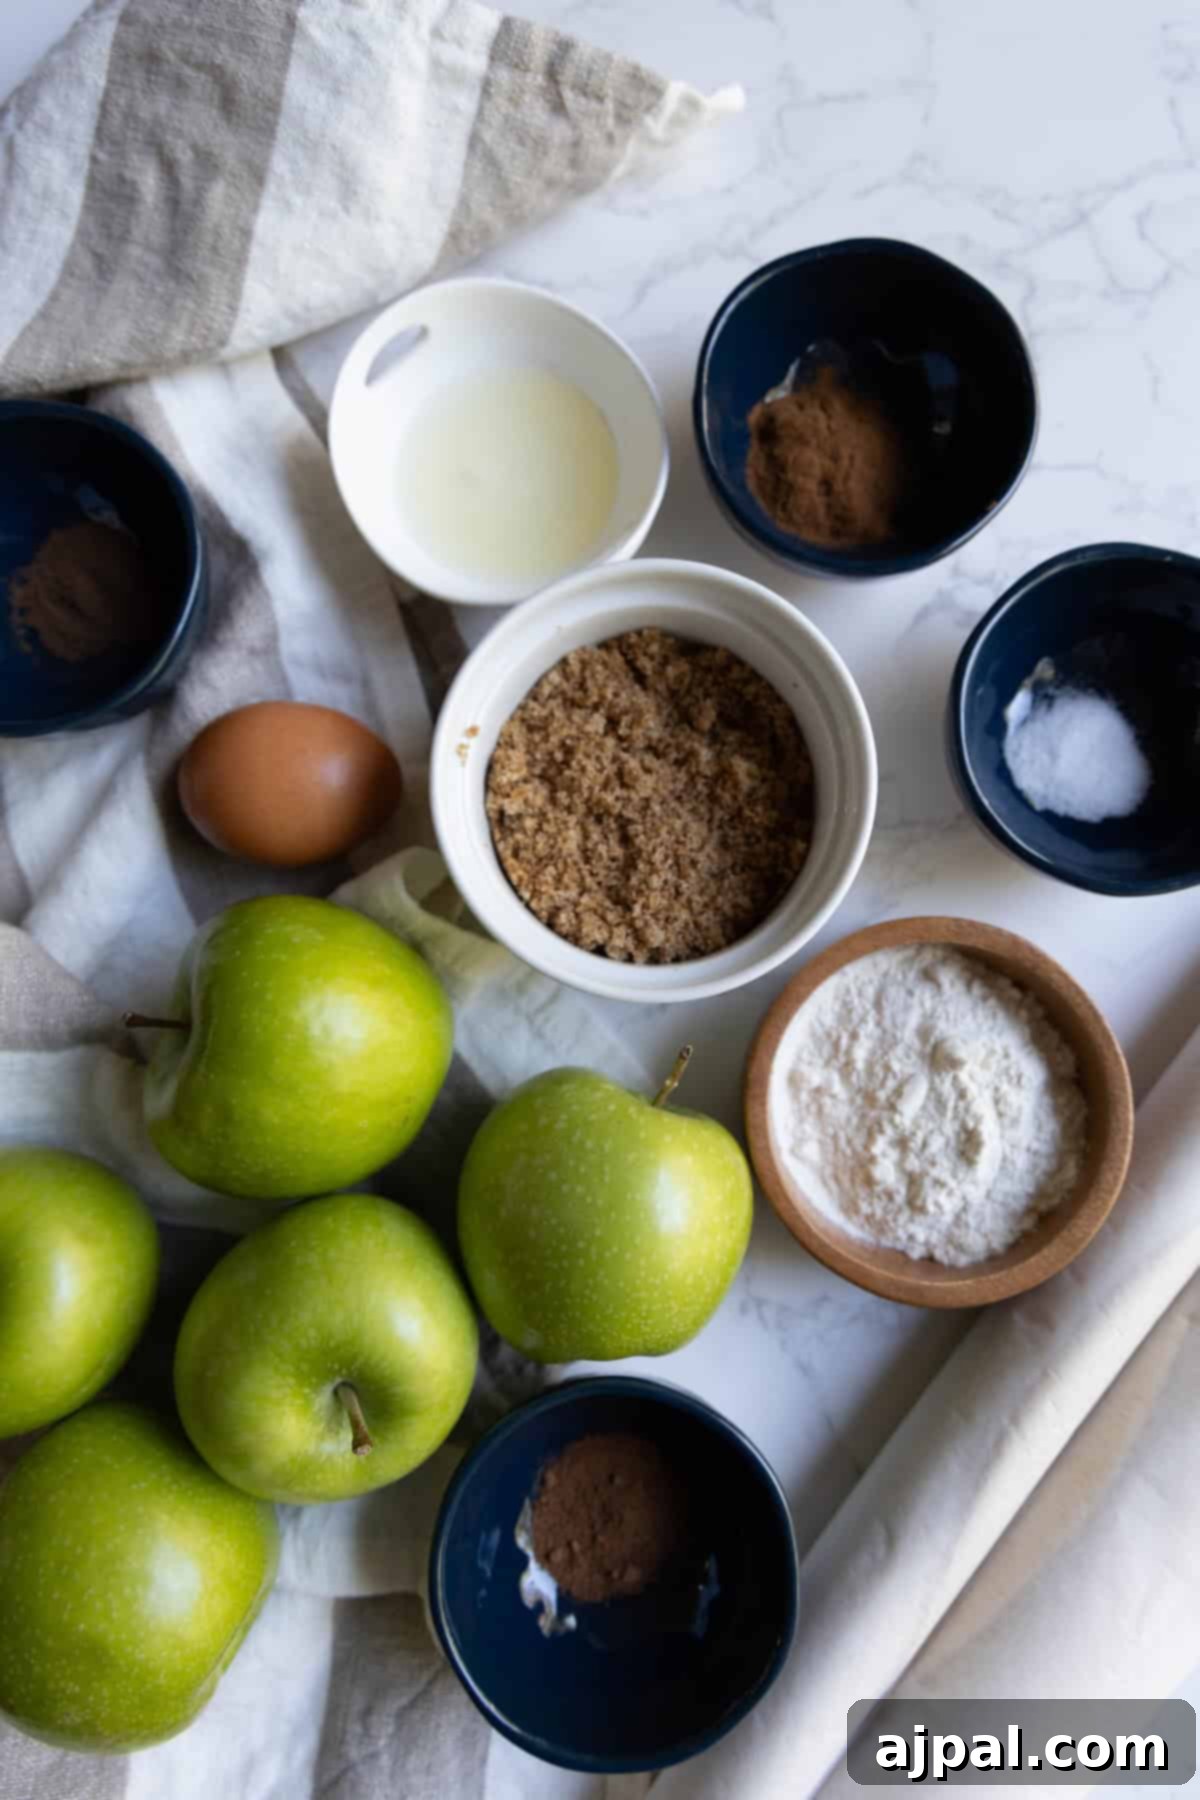
Gathering high-quality ingredients is the first step to an unforgettable pie. Here’s what you’ll need to assemble this classic dessert:
- Pie Crusts (2, premade or homemade): A good pie crust is the foundation of an exceptional apple pie. Using buttery, flaky premade crusts saves time without compromising on taste, providing a crisp, golden base and top layer. If you’re feeling ambitious, a homemade crust elevates the pie even further.
- Granny Smith Apples (8 large): The quintessential apple for pie, Granny Smiths are tart and firm, holding their shape beautifully during baking. Their acidity perfectly balances the sweetness of the filling, creating a complex flavor profile.
- Brown Sugar (1/2 cup): Brown sugar contributes more than just sweetness; its rich, molasses undertones add a depth of flavor that complements the warm spices in the filling, giving the pie its characteristic cozy taste.
- All-Purpose Flour (1/4 cup): This is crucial for achieving the perfect consistency in your filling. Flour thickens the apple juices as they cook, preventing a watery pie and ensuring a luscious, gooey texture.
- Lemon Juice (1 tbsp): A splash of fresh lemon juice is a secret weapon. It brightens the flavor of the apples, preventing them from browning prematurely and enhancing their natural tartness.
- Ground Cinnamon (1 and 1/2 tsp): Cinnamon is the star spice of apple pie, infusing the filling with its signature warm, comforting aroma and flavor that defines this classic dessert.
- Ground Allspice (1/4 tsp): Allspice adds a subtle yet complex peppery sweetness, with hints of clove and nutmeg, deepening the overall spice profile without overpowering the apples.
- Ground Nutmeg (1/4 tsp): Nutmeg contributes a warm, earthy note and a slightly sweet nuttiness, rounding out the spice blend and adding a layer of traditional flavor.
- Ground Cloves (¼ tsp): Just a hint of ground cloves provides a bold, spicy kick that truly elevates the aromatic complexity of the pie, making each bite more interesting.
- Sea Salt (¼ tsp): A small pinch of sea salt is essential. It sharpens all the other flavors, balancing the sweetness and enhancing the natural taste of the apples and spices.
- Egg Wash (1 egg and 1 tbsp water): This simple mixture is brushed over the top crust before baking to give it a beautiful golden-brown, glossy finish and helps in sealing the edges for a professional look.
Choosing the Perfect Apples for Your Pie
The type of apples you choose can dramatically impact your apple pie. For this Grandma’s recipe, Granny Smith apples are recommended for their tartness and firm texture, which prevents them from turning mushy during baking. However, for a more complex flavor, consider blending varieties. Combining Granny Smith with sweeter, softer apples like Honeycrisp, Braeburn, or Golden Delicious can offer a delightful balance of sweet, tart, and varying textures. Avoid apples that become too soft when cooked, as they can result in a watery filling. Always prioritize fresh, crisp apples for the best results, ensuring they are free from bruises and soft spots.
The Secret to a Flaky Pie Crust
Whether you’re using a quality store-bought crust or making your own, a truly flaky crust is paramount. For premade crusts, ensure they are kept chilled until ready to use. This helps prevent the butter from melting too quickly, which is key for that desirable flakiness. When working with the dough, handle it as little as possible to avoid overworking the gluten, which can lead to a tough crust. If making your own, use very cold butter cut into small pieces and cold water. This creates pockets of steam during baking, resulting in a wonderfully light and flaky texture. A perfectly golden and crisp crust is not just about taste but also about providing a sturdy vessel for the delicious apple filling.
Steps to Make Your Best-Ever Apple Pie
With your ingredients ready and your pie crust strategy in mind, let’s assemble this incredible dessert. Follow these detailed steps to create a beautiful and delicious lattice-top apple pie.
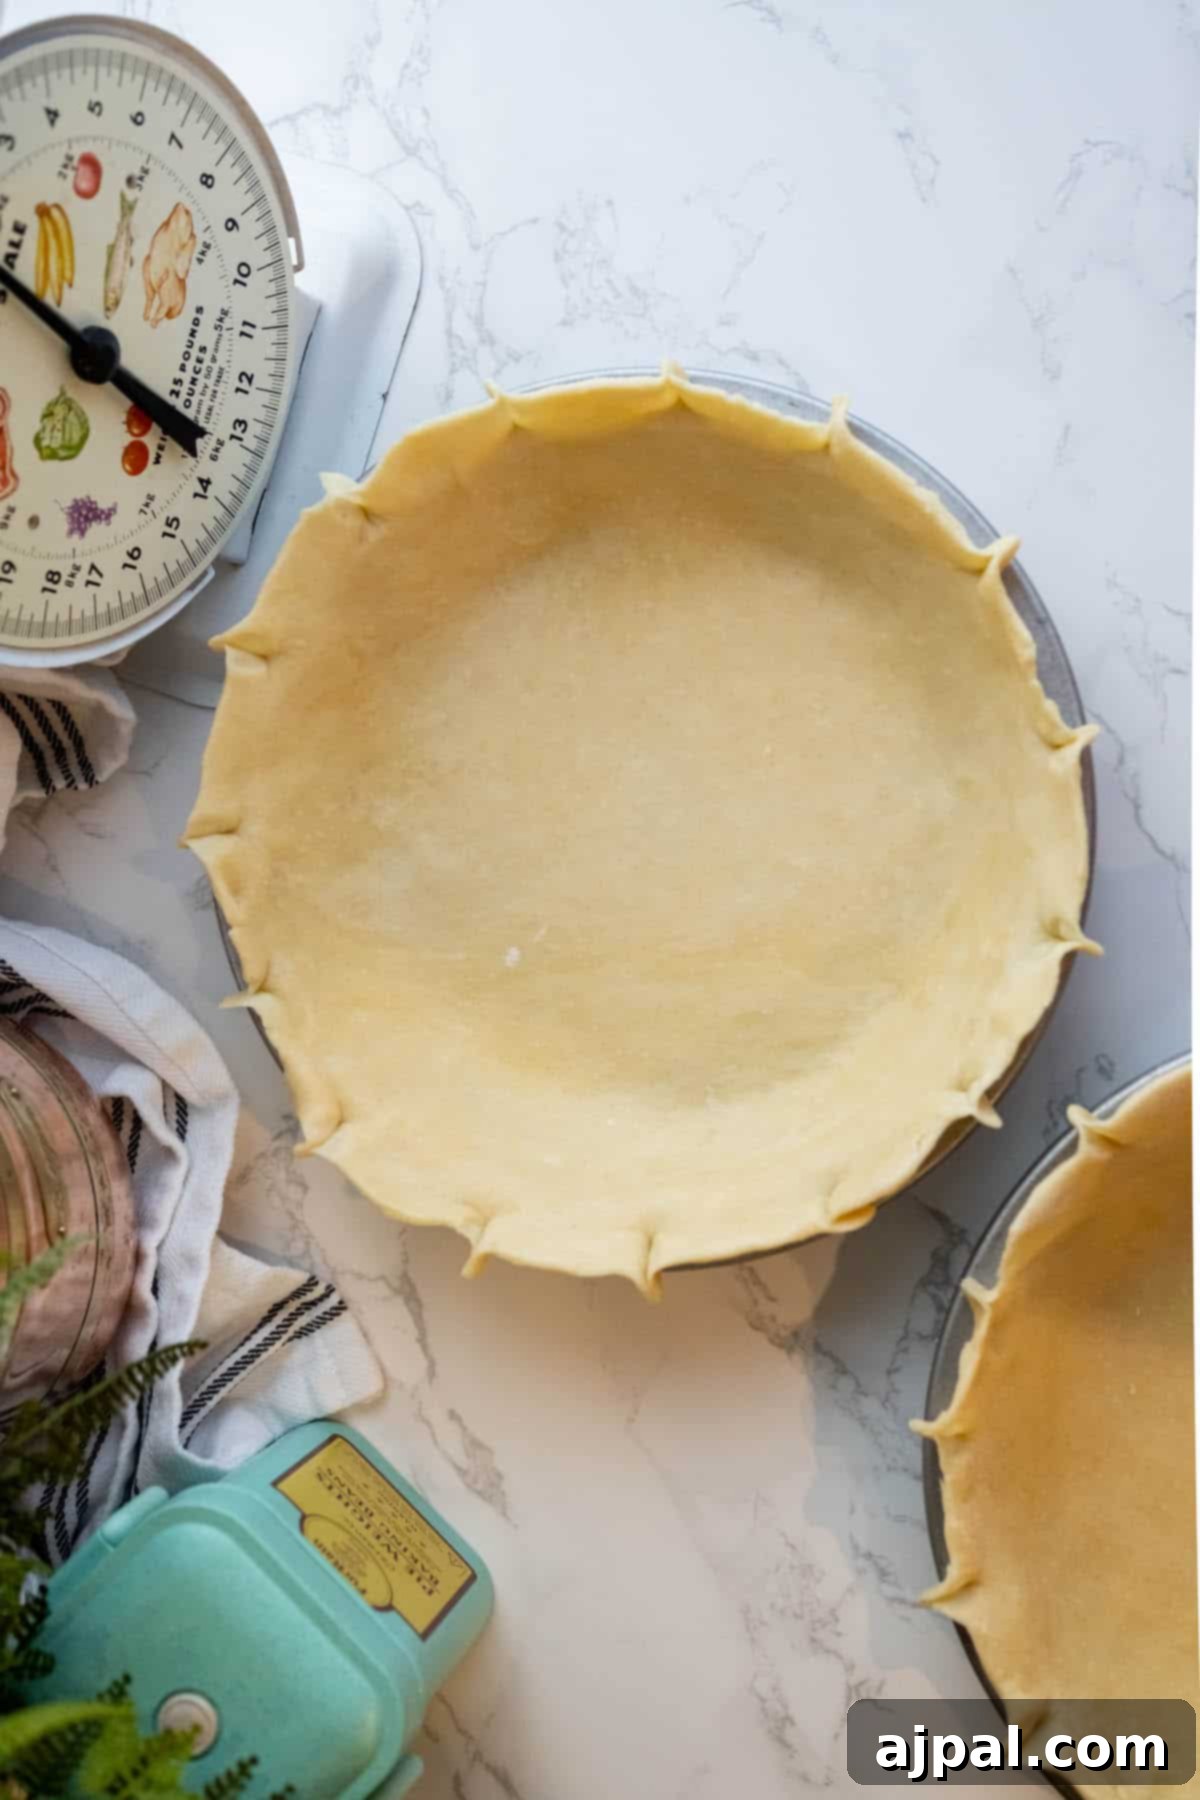
Prepare Your Pie Crust
You can use my cherished homemade pie crust recipe for an extra special touch, or opt for high-quality store-bought bake-ready crusts for convenience. Remember, a chilled crust is key to a flaky texture. Preheat your oven to 400°F (200°C).
Prep & Peel Apples
Carefully peel your Granny Smith apples, then core and slice them into uniform pieces. Aim for slices that are about 1/4 inch thick to ensure even cooking and a tender, not mushy, filling. Place them in a large bowl while you prepare the crust.
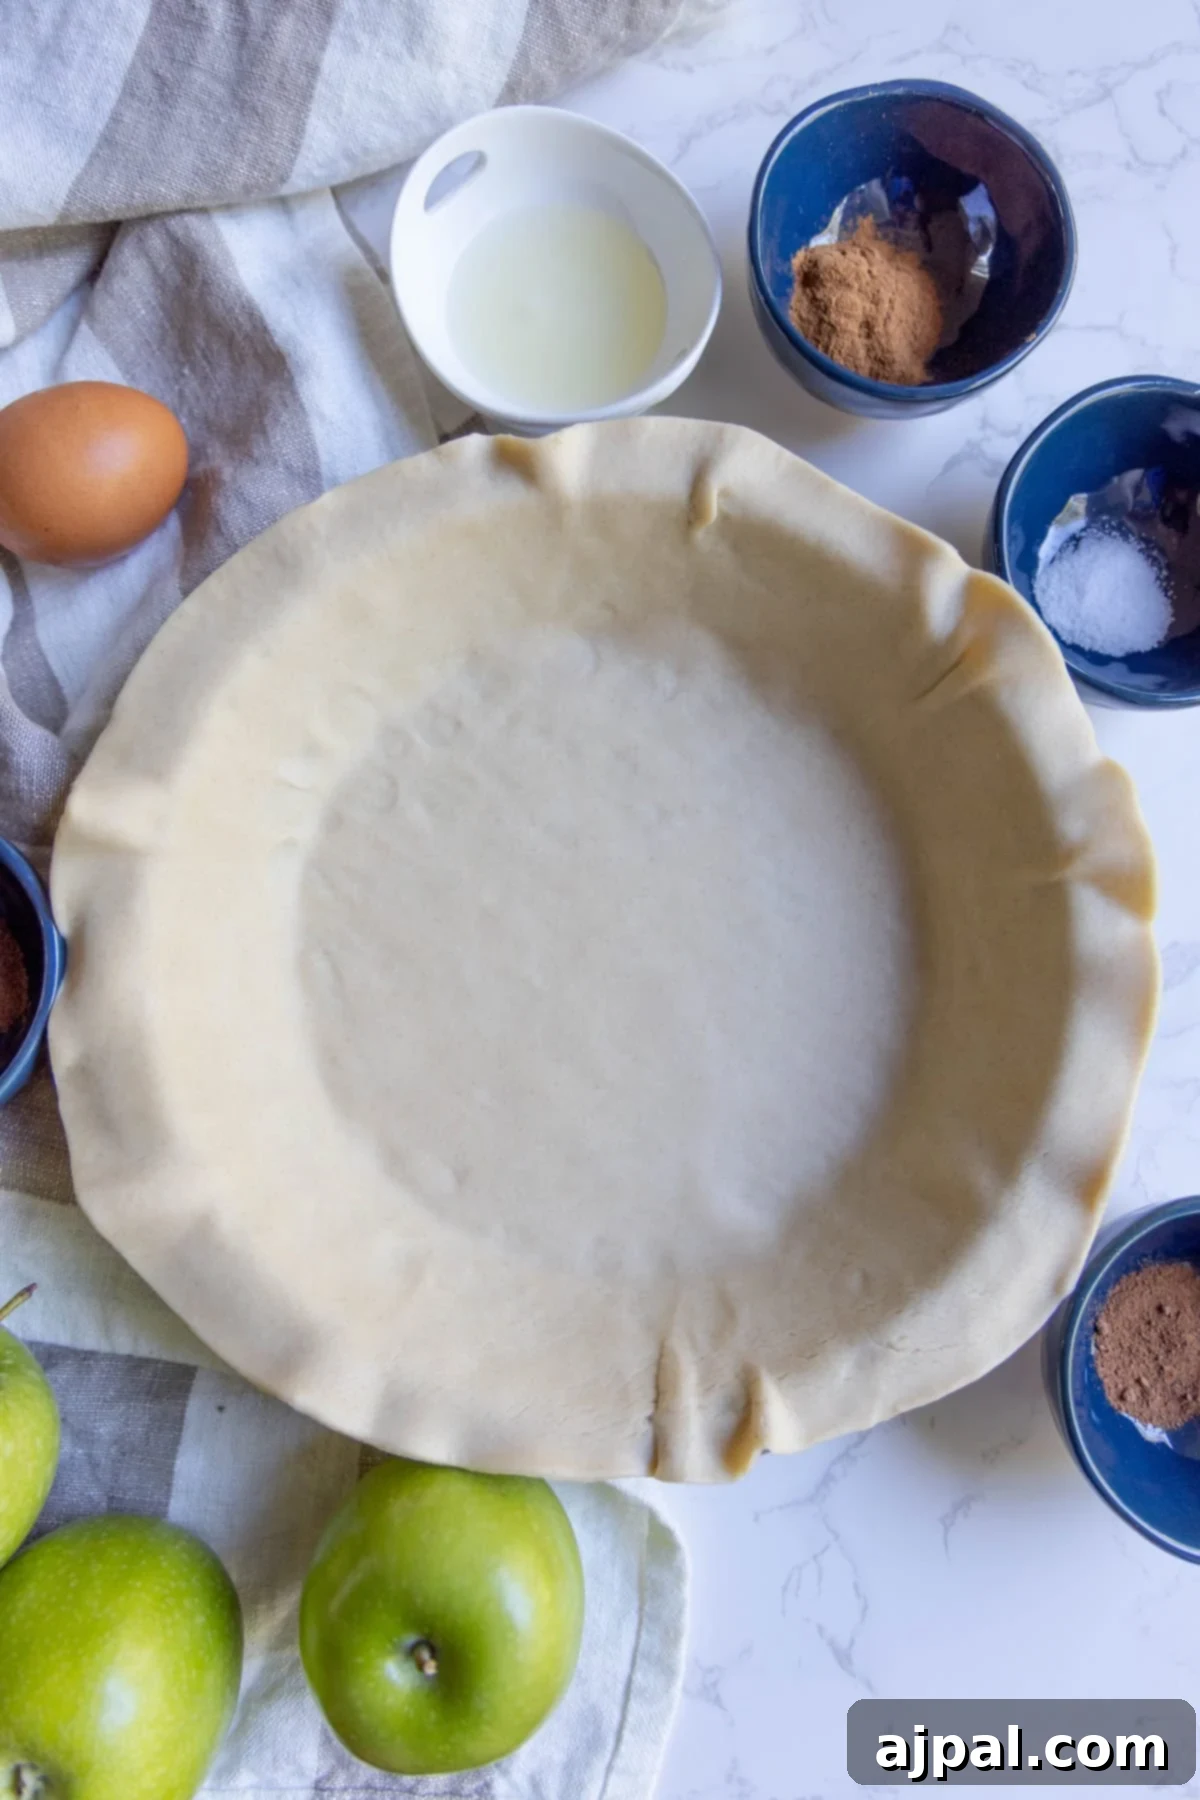
Line the Pie Pan
Flour your work surface lightly. Roll out one of your chilled pie crusts and carefully fit it into a standard 9-inch pie pan. Gently press the dough into the pan, ensuring it’s smooth and free of air bubbles. Trim any excess dough, leaving about a 1/2 inch overhang, then place the lined pie pan in the fridge to keep it cool while you prepare the filling.
Cook the Flavorful Filling
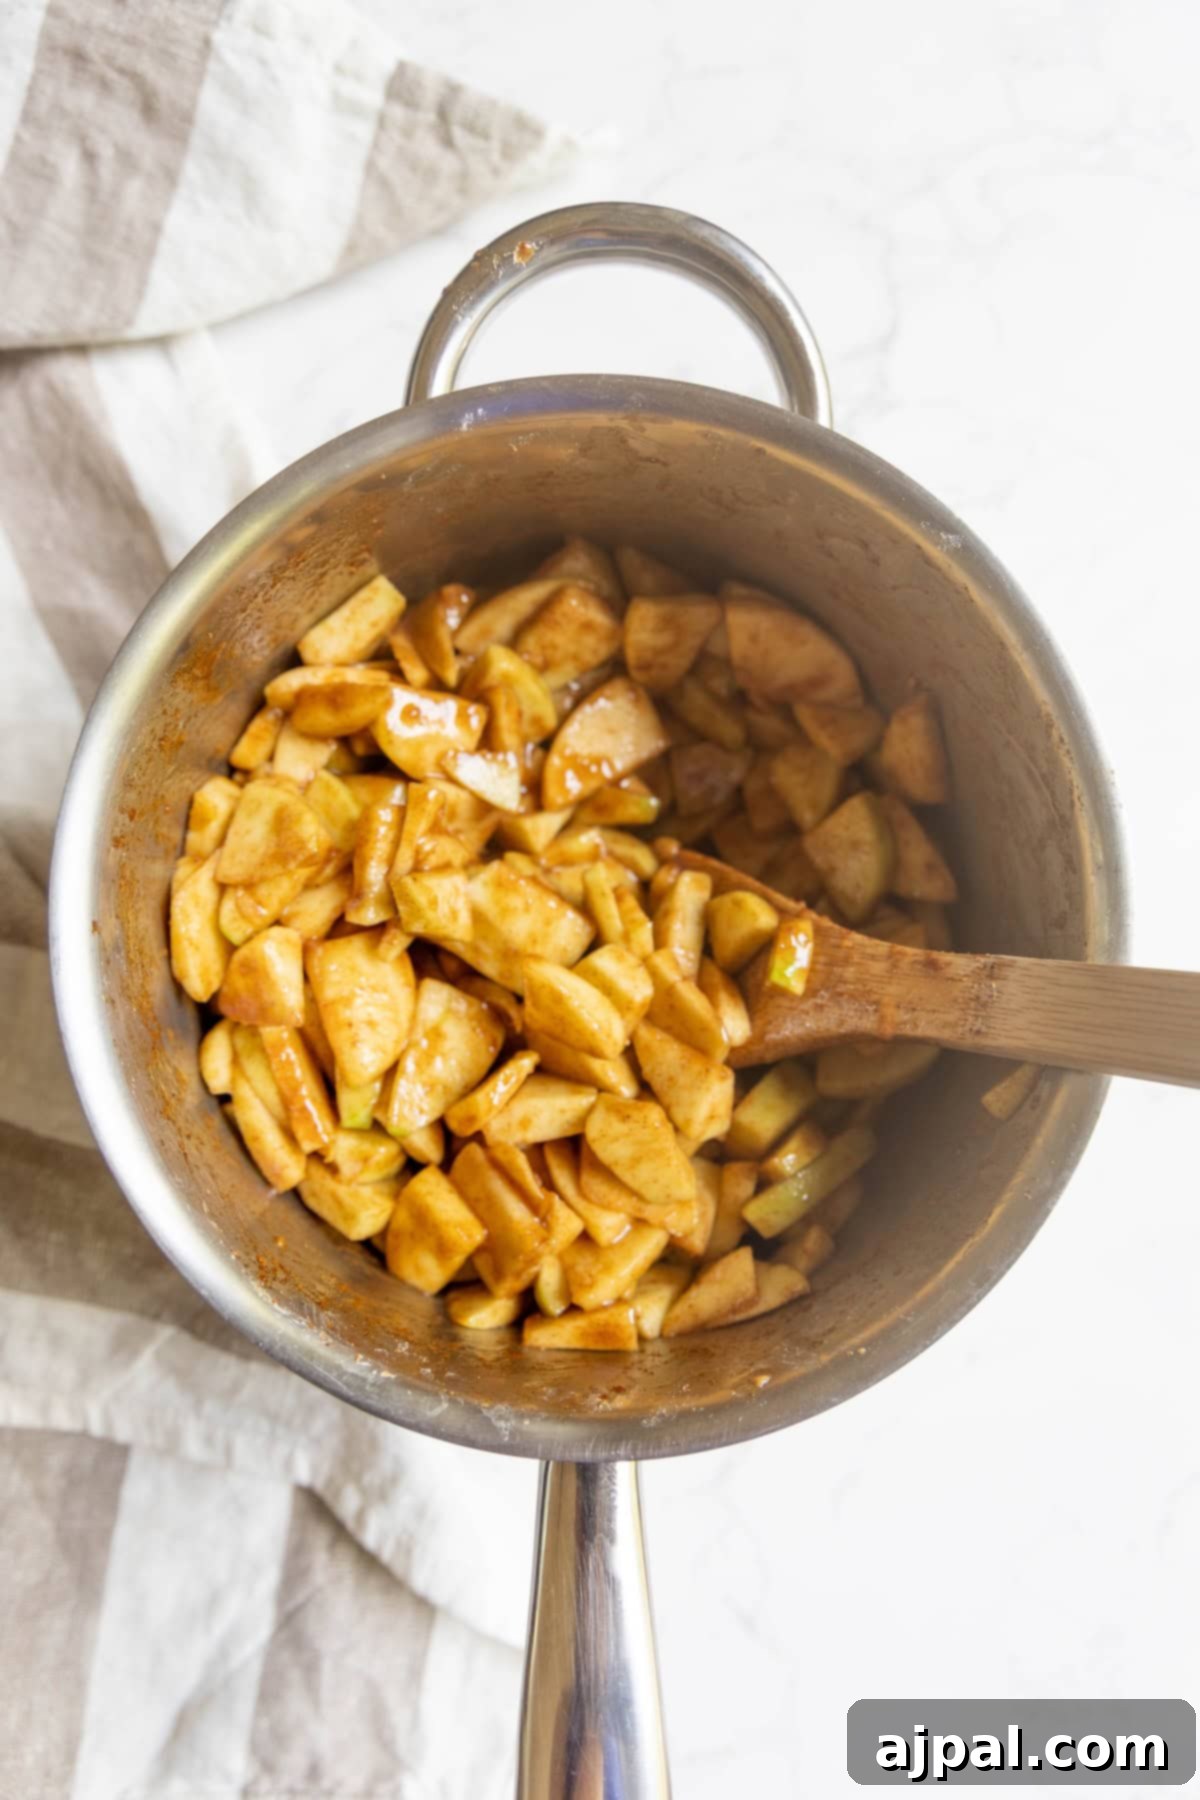
In a medium pot, combine the sliced apples, brown sugar, all-purpose flour, lemon juice, ground cinnamon, allspice, nutmeg, cloves, and sea salt. Stir everything gently to coat the apples evenly. Cook this mixture over medium heat for about 5-7 minutes, stirring occasionally, until the apples begin to soften slightly. This crucial step helps prevent a soggy bottom crust and ensures a beautifully cohesive filling. Remove from heat and set aside to cool.
Craft the Elegant Lattice Top
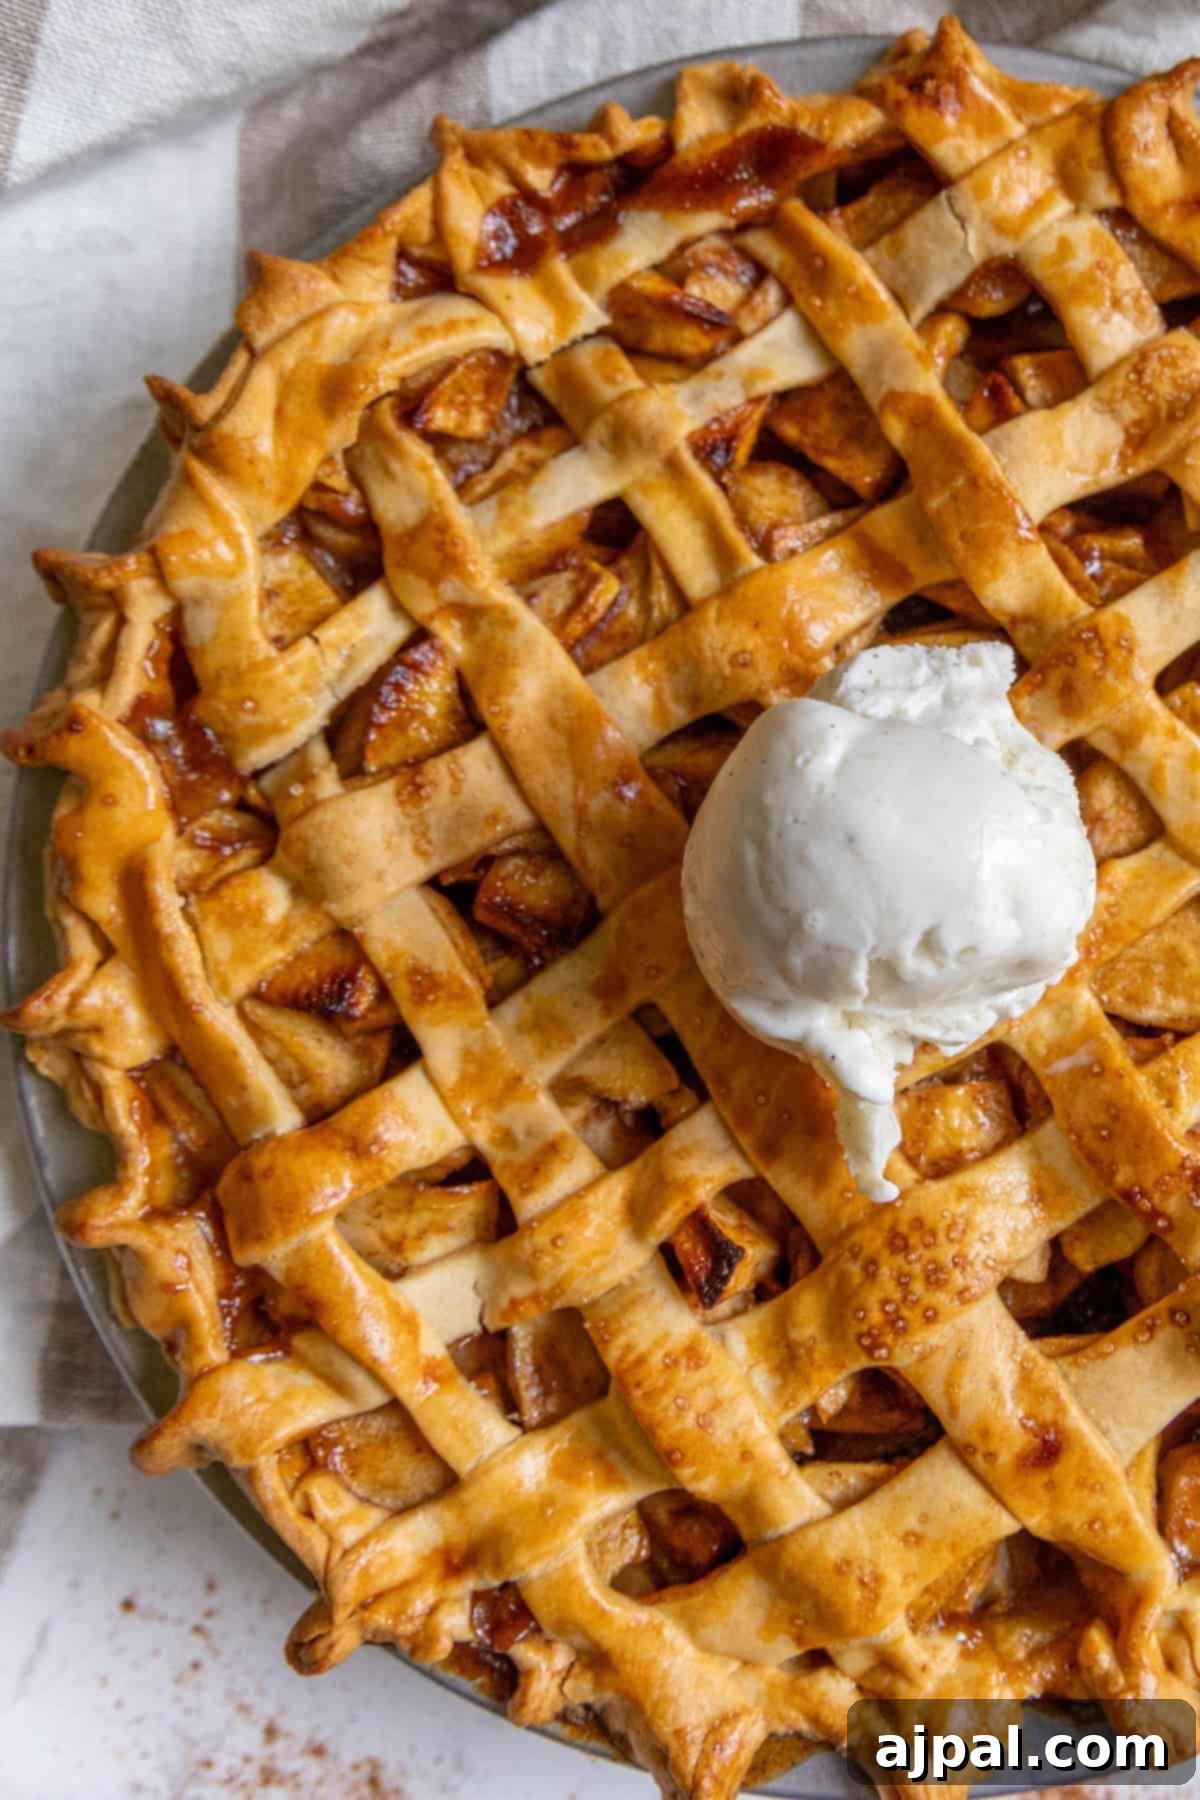
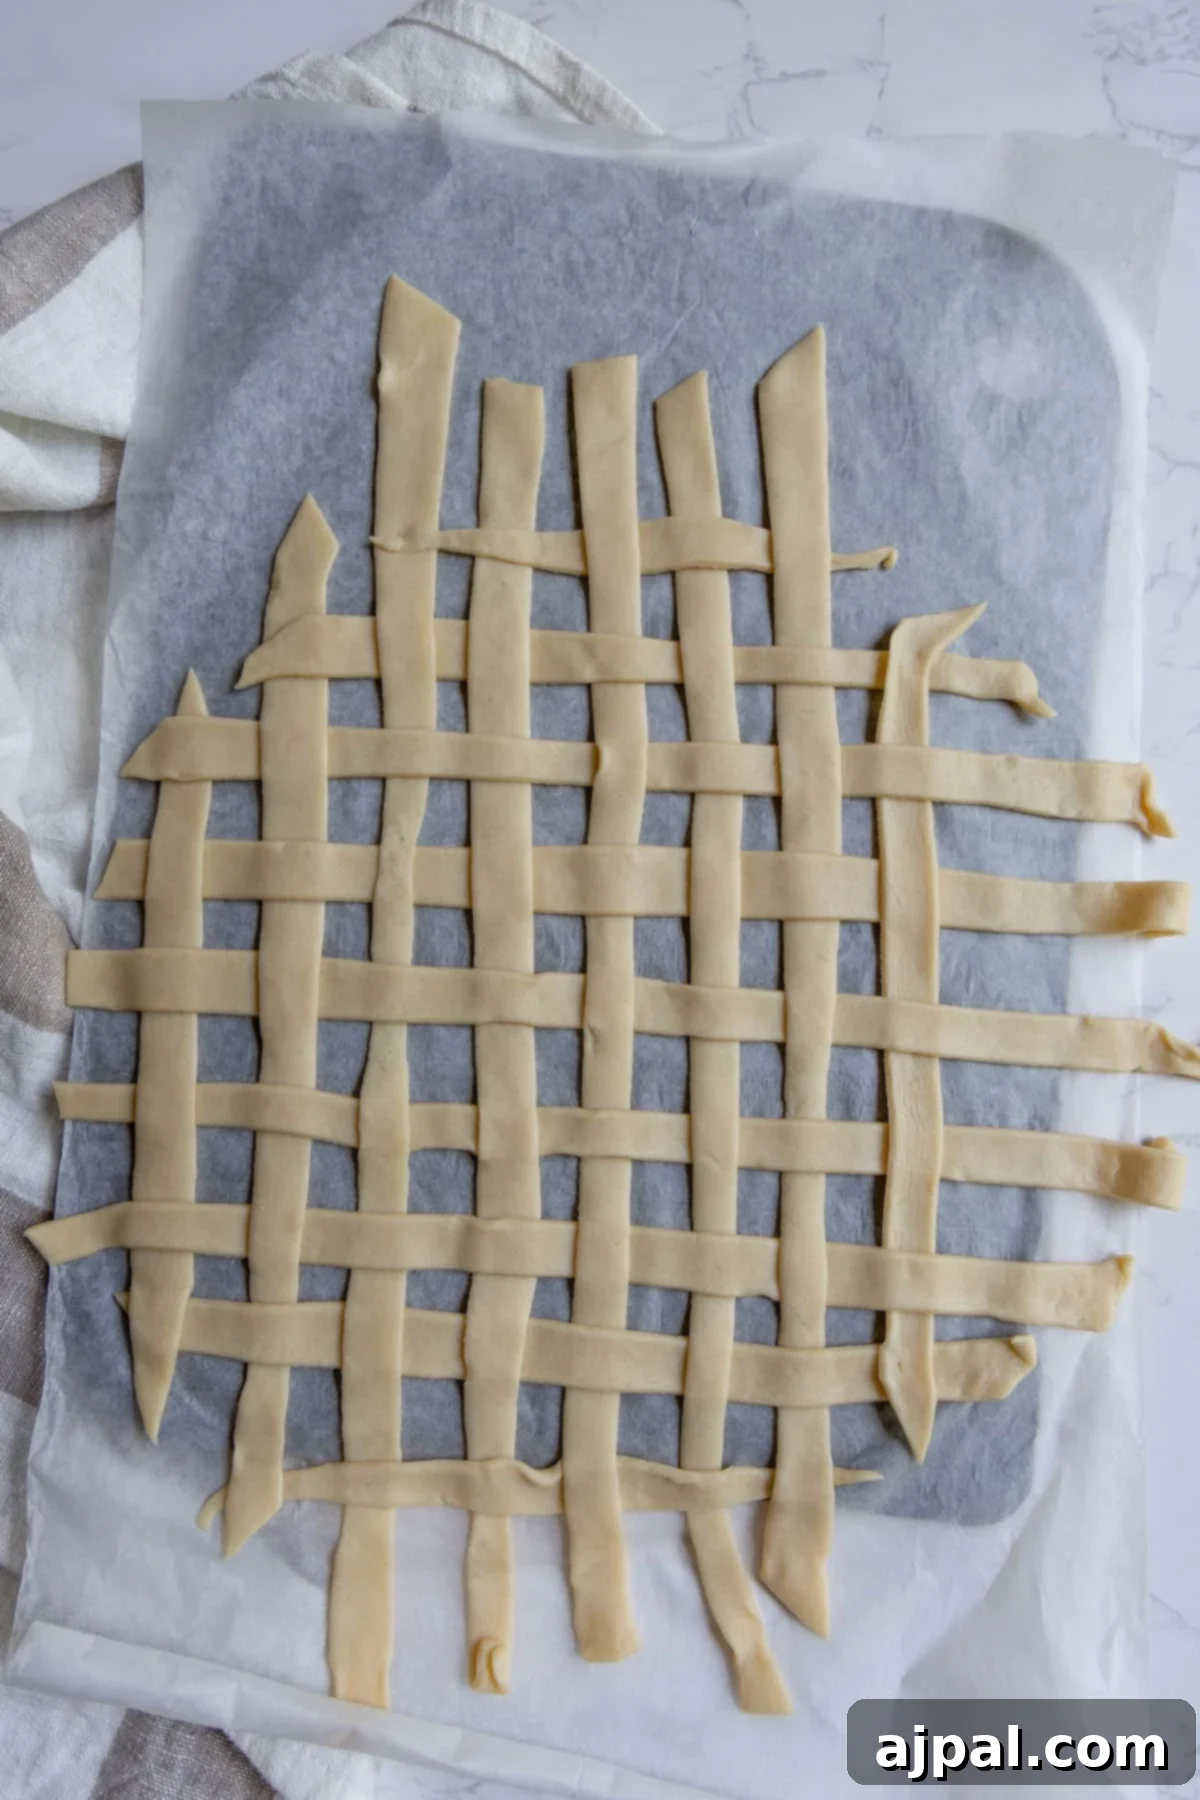
On a piece of parchment paper, roll out your second pie crust disc until it’s about 12 inches in diameter. Using a pizza cutter or sharp knife, slice the dough into 1/2-inch wide strips. Lay half of the strips vertically across the parchment paper. Fold back every other vertical strip halfway, then place a horizontal strip over the unfolded strips. Unfold the vertical strips. Repeat this process, folding back the *other* set of vertical strips, and placing another horizontal strip. Continue weaving until you have a beautiful lattice pattern. Gently roll a rolling pin across the finished lattice to lightly seal the strips together (don’t press too hard!). Place the lattice back in the fridge to chill.
Assemble and Bake Your Apple Pie
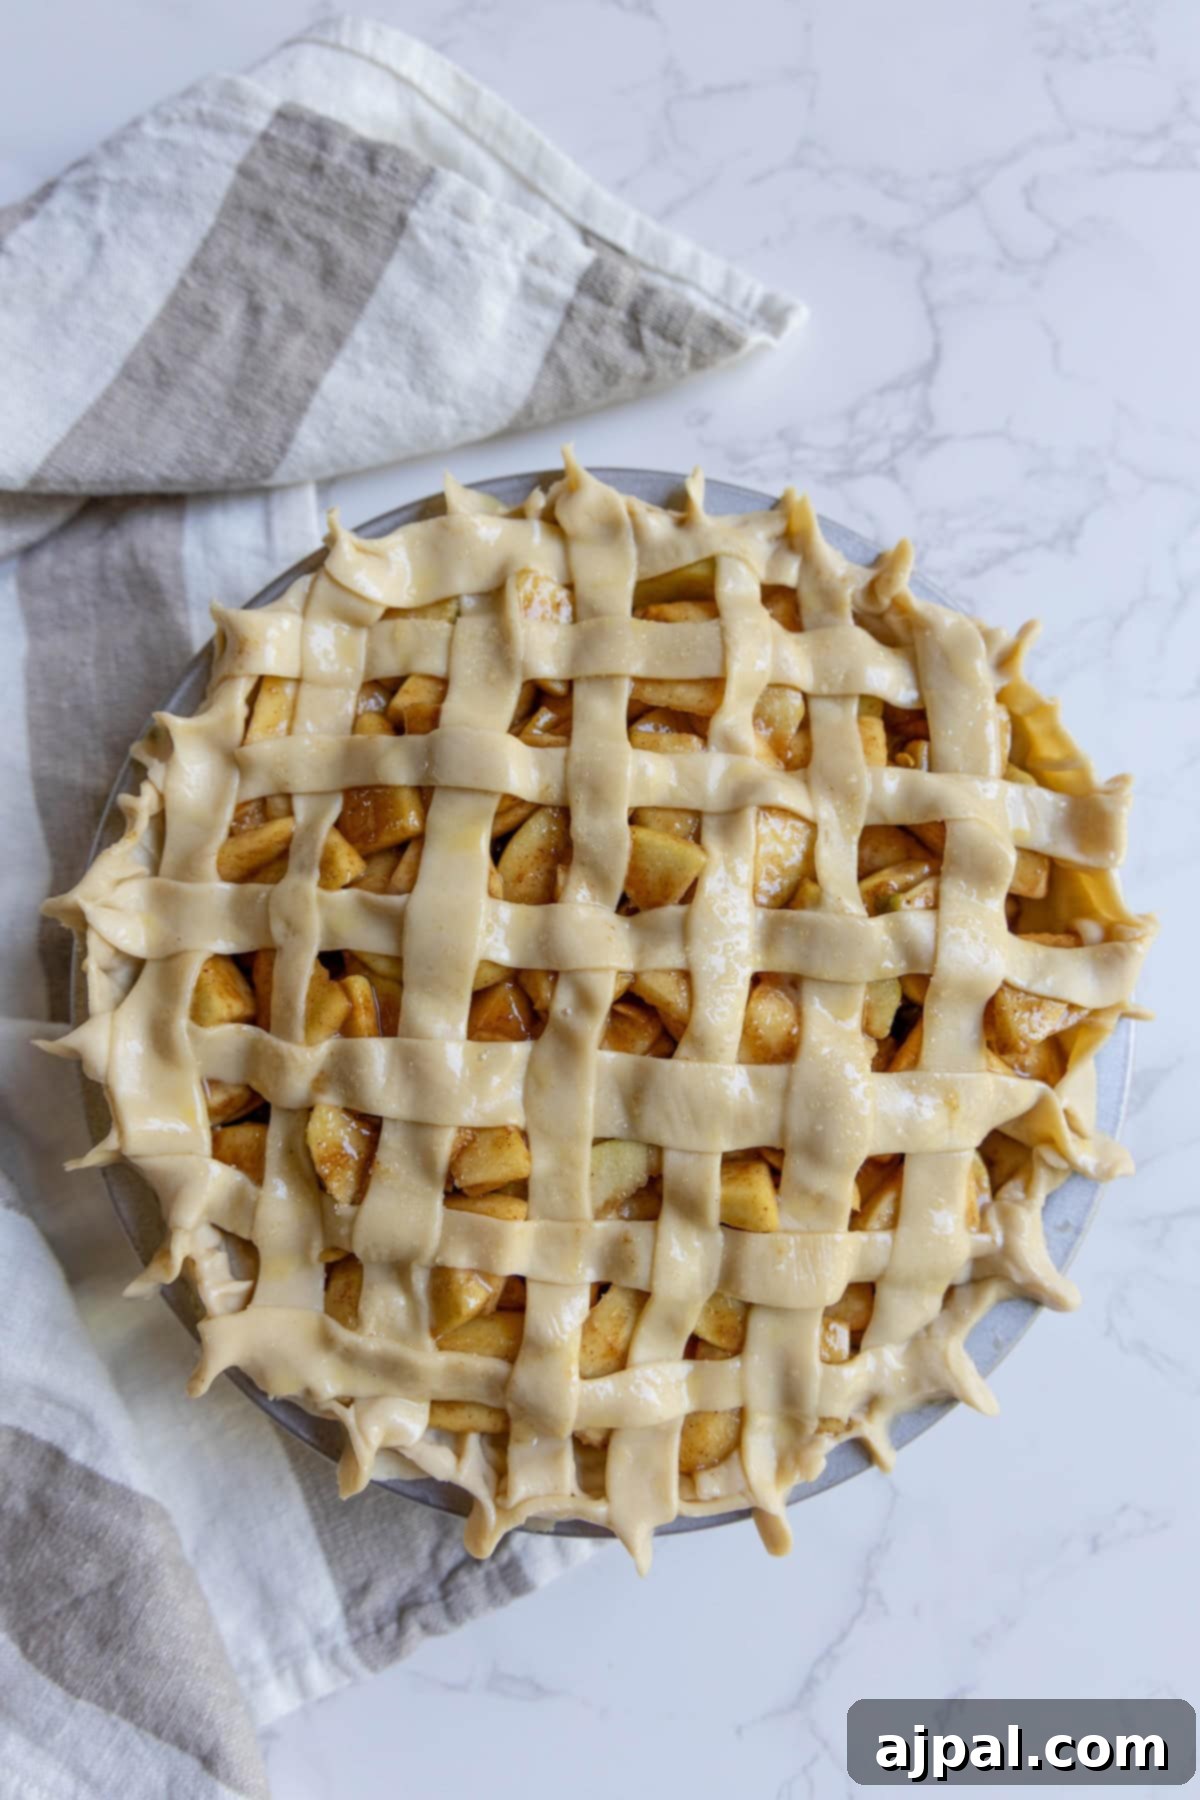
Carefully spoon the cooled apple filling into the chilled pie crust in the pan, mounding it slightly in the center. Gently transfer the chilled lattice top from the parchment paper and place it over the filling. Trim any excess dough from both the bottom crust and the lattice, then crimp the edges together to create a decorative seal. In a small bowl, whisk together one egg with one tablespoon of water to create an egg wash. Brush this wash evenly over the lattice top and crimped edges; this will give your pie a gorgeous golden sheen. For an extra touch, sprinkle with a bit of coarse sugar if desired.
Place the pie on a baking sheet (to catch any potential drips and ensure even bottom crust cooking). Bake at 400°F (200°C) for the first 20-25 minutes. Then, without opening the oven door, reduce the temperature to 375°F (190°C) and bake for another 40-50 minutes, or until the filling is bubbling thickly and the crust is beautifully golden brown. If the edges of your crust start browning too quickly, loosely cover them with aluminum foil or a pie shield.
Allow to Cool Completely
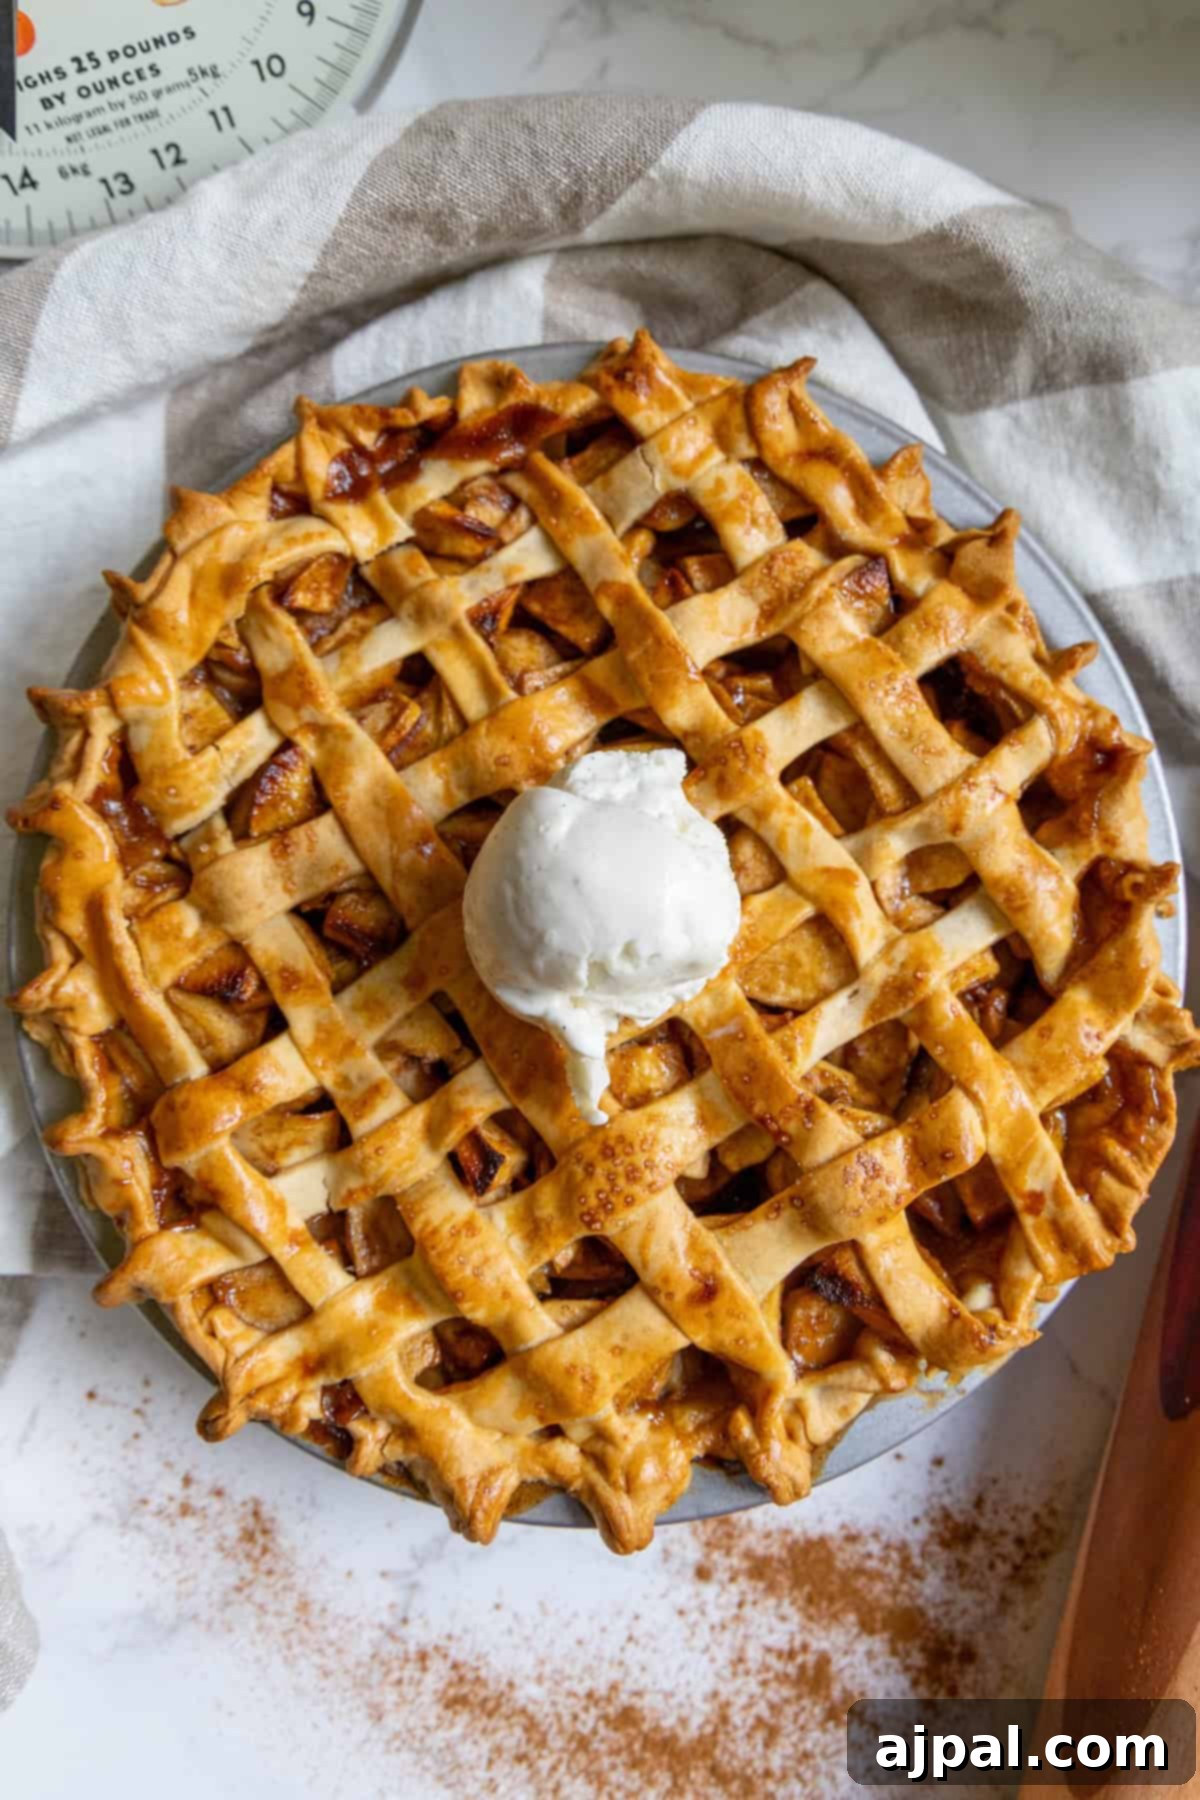
This step is crucial for the perfect apple pie! Once baked, remove the pie from the oven and let it cool on a wire rack for at least 3 hours, or even longer, before slicing and serving. This allows the hot apple filling to set properly, preventing it from being too runny when cut. Patience truly pays off here for a perfectly structured slice. Enjoy your delicious homemade masterpiece!
Expert Tips and Tricks for Your Perfect Apple Pie
Achieving apple pie perfection is easier with a few insider tips. These techniques, many learned from Grandma herself, will help ensure your pie is consistently delicious and visually stunning:
- Variety is Key for Apples: While Granny Smiths are fantastic, using a mix of apple varieties (e.g., Granny Smith for tartness and Honeycrisp or Braeburn for sweetness and different textures) creates a more complex and flavorful filling.
- Keep Everything Cold for Crust: This is the golden rule for a flaky crust. Ensure your butter, water, and even the pie dough itself are as cold as possible. This prevents the butter from melting too soon, creating those desired pockets of steam that result in flakiness.
- Pre-Cook the Filling: Slightly cooking the apple filling before baking helps to soften the apples, prevent shrinking in the pie, and develop the flavors. More importantly, it helps prevent a soggy bottom crust by reducing the amount of moisture released during baking.
- Prevent a Soggy Bottom: Beyond pre-cooking the filling, you can bake the pie on the lowest rack of your oven to give the bottom crust direct heat. Some bakers also sprinkle a thin layer of breadcrumbs or crushed cereal on the bottom crust before adding the filling to absorb excess moisture.
- Utilize a Pie Shield: If your crust edges are browning too quickly, use a pie shield or fashion one from aluminum foil. This protects the edges from over-browning while allowing the rest of the pie to bake through.
- The Importance of Resting: Resist the urge to slice into your warm pie immediately! Letting the pie rest for at least 2-3 hours (or even longer) allows the hot filling juices to cool and set. This prevents a runny, messy slice and ensures a perfectly firm, yet tender, filling.
- Serving Suggestions: While delicious on its own, this apple pie truly shines when served warm with a scoop of premium vanilla ice cream, a dollop of freshly whipped cream, or a drizzle of warm caramel sauce.
- Proper Storage: Store your baked apple pie at room temperature for 1-2 days, covered loosely. For longer storage, refrigerate for up to 2-3 additional days. Reheat individual slices in a preheated oven (around 350°F or 175°C) for about 10-15 minutes to revive the crispness of the crust.
Homemade Apple Pie FAQs
To combat a soggy bottom, bake your pie on the lowest oven rack for direct heat. You can also slightly pre-cook the apple filling to reduce moisture or add a thin layer of breadcrumbs, crushed cornflakes, or even a light egg wash to the bottom crust before adding the apples; these act as a barrier to absorb excess liquid.
Peeling apples is generally recommended for a smoother, more refined pie texture, as apple skins can become tough when baked. However, if you prefer a rustic look and added fiber, you can leave the skins on, especially with thin-skinned varieties. Just ensure they are washed thoroughly.
Yes, absolutely! You can assemble the entire pie (unbaked) and refrigerate it for up to 24 hours. Alternatively, you can freeze an unbaked pie for up to 3 months. When baking from frozen, simply add extra baking time (often an additional 20-30 minutes) until the filling is bubbling and the crust is golden.
If your top crust, especially the edges, is browning too quickly before the pie is fully cooked, loosely cover it with aluminum foil or use a specialized pie shield. This protects the crust from direct heat while allowing the filling to continue baking.
Yes, you can! For a delightful alternative, consider making an apple crumble pie by replacing the top crust with a streusel topping. To make a simple streusel, combine flour, sugar (white or brown), and a pinch of cinnamon, then cut in cold butter until the mixture forms coarse crumbs. Sprinkle this evenly over your apple filling before baking for a sweet, buttery, and crumbly finish.
While delicious either way, many agree that apple pie is best served slightly warm. The warmth enhances the aroma of the spices and the tenderness of the apples. Pair it with a scoop of cold vanilla ice cream or a dollop of whipped cream for a classic, comforting experience.
More Delightful Apple Recipes to Enjoy
If you loved this classic apple pie, you’ll surely enjoy these other wonderful apple-inspired creations! Try my cinnamon apple Dutch baby for a unique breakfast or dessert, and for a warming seasonal drink, don’t miss my favorite bourbon apple cider cocktail!
Easy Apple Banana Cake Bread
Easy French Apple Tart
Grandma’s Apple Pie
Sparkling Apple Cider Rum Punch Recipe
If you’ve enjoyed making this easy recipe, please take a moment to give it a five-star rating by clicking the stars below and leave a comment sharing your experience! Your feedback helps us grow. Also, consider sharing your creations on Instagram, Facebook, and Pinterest – we love seeing what you bake!
Share on Facebook
Share
Pin this now to find it later
Pin It
Follow us on Instagram
Follow
Only have 30 minutes to get dinner on the table? Sign up for my 30-minute dinner plans direct to your inbox!
Find and shop my favorite products in my Amazon storefront here!
Want to save this recipe?
Just enter your email and get it sent to your inbox! Plus, you’ll receive new recipes from us every week – and be sure to tag @sweetcsdesigns on social media – I love to see your creations!
Grandma’s Apple Pie
Email Recipe
Print Recipe
My Grandma Anne’s apple pie is warm, comforting, and filled with perfectly sweet, cinnamon-spiced apples wrapped in a golden, flaky crust that tastes like home. This timeless dessert is perfect for any occasion, from holiday feasts to cozy family gatherings.
Equipment
- USA Pan Bakeware Aluminized Steel Pie Pan, 9-Inch
- FurRain Ceramic Pie Weights Reusable 10mm Baking Beans Pie Crust Weights Natural Ceramic Stoneware with Wheat Straw Container
Ingredients
- 2 Pie Crusts, premade
- 8 large granny smith apples
- ½ cup brown sugar
- ¼ cup