
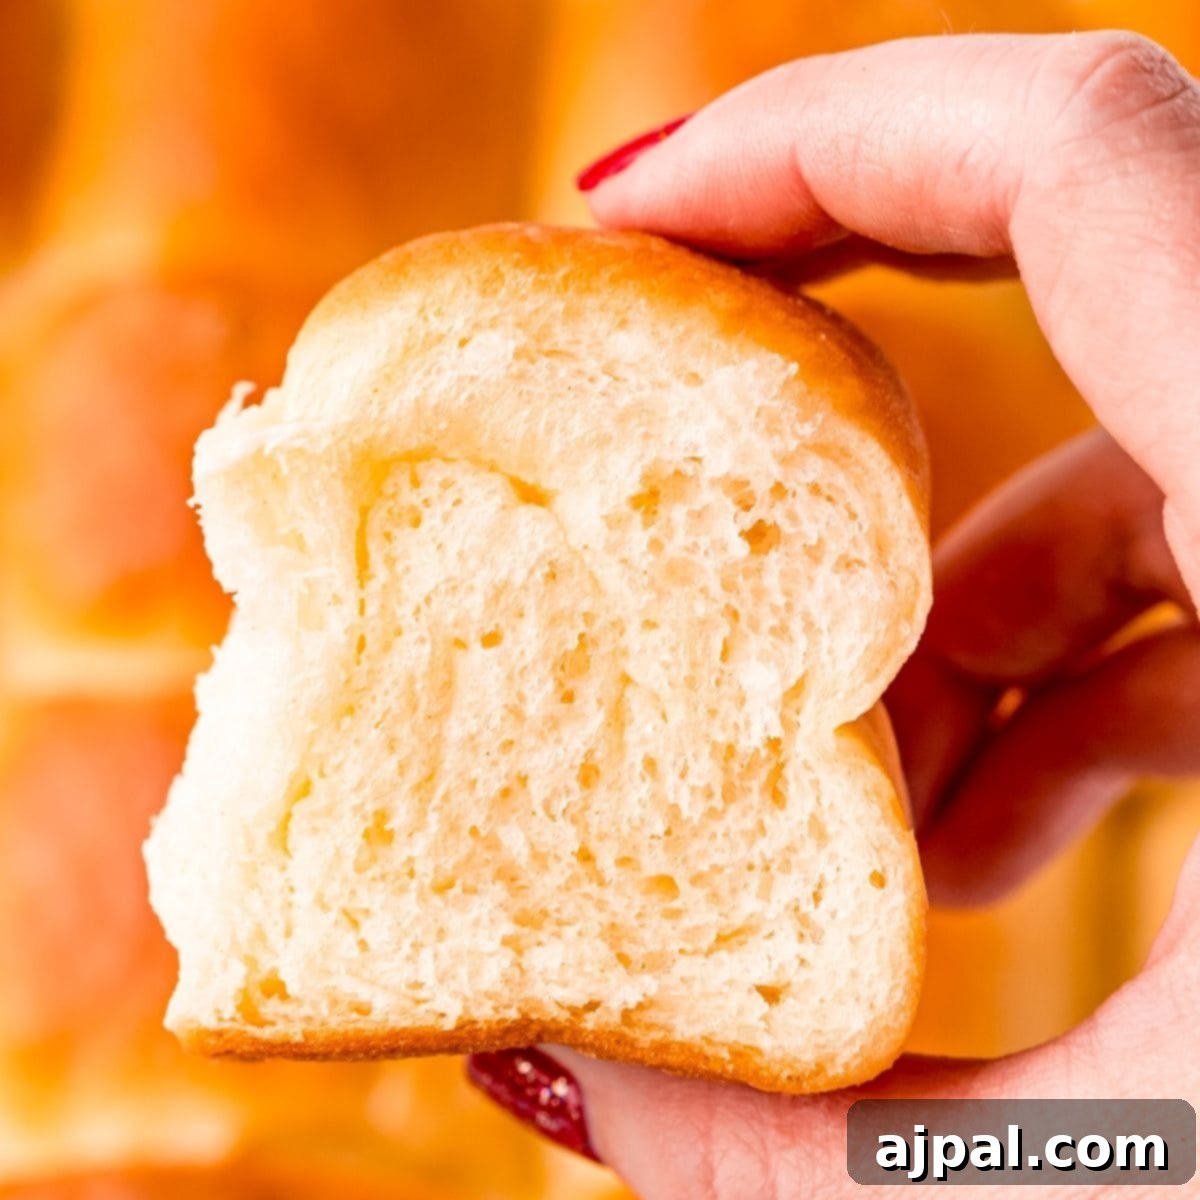
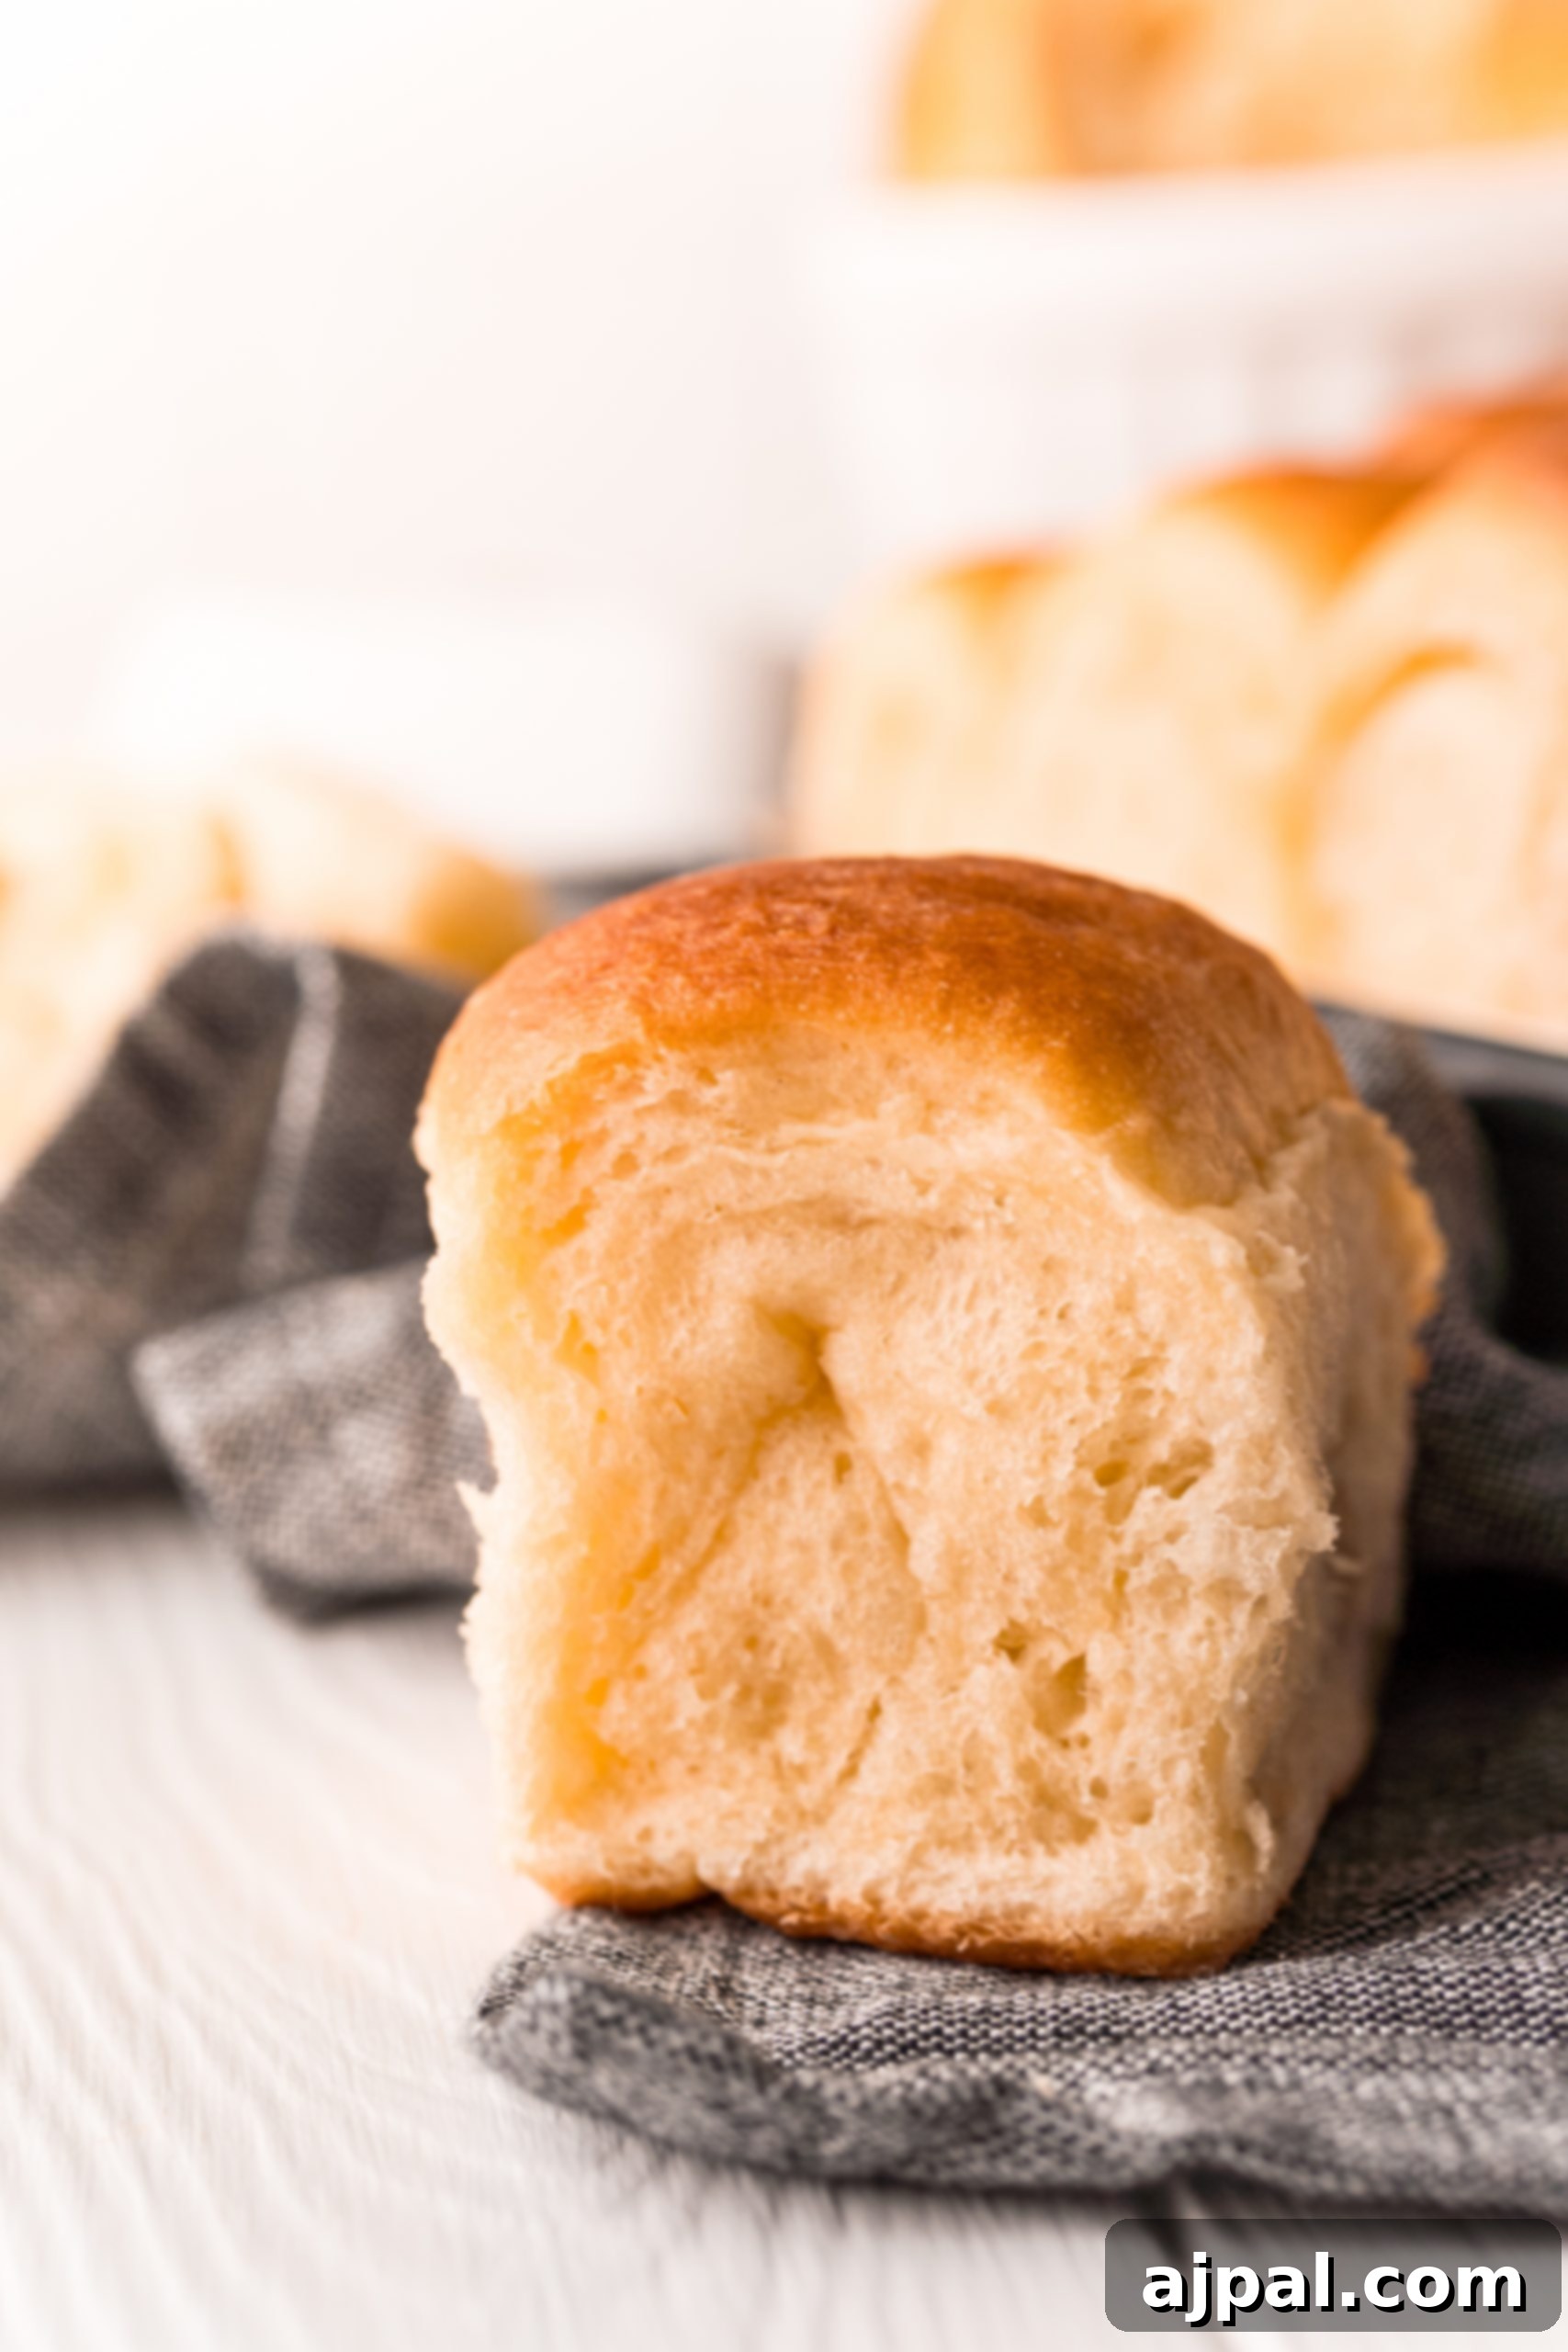
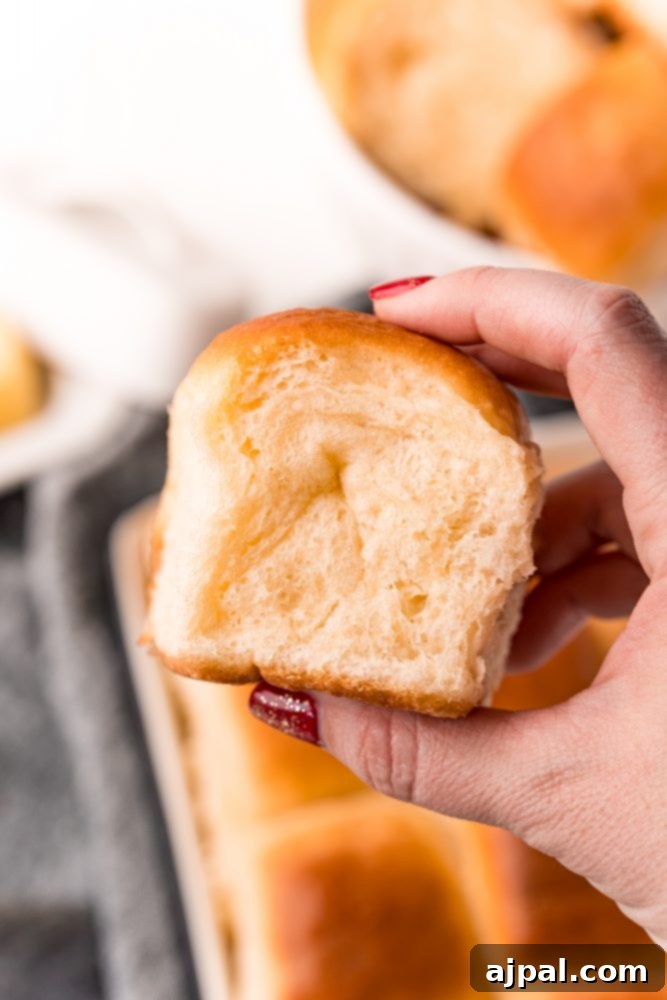
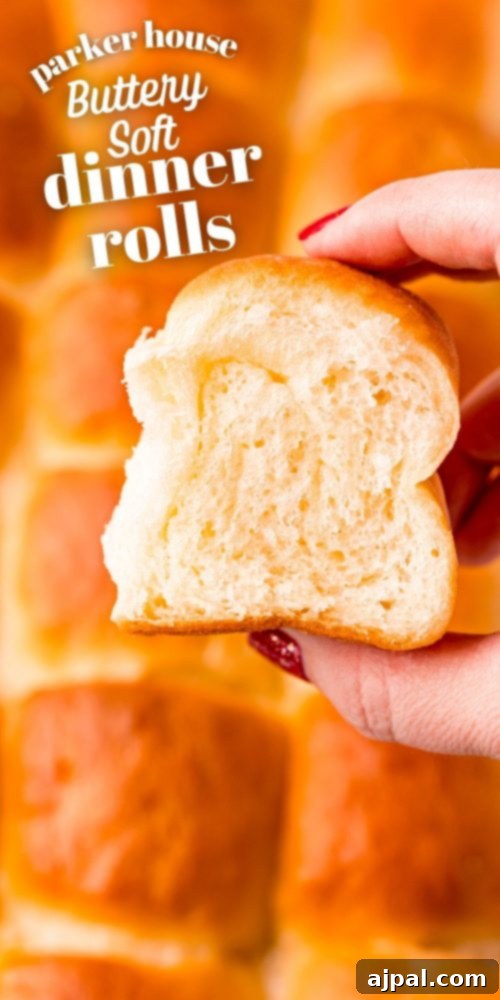
Welcome to the ultimate guide for creating the most exquisite, buttery soft dinner rolls you’ve ever tasted! Imagine light, incredibly fluffy yeast rolls, with a delicate, rich, and buttery flavor, reminiscent of the famous Parker House Rolls. This recipe delivers exactly that: a show-stopping side dish that looks impressive but is surprisingly simple to master, even if you’re a novice baker.
In this comprehensive guide, we’ll walk you through every step of crafting these delectable dinner rolls. Whether you’re a seasoned baker or just starting your culinary journey, our goal is to empower you in the kitchen. We provide abundant tips and clear explanations, ensuring you understand the ‘why’ behind each ingredient and technique. Our clickable table of contents below will help you navigate this page with ease, allowing you to jump straight to the sections that interest you most.
Table of contents
- Easy Buttery Soft Dinner Rolls: A Culinary Delight
- Essential Tools for Perfect Dinner Rolls
- Mastering the Dough: Mixing and Rising Process
- The Art of Shaping Parker House Roll Dough
- Simplified Parker House Roll Shaping Method
- Baking Your Buttery Soft Rolls to Perfection
- Preparing Your Baking Pan
- Arranging Rolls for Optimal Rise and Bake
- The Critical Second Rise: Proofing the Dough
- Baking for Golden Perfection
- Make-Ahead Strategies for Stress-Free Baking
- Postponing Baking Parker House Rolls
- Refrigerating Parbaked Rolls for Later Enjoyment
- Chilling Prepped Parker House Roll Dough
- Postponing Baking Parker House Rolls
- Frequently Asked Questions About Dinner Rolls
- Other Delightful Sides You’ll Love
Easy Buttery Soft Dinner Rolls: A Culinary Delight
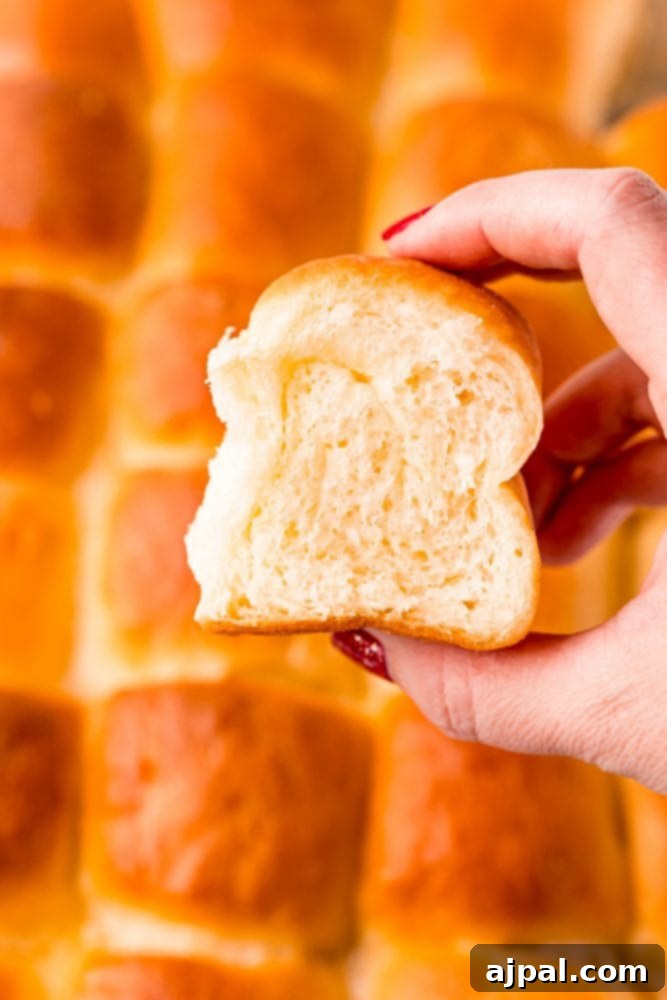
If you adore light, pillowy-soft rolls, gracefully folded with a generous layer of warm melted butter, much like the legendary Parker House Rolls, then you are about to discover your new favorite recipe! Our unique adaptation offers all the charm and deliciousness of the classic, but with an unparalleled ease that makes it accessible for even the most beginner baker.
These rolls are not just incredibly delicious; they possess an elegant appearance that belies their simple preparation. They’re perfect for adding a touch of sophistication to a holiday feast alongside a succulent Herb Roasted Turkey or a magnificent Prime Rib. Yet, their straightforward process means they’re equally suitable for elevating a cozy weeknight meal, complementing dishes like a flavorful Pork Tenderloin or a comforting Pot Roast.
At Sweet C’s, we believe that baking should be an enjoyable and empowering experience for everyone. As home cooks ourselves, without formal culinary training, we understand the desire for clear, helpful information that goes beyond just a list of ingredients. We strive to provide detailed tips, explanations, and insights into each step, ensuring you gain confidence and achieve perfect results every time. This approach allows even those new to baking to feel accomplished and proud of their creations.
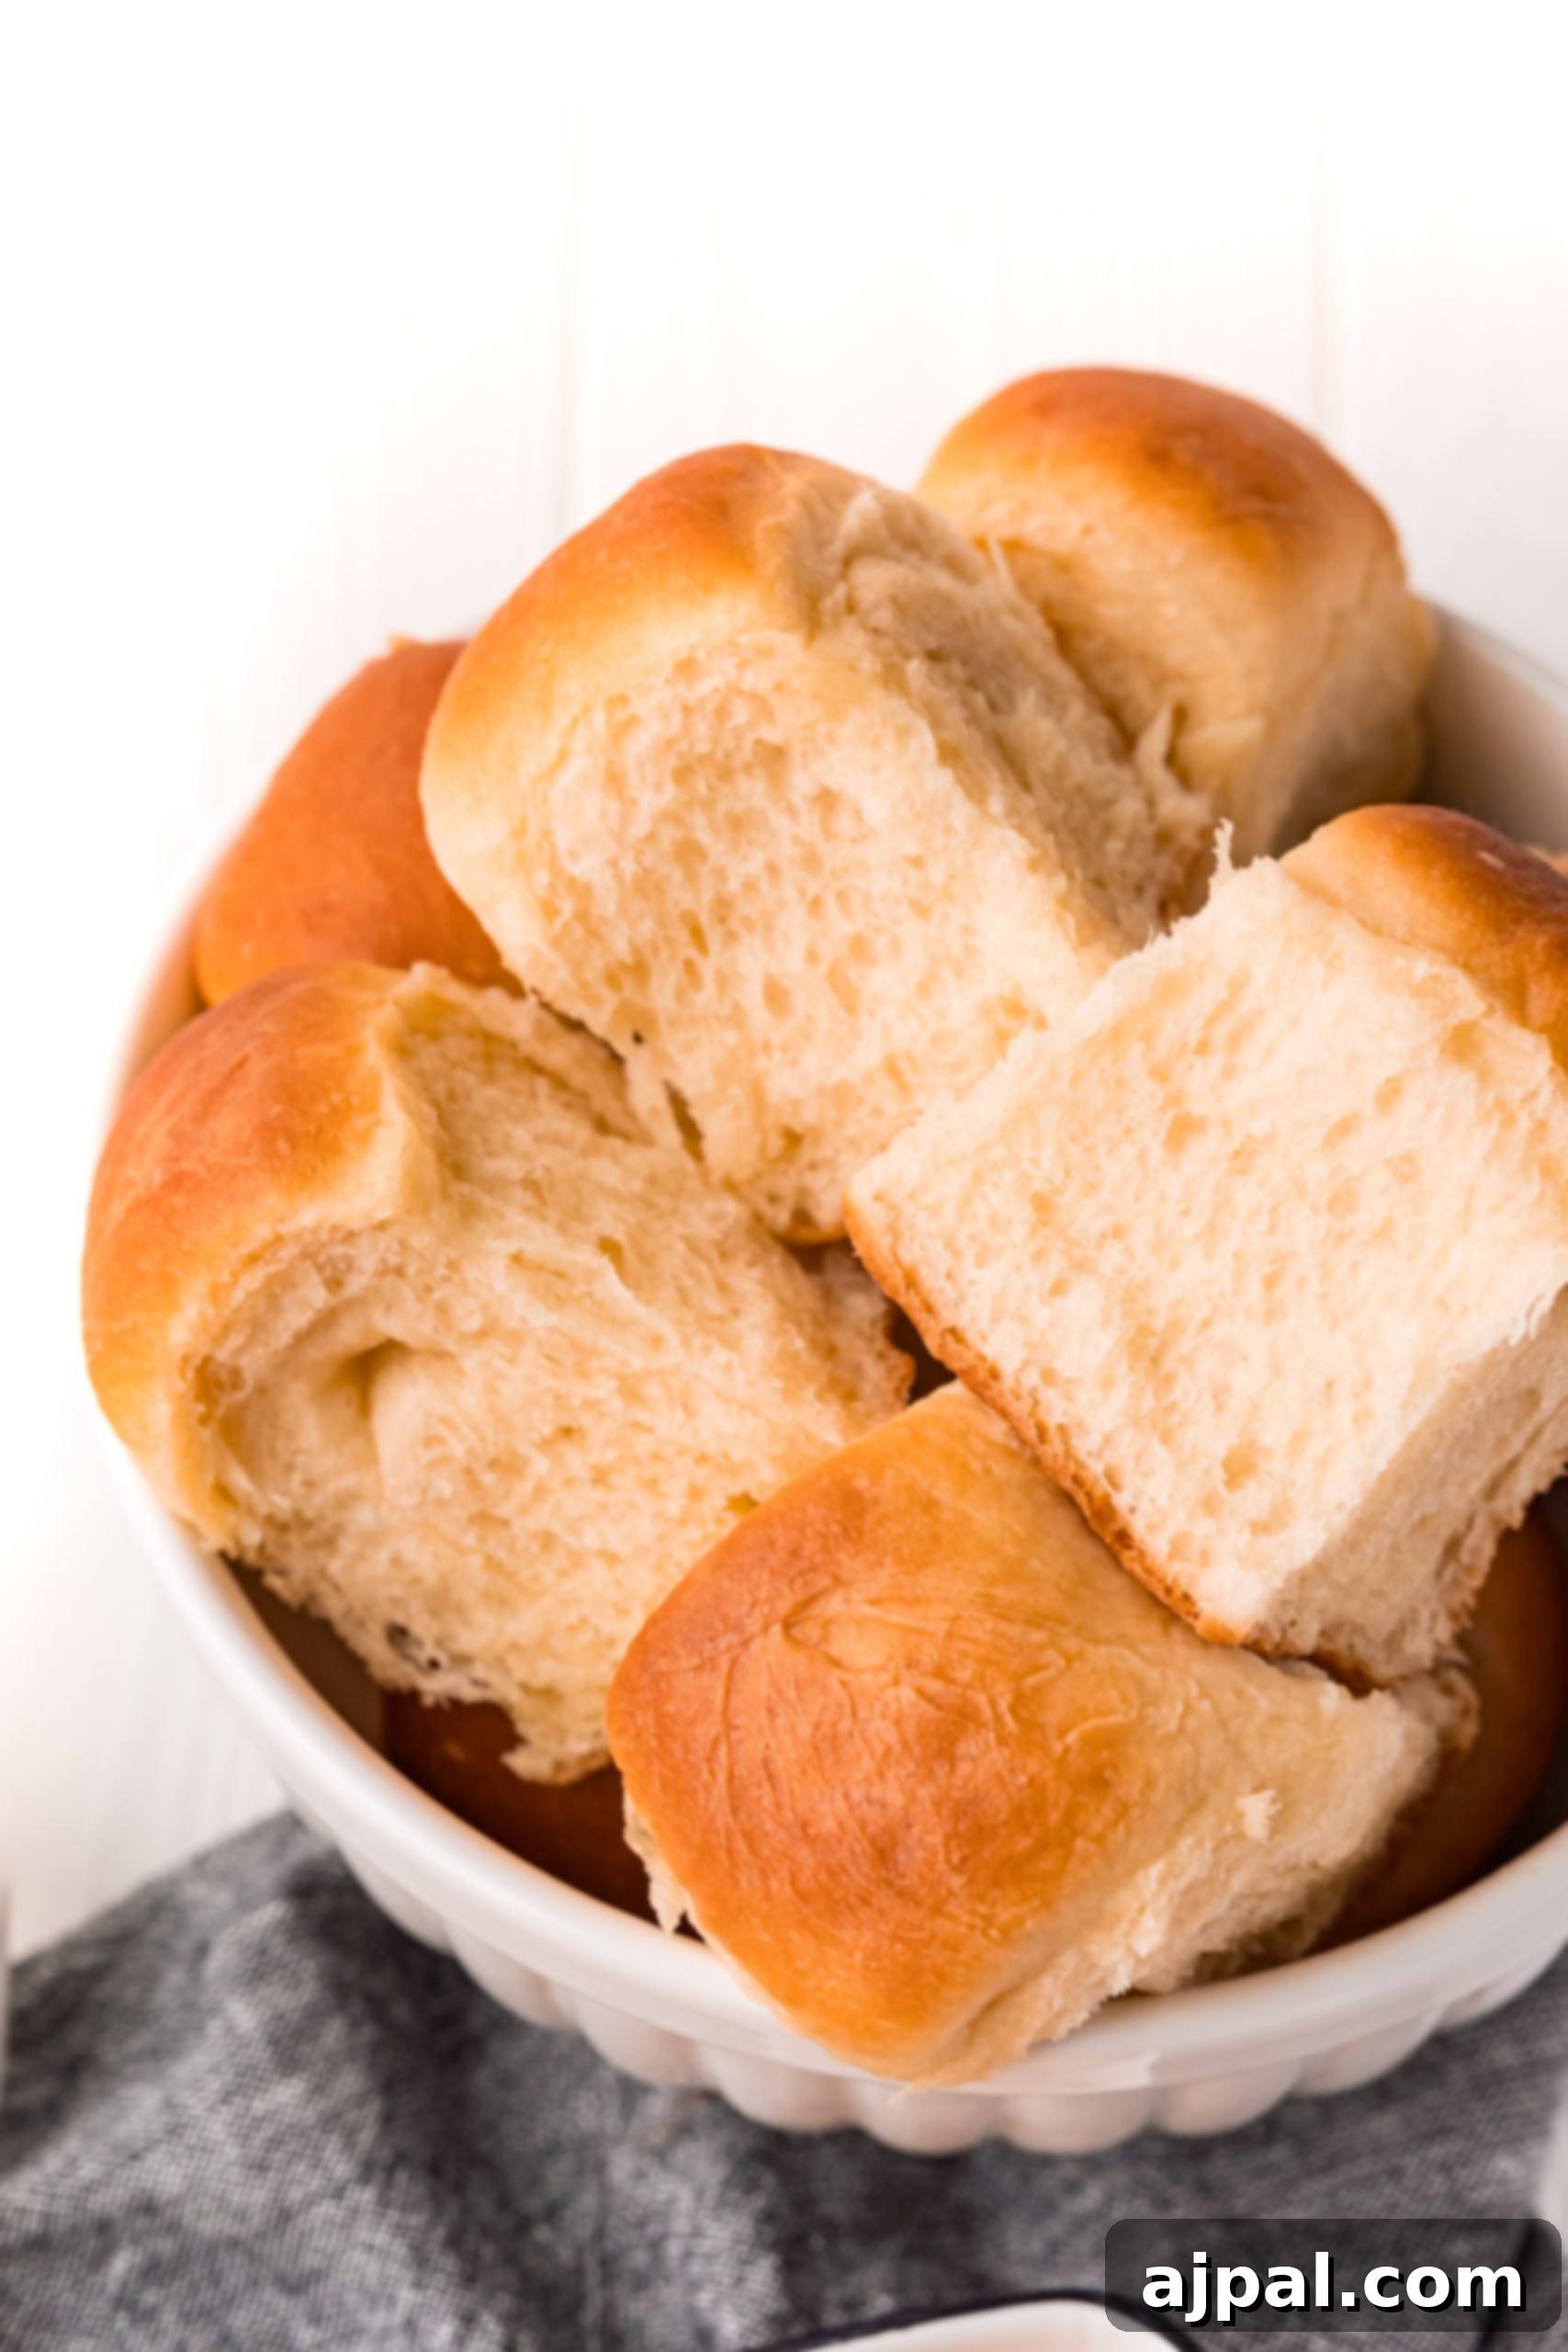
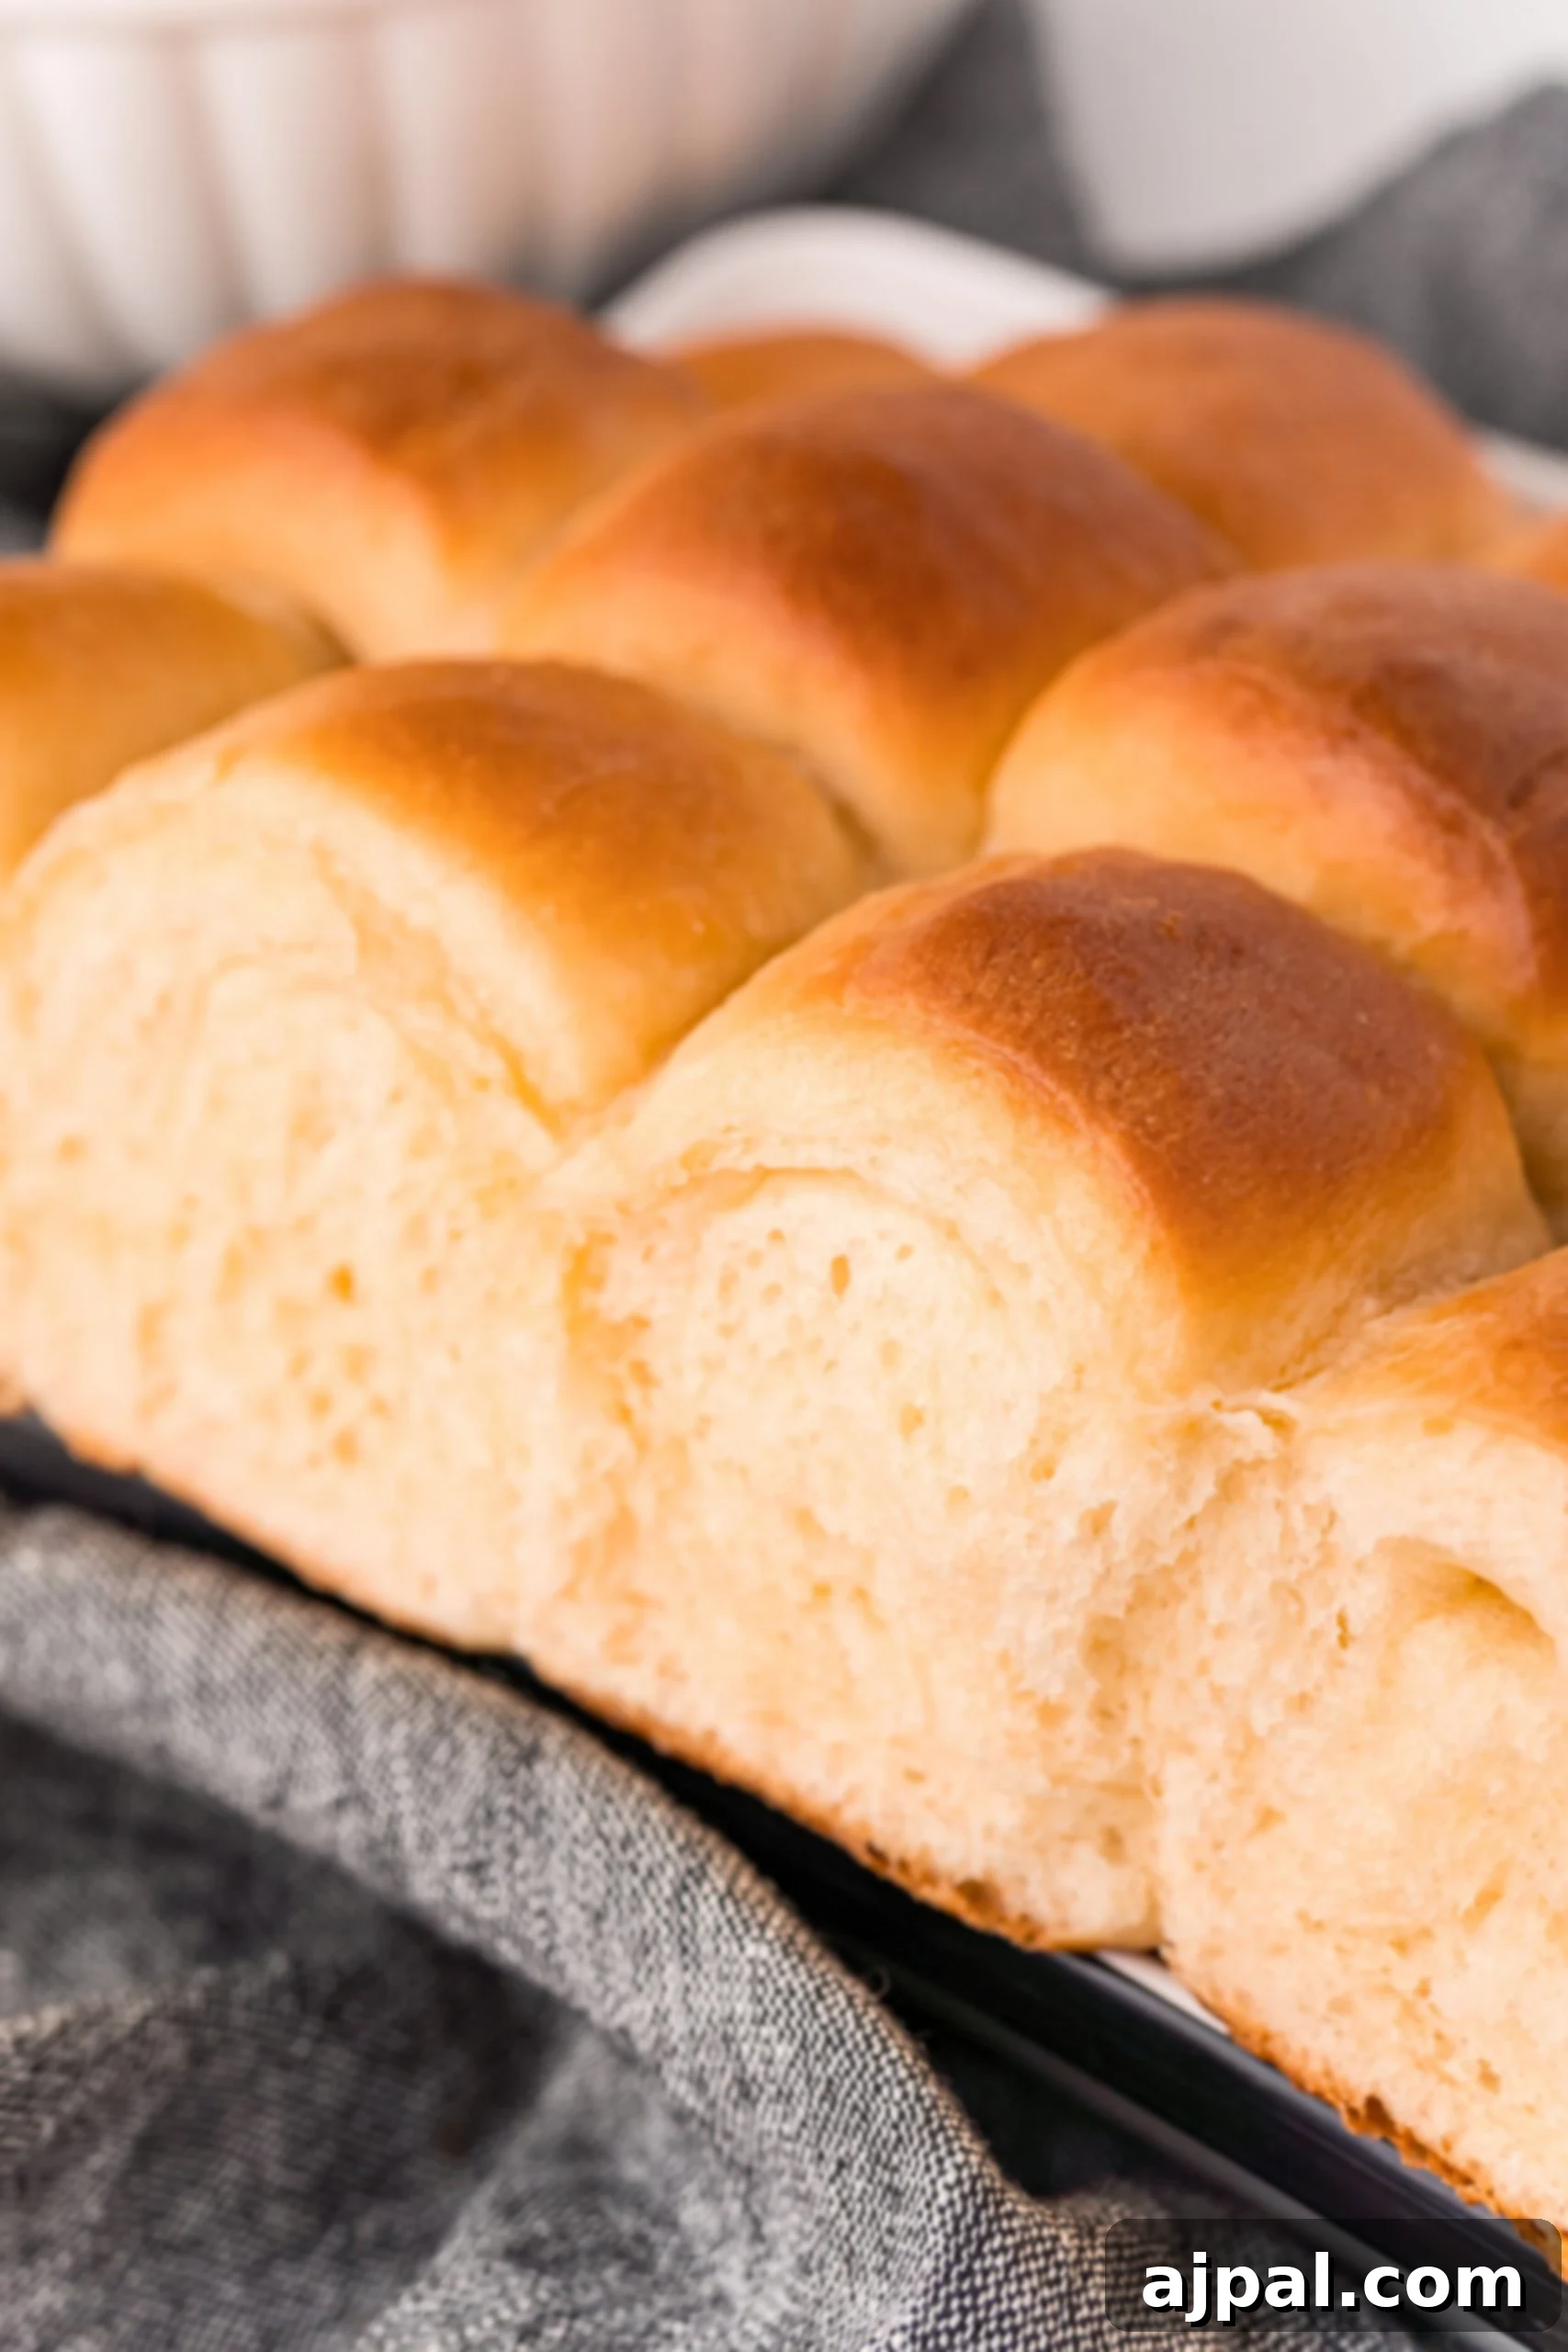
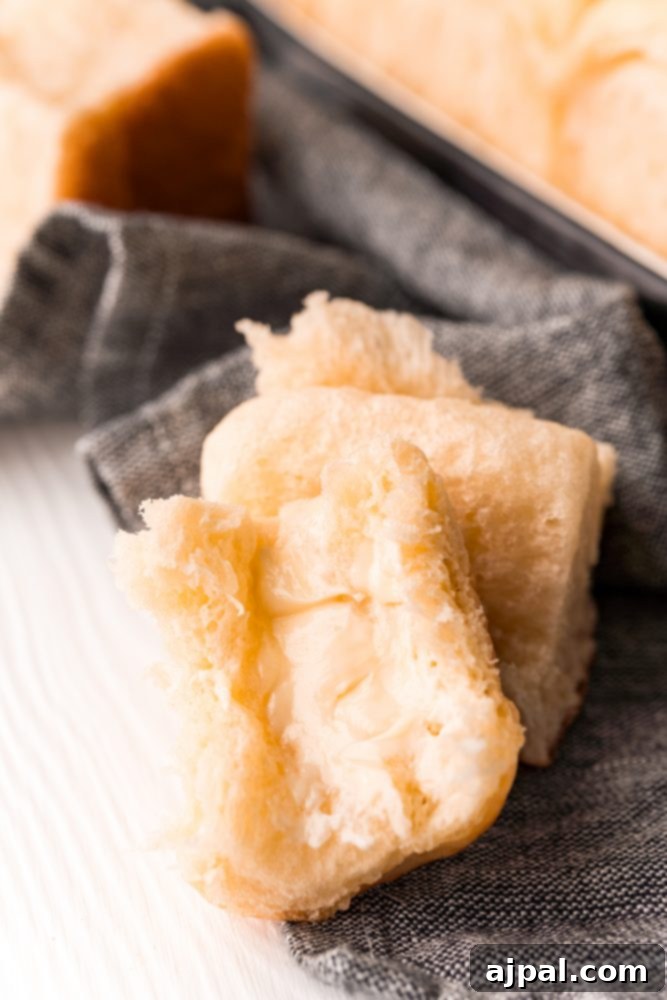
You’ll find that these buttery soft dinner rolls are a game-changer. Their tender crumb and rich flavor come from a carefully balanced dough, enriched with eggs and butter, which creates a bread that is both delicate and satisfying. The signature fold, inspired by Parker House Rolls, creates a delightful pocket of melted butter in the center, ensuring every bite is moist and flavorful. Whether served warm from the oven with extra butter or as a perfect vehicle for soaking up gravies and sauces, these rolls are sure to become a cherished addition to your recipe collection. So, let’s embark on this delicious baking adventure together!
Essential Tools for Perfect Dinner Rolls
Crafting these heavenly dinner rolls is surprisingly simple and doesn’t require a kitchen full of specialized gadgets. However, having a few key tools on hand will make the process even smoother and ensure your buttery soft rolls turn out perfectly every time. These essential items are designed to simplify dough handling and ensure even baking, leading to that coveted light and fluffy texture.
- Rolling pin: Essential for flattening the dough evenly, which is crucial for achieving the signature Parker House fold and uniform rolls. A good rolling pin helps create that beautiful, consistent texture.
- Basting brush: Perfect for lightly coating your dough with melted butter, both during the shaping process and for that golden finish after baking. It ensures an even layer of buttery goodness.
- Aluminum Foil: Used to line your baking pan, preventing sticking and making cleanup a breeze. It also helps in easily transferring the baked rolls.
- Baking Sheet: A sturdy baking sheet provides the foundation for your rolls, allowing them to bake evenly and develop a beautiful golden crust. A standard 13×9 inch pan is ideal for this recipe.
- Stand Mixer with Dough Hook or Wooden Spoon: While a stand mixer significantly reduces kneading time and effort, a sturdy wooden spoon and some elbow grease will also get the job done. The goal is to develop the gluten in the dough for that elastic texture.
- Plastic wrap: Crucial for covering the dough during its proofing stages, creating a warm, humid environment that encourages the yeast to work its magic and the dough to double in size without drying out.
For more kitchen staples and recommendations, you can also explore my kitchen essentials guide here, ensuring you’re fully equipped for all your baking adventures.
Mastering the Dough: Mixing and Rising Process
While making these dinner rolls does involve a few distinct stages, each step is straightforward and designed for success, even for those new to working with yeast dough. The key to achieving those perfect pillowy-soft, buttery rolls lies in understanding the fundamentals of mixing and rising. We’re here to guide you through the process, sharing our top tips to ensure your dough develops beautifully.
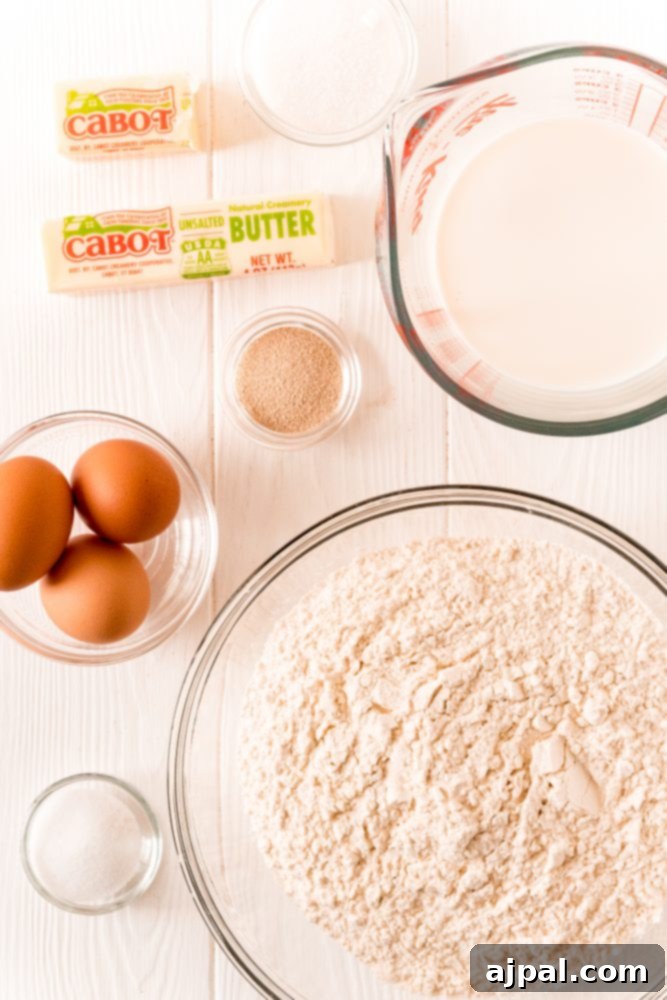
- Combine Dry Ingredients: In the bowl of a stand mixer fitted with a dough hook, thoroughly mix together the flour, instant yeast, and salt. This initial step ensures all dry ingredients are evenly distributed, which is vital for consistent dough development.
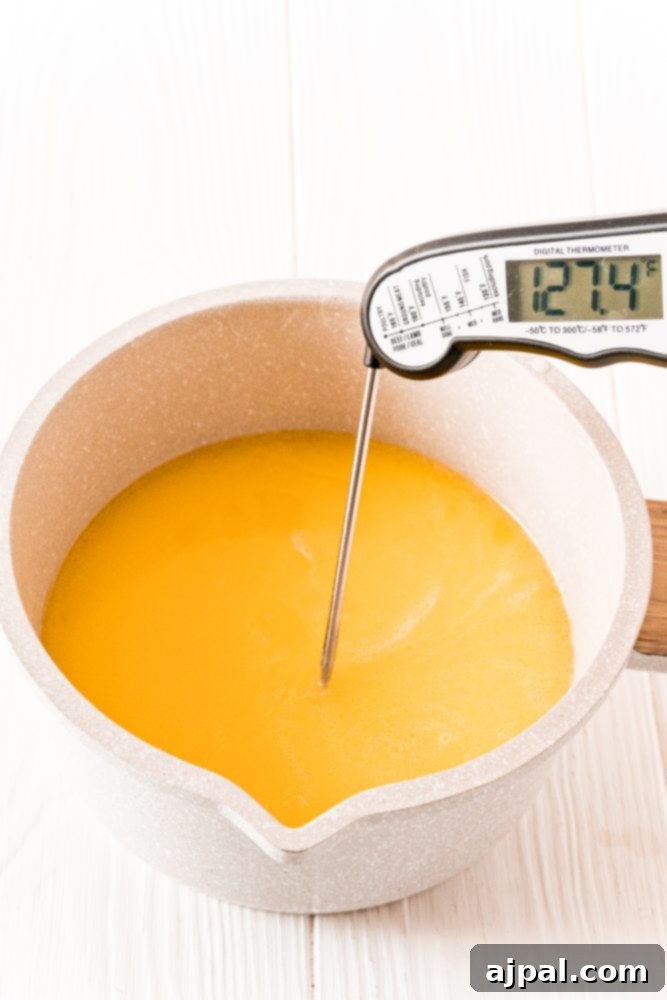
- Prepare Wet Ingredients: In a separate medium bowl, lightly beat the eggs. Set them aside for later. In a medium saucepan, combine the milk, 9 tablespoons of unsalted butter, and the sugar. Cook this mixture over medium-low heat. The goal is for the butter to melt completely and the sugar to dissolve, and for the mixture to reach a temperature between 115 and 120 degrees F (46-49°C). This temperature range is crucial for activating the instant yeast without killing it. Use a thermometer to be precise!
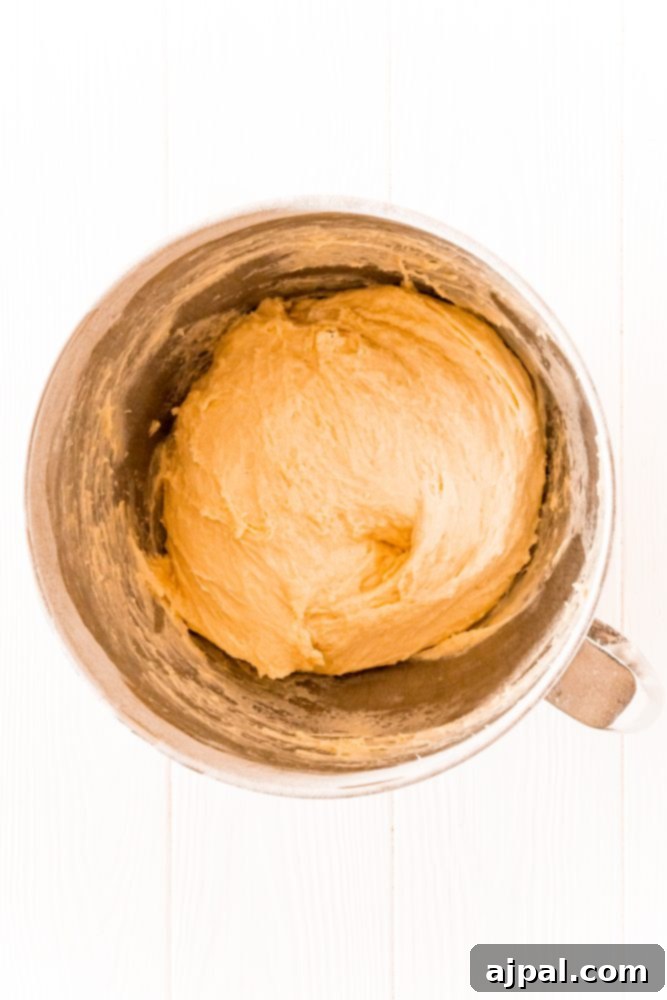
- Combine Wet and Dry: With your stand mixer running on low speed, slowly pour the warm milk mixture into the dry ingredients, followed by the lightly beaten eggs. Continue to mix until no dry flour streaks remain, typically about 1 to 2 minutes. The dough will look shaggy at this stage.
- Knead the Dough: Increase the mixer speed to medium and let it knead the dough for about 6 to 8 minutes. During this time, the dough will transform, becoming smooth, elastic, and mostly pulling away from the sides of the bowl. It’s perfectly normal for the dough to remain slightly sticky at the bottom of the bowl; this indicates good hydration and will contribute to the rolls’ softness.
- Final Hand Kneading: Turn the dough out onto a lightly floured surface. Knead by hand for an additional 30 seconds. This brief hand-kneading helps to bring the dough together, ensures proper gluten development, and allows you to feel the dough’s texture.
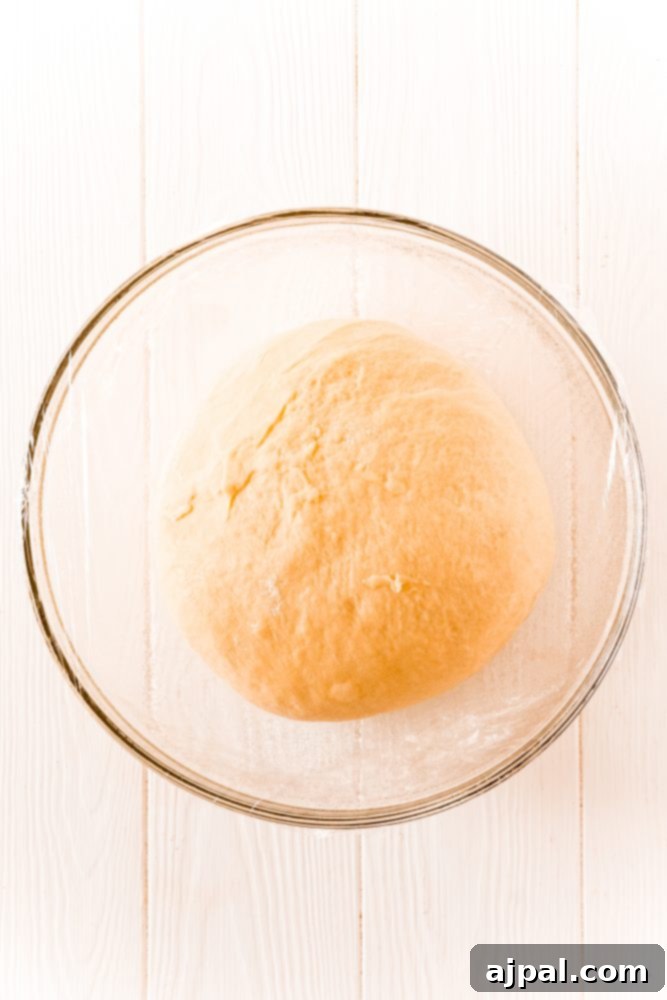
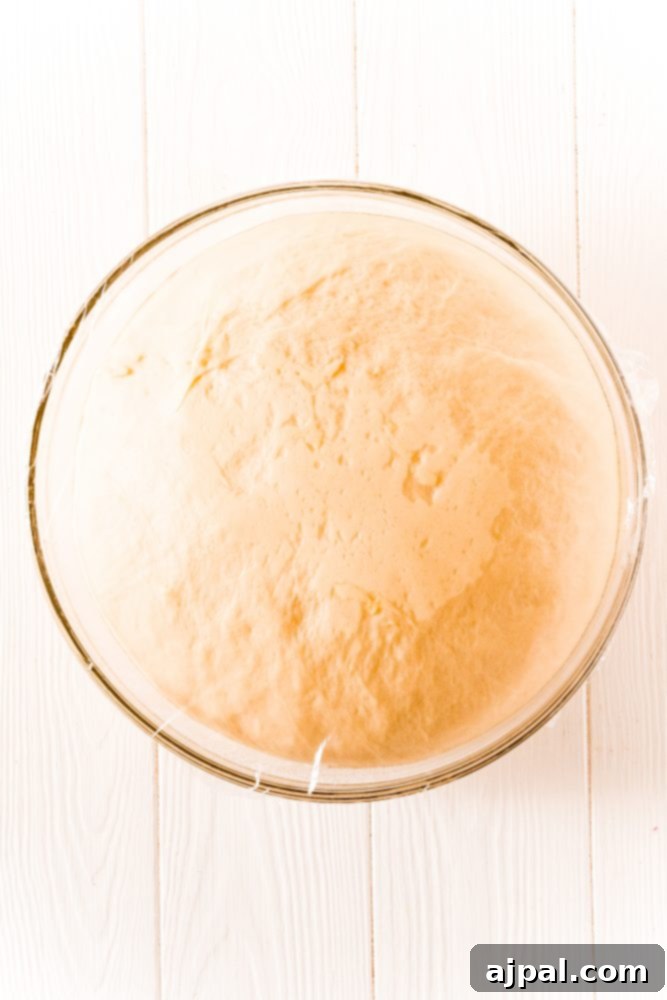
- First Rise (Proofing): Form the dough into a tight ball and transfer it to a large, greased bowl. Lightly spray the top of the dough with nonstick cooking spray to prevent it from drying out, then cover the bowl tightly with plastic wrap. Place the bowl in a warm, draft-free place to proof. The dough should double in size, which typically takes between 60 to 90 minutes. A good warm spot could be a slightly warmed oven (turned off!), near a sunny window, or on top of a warm appliance.
The Art of Shaping Parker House Roll Dough
One of the distinctive features and much of the appeal of classic Parker House Rolls is their unique folded shape, which creates a delightful double layer with a buttery interior. This particular shaping method might seem intimidating to beginner bakers, but with a few simple techniques and a bit of practice, you’ll be creating beautiful, uniform rolls in no time. The key is to work gently with the dough, ensuring it retains its airiness for that signature soft texture.
Simplified Parker House Roll Shaping Method
Don’t let the idea of shaping these rolls deter you. While the traditional method outlined in the full recipe is excellent for achieving a precise look, we understand that sometimes you need a more forgiving approach. If you find the dough too springy or difficult to handle, or simply prefer a quicker way, this simplified method will still yield delicious, buttery soft rolls with that wonderful folded interior.
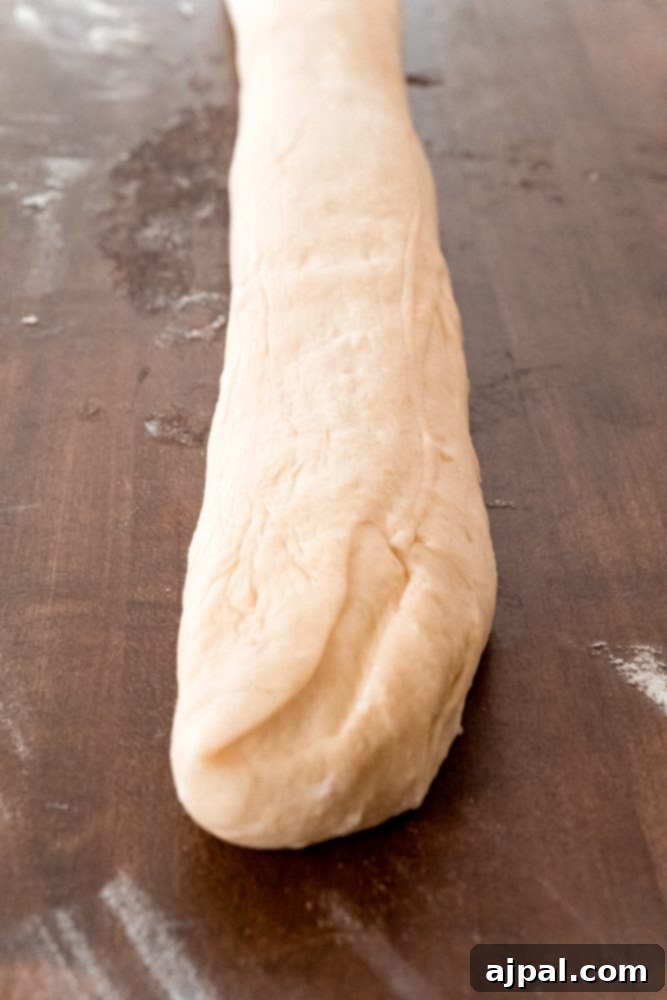
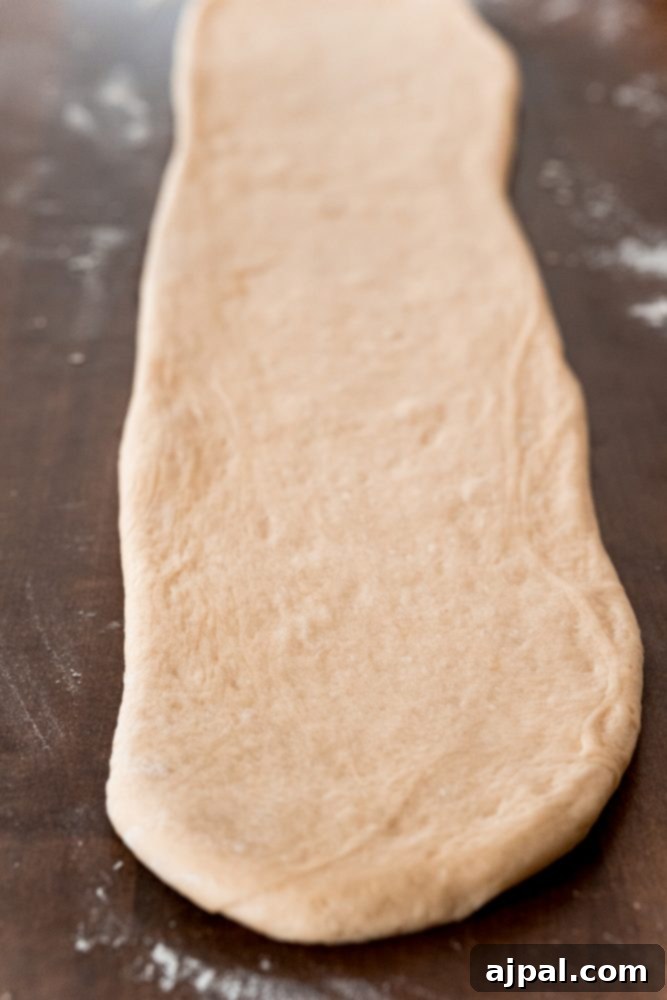
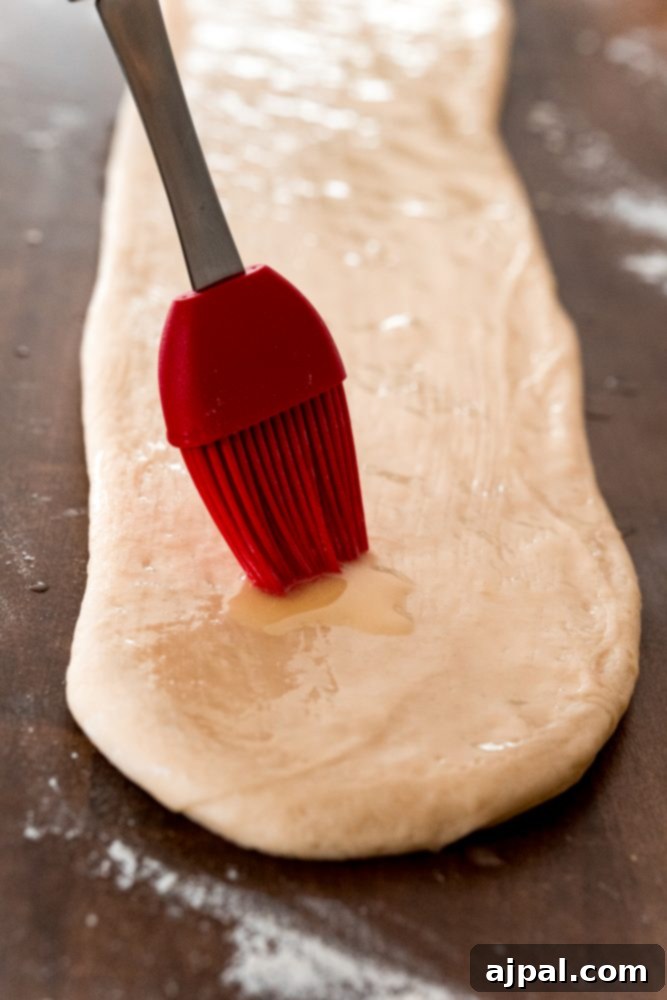
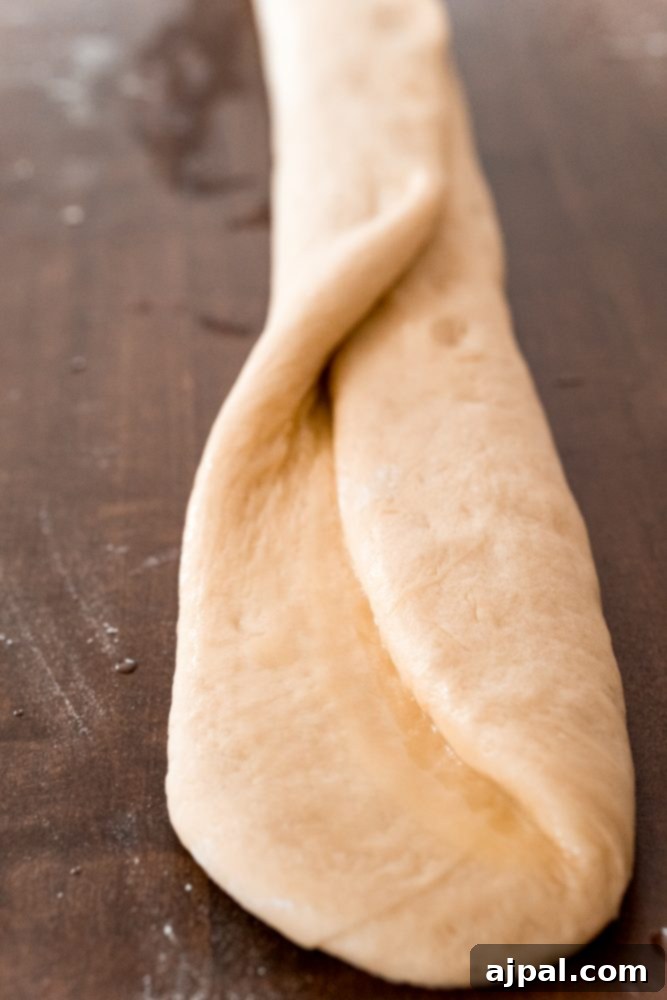
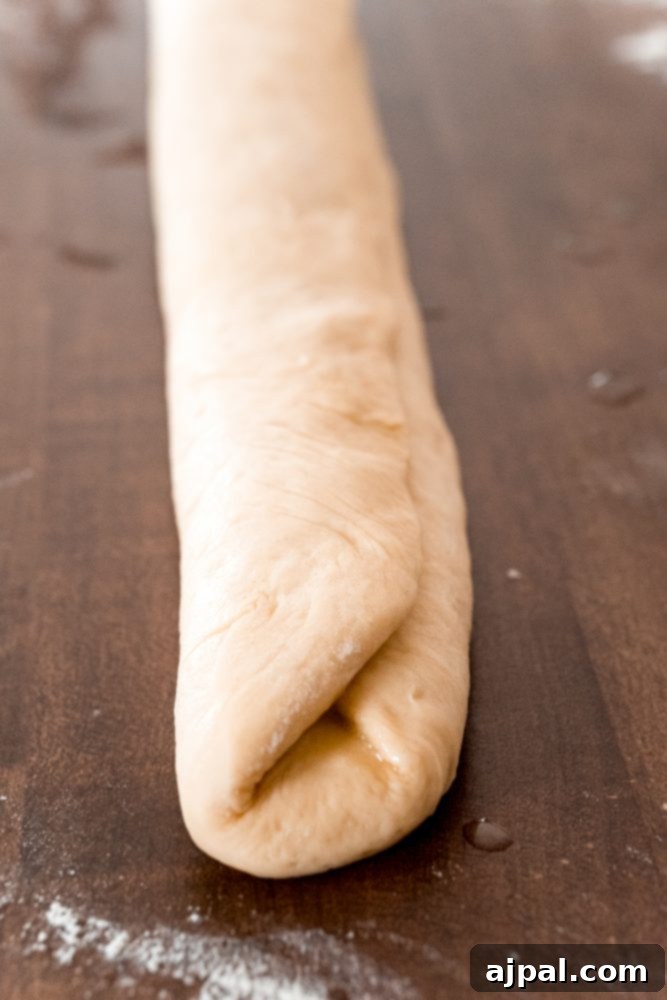
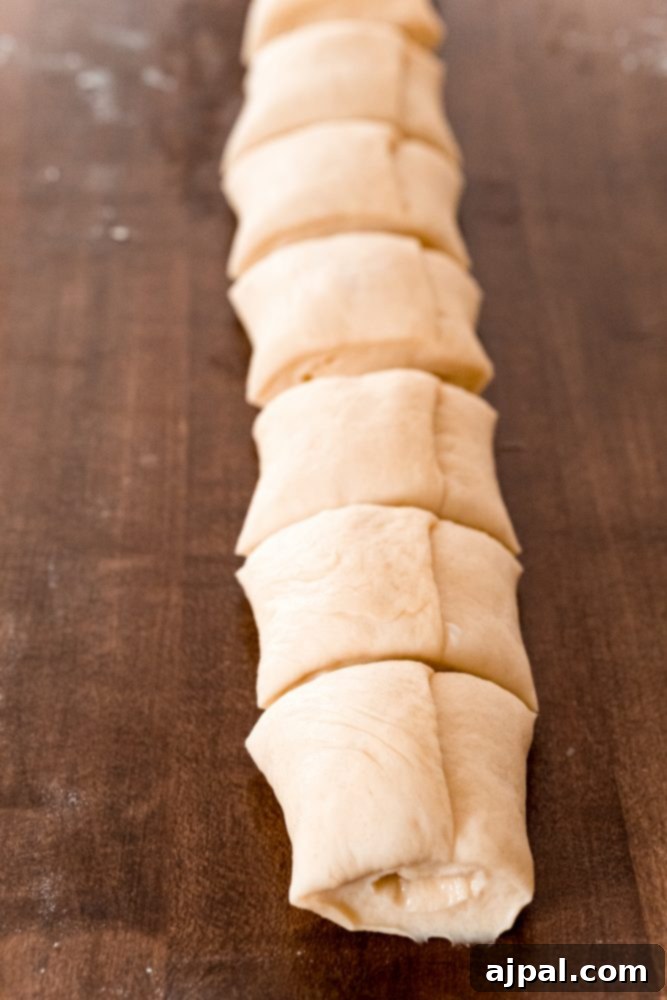
Here’s how to simplify the process while still achieving that signature buttery folded effect:
- Divide the Dough: After the first rise, gently punch down the dough and turn it out onto a lightly floured surface. Divide the dough into 36 roughly equally sized balls. Aim for consistency to ensure even baking.
- Flatten Each Ball: Take each dough ball and, using a rolling pin, flatten it into a long oval shape. The goal is to create enough surface area for the fold. This step is less about precision and more about creating a workable canvas.
- Brush with Butter and Fold: Brush the middle of each flattened oval with melted butter. This butter layer is what gives Parker House Rolls their distinctive flavor and texture. Then, gently fold one side of the dough over onto itself, enclosing the butter in the middle. You’ll create a semi-circle or a half-moon shape with a buttery seam.
- Proceed to Baking: Once all your rolls are shaped using this method, you can proceed directly to arranging them in your baking pan and following the remaining baking instructions as directed in the recipe below. This alternative shaping method is perfect for ensuring those delicious buttery soft layers without the stress of intricate folding techniques, making homemade rolls achievable for everyone.
Baking Your Buttery Soft Rolls to Perfection
Achieving perfectly light, soft, and airy dinner rolls with a beautiful golden crust requires attention to a few crucial steps during the baking process. These aren’t just arbitrary instructions; each one plays a vital role in ensuring your rolls rise beautifully, bake evenly, and don’t stick to the pan, delivering that irresistible buttery softness you crave. Let’s break down the process to make it as easy and successful as possible.
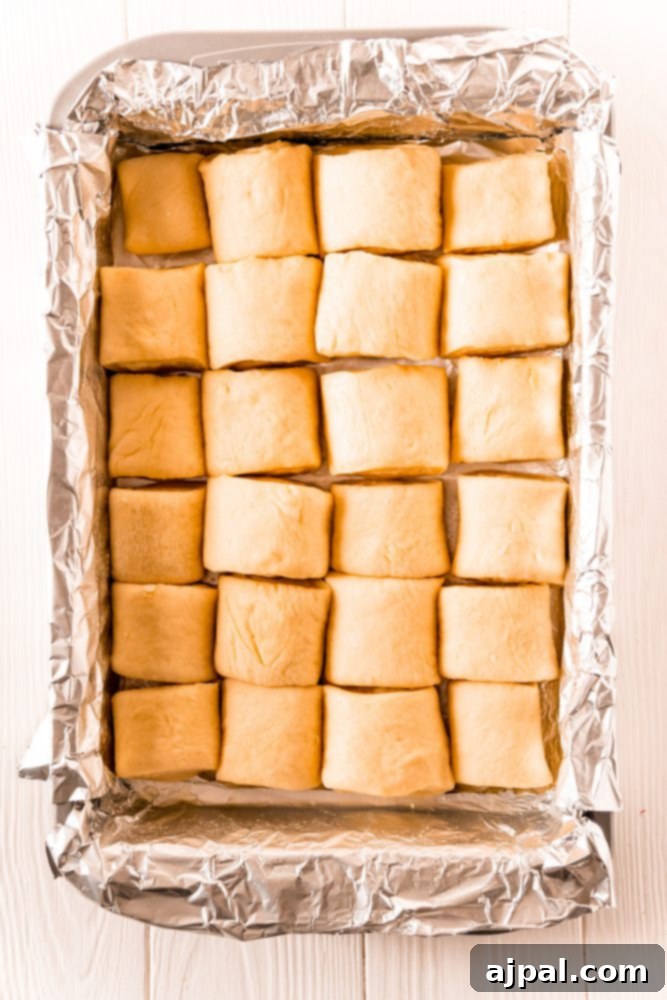
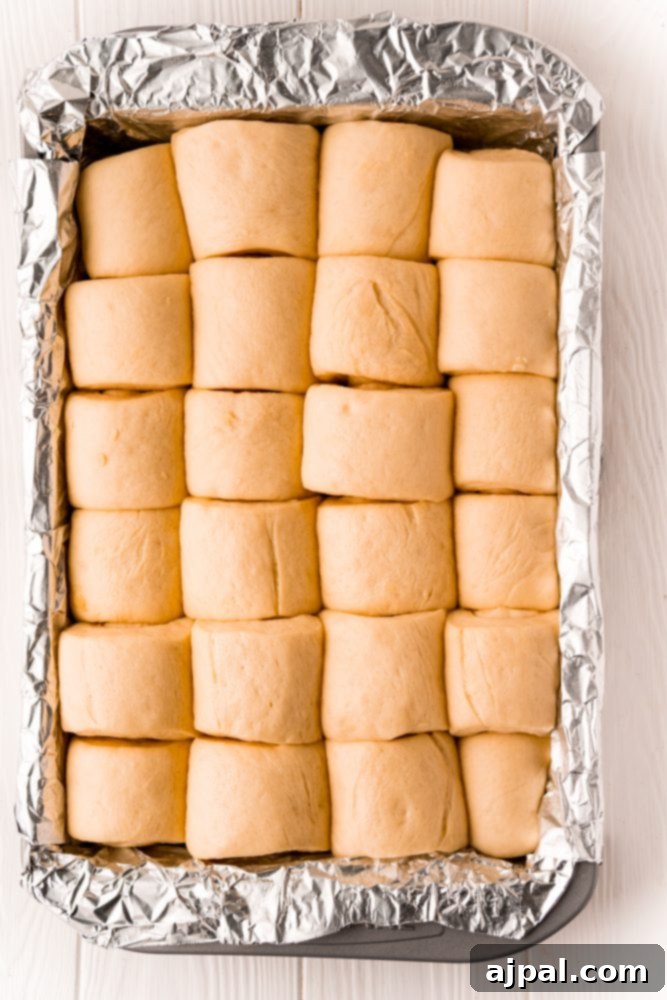
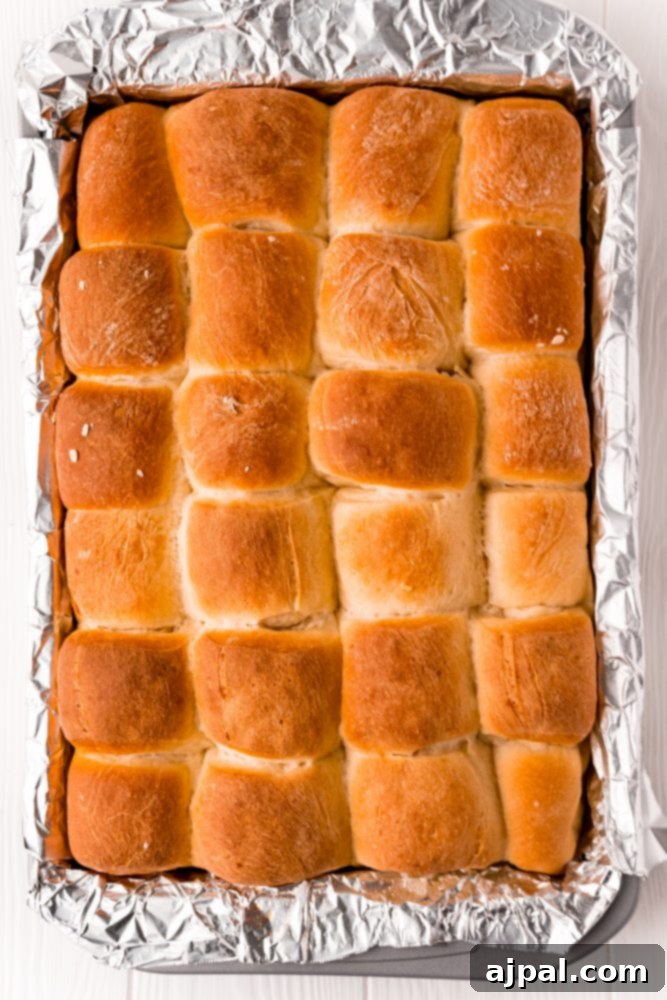
Preparing Your Baking Pan
Proper pan preparation is an often-overlooked step that can make all the difference between perfect rolls and a frustrating sticking situation. Since your shaped rolls will undergo a second rise directly in the pan before baking, it’s essential to ensure the pan is adequately prepped.
To prevent any sticking, line your baking pan with either aluminum foil or parchment paper. Make sure the lining extends beyond the edges of the pan; these overhangs will serve as convenient handles later for easy removal of the baked rolls. Once lined, thoroughly spray the foil or parchment paper with a nonstick cooking spray. We highly recommend using a spray that contains flour for an extra layer of protection, ensuring your delicate, buttery soft dinner rolls release effortlessly. Finding our favorite flour-included spray will be a great help here.
Arranging Rolls for Optimal Rise and Bake
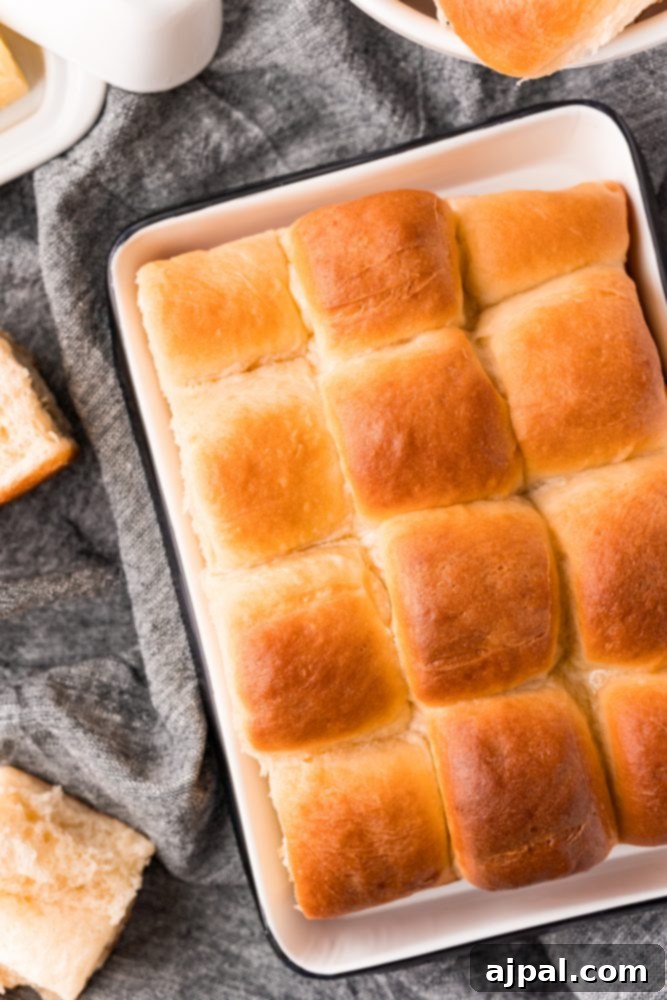
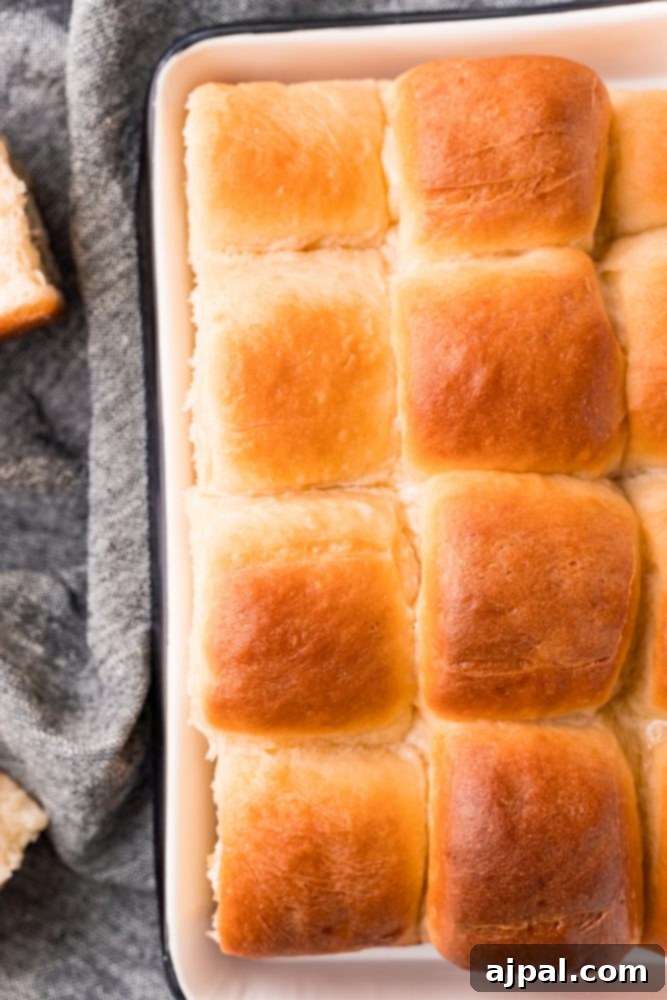
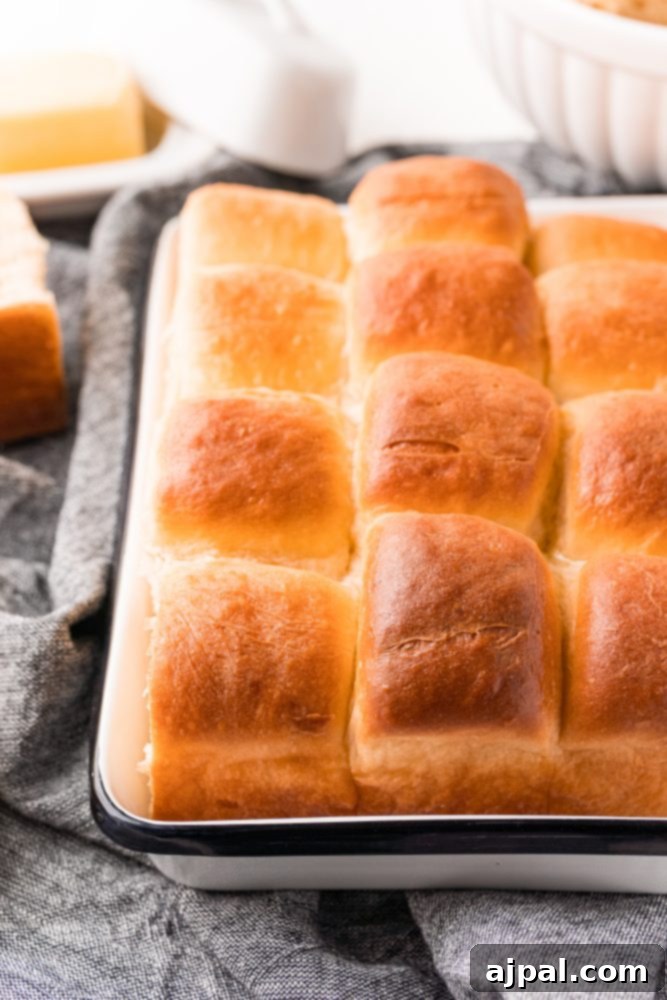
Once your dough is shaped, arrange the individual rolls, seam-side down, in your prepared 13×9-inch baking pan. For this recipe, aim to create three neat rows of four rolls each. This arrangement allows enough space for them to expand during the second rise while still being close enough to bake together into a beautifully cohesive pull-apart tray of rolls. Repeat this process with the remaining half of your dough, ensuring even spacing for all the rolls.
The Critical Second Rise: Proofing the Dough
After arranging your rolls in the pan, the next vital step is the second rise, also known as proofing. Cover the pan loosely but completely with plastic wrap that has been thoroughly sprayed with nonstick cooking spray to prevent it from sticking to the rising dough. Place the covered pan in a warm, draft-free environment and allow the rolls to proof until they have approximately doubled in size. This usually takes around 60 minutes.
Do not be tempted to skip or rush this second rise! It is absolutely crucial for achieving the light, airy, and tender texture that defines truly exceptional dinner rolls. If you bypass this additional proofing, your rolls will likely turn out denser and tougher. The yeast needs this time to produce more gas, creating air pockets that expand in the oven, leading to that coveted fluffy interior.
Baking for Golden Perfection
Once your rolls have beautifully doubled in size after the second proof, it’s time to bake them. Preheat your oven to 375 degrees F (190°C). Proper preheating is essential; a sufficiently hot oven helps the rolls achieve their maximum rise (often called “oven spring”) and ensures even baking and browning. Don’t rush this step!
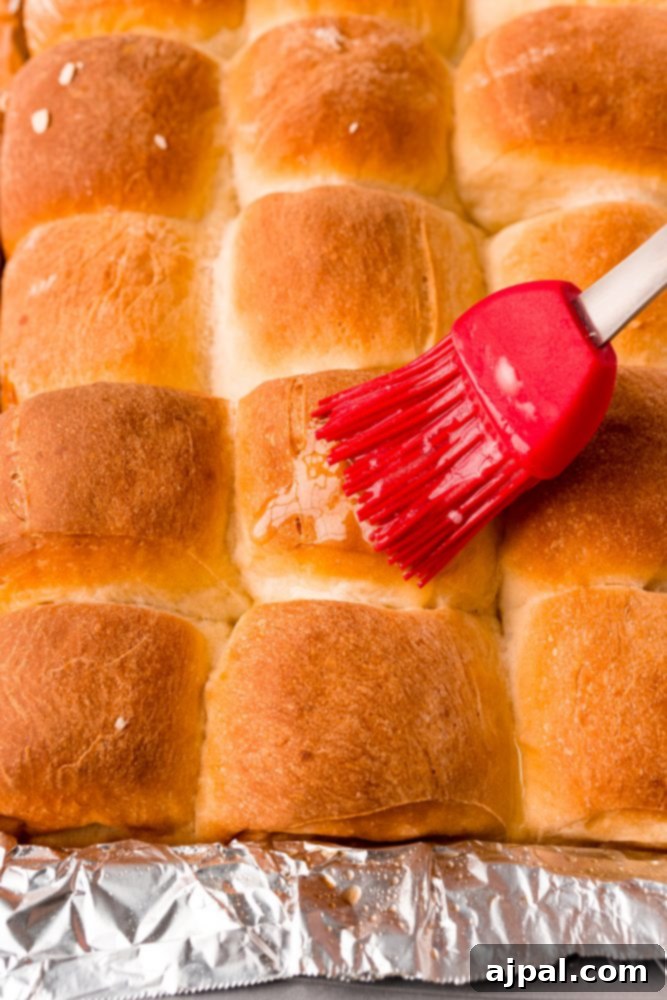
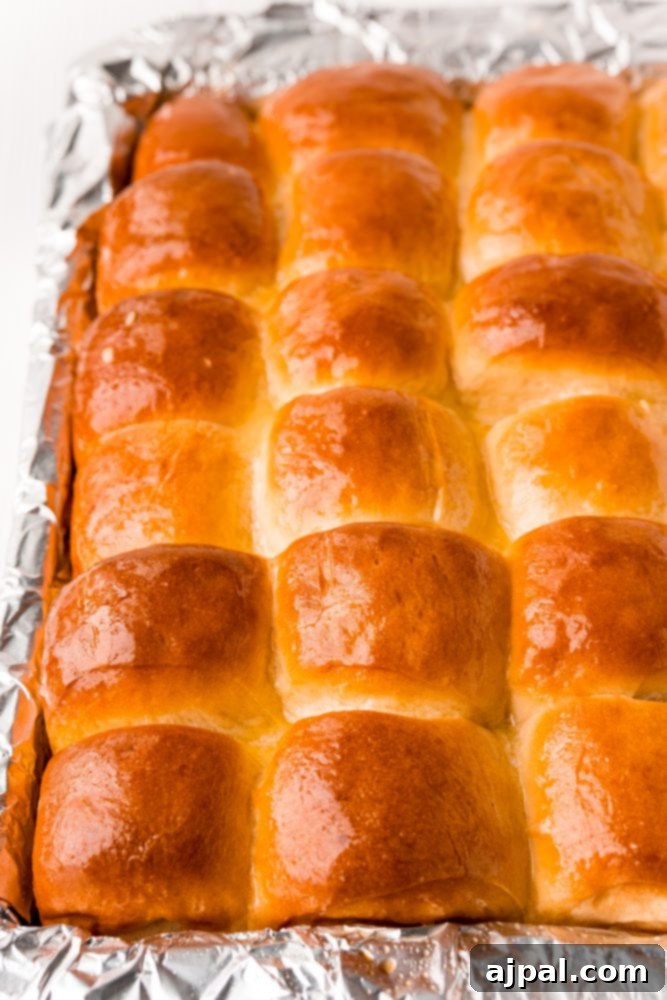
Bake the rolls for approximately 30 to 35 minutes, or until they are a gorgeous golden brown on top and their internal temperature registers 200 degrees F (93°C) when checked with an instant-read thermometer. For even baking, remember to rotate the pan halfway through the baking time. This prevents one side from browning too quickly. Once baked, transfer the rolls to a wire rack using the foil overhangs as handles. While still warm, brush them generously with the remaining tablespoon of melted butter for an extra touch of irresistible flavor and a beautiful sheen. Serve them immediately and watch them disappear!
Make-Ahead Strategies for Stress-Free Baking
Preparing homemade dinner rolls can be a labor of love, but it doesn’t have to be last-minute. This recipe for buttery soft dinner rolls is wonderfully adaptable for make-ahead convenience, perfect for busy weeknights or elaborate holiday dinners. Whether you want to get a head start on your prep or bake a large batch to freeze for future meals, these tips will help you ensure your rolls remain perfectly soft and delicious when you’re ready to serve them.
Postponing the baking process allows for flexibility, letting you enjoy freshly baked rolls without the full-day commitment on serving day. There are a couple of excellent methods to manage your time effectively, each offering slightly different benefits depending on how much work you want to do ahead and how quickly you plan to bake them after prepping.
Postponing Baking Parker House Rolls
There are two primary methods for preparing these rolls ahead of time for refrigeration or freezing. Each method has its advantages, so be sure to choose the one that best fits your schedule and desired level of readiness on the day you plan to serve them.
Refrigerating Parbaked Rolls for Later Enjoyment
Parbaking, or partly baking, your dinner rolls is a fantastic way to get almost all the work done in advance. This method yields rolls that are still incredibly soft and fluffy, tasting freshly baked, unlike simply reheating fully baked rolls which can sometimes lead to dryness. This is especially ideal for holiday dinners or dinner parties when you want to minimize stress on the day of the event.
During the final rise of your shaped rolls, preheat your oven to a lower temperature, specifically 275°F (135°C). Bake the rolls at this temperature for 25 to 35 minutes. At this stage, the dough will have risen significantly and developed a light “crust” layer, but it will NOT be browned, nor will it look completely “done.” The goal is to cook them just enough to set their structure and inhibit further yeast activity. Once parbaked, let them cool completely, then wrap them tightly in plastic wrap and store in an airtight container or freezer bag. They can be refrigerated for up to 2-3 days or frozen for up to 1 month. When you’re ready to serve, simply transfer them to a baking sheet and bake at 375°F (190°C) for 10-15 minutes, or until golden brown and heated through.
Chilling Prepped Parker House Roll Dough
You can also prepare the dough entirely and refrigerate it before the final shaping and baking. While chilling significantly slows down yeast activity, it does not stop it completely. Therefore, some management is required to ensure optimal results.
If you plan to refrigerate the dough for a day or two before shaping and baking, it’s essential to wrap the dough tightly in plastic wrap immediately after the initial kneading and before the first rise. Place it in a lightly greased bowl before wrapping. For the first few hours of refrigeration, you will need to “punch down” the dough a few times to release accumulated gas and prevent over-proofing. After this initial period, continue to punch down the dough every 24 hours while it’s in the refrigerator. This controlled chilling method keeps the dough active but manageable. For the best texture and rise, it’s recommended to use this prepped dough within 48 hours of refrigeration. On baking day, remove the dough from the refrigerator, let it come to room temperature for about 30-60 minutes, then proceed with shaping, the second rise, and baking as directed.
Frequently Asked Questions About Dinner Rolls
Absolutely! This recipe is ideal for make-ahead convenience. You can prepare the dough ahead of time and refrigerate it to be shaped and baked just before dinner. Alternatively, the rolls can be parbaked (partially baked) and then frozen, allowing you to bake them to golden perfection right before serving. Be sure to follow our detailed make-ahead tips above for both methods to ensure your rolls turn out perfectly fresh and delicious.
If you find the dough too elastic or challenging to shape into the traditional Parker House fold, don’t worry! You can use our easy Parker House roll shaping method. Instead of intricate folding, simply roll out individual dough balls into long oval shapes, brush the center with melted butter, and then fold one side over onto itself. This creates that desirable buttery middle with less fuss, and you can then proceed with the baking directions as listed in the recipe.
Once in the oven, these delightful rolls typically require about 30 to 35 minutes of baking time. The exact duration can vary slightly depending on your oven, so always keep an eye on them for visual cues of doneness.
Your buttery soft dinner rolls are perfectly baked when they are beautifully golden brown on top, have risen tall, and feel light and almost hollow when gently tapped. A reliable indicator is an internal temperature of 200 degrees F (93°C) when measured with an instant-read thermometer. The crust should have a slight “snap” when flicked with your finger, indicating it’s done but the inside remains tender and not dense.
Yes, you can certainly use active dry yeast in place of instant yeast. For this recipe, you would need to use 3.5 teaspoons of active dry yeast. To activate it, warm about ¼ cup of the total milk from the recipe to 110 degrees F (43°C) and stir in a teaspoon of the sugar. Sprinkle the yeast over this mixture and let it sit for 10 to 20 minutes until it becomes foamy. The remaining milk and sugar will be added with the butter. Since you are activating the yeast separately, the milk and butter mixture doesn’t need to be as hot; it just needs to be melted and warm, not hot. Be aware that using active dry yeast will typically require up to an additional 30 minutes of proofing time for each rise, adding approximately 1½ hours to the total prep time.
The “Parker House” style refers to two key characteristics: first, the enriched dough, which contains butter, milk, and eggs for a tender and soft crumb; and second, the distinctive folded shape with a layer of butter in the middle. This unique fold creates a wonderfully flaky and moist interior, giving the rolls their signature rich flavor and texture.
For optimal freshness, store any leftover buttery soft dinner rolls in an airtight container at room temperature for up to 2-3 days. If you wish to extend their freshness, you can wrap them tightly and freeze them for up to 3 months. When reheating from frozen, it’s best to allow them to thaw at room temperature first, then warm them in a low oven for a few minutes until soft.
Other Delightful Sides You’ll Love
These Parker House-style buttery soft dinner rolls are a fantastic addition to any meal, especially holiday dinners. But if you’re looking to expand your repertoire of delicious side dishes, we have plenty of other crowd-pleasing recipes that will perfectly complement your main courses. From savory potato dishes to vibrant vegetable sides, explore some of our favorite easy side dishes below:
Herb Roasted Turkey in a Bag
Easy Cranberry Fluff Salad
Cranberry Bars
Dilly Bread Recipe
Cabbage and Noodles
Lemon Chicken Tortellini Soup
Cranberry Chutney
Bacon Rye Stuffing
We hope you thoroughly enjoy this easy recipe for buttery soft dinner rolls! If you love it, please take a moment to click the stars below to give it a five-star rating and leave a comment sharing your experience. Your feedback helps us grow and inspires other home cooks. We also encourage you to help us spread the word by sharing your delicious creations on Instagram, Facebook, and Pinterest – be sure to tag @sweetcsdesigns so we can see your amazing results!
Share on Facebook
Share
Pin this now to find it later
Pin It
Follow on Instagram
Follow
Only have 30 minutes to get dinner on the table? Sign up for my 30-minute dinner plans direct to your inbox!
Find and shop my favorite products in my Amazon storefront here!
The Best Buttery Soft Dinner Rolls Recipe
Ingredients
- 5 cups all-purpose flour
- 2¾ teaspoons instant yeast
- 2 teaspoons salt
- 3 large eggs
- 1¼ cups whole milk
- 12 tablespoons unsalted butter, divided
- 3 tablespoons sugar
Instructions
-
In the bowl of a stand mixer fitted with a dough hook, mix together the flour, yeast, and salt.
-
In a medium bowl, lightly beat the eggs; set aside.
-
In a medium saucepan, combine the milk, 9 tablespoons of butter, and the sugar and cook over medium-low heat until the butter melts, the sugar dissolves, and the mixture reaches a temperature between 115 and 120 degrees F.
-
With the flour will mixer running on low speed, slowly add milk mixture to bowl followed by the eggs and mix until no dry flour remains, about 1 to 2 minutes.
-
Increase speed to medium and let the mixer knead until dough is smooth, elastic, and mostly pulls away from the sides of the bowl, about 6 to 8 minutes.
-
The dough will still stick to the bottom of the bowl.
-
Turn the dough out onto a lightly floured surface and knead by hand for 30 seconds.
-
Form dough into a tight ball and transfer to a large, greased bowl.
-
Spray the top of the bread lightly with nonstick spray, then cover the bowl with plastic wrap and let proof in a warm place until doubled in size, 60 to 90 minutes.
-
Line a 13×9-inch baking pan with two pieces of tin foil, overlapping foil and letting the ends hang over the long edges of the pan. Spray the foil with nonstick spray; set aside.
-
Turn the ball of dough out onto a clean lightly floured counter and divide in half. Stretch each half into a 24-inch-long roll and use a rolling pin to flatten it so it’s about 5 inches wide. Then brush the surface of the dough with 1 tablespoon of melted butter.
-
Starting at the top long edge, fold a third of the dough down toward you. Then fold the bottom third of the dough over to meet the edge.
-
Roll dough a couple of times to seal and reshape as necessary to form an even log.
-
Using a sharp knife, trim 1 inch of dough off each end and discard, then cut dough into 12 equal pieces. Arrange rolls seam side down in the prepared pan in three rows of four. Repeat with the remaining half of the dough.
-
Spray plastic wrap thoroughly with nonstick spray, cover the rolls with it and let the rolls proof in a warm place until they are about double in size, about 60 minutes.
-
Preheat the oven to 375 degrees F and bake the rolls until browned and centers register 200 degrees, about 30 to 35 minutes, rotating the pan halfway through.
-
Transfer the rolls to a wire rack using the foil for handles. Brush with the remaining tablespoon of melted butter.
Notes
- Rolls are best served within 24 hours of baking.
- To freeze rolls, wrap in plastic wrap and place in a freezer bag and freeze for up to 3 months. To thaw, unwrap and let thaw at room temperature. To thaw quickly, preheat the oven to 200, unwrap the rolls and place on a cookie sheet and bake for about 15 minutes.
- It’s VERY important that your milk mixture is between 115 and 120 degrees F because it needs to be hot enough to activate the yeast in the bowl.
- If you want, you can use an eggwash on top of the rolls for a deeper golden brown.
- What makes these parker house rolls is the enriched dough and the folding method. You can use this dough to make classic dinner rolls by just making even portions of dough and shaping them into balls.
- Parchment paper may be used instead of foil.
Nutrition
Nutrition information is automatically calculated, so should only be used as an approximation.