
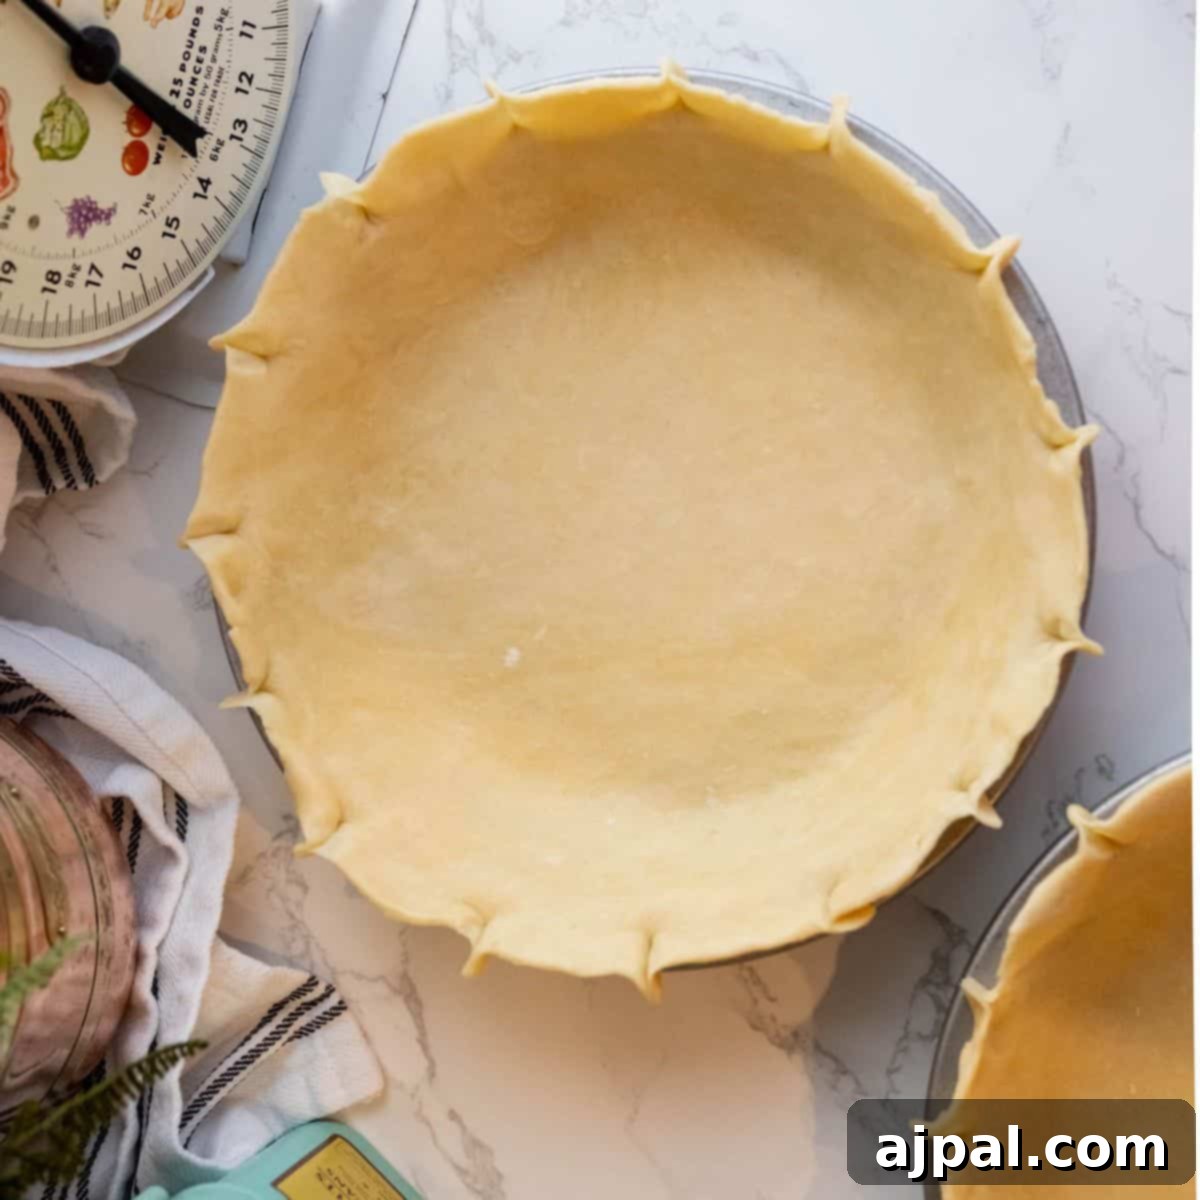
Unlock the secrets to baking perfection with a truly reliable and incredibly easy homemade pie crust. Forget store-bought shortcuts; this recipe for a flaky, buttery foundation requires just a few basic ingredients: flour, water, salt, and butter. Its minimal ingredient list and straightforward preparation make it the ultimate go-to choice for any pie, whether sweet or savory. Mastering this essential technique will not only elevate your baking but also empower you to create stunning desserts and savory dishes with confidence and ease.
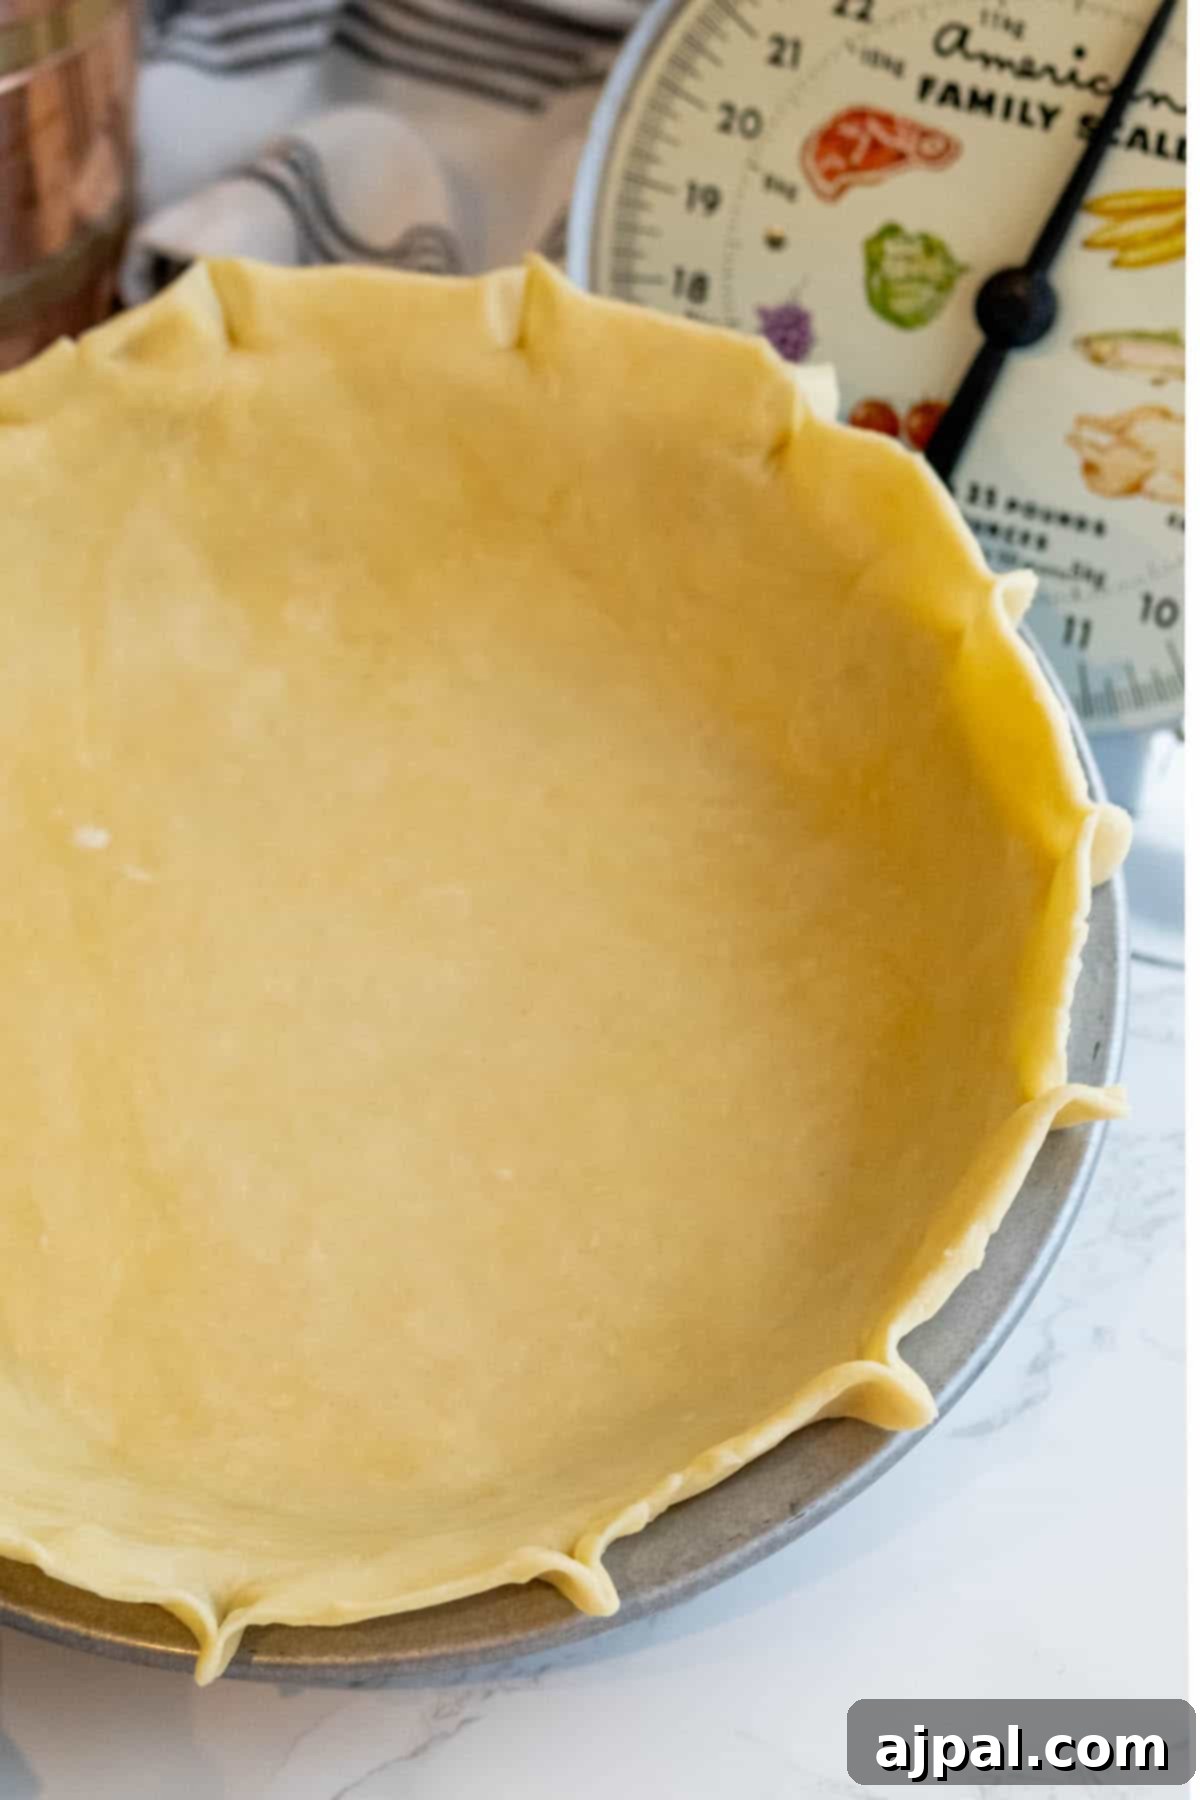
Looking for a quick recipe? We understand that sometimes you just want the essentials! We provide a skip to recipe button in the top left corner, as well as a clickable table of contents, just below, to help make this page easier to navigate. However, for those eager to understand the ‘why’ behind the ‘how’, we’ve packed this post with invaluable insights.
At Sweet C’s, my passion is to make baking accessible to everyone. As a home cook without formal training, I’ve learned through practice and by truly understanding each ingredient’s role and how techniques influence the final outcome. My goal is to share this knowledge, ensuring that even the most beginner home cook feels empowered and confident in the kitchen. This comprehensive guide to crafting the perfect easy pie crust is designed to demystify the process, turning what many consider daunting into a simple, enjoyable experience.
Table of Contents
- The Ultimate Super Simple Pie Crust
- Mastering Homemade Pie Crust: Step-by-Step
- Essential Ingredients for a Flaky Crust
- Pie Crust Making Methods
- Rolling Out the Perfect Pie Dough
- Expert Tips and Tricks for a Perfect Pie Crust
- Frequently Asked Questions About Pie Crust
- Delicious Pie Recipes to Fill Your Crust
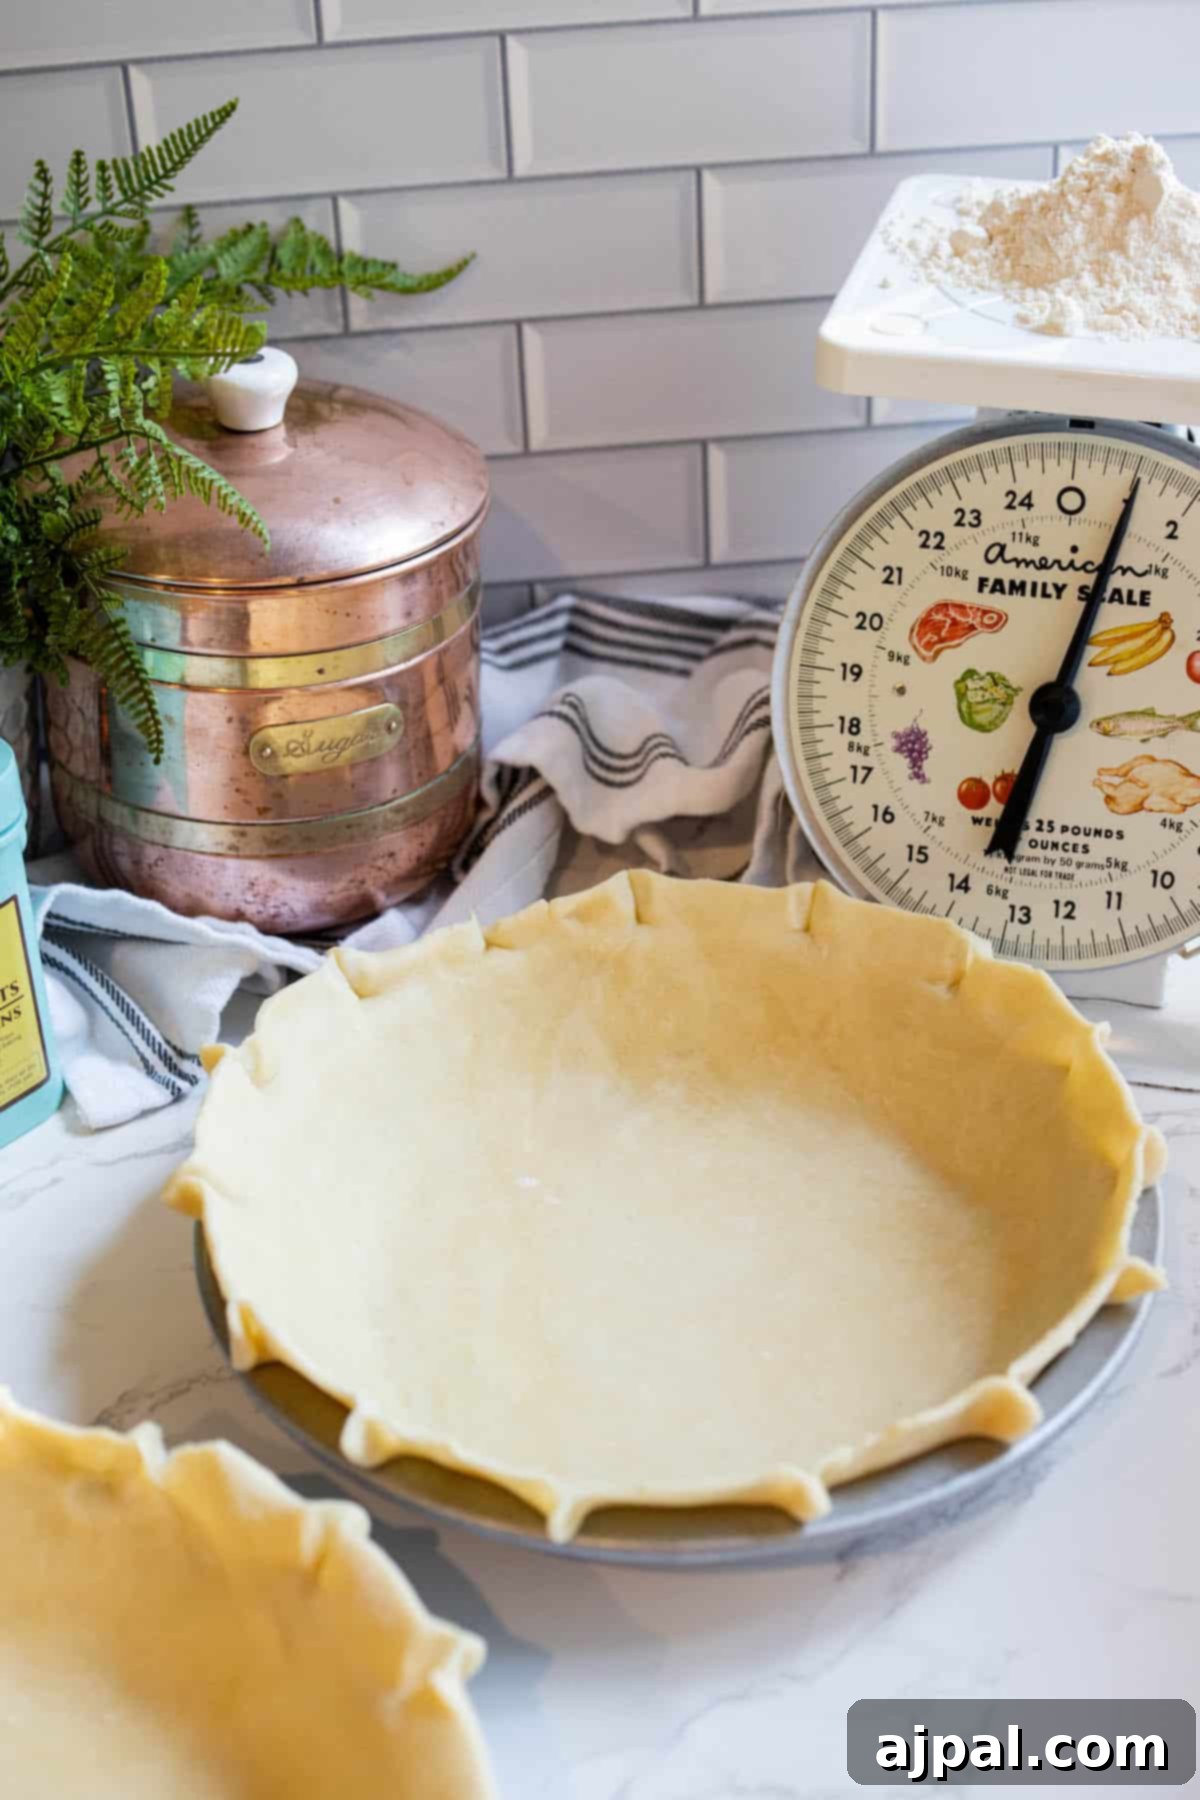
The Ultimate Super Simple Pie Crust
At the heart of countless beloved dishes, both sweet and savory, lies the humble pie crust. Far from being a mere container, a perfectly executed pie crust is a culinary masterpiece—a delicate balance of flour, fat, and water, skillfully combined to create layers of exquisite flakiness and a tender, buttery texture. When done right, this golden-brown foundation provides the ideal contrast to soft fillings, a sturdy vessel for juicy ingredients, and an irresistible aroma that fills any kitchen. While its basic components suggest simplicity, mastering the art of a perfect pie crust, with its characteristic crispness and rich flavor, is a pursuit that many bakers cherish. This recipe strips away the complexity, offering you a pathway to achieving bakery-quality results right in your home kitchen.
The versatility of a great pie crust extends far beyond its traditional role in classic American fruit pies like apple or cherry. In the savory realm, it transforms into the robust base for elegant quiches, cradling creamy egg custards combined with a delightful array of vegetables, meats, and cheeses. Hearty pot pies, such as chicken or beef, rely on a rich, flaky crust to encase their comforting fillings, creating a warming dish that evokes a sense of home. Even portable delights like hand pies or pasties showcase the dough’s adaptability, wrapping spiced meats or sweet fruits into convenient, on-the-go treats.
For sweet applications, the possibilities are boundless. Beyond traditional fruit fillings, pie crusts form the exquisite base for tarts, holding luscious chocolate ganache, vibrant lemon curds, or silky custards often adorned with fresh berries. Creative bakers even experiment with using pie crusts as a unique foundation for cheesecakes or crafting them into twisted, sugar-dusted sticks for a simple, delightful snack. This adaptable nature, its ability to serve as a blank canvas, means that the humble pie crust has found its place across diverse cultures and cuisines, always molding itself to local culinary traditions while retaining its universally appealing qualities of flakiness, tenderness, and delectable golden perfection. Our super simple pie crust recipe is designed to be your versatile ally, ready for any culinary adventure you envision.
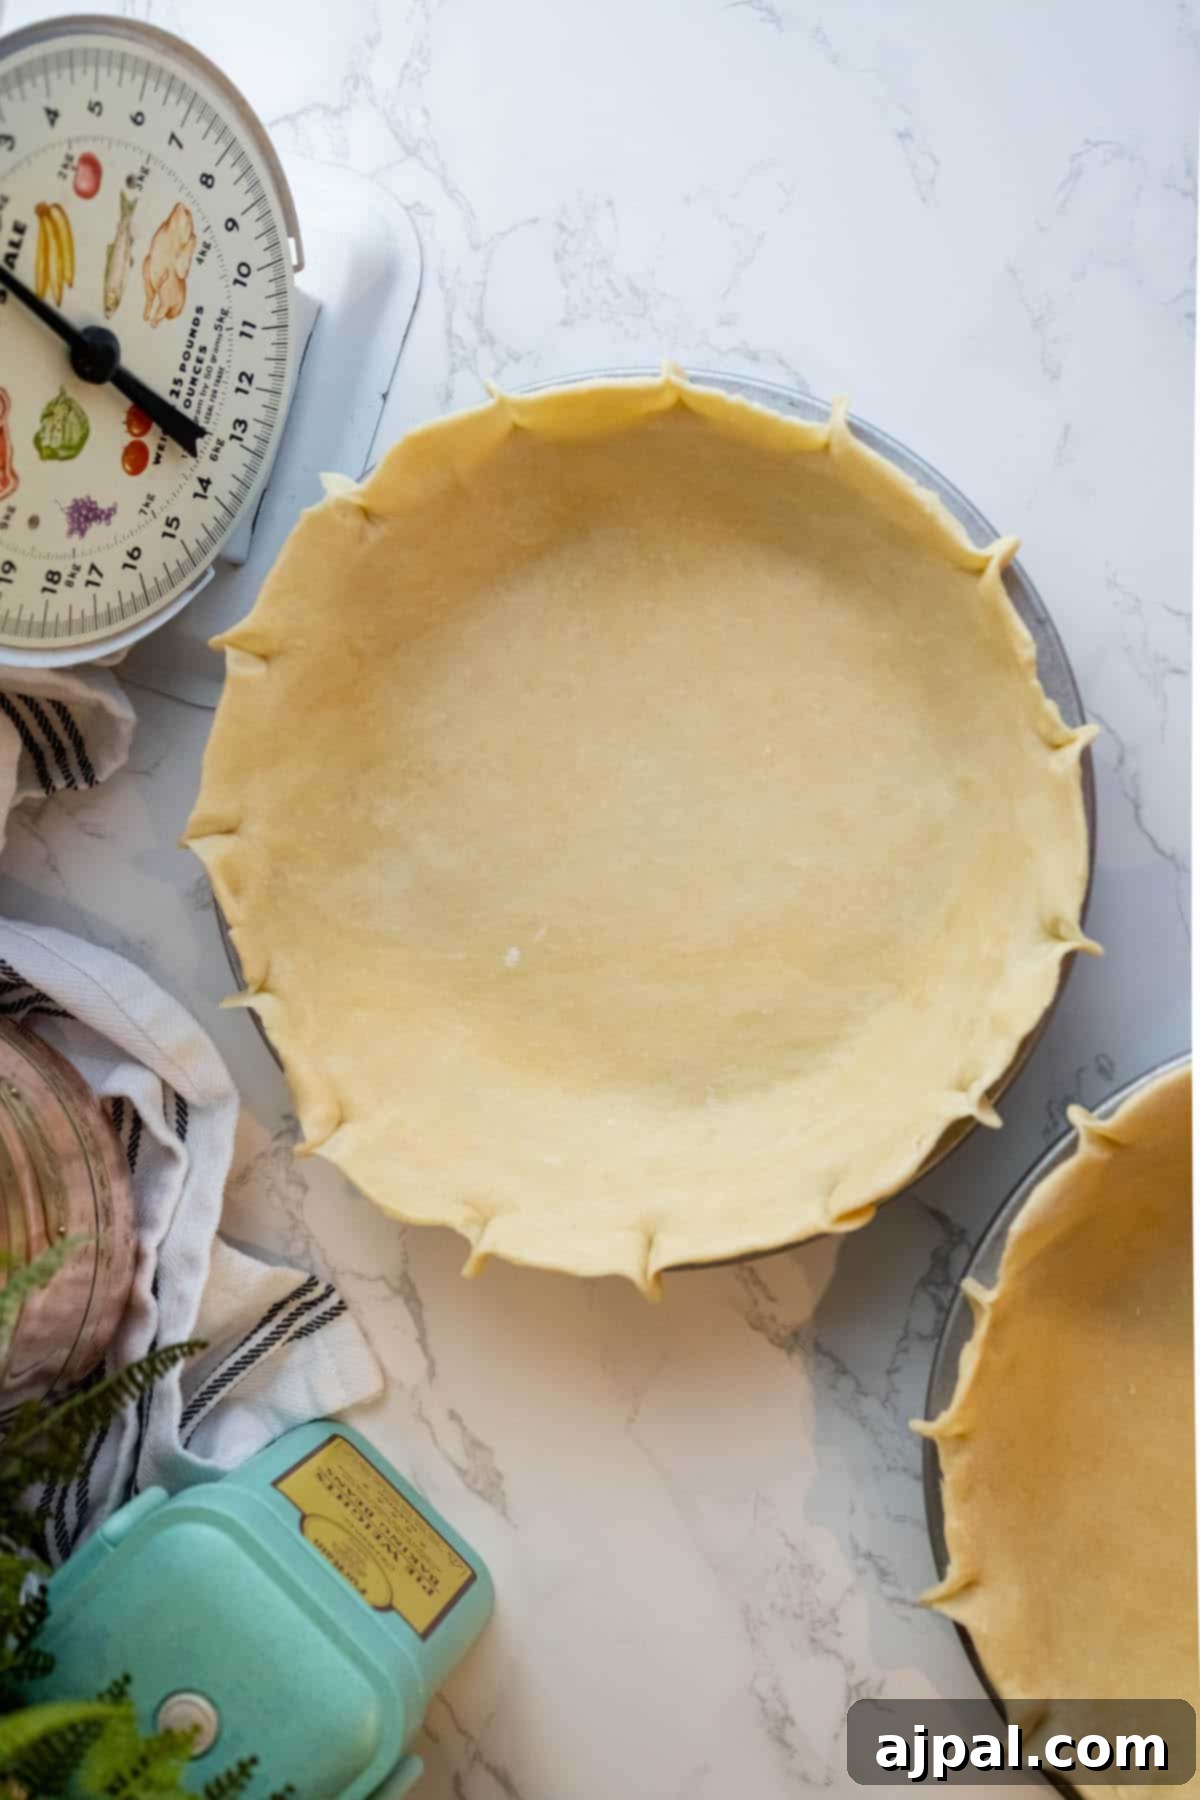
Mastering Homemade Pie Crust: Step-by-Step
Creating a perfect homemade pie crust is simpler than you might imagine, especially when you understand the role each ingredient plays and follow a clear method. Below, we’ll walk through the essential ingredients and two easy methods for bringing your dough together, ensuring a flaky, tender, and delicious result every time. Remember, the key to success lies in keeping your ingredients cold and handling the dough with a light touch.
Essential Ingredients for a Flaky Crust
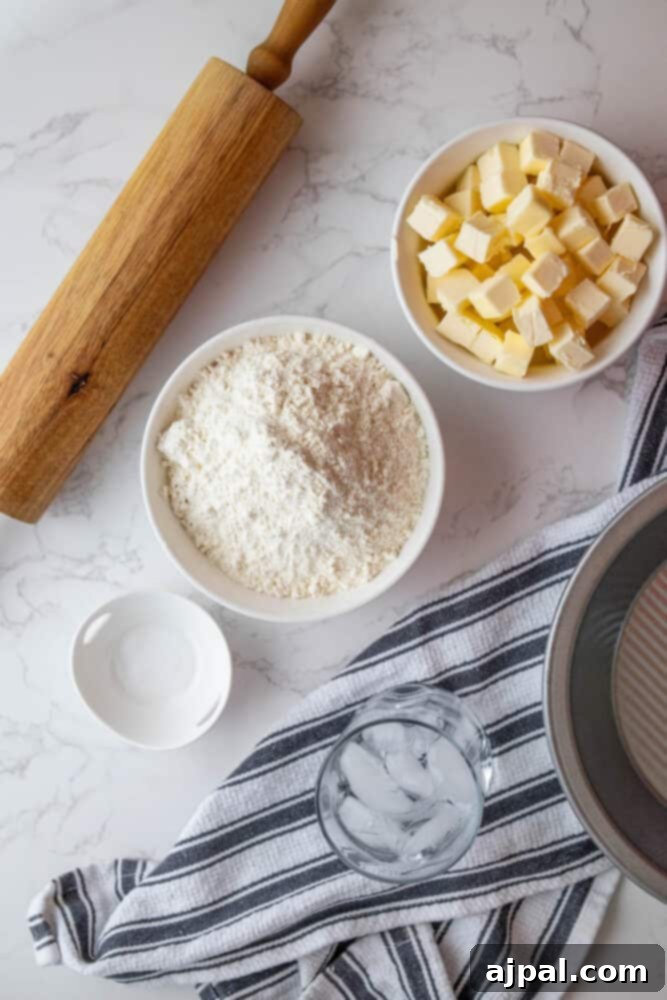
Before you begin, gather your ingredients. Quality and temperature are paramount for an easy pie crust that delivers on flavor and texture:
- All-purpose flour (2 ½ cups) – This versatile milled wheat flour strikes the perfect balance for pie crusts. Its moderate protein content develops just enough gluten to give the crust structure without making it tough, allowing for that desired flaky texture.
- Sea salt (½ tsp) – Essential for enhancing the overall flavor of your pie, fine sea salt is naturally sourced and has a small, uniform particle size. This allows it to dissolve quickly and distribute evenly throughout the dough, seasoning the crust without any gritty texture.
- Sugar (1 tbsp) – Sugar is an optional but wonderful addition, particularly if you’re making a sweet pie. It adds a subtle sweetness to the crust, complementing fruit or cream fillings beautifully. If you’re planning a savory pie like a quiche or pot pie, feel free to omit this ingredient for a more neutral flavor profile.
- Unsalted butter (1 cup) – The star of the show for a rich, flaky crust! It is absolutely crucial that your butter is super cold. Cut it into ½-inch cubes and, for best results, pop it in the freezer for about 10-15 minutes before you start mixing. Cold butter creates pockets of steam during baking, which are responsible for those irresistible layers of flakiness. Unsalted butter allows you to control the exact salt content in your recipe.
- Ice water (6-8 tbsp) – Just like the butter, the water needs to be ice cold. Cold water is vital for helping the flour and butter come together without melting the butter chunks prematurely. I recommend filling a glass with ice and water at least 20 minutes before you begin, so it’s perfectly chilled when you need it. Start with 6 tablespoons and add more, one tablespoon at a time, only until the dough just barely comes together.
Pie Crust Making Methods
Choose the method that best suits your kitchen equipment and comfort level:
In a Food Processor:
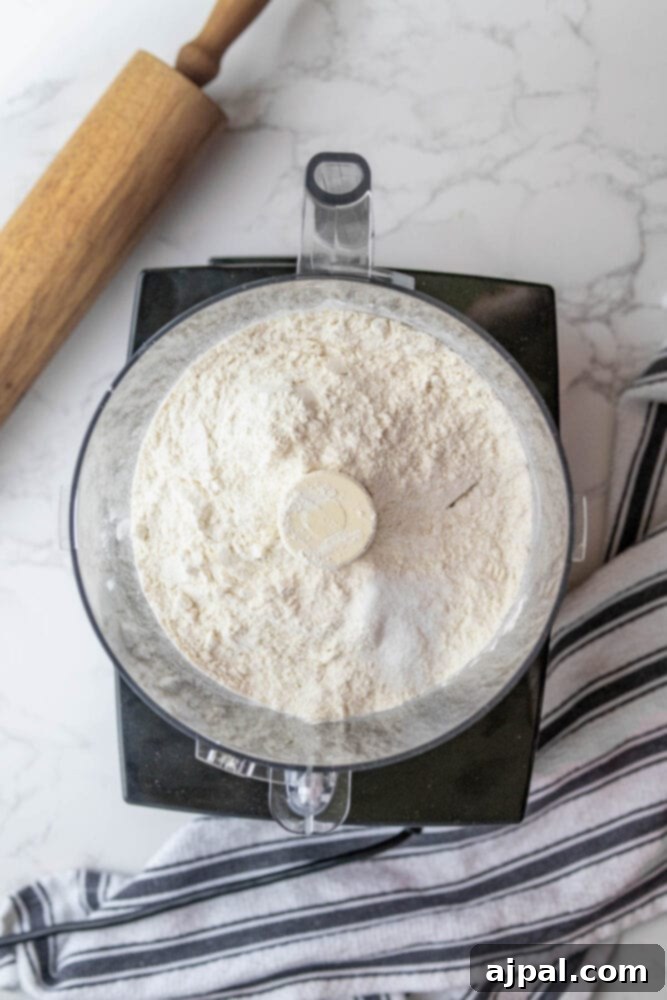
- Combine Dry Ingredients: Add the all-purpose flour and sea salt (and sugar, if using a sweet crust) to the bowl of your food processor. Pulse a few times to ensure they are well combined. This initial step helps distribute the salt evenly, preventing pockets of overly seasoned dough.
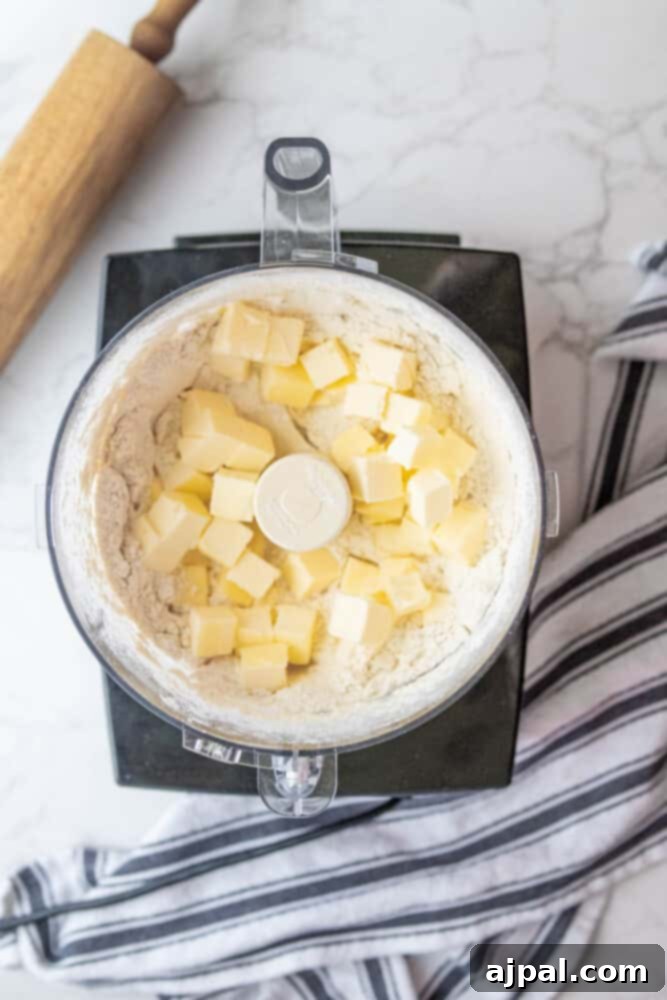
- Add Cold Butter: Scatter the super cold, cubed butter evenly over the flour mixture. Give them a quick toss to coat them in flour; this prevents the butter pieces from clumping together and ensures they are distributed throughout the dough, contributing to maximum flakiness.
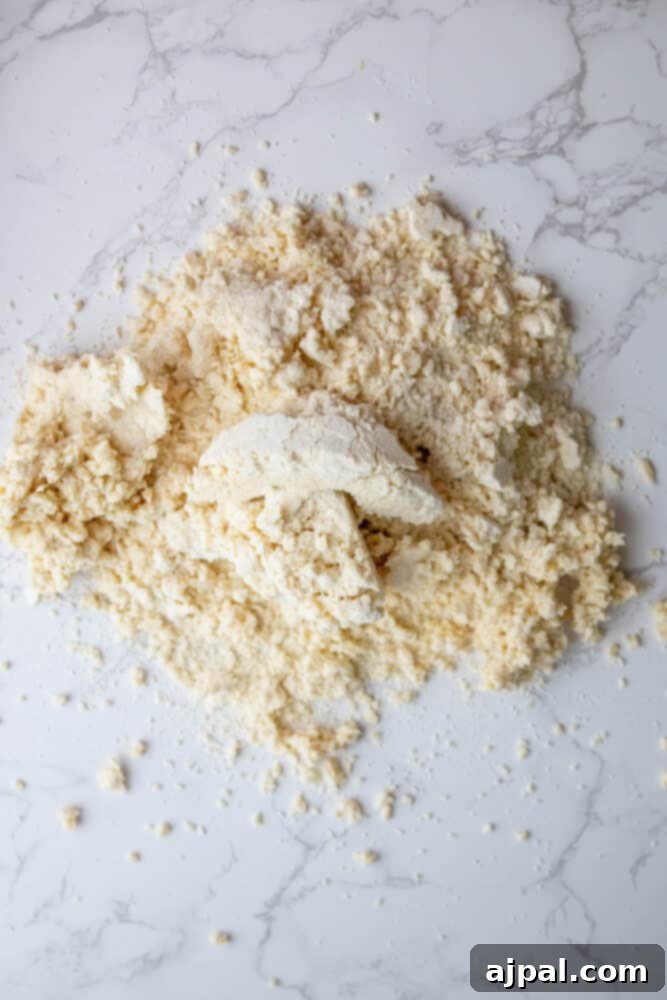
- Pulse to Combine: Pulse the mixture in the food processor in short bursts, about 15-20 seconds in total, until the butter is cut into the flour and the mixture resembles coarse bread crumbs or small peas. It’s crucial not to over-process at this stage, as you want distinct butter pieces.
- Incorporate Ice Water: With the food processor running on low speed, slowly add the ice-cold water, one tablespoon at a time, through the feed tube on the top. Continue adding water until the dough just starts to come together and forms a shaggy ball. Stop immediately once this consistency is reached; too much water will make the crust tough.
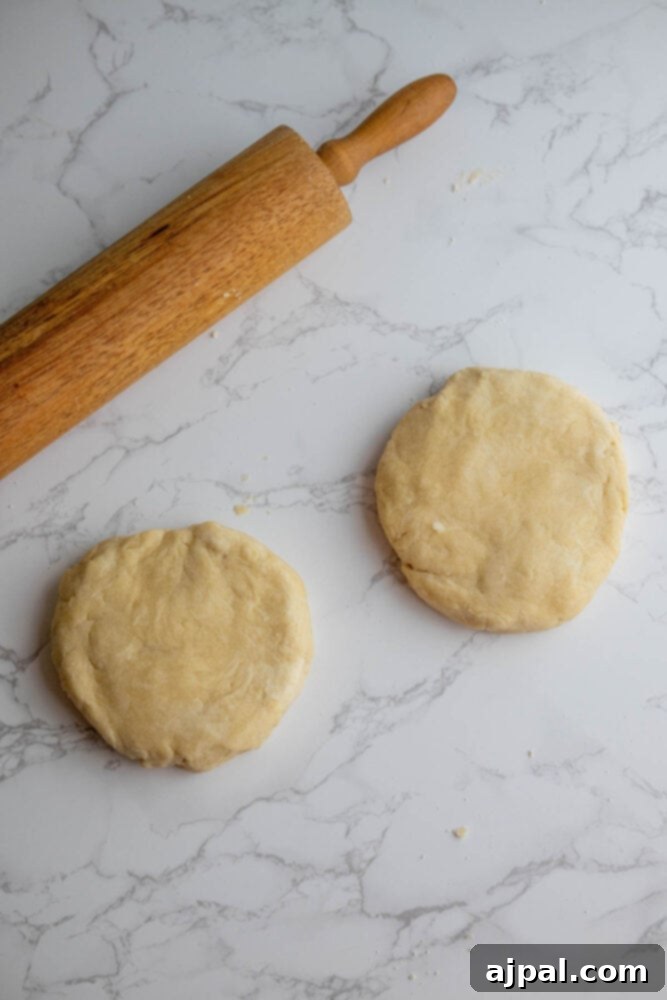
- Form Dough Discs: Carefully pour the mixture out onto a clean, lightly floured surface. Gently push the dough together and work it into a cohesive ball with minimal handling. Divide the dough into two equal portions. Shape each portion into a flat disc, roughly the size and thickness of a hockey puck. This shape makes it easier to roll out later.
- Chill the Dough: Wrap each dough disc tightly in plastic wrap and refrigerate for at least an hour. Chilling allows the gluten to relax, which prevents shrinkage during baking, and solidifies the butter, which is essential for flakiness. You can refrigerate the dough for up to 2 days or freeze it for up to a month at this point.
If Making Dough By Hand:
- Combine Dry Ingredients: In a large mixing bowl, whisk together the flour and salt (and sugar, if desired). This ensures even distribution of flavor.
- Cut in Cold Butter: Add the cold, cubed butter to the flour mixture. Using a pastry cutter, two knives in a criss-cross motion, or even your fingertips, cut the butter into the flour until the mixture resembles coarse meal with some pea-sized chunks of butter remaining. Work quickly to prevent the butter from warming up.
- Add Ice Water: Add 4 tablespoons of ice water to the mixture. Use a fork or your hands to gently work the water into the dough. Continue adding more water, one tablespoon at a time, and mix just until the dough comes together and forms a shaggy ball. Avoid over-kneading; just enough to bring it together.
- Form Dough Discs: Divide the dough into two equal portions. Gently shape each into a flat disc, about the size and thickness of a hockey puck.
- Chill the Dough: Wrap each piece of dough tightly in plastic wrap (or foil) and refrigerate for at least an hour. This step is vital for relaxing the gluten and ensuring a tender, flaky crust. The dough can be refrigerated for up to 2 days or frozen for longer storage.
Rolling Out the Perfect Pie Dough
Once your dough is properly chilled, it’s time to transform it into the perfect pie shell:
- Prepare Your Surface: Remove one dough disc from the refrigerator. Lightly flour your countertop or a pastry mat and your rolling pin. This prevents sticking and makes rolling easier.
- Roll Out Evenly: Roll the dough disc out to a uniform thickness, similar to a pound coin or a quarter. Aim for a circular shape large enough to cover your pie pan, with about an inch of overhang for crimping. If the dough starts to stick, add a tiny bit more flour to your surface or rolling pin.
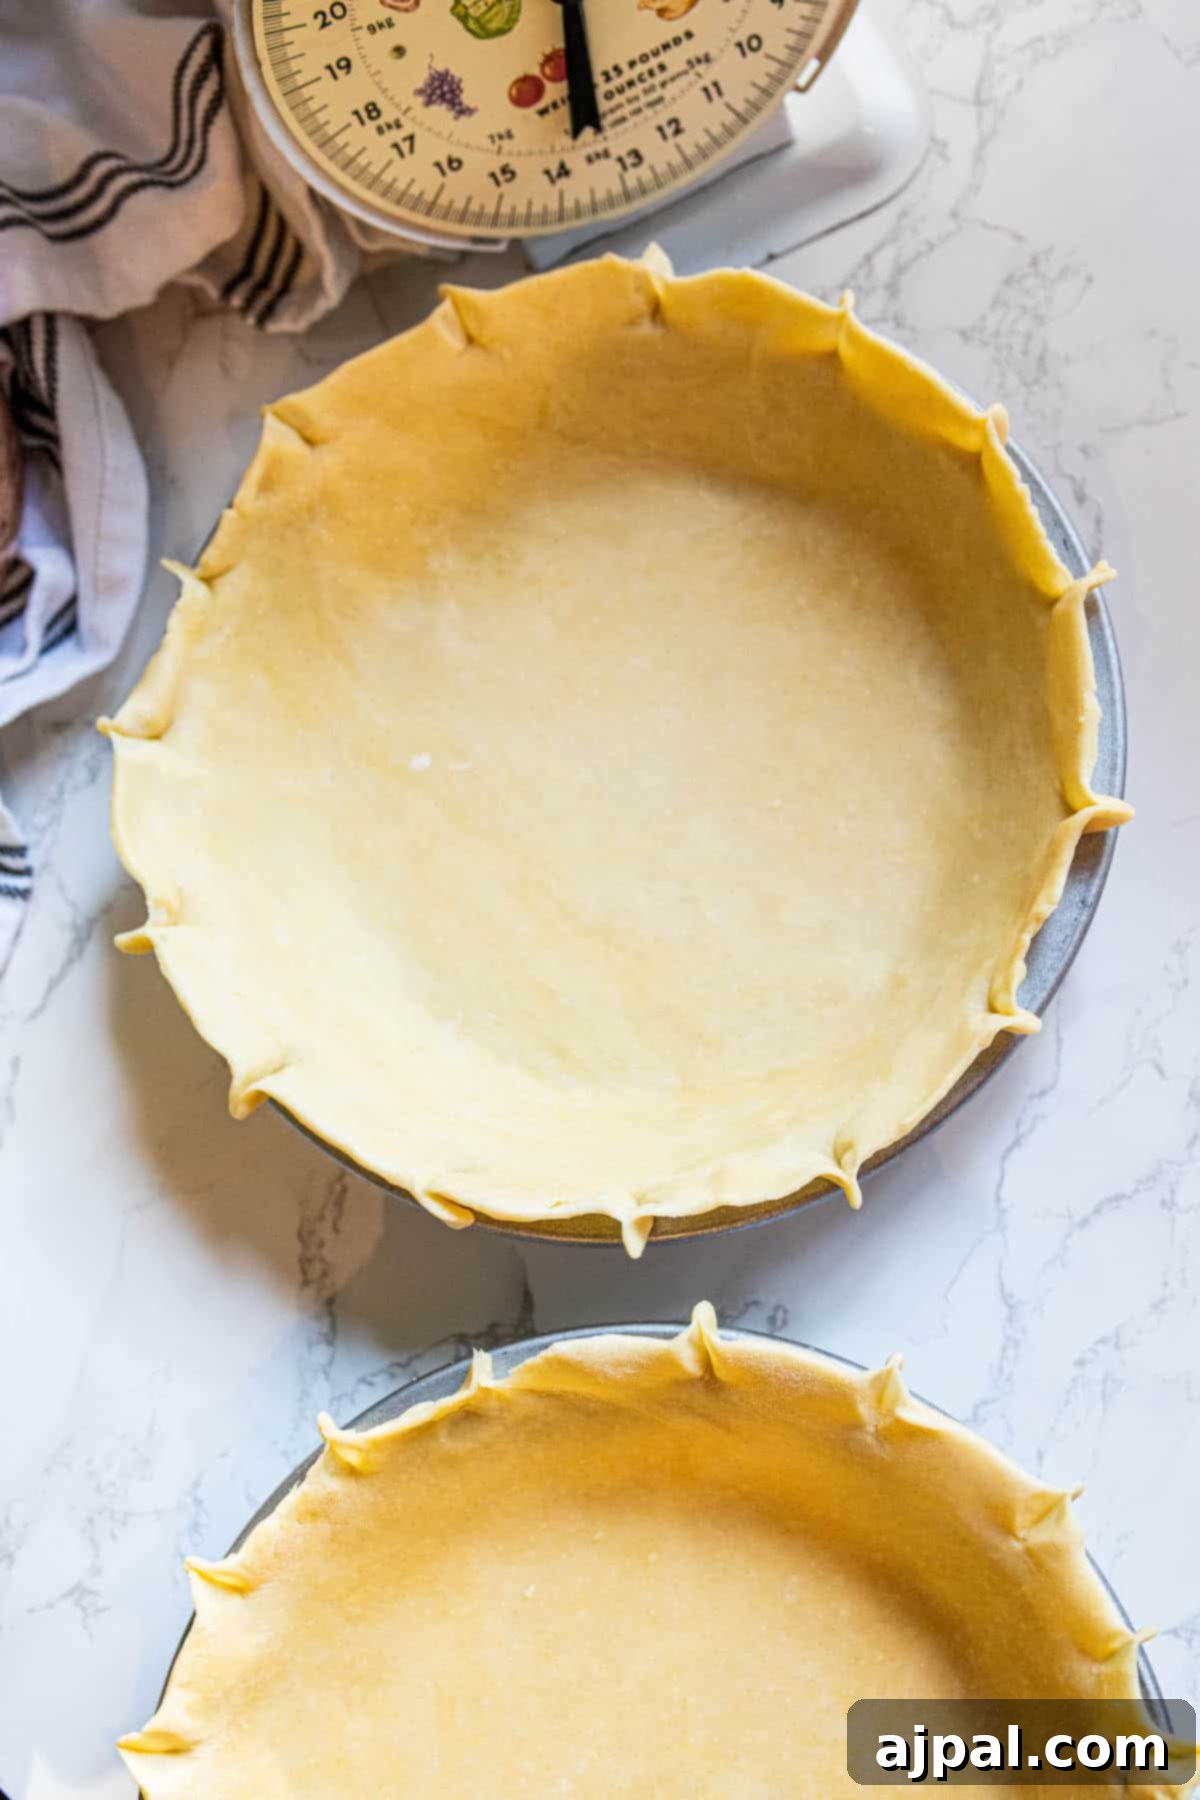
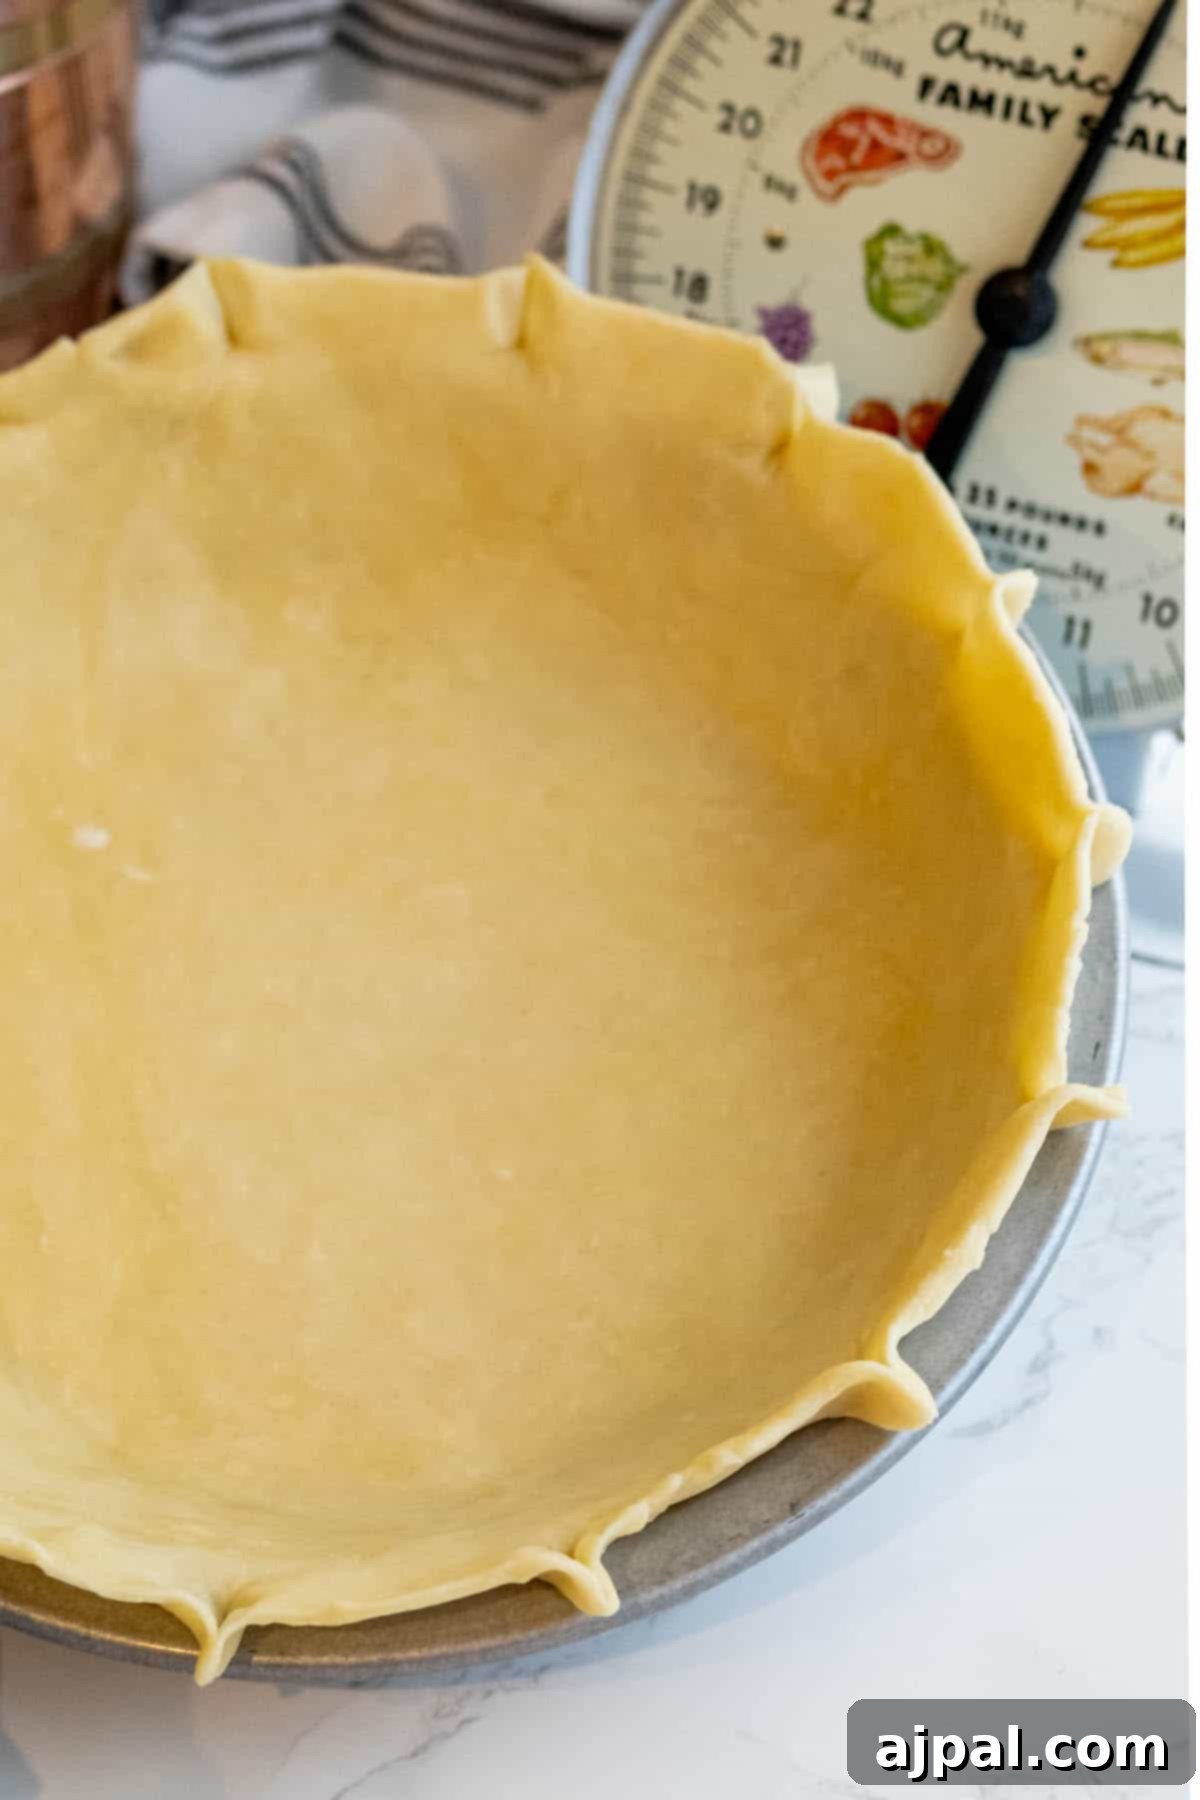
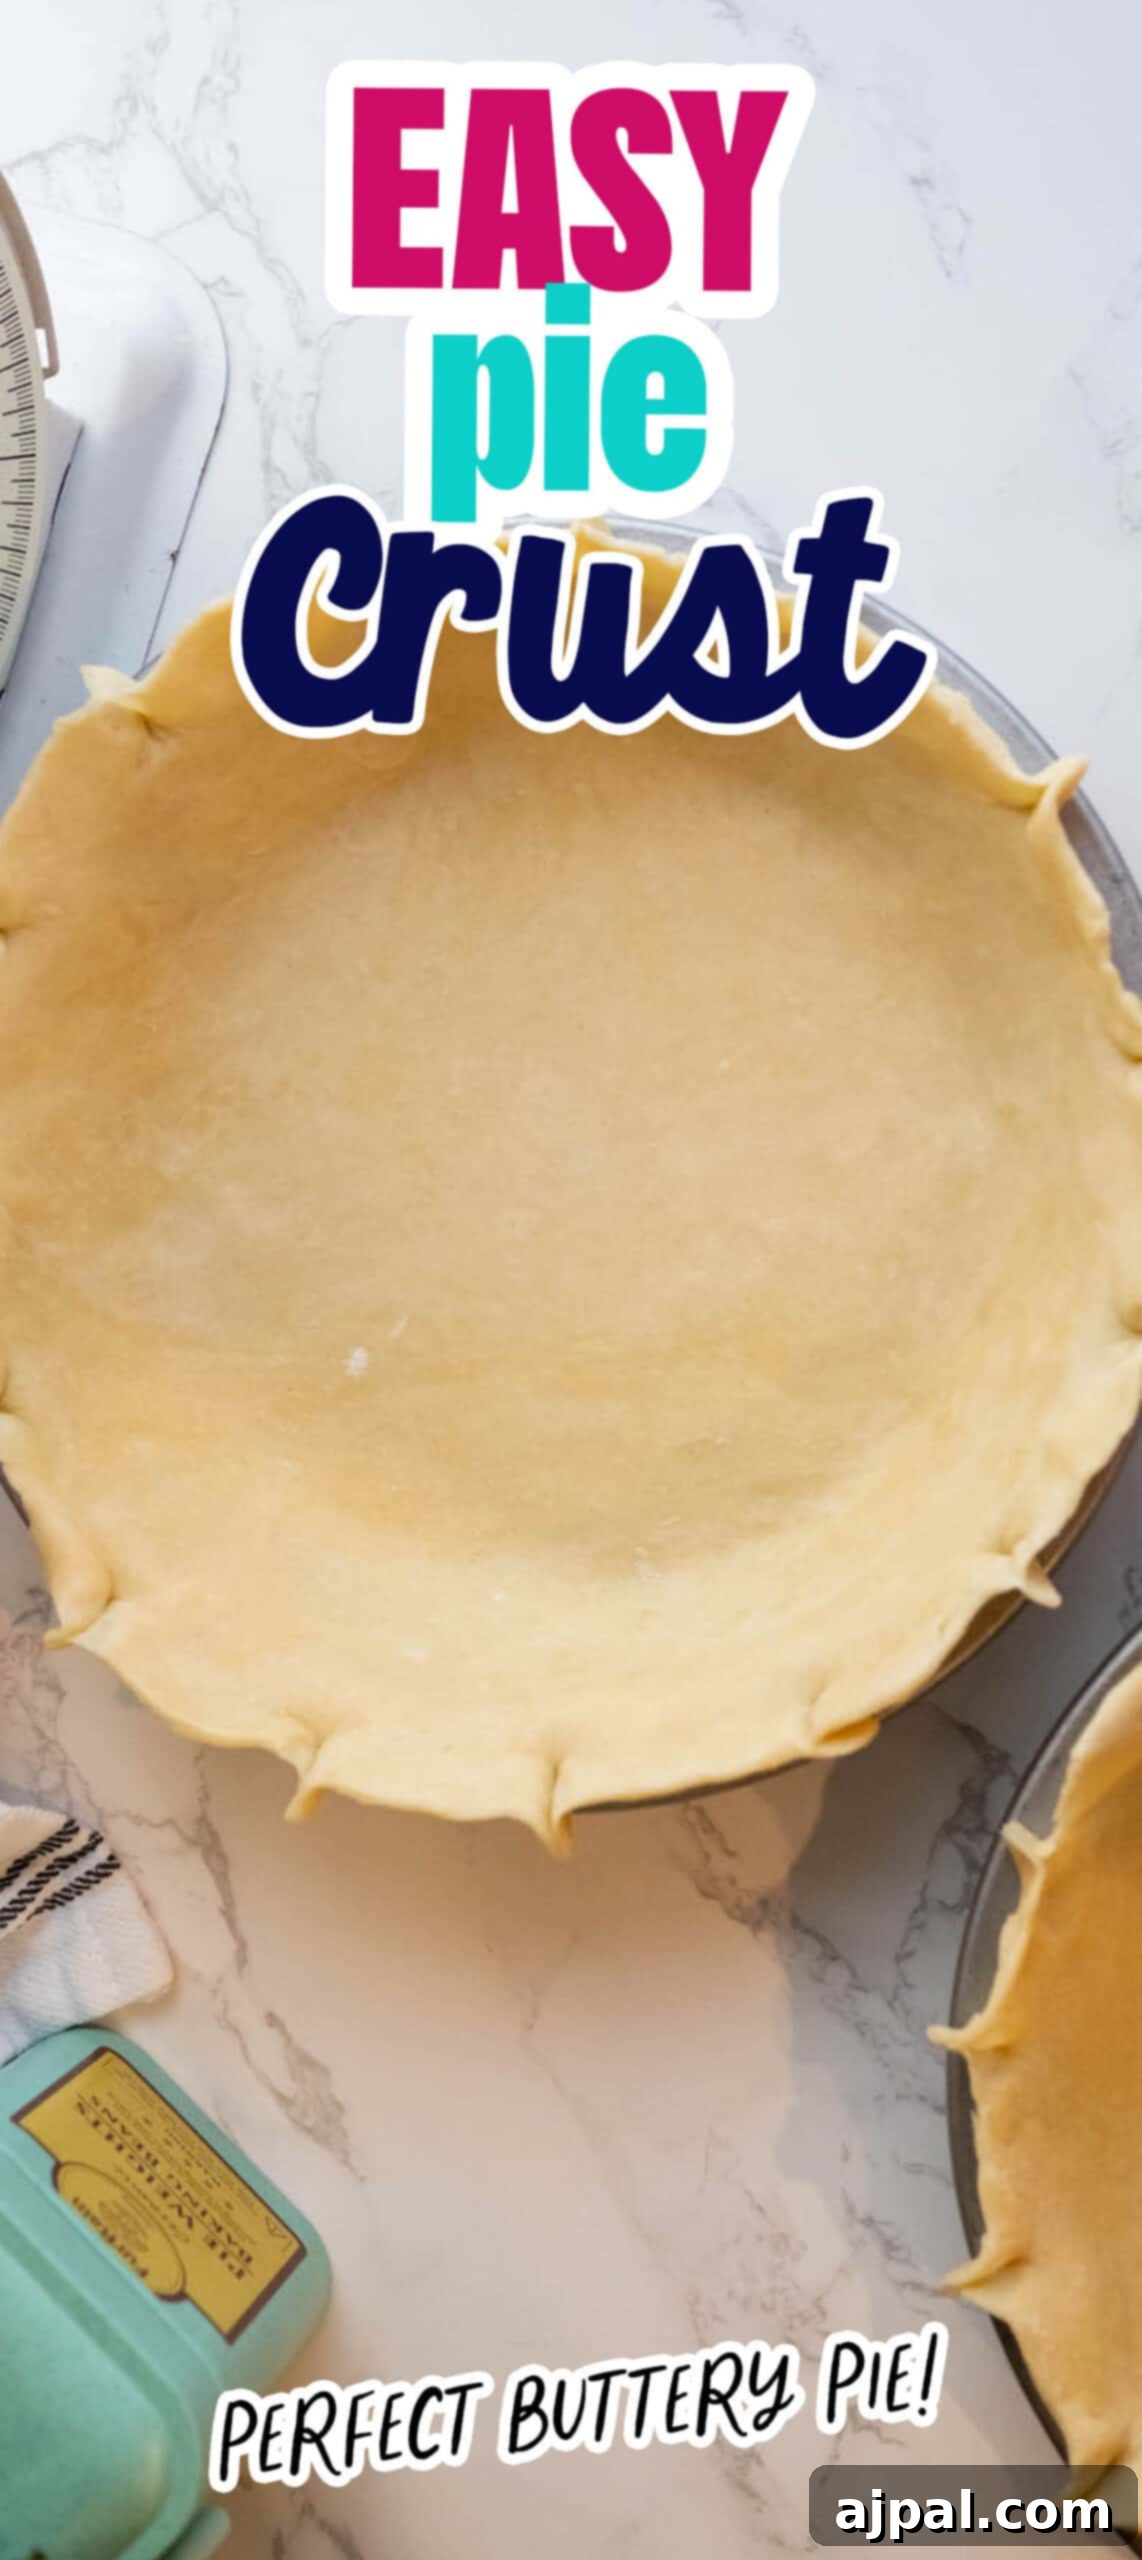
- Transfer to Pie Pan: Carefully roll the dough around your rolling pin, then unroll it over your pie pan. Gently press the dough into the bottom and sides of the dish, ensuring there are no air bubbles trapped underneath.
- Trim Excess Pastry: Using a sharp knife or kitchen scissors, trim the excess pastry around the edge, leaving about ½ inch of dough extending past the edge of the pie dish. This extra dough will be used for crimping.
- Crimp the Edges: Crimp the dough by pinching it very firmly every ½ inch all the way around the rim of the pie pan. You can use your fingers or a fork to create decorative edges. This step helps seal the pie and prevents the crust from shrinking too much.
- Prick the Crust: Take a fork and gently prick the bottom and sides of the crust all the way around. This helps release steam during baking, preventing air bubbles from forming and ensuring a flat, evenly baked crust.
- Bake or Fill: At this point, your pie crust is ready to be filled for a single-crust pie or topped with another rolled-out crust for a double-crust pie. Alternatively, if your recipe calls for a pre-baked (blind baked) crust, proceed to the “Notes” section for instructions.
Expert Tips and Tricks to Perfect Pie Crust
Achieving a truly perfect, flaky pie crust isn’t just about following the recipe; it’s also about understanding the nuances of the ingredients and techniques. Here are some expert tips to ensure your homemade pie crust is consistently delicious:
- Embrace Cold Ingredients: This is arguably the most critical tip. Always start with very cold butter, and for an extra boost, consider chilling your flour in the freezer for about 15-30 minutes beforehand. Cold ingredients are essential because they prevent the butter from melting into the flour too early. When the cold butter hits the hot oven, it creates steam, which separates the layers of dough, resulting in that coveted flaky texture.
- Avoid Overworking the Dough: Handle the pie dough as little as humanly possible. Overworking the dough develops the gluten too much, leading to a tough, dense crust instead of a tender, flaky one. Mix just until the dough comes together, and then stop.
- The Magic of Pea-Sized Butter Chunks: When cutting in the butter, resist the urge to fully incorporate it. You want to leave some visible, pea-sized chunks of butter. These small pieces are what melt and create those pockets of steam during baking, contributing significantly to the flakiness of your crust.
- Precision with Water Amount: Add water slowly, one tablespoon at a time, and only add just enough to bring the dough together. The dough should be moist enough to hold together when pinched but not sticky. Too much water will activate too much gluten, resulting in a tough crust, while too little will make the dough crumbly and hard to roll.
- Rest and Chill for Success: Once your dough is made and formed into discs, wrap it tightly in plastic wrap and let it rest in the refrigerator for at least an hour (or up to two days). This crucial chilling period allows the gluten to relax, preventing the crust from shrinking when baked, and gives the butter time to solidify completely, which is vital for flakiness.
- Roll Evenly for Consistent Baking: When rolling out your dough, strive for an even thickness across the entire surface. An uneven crust will bake inconsistently, with some parts potentially burning while others remain undercooked. Use consistent pressure and rotate the dough frequently.
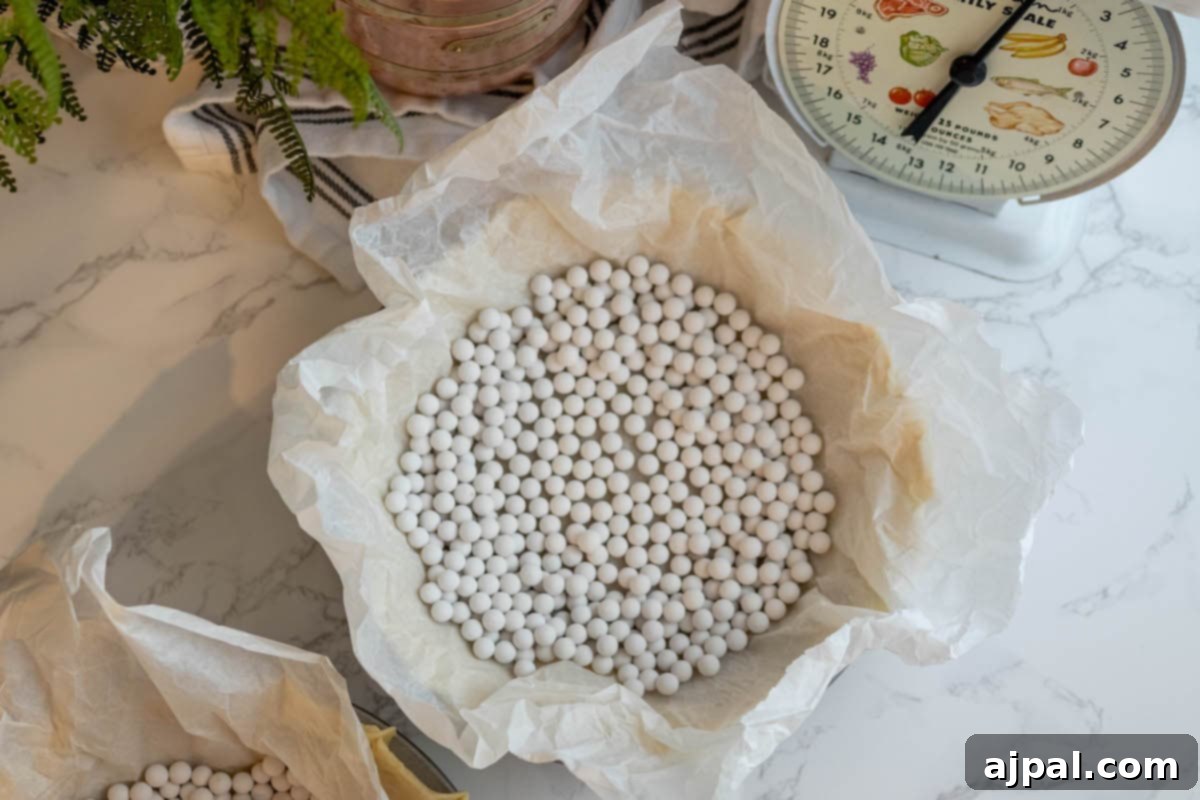
- Consider Blind Baking: If your pie filling is particularly wet (like a custard pie) or cooks much faster than the crust (like many cream pies), blind baking (pre-baking) your crust is a game-changer. This step ensures the bottom crust is fully cooked and crisp, preventing a soggy bottom. Use pie weights, dried beans, or rice to hold the crust in place during blind baking.
- The Golden Touch of an Egg Wash: For a beautiful, golden-brown, and slightly shiny finish, brush the top of your pie crust (or lattice top) with a simple egg wash. This can be a beaten egg, or an egg mixed with a splash of water or milk. This also helps any sugar sprinkled on top adhere.
- Protect Those Edges: The edges of a pie crust tend to brown more quickly than the center. To prevent them from burning, you can cover them with strips of aluminum foil or use a reusable pie shield once they reach your desired golden color.
- Patience is a Virtue (Cooling): Allow your baked pie to cool adequately before slicing and serving. This is especially important for fruit and custard pies, as it allows the filling to set properly, preventing it from spilling out and ensuring cleaner, more appealing slices.
- Practice Makes Perfect: Like any skill in baking, mastering pie crust takes practice. Don’t be discouraged by initial hiccups. Each attempt will teach you something new about how the dough behaves, and soon you’ll be creating perfect pie crusts with ease.
Frequently Asked Questions About Pie Crust
A tough pie crust is almost always the result of overworking the dough. When you handle the dough too much, you develop the gluten in the flour excessively. This creates a stretchy, elastic network that results in a dense and tough texture rather than a light and flaky one. The key is to mix just until the dough comes together and then stop.
Absolutely! Preparing pie crust dough in advance is a fantastic time-saver. You can prepare the dough discs, wrap them tightly in plastic wrap, and store them in the refrigerator for up to 2-3 days. For longer storage, freeze the wrapped dough for up to a month. Just ensure it’s fully defrosted in the refrigerator overnight before you plan to roll it out and use it.
Keeping all your ingredients (especially butter and water) very cold is paramount for a flaky crust. Cold butter forms small, distinct pockets within the dough. When baked, these butter pieces melt and release steam, which pushes apart the layers of dough, creating an airy, flaky texture. If the butter melts prematurely during preparation, it gets absorbed by the flour, leading to a dense, tough, and less flavorful crust.
No special equipment? No problem! You can easily make pie crust by hand. Use two knives in a criss-cross motion to cut the butter into the flour, or use your fingertips. If using your hands, work very quickly to minimize the heat transfer from your hands to the butter. Your goal is still to achieve a coarse, mealy texture with pea-sized butter chunks.
Pie crust shrinkage can occur for a couple of reasons. The most common is insufficient chilling time. When the dough isn’t properly chilled, the gluten doesn’t have a chance to relax, causing it to contract rapidly in the oven. Overworking the dough also contributes to gluten development and subsequent shrinkage. Ensure your dough is well-chilled and handled minimally for best results.
Blind baking, or pre-baking the crust without its filling, is a crucial step for pies with very wet fillings (like quiches, custards, and some cream pies) or fillings that cook much faster than the crust. It prevents the bottom crust from becoming soggy and ensures it’s fully cooked and golden, providing a stable foundation for your pie.
Once your pie crust is baked and completely cooled, you can store it at room temperature, loosely covered, if you plan to use it within a day. For longer storage, wrap it tightly in plastic wrap and then foil, and refrigerate it for up to 3-4 days. You can also freeze a fully baked and cooled crust for up to a month.
While unsalted butter is generally preferred for baking because it allows you precise control over the salt content in your recipe, you can certainly use salted butter. If you do, simply omit or significantly reduce any additional salt called for in the recipe to avoid an overly salty crust. Taste your dough before adding extra salt.
Delicious Pie Recipes to Fill Your Crust
Now that you’ve mastered the art of making a perfect easy pie crust, the possibilities for delicious creations are endless! This versatile foundation is ready to host a wide array of fillings, transforming into everything from classic comforting desserts to hearty savory meals. Here are some incredible ideas to inspire your next baking adventure:
Classic Sweet Pies:
- Fruit Pies: From the timeless appeal of apple, cherry, and blueberry to the seasonal delights of peach or mixed berry, fruit pies are always a crowd-pleaser.
- Cream Pies: Indulge in rich, smooth textures with coconut cream, banana cream, or a decadent chocolate cream pie.
- Custard Pies: Embrace holiday traditions with pumpkin pie or sweet potato pie, or keep it simple with a classic egg custard.
- Tarts: Showcase your crust in elegant tarts, whether it’s a zesty lemon curd, a vibrant fruit tart with pastry cream, or a luxurious chocolate ganache tart.
- Nut Pies: Satisfy your sweet tooth with a sticky, caramelized pecan pie or a robust walnut pie.
- Chess Pie: A beloved Southern favorite, known for its sweet, buttery, and slightly tangy custardy filling.
- Mousse Pies: Light and airy, chocolate or peanut butter mousse pies are a delightful no-bake (or lightly baked) option.
Hearty Savory Pies:
- Quiches: Elevate your brunch or dinner with an egg-based pie featuring endless combinations of spinach, bacon, cheese, mushrooms, and more.
- Pot Pies: Create ultimate comfort food with creamy chicken pot pie, turkey pot pie, or beef pot pie, packed with vegetables.
- Meat Pies: Explore international flavors with British steak and kidney pie or Australian meat pies.
- Vegetable Pies: A medley of seasoned vegetables, cheeses, and a creamy sauce encased in a flaky crust makes a fantastic vegetarian meal.
- Savory Tarts: Impress with sophisticated savory tarts like a ripe tomato and goat cheese tart, a sweet caramelized onion tart, or a fresh zucchini and ricotta tart.
Unique Uses & Creative Variations:
- Hand Pies or Empanadas: Perfect for packed lunches or picnics, these portable pies can be filled with anything from spiced meats and cheeses to sweet fruits.
- Galettes: For a rustic, free-form presentation, use your pie crust to create a galette with exposed fillings, either sweet or savory.
- Cheesecake Base: Break from tradition and use a homemade pie crust instead of graham crackers for a unique cheesecake texture.
- Pie Crust Cookies: Don’t let scraps go to waste! Cut out shapes from leftover pie crust, sprinkle with cinnamon sugar, and bake until crispy for a simple, delightful treat.
Ready to put your incredible easy pie crust to good use? Here are some of our favorite pie recipes that are sure to become staples in your home:
Cranberry Apple Pie
Grandma’s Apple Pie
Easy French Apple Tart
Best Pecan Pie
Best Chocolate Pie
Homemade Strawberry Pie
Chocolate Ganache Candy Cane Tort
Eggnog Tart
If you loved this easy pie crust recipe, please consider giving it a five-star rating by clicking the stars below and leaving a comment! Your feedback truly helps me create more helpful content. Don’t forget to share your amazing creations on Instagram, Facebook, and Pinterest, tagging @sweetcsdesigns – I love seeing what you bake!
Share on Facebook
Share
Pin this now to find it later
Pin It
Follow on Instagram
Follow
Click here to view the web story for this recipe!
Only have 30 minutes to get dinner on the table? Sign up for my 30 minute dinner plans direct to your inbox!
Find and shop my favorite products in my Amazon storefront here!
(Please note: The interactive form elements have been removed as per instructions. You can typically find a subscription form or ‘save recipe’ feature on the original website.)
Easy Pie Crust
Equipment
-
French Rolling Pin (17 Inches) –WoodenRoll Pin for Fondant, Pie Crust, Cookie, Pastry, Dough –Tapered Design & Smooth Construction – Essential Kitchen Utensil,Walnut Wood
-
FurRain Ceramic Pie Weights Reusable 10mm Baking Beans Pie Crust Weights Natural Ceramic Stoneware with Wheat Straw Container
-
USA Pan Bakeware Aluminized Steel Pie Pan, 9-Inch
-
Cuisinart Food Processor 14-Cup Vegetable Chopper for Mincing, Dicing, Shredding, Puree & Kneading Dough, Stainless Steel, DFP-14BCNY
Ingredients
- 2 ½ cups all-purpose flour
- ½ tsp fine sea salt
- 1 tbsp sugar, if you want a sweet crust
- 1 cup unsalted butter, cut into ½ inch cubes, cold
- 6-8 tbsp ice water
Instructions
In a Food Processor:
-
Add the flour and salt (sugar if using) to the food processor, pulse to combine.
-
Scatter the butter cubes in the flour, and toss them a bit to coat them in flour so they don’t stick together.
-
Pulse the mixture in the food processor about 15 seconds until dough looks like course bread crumbs.
-
Turn the food processor on and add the ice cold water 1 tablespoon at a time through the feed tube on the top.
-
Pour the mixture out onto a clean surface and push the dough together and work it into a ball. Cut in two and shape dough into flat discs about the size and thickness of hockey pucks.
-
Wrap in plastic wrap and refrigerate for at least an hour before rolling out. You can refrigerate it for up to 2 days or freeze it at this point. Proceed to “Rolling Out the Dough Section” if using the crust right away.
If Making Dough By Hand:
-
Combine the flour and salt (plus sugar if using) in a large bowl. Add the cold butter and using a fork or pastry cutter combine until you get a coarse mealy texture like bread crumbs.
-
Add 4 tbsp of water and work into the dough, then add more as needed until you can bring the dough together and knead for just a minute or two till it comes together.
-
Cut into two pieces and shape dough into flat discs about the size and thickness of hockey pucks.
-
Wrap each piece of dough in foil and refrigerate at least an hour before rolling out. You can refrigerate it for up to 2 days or freeze it at this point. Proceed to “Rolling Out the Dough” section if using immediately.
Rolling Out the Dough
-
Remove the dough discs and roll each out to the thickness of a pound coin or quarter with a rolling pin on a lightly floured surface. You will want to roll it out so you can cover over the edge of the pie pan.
-
Roll the dough into the pie pan and gently press into the dish.
-
Trim the excess pastry around the edge, leaving ½ inch past the edge of the dish, using a knife or scissors.
-
Crimp the dough by pinching it very firmly every ½ inch all the way around.
-
Take a fork and prick the crust all the way around (this will help prevent air bubbles from forming)
-
Fill one crust and top with the other or roll both out and bake as directed.
Notes
Nutrition
Nutrition information is automatically calculated, so should only be used as an approximation.