
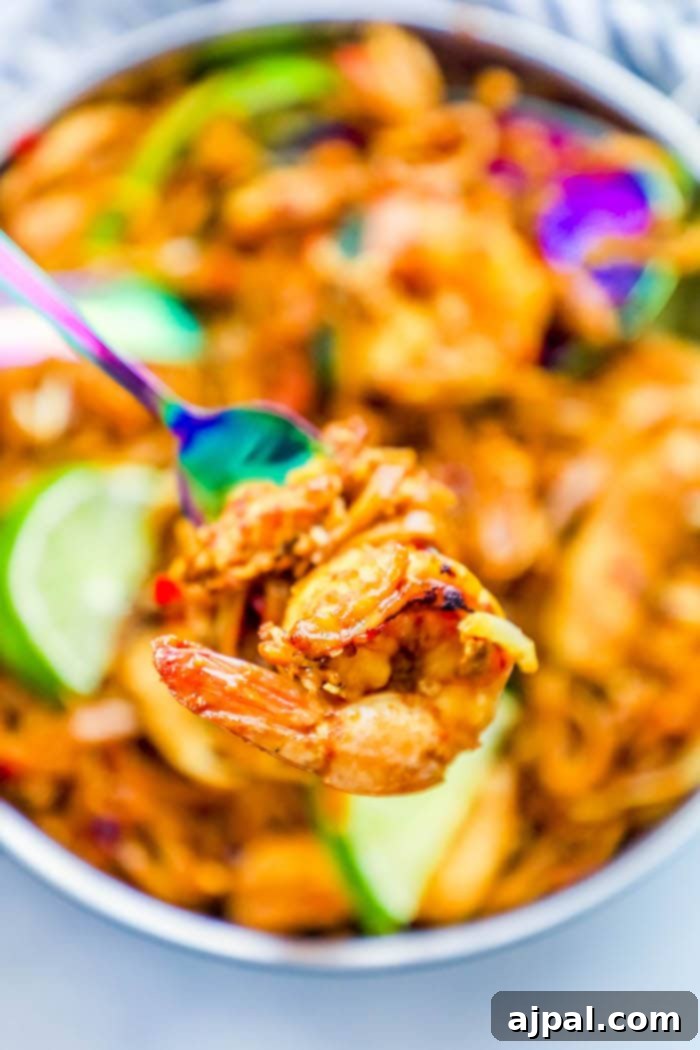
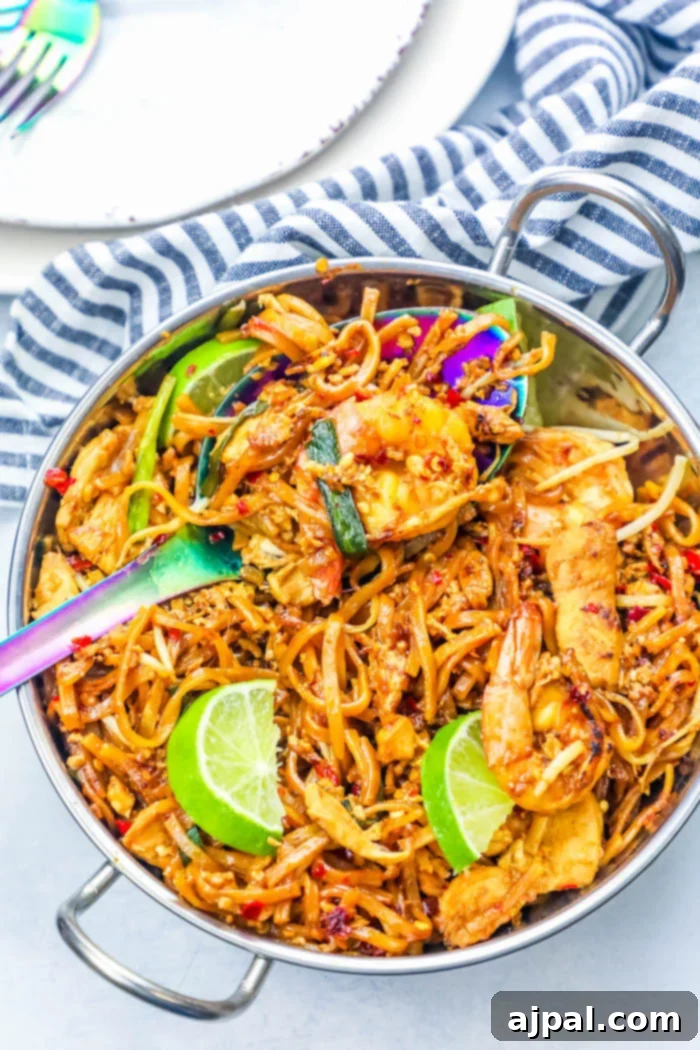
Craving the vibrant, complex flavors of your favorite Thai restaurant’s Pad Thai but don’t want to deal with takeout? This ultimate easy chicken and shrimp Pad Thai noodles recipe brings the authentic taste right to your kitchen in under 20 minutes! Forget long waits and expensive bills – this dish is not only faster and more convenient, but also incredibly delicious and customizable. We’ll show you how to create a restaurant-quality meal bursting with sweet, sour, salty, and savory notes that everyone will adore. Plus, we’ve included essential tips for making it low-carb and keto-friendly, ensuring there’s a version for every dietary preference.
Why Master Homemade Pad Thai?
Pad Thai has long been a go-to comfort food for many, myself included. There was a time in my twenties when I practically lived off its satisfying combination of tender noodles, savory protein, and piquant sauce. My usual order? Chicken, shrimp, and an extra kick of spice. While takeout is undeniably convenient, nothing quite compares to the freshness, control, and immense satisfaction of preparing this iconic Thai dish at home. This recipe captures the essence of that beloved restaurant experience, but simplifies it for the home cook, making it faster, easier, and arguably, even more flavorful.
Beyond the sheer joy of a quick and delicious meal, making Pad Thai at home offers several advantages:
- Freshness You Can Taste: You control the quality and freshness of every ingredient, from the crisp bean sprouts to the succulent shrimp.
- Customization is Key: Adjust the spice level, add more vegetables, or even swap proteins to suit your family’s preferences.
- Budget-Friendly: Enjoy multiple servings for a fraction of the cost of restaurant takeout.
- Dietary Control: Easily adapt the recipe for specific dietary needs, such as low-carb, keto, or gluten-free, with simple ingredient swaps.
- Quick & Easy: Designed for efficiency, this recipe minimizes cooking time without compromising on flavor, perfect for busy weeknights.
Keto and Low-Carb Pad Thai Adaptations: Delicious Swaps for Health-Conscious Eaters
For those mindful of carbohydrate intake, traditional Pad Thai, with its rice noodles and often sugar-laden sauce, might seem off-limits. However, with a few smart ingredient swaps, you can easily transform this classic into a fantastic keto or low-carb meal. As someone who has embraced a lower-carb lifestyle, I understand the importance of making beloved dishes fit within dietary goals. While rice noodles are naturally gluten-free, their carbohydrate content can be high. Fortunately, the rich flavors of Pad Thai translate beautifully to vegetable-based noodles.
Ingredient Swaps for a Low-Carb Pad Thai:
- Mind Your Ketchup:
- Standard ketchup can be surprisingly high in sugar and carbs. Opt for a low-carb, sugar-free ketchup alternative to keep your sauce compliant with your dietary plan.
- Zucchini Noodles (Zoodles):
- A popular and incredibly versatile low-carb noodle substitute. Simply spiralize about 3 medium zucchini, or purchase pre-spiralized zucchini noodles from your local grocery or health food store (typically 1 lb for this recipe).
- Add them to the wok when you would typically add rice noodles, cooking just until tender-crisp to avoid a watery dish.
- Spaghetti Squash Noodles:
- Spaghetti squash offers a natural, mild-flavored noodle-like texture. Halve a spaghetti squash, scoop out the seeds, and roast it cut-side down for about an hour at 400°F (200°C) until tender.
- Once cooled slightly, use a fork to scrape out the “spaghetti” strands. Incorporate these into your Pad Thai recipe at the same stage as the rice noodles.
- Beet Noodles:
- For a vibrant and slightly earthy twist, beet noodles are a great option. Many grocery stores, especially health-focused ones, carry pre-spiralized beet noodles.
- Add them to the sauce and cook until they reach your desired tenderness, usually just a few minutes, as they cook faster than some other vegetable noodles.
- Shirataki Noodles (Konjac Noodles):
- These zero-calorie, zero-carb noodles are excellent for absorbing the flavors of your Pad Thai sauce. They require a good rinse before cooking to remove their natural odor.
- Add them to the wok and stir-fry until thoroughly heated and coated with the sauce.
By making these simple adjustments, you can enjoy all the robust flavors of chicken and shrimp Pad Thai while staying true to your keto or low-carb lifestyle. It’s all about smart substitutions that don’t sacrifice taste.
Tips for Crafting the Best Easy Chicken and Shrimp Pad Thai Noodles
This recipe prides itself on being straightforward and achievable, even for novice cooks. The beauty of this chicken and shrimp Pad Thai lies in its one-pan approach, minimizing cleanup and maximizing flavor development. However, a few key techniques will elevate your homemade Pad Thai from good to extraordinary. Mastering these simple steps ensures perfectly cooked noodles, succulent proteins, and a deeply flavorful sauce every time.
- Embrace High Heat:
- Authentic stir-frying relies on intense heat. Cook your Pad Thai over medium-high to high heat. This rapid cooking prevents ingredients from stewing, ensuring a delightful caramelization and developing those coveted “wok hei” (breath of the wok) flavors. Low heat will result in soggy noodles and boiled ingredients.
- Choose the Right Pan Size:
- Crowding your wok or pan is a common mistake that leads to subpar stir-fries. Use a large, heavy-bottomed pan or, ideally, a wok. Giving your ingredients ample space allows them to sear and cook evenly, preventing them from steaming and becoming bland or gummy. If your pan is too small, cook in batches.
- Don’t Skimp on Oil:
- A generous amount of hot oil is crucial for a naturally non-stick cooking surface and contributes to the silky texture of the sauce. Peanut oil is traditional and offers a high smoke point and a subtle nutty flavor. Ensure the oil is shimmering before adding ingredients for the best results.
- Stir Constantly to Prevent Burning:
- Given the high heat required for this dish, constant stirring is non-negotiable. Keep your ingredients moving to ensure even cooking and prevent any components from sticking or charring too much. This also helps distribute the sauce evenly and infuse all elements with flavor.
- Prepare Ingredients Ahead (Mise en Place):
- Pad Thai cooks very quickly. Have all your ingredients prepped, chopped, and measured before you even turn on the stove. This allows for a seamless cooking process, as you won’t have time to chop garlic or measure sauce while stirring a hot wok.
- Rinse Rice Noodles Thoroughly:
- After cooking rice noodles according to package directions, drain them and rinse them well under cold water. This stops the cooking process, removes excess starch (preventing stickiness), and keeps them pliable, ready to absorb the delicious Pad Thai sauce without clumping.
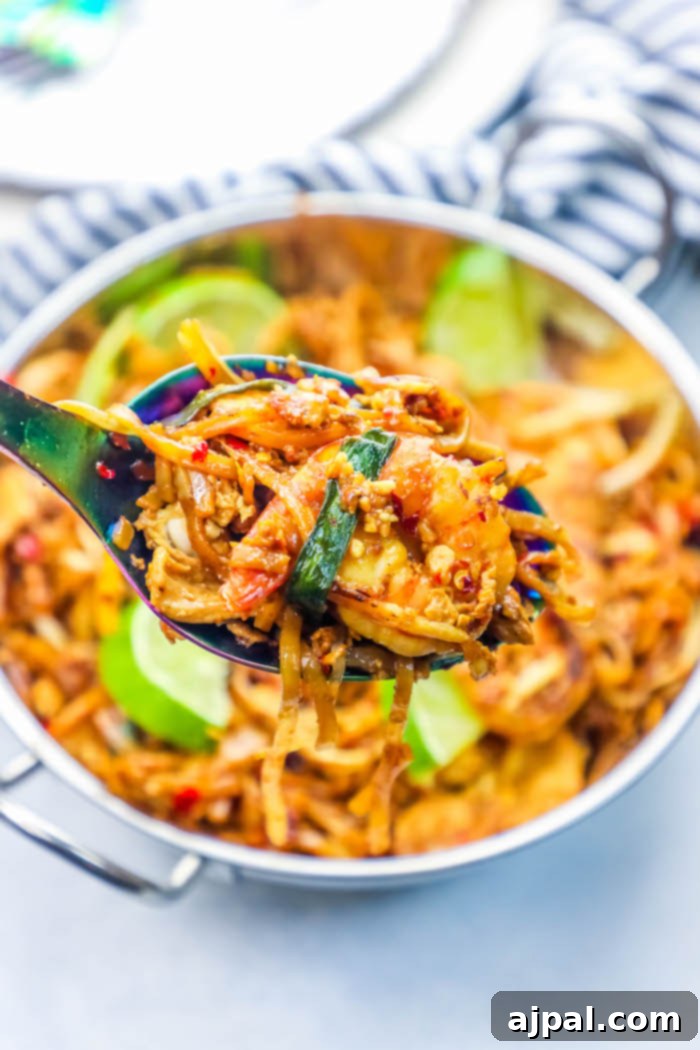
Essential Equipment for the Best Chicken and Shrimp Pad Thai Noodles
One of the great aspects of this easy chicken and shrimp Pad Thai recipe is that you don’t need highly specialized kitchen gadgets. While a traditional wok certainly enhances the experience and is recommended for achieving that authentic stir-fry char, any large, heavy-bottomed pan will work wonderfully. Focus on having enough surface area to avoid overcrowding your ingredients. Here’s what you’ll need to gather:
- Large Pan or Wok: Essential for high-heat cooking and proper stir-frying. A 12-inch or larger pan or wok is ideal.
- Peanut Oil: Its high smoke point and mild flavor make it perfect for stir-fries.
- Long-Handled Tongs: Indispensable for stirring and tossing ingredients quickly and safely over high heat.
- Fish Sauce: A foundational ingredient that provides the essential savory, umami depth of Pad Thai.
- Chili Garlic Sauce: For that perfect balance of heat and flavor. Adjust to your spice preference.
- Mixing Bowls: For preparing the sauce and beating the eggs.
- Cutting Board and Knife: For prepping chicken, shrimp, and vegetables.
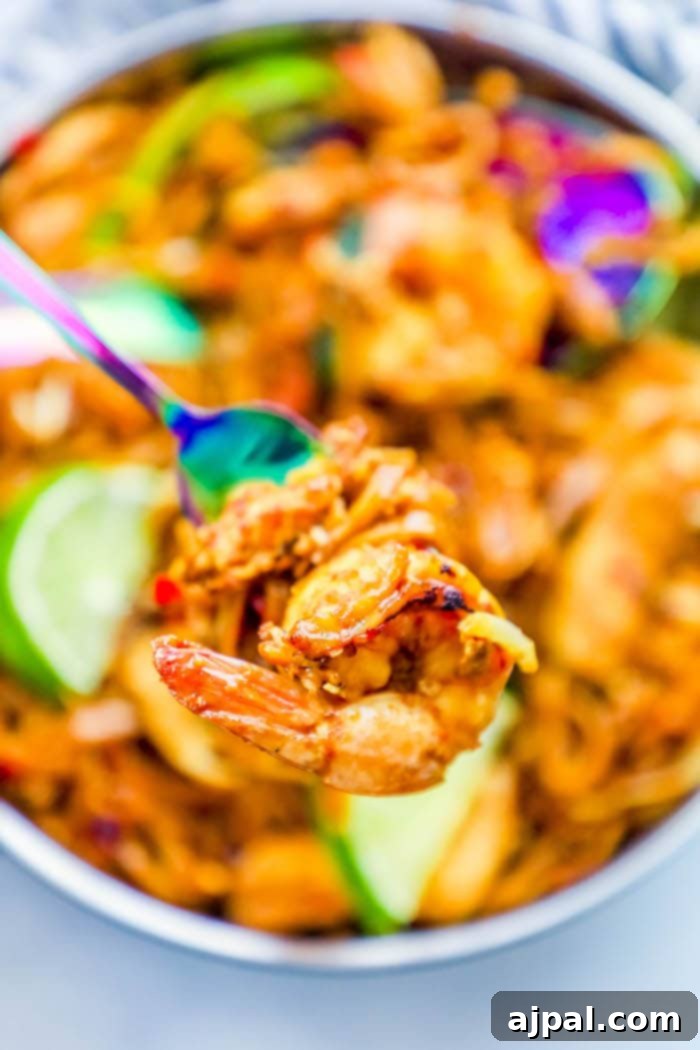
The Best Easy Chicken and Shrimp Pad Thai Noodles Recipe
This recipe yields 6 servings and takes only 20 minutes of total time to prepare.
Ingredients
- ½ lb rice noodles
- 3 tbsp fish sauce
- 2 tbsp ketchup
- 1 tbsp Worcestershire sauce
- 2 tsp chili garlic sauce
- 2 tbsp sugar
- 2 tbsp peanut oil
- 1 lb chicken, diced into 1″ cubes
- ½ lb shrimp, peeled and de-veined
- ¼ cup garlic, diced
- ½ tsp red pepper flakes
- 2 eggs, beaten until foamy
- 2 cups bean sprouts
- 5 green onions, chopped
- 1 cup cilantro, chopped
- 3 limes, cut into wedges for garnish
- ¼ cup peanuts, chopped coarsely
Instructions
- Cook rice noodles according to package instructions until tender but still firm (al dente). Drain thoroughly and rinse well under cold water to prevent sticking; set aside.
- In a small bowl, whisk together fish sauce, ketchup, Worcestershire sauce, chili garlic sauce, and sugar. Mix until the sugar is fully dissolved, then set the sauce aside.
- Heat the peanut oil in a large, heavy-bottomed pan or wok over medium-high heat until it shimmers.
- Add the diced chicken to the hot pan and cook, stirring frequently, until it is lightly browned and cooked through. This usually takes about 3-5 minutes.
- Stir in the diced garlic, peeled and de-veined shrimp, and red pepper flakes.
- Continue to cook, stirring often, until the shrimp turn opaque pink and are cooked through, approximately 2-3 minutes. Be careful not to overcook the shrimp.
- Pour the prepared sauce mixture into the pan and stir everything together for another 3 minutes, allowing the flavors to meld and the sauce to slightly thicken.
- Add the beaten egg mixture to the chicken, shrimp, and sauce in the pan. Stir constantly for about 1 minute, scrambling the egg into small pieces that get incorporated into the dish.
- Add the drained and rinsed rice noodles to the pan. Toss vigorously until the noodles are evenly coated with the sauce and all ingredients are well combined.
- Finally, fold in the fresh cilantro, chopped peanuts, bean sprouts, and sliced green onions.
- Cook for an additional 1-2 minutes, stirring gently, until the green onions are slightly softened and the Pad Thai is thoroughly heated through.
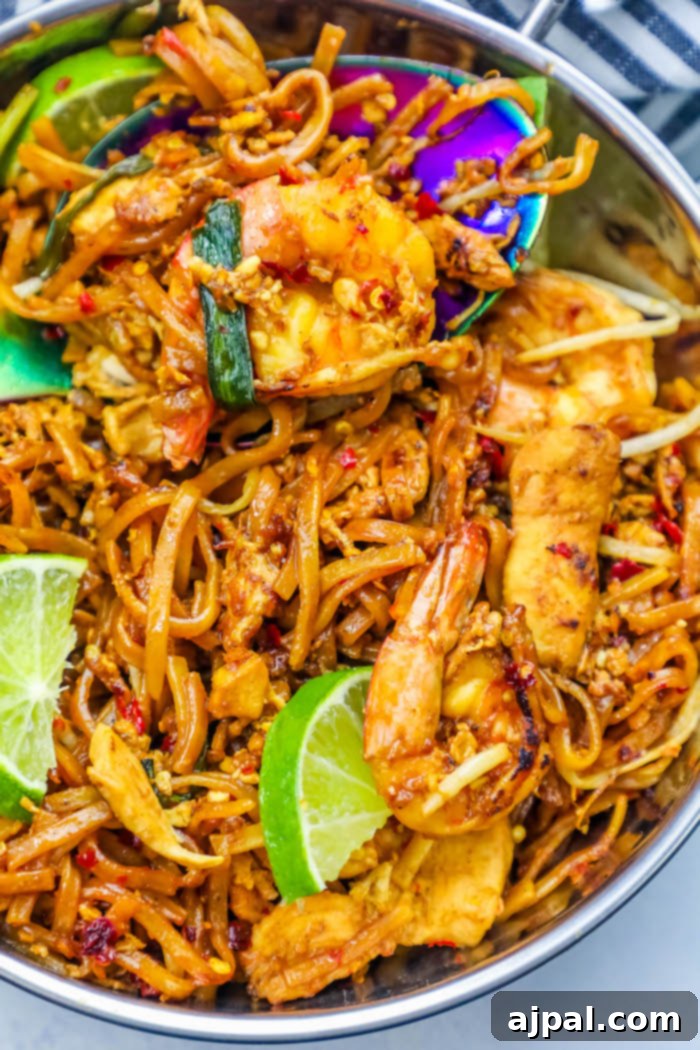
- Spoon the finished Pad Thai into a large serving bowl or individual plates. Garnish generously with additional fresh chopped peanuts, cilantro, and fresh lime wedges to squeeze over the top for a burst of bright flavor.
- Serve immediately and enjoy your homemade, restaurant-quality Pad Thai!
Recipe Video
Watch the step-by-step video to guide you through making this delicious chicken and shrimp Pad Thai:
Alternatively, you can access the video directly here.
Nutrition Information (Approximate)
Below is the estimated nutrition breakdown per serving for this chicken and shrimp Pad Thai recipe. Please note that these values are automatically calculated and should be used as an approximation, as actual nutritional content can vary based on specific ingredients and preparation methods.
- Serving: 1g
- Calories: 412 kcal
- Carbohydrates: 26g
- Protein: 33g
- Fat: 20g
- Saturated Fat: 5g
- Polyunsaturated Fat: 13g
- Cholesterol: 213mg
- Sodium: 1293mg
- Fiber: 3g
- Sugar: 9g
Serving Suggestions and Variations
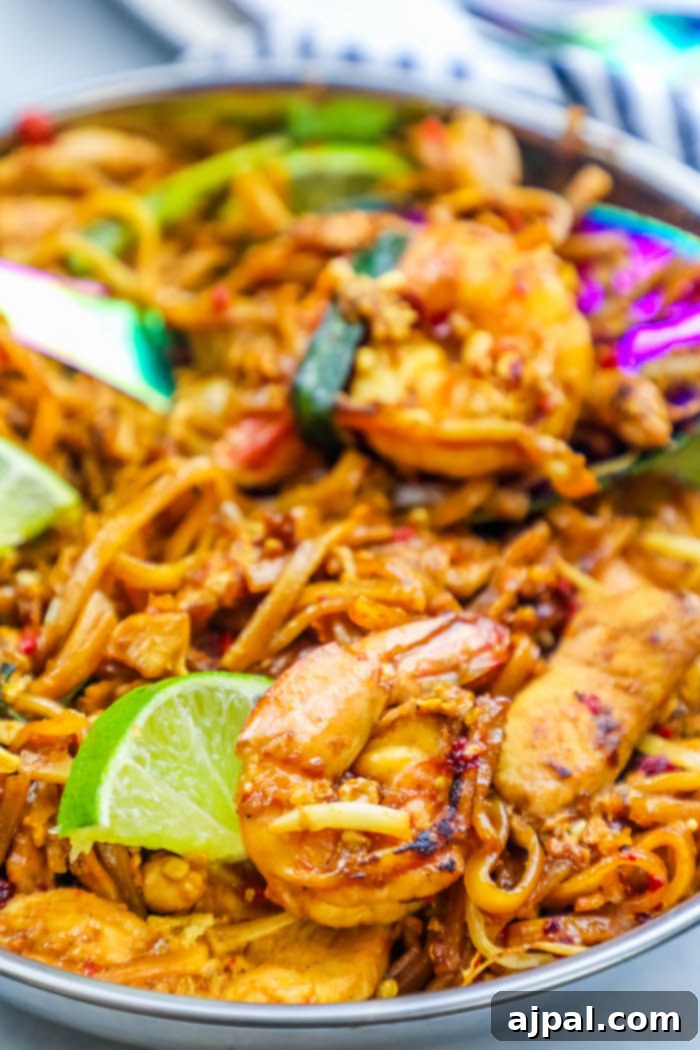
Pad Thai is a complete meal on its own, but it truly shines when garnished appropriately. Fresh lime wedges are crucial for adding a zesty brightness that cuts through the richness of the sauce. Crushed peanuts add a delightful crunch and nutty flavor, while fresh cilantro and extra green onions enhance its aromatic appeal. For an added kick, offer sriracha or extra chili flakes on the side.
Explore Variations:
- Vegetarian Pad Thai: Swap chicken and shrimp for tofu (pressed and pan-fried until crispy) and a medley of vegetables like bell peppers, broccoli, and carrots. Ensure your fish sauce is vegetarian-friendly (or use a tamari/soy sauce blend).
- Other Proteins: Beef, pork, or even scallops can be delicious alternatives or additions to this recipe. Adjust cooking times as needed.
- Extra Veggies: Feel free to toss in extra vegetables like shredded cabbage, carrots, or snap peas for added nutrients and texture. Add them during the last few minutes of cooking to keep them crisp.
- Spicy Twist: For those who love heat, increase the amount of chili garlic sauce or add fresh bird’s eye chilies (minced) along with the garlic.
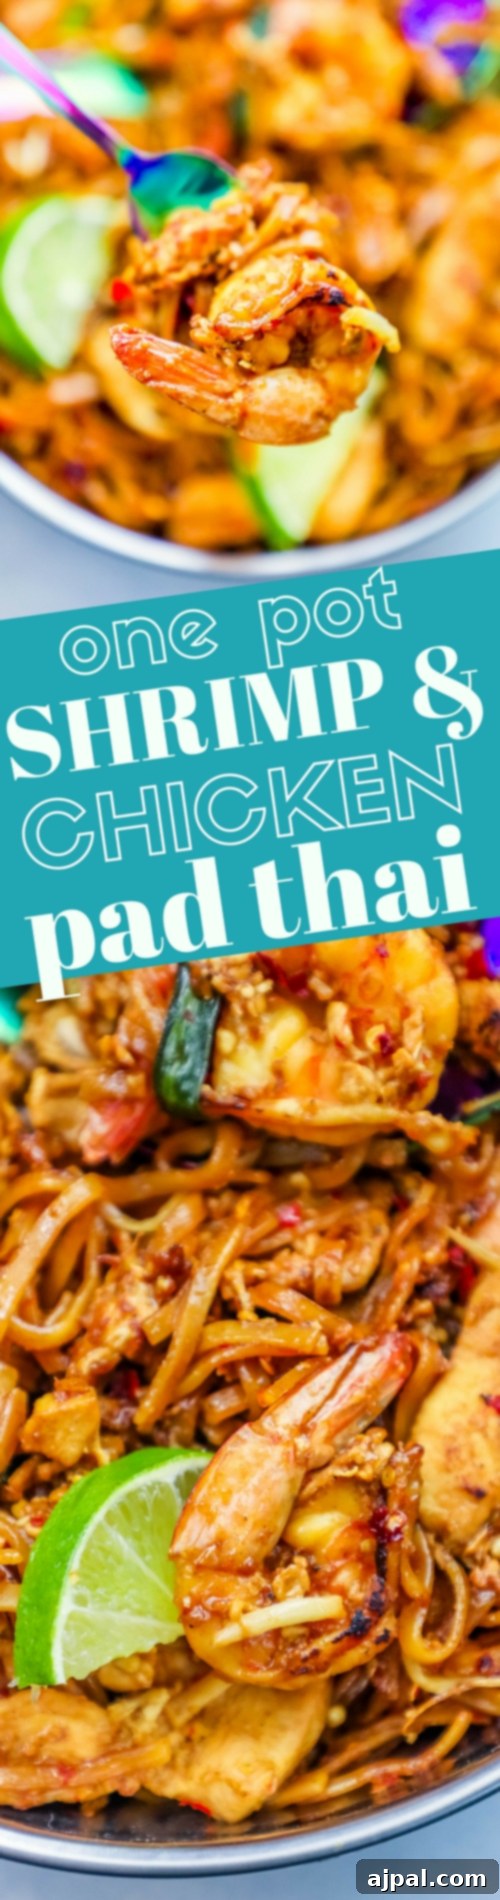
Storing and Reheating Your Homemade Pad Thai
While Pad Thai is best enjoyed fresh off the wok, leftovers are still incredibly delicious and make for a convenient next-day meal. Here’s how to store and reheat your dish:
- Storage: Allow any leftover Pad Thai to cool completely before transferring it to an airtight container. Store it in the refrigerator for up to 3-4 days.
- Reheating on the Stove: For best results, reheat Pad Thai in a wok or large non-stick pan over medium heat. Add a splash of water or chicken broth to help loosen the noodles and prevent them from drying out. Stir-fry gently until heated through.
- Reheating in the Microwave: While quicker, microwave reheating can sometimes make noodles a bit chewier. Place a serving in a microwave-safe dish, add a tablespoon of water, cover, and heat in 30-second intervals, stirring in between, until hot.
Remember that the texture of the bean sprouts and peanuts might soften upon reheating, but the flavors will remain robust and satisfying.
Conclusion: Your New Go-To Weeknight Meal
This easy chicken and shrimp Pad Thai recipe proves that authentic, restaurant-quality Thai food is entirely achievable in your home kitchen, even on a busy weeknight. With its perfect balance of sweet, savory, sour, and spicy notes, coupled with the tender chicken, succulent shrimp, and chewy noodles, it’s a dish that truly satisfies. Whether you follow the traditional recipe or opt for a low-carb adaptation, you’re in for a treat. So grab your wok, gather your ingredients, and get ready to impress your taste buds with this incredible homemade Pad Thai!
We hope you love this recipe as much as we do! If you try it, please consider leaving a review or sharing your culinary creations with us on social media.