
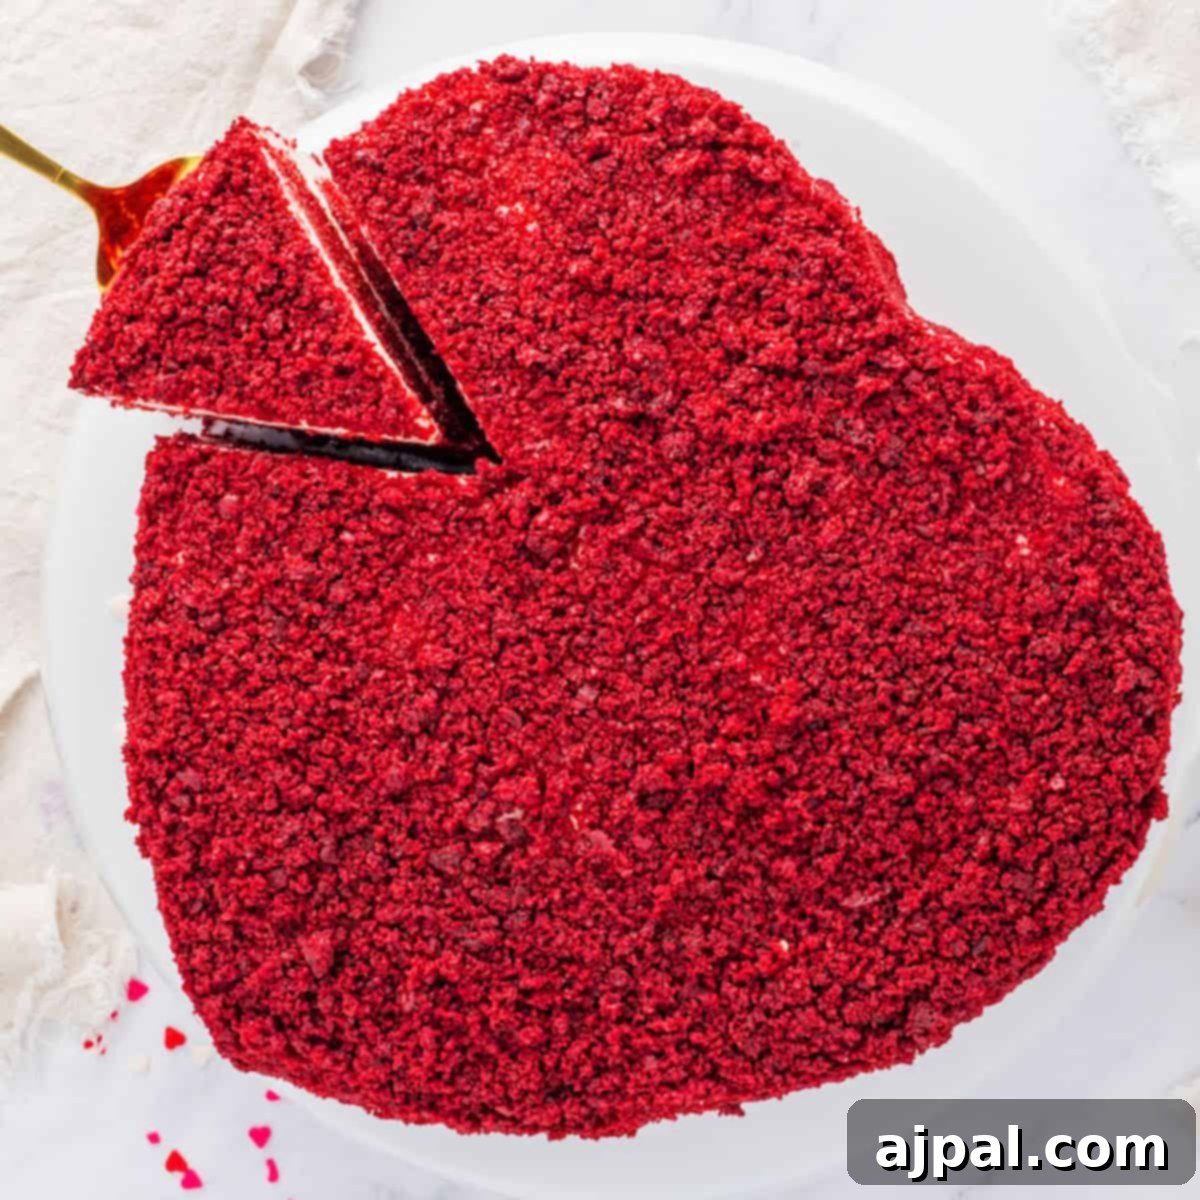
Irresistible Red Velvet Cake: Your Guide to a Perfect, Moist Dessert
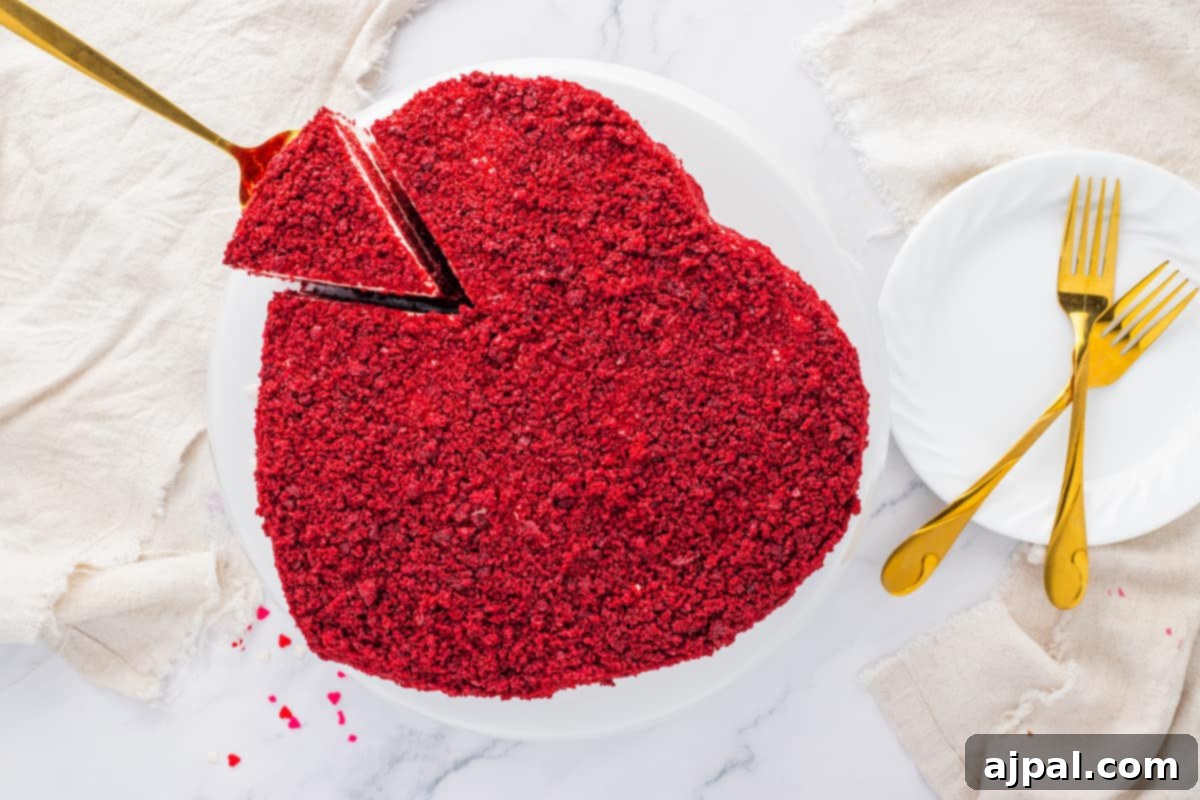
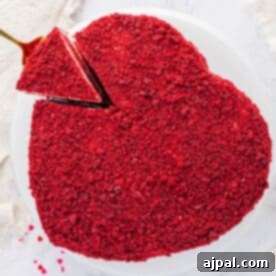
Prepare to fall in love with this incredibly delicious, easy-to-make, and wonderfully moist Red Velvet Layer Cake. It’s an absolutely irresistible dessert, perfect for celebrating special moments, especially when baked in a heart-shaped pan for Valentine’s Day!
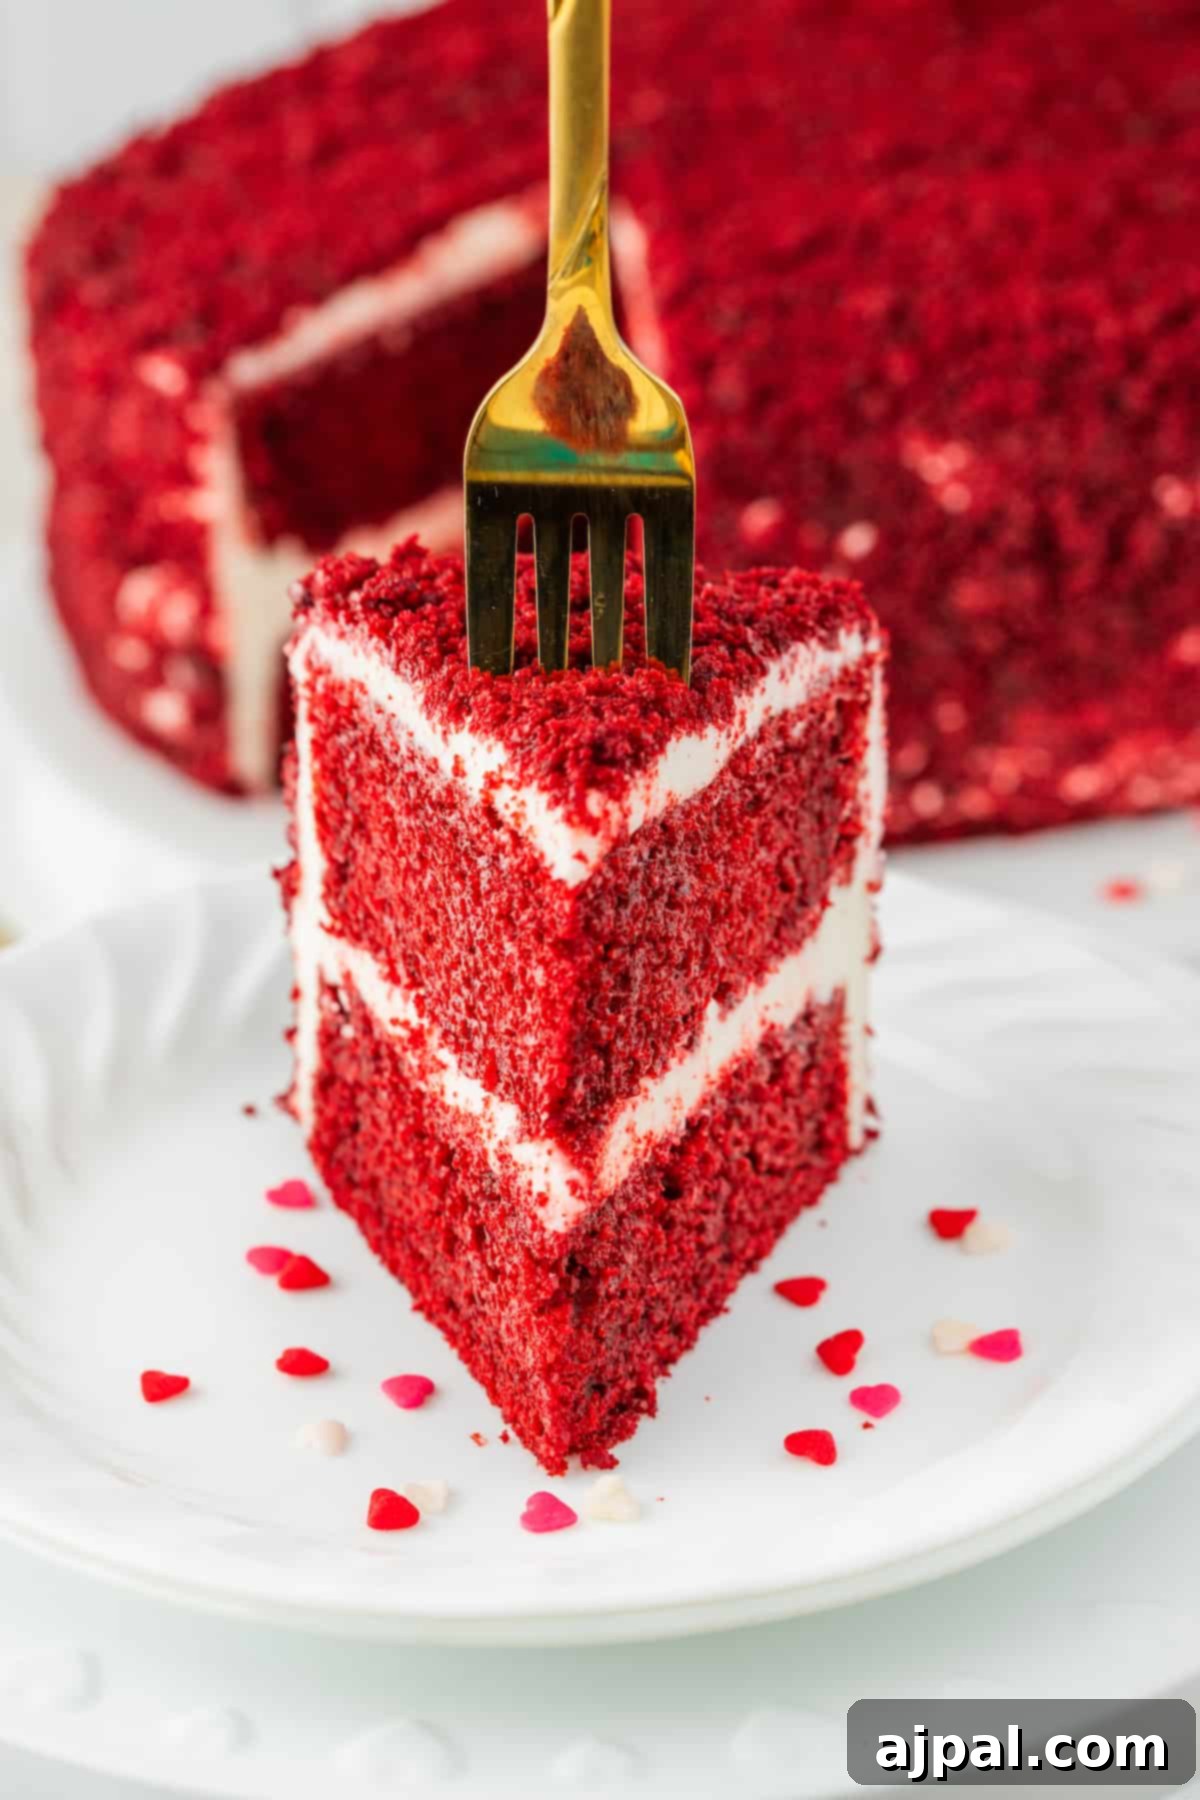
We understand that not everyone wants to scroll through a lengthy post to find the recipe. For your convenience, you’ll find a clear table of contents below to help you navigate directly to your desired section.
As passionate home cooks, we believe that understanding the ‘why’ behind each step and ingredient makes you a more confident baker. Our goal is to empower even beginner home cooks, providing detailed insights that ensure your Red Velvet Cake turns out perfectly every time.
Table of Contents
- The Enchanting Allure of Red Velvet Cake
- Baking Your Dream Red Velvet Cake: Ingredients and Steps
- Mastering Red Velvet Baking: Essential Tips and Tricks
- Frequently Asked Questions About Red Velvet Cake
- Perfect Pairings: What to Serve With Red Velvet Cake
- Red Velvet Cake Recipe Card
The Enchanting Allure of Red Velvet Cake
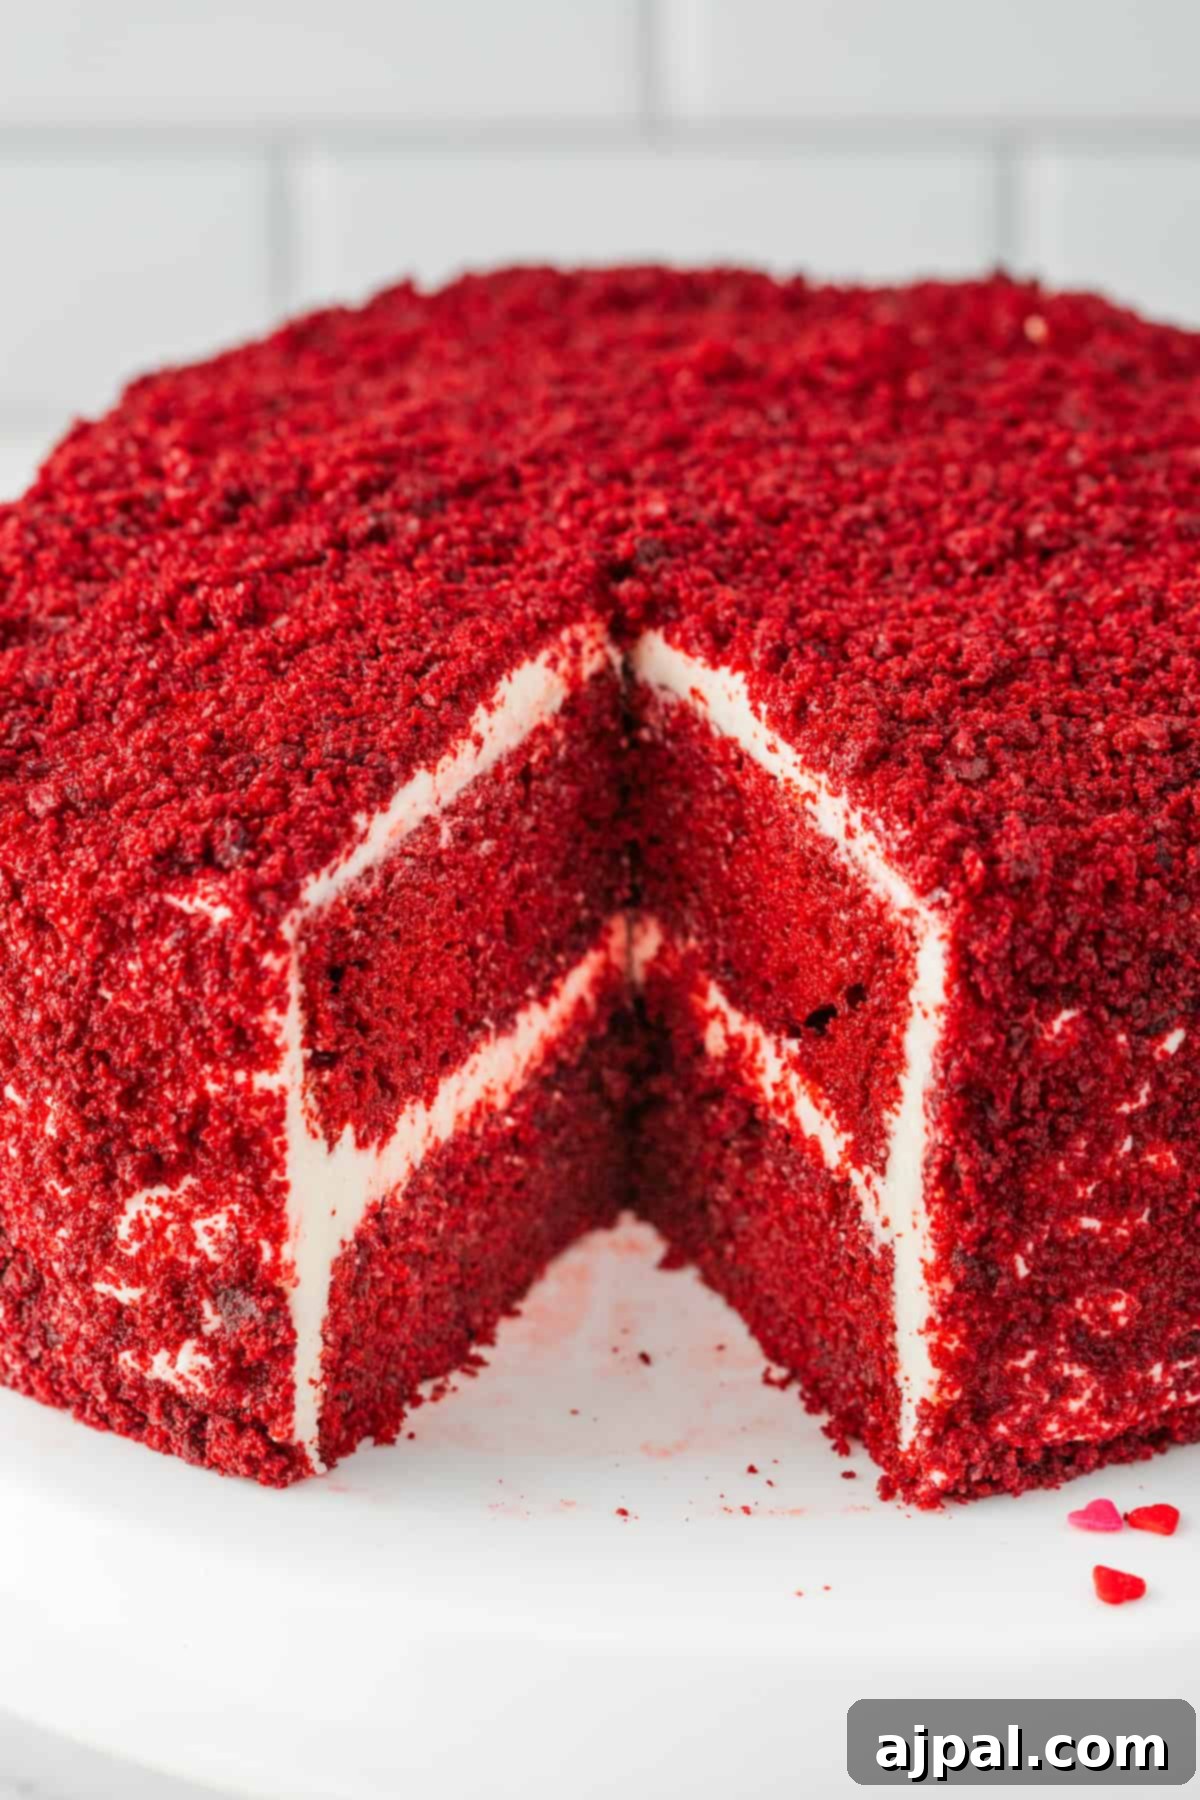
Red Velvet Cake is more than just a dessert; it’s a timeless classic, a celebration of flavor and artistry that captivates with its vibrant hue and velvety texture. This cake is especially perfect for romantic occasions like Valentine’s Day, where its striking red color beautifully symbolizes passion and affection. Imagine presenting this cake, especially when baked in an elegant heart-shaped pan, as the centerpiece of your festive table – it’s guaranteed to impress and delight.
What makes Red Velvet truly unique is its delicate balance of flavors and textures. The cake itself is incredibly moist and tender, a characteristic achieved through the strategic use of buttermilk and a touch of vinegar, which react with baking soda to create a light, fluffy crumb. The subtle hint of cocoa powder adds a nuanced chocolatey undertone that is distinct from a traditional chocolate cake, creating a sophisticated flavor profile that’s both comforting and intriguing.
No Red Velvet Cake is complete without its signature cream cheese frosting. This rich, creamy, and subtly tangy frosting provides the perfect counterpoint to the cake’s mild sweetness and cocoa notes. Its luxurious texture melts in your mouth, creating a harmonious blend that elevates each bite into an indulgent experience. This frosting isn’t just an accompaniment; it’s an integral part of the Red Velvet identity, delivering a tangy freshness that brightens the entire dessert.
If you appreciate stunning desserts that are surprisingly easy to create yet deliver an unforgettable impact, this Red Velvet Cake recipe is a must-try. It combines visual appeal with an exquisite taste, making it a perfect choice for any special gathering or a heartfelt gesture.
Baking Your Dream Red Velvet Cake: Ingredients and Steps
Crafting a perfect Red Velvet Cake begins with understanding each ingredient’s role. Here’s a detailed look at what you’ll need and how to bring it all together:
For the Cake:
- All-Purpose Flour (2 1/2 cups): This foundational ingredient provides the essential structure for your cake, ensuring it holds its shape while maintaining a tender crumb.
- Granulated Sugar (1 1/2 cups): Beyond sweetness, sugar contributes significantly to the cake’s moistness and helps achieve that desirable soft texture.
- Baking Powder (1 teaspoon) and Baking Soda (1 teaspoon): These are your leavening agents. Baking powder offers initial lift, while baking soda reacts with acidic ingredients like buttermilk and vinegar to create carbon dioxide bubbles, ensuring a light and airy cake.
- Cocoa Powder (1 teaspoon): While a small amount, cocoa powder is crucial. It provides the subtle chocolate flavor characteristic of Red Velvet and reacts with the red food coloring to deepen and enhance its iconic crimson hue.
- Salt (1 teaspoon): A pinch of salt balances the sweetness and brings out the full depth of all the other flavors, making the cake taste richer.
- Vegetable Oil (1 1/2 cups): Unlike butter, vegetable oil keeps the cake exceptionally moist and tender over a longer period, resulting in that signature “velvet” texture.
- Buttermilk (1 cup): Buttermilk is a superstar in Red Velvet. Its acidity tenderizes the crumb and reacts with the baking soda for a perfect rise. It also imparts a subtle tang that complements the cocoa beautifully. Ensure it’s at room temperature for optimal emulsification.
- Eggs (2 large): Eggs bind the ingredients, add moisture, and contribute to the cake’s structure and richness. Room temperature eggs blend more easily into the batter.
- Red Food Coloring (2 tablespoons): This is what gives Red Velvet its vibrant, show-stopping color. You can adjust the amount to achieve your desired shade, with gel food coloring often providing the most intense results.
- White Vinegar (1 teaspoon): Vinegar is vital for reacting with the baking soda, activating its leavening power. This reaction helps the cake rise and contributes to its unique, fine crumb and deep red color.
- Vanilla Extract (1 teaspoon): A classic flavor enhancer, vanilla extract adds warmth and depth, rounding out the cake’s flavor profile.
For the Cream Cheese Frosting:
- Cream Cheese (8 oz): The heart of the frosting! Ensure it’s softened to room temperature for a lump-free, silky smooth texture. It provides the essential tangy, rich base.
- Unsalted Butter (1/2 cup): Softened unsalted butter adds buttery flavor and helps create a stable, spreadable, and wonderfully creamy frosting.
- Powdered Sugar (4 cups): Also known as confectioners’ sugar, this fine sugar sweetens and thickens the frosting, giving it the perfect smooth consistency without grittiness.
- Vanilla Extract (1 teaspoon): Enhances the cream cheese and butter flavors, adding a fragrant, sweet aroma to the frosting.
Optional Garnish:
- Crumbled Red Velvet Cake Crumbs: A classic and charming way to decorate, offering both visual appeal and a delightful textural contrast.
- Fresh Berries: Strawberries, raspberries, or blueberries add a burst of fresh flavor and vibrant color, creating a beautiful presentation.
- Chocolate Shavings: A sophisticated touch that adds extra chocolatey notes and an elegant finish.
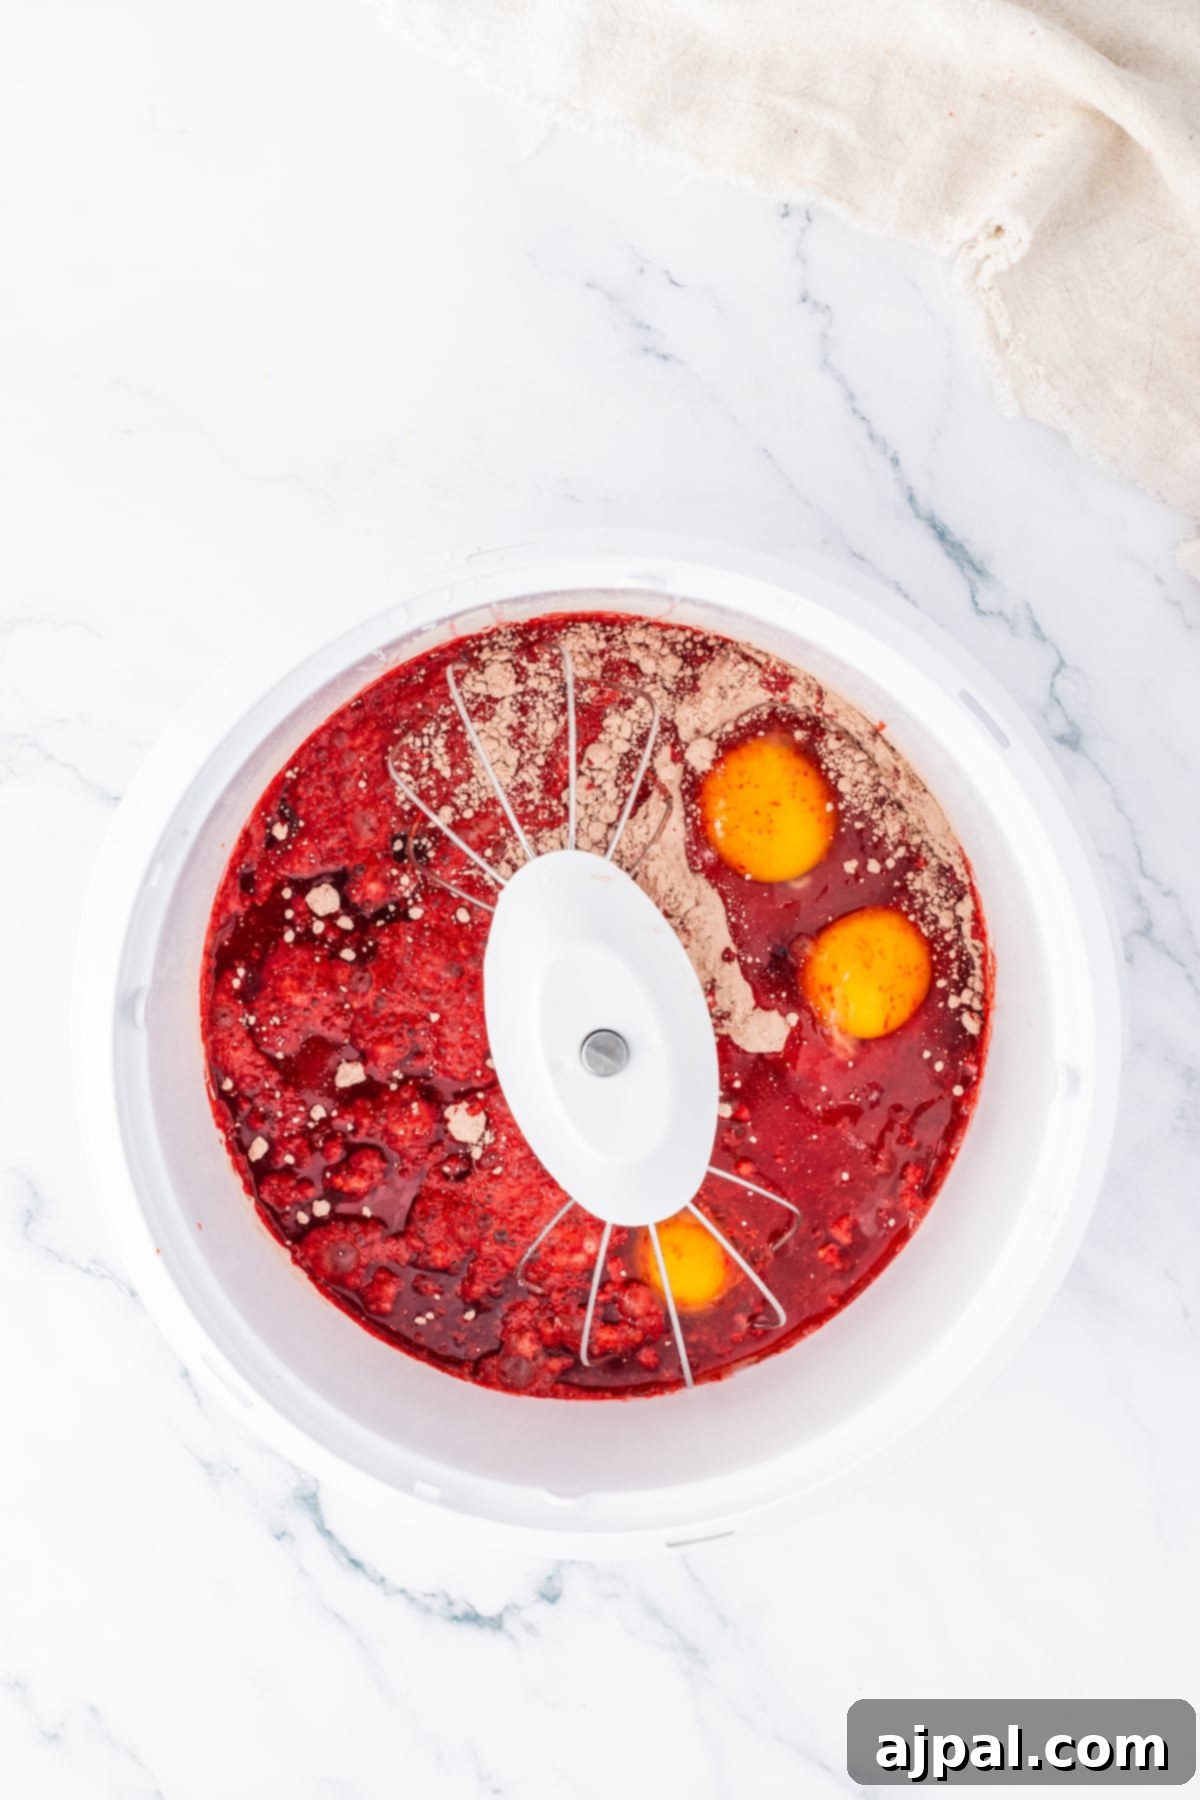
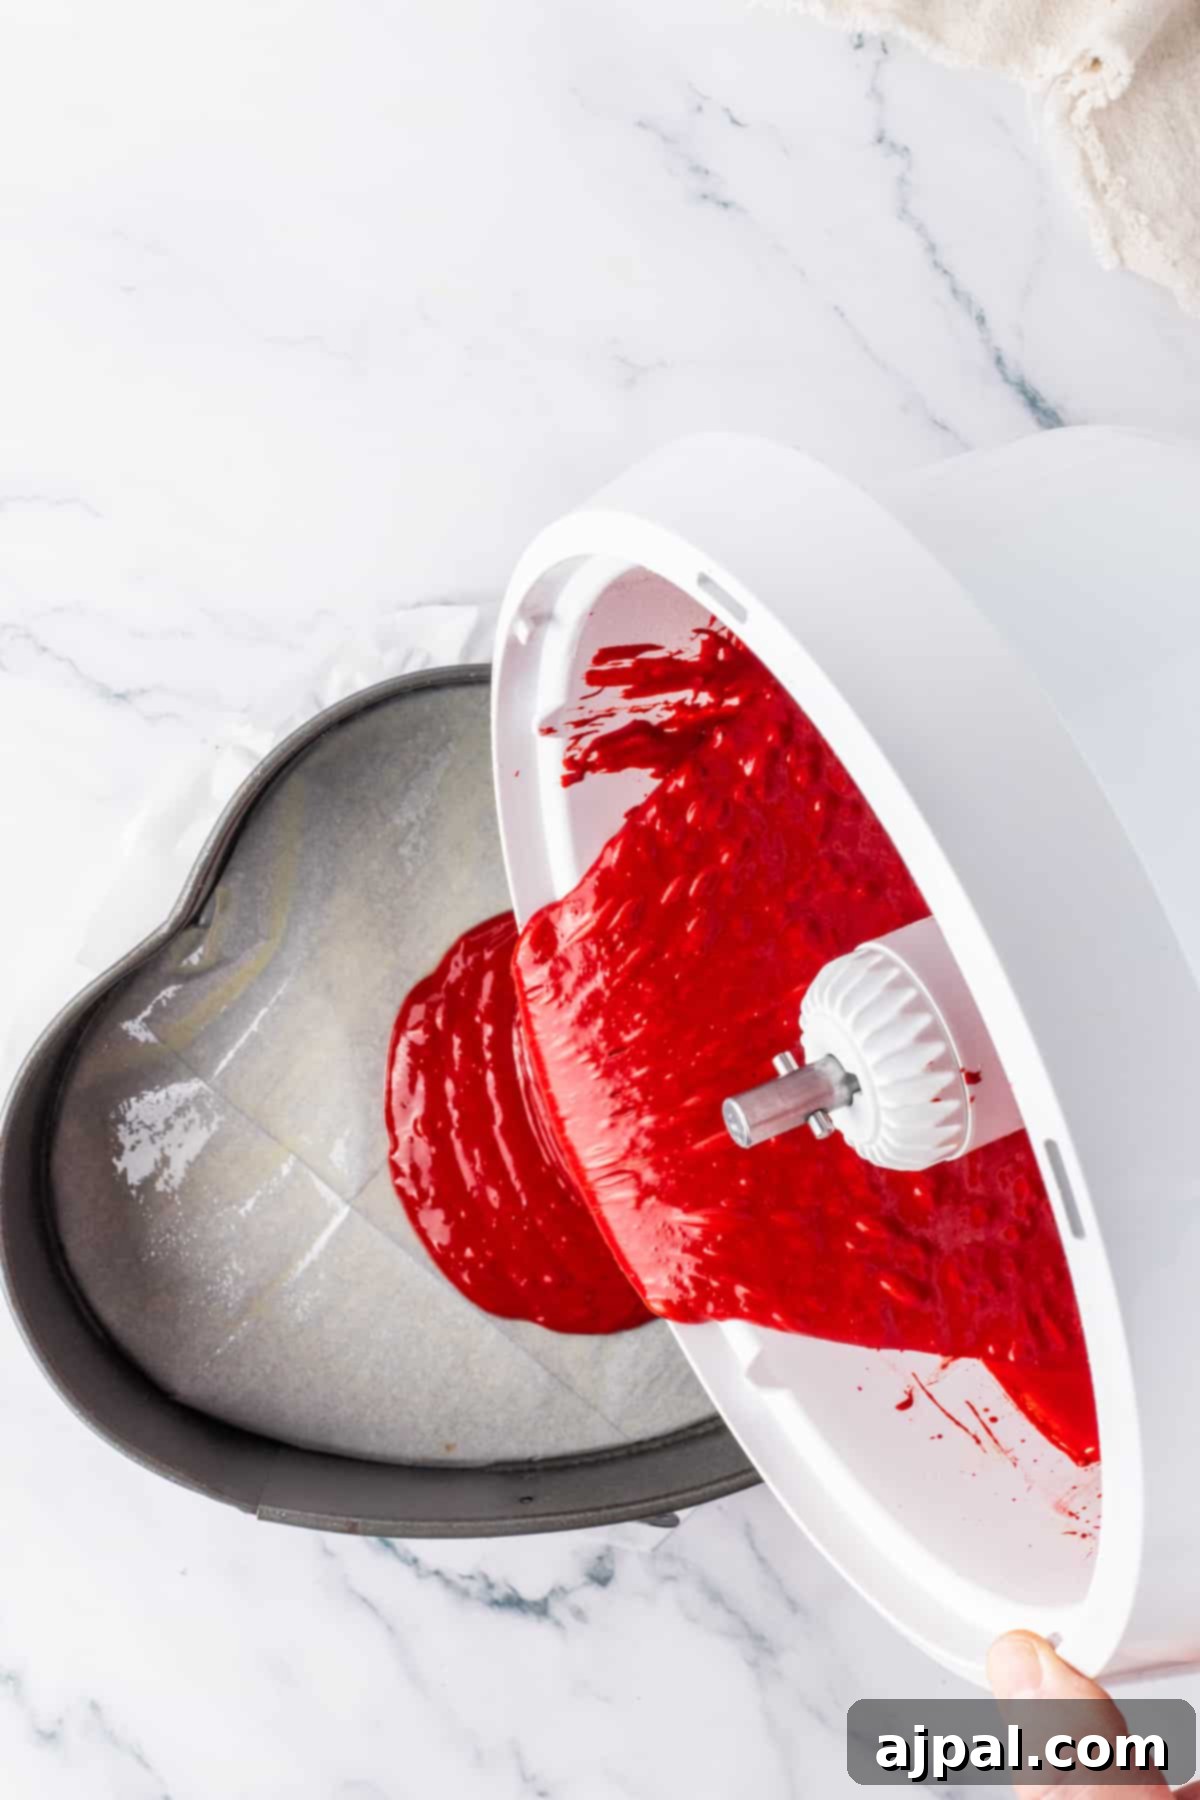
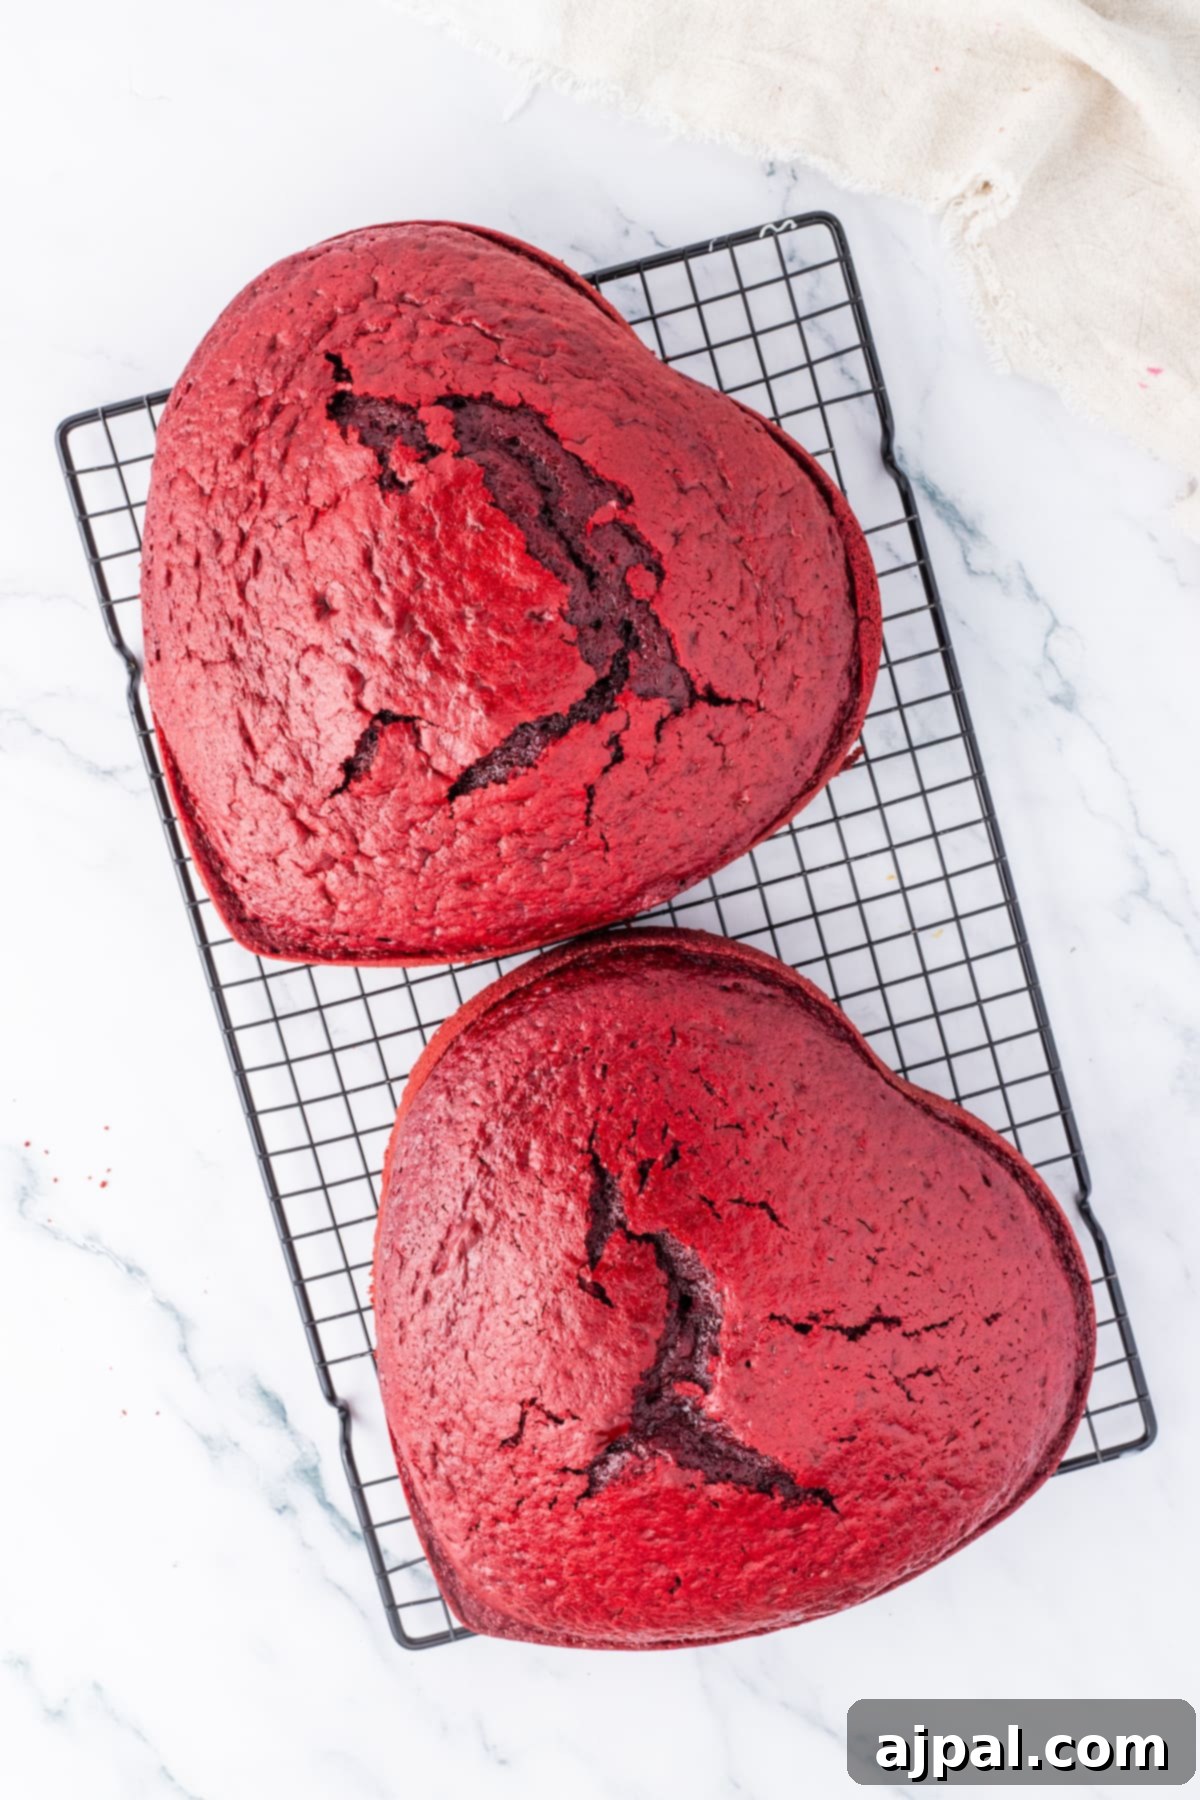
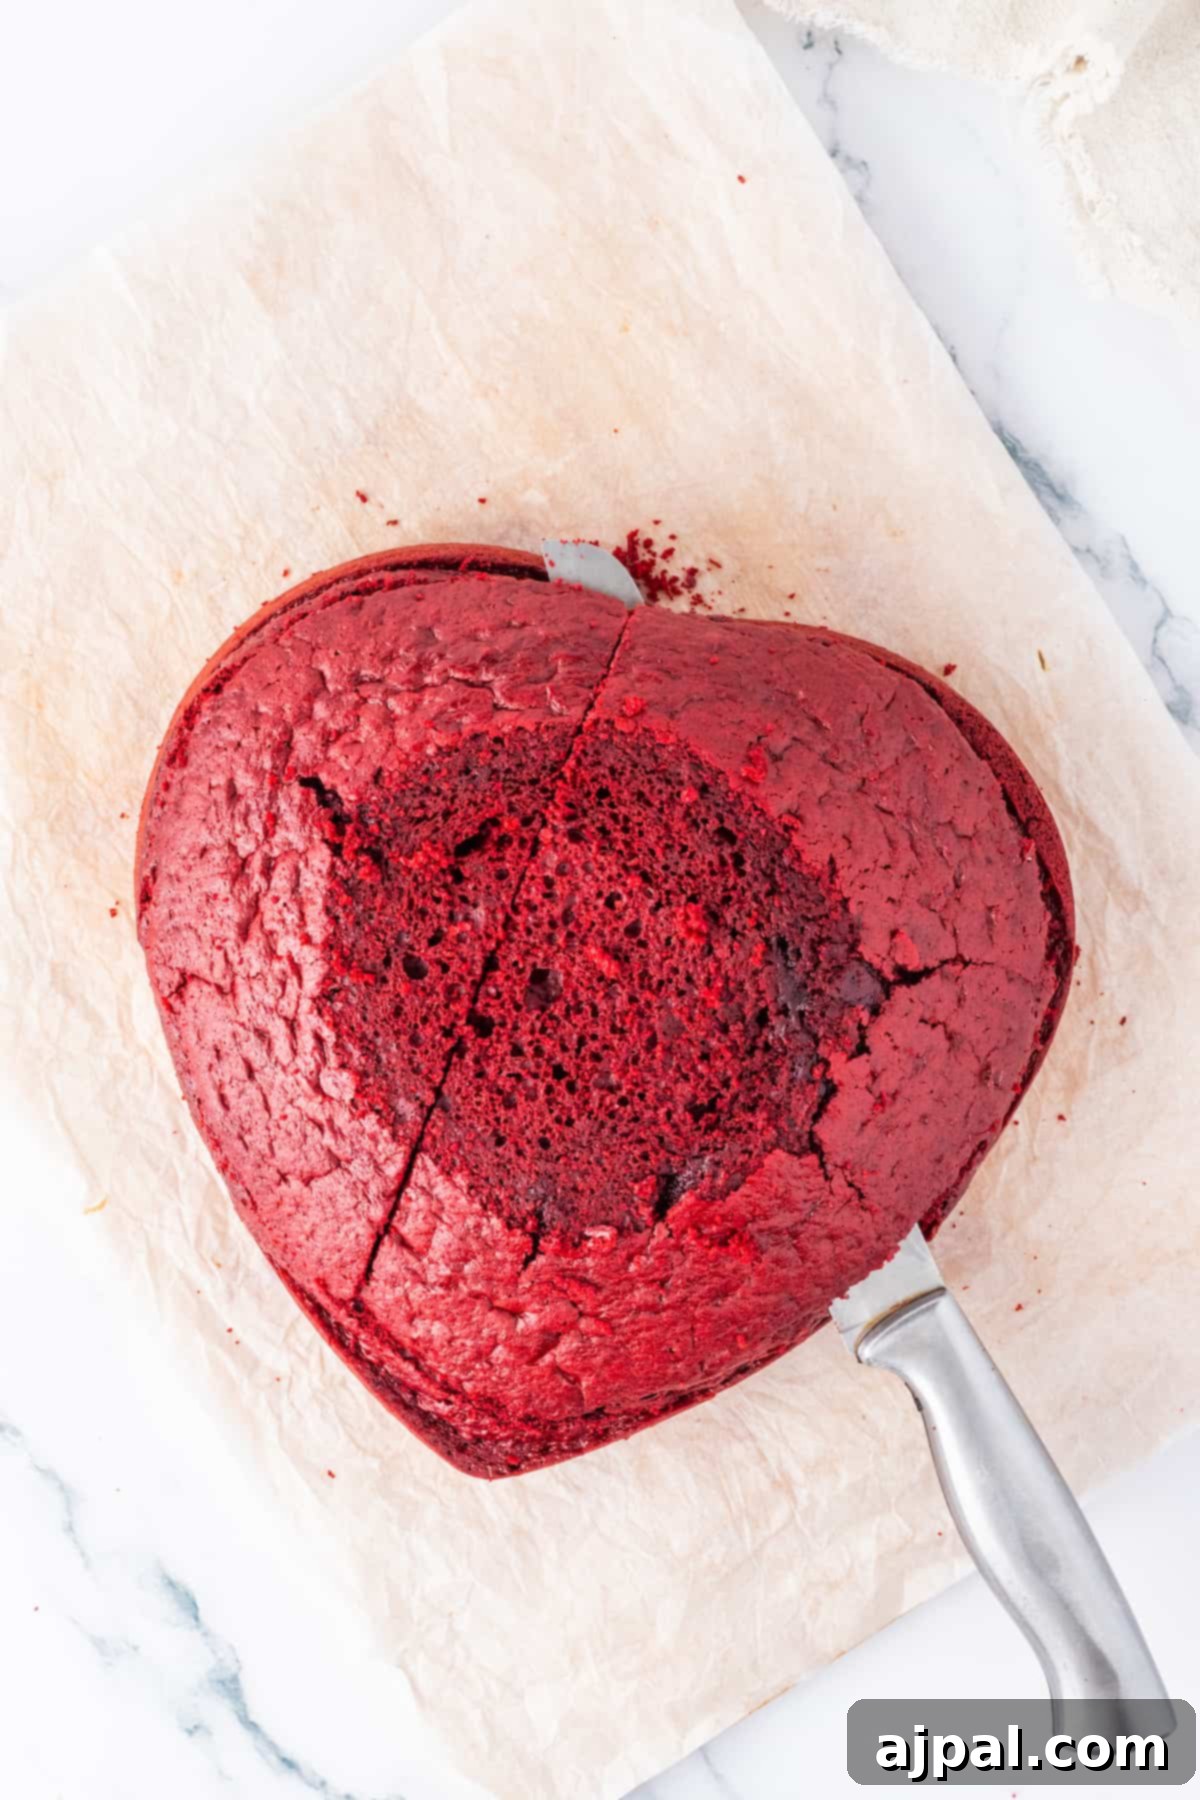
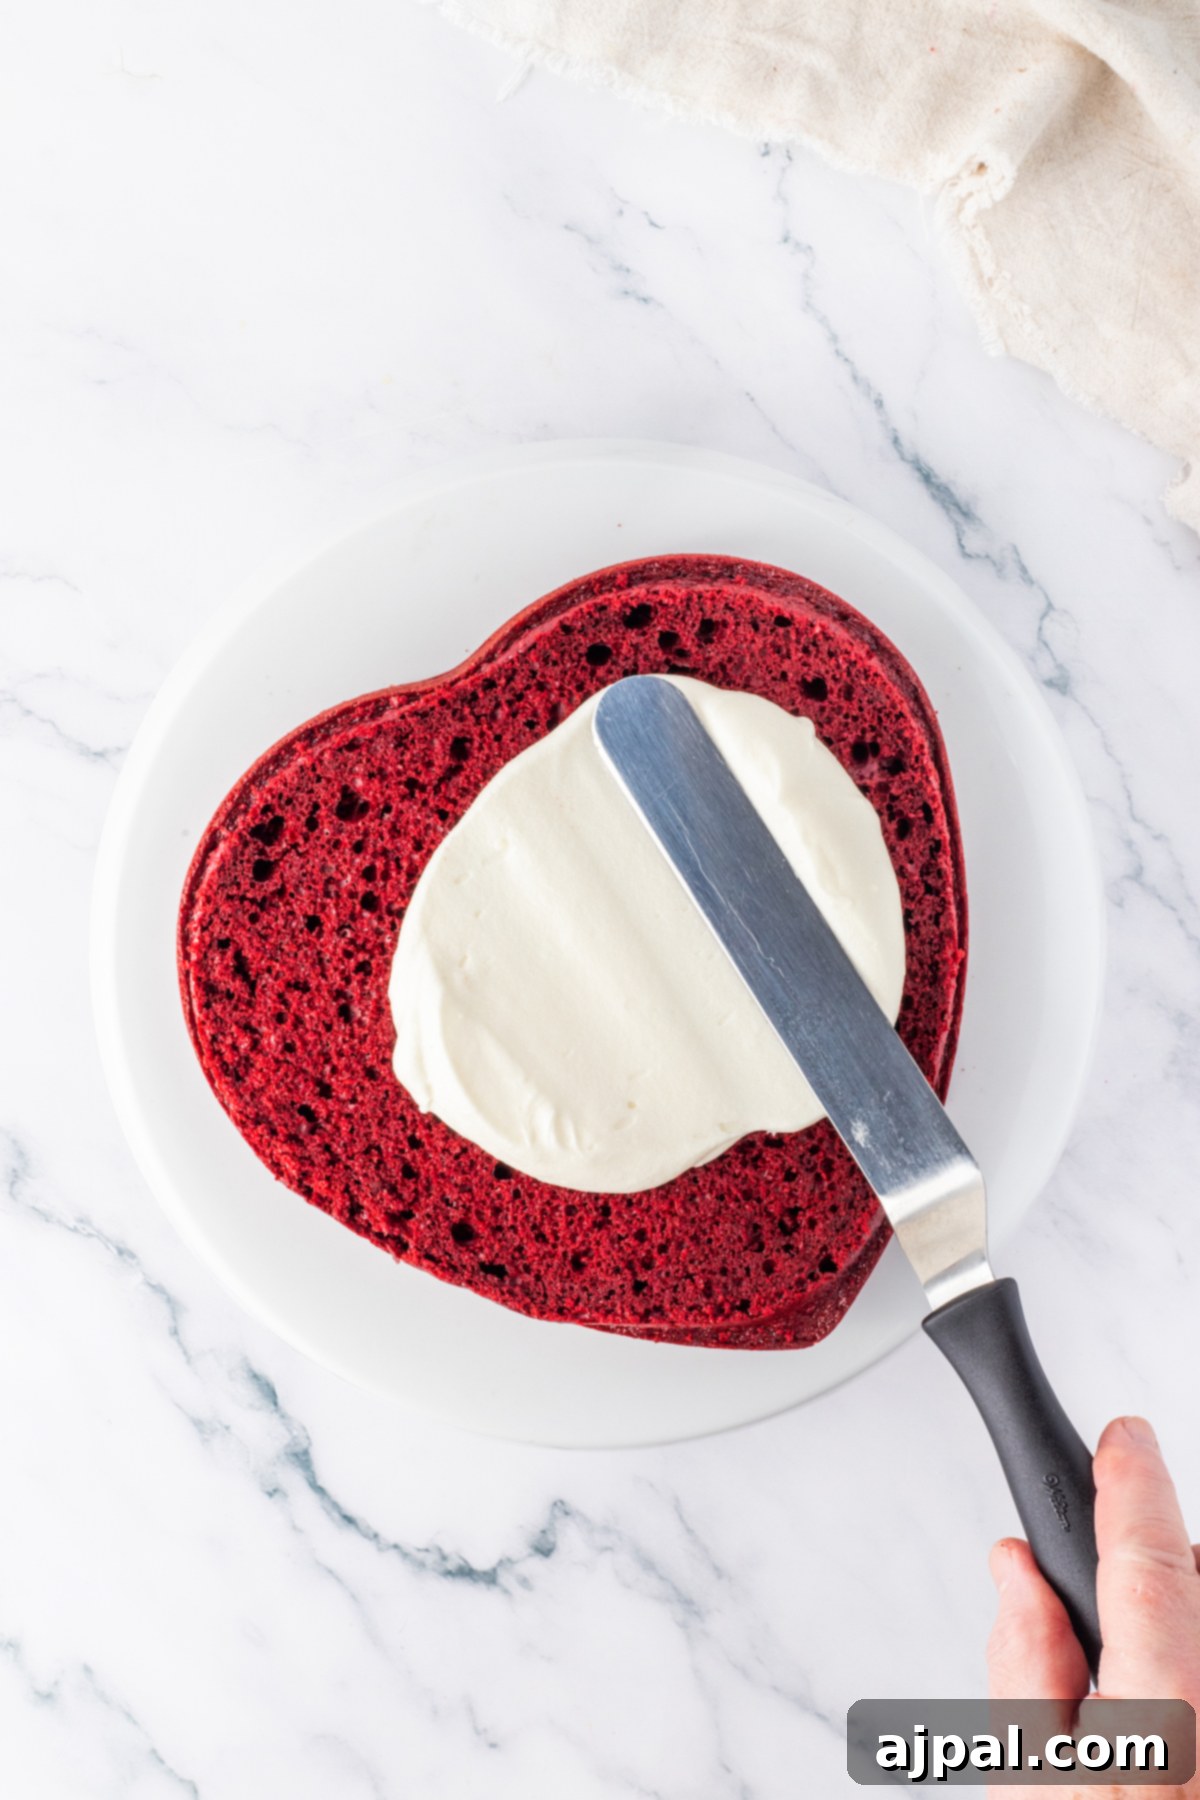
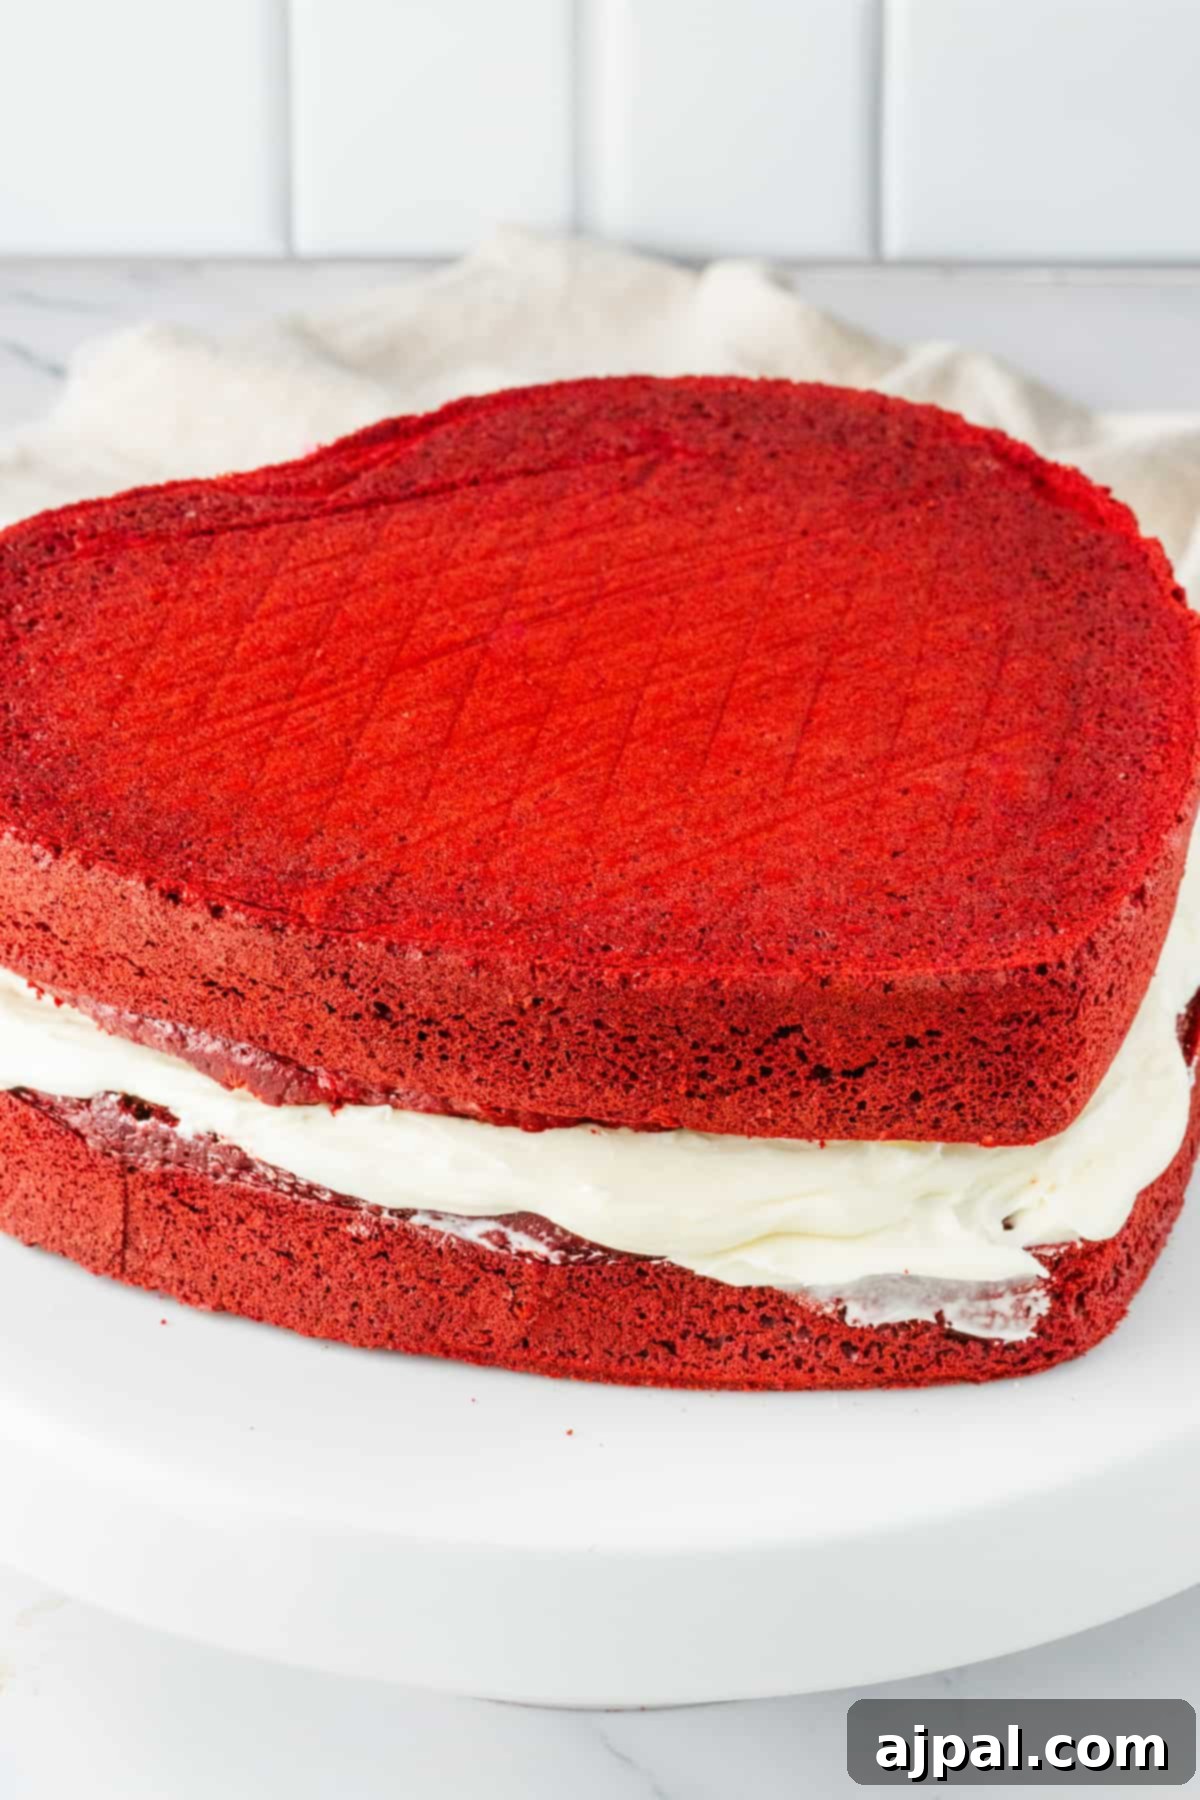
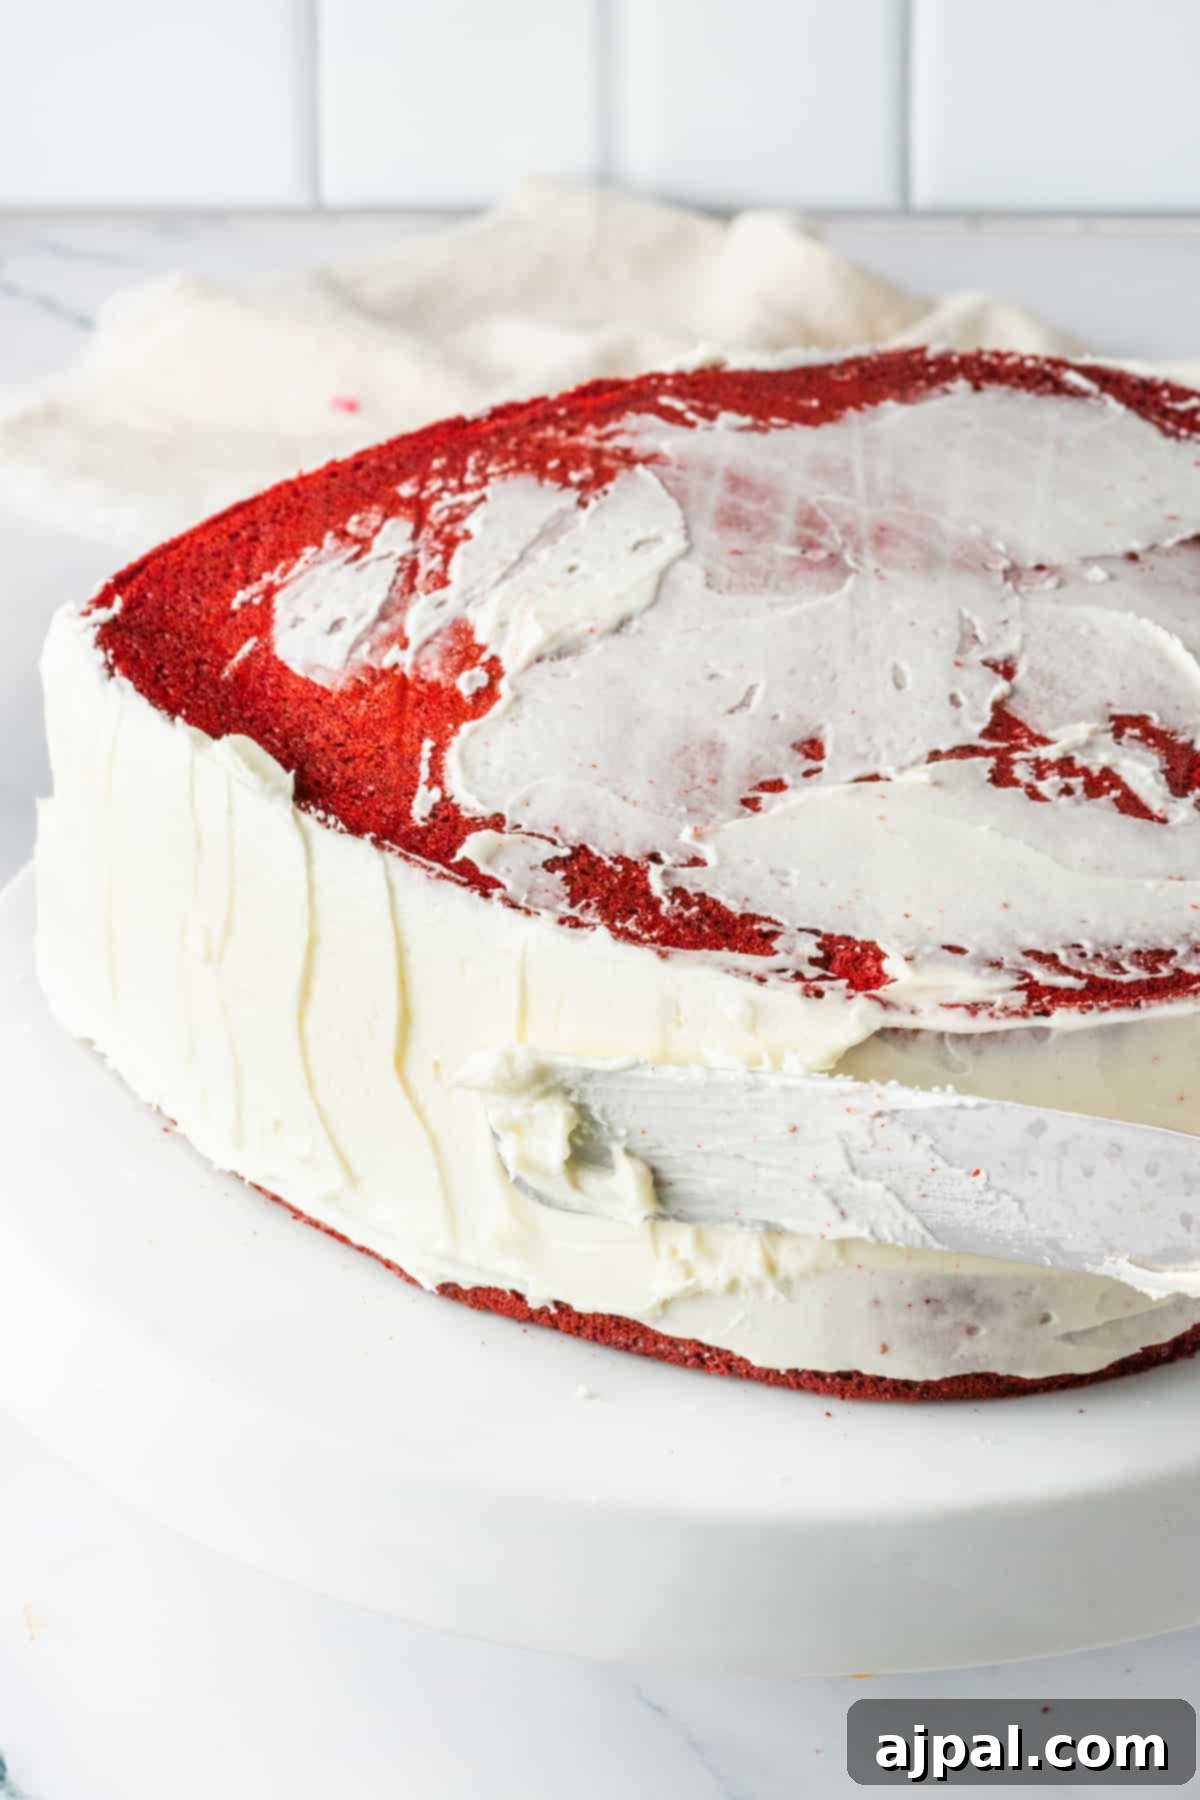
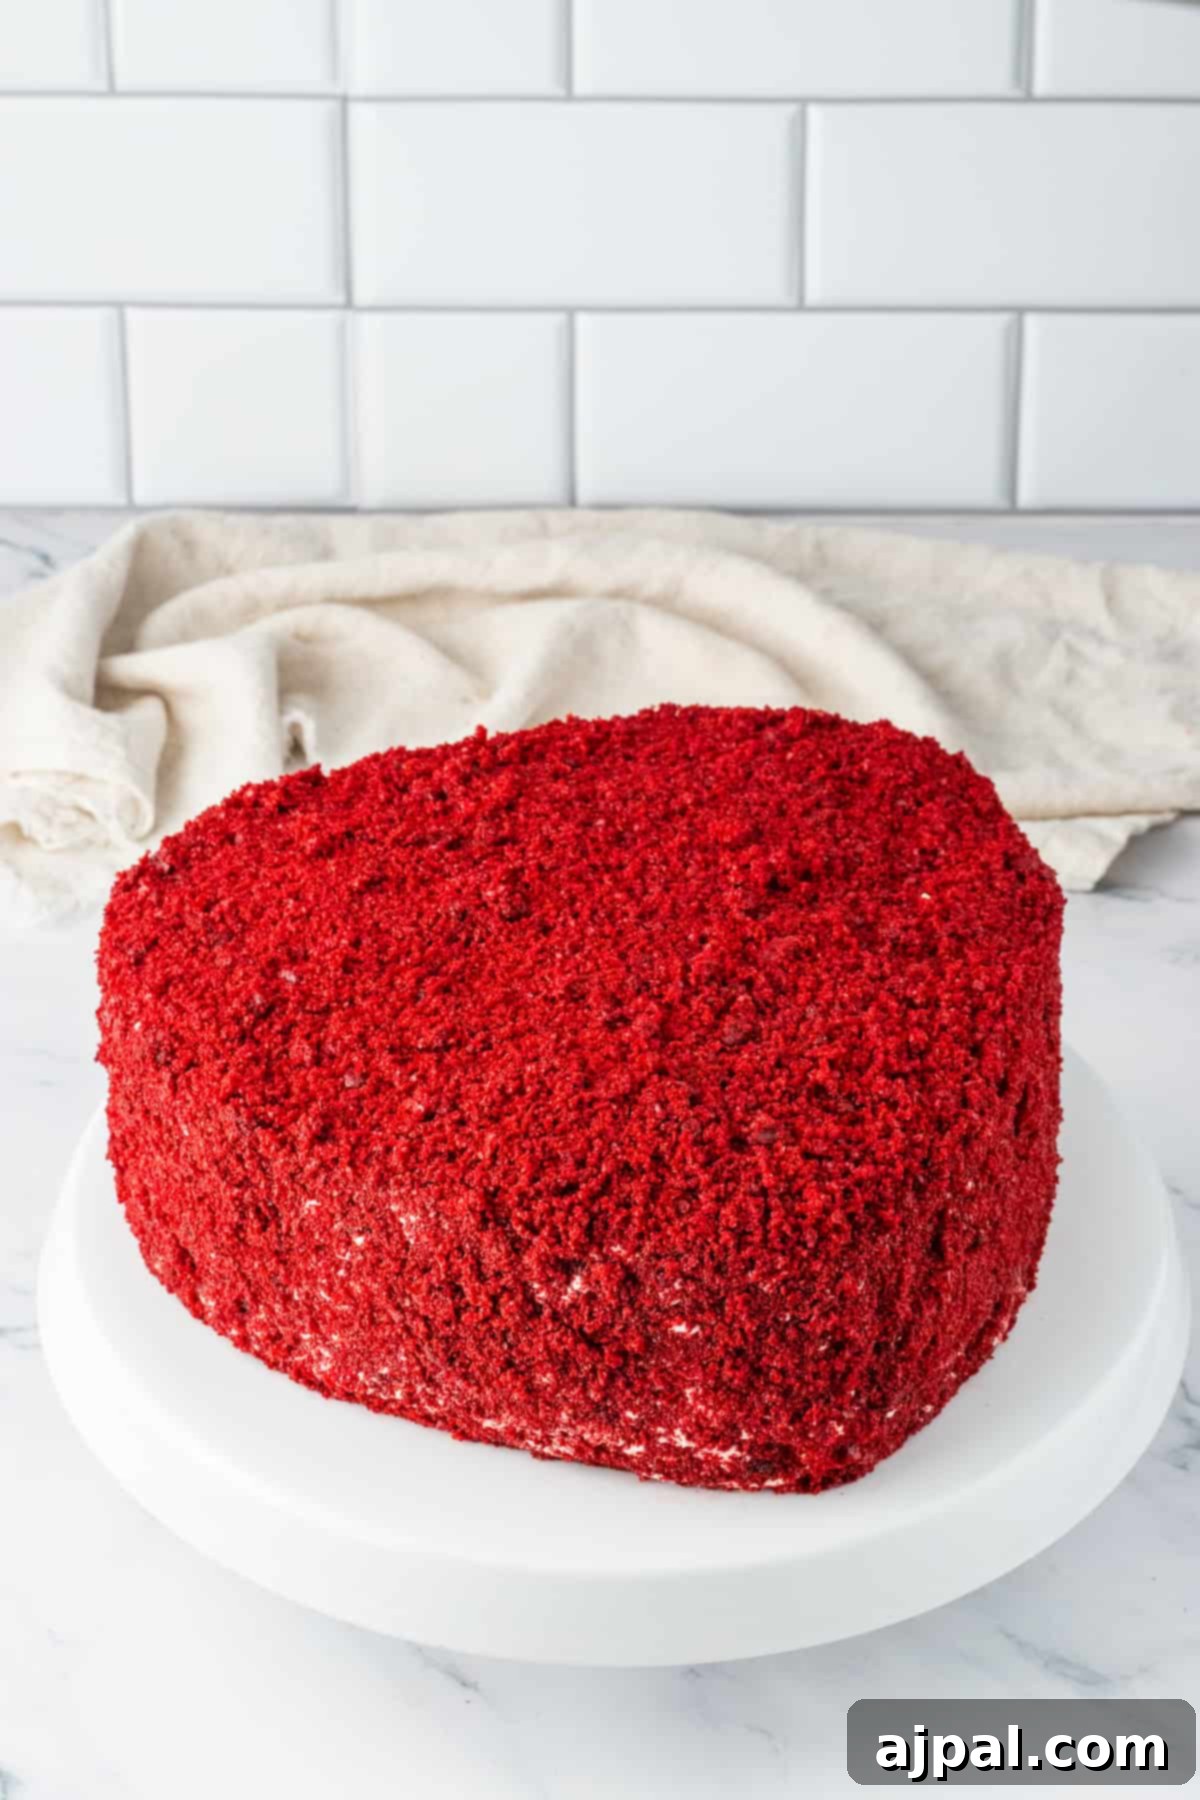
Once you’ve gathered your ingredients, follow these detailed steps to bake and assemble your stunning Red Velvet Cake:
For the Cake:
- Prepare Your Pans: Preheat your oven to 350°F (175°C). Properly grease and flour two 9-inch round cake pans. This crucial step prevents sticking and ensures your cakes release cleanly. For heart-shaped pans, pay extra attention to greasing all crevices.
- Combine Dry Ingredients: In a medium-sized mixing bowl, sift together the all-purpose flour, cocoa powder, baking powder, baking soda, and salt. Sifting helps remove lumps and ensures these ingredients are evenly distributed, contributing to a smooth batter and consistent texture. Set this mixture aside.
- Mix Wet Ingredients (Phase 1): In a large mixing bowl, combine the granulated sugar and vegetable oil. Mix thoroughly until they are well combined and the sugar starts to dissolve into the oil, creating a smooth base.
- Incorporate Eggs: Add the large eggs one at a time to the sugar and oil mixture, beating well after each addition. This ensures each egg is fully incorporated, adding structure and richness to the batter.
- Add Liquid & Color: Stir in the room temperature buttermilk, red food coloring, white vinegar, and vanilla extract. Continue mixing until the mixture is smooth and the vibrant red color is evenly distributed throughout. The vinegar and buttermilk are key to activating the baking soda.
- Combine Wet and Dry: Gradually add the sifted dry ingredients to the wet ingredients. Mix just until the batter is smooth and all ingredients are well combined. Be careful not to overmix, as this can develop the gluten too much, leading to a tough cake.
- Divide and Bake: Divide the cake batter evenly between your two prepared cake pans. This promotes even baking and ensures you have uniform layers for stacking. Bake in the preheated oven for 25-30 minutes, or until a toothpick inserted into the center of the cakes comes out clean.
- Cool the Cakes: Allow the cakes to cool in their pans for about 10 minutes. This helps them firm up slightly before you attempt to remove them. Then, carefully invert them onto a wire rack and let them cool completely. It’s essential for the cakes to be fully cooled before frosting to prevent the frosting from melting and sliding off.
For the Cream Cheese Frosting:
- Cream Butter & Cheese: In a mixing bowl, beat the softened cream cheese and unsalted butter together until the mixture is smooth and creamy. Ensure there are no lumps of cream cheese for a silky frosting.
- Sweeten & Flavor: Gradually add the powdered sugar and vanilla extract to the creamed mixture. Beat until all ingredients are well combined and the frosting is smooth, light, and fluffy. If the frosting seems too thick, you can add a tiny splash of milk or cream, a teaspoon at a time, until desired consistency is reached.
Assembling the Cake:
- First Layer: Once your cake layers are completely cooled, place one layer on your desired serving plate or cake stand.
- Frost the First Layer: Spread a generous, even layer of the creamy cream cheese frosting on top of the first cake layer.
- Second Layer & Final Frosting: Carefully place the second cake layer on top of the frosted first layer. Then, use the remaining cream cheese frosting to frost the top and sides of the entire cake, smoothing it out for a beautiful finish.
- Decorate (Optional): For an extra touch of elegance, decorate your cake with crumbled red velvet cake crumbs (from trimming the tops, if needed), fresh berries, or delicate chocolate shavings.
- Serve and Enjoy: Slice into your homemade masterpiece and savor every delightful bite of your perfect Red Velvet Cake!
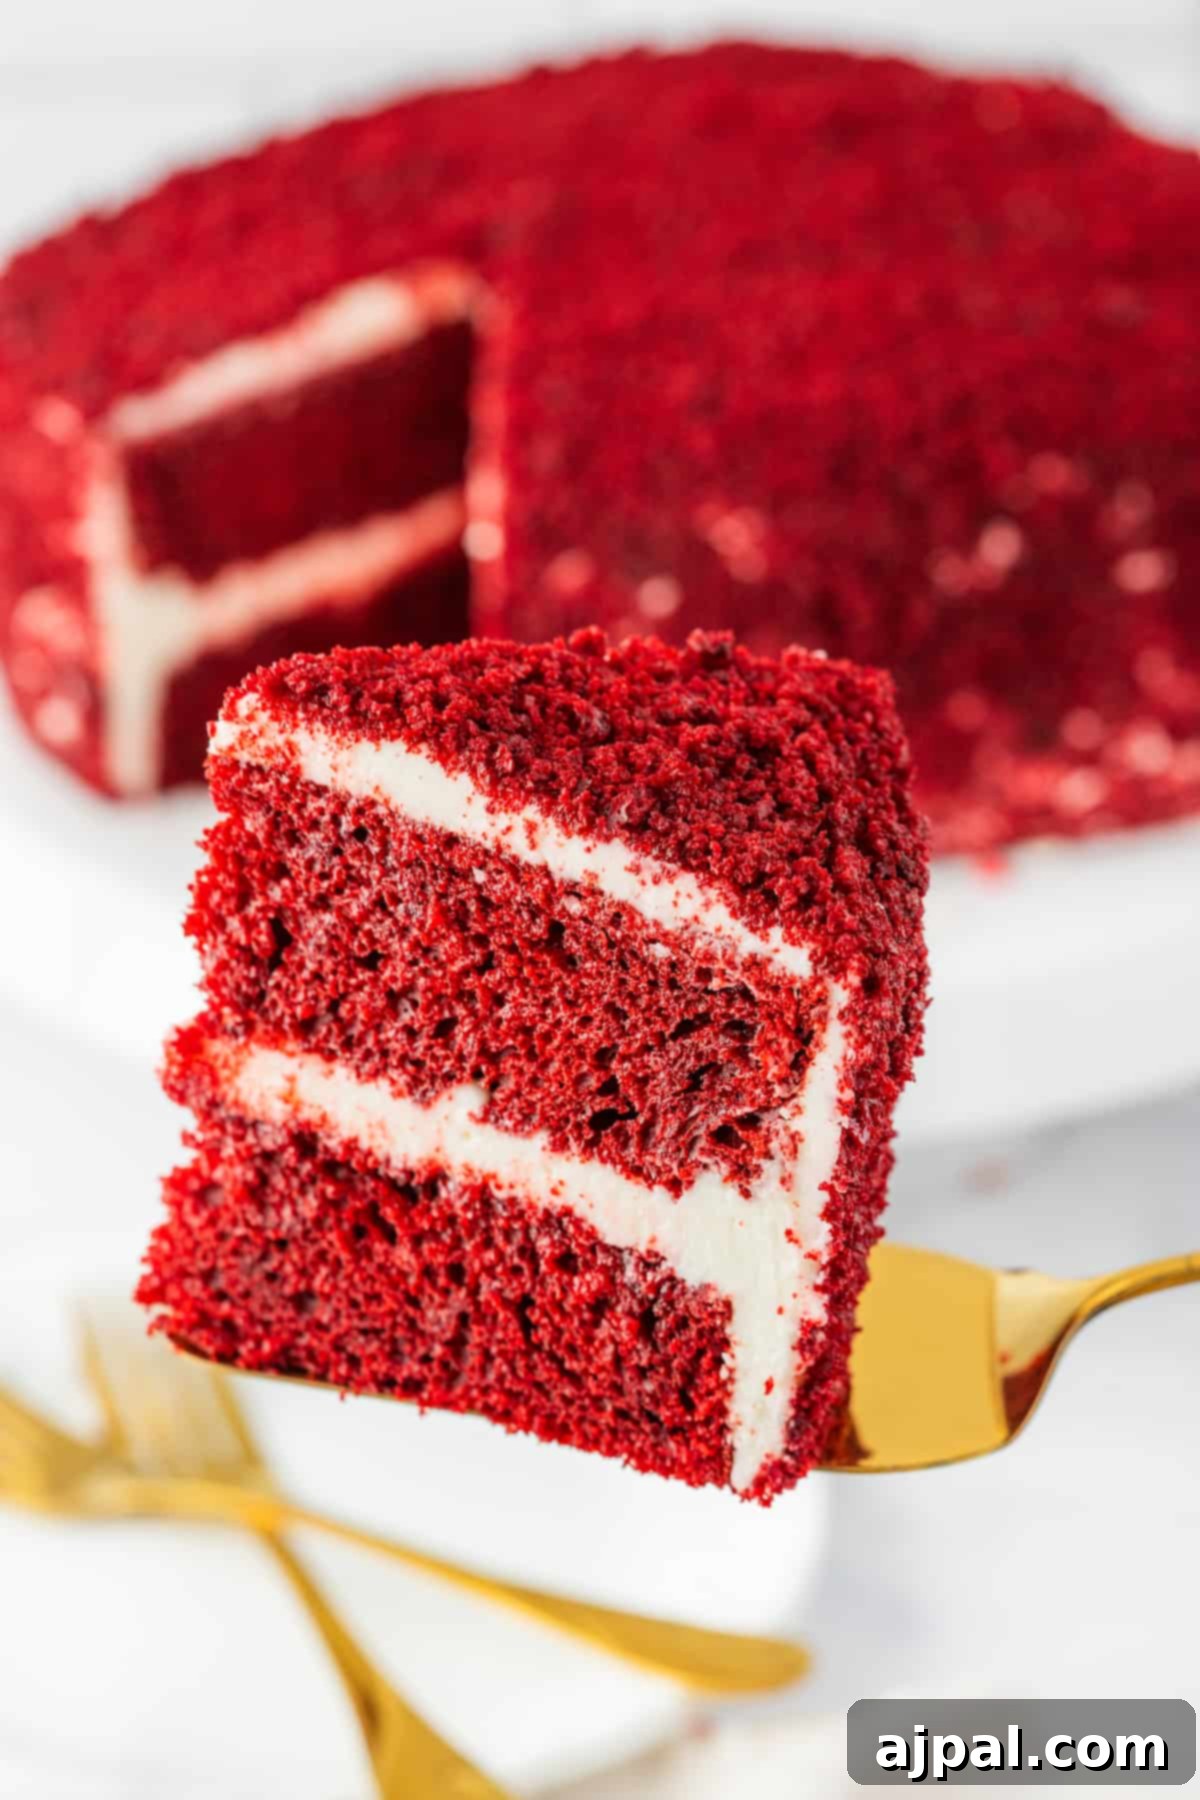
Mastering Red Velvet Baking: Essential Tips and Tricks
Achieving Red Velvet perfection is easier with these insightful tips and tricks:
- Embrace Quality Ingredients: The foundation of any exceptional cake lies in the quality of its ingredients. Use fresh eggs, good quality butter, and fresh buttermilk for the best possible flavor and texture.
- Precision in Measurement: Baking is a science, and accurate measurements are paramount. Use proper measuring cups and spoons, especially for flour and cocoa powder. For flour, spoon it into the measuring cup and level it off with a straight edge rather than scooping directly, which can compact it.
- Room Temperature is Key: Ensure your eggs and buttermilk are at room temperature. This allows them to emulsify better with other ingredients, creating a smoother, more uniform batter and a more tender cake crumb.
- Sift Dry Ingredients Reliably: Always sift your dry ingredients (flour, cocoa powder, baking soda, and baking powder). This removes any lumps, aerates the flour, and ensures all leavening agents and flavorings are evenly distributed throughout the batter.
- Tailor Your Red Food Coloring: The iconic red hue is personal! Adjust the amount of red food coloring to achieve your desired shade. Gel food coloring often provides more vibrant and intense results compared to liquid coloring.
- Gentle Mixing for Tenderness: Mix the cake batter only until the ingredients are just combined. Overmixing develops gluten, which can lead to a dense, tough cake, diminishing the “velvet” in red velvet.
- The Buttermilk Advantage: Buttermilk is non-negotiable for an authentic Red Velvet. Its acidity not only enhances flavor but also reacts with baking soda to create a light, tender crumb. If you don’t have buttermilk, you can make a substitute by adding 1 tablespoon of white vinegar or lemon juice to a measuring cup and filling the rest with regular milk to make 1 cup. Let it sit for 5-10 minutes until it slightly curdles.
- Vinegar & Baking Soda Magic: The chemical reaction between vinegar and baking soda is crucial. It produces carbon dioxide, which gives the cake its signature lift and contributes to its unique texture and color. Don’t skip these!
- Preheat Oven Faithfully: Always ensure your oven is fully preheated to the correct temperature before placing the cake inside. An oven that isn’t hot enough can affect the cake’s rise and overall texture.
- Flawless Pan Preparation: Thoroughly grease and flour your cake pans, or line them with parchment paper circles. This is critical for preventing the cake from sticking and ensuring effortless removal.
- Even Batter Distribution: Divide the cake batter evenly between your prepared pans. This ensures that all layers bake uniformly, resulting in a level cake that’s easier to stack and frost.
- Consider Rotating Pans: If your oven has hot spots, rotate your cake pans halfway through baking. This helps ensure even cooking and browning across all layers.
- Cool Completely, Always: Patience is a virtue when it comes to cooling. Allow the cakes to cool completely on a wire rack before attempting to frost them. Warm cakes will melt your frosting, leading to a messy outcome.
- Crafting Perfect Cream Cheese Frosting: Use full-fat cream cheese and unsalted butter, both at room temperature, for the best frosting. Beat them until perfectly creamy, then gradually add powdered sugar until you reach your desired consistency and sweetness.
- The Crumb Coat Strategy: For a professional finish, apply a thin layer of frosting (a “crumb coat”) to the cooled cake first. Chill the cake for about 15-20 minutes, then apply your final layer of frosting. This technique traps any loose crumbs, ensuring a smooth and pristine outer layer.
- Unleash Your Creativity in Decoration: Don’t shy away from decorating! Use crumbled cake crumbs, fresh berries, chocolate shavings, or even edible flowers to add a personal and beautiful touch to your cake.
- Chill for Setting: After frosting, refrigerate the cake for at least an hour. This allows the frosting to firm up, making it much easier to slice neatly and serve.
- Slice with a Warm Knife: For impeccably clean and smooth cake slices, dip a sharp knife in hot water and wipe it dry before each cut. This creates crisp edges and a beautiful presentation.
Frequently Asked Questions About Red Velvet Cake
Yes, you can use natural cocoa powder, but it may result in a slightly different color and flavor. Natural cocoa is more acidic and can react differently with the baking soda and food coloring. Dutch-processed cocoa, being less acidic, is often preferred for its milder flavor and deeper, less reddish brown contribution to the color.
While butter can be used for flavor, vegetable oil is highly recommended in red velvet cake for its ability to maintain exceptional moisture and contribute to the “velvet” texture. If you must use butter, use an equal amount of melted and cooled butter, but be aware it might alter the cake’s signature moistness.
Red food coloring is integral to the classic red velvet appearance. While you can omit it, the cake will not have its signature vibrant color; it will be a light reddish-brown. For a natural alternative, you can try using a small amount of beet juice or purée, though the intensity of the color may vary.
Absolutely! Freezing cake layers is a fantastic way to prepare ahead. Wrap each cooled layer tightly in plastic wrap, then in aluminum foil. They can be frozen for up to one month. Thaw them completely in the refrigerator before frosting.
The vinegar plays a crucial role by reacting with the baking soda. This acidic reaction creates carbon dioxide bubbles, which help the cake rise, contribute to its light and fluffy texture, and enhance the cake’s characteristic reddish hue.
Yes, you can certainly use store-bought cream cheese frosting if you are short on time. However, homemade cream cheese frosting is generally superior in fresh flavor, tanginess, and luxurious texture, offering a more authentic Red Velvet experience.
To achieve perfectly level cake layers, you can use a serrated knife or a specialized cake leveler to trim any domed tops once the cakes are completely cooled. This creates flat surfaces for stacking and ensures a professional-looking cake.
Yes, this versatile batter is excellent for cupcakes! Simply divide the batter among cupcake liners in a muffin tin. Adjust the baking time to approximately 18-22 minutes, or until a toothpick inserted into the center of a cupcake comes out clean.
Reducing sugar in baking can significantly affect the cake’s texture, moistness, and overall structure. Sugar contributes to tenderness and browning. For optimal results, it’s best to follow the recipe as written. If you require a lower-sugar option, it’s advisable to seek out recipes specifically designed for that purpose.
While this specific recipe is not eggless or vegan, many excellent recipes exist for dietary modifications. You can explore alternative recipes that use egg substitutes like flaxseed meal, applesauce, or mashed banana for an eggless version, and plant-based milks and fats for a vegan option.
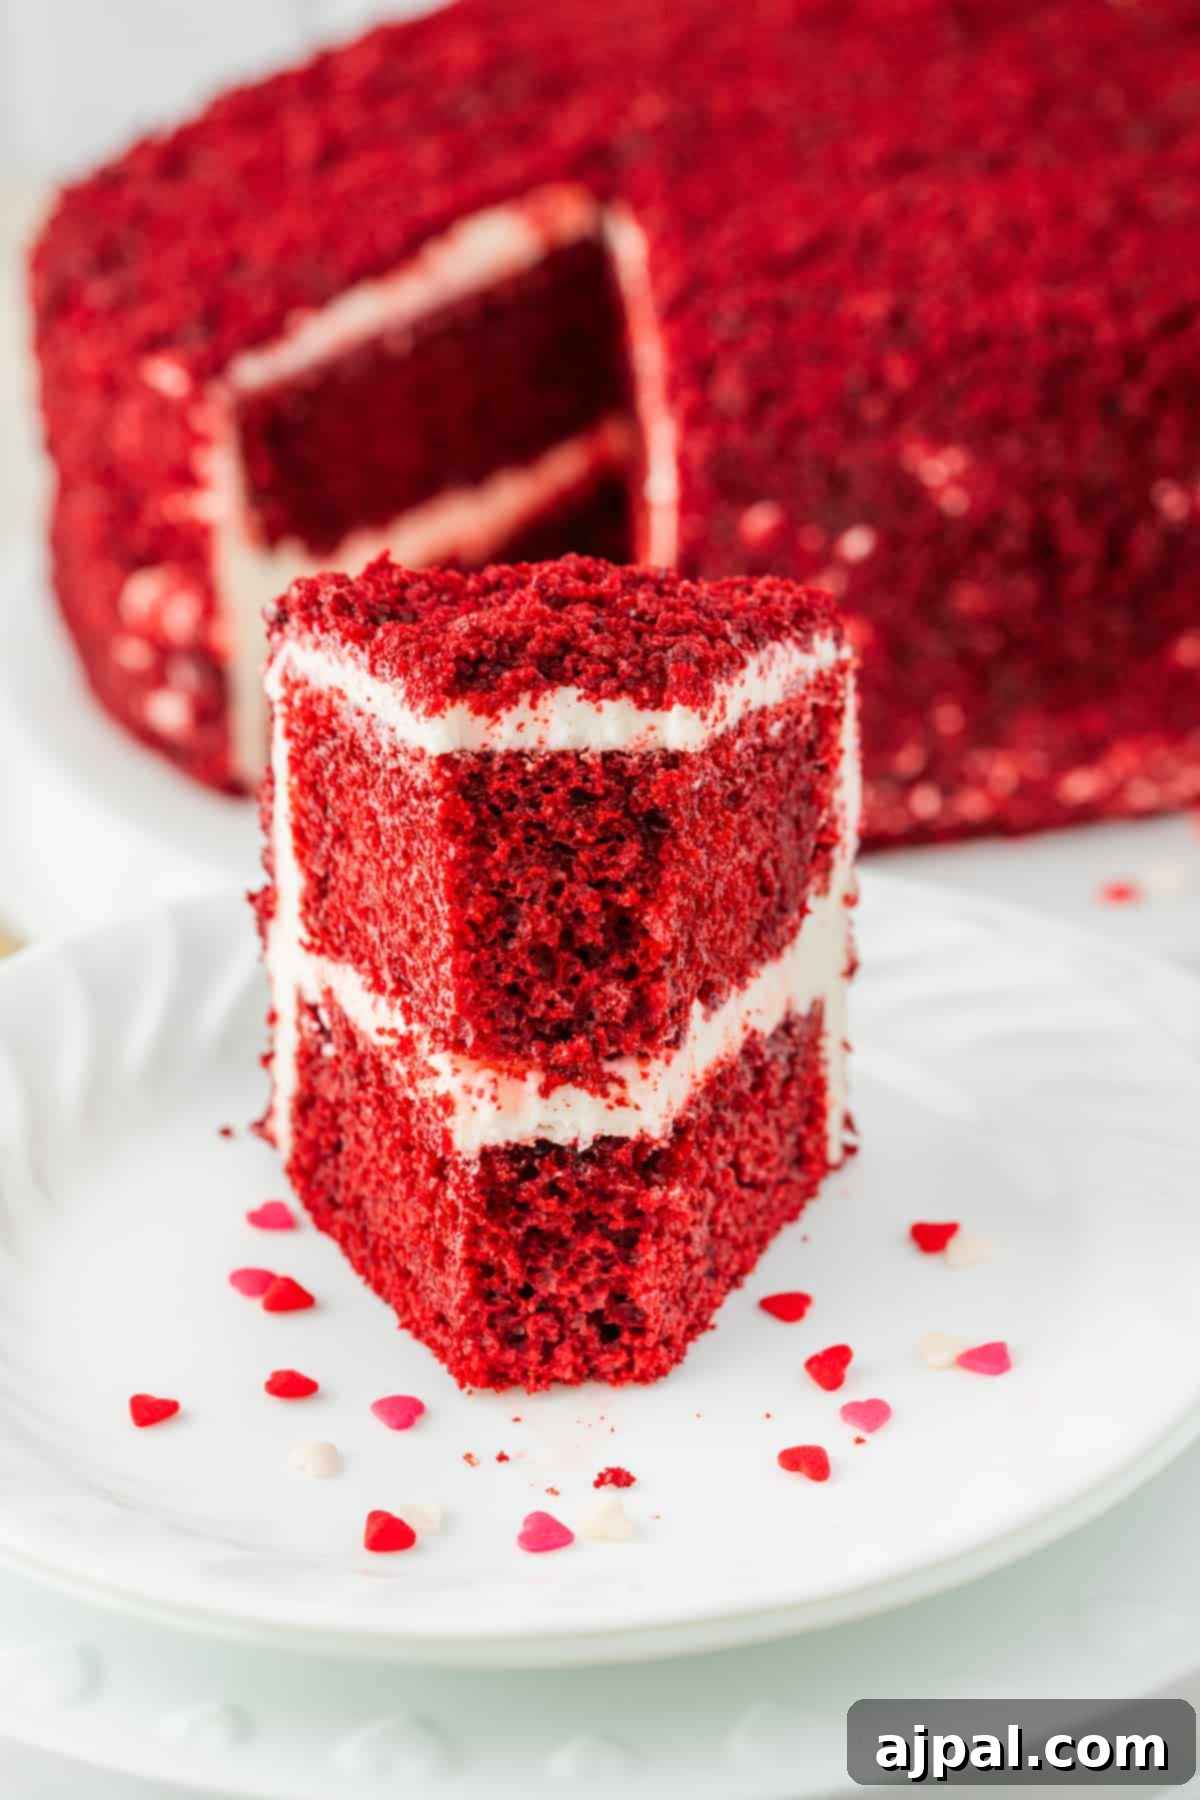
Perfect Pairings: What to Serve With Red Velvet Cake
Red Velvet Cake, with its unique flavor profile, pairs beautifully with a variety of accompaniments. It’s not just a dessert; it’s an experience that can be enhanced by the right pairings, whether you’re enjoying it casually or as part of a grand meal.
- Romantic Dinners: Red Velvet Cake makes for an exquisite romantic dessert following indulgent Valentine’s dishes like broiled lobster tails or rich Lobster Pasta alla Busara. Its elegant appearance and delightful taste provide a perfect sweet finish.
- Extra Cream Cheese Frosting: Since its own frosting is arguably the best part, serving an extra dollop of cream cheese frosting on the side is always a welcome addition for those who crave more of its tangy, creamy goodness.
- Fresh Berries: A vibrant medley of fresh strawberries, raspberries, or blueberries offers a refreshing contrast to the cake’s richness. Their natural tartness and juicy texture cleanse the palate beautifully.
- Lightly Sweetened Whipped Cream: A cloud of freshly whipped cream, perhaps subtly flavored with a hint of vanilla, provides a light and airy counterpoint to the dense cake and rich frosting.
- Vanilla Bean Ice Cream: A scoop of premium vanilla bean ice cream melting alongside a slice of Red Velvet Cake creates a classic and comforting combination of warm and cold, creamy and tender.
- Chocolate Sauce or Ganache: For the ultimate chocolate lover, a warm drizzle of rich chocolate sauce or a silky ganache can intensify the subtle cocoa notes in the cake and add another layer of indulgence.
- Coffee or Tea: A freshly brewed cup of coffee, espresso, or a comforting pot of tea (black, herbal, or flavored) provides a sophisticated beverage pairing that complements the cake’s sweetness without overwhelming it.
- Cold Milk: Sometimes, the simplest pairings are the best. A tall, cold glass of milk is a timeless and comforting companion to the sweet richness of Red Velvet Cake.
- Sparkling Wine or Champagne: For celebratory occasions, a crisp glass of champagne or sparkling wine adds an elegant touch, with its effervescence cutting through the cake’s richness.
- Toasted Nuts: A sprinkle of lightly toasted pecans or walnuts can add a delightful crunch and earthy flavor that complements the cake’s texture and taste.
- Fruit Compote: A homemade fruit compote, especially one made with tart berries or stone fruits, can be spooned over individual slices to introduce a lovely fruity and slightly acidic twist.
- Caramel Sauce: A warm, buttery caramel sauce drizzled over the top offers a decadent, sweet-and-savory dimension, perfect for a truly indulgent treat.
- Edible Flowers: For a visually stunning presentation, garnish your Red Velvet Cake with a few carefully placed edible flowers, adding a delicate and elegant touch.
- Lemon Curd: A small dollop of bright, zesty lemon curd can provide an unexpected but delightful tangy contrast to the cake’s rich sweetness.
- Fresh Mint Leaves: A few fresh mint leaves strategically placed on the plate add a touch of color and a subtle hint of herbal freshness, elevating the overall dining experience.
Try these other delightful recipes next:
The Best Broiled Lobster Tails Recipe Ever
Boneless Ribeye Roast Recipe
Italian Lobster Pasta
The Best Easy Roast Chicken
Confit Chicken Legs
Valentines Candy Mix
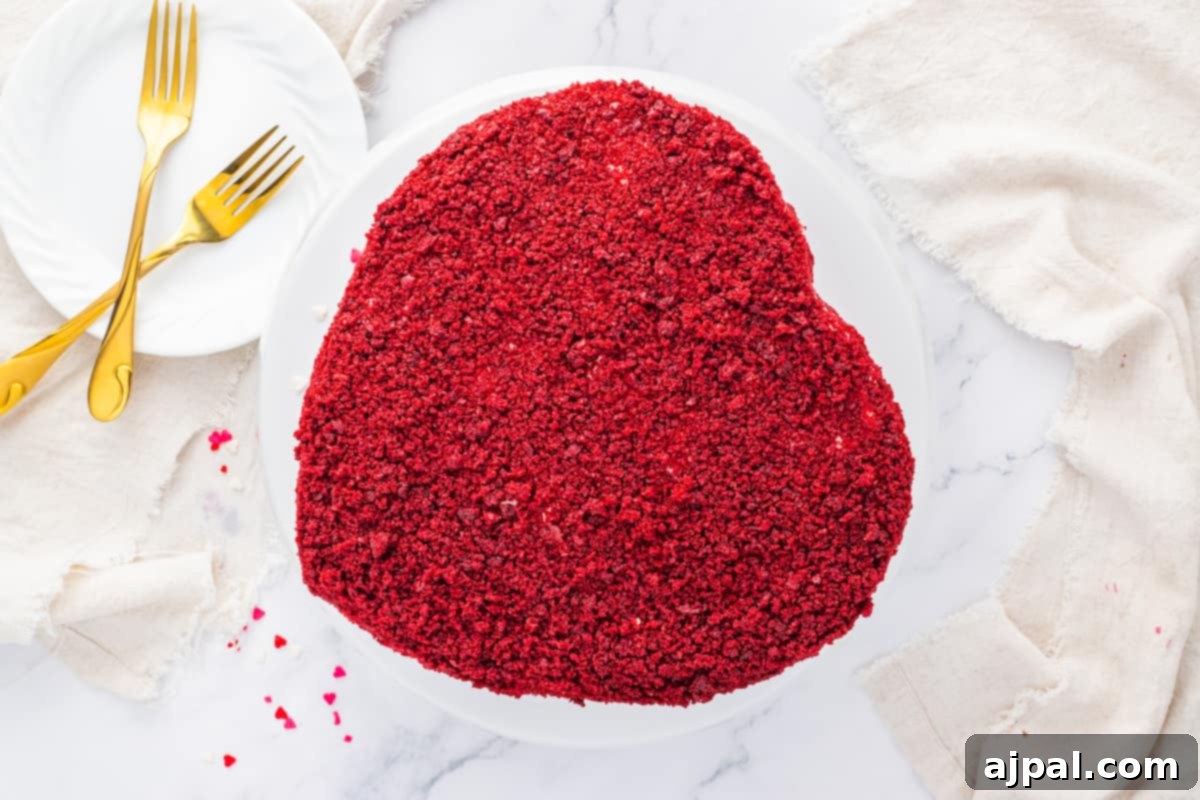
Red Velvet Cake Recipe
We hope you adore this easy Red Velvet Cake recipe! If you do, please consider giving it a five-star rating by clicking the stars below and leaving a comment. Your feedback helps other home cooks discover and enjoy this delicious dessert. Also, help us share the love by sharing this recipe on Instagram, Facebook, and Pinterest!
Share on Facebook
Share
Pin this now to find it later
Pin It
Follow on Instagram
Follow
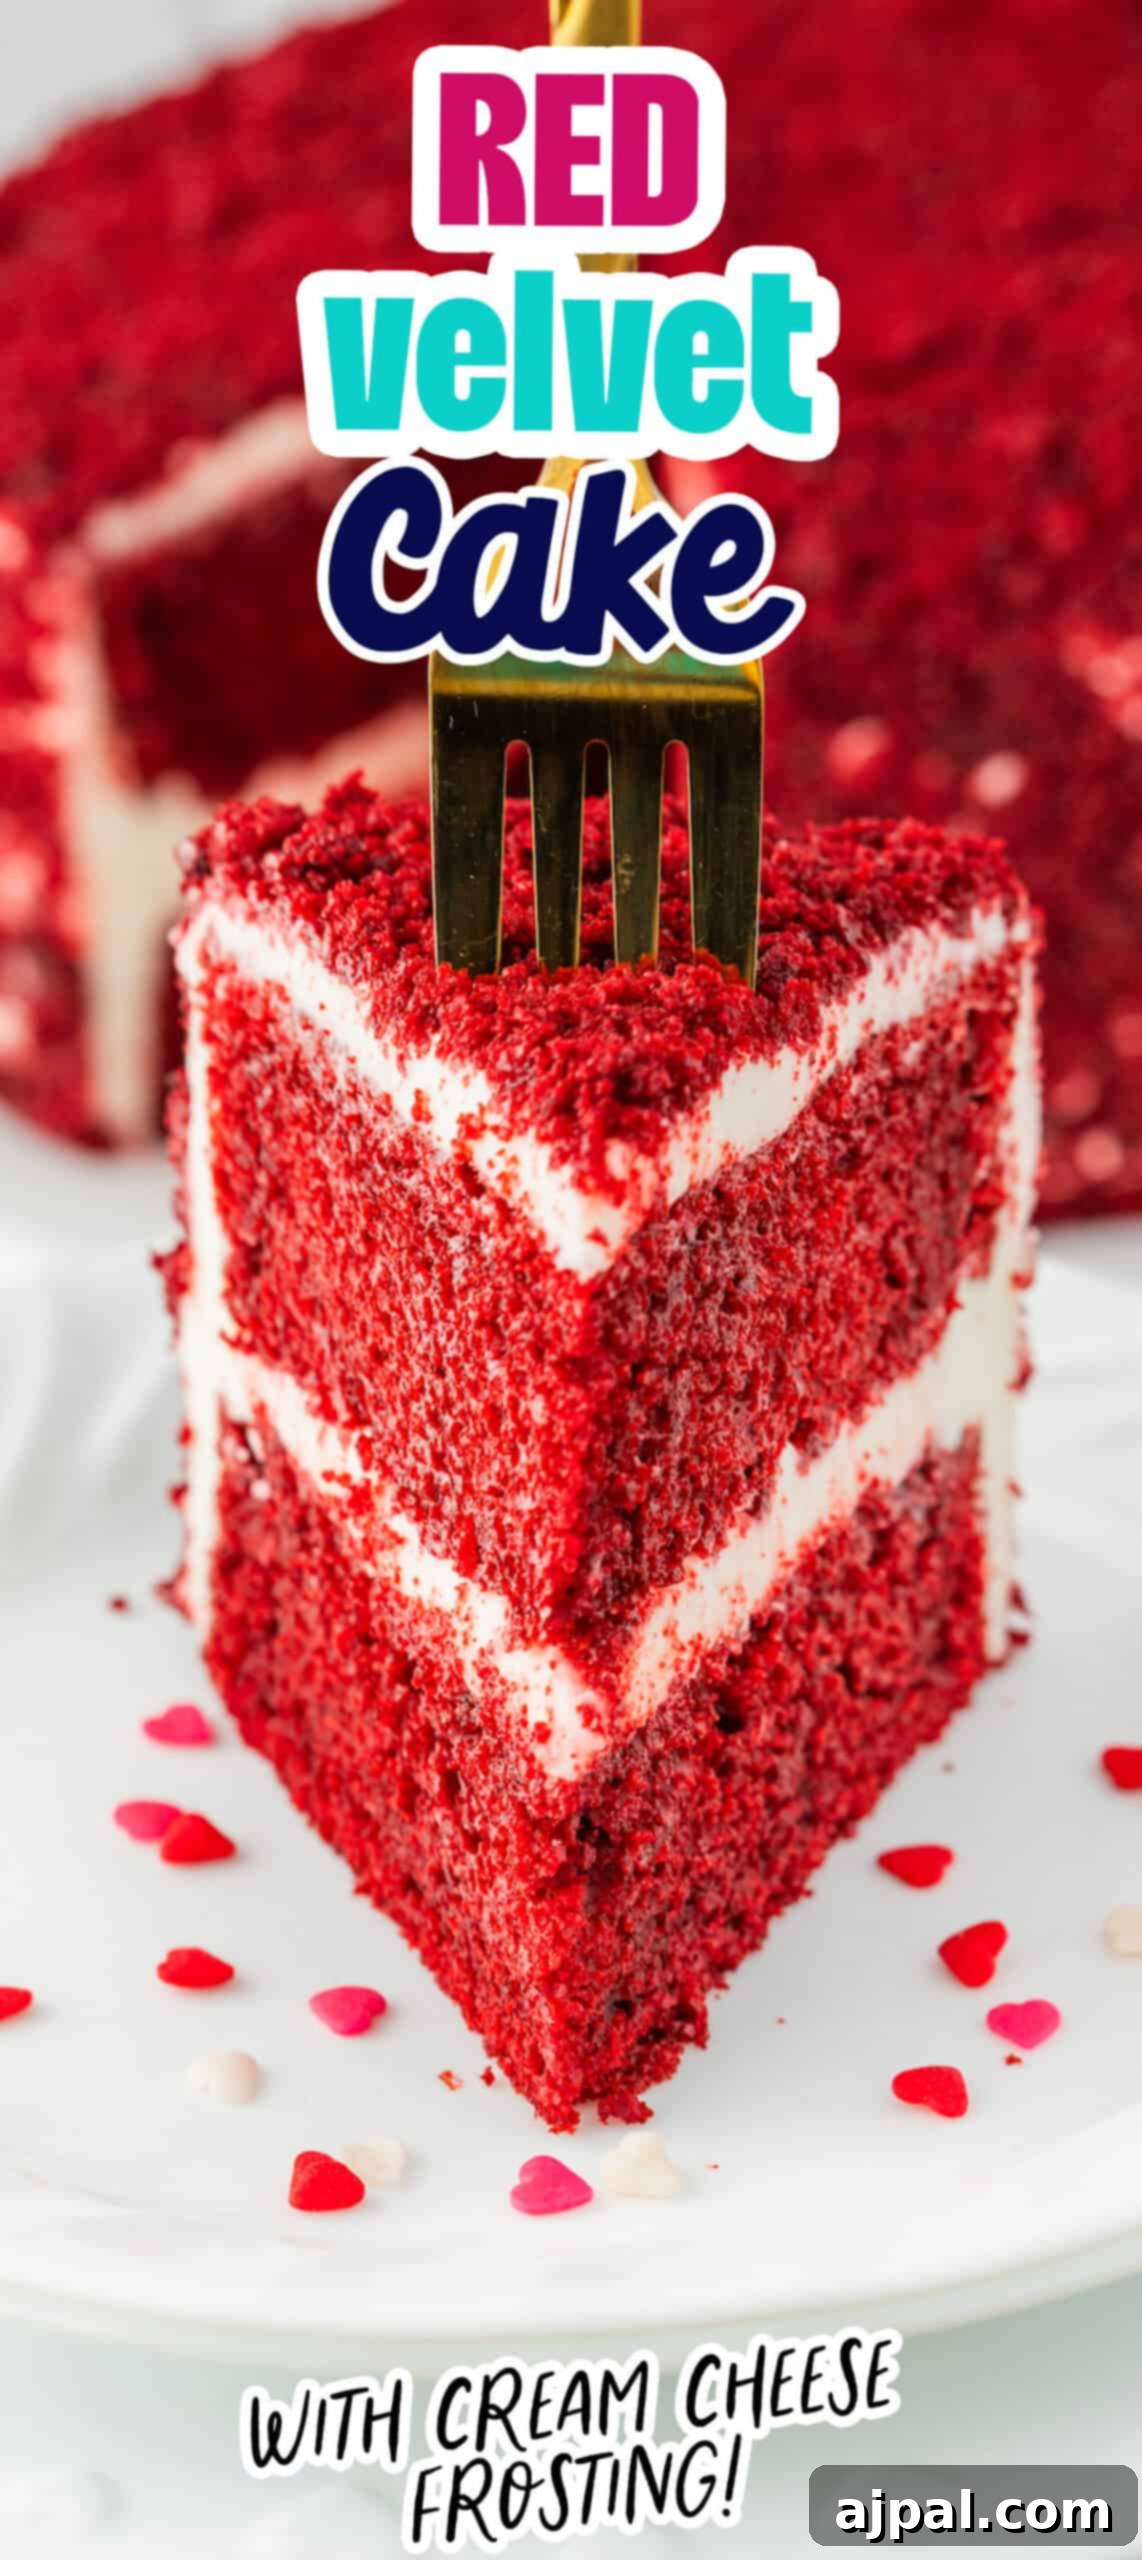
Only have 30 minutes to get dinner on the table? Sign up for our 30-minute dinner plans direct to your inbox!
Find and shop our favorite products in our Amazon storefront here!
Red Velvet Cake
Share by Email
Print Recipe
Equipment
- KitchenAid 7-Speed Hand Mixer
- USA Pan Bakeware Round Cake Pans, 9 inch (Set of 2)
Ingredients
For the Cake:
- 2 ½ cups all-purpose flour
- 1 ½ cups granulated sugar
- 1 teaspoon baking powder
- 1 teaspoon baking soda
- 1 teaspoon cocoa powder
- 1 teaspoon salt
- 1 ½ cups vegetable oil
- 1 cup buttermilk, at room temperature
- 2 large eggs, at room temperature
- 2 tablespoons red food coloring
- 1 teaspoon white vinegar
- 1 teaspoon vanilla extract
For the Cream Cheese Frosting:
- 8 oz (1 package) cream cheese, softened
- ½ cup (1 stick) unsalted butter, softened
- 4 cups powdered sugar
- 1 teaspoon vanilla extract
Instructions
For the Cake:
- Preheat your oven to 350°F (175°C). Grease and flour two 9-inch round cake pans.
- In a medium-sized mixing bowl, sift together the flour, cocoa powder, baking powder, baking soda, and salt. Set aside.
- In a large mixing bowl, combine the sugar and vegetable oil, and mix until well combined.
- Add the eggs one at a time, mixing well after each addition.
- Stir in the buttermilk, red food coloring, white vinegar, and vanilla extract until the mixture is smooth.
- Gradually add the dry ingredients to the wet ingredients, mixing until the batter is smooth and well combined.
- Divide the batter evenly between the prepared cake pans.
- Bake in the preheated oven for 25-30 minutes or until a toothpick inserted into the center of the cakes comes out clean.
- Allow the cakes to cool in the pans for about 10 minutes, then remove them from the pans and let them cool completely on a wire rack.
For the Cream Cheese Frosting:
- In a mixing bowl, beat the softened cream cheese and butter until smooth and creamy.
- Add the powdered sugar and vanilla extract, and beat until well combined and the frosting is smooth.
Assembling the Cake:
- Once the cakes are completely cooled, place one layer on a serving plate or cake stand.
- Spread a layer of cream cheese frosting on top of the first cake layer.
- Place the second cake layer on top and frost the top and sides of the entire cake with the remaining cream cheese frosting.
- Optionally, decorate the cake with crumbled red velvet cake crumbs, fresh berries, or chocolate shavings.
- Slice and enjoy your homemade Red Velvet Cake!
Nutrition
Serving: 1g
Calories: 367kcal
Carbohydrates: 58g
Protein: 13g
Fat: 25g
Saturated Fat: 9g
Polyunsaturated Fat: 21g
Trans Fat: 1g
Cholesterol: 40mg
Sodium: 410mg
Fiber: 1g
Sugar: 93g
Nutrition information is automatically calculated, so should only be used as an approximation.
Additional Info
Tried this recipe?
Mention @sweetcsdesigns or tag #sweetcsdesigns!
Click here to view the web story for this recipe!