

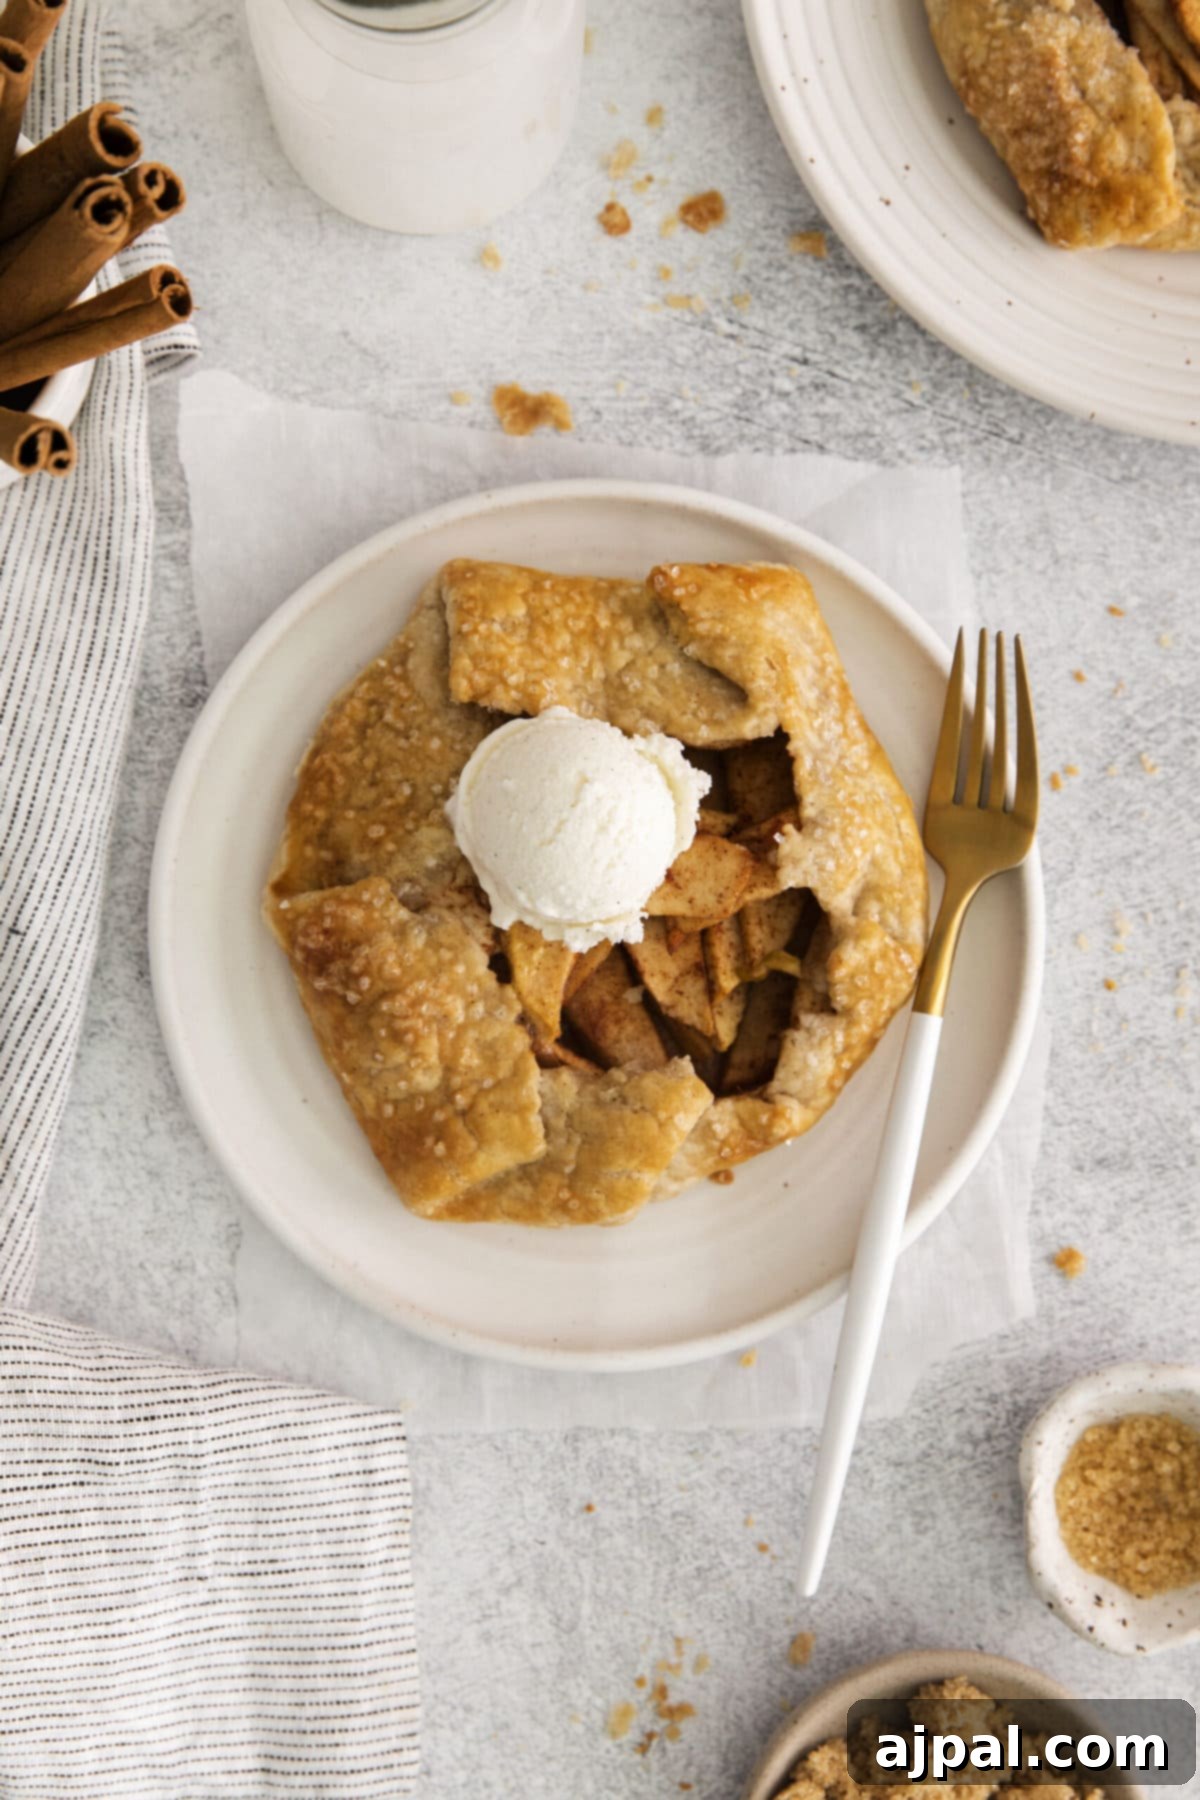
Welcome to the delightful world of Apple Galettes! These charming, rustic freeform tarts may sound sophisticated, but they are, without a doubt, one of the simplest and most satisfying pie-like desserts you’ll ever master. Imagine a golden, crispy homemade pie crust cradling a warm, spiced, and perfectly tart apple filling, sweetened just right with brown sugar. This fall, make sure to add this incredible apple galette recipe to your baking repertoire. It’s an effortlessly elegant treat that promises to impress with minimal fuss.
Discover the Charm of Easy Mouthwatering Apple Galettes
Whether you’re aiming to impress dinner guests with a seemingly complex dessert, eager to learn a new simple fall treat, or simply looking for a delicious way to utilize an abundance of fresh, U-pick apples, you’ve landed on the perfect page. Apple galettes are the answer to all these desires. This recipe offers a delightful blend of simplicity and gourmet appeal, making it a favorite for any occasion.
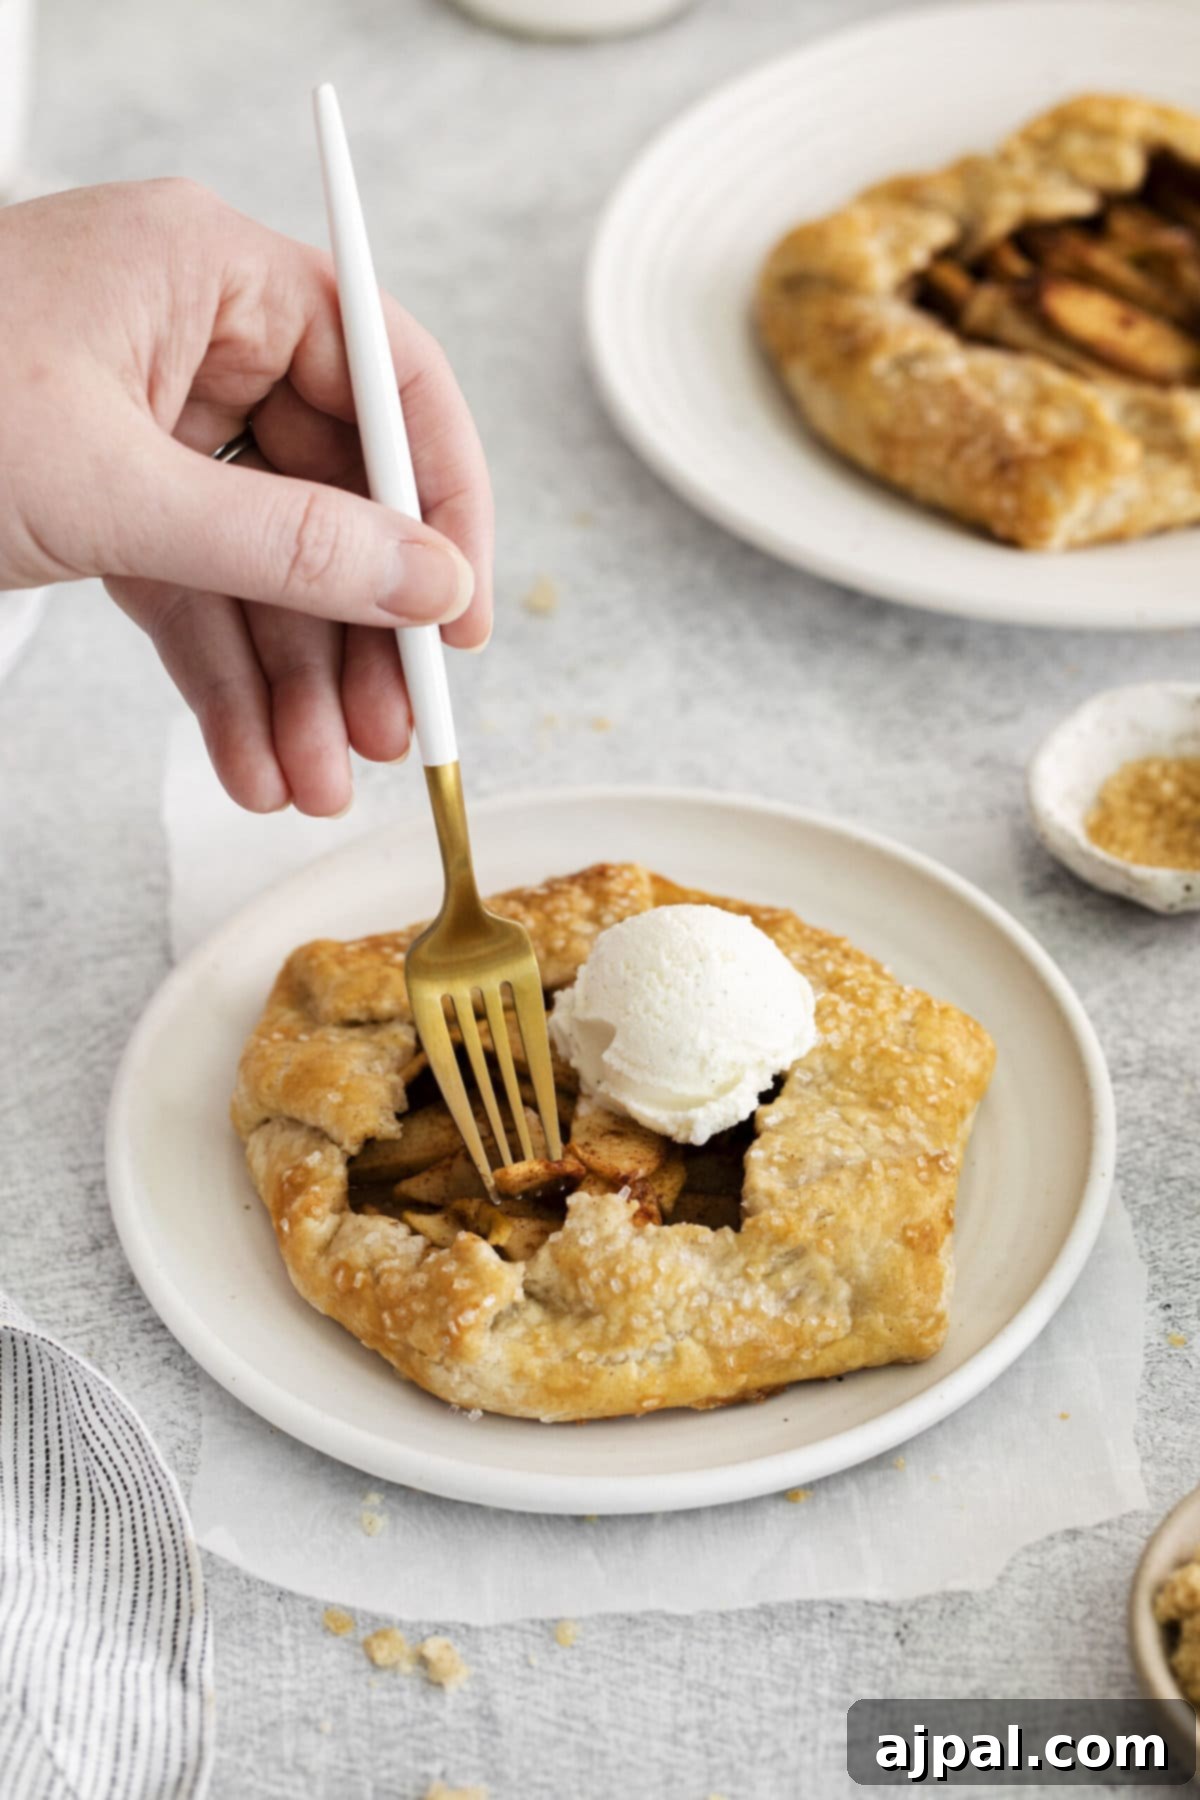
Prepare yourself for an exquisite culinary experience featuring tender, tart apple slices infused with sweet brown sugar and fragrant cinnamon, all encased within a crisp, golden-brown, and incredibly buttery crust. The beauty of a galette lies in its rustic, freeform nature – no need for perfectly crimped edges or intricate lattice work, making it incredibly approachable for bakers of all skill levels. While utterly delicious on its own, for an extra touch of indulgence, allow these galettes to cool slightly before serving and top them with a dollop of fresh whipped cream or a generous scoop of creamy vanilla bean ice cream. The contrast of the warm, spiced apples and the cool, creamy topping is simply divine.
Crafting Your Own Apple Galettes: A Simple Guide
Creating these sensational apple galettes is a surprisingly straightforward process that yields incredibly rewarding results. Let’s delve into the essential ingredients and the method that brings this rustic dessert to life.
Key Ingredients for a Perfectly Rustic Dessert
To embark on this delicious baking journey, you’ll need two main sets of ingredients: those for the foundational, flaky pie crust and those for the aromatic, succulent apple filling.
For the Irresistibly Flaky Pie Crust:
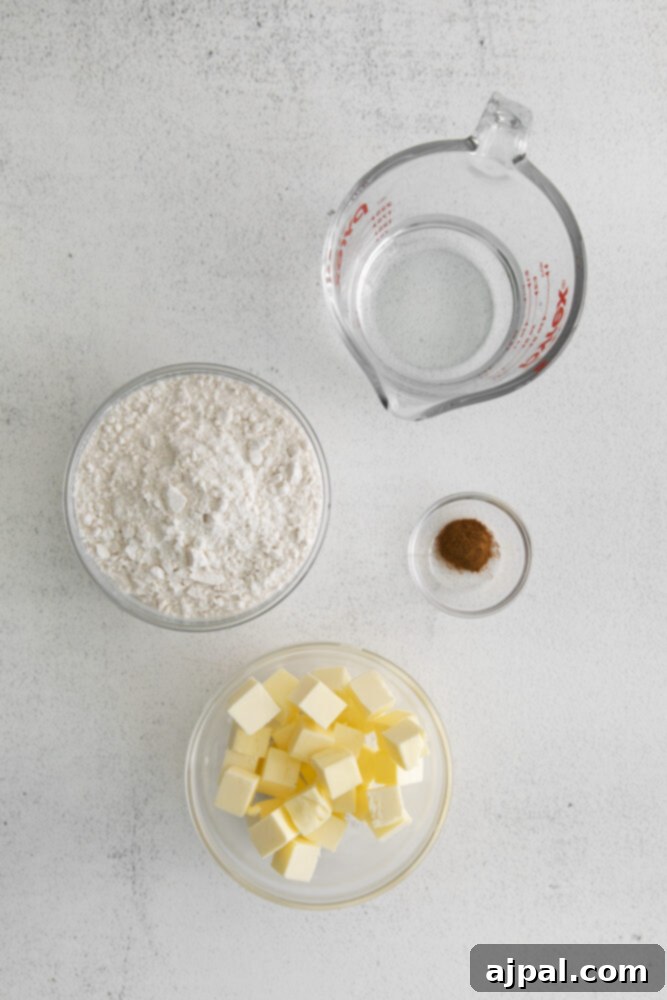
- All-Purpose Flour: This forms the essential structure of your pie crust, contributing to its desired crisp and flaky texture. All-purpose flour’s medium protein content is ideal for achieving this balance, ensuring a crust that holds its shape while remaining tender.
- Ground Cinnamon: A touch of cinnamon within the crust itself beautifully complements the apple filling. It introduces a subtle, warm, woodsy, and slightly spicy note that balances the overall sweetness of the galette, enhancing the aromatic profile from the very first bite.
- Cold Salted Butter: The secret to a rich, flavorful, and incredibly flaky pie crust lies in very cold salted butter. As the butter melts in the hot oven, it releases steam, creating delicate layers within the dough. Using salted butter also adds depth of flavor, eliminating the need for additional salt. Remember, keeping the butter cold is paramount!
- Ice Cold Water: Just like butter, the water used to bring the dough together must be ice cold. This prevents the butter from melting prematurely, which would result in a tough, less flaky crust. Add only enough water to barely bring the dough together, avoiding overhydration.
- Egg Wash and Coarse Sugar: An optional but highly recommended step. Brushing the assembled galette crust with an egg wash (egg beaten with a splash of water) before baking gives it a stunning golden-brown hue and a lovely shiny finish. A sprinkle of coarse sugar adds an extra layer of texture and a delicate sweet crunch to the crust.
For the Sweet & Spicy Apple Layer:
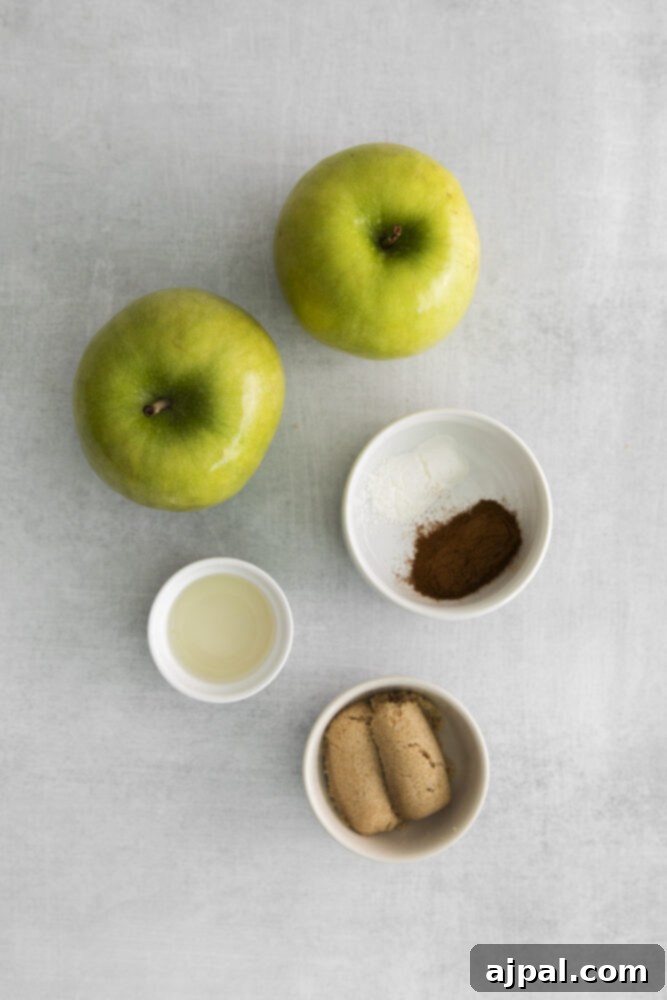
- Apples: While many apple varieties can be used, we highly recommend Granny Smith apples. Their firm, dense texture ensures they retain some bite and don’t turn mushy during baking. Moreover, their natural tartness perfectly balances the sweetness of the brown sugar, resulting in a well-rounded flavor profile. For variety, consider mixing Granny Smiths with sweeter, firm apples like Honeycrisp, Braeburn, or Fuji.
- Light Brown Sugar: This provides a gentle, caramel-like sweetness to the filling. We opt for light brown sugar over dark brown sugar to achieve a balanced sweetness without an overpowering molasses flavor, allowing the natural apple and cinnamon flavors to shine.
- Ground Cinnamon: Cinnamon and apples are a classic pairing for a reason! Incorporating cinnamon into the apple layer ensures that spicy, aromatic warmth permeates every bite of the filling, tying all the flavors together beautifully.
- Fresh Lemon Juice: This crucial ingredient serves multiple purposes. It adds a bright, fresh acidity that cuts through the sweetness, enhancing the overall flavor of the apples. It also acts as an anti-oxidant, preventing the sliced apples from browning before they go into the oven.
- Cornstarch: Apples release moisture as they bake. Cornstarch is a fantastic thickener that absorbs this excess liquid, ensuring your apple filling is perfectly set and pie-like, rather than watery, which could lead to a soggy crust.
- Apricot Jam and Water: This mixture, thinned with a little water, creates a quick and easy glaze for the exposed apple filling. It provides a beautiful, glossy finish once baked and adds a subtle, fruity apricot sweetness that complements the apples without overwhelming them. For substitutions, see our FAQs below.
Step-by-Step Instructions to Homemade Apple Galettes:
Once you’ve gathered all your ingredients, follow these detailed steps to create your perfect apple galettes:
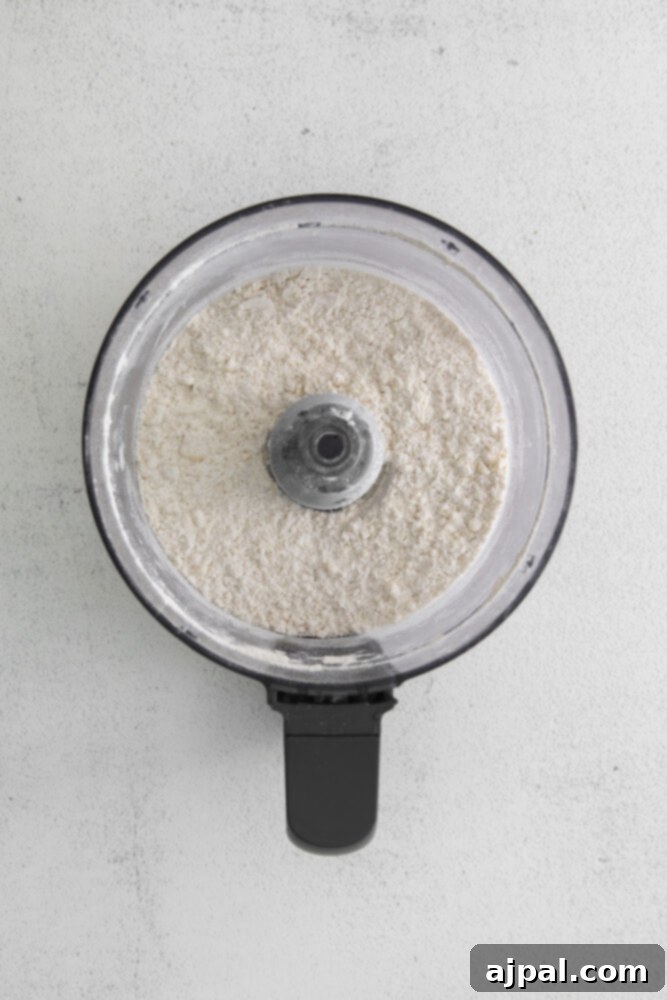
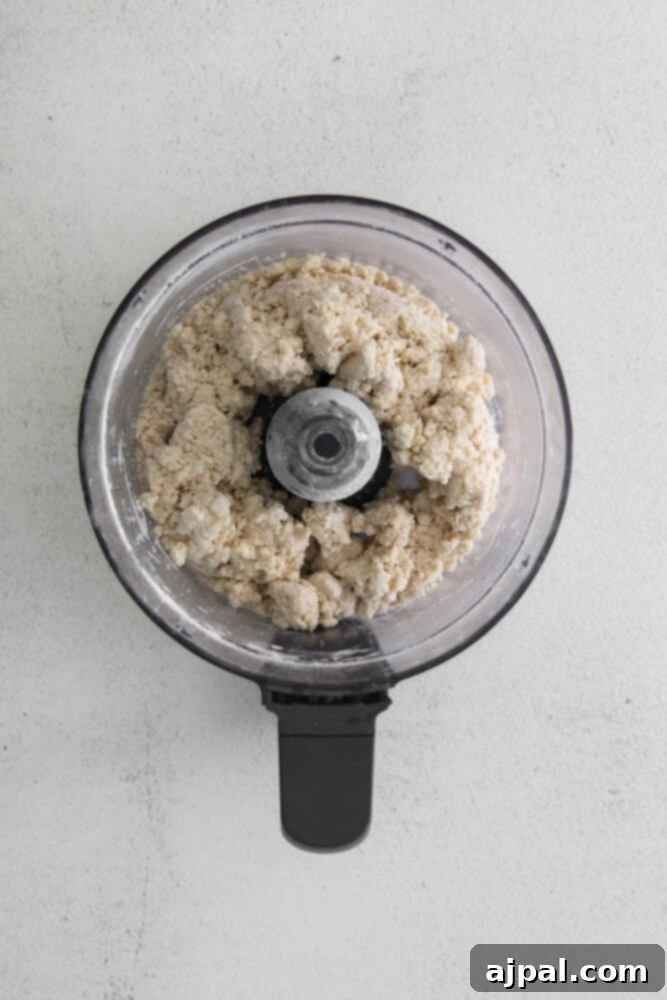
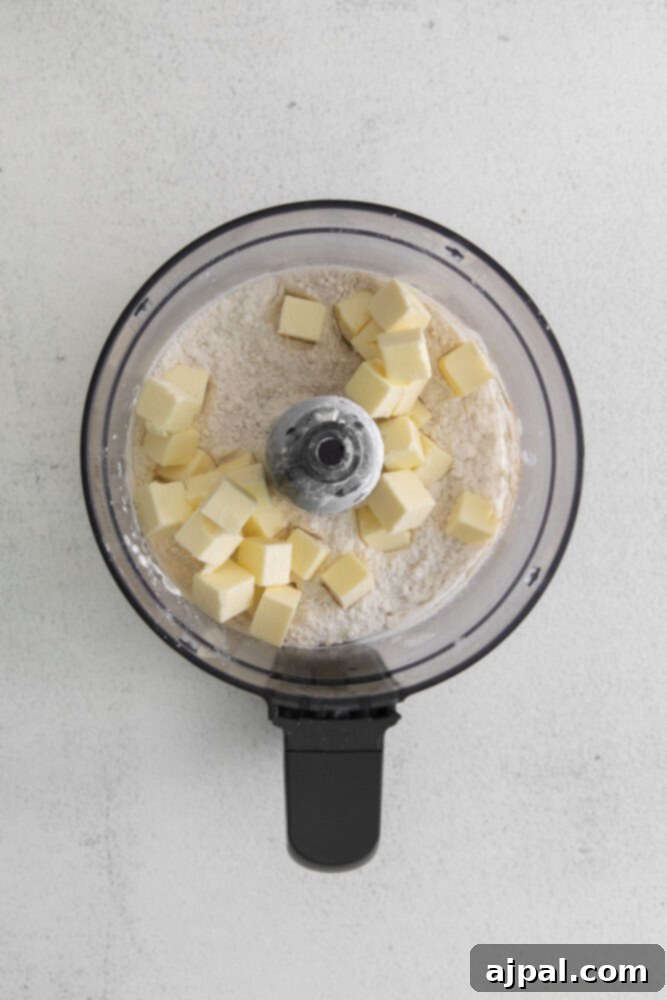
- Step 1: Prepare the Pie Crust Base. In the bowl of a food processor, combine the all-purpose flour and cinnamon, pulsing a few times to ensure they are well mixed. Add the very cold, cubed butter and pulse intermittently until the mixture resembles coarse meal with pea-sized pieces of butter throughout. With the food processor running on a low speed, gradually add the ice-cold water, a tablespoon at a time. Continue pulsing just until the mixture begins to come together and is incorporated, but don’t let it form a solid ball. The dough should still look crumbly.
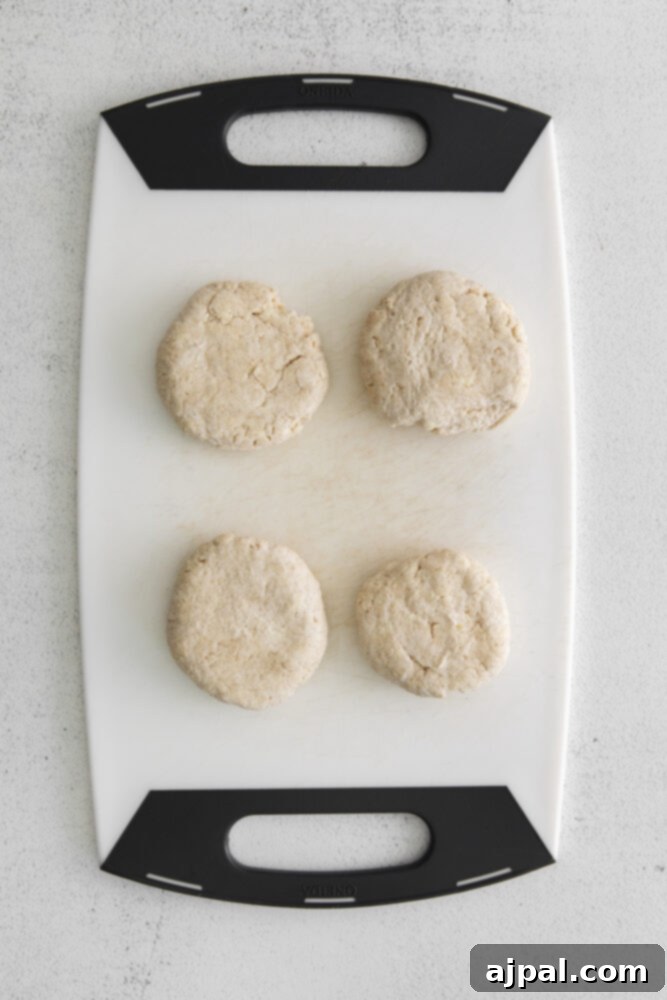
- Step 2: Form and Chill the Dough. Gently turn the crumbly dough mixture out onto a lightly floured surface. Use your hands to carefully press and push the dough together, forming it into a cohesive ball. Avoid overworking the dough to maintain its flakiness. Divide the dough into four equal pieces. Shape each piece into a flat disc, then wrap each disc tightly in plastic wrap. Place all four dough discs into the refrigerator to chill for at least 30 minutes. This chilling period allows the butter to solidify again, which is crucial for a flaky crust, and gives the gluten in the flour time to relax.
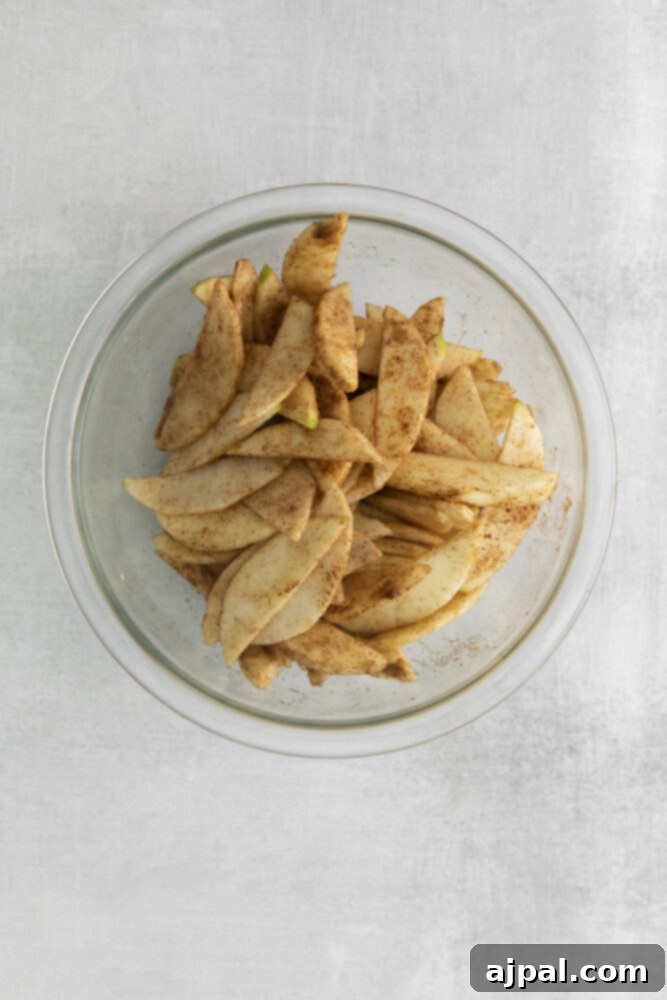
- Step 3: Craft the Flavorful Apple Filling. While the dough is chilling, prepare your apple filling. In a large mixing bowl, combine the peeled, thinly sliced apples with the light brown sugar, ground cinnamon, fresh lemon juice, and cornstarch. Toss everything together gently until the apples are evenly coated. The lemon juice will prevent the apples from browning while adding a bright note, and the cornstarch will ensure a perfectly thickened filling.
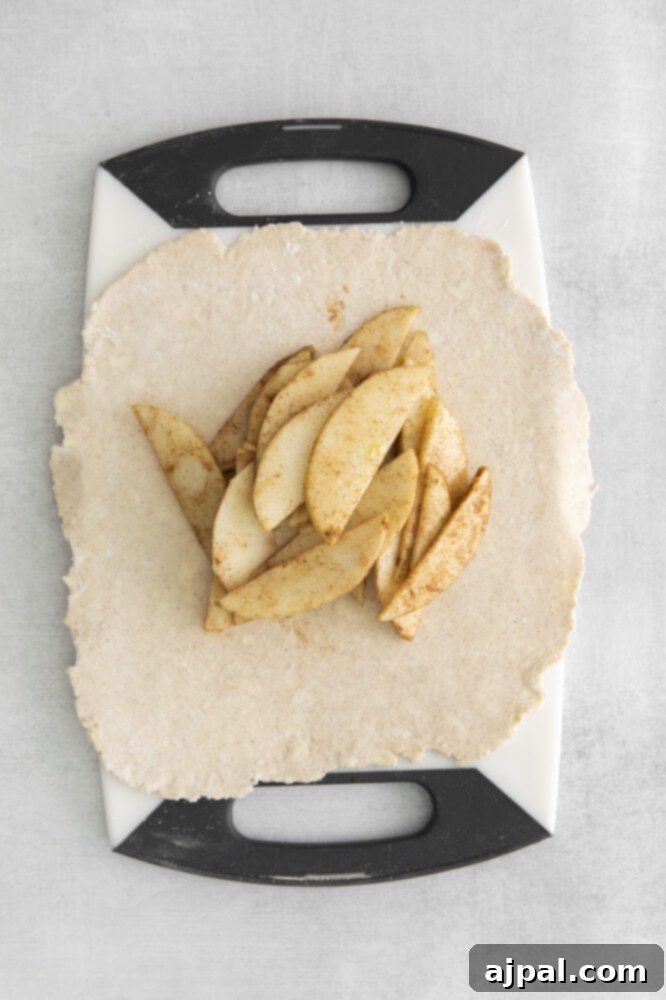
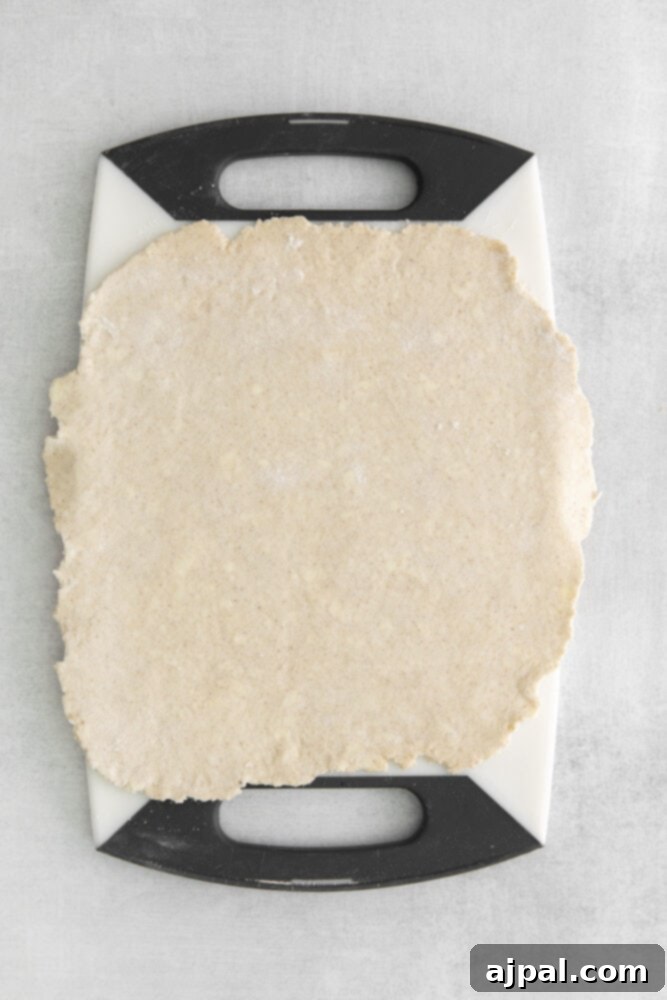
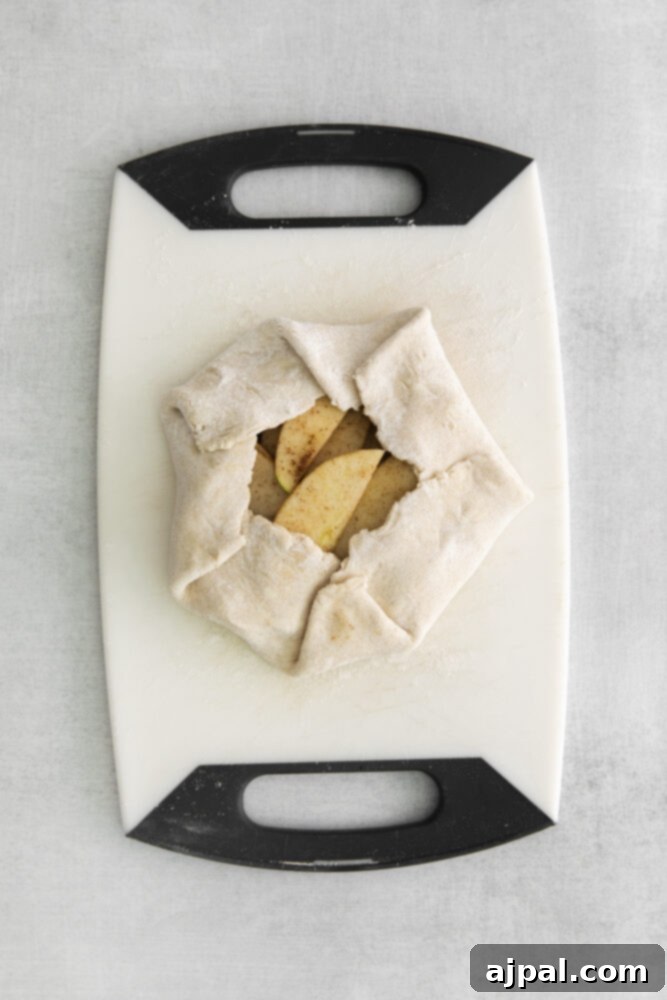
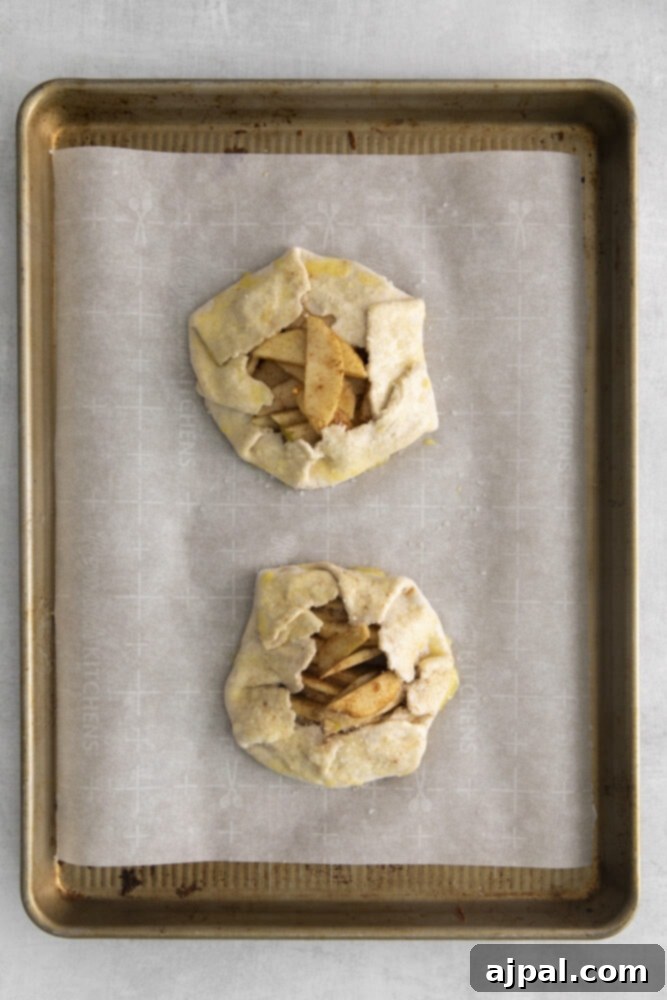
- Step 4: Assemble Your Rustic Galettes. Preheat your oven to 350°F (175°C) and line a large baking sheet with parchment paper. This prevents sticking and makes cleanup a breeze. Remove one chilled dough disc from the refrigerator. On a lightly floured surface, roll it out into a rough circle, approximately ¼ inch thick and about 8 inches in diameter. Repeat with the remaining dough discs. Divide the prepared apple filling evenly among the four rolled-out crusts, mounding the apples in the center of each, and leaving about a 1-inch border of dough around the edge. Gently fold the exposed pastry edge up and over the apples, creating a rustic border. Pinch the seams together lightly to help the crust hold its shape. Don’t worry if it’s not perfect – the charm of a galette is in its imperfection!
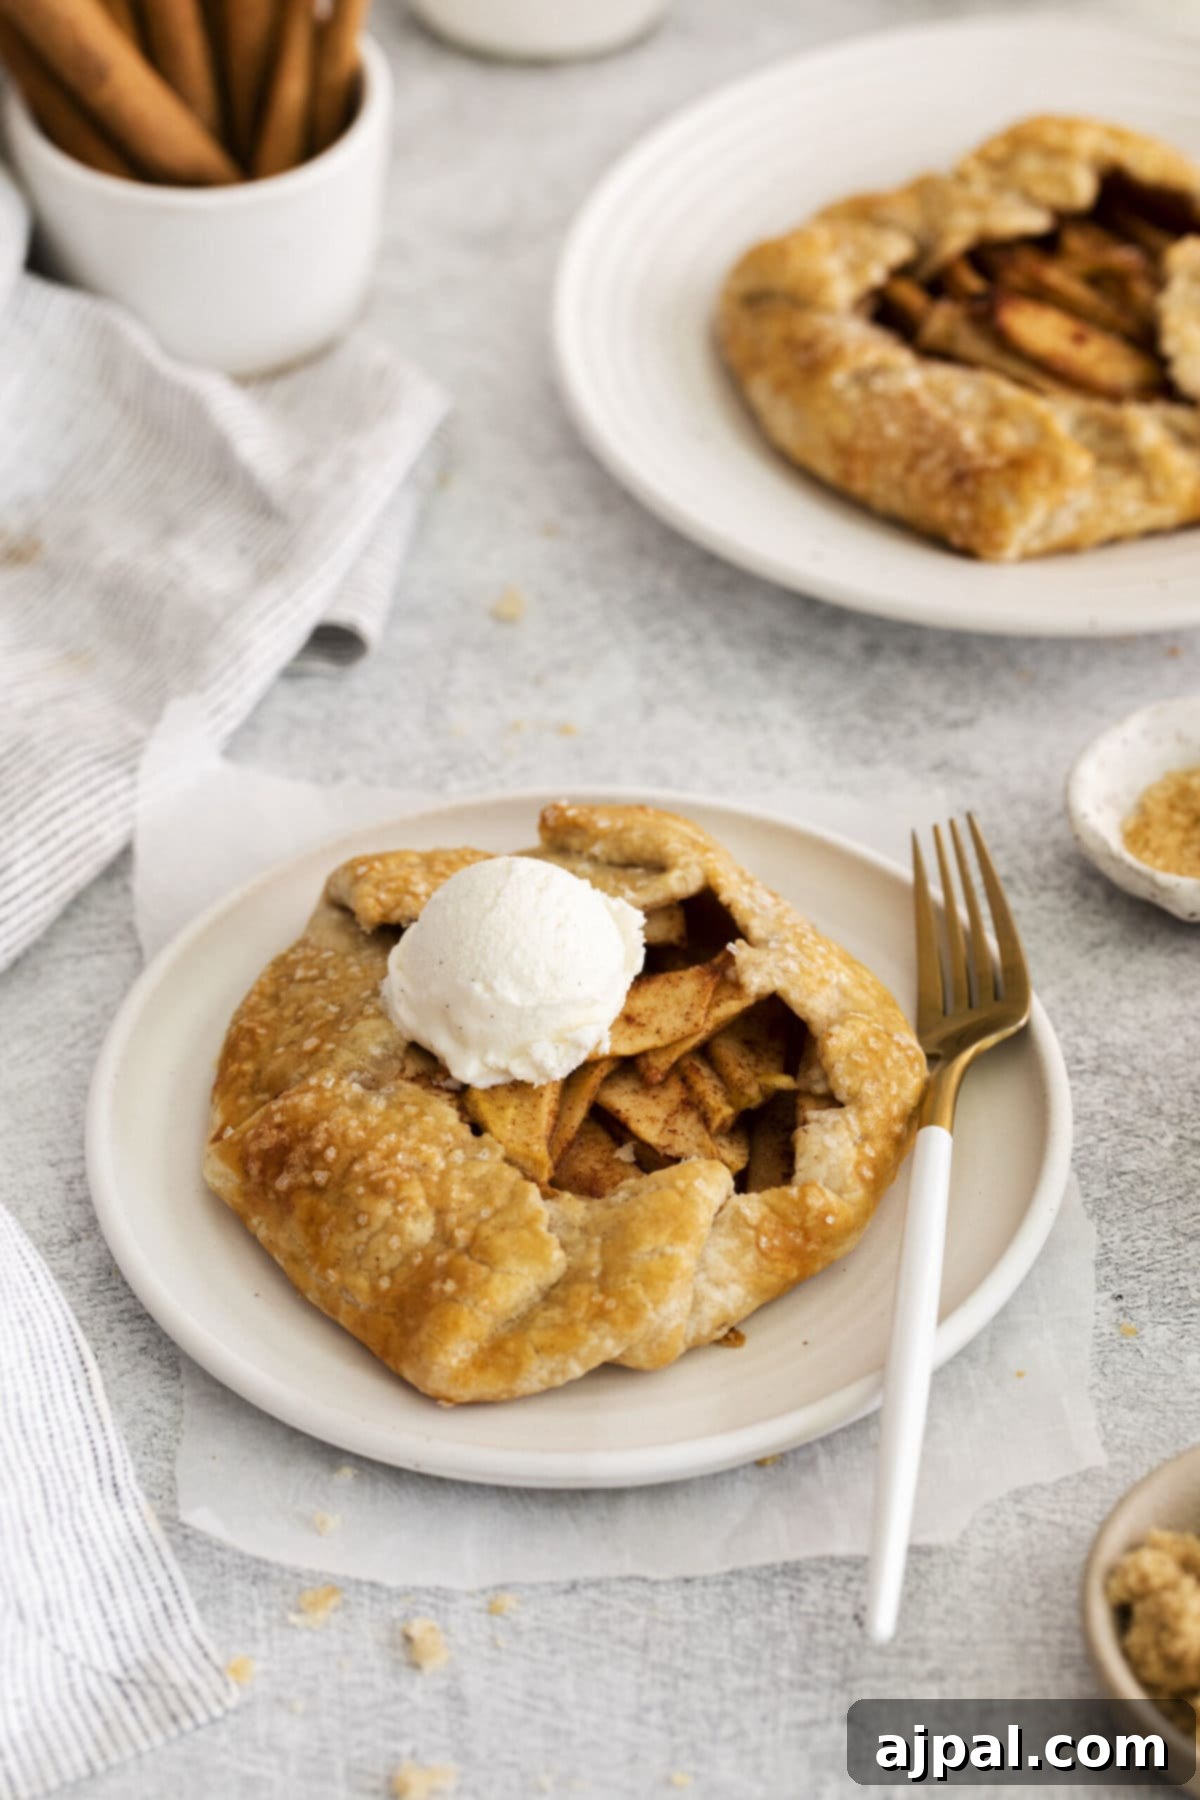
- Step 5: Prepare for Baking & Bake to Perfection. If desired, for a beautiful golden color and a touch of sweetness, brush the folded crusts with the optional egg wash and sprinkle with coarse sugar. For a gorgeous glossy finish on the exposed apples, warm the apricot jam with a tablespoon or two of water in a small microwave-safe bowl for about 30 seconds, then whisk to combine. Using a pastry brush, gently spread this thinned jam over the apple filling. Carefully transfer the assembled galettes to your prepared baking sheet. Bake for about 30-35 minutes, or until the crust is deeply golden brown and crispy, and the apple filling is bubbling and tender.
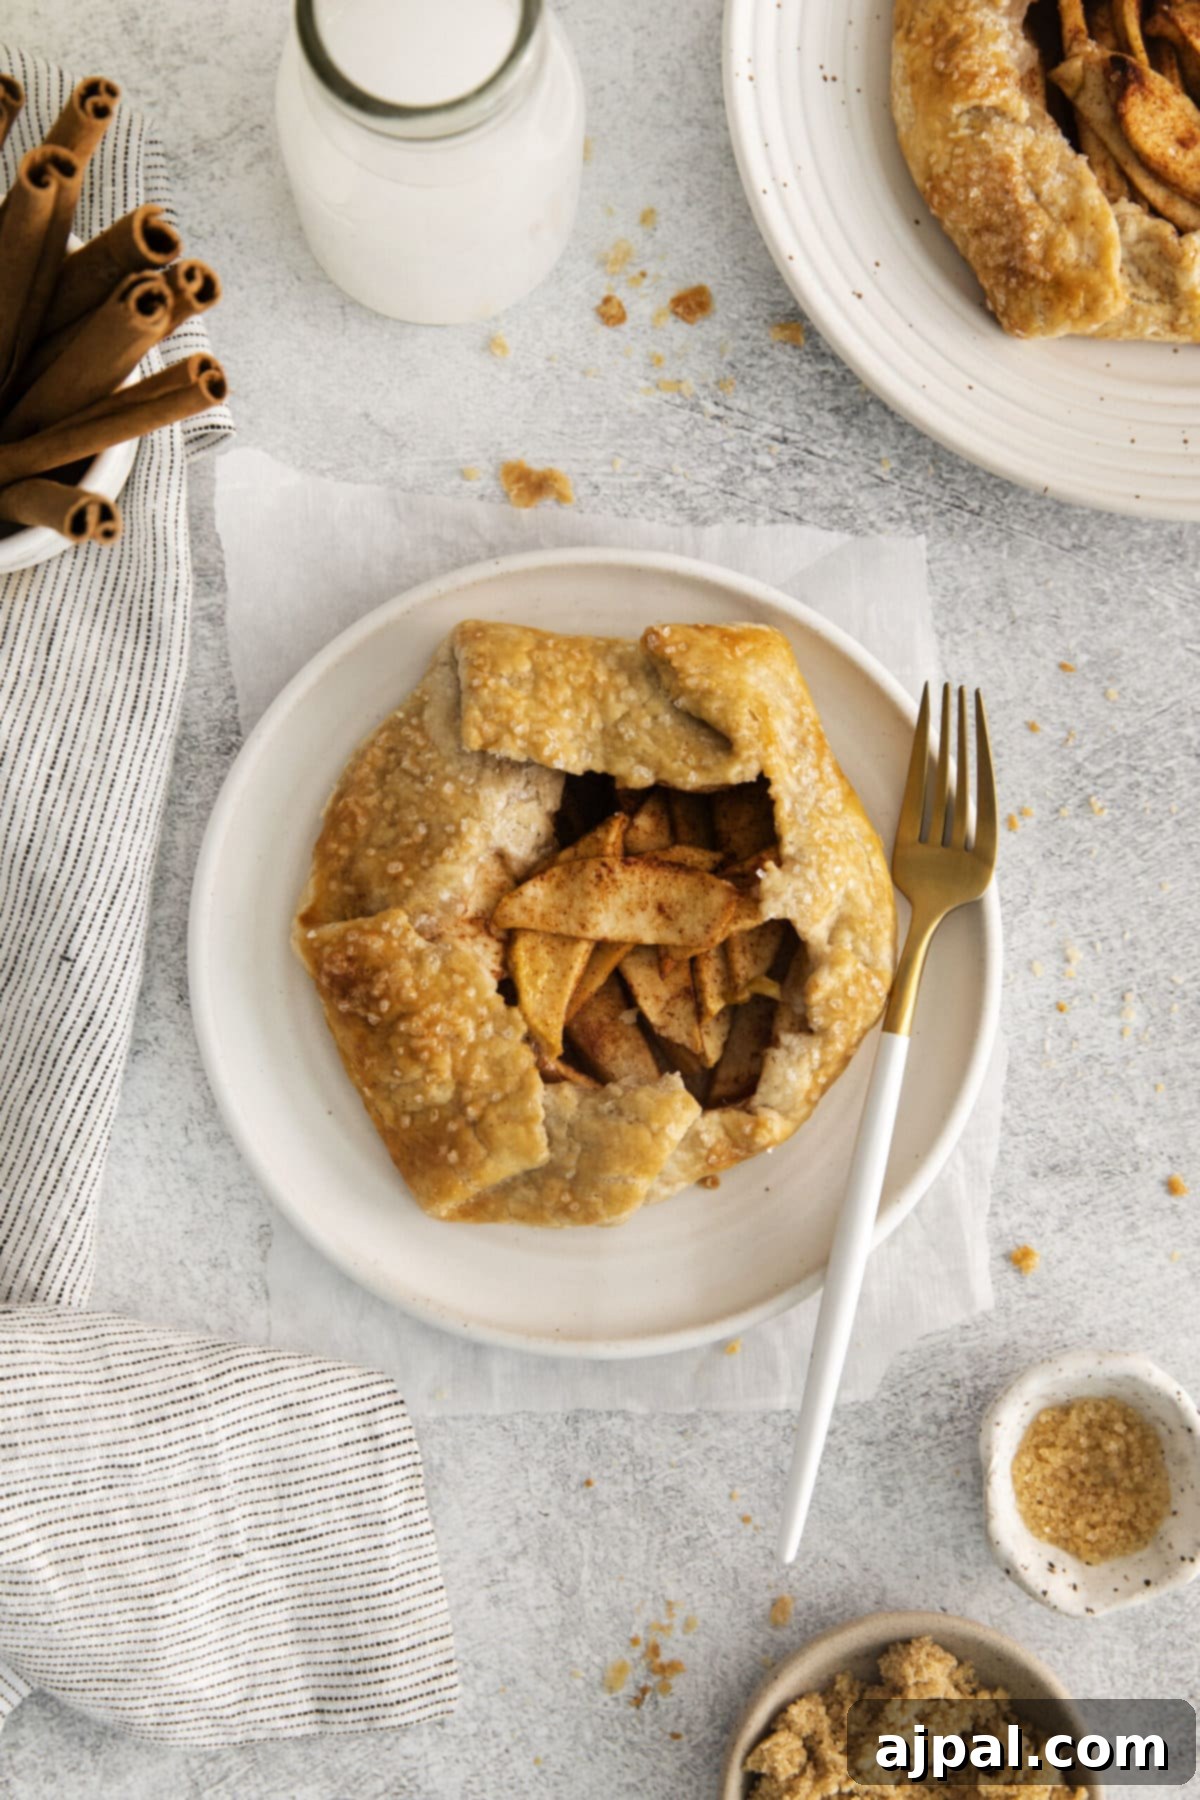
- Step 6: Cool and Enjoy! Once baked, remove the galettes from the oven and let them cool completely on the baking sheet on a wire rack. This is a crucial step that allows the apple filling to set properly, preventing it from being too runny when sliced. Enjoy your freshly baked galettes warm or at room temperature, either plain or elevated with a scoop of vanilla ice cream, a dollop of whipped cream, or a drizzle of caramel sauce.
Pro Tips and Tricks To Perfect Apple Galettes Every Time:
Achieving a truly exceptional apple galette is simpler than you think with these expert tips and tricks designed to make your baking experience both easy and enjoyable.
Tip 1 – Select the Right Apples: Embrace Granny Smith! While you certainly can use various apple types for your filling, Granny Smith apples consistently prove to be the best option for baking. Their naturally dense and firm texture allows them to retain some structural integrity even after baking, preventing a mushy filling. Furthermore, their signature tart flavor provides a delightful contrast to the sweet brown sugar and cinnamon, ensuring your galette filling is balanced and never overly sweet. If you prefer a less tart profile, consider blending Granny Smiths with a sweeter, firm apple like Honeycrisp or Fuji.
Tip 2 – The Golden Rule: Keep Your Dough Cold! This is perhaps the most critical tip for achieving a wonderfully flaky and crispy pie dough base. The secret lies in preventing the butter from melting until the galettes hit the intense heat of the oven. Cold butter creates pockets of steam as it bakes, which results in those coveted flaky layers. To achieve this, work the dough as little as possible to avoid warming it with your hands. If at any point the dough becomes too warm or soft, or if you’ve assembled your galettes before you’re ready to bake them, simply pop them into the freezer for 10-15 minutes or the refrigerator for 30 minutes. A cold dough ensures the butter remains solid, guaranteeing a crisp, delicate crust.
Tip 3 – Don’t Overwork the Dough: Overworking pie dough develops the gluten too much, leading to a tough, chewy crust instead of a tender, flaky one. Pulse the ingredients in the food processor just until combined, and gently bring the dough together with your hands, avoiding excessive kneading.
Tip 4 – Slice Apples Thinly and Uniformly: For even cooking and a pleasant texture, ensure your apple slices are roughly the same thickness. Thin slices (about ⅛ to ¼ inch) will soften perfectly without leaving raw, crunchy bits in your baked galette.
Tip 5 – Don’t Overfill: While tempting to pile on the apples, overfilling your galette can lead to a soggy crust and a difficult assembly. Stick to the recommended amount of filling, ensuring there’s enough room to fold the edges gracefully.
Tip 6 – Parchment Paper is Your Friend: Always bake galettes on a baking sheet lined with parchment paper. This prevents the dough from sticking, makes cleanup effortless, and helps the crust brown evenly on the bottom.
Frequently Asked Questions About Apple Galettes:
Here are answers to some common questions to help you perfect your apple galette baking experience:
Q: I don’t like apricots, can I use a different type of jam for the glaze?
A: Absolutely! The apricot jam is completely optional and can easily be substituted. You can use any flavor of jam for the glaze that you prefer, just keep in mind that the flavor will marry beautifully with the apples. Excellent choices that pair well with apples include peach jam, apple jelly, blackberry jam, or even a simple maple syrup glaze. Choose a flavor you love, or one that complements the apple and cinnamon notes.
Q: What’s the best way to store leftovers?
A: To maintain freshness and quality, store any leftover apple galettes in an airtight container in the refrigerator for up to 24 hours. Be aware that the crust may lose some of its crispness as it sits in the fridge due to moisture from the filling. To re-crisp, you can gently warm individual slices in a toaster oven or a preheated oven (around 300°F/150°C) for a few minutes until the crust is warm and slightly crisp again.
Q: Can I make the apple galettes ahead of time?
A: Yes, you can prepare components in advance! The pie dough can be made up to 2-3 days ahead and stored tightly wrapped in plastic in the refrigerator. You can also slice the apples and toss them with the lemon juice (to prevent browning), and then store them covered in the fridge for up to a day. Assemble the galettes just before baking for the best results.
Q: What are other good apple varieties for apple galettes?
A: Besides Granny Smith, excellent choices include Honeycrisp (sweet, crisp), Braeburn (tart-sweet, firm), Fuji (sweet, crisp), Gala (mild, firm), or a mix of several varieties for a complex flavor profile. The key is to choose firm apples that hold their shape during baking.
Q: Can I make savory galettes with this crust?
A: Absolutely! This versatile pie crust recipe is perfect for savory galettes. Omit the cinnamon in the crust and use it as a base for fillings like roasted vegetables, cheeses, caramelized onions, or even meats. Savory galettes make a fantastic appetizer or a light main course.
Delicious Pairings: What to Serve with Your Apple Galettes
Apple galettes are a truly versatile dessert, delicious on their own, but even better when paired with complementary drinks or toppings. Elevate your apple galette experience with these delightful suggestions:
Cozy Beverages:
These warm, spiced apple tarts are the perfect companion to comforting fall and winter beverages. We love serving apple galettes with warm mulled cider or traditional French Vin Chaud (mulled wine) for a truly autumnal experience. They are also a delicious and cozy dessert to serve alongside rich homemade hot cocoa, creamy eggnog, or a fun hot chocolate bomb creation!
Irresistible Toppings:
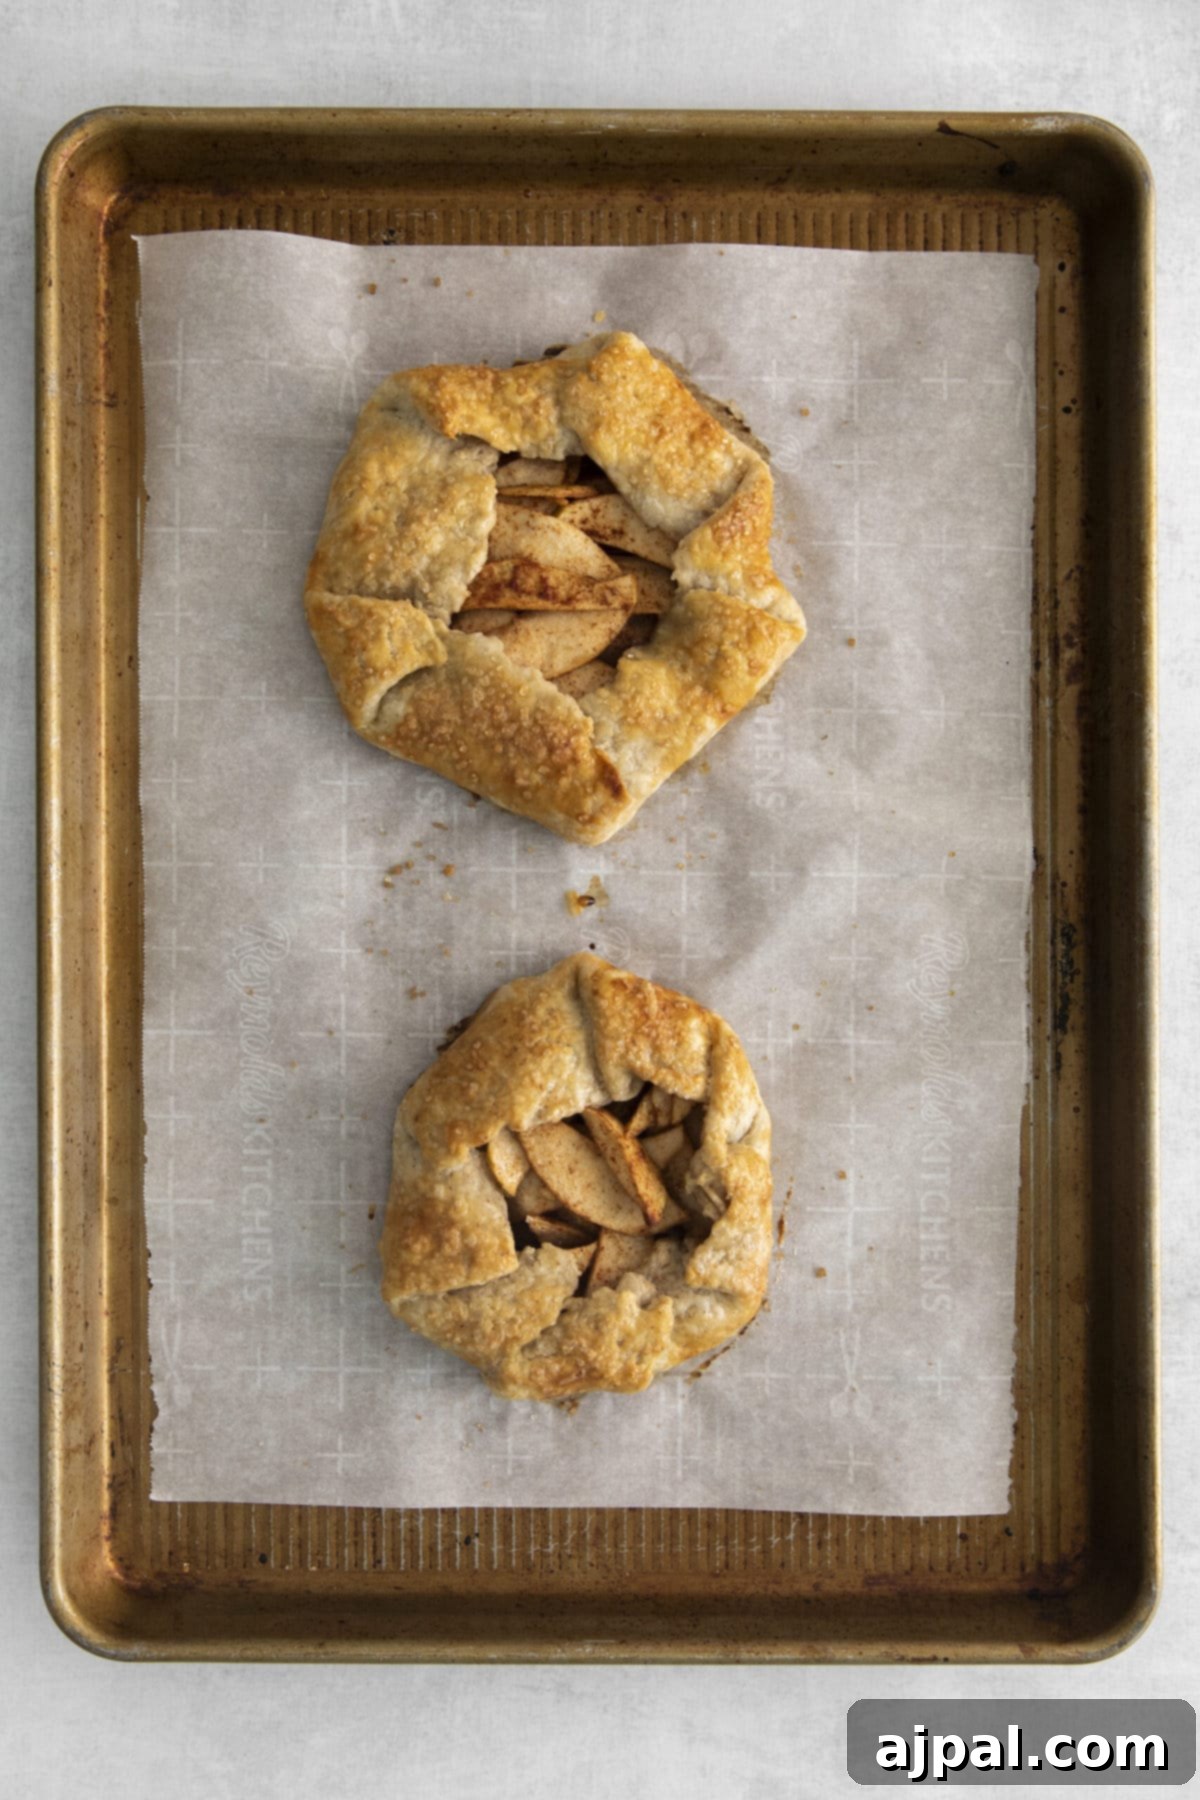
- Vanilla Bean Ice Cream: The classic pairing! The cool, creamy vanilla provides a beautiful contrast to the warm, spiced apples.
- Fresh Whipped Cream: A light and airy topping that adds richness without being too heavy.
- Caramel Sauce: A decadent drizzle of homemade or store-bought caramel sauce takes your apple galette to the next level of indulgence.
- Chopped Nuts: Toasted pecans, walnuts, or almonds sprinkled over the top add a lovely textural crunch.
- Cinnamon Streusel: A crumbly streusel topping, added before baking, can enhance the texture and spice profile.
- Dusting of Powdered Sugar: A simple, elegant finish that adds a touch of sweetness and visual appeal.
For more inspiration, explore some of our recent favorite recipes that pair wonderfully with your apple galettes:
Simple Eggnog Recipe
The Best Homemade Slow Cooker Hot Chocolate
White Chocolate Lucky Charms Hot Chocolate Bombs
Saint Patricks Day Hot Chocolate Bombs Recipe
Mint Hot Chocolate Bombs Recipe
Peanut Butter Hot Cocoa Bombs Recipe
Raspberry Hot Chocolate Bombs
Apple Galettes Recipe
If you love this easy recipe, please take a moment to give it a five-star rating by clicking the stars below and leave a comment! Your feedback is invaluable. Please also help me share this deliciousness on Instagram, Facebook, and Pinterest! Don’t forget to tag @sweetcsdesigns on social media – I absolutely love seeing your culinary creations!
Share on Facebook
Share
Pin this now to find it later
Pin It
Follow on Instagram
Follow

Only have 30 minutes to get dinner on the table? Sign up for my 30-minute dinner plans direct to your inbox!
Find and shop my favorite products in my Amazon storefront here!
Want to save this recipe?
Just enter your email and get it sent to your inbox! Plus you’ll get new recipes from us every week.
Rated 5 stars by 2 users
Apple Galettes
Servings: 4
Prep: 25 mins
Cook: 20 mins
Chilling Time: 30 mins
Total: 30 mins
Email Recipe
Print Recipe

Delicious rustic freeform apple tarts baked with lemon, sugar, and cinnamon!
Ingredients
- For the Pie Crust
- 1 ¼ cups all-purpose flour
- ¼ teaspoon ground cinnamon
- 1 stick (½ cup) cold salted butter, cut into cubes
- ½ cup cold water
- Optional: 1 egg beaten with a splash of water + 1 tablespoon coarse sugar
- For the Apple Layer
- 2 large apples, peeled and thinly sliced (Granny Smith recommended)
- 2 tablespoons light brown sugar
- 1 teaspoon ground cinnamon
- 1 teaspoon fresh lemon juice
- 1 teaspoon cornstarch
- Optional: ¼ cup apricot jam + 2 tablespoons water
Instructions
- For the Pie Crust: Add the flour and cinnamon to the bowl of a food processor and pulse to combine.
- Next, add the butter and pulse just until it is broken up into the size of small peas.
- With the food processor on low speed, slowly add the cold water. Pulse just until all of the water is incorporated – the dough will not form a ball but that’s okay!
- Turn the dough out onto a lightly floured surface and use your hands to bring it together into a ball.
- Divide the dough into 4 equal pieces and shape each piece into a disc. Wrap each disc tightly with plastic wrap and place them in the fridge to chill for 30 minutes. While the dough chills, prepare the apple layer.
- For the Apple Layer: Add the apples, brown sugar, cinnamon, lemon juice, and cornstarch to a large bowl and toss to combine.
- Assembly: When the pie dough has chilled and the apple layer is ready, preheat the oven to 350°F (175°C) and line a large baking sheet with parchment paper.
- Roll out each dough disc on a lightly floured surface until it forms a ¼” thick circle – it should be about 8” in diameter.
- Divide the apple mixture between the four galettes, making sure to pile the apples in the center of the crust, leaving at least 1” of space around the edge.
- Fold the edges of the pie crust over the apples and pinch the seams together so the crust stays in place. The pie crust will not cover the apples completely – that’s okay!
- (Optional) To make the crust extra golden brown and crisp, brush it with an egg wash and sprinkle it with coarse sugar.
- Bake the galettes for 30-35 minutes or until the crust is golden brown and crisp.
- (Optional) Place the apricot jam and water in a small bowl and microwave for 30 seconds. Whisk to combine. Use a pastry brush to brush the jam on the apples to create a beautiful shine.
- Enjoy these galettes warm or at room temperature with fresh whipped cream or vanilla ice cream.
Nutrition
Calories: 549kcal
Carbohydrates: 96g
Protein: 9g
Fat: 16g
Saturated Fat: 6g
Polyunsaturated Fat: 8g
Cholesterol: 54mg
Sodium: 234mg
Fiber: 7g
Sugar: 35g
Nutrition information is automatically calculated, so should only be used as an approximation.
Additional Info
Cuisine: French
Tried this recipe?
Mention @sweetcsdesigns or tag #sweetcsdesigns!