
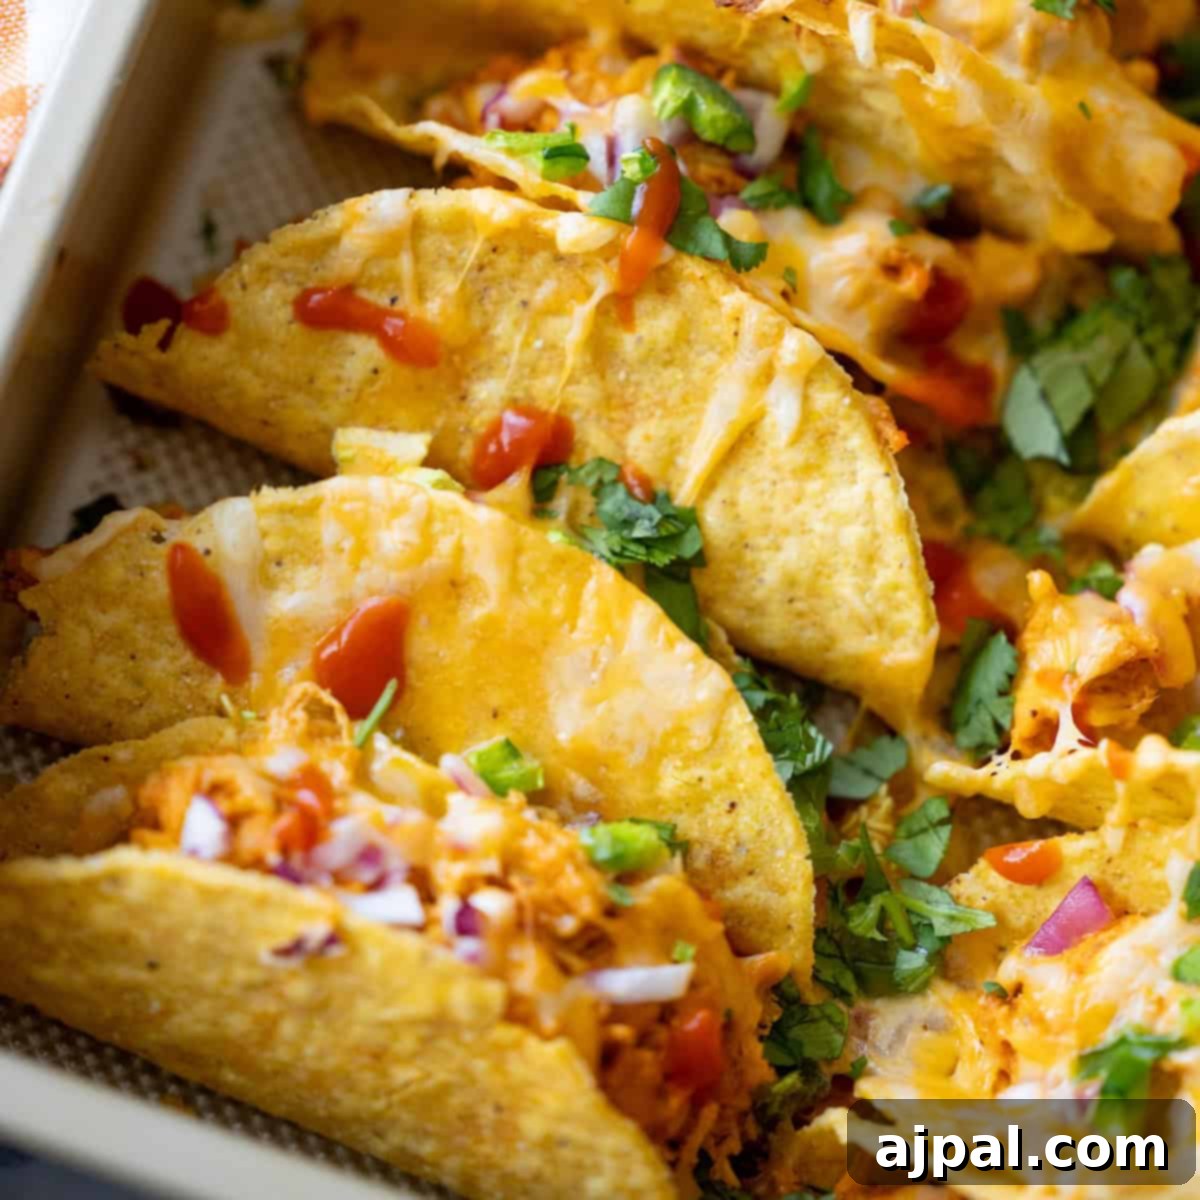
When it comes to quick, satisfying, and utterly delicious weeknight meals, few dishes hit the spot quite like tacos. And if you’re anything like me, you often have a stash of pre-cooked shredded chicken or a batch of savory chicken tinga ready to go. That’s precisely why these **Cheesy Baked Chicken Tacos** have become an absolute staple in our home. They’re the perfect answer to those busy evenings when you crave something warm, cheesy, and packed with flavor, effortlessly transforming simple ingredients into a meal everyone will rave about.
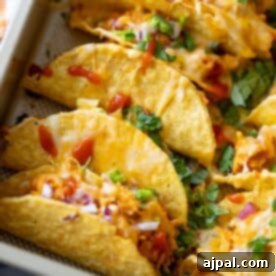
Imagine tender, seasoned shredded chicken, infused with a creamy blend of sour cream and optional cream cheese, all nestled inside a perfectly crisp taco shell. Then, a generous layer of melted, bubbly cheese creates an irresistible topping, complemented by the fresh bite of diced onion. These tacos aren’t just a meal; they’re a comforting experience, offering a delightful twist on classic “gringo-style” tacos that’s sure to earn a permanent spot in your family’s rotation.
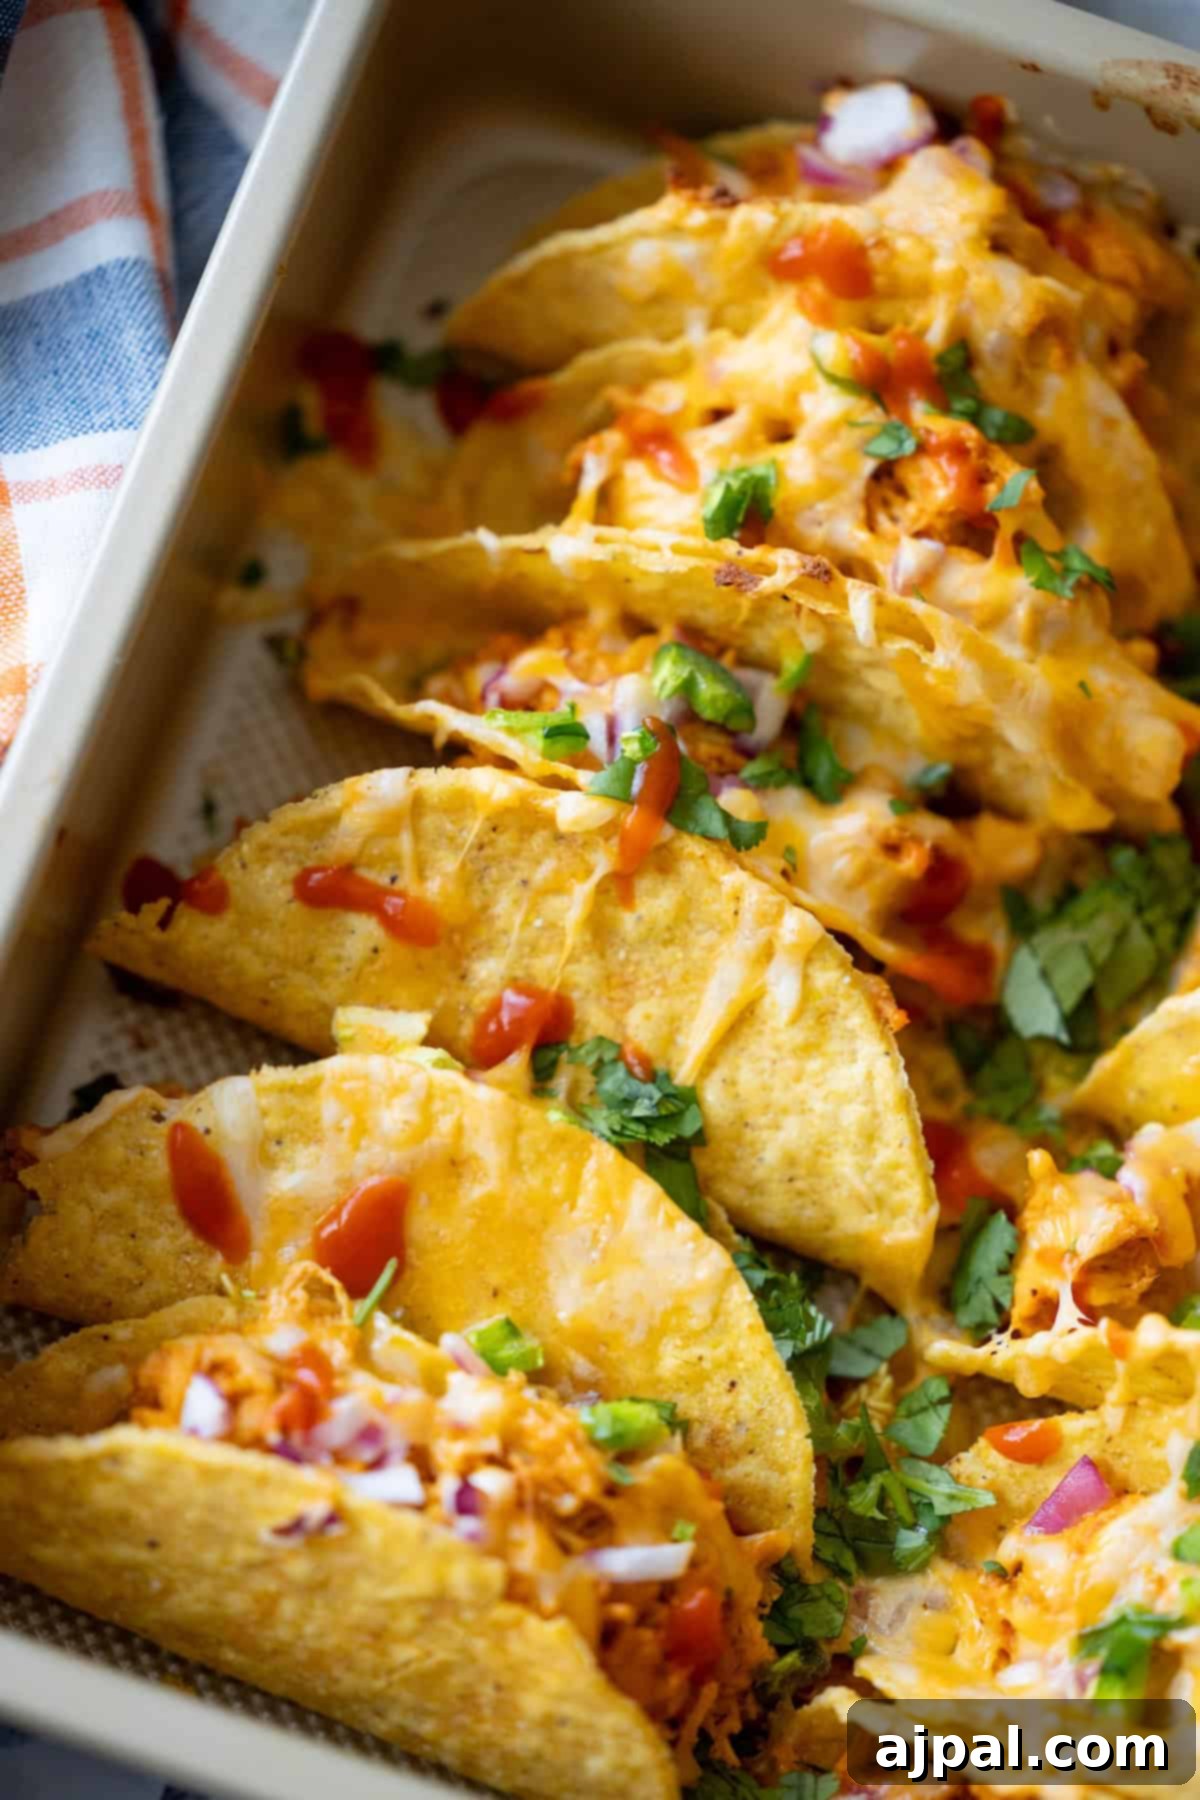
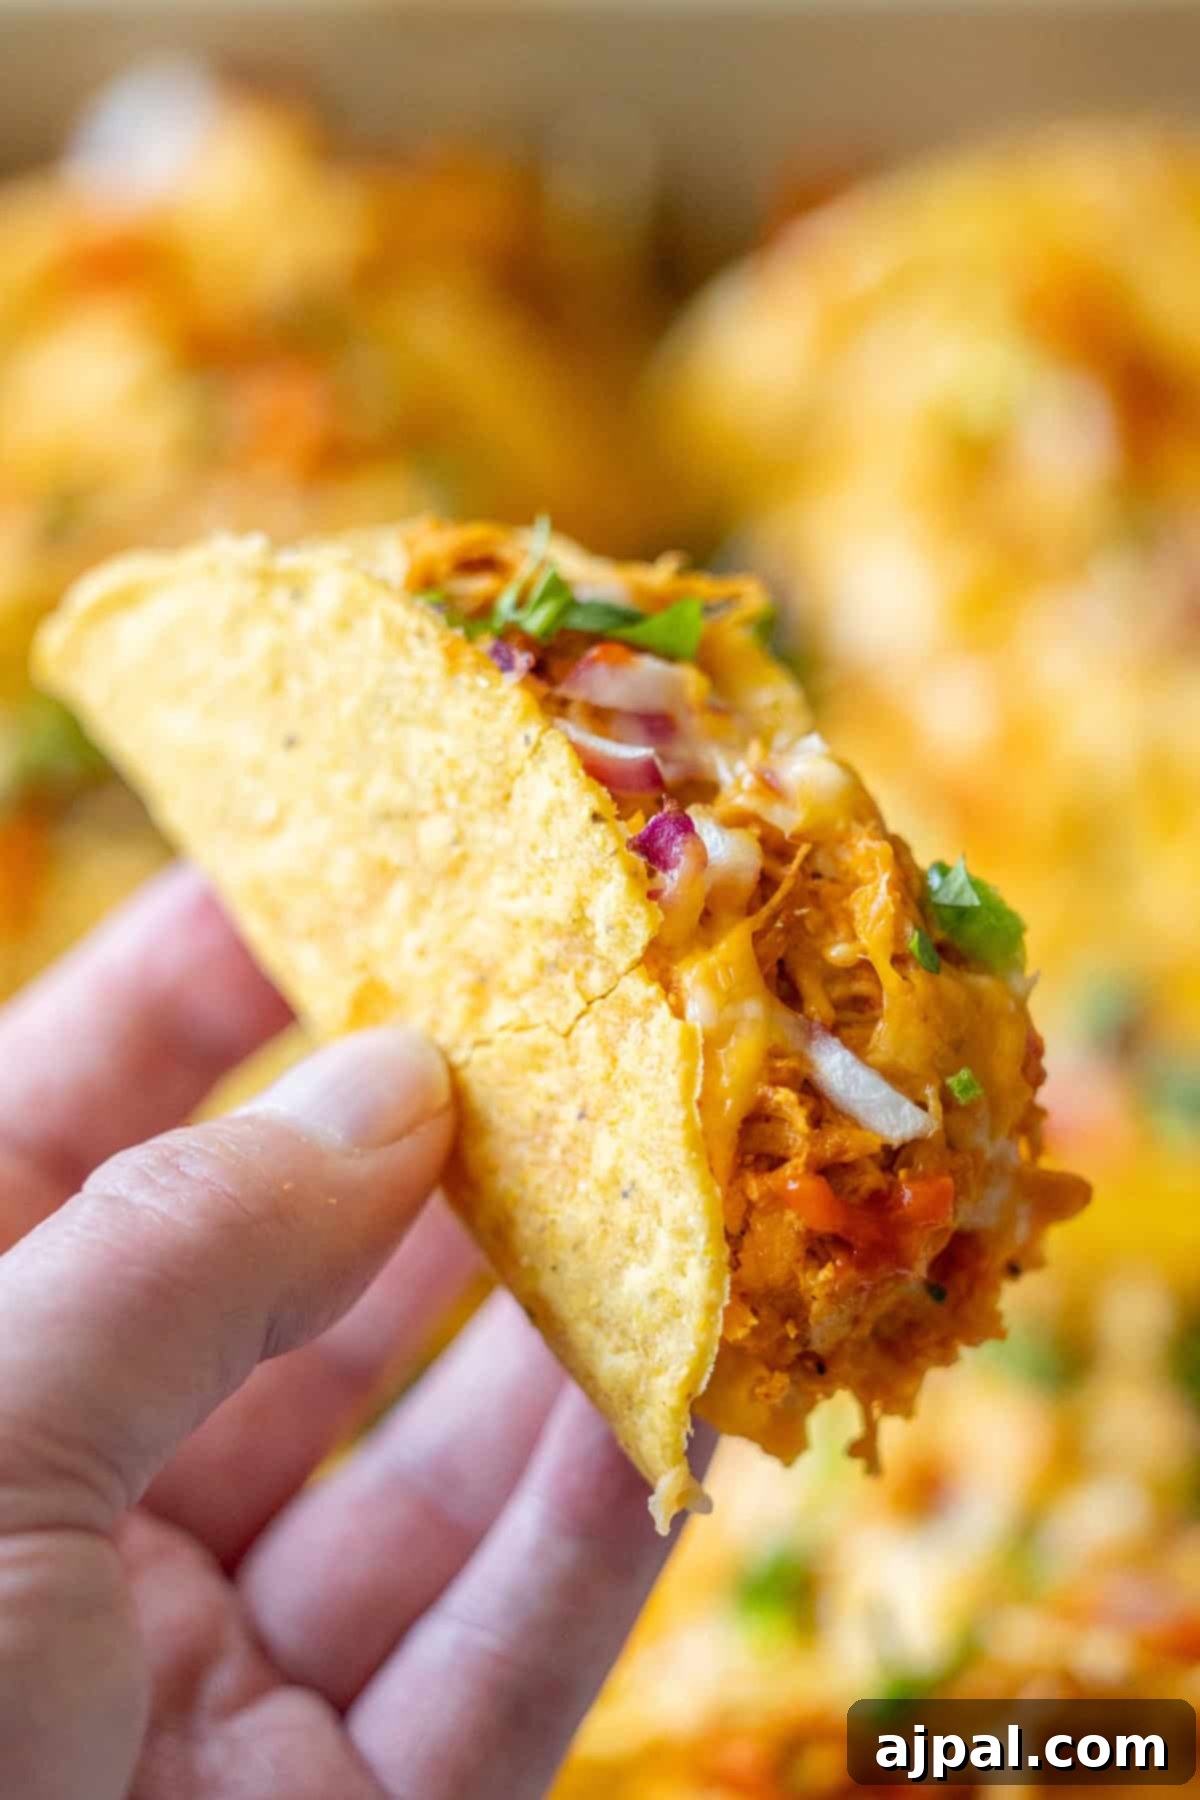
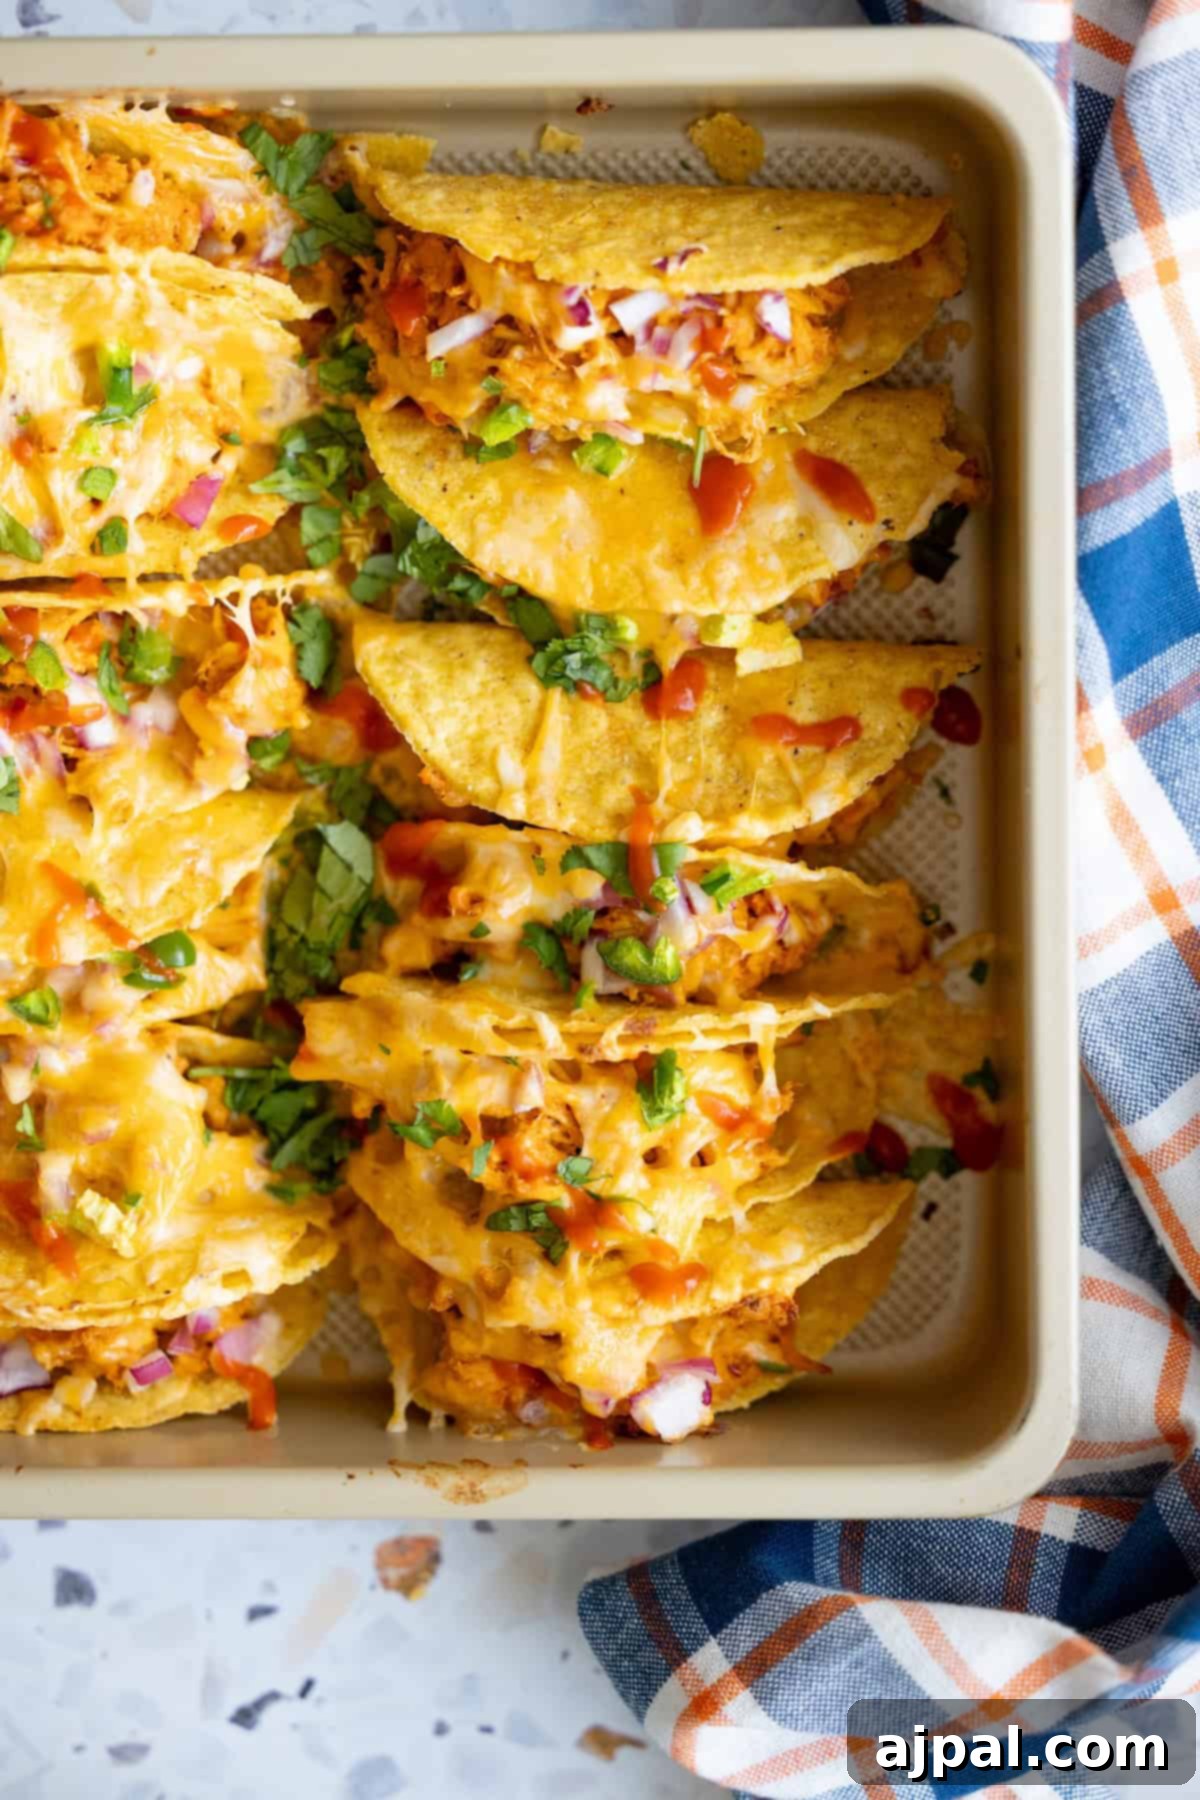
Are you ready to dive into the world of ridiculously easy and utterly delicious baked chicken tacos? This guide is designed to make cooking enjoyable and straightforward for everyone, from seasoned chefs to absolute beginners in the kitchen. We believe that understanding *why* certain steps work and what each ingredient contributes to the final flavor makes all the difference. My goal is to empower every home cook to create incredible meals with confidence. To help you navigate this recipe effortlessly, you’ll find a clear table of contents below, ensuring you can quickly jump to exactly what you need.
Table of Contents
- Why You’ll Love These Baked Chicken Tacos
- How to Make Baked Chicken Tacos
- Essential Ingredients for Cheesy Baked Chicken Tacos
- Step-by-Step Method for Perfect Baked Chicken Tacos
- Pro Tips and Tricks to Perfect Baked Chicken Tacos
- Delicious Serving Suggestions for Your Taco Night
- Variations and Customizations for Baked Chicken Tacos
- Frequently Asked Questions (FAQs)
- Cheesy Baked Chicken Tacos Recipe Card
Why You’ll Love These Baked Chicken Tacos
These Cheesy Baked Chicken Tacos aren’t just another dinner recipe; they’re a revelation for busy weeknights and a crowd-pleaser for casual gatherings. What makes them so special? It’s the perfect combination of convenience, flavor, and texture. Starting with pre-cooked shredded chicken means minimal prep time, allowing you to get dinner on the table faster than ordering takeout. The creamy, savory filling, combined with the satisfying crunch of a baked hard shell, creates a textural symphony that’s simply irresistible. Plus, the melted cheese isn’t just a topping; it’s a luscious blanket that holds everything together and adds a layer of rich, comforting flavor. They’re incredibly customizable, appealing to even the pickiest eaters, and they make excellent use of leftover chicken, reducing food waste and maximizing deliciousness. Get ready for a new family favorite!
How to Make Baked Chicken Tacos
Creating these delightful baked chicken tacos is incredibly straightforward, making them accessible for cooks of all skill levels. The magic lies in leveraging pre-shredded chicken, whether it’s from a store-bought rotisserie chicken, homemade boiled chicken, or a batch of flavorful chicken tinga. This clever shortcut drastically cuts down on cooking time, allowing you to whip up a delicious meal in under 30 minutes. We’ll simply combine the seasoned chicken with creamy components, a hint of onion, and plenty of cheese, then bake them to golden, melty perfection. It’s a process designed for speed and maximum flavor, ensuring every bite is a winner.
Essential Ingredients for Cheesy Baked Chicken Tacos
Each ingredient in this recipe plays a crucial role in building the irresistible flavor and texture of our baked chicken tacos. Here’s a closer look at what you’ll need and why it matters:
- Mini Crunchy Taco Shells: These provide the essential crispy base, a delightful contrast to the soft, creamy filling. Their smaller size makes them perfect for appetizers, kid-friendly portions, or just enjoying more tacos! You can find them pre-made or easily create your own from mini corn or flour tortillas.
- Shredded Chicken Tinga (or plain shredded chicken): This is the heart of your taco. Chicken tinga brings a smoky, spicy depth with its chipotle, tomato, and onion base. If using plain shredded chicken (like from a rotisserie chicken or boiled chicken), you can easily season it with taco seasoning or a bit of salsa to boost its flavor profile. This pre-cooked component is your biggest time-saver.
- Diced Red Onion: Offering a crisp texture and a pungent, slightly sweet kick, diced red onion cuts through the richness of the cheese and cream. It adds a vibrant color and a fresh, zesty counterpoint to the savory chicken.
- Sour Cream: The secret to a luxuriously creamy filling! Sour cream adds a tangy coolness that beautifully balances any spice from the chicken tinga and provides a smooth, cohesive texture to the mixture. It also ensures the filling remains moist and flavorful during baking.
- Shredded Cheese (Mexican blend, cheddar, or Monterey Jack): A generous amount of cheese is non-negotiable for these “cheesy” tacos. It melts into a gooey, savory layer, binding the ingredients together and creating that classic comfort food appeal. A Mexican blend offers a good variety, while cheddar provides sharpness and Monterey Jack gives extra creaminess.
- Ro-Tel (drained, optional): For those who love an extra layer of flavor and a touch of heat, Ro-Tel diced tomatoes with green chiles are a fantastic addition. Drained well, they add moisture, a subtle tang, and a kick without making the filling soggy.
- Cream Cheese (softened, optional): If you desire an even richer, ultra-creamy filling, softened cream cheese is your go-to. It creates a decadent texture and a mild, tangy flavor that pairs wonderfully with the chicken and other ingredients, especially when baked until bubbly.
Step-by-Step Method for Perfect Baked Chicken Tacos
Once you’ve gathered all your delicious ingredients, let’s assemble these irresistible baked chicken tacos. The process is designed to be quick and efficient, ensuring you get to enjoy your meal in no time!
1. Preheat the Oven (Optional Baking Method):
If you plan to warm or bake your assembled tacos, preheat your oven to 375°F (190°C). Baking enhances the crispiness of the shells and melts the cheese to perfection. If you prefer a cold filling, you can skip this step.
2. Prepare the Flavorful Filling:
In a large mixing bowl, combine the **shredded chicken tinga** (or your seasoned shredded chicken) with the **sour cream**. For an extra creamy and rich filling, now is the time to add the softened **cream cheese**, mixing until thoroughly combined and smooth. This creates the foundational texture and flavor for your tacos.
Next, gently fold in the **diced red onion**. If you’re using **Ro-Tel** for a spicy, tangy boost, ensure it’s well-drained before stirring it into the chicken mixture. Finally, add about **half of the shredded cheese** to the filling. Mix everything until the cheese is evenly distributed throughout the creamy chicken, ready to be spooned into your shells.
3. Assemble the Tacos with Care:
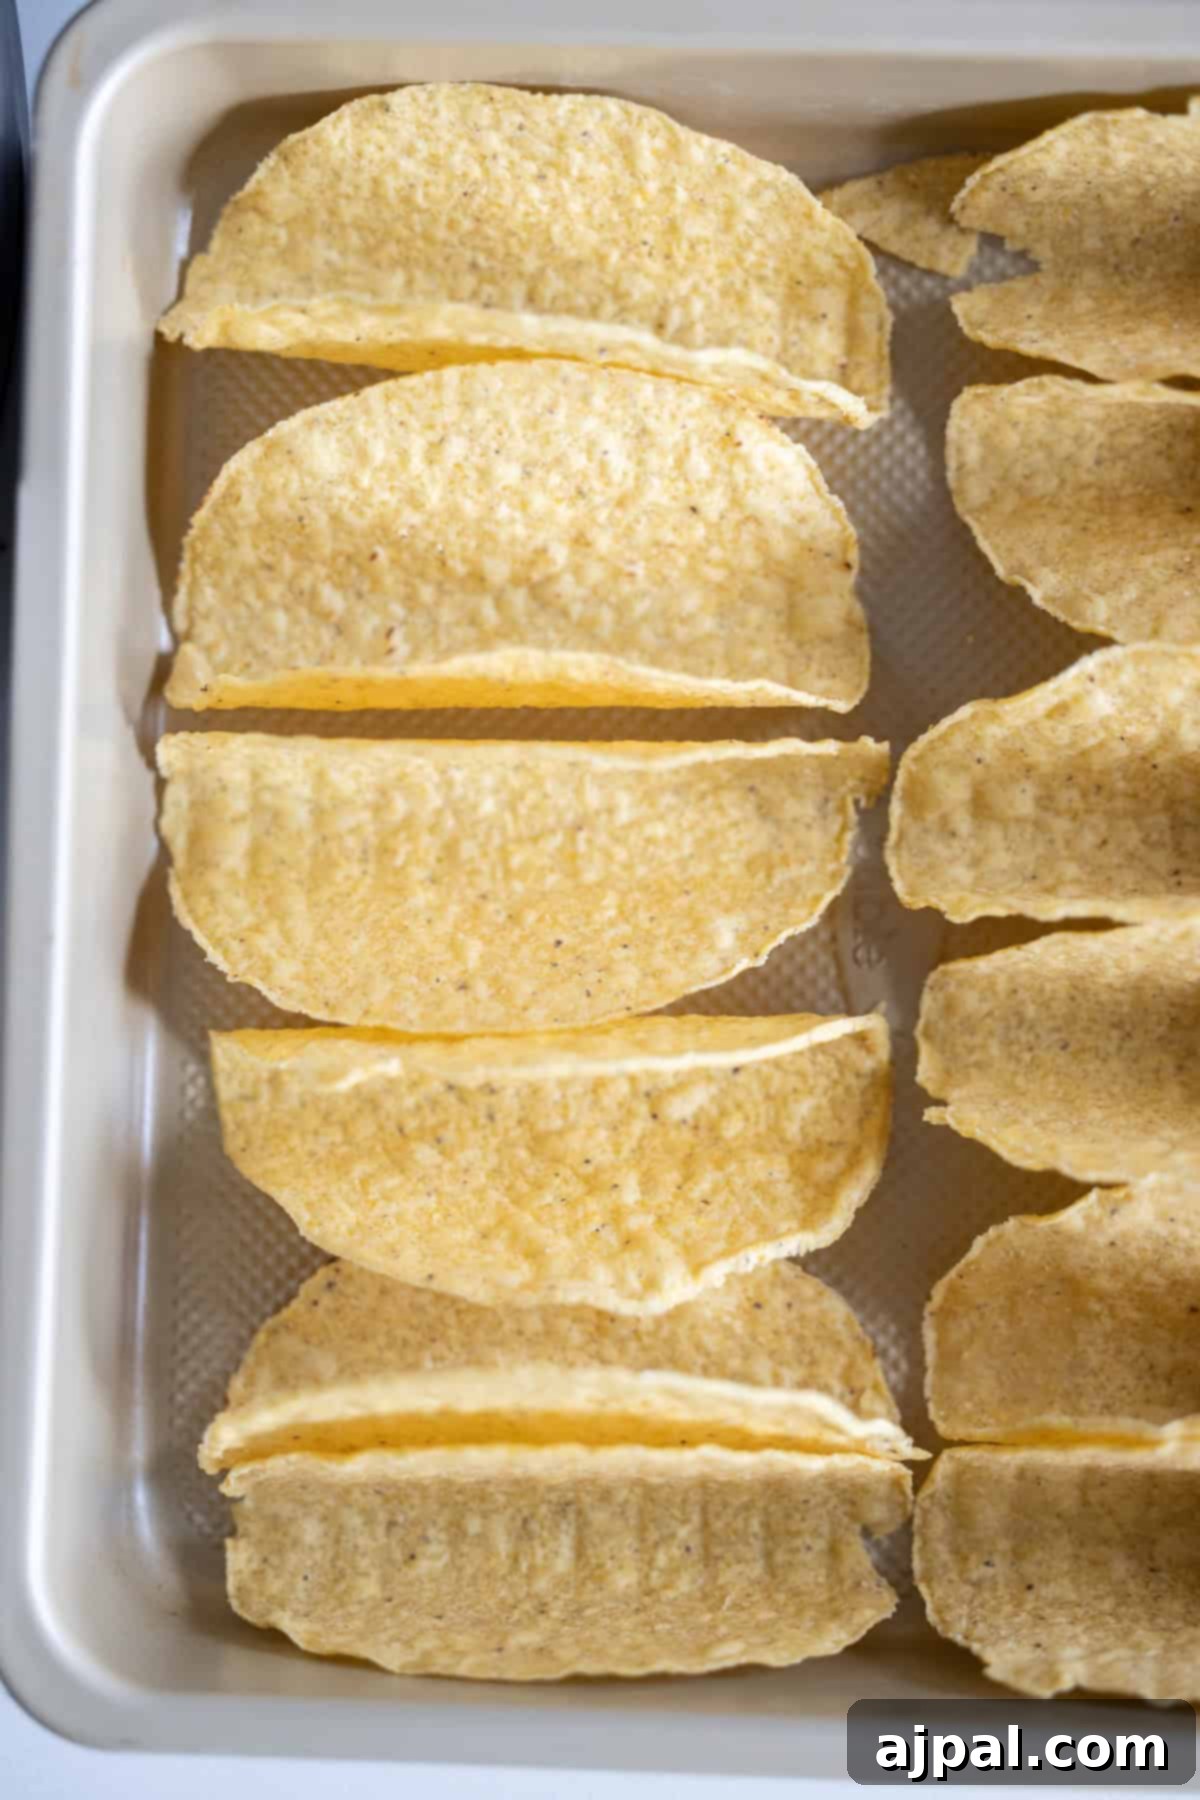
Prep Filling
Carefully spoon the prepared chicken mixture into each **mini crunchy taco shell**. Aim to fill them generously, but leave a small space at the top to prevent spillage and allow for additional toppings. Be mindful not to overpack, which could cause the shells to break.
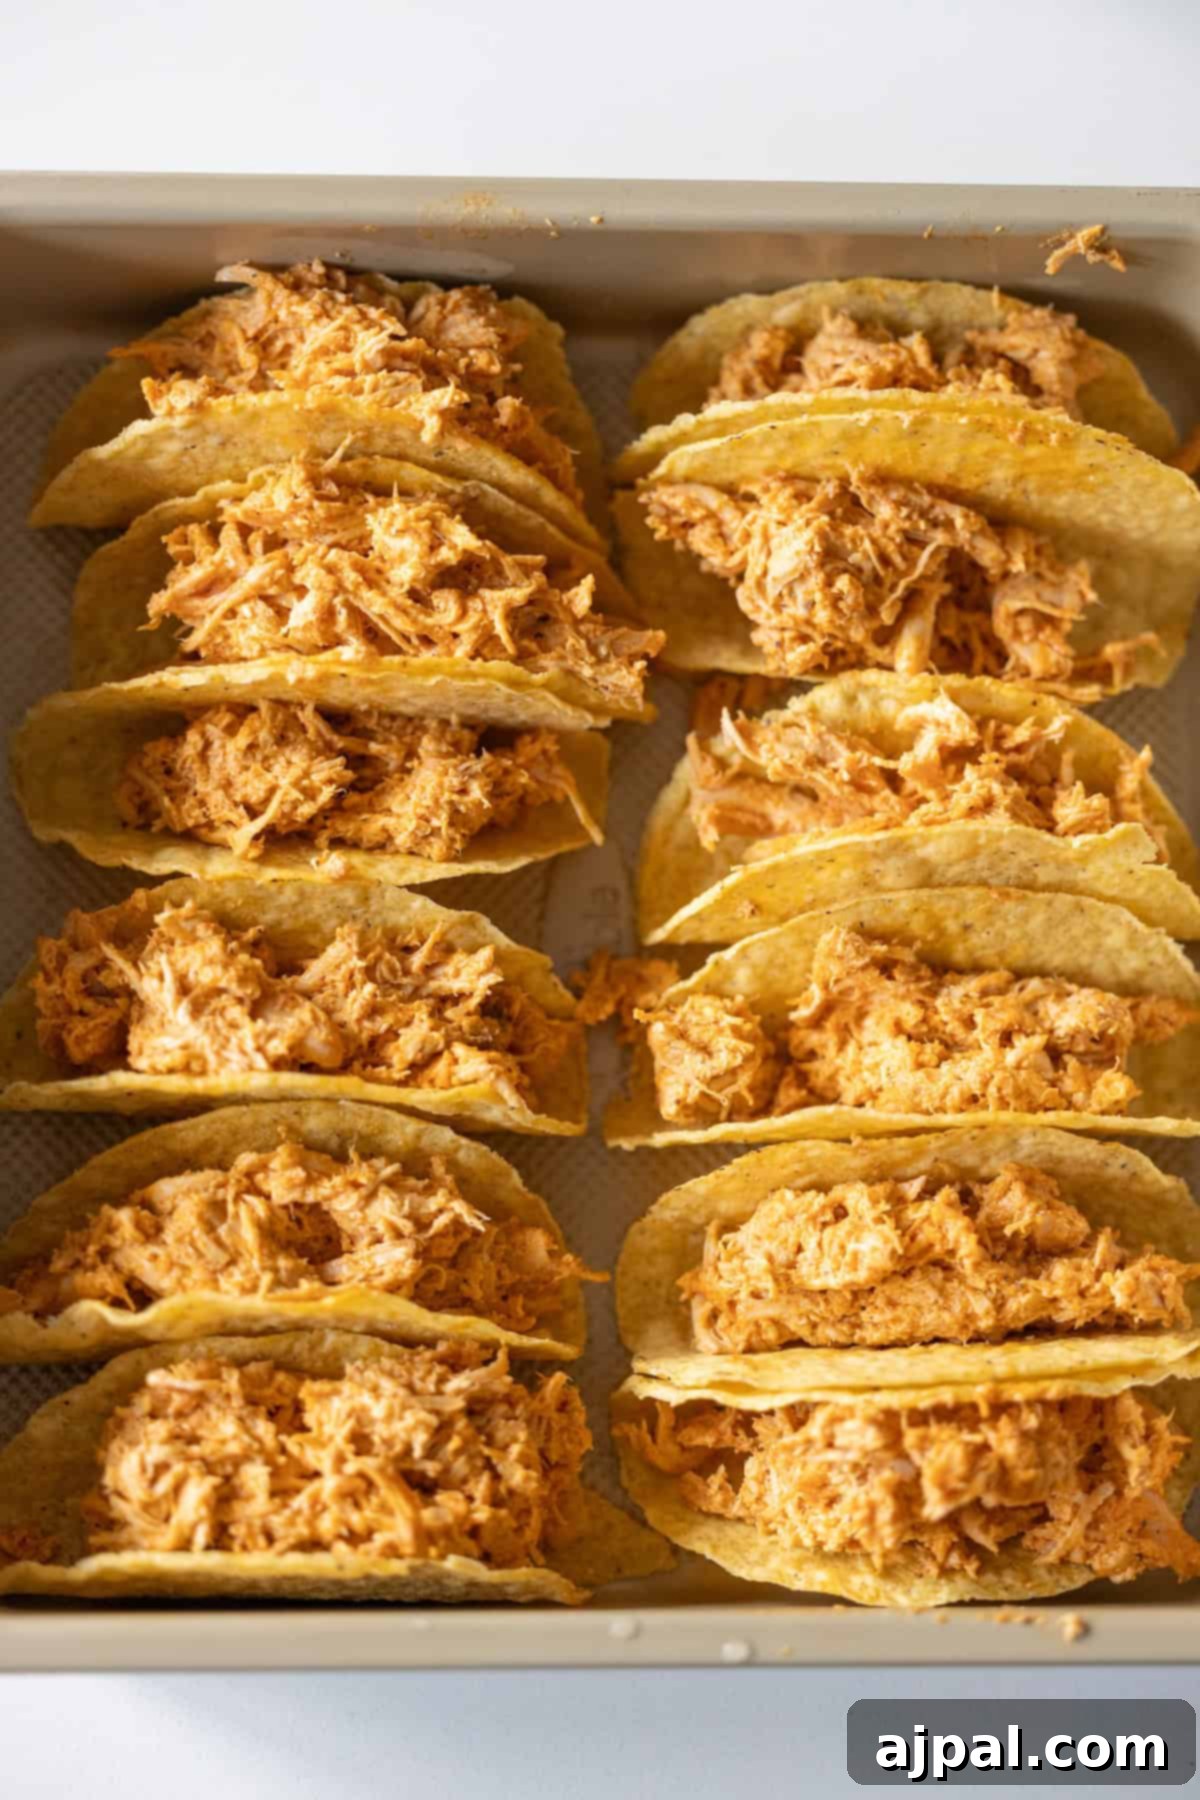
Fill Tacos
Place the filled tacos upright in a baking dish or on a lined sheet pan. A snug fit helps them stay standing during baking. Now, generously top each taco with the remaining **shredded cheese**. For an extra layer of flavor and a beautiful visual, you can sprinkle a few more diced red onions over the cheese before baking, as I like to do.
4. Bake to Golden Perfection:
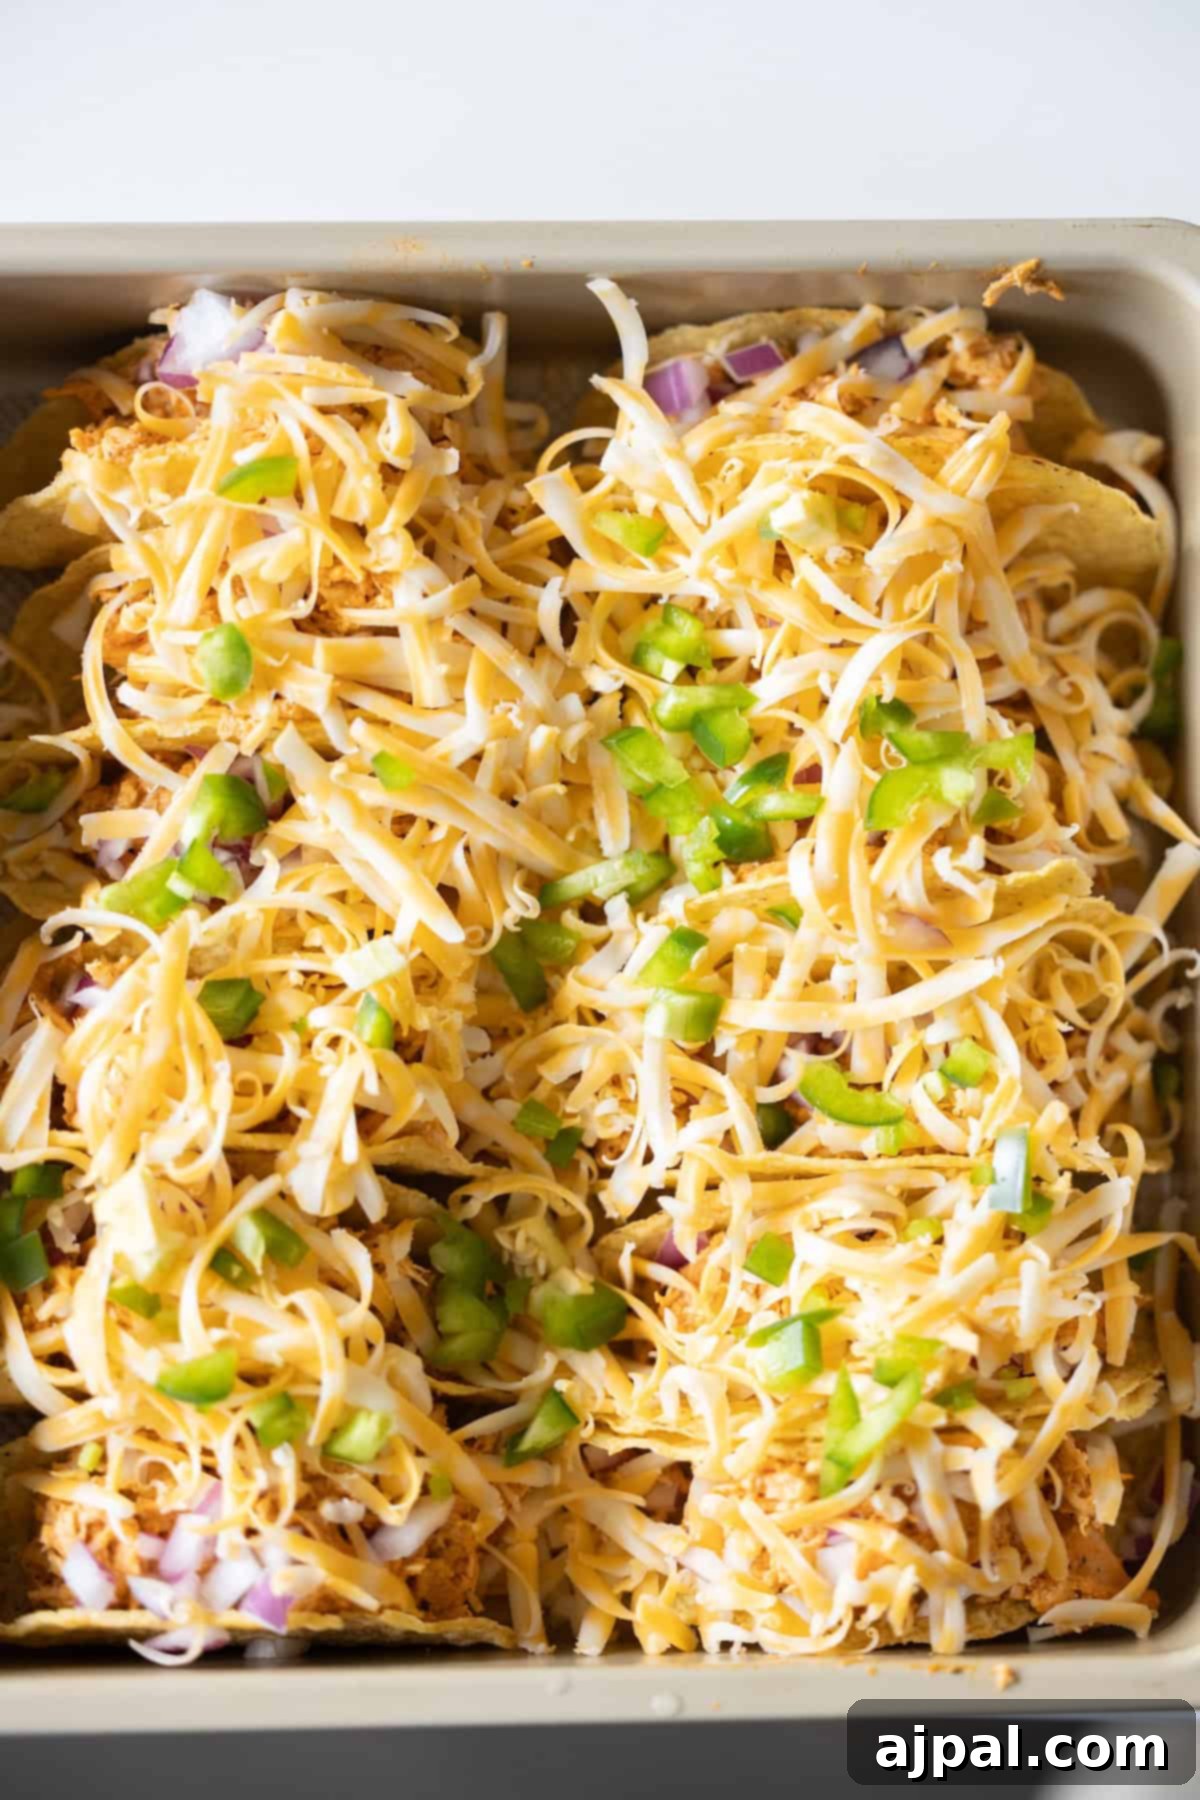
Bake
Transfer the baking dish or sheet pan to your preheated oven. Bake for 8–10 minutes, or until the cheese is beautifully melted and bubbly, and the chicken filling is thoroughly warmed through. The shells should also develop an extra crispness during this time. Keep a close eye on them to prevent over-browning.
5. Serve & Garnish:
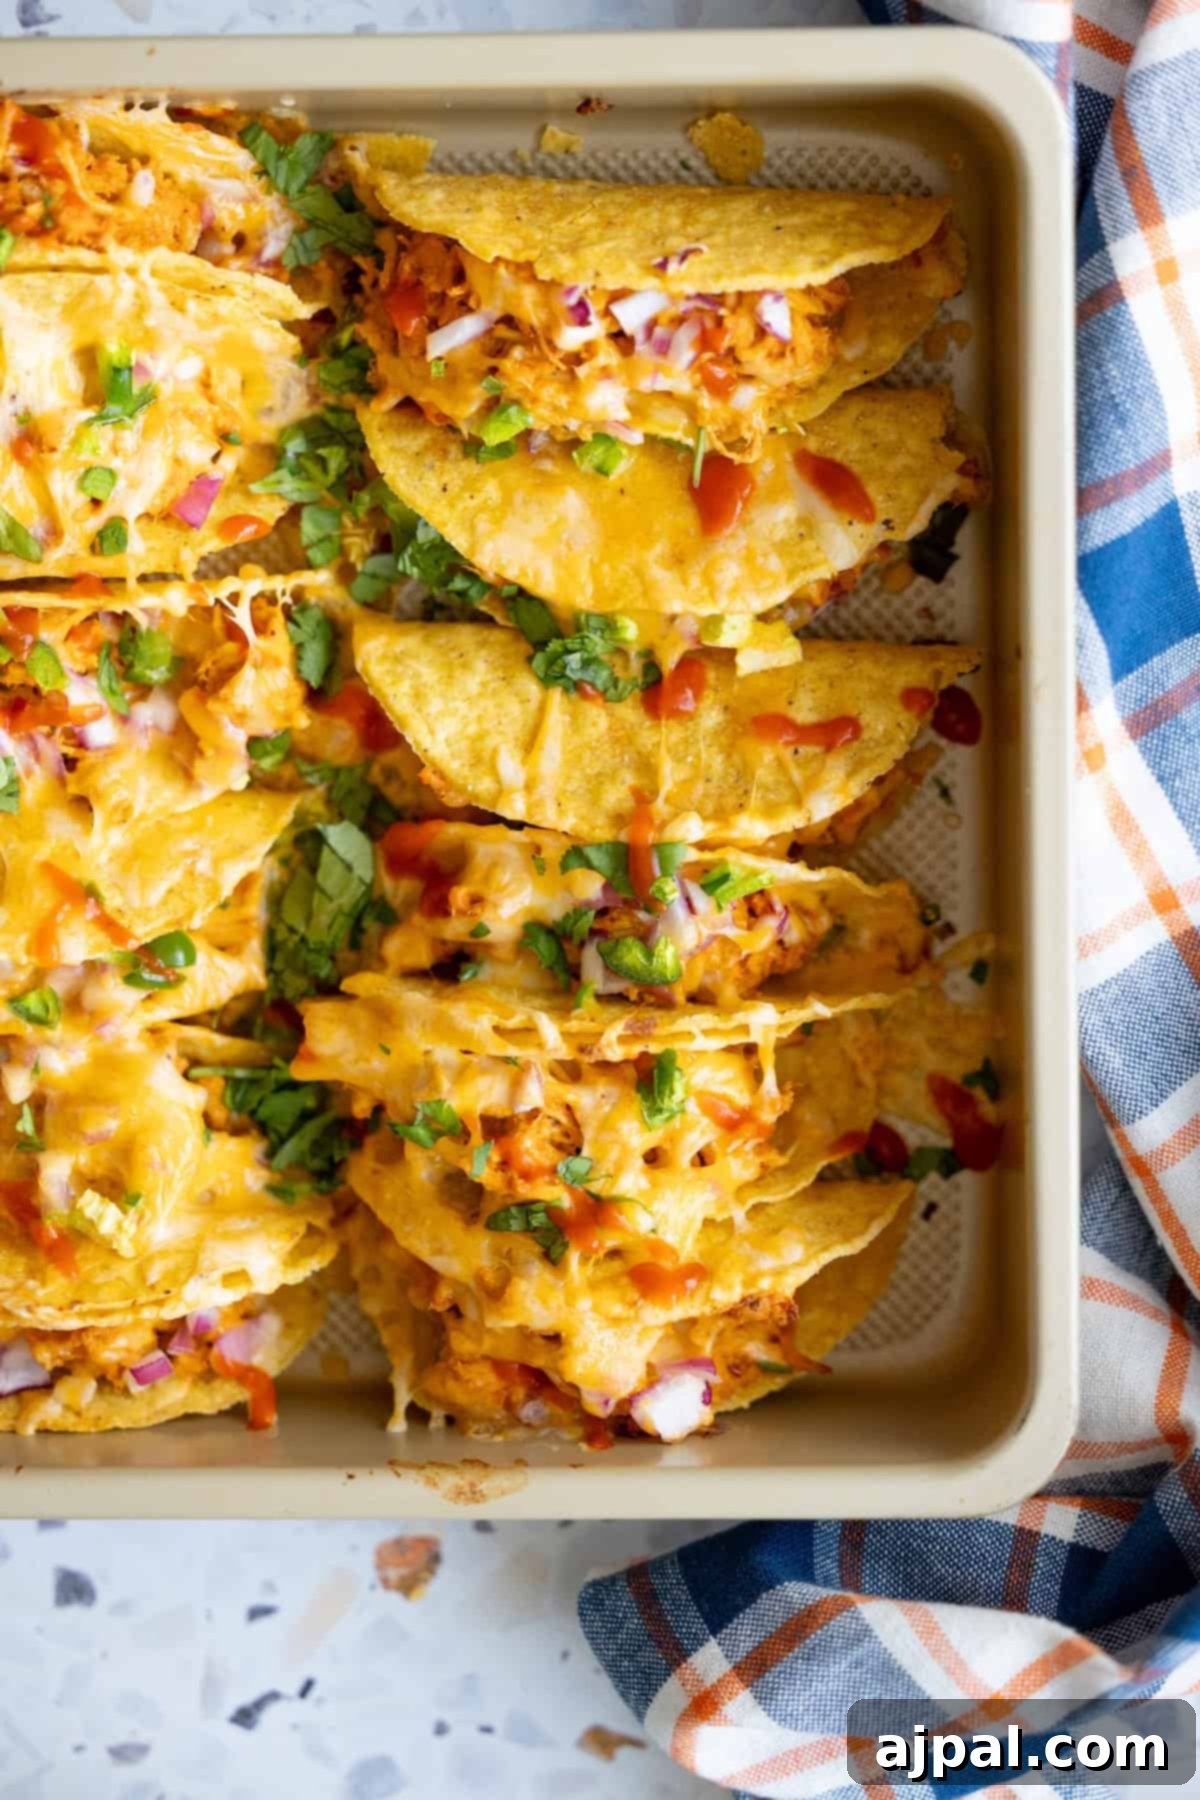
Serve
Once baked, carefully remove the tacos from the oven. These are best served immediately while the cheese is still wonderfully gooey and the shells are at their crispiest. Top each warm taco with a small dollop of **sour cream**, a sprinkle of fresh **chopped cilantro**, a few extra diced onions, or a slice of fresh avocado for added flavor and visual appeal. Enjoy your homemade, comforting baked chicken tacos!
Pro Tips and Tricks to Perfect Baked Chicken Tacos
Achieving the perfect baked chicken taco is simple with a few smart strategies. These tips will help you create crispy shells, flavorful fillings, and an overall unforgettable taco experience:
- Pre-Crisp the Shells for Ultimate Crunch: To prevent your taco shells from becoming soggy after baking with the filling, take an extra step: bake the empty hard taco shells at 375°F (190°C) for 4-5 minutes before adding any filling. This quick pre-bake sets their crispness, ensuring they stay crunchy even once loaded with the creamy chicken and cheese.
- Start with Flavorful, Cooked Chicken: The foundation of a great taco is great chicken. Utilize already cooked and well-seasoned chicken. Shredded chicken tinga is fantastic for its built-in smoky flavor, but rotisserie chicken or even leftover roast chicken tossed with your favorite taco seasoning or salsa works just as well. Lightly warm the chicken mixture before filling the shells; this helps it heat more evenly and quickly in the oven.
- Layer Cheese Under and Over the Filling: For maximum cheesiness and to help maintain shell crispness, sprinkle a thin layer of shredded cheese into the bottom of each taco shell *before* adding the chicken filling. This creates a delicious barrier. Then, add more cheese on top of the filling for that iconic bubbly, melted finish.
- Avoid Overfilling Your Tacos: It can be tempting to cram as much delicious filling as possible into each shell, but resist the urge! Use approximately 2-3 tablespoons of filling per taco. Overfilled tacos are prone to spilling, breaking apart, and heating unevenly in the oven. A moderate fill ensures structural integrity and a perfect bite every time.
- Utilize a Snug Baking Dish: To prevent your tacos from tipping over during baking and to encourage even crisping, arrange them upright and snugly in a baking dish. A 9×13 inch lasagna pan often works perfectly, holding the tacos in place while they bake.
- Bake Uncovered for Crispy Edges: Bake your tacos uncovered at 375-400°F (190-200°C) for 10-15 minutes. Baking without a cover allows moisture to escape, resulting in beautifully crisped edges and perfectly melted cheese without steaming the shells into submission.
- Serve Immediately for Best Results: Baked tacos are at their peak when served fresh from the oven. The shells are crisp, the cheese is gloriously gooey, and the filling is warm and comforting. If left to sit, the steam from the filling can gradually soften the shells, compromising their crunch.
- Offer a Variety of Fresh Toppings on the Side: Enhance the taco experience by setting out a selection of fresh toppings. Let everyone customize their tacos with dollops of sour cream, creamy guacamole, fresh salsa, vibrant cilantro, zesty jalapeños, or a squeeze of lime wedges. These fresh additions provide wonderful textural and flavor contrasts.
- Meal Prep for Speedy Dinners: Prepare the chicken filling a day or two in advance and store it in an airtight container in the refrigerator. This allows flavors to meld and makes assembly on busy weeknights even faster.
- Experiment with Spice Levels: If you love heat, consider adding a pinch of cayenne pepper or a dash of your favorite hot sauce to the chicken filling. For a milder version, omit the Ro-Tel or choose a mild salsa.
Delicious Serving Suggestions for Your Taco Night
more salsas
These cheesy baked chicken tacos are a complete meal on their own, but pairing them with the right side dishes can elevate your taco night into a true feast. Here are some fantastic suggestions to complement their rich flavors and crispy texture:
- Classic Mexican Rice: A fluffy, flavorful Mexican rice is always a welcome addition, soaking up any extra flavors and providing a satisfying base.
- Black Beans or Refried Beans: Simple, seasoned black beans or creamy refried beans offer a wonderful protein and fiber boost, and they’re quick to prepare.
- Fresh Salad with Cilantro Lime Dressing: A crisp green salad with a bright, zesty dressing provides a refreshing contrast to the warm, cheesy tacos. Think mixed greens, cherry tomatoes, and corn.
- Guacamole and Chips: A must-have! Creamy homemade guacamole paired with crunchy tortilla chips makes for an irresistible appetizer or side.
- Corn on the Cob or Elote: Sweet corn, grilled or boiled, and perhaps jazzed up with a Mexican street corn (elote) preparation, adds a seasonal touch.
- Salsa Bar: Offer a variety of salsas, from mild pico de gallo to fiery habanero. Here are some excellent salsa ideas from Sweet C’s Designs:
Chipotle Hot Salsa
Pickled Carrot and Jalapeno Salsa
How to Make Chipotle Corn Salsa
Pineapple Strawberry Salsa
Variations and Customizations for Baked Chicken Tacos
One of the best things about these baked chicken tacos is how incredibly versatile they are! Feel free to get creative and adapt the recipe to your family’s tastes or whatever ingredients you have on hand. Here are some ideas to spark your culinary imagination:
- Protein Swaps: Not a chicken fan or looking for something different? Try shredded pork carnitas, ground beef seasoned with taco spices, or even black beans for a vegetarian option. Cooked shrimp would also be delicious for a seafood twist.
- Spice It Up: For those who love extra heat, mix in a pinch of cayenne pepper, a dash of your favorite hot sauce, or finely diced jalapeños (fresh or pickled) into the chicken filling.
- Creaminess Variations: Experiment with different creamy elements. Greek yogurt can be a lighter alternative to sour cream, offering a similar tang. For an even richer flavor, a touch of cream cheese is fantastic, as suggested in the recipe.
- Veggie Boost: Sneak in more vegetables! Finely diced bell peppers, corn kernels, or even a handful of chopped spinach can be mixed into the chicken filling. Roasted sweet potato cubes would also add a lovely sweetness and texture.
- Cheese, Please!: While Mexican blend, cheddar, and Monterey Jack are great, don’t hesitate to try other cheeses. Pepper Jack will add a spicy kick, while a sharp white cheddar offers a more robust flavor.
- Different Shells: While hard shells offer that satisfying crunch, these tacos can also be made with soft flour or corn tortillas. If using soft tortillas, consider lightly toasting them before filling and baking, or serve them as soft tacos.
- Flavor Profiles: Beyond traditional taco seasoning, consider a smoky chipotle seasoning, a zesty lime and cilantro blend, or even a touch of cumin and paprika for a different twist on the chicken flavor.
- Sauce It Up: Drizzle with a homemade avocado crema, a chipotle mayo, or a vibrant cilantro lime sauce after baking for an extra layer of flavor.
Frequently Asked Questions (FAQs) About Baked Chicken Tacos
Here are some common questions about making and enjoying baked chicken tacos:
- Can I make these ahead of time? Yes, you can! Prepare the chicken filling up to 2-3 days in advance and store it in an airtight container in the refrigerator. Assemble the tacos just before baking to ensure the shells remain crispy.
- How do I prevent the taco shells from getting soggy? The best way is to pre-bake the empty taco shells for a few minutes before filling them. Also, avoid overfilling them and serve them immediately after baking.
- What kind of chicken is best for shredded chicken tacos? Any pre-cooked shredded chicken works great! Rotisserie chicken is a popular and convenient choice. You can also boil or pressure cook chicken breasts or thighs and then shred them. For extra flavor, consider making chicken tinga.
- Can I use soft tortillas instead of hard shells? Absolutely! If using soft tortillas, you can lightly toast them before filling. Arrange them in a baking dish, fill, top with cheese, and bake as directed. They might not be as crispy as hard shells but will still be delicious.
- How do I store leftover baked chicken tacos? Leftover tacos are best stored with the filling and shells separated, as the shells can get soggy. Store the chicken filling in an airtight container in the refrigerator for up to 3-4 days. You can reheat the filling and serve with fresh shells.
- Can I freeze the chicken filling? Yes, the chicken filling can be frozen! Once cooled, transfer it to a freezer-safe bag or container and freeze for up to 3 months. Thaw in the refrigerator overnight before using.
- Is this recipe spicy? The base recipe with chicken tinga has a mild to moderate spice level, depending on your tinga. If using plain shredded chicken, the spice level is easily customizable by adding or omitting Ro-Tel and adjusting any extra seasonings.
If you loved this easy recipe, please take a moment to give it a five-star rating below and leave a comment sharing your experience! Your feedback helps others discover these delicious tacos. Please also help me share this recipe with your friends and family on Instagram, Facebook, and Pinterest!
Share on Facebook
Share
Pin this now to find it later
Pin It
Follow on Instagram
Follow
Cheesy Baked Chicken Tacos
Share by Email
Print Recipe
Ingredients
- 12 mini crunchy taco shells, store-bought or homemade with mini tortillas
- 2 cups shredded chicken tinga, see note below (or plain shredded chicken, seasoned)
- ¼ cup diced red onion
- ½ cup sour cream
- ½ cup shredded cheese, Mexican blend, cheddar, or Monterey Jack
- ½ cup Ro-Tel, drained, optional
- 4 oz cream cheese, softened (for a creamy filling), optional
- Extra sour cream and chopped fresh cilantro for topping, optional
Instructions
- Preheat the Oven: Preheat oven to 375°F (190°C) if you want to warm or bake the assembled tacos for extra crispiness and melted cheese.
- Prepare the Filling: In a bowl, mix together the shredded chicken tinga, sour cream, and optional softened cream cheese for a creamy version.
- Stir in diced red onion and optional drained Ro-Tel if using.
- Add half of the shredded cheese and mix until evenly combined, creating a cohesive and flavorful filling.
- Assemble the Tacos: Spoon the chicken mixture generously into each mini crunchy taco shell.
- Top with the remaining shredded cheese and any extra diced onions for presentation.
- Place tacos upright in a baking dish or on a lined sheet pan, ensuring they are snug to prevent tipping.
- Bake: Bake for 8–10 minutes until the cheese is melted, bubbly, and the filling is warmed through. The taco shells should be nicely crispy.
- Serve & Garnish: Top each warm taco with a small dollop of sour cream, a few extra diced onions or herbs, and optional chopped cilantro or avocado for a fresh finish. Serve immediately and enjoy!
Nutrition
Carbohydrates: 17 g
Protein: 16 g
Fat: 14 g
Saturated Fat: 6 g
Polyunsaturated Fat: 2 g
Monounsaturated Fat: 4 g
Trans Fat: 0.05 g
Cholesterol: 54 mg
Sodium: 177 mg
Potassium: 203 mg
Fiber: 2 g
Sugar: 1 g
Vitamin A: 206 IU
Vitamin C: 1 mg
Calcium: 98 mg
Iron: 1 mg
Nutrition information is automatically calculated, so should only be used as an approximation.
Additional Info
Mention @sweetcsdesigns or tag #sweetcsdesigns!