
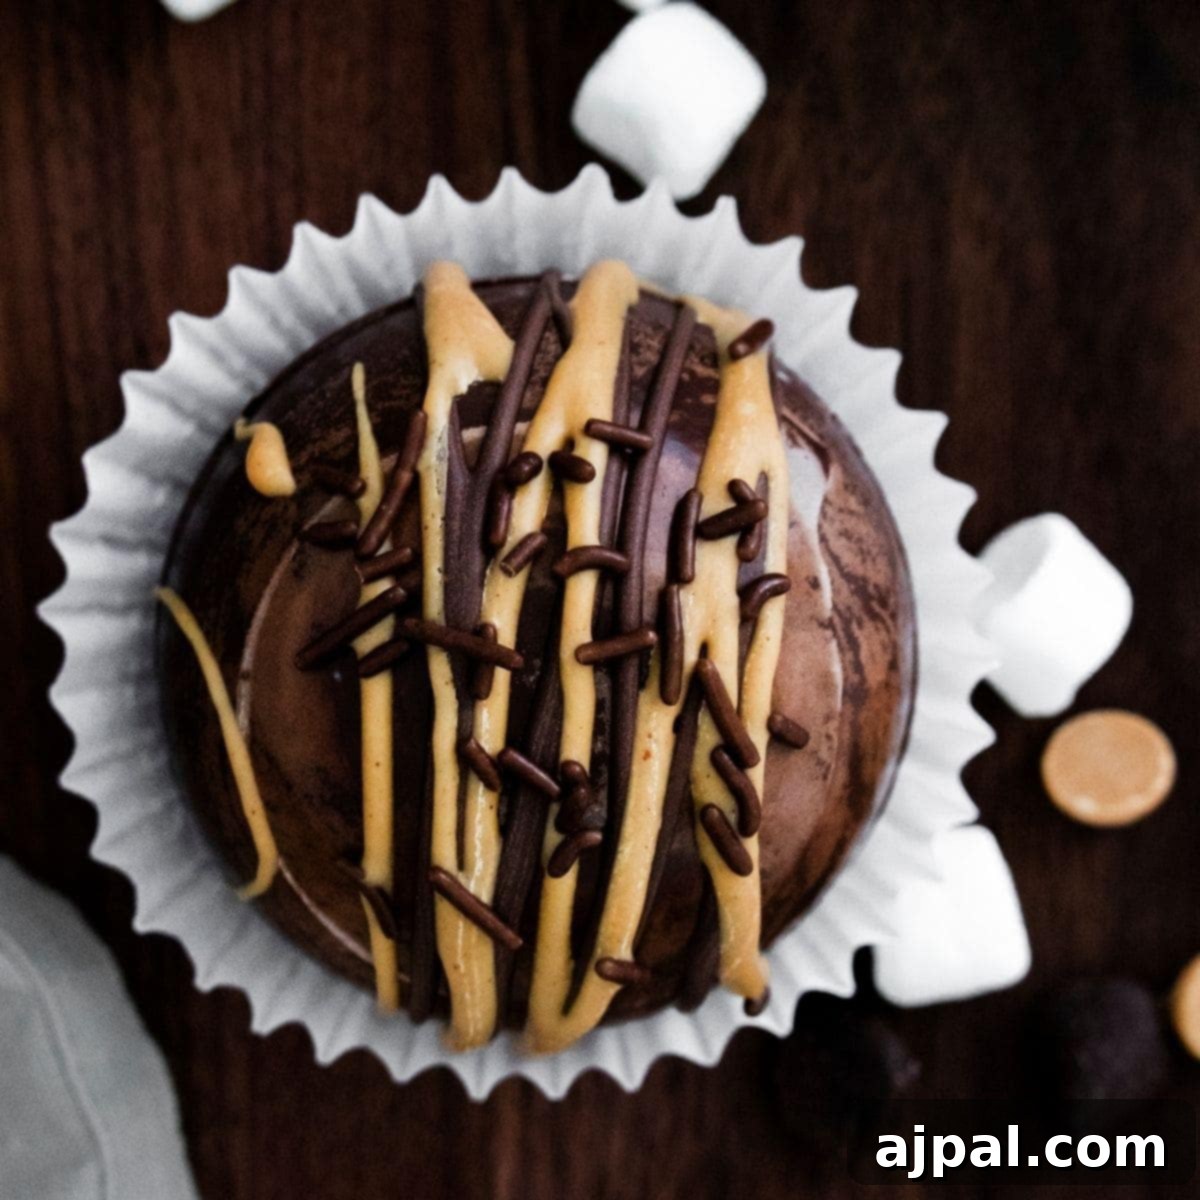
Prepare to be enchanted by the ultimate homemade treat: Peanut Butter Hot Cocoa Bombs! These delightful spheres are a game-changer for anyone who loves the classic combination of rich chocolate and creamy peanut butter. More than just a simple beverage, these hot cocoa bombs transform a mundane mug of hot chocolate into an exciting, flavorful experience. Perfect for cozy evenings, special occasions, or as a thoughtful, handcrafted gift, they are sure to impress and delight. Get ready to dive into the world of decadent hot chocolate, enhanced with the irresistible twist of peanut butter, and discover how easy it is to create these impressive treats right in your own kitchen.
For your convenience, we’ve organized this page with a clickable table of contents below, making it easy to navigate directly to the sections that interest you most. Whether you’re here for the full recipe, detailed tips, or simply inspiration, we aim to make your cooking journey as smooth as possible.
At our core, we believe that great cooking should be accessible to everyone. Our recipes are designed for home cooks of all skill levels, with a focus on understanding not just the “how” but also the “why.” We break down each step and ingredient, empowering you to feel confident and successful in the kitchen, turning every dish into a triumph.
Table of Contents
- Introduction to Peanut Butter Hot Cocoa Bombs
- Why You’ll Love These Peanut Butter Hot Chocolate Bombs
- Essential Ingredients for Peanut Butter Hot Chocolate Bombs
- Detailed Ingredient Breakdown
- Step-by-Step Guide to Crafting Your Peanut Butter Hot Cocoa Bombs
- Preparing Your Chocolate Shells
- Assembling Your Delicious Bombs
- Decorating and Serving Your Creations
- Expert Tips for Flawless Peanut Butter Hot Cocoa Bombs
- Perfecting Your Chocolate Tempering
- Ensuring Pristine Molds
- Creative Flavor Variations, Gifting Ideas, and Storage
- Troubleshooting Common Hot Cocoa Bomb Issues
- Frequently Asked Questions
- Peanut Butter Hot Cocoa Bombs Recipe
- Discover More Delicious Drink Recipes
Introduction to Peanut Butter Hot Cocoa Bombs
Hot chocolate bombs have taken the world by storm, offering a fun and interactive way to enjoy a classic comfort drink. Imagine a delicate chocolate sphere, filled with a delightful mix of hot cocoa powder, miniature marshmallows, and a sprinkle of magic. When dropped into a mug of warm milk, the chocolate shell melts away, releasing its hidden treasures and transforming into a rich, creamy, and utterly irresistible cup of hot chocolate. Our Peanut Butter Hot Cocoa Bombs take this beloved concept to a new level, infusing it with the nutty, savory sweetness of peanut butter for an extra layer of indulgence.
These peanut butter-infused bombs are more than just a sweet treat; they are an experience. They are surprisingly simple to create, making them an ideal project for home bakers, even those new to candy making. From melting the chocolate to carefully filling and sealing each sphere, the process is straightforward and rewarding. We’ve packed this guide with comprehensive instructions and expert tips to ensure your hot cocoa bombs are perfect every single time, boasting a beautiful shine, a satisfying “pop,” and an explosion of flavor.
Why You’ll Love These Peanut Butter Hot Chocolate Bombs
There’s something truly special about the combination of chocolate and peanut butter that captivates taste buds of all ages. These hot cocoa bombs harness that power, delivering an unparalleled beverage experience. Here’s why these decadent treats will quickly become a household favorite:
- Unforgettable Flavor Profile: The rich, velvety chocolate melts seamlessly into hot milk, creating a luxurious base. This is perfectly complemented by the distinct, savory-sweet notes of peanut butter, offering a balanced and deeply satisfying flavor that traditional hot cocoa simply can’t match.
- Delightfully Interactive Experience: The magic happens when you drop a bomb into hot milk. Watching the chocolate shell melt and release a cascade of marshmallows and cocoa powder is an experience that brings joy and wonder, especially to children. It’s not just a drink; it’s a moment of enchantment.
- Perfect for Gifting: Handcrafted hot cocoa bombs make impressive and thoughtful gifts for holidays, birthdays, or as a simple token of appreciation. Package them in decorative boxes or clear bags with a ribbon, and you have a personalized present that’s sure to be cherished.
- Customizable and Versatile: While our recipe focuses on peanut butter, the core technique can be adapted for endless variations. You can experiment with different types of chocolate, add various fillings like mini chocolate chips, sprinkles, or even a touch of liqueur for an adult version.
- Easy to Make with Rewarding Results: Don’t let their elegant appearance fool you; these bombs are quite simple to assemble. With our clear, step-by-step instructions and helpful tips, even novice bakers can achieve professional-looking results. The satisfaction of creating something so beautiful and delicious from scratch is truly rewarding.
- Cozy Comfort in Every Sip: There’s nothing quite like a warm mug of hot chocolate to chase away the chill. These peanut butter hot cocoa bombs elevate that comfort, offering a rich, soul-warming beverage that feels like a hug in a mug.
Essential Ingredients for Peanut Butter Hot Chocolate Bombs
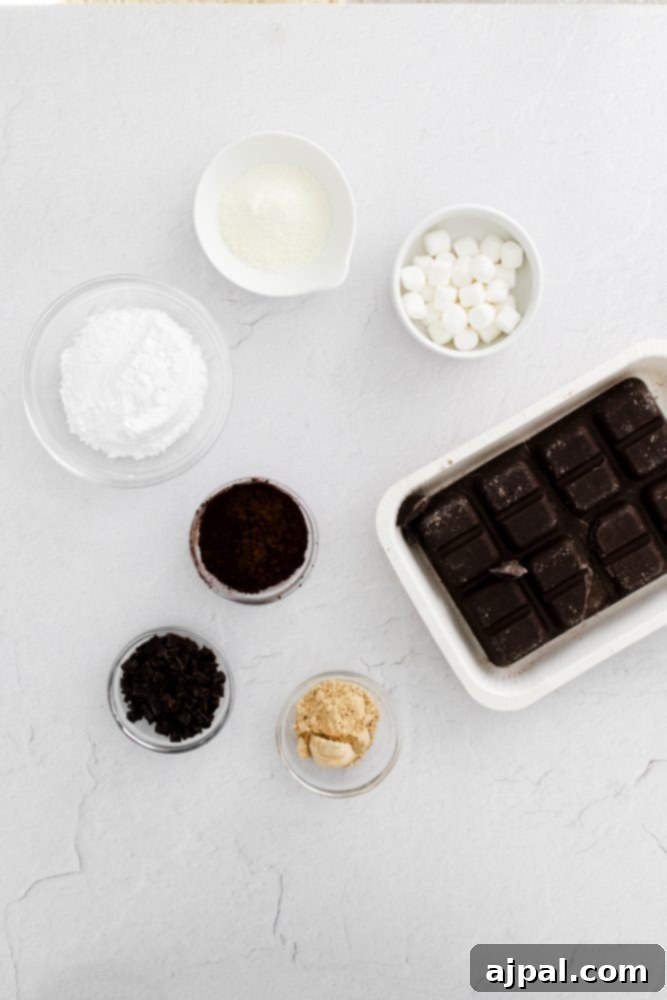
Creating spectacular peanut butter hot cocoa bombs starts with gathering high-quality ingredients. Each component plays a crucial role in both the structure and the flavor of your delightful treats. Here’s what you’ll need:
- Chocolate Morsels: The foundation of your bombs! Opt for finely chopped, high-quality baking chocolate such as Ghirardelli. The quality of your chocolate directly impacts the melt, shine, and overall taste. Avoid chocolate chips designed to hold their shape, as they won’t melt as smoothly for the shells.
- Hot Chocolate Mix Packets: For ultimate convenience and consistent flavor, pre-made hot chocolate mix packets are an excellent choice. They contain all the cocoa and sugar needed for a perfect cup.
- Peanut Butter Powder: This is the secret ingredient for our unique peanut butter flavor. Available in most grocery stores’ baking or health food sections, peanut butter powder provides intense peanut flavor without adding excess fat or altering the chocolate’s texture.
- Mini Marshmallows: A classic hot chocolate topping! Mini marshmallows are perfect for tucking inside the bombs, creating that delightful burst of fluffiness when the bomb melts. If you only have regular-sized marshmallows, you can easily snip them into smaller pieces.
- Chocolate Sprinkles: These are primarily for decoration, adding a touch of visual appeal and extra chocolatey crunch to your finished bombs. Feel free to choose your favorite type of sprinkles!
- Peanut Butter and Coconut Oil (for drizzle): When combined and gently warmed, these two ingredients create a smooth, pourable drizzle that adds both flavor and a beautiful finish to the exterior of your hot cocoa bombs. The coconut oil helps thin the peanut butter, making it easier to work with.
- Whole Milk: The best choice for serving! Whole milk, with its higher fat content, creates the richest, creamiest, and most luxurious hot chocolate when poured over your melted bombs. While other milk types can be used, whole milk truly elevates the experience.
Detailed Ingredient Breakdown
Understanding the role of each ingredient can help you achieve the best results and even inspire variations:
- Choosing Your Chocolate: For the chocolate shells, couverture chocolate is ideal due to its higher cocoa butter content, which results in a smoother melt and a beautiful shine when tempered correctly. If couverture is hard to find, high-quality baking bars (like Ghirardelli or Baker’s brand) are excellent alternatives. Milk chocolate provides a sweeter, creamier bomb, while dark chocolate offers a more intense cocoa flavor. You can even mix them!
- The Magic of Peanut Butter Powder: Unlike regular peanut butter, which can be too thick and greasy to include inside a hot cocoa bomb, peanut butter powder is dry and finely ground. It dissolves perfectly into the hot cocoa, infusing it with a rich, authentic peanut butter taste without compromising the bomb’s structure or the drink’s consistency. It’s also a lower-fat option.
- Marshmallow Fun: Mini marshmallows are classic, but consider other small, quick-melting additions like mini chocolate chips, crushed peppermints, or even a tiny amount of instant coffee powder for a mocha twist.
- Drizzle and Decoration: The peanut butter-coconut oil drizzle not only labels your bombs as “peanut butter” flavored but also adds another layer of texture and taste. For an extra touch, use contrasting sprinkles or even a dusting of cocoa powder.
- The Best Milk for Hot Cocoa: While any milk will work, the richness of whole milk truly makes a difference. The fats in whole milk bind with the chocolate and cocoa powder, creating a velvety smooth and incredibly decadent drink. For a dairy-free option, full-fat oat milk or almond milk can provide a good level of creaminess.
Step-by-Step Guide to Crafting Your Peanut Butter Hot Cocoa Bombs
Now that you have all your ingredients ready, let’s walk through the simple yet rewarding process of making your own peanut butter hot cocoa bombs. Precision and patience are key for beautiful, professional-looking results.
Preparing Your Chocolate Shells
The first and most crucial step is to create perfect chocolate hemispheres. This requires careful melting and application of the chocolate.
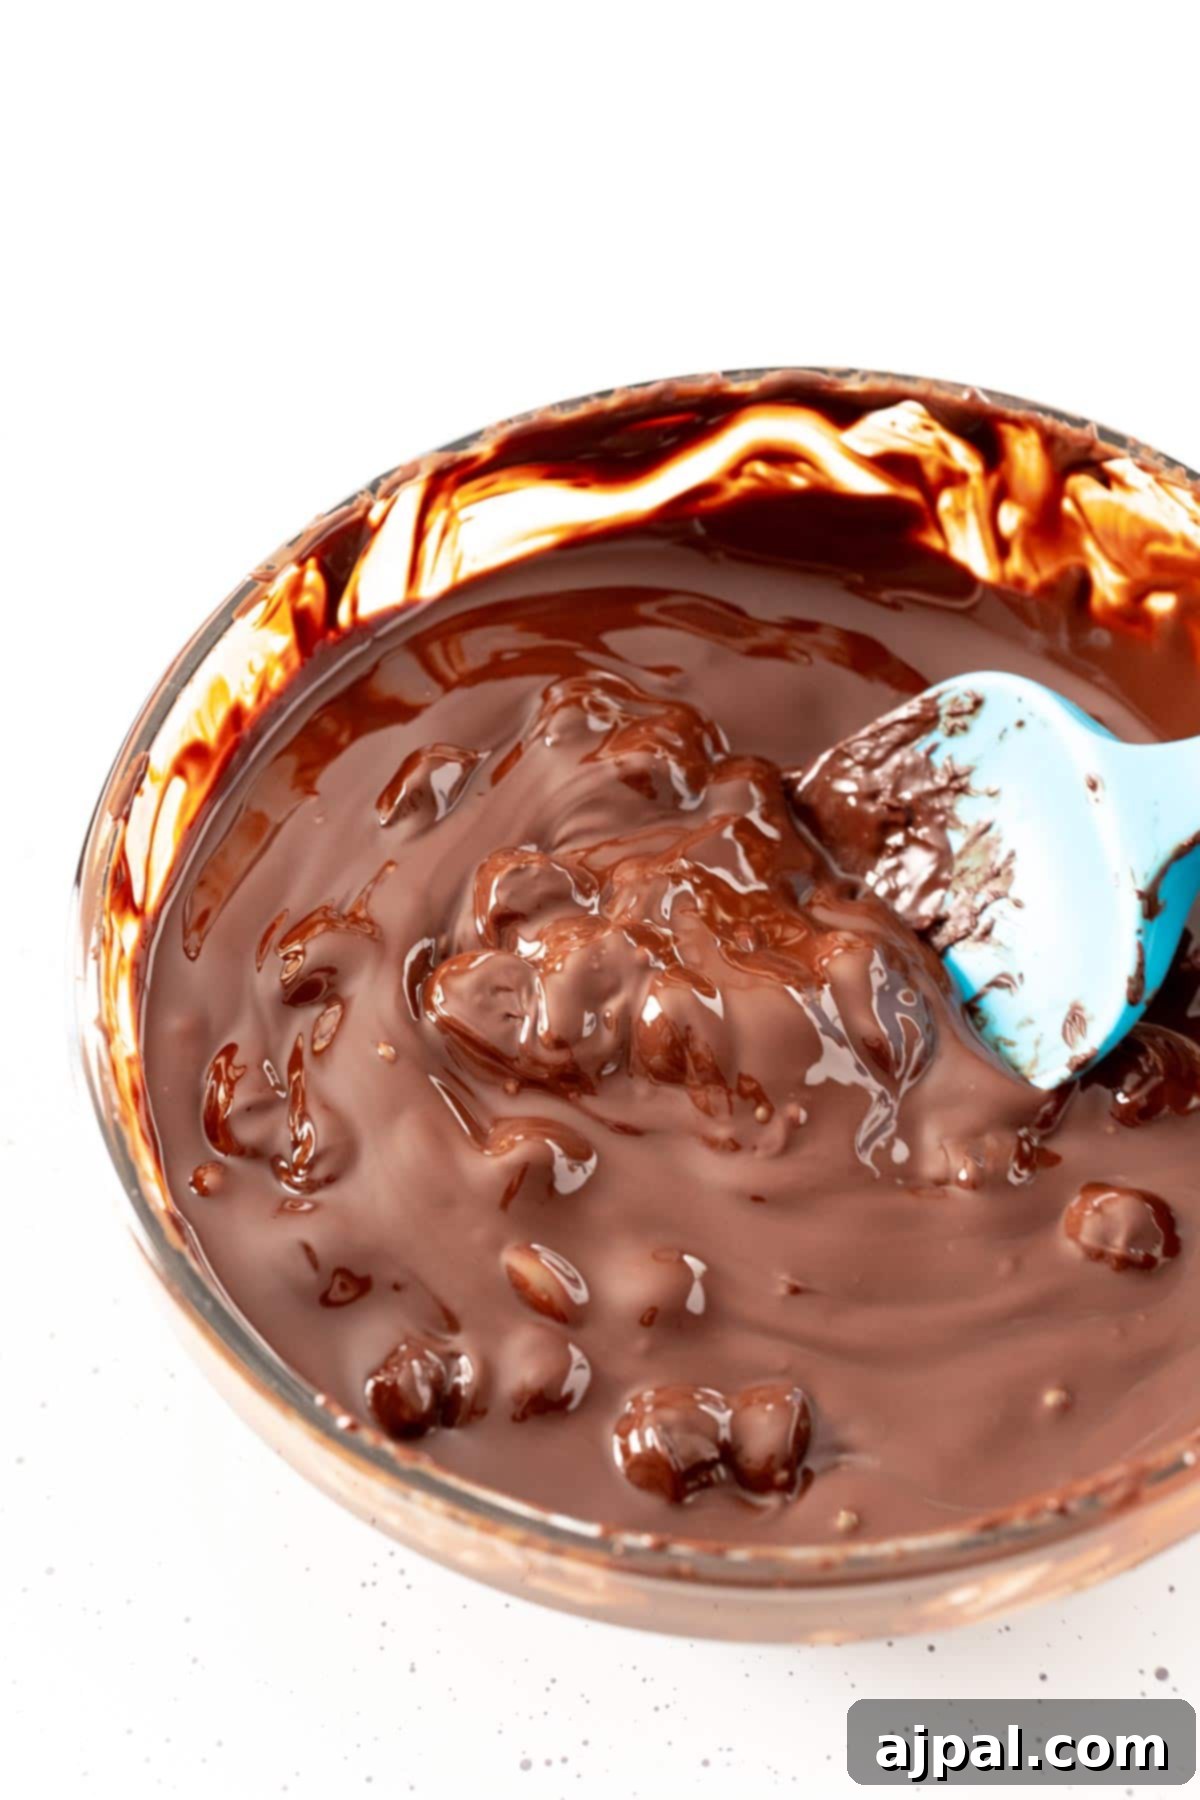
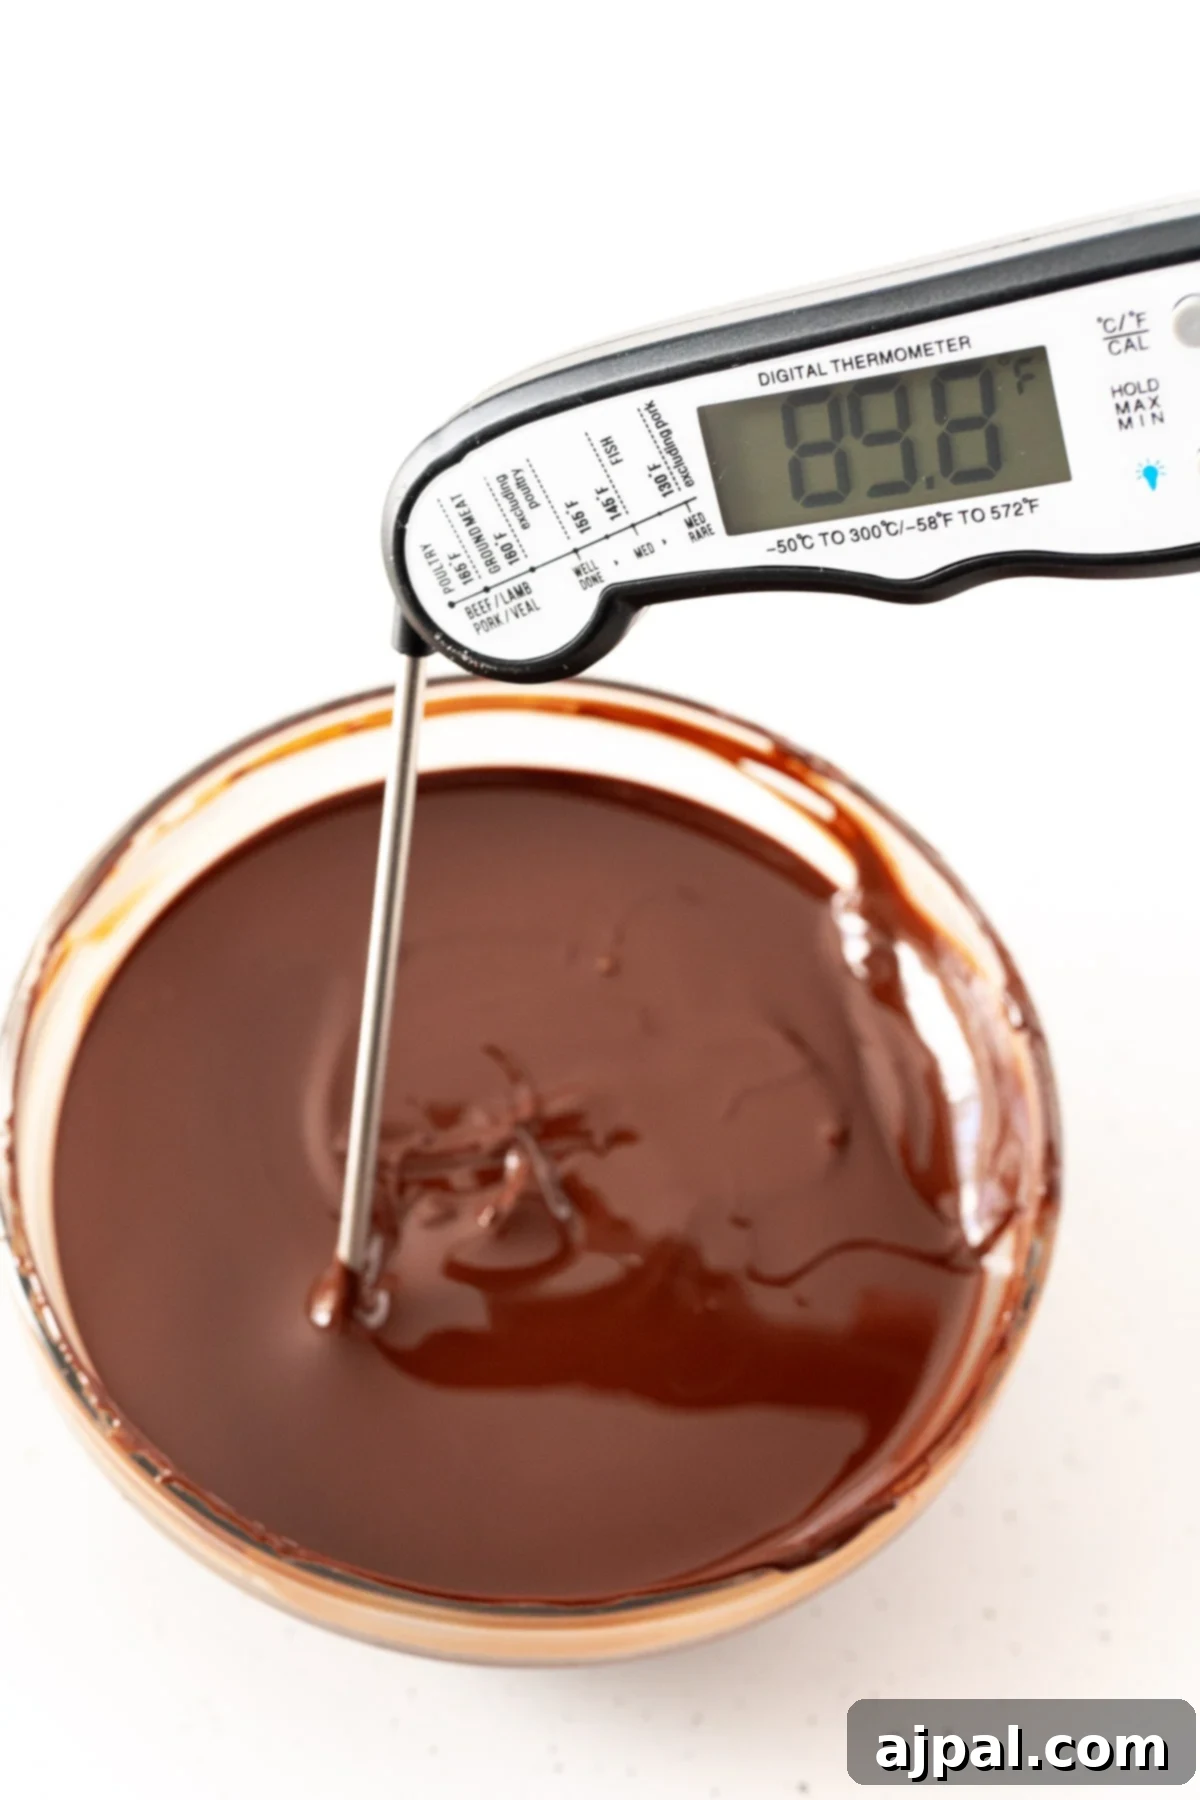
- Melt the Chocolate: Place your finely chopped chocolate morsels in a microwave-safe bowl. Heat on high power in 30-second intervals, stirring thoroughly after each interval. Continue this process for approximately 1 to 2 minutes, until the chocolate is completely smooth and melted. To achieve a beautiful, shiny finish, ensure the chocolate’s temperature does not exceed 90°F (32°C). Using a food thermometer can help you monitor this precisely. If it gets too hot, let it cool slightly while stirring constantly.
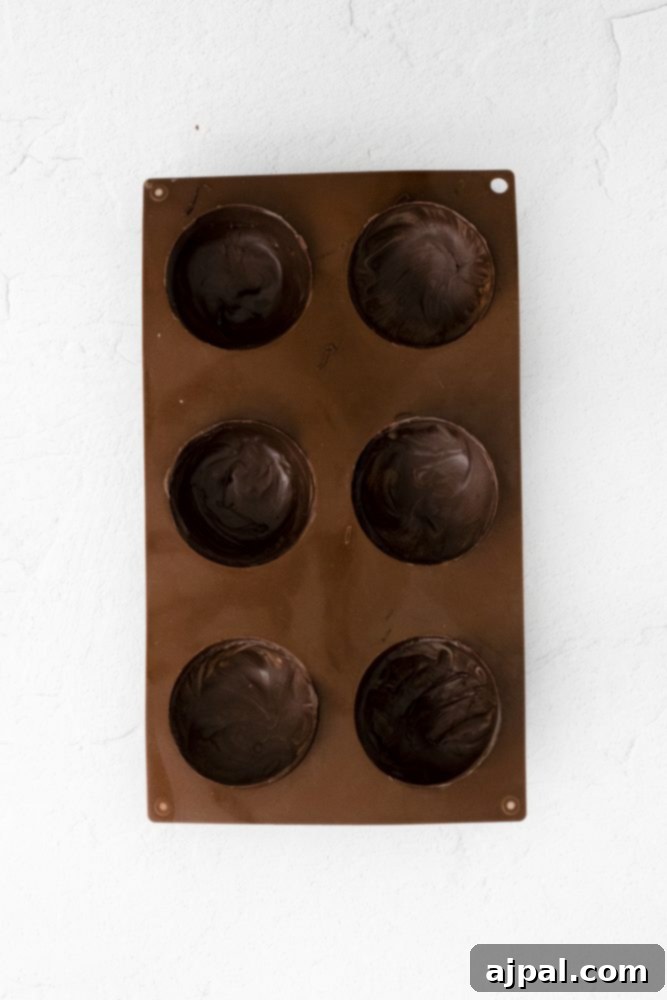
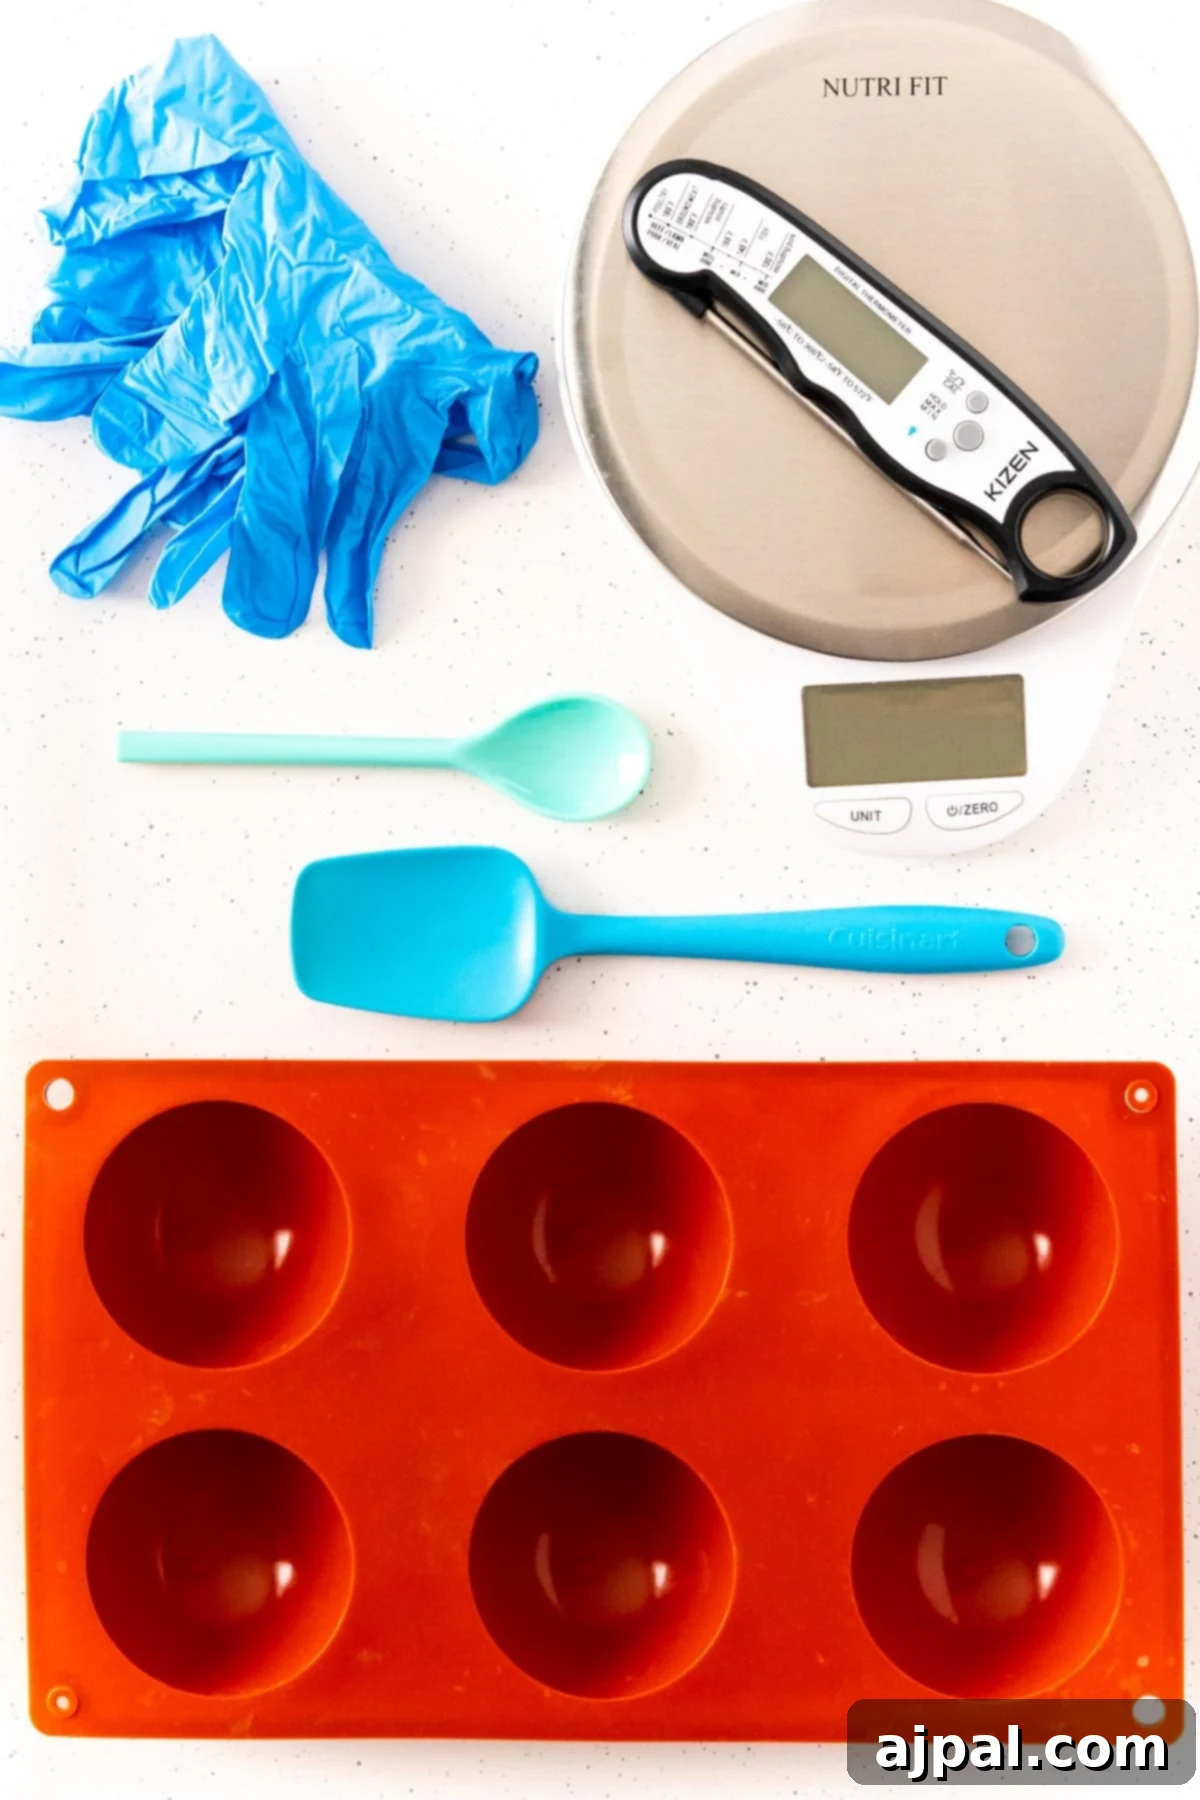
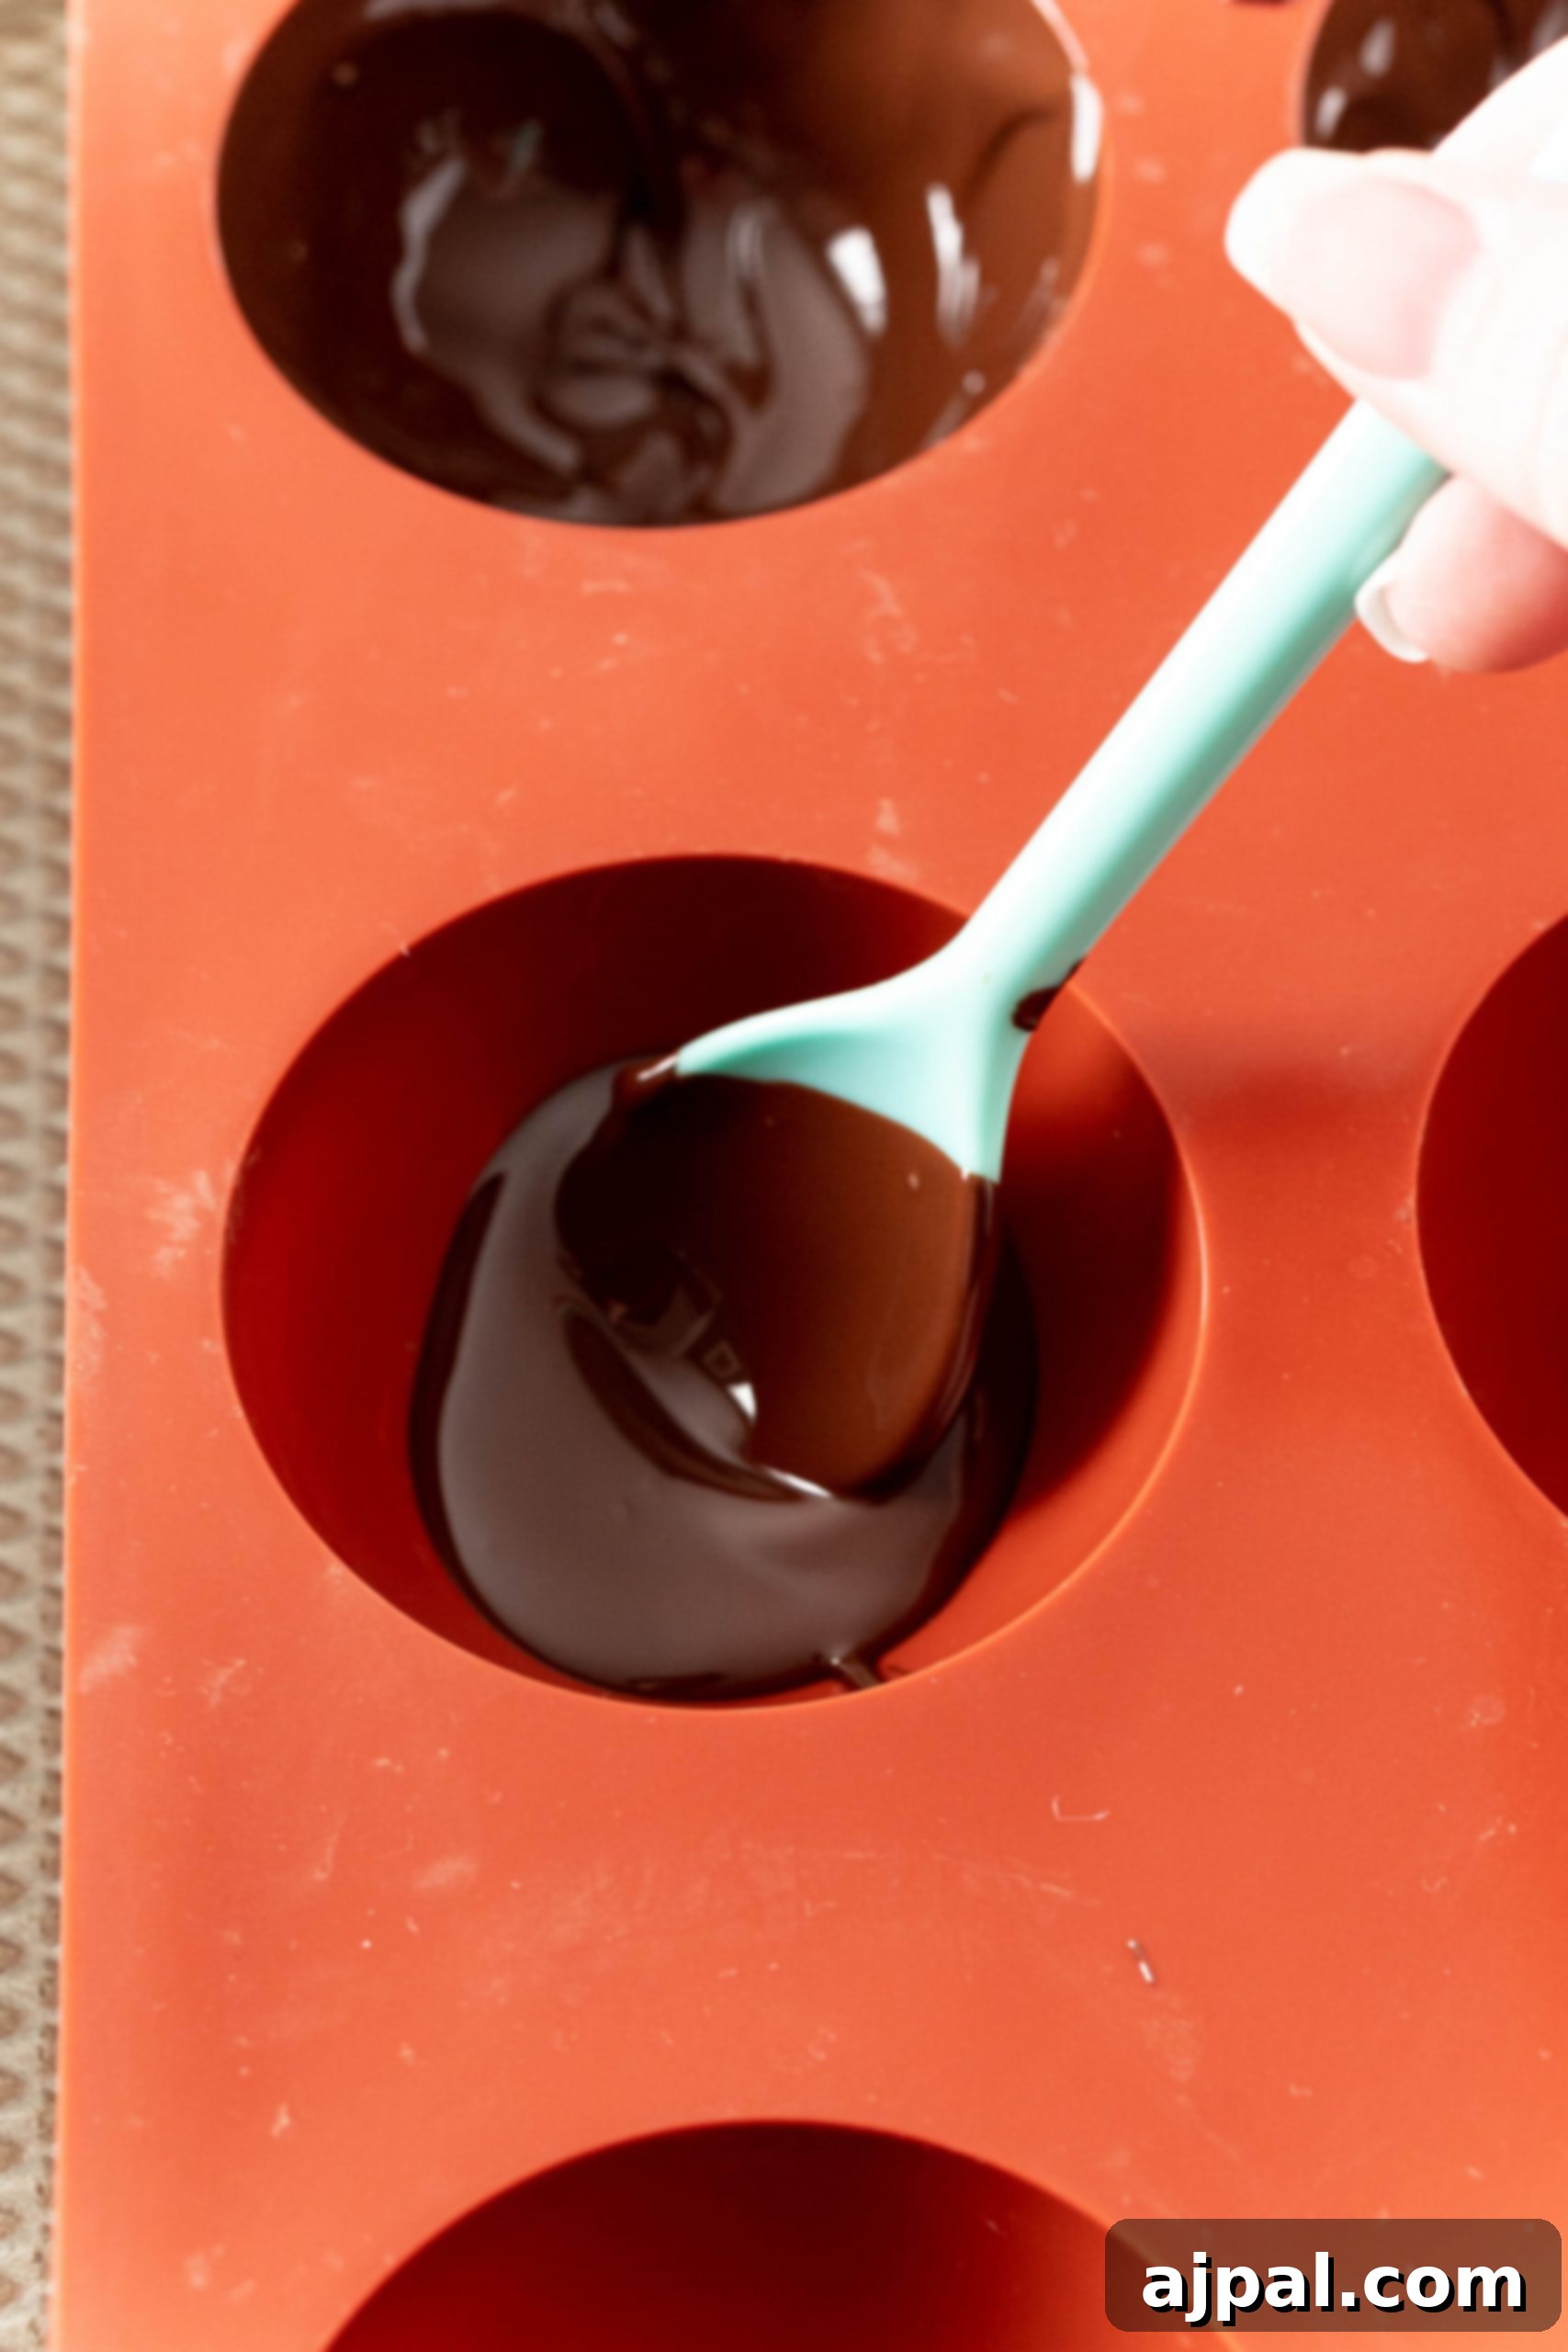
- Coat the Silicone Molds: Using a small spoon or a clean silicone pastry brush, carefully apply about 1 tablespoon of melted chocolate to the inside of each silicone mold cavity. Ensure the chocolate covers the entire surface evenly, reaching all edges. The goal is a uniform, medium-thick layer.
- Chill and Repeat Layers: Place the chocolate-coated molds in the refrigerator for 5 minutes to allow the first layer to set. Once set, retrieve the molds and apply a second, and then a third coat of chocolate. Allow the chocolate to set in the fridge for 5 minutes between each coat. Multiple thin layers create a stronger shell that is less prone to breaking and ensures complete coverage. After the final coat, let them chill for a full 10 minutes to harden completely. This multi-layer approach is essential for durable bombs.
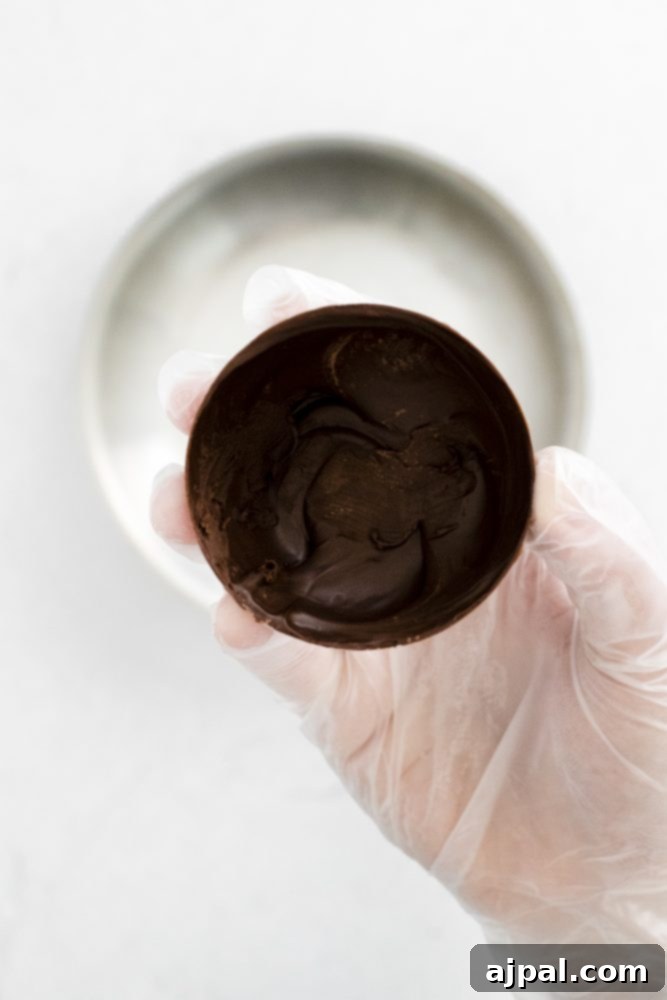
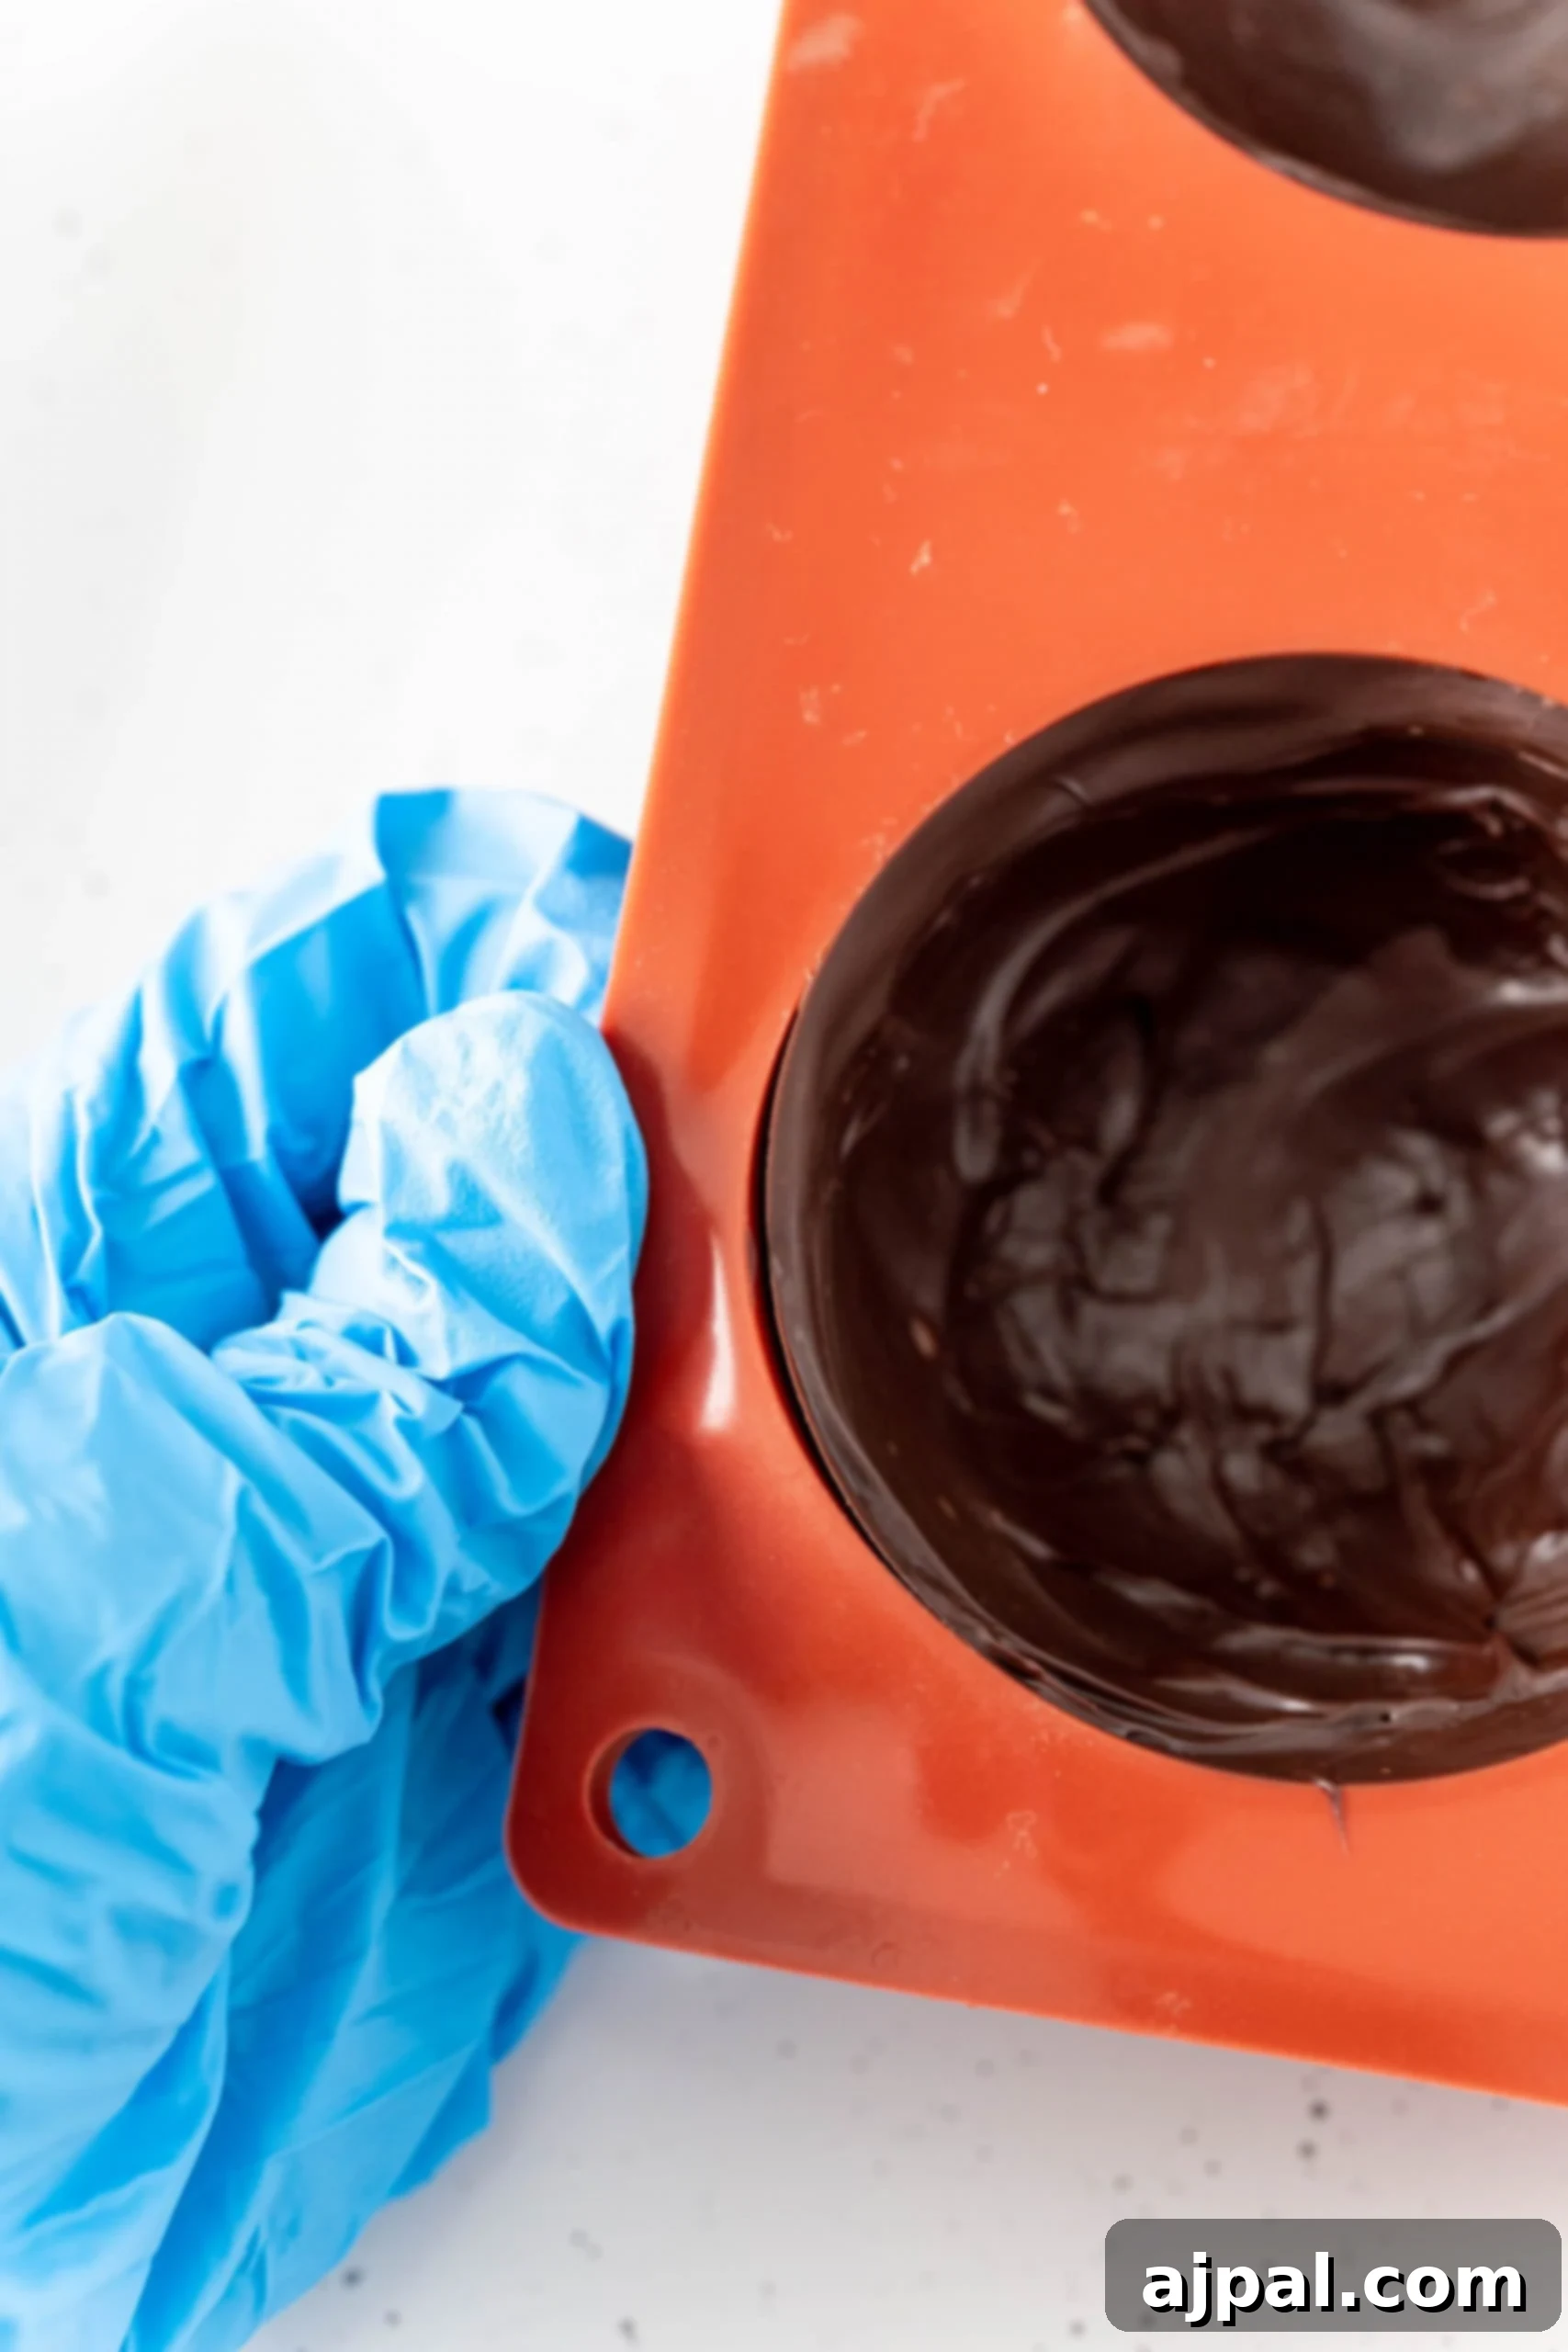
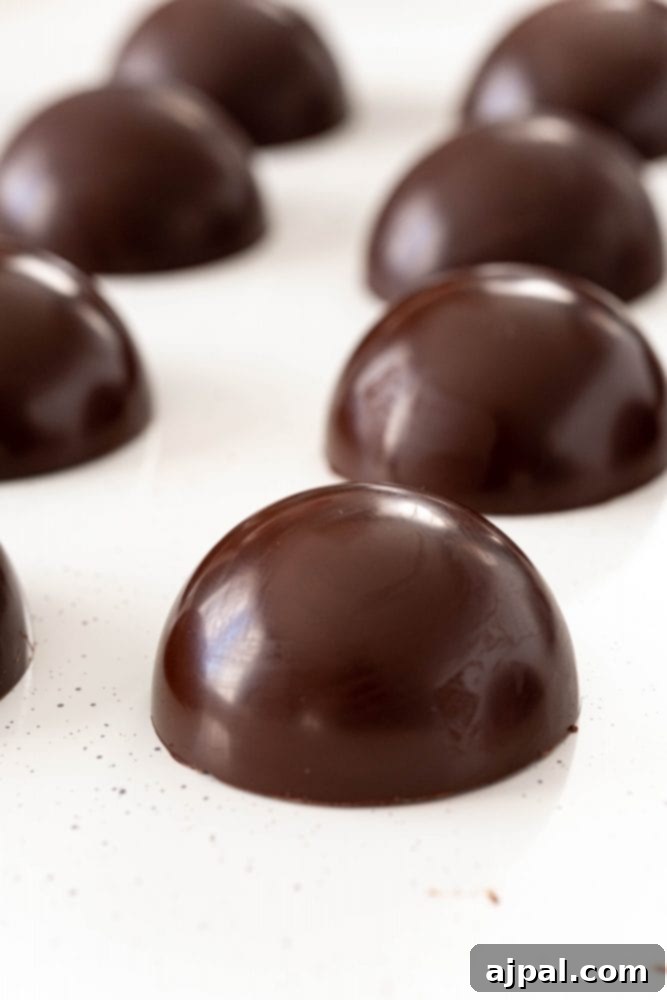
- Carefully Remove Shells: Once the chocolate is fully set and firm, gently pop the chocolate hemispheres out of the silicone molds. Work slowly and carefully to avoid cracking them. It helps to wear gloves to prevent fingerprints and to keep the chocolate from melting from the warmth of your hands.
Assembling Your Delicious Bombs
Once your chocolate shells are ready, it’s time to fill them with the flavorful core.
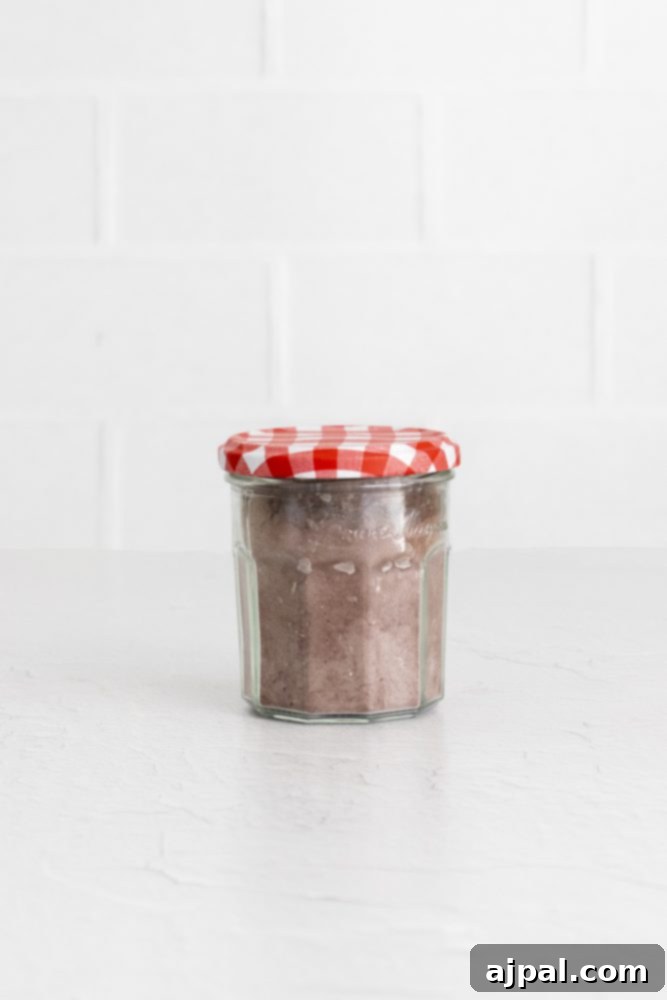
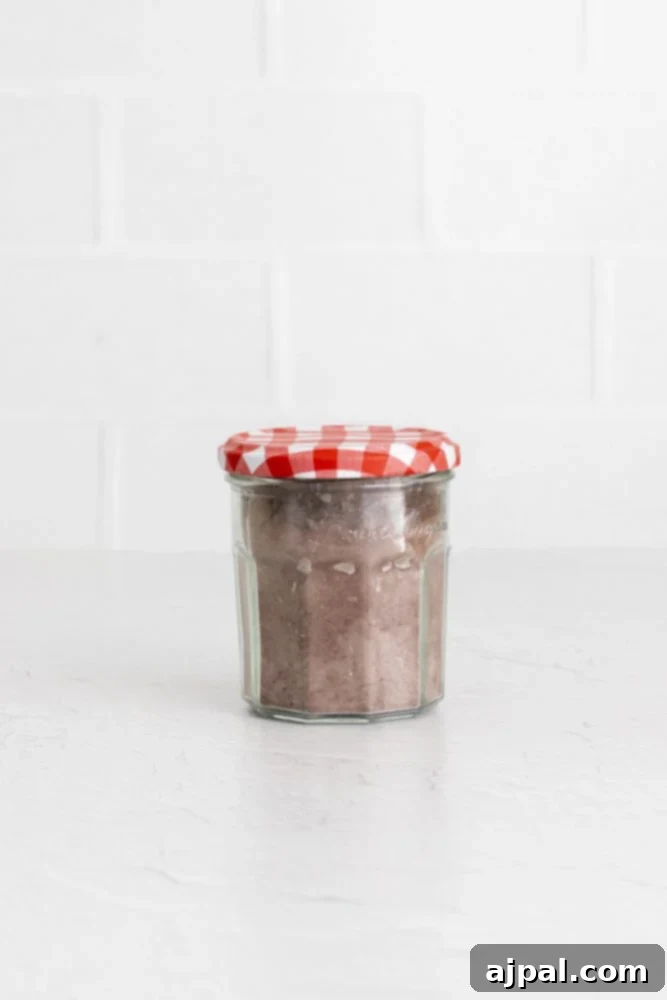
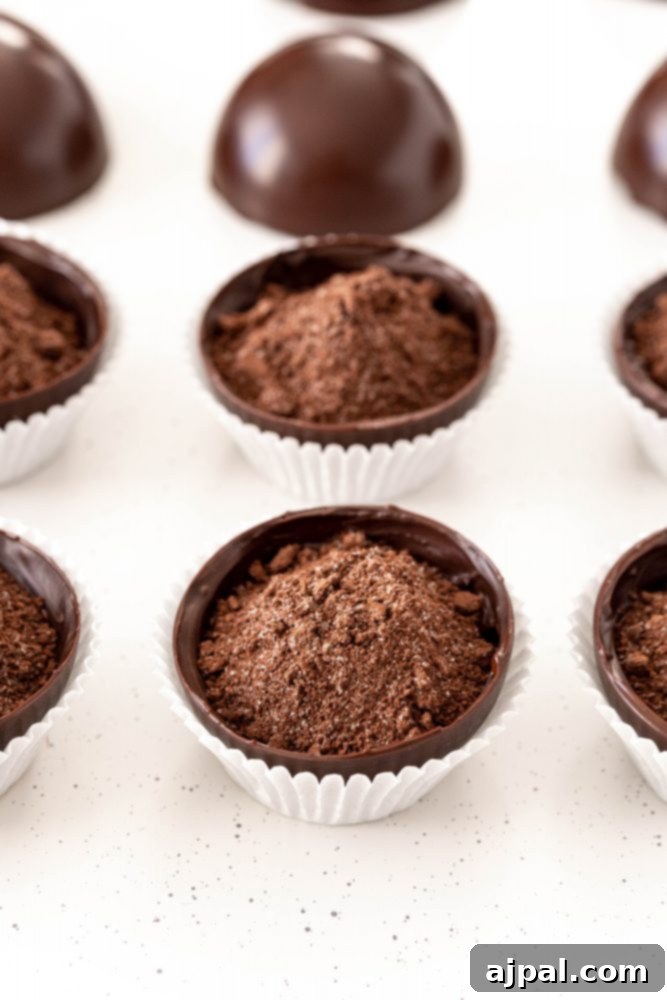
- Prepare the Filling: In a small, dry bowl, combine the hot chocolate mix powder packets, peanut butter powder, and mini marshmallows. Stir them gently to ensure an even distribution.
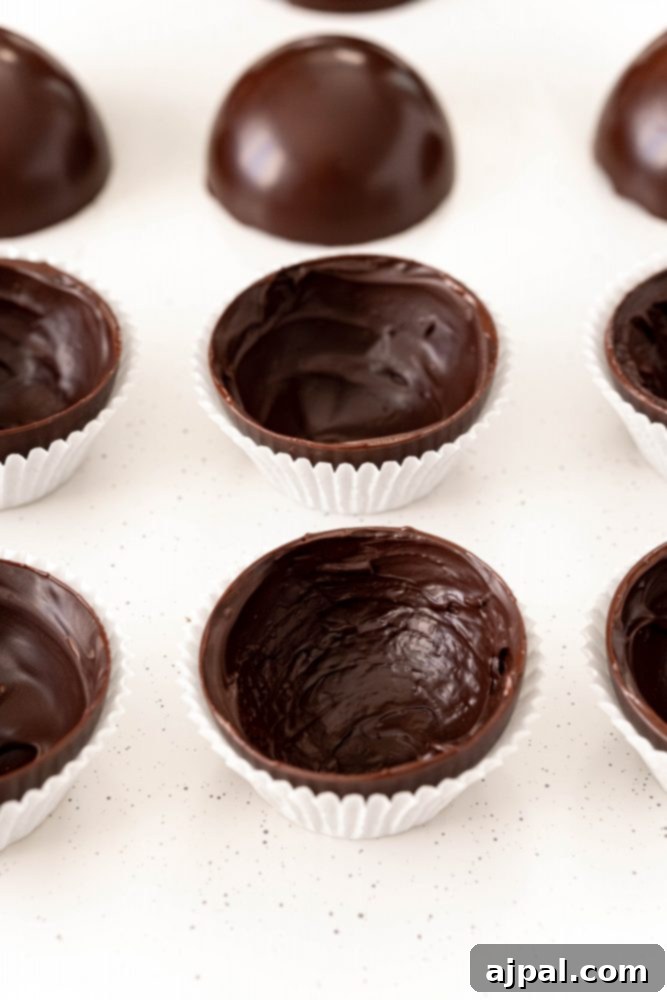
- Fill the Hemispheres: Take half of your chocolate hemispheres and carefully spoon the prepared hot chocolate mixture into each one. Fill them generously but leave enough space around the rim for sealing.
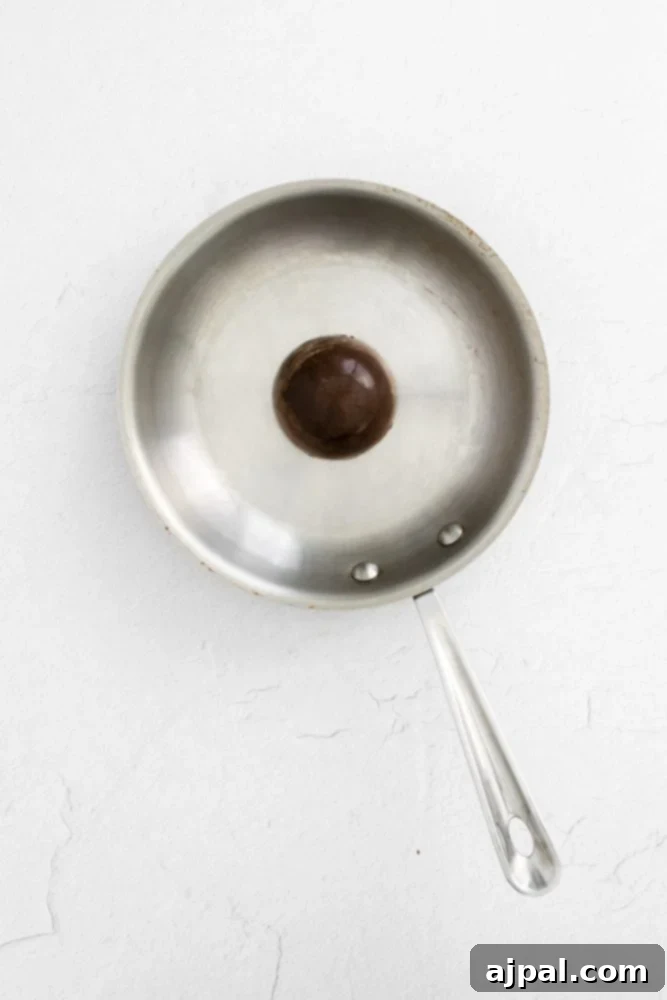
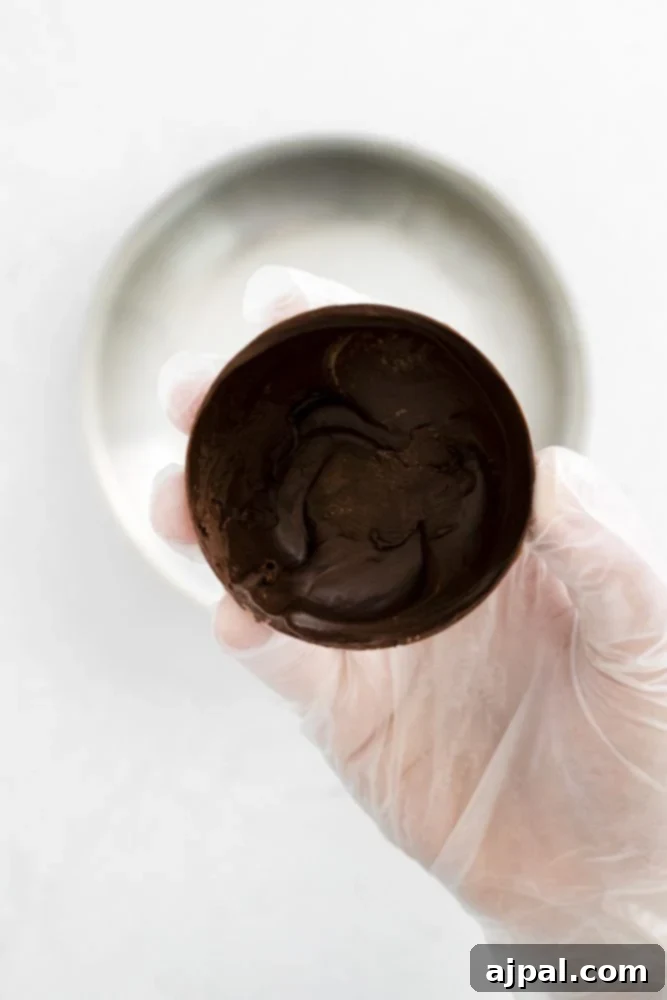
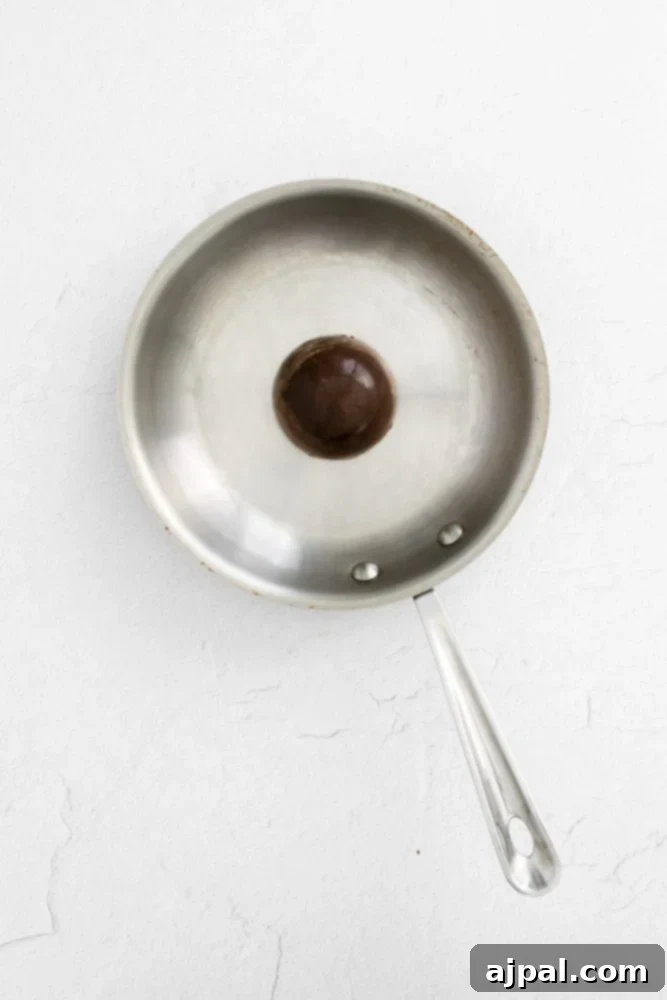
- Seal the Bombs: This step creates the complete sphere. Heat a clean, dry frying pan on your stovetop over low heat until it’s just warm to the touch (not hot enough to scorch chocolate). Gently pick up an empty chocolate hemisphere (the “top” half) with a gloved hand and lightly press its rim onto the warm pan for just a few seconds. This will slightly melt the edge. Quickly remove it and carefully place it on top of a filled hemisphere, aligning the edges to create a complete sphere. Press gently to seal. The melted chocolate will act as a natural glue. If needed, you can use a small dab of the leftover melted chocolate from earlier to secure any small gaps.
Decorating and Serving Your Creations
The final touches make all the difference, both in presentation and in taste!
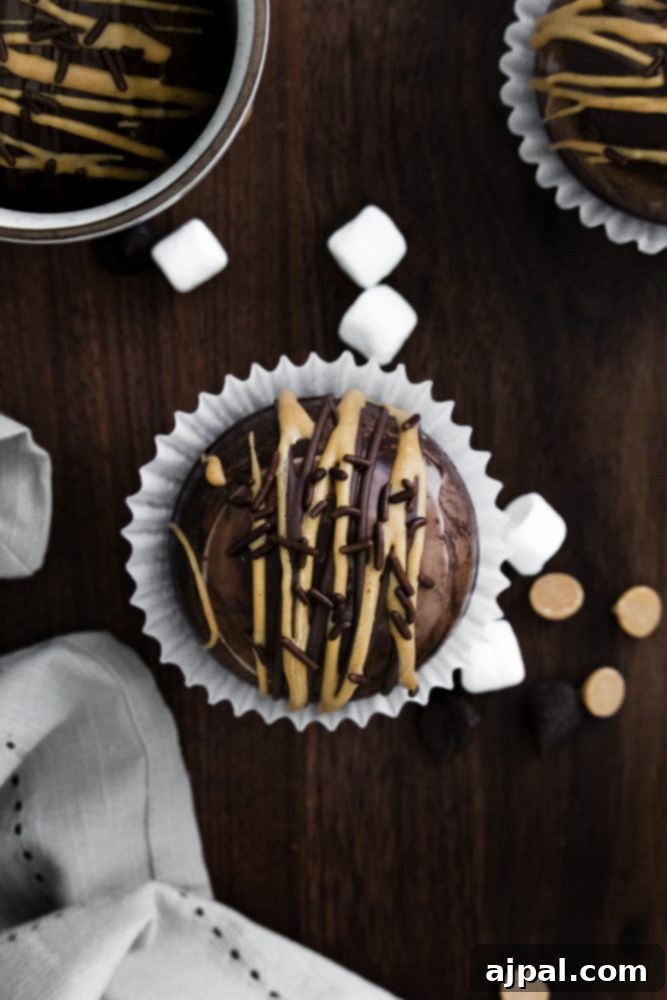
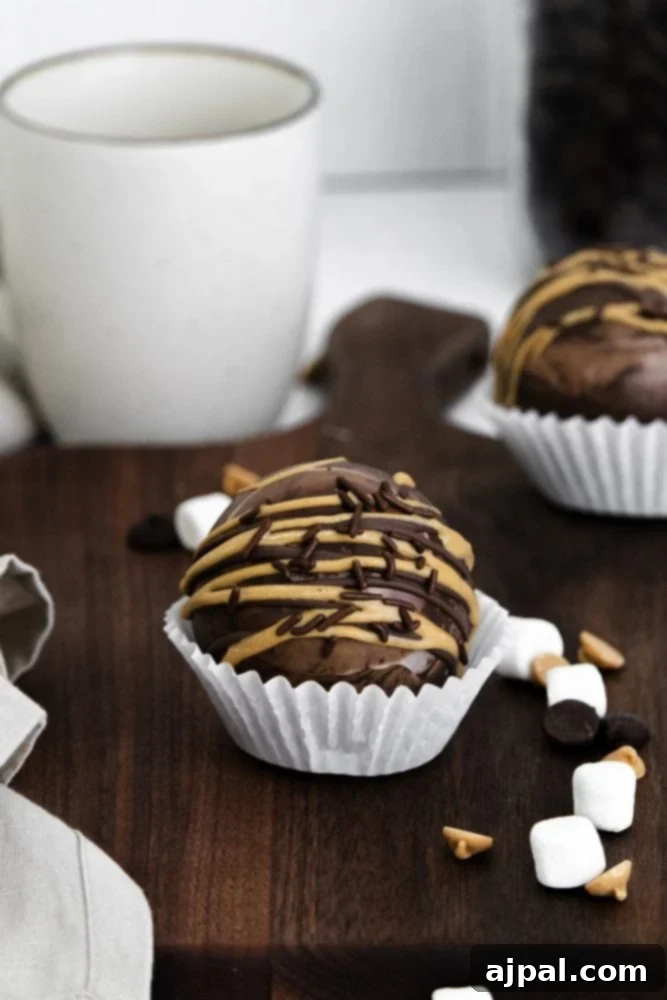
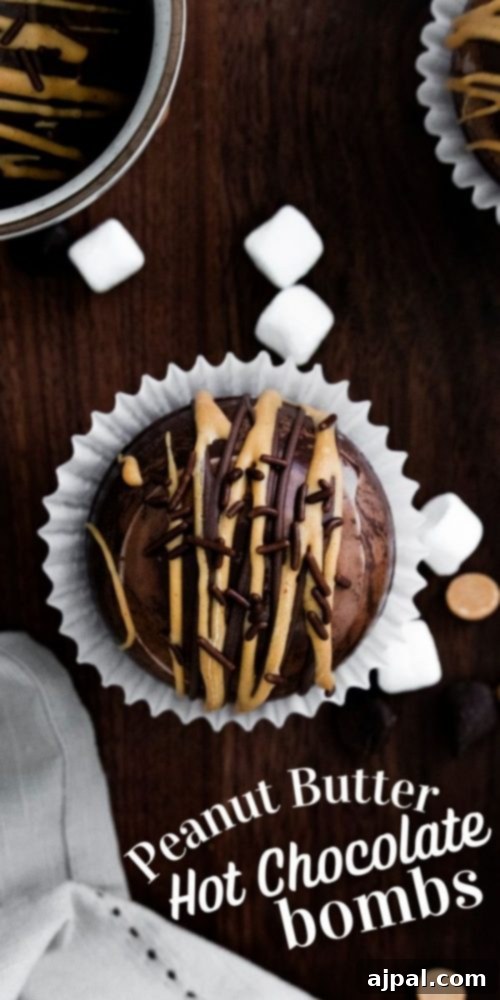
- Decorate Your Bombs: In a small, microwave-safe bowl, gently heat the peanut butter and coconut oil together in short bursts (15-20 seconds) until melted and smooth. Stir well to combine. Transfer this peanut butter drizzle to a piping bag or a ziplock bag with a tiny corner snipped off. Drizzle artistically over the sealed hot cocoa bombs. While the drizzle is still wet, scatter chocolate sprinkles over them for an extra festive look and a hint of crunch. For storage and presentation, place each decorated bomb in an individual cupcake liner to prevent them from sticking together.
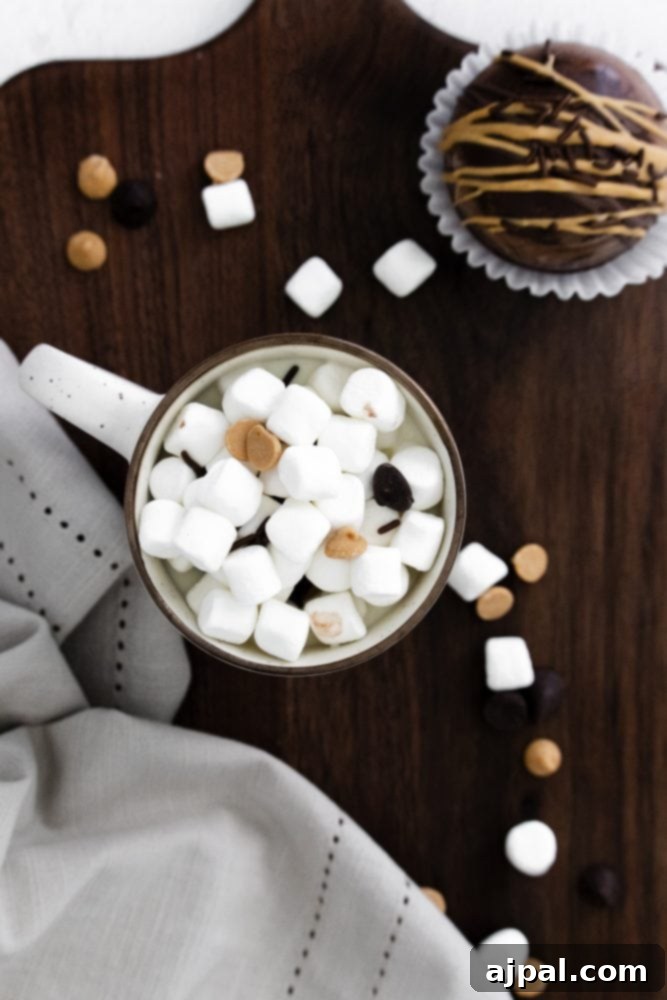
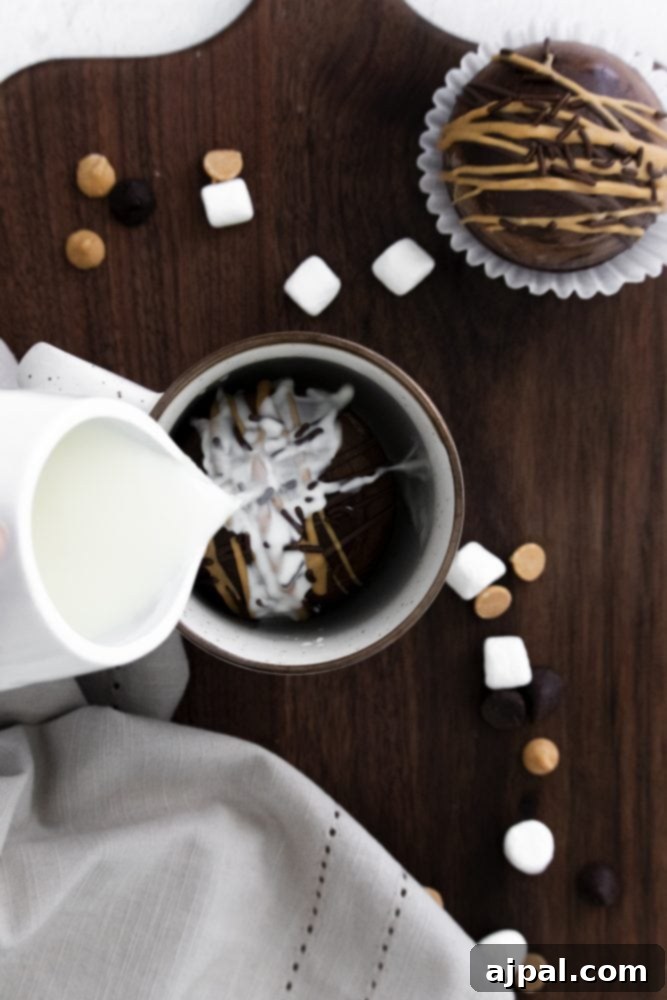
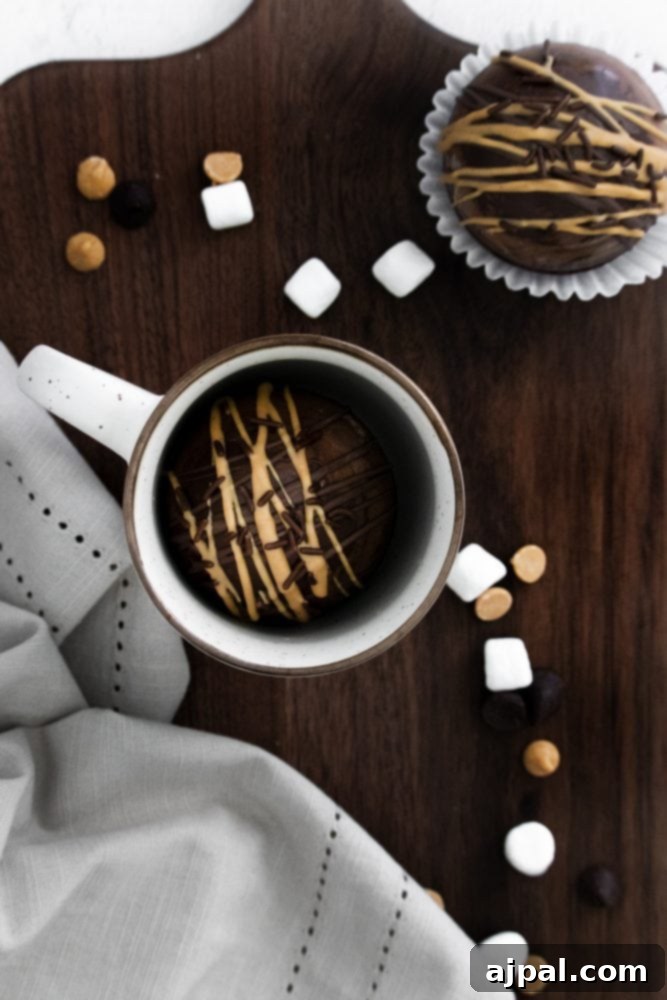
- Serve and Enjoy: To make a magnificent cup of hot chocolate, heat 8 ounces of whole milk per bomb in a small saucepan over medium heat until it’s steaming and small bubbles just begin to form around the edges – do not let it boil vigorously. Place one decorated hot cocoa bomb into a large mug. Carefully pour the hot milk over the bomb. Watch the magic unfold as the chocolate melts, releasing its delicious contents. Stir gently until everything is fully dissolved and combined. Sip and savor your homemade, decadent peanut butter hot cocoa!
Expert Tips for Flawless Peanut Butter Hot Cocoa Bombs
Achieving perfectly glossy, sturdy, and delicious hot cocoa bombs is easier with a few insider tricks. These tips will help you navigate common challenges and elevate your homemade treats to professional quality.
Perfecting Your Chocolate Tempering
Tempering chocolate correctly is crucial for shiny, snappy shells that release easily from molds and resist blooming (white streaks). While our microwave method is simplified, these tips will enhance your results:
- Finely Chop Your Chocolate: If you’re using chocolate bars, ensure they are very finely chopped. Smaller pieces melt more quickly and evenly, reducing the risk of overheating. A food processor or blender can achieve this perfectly.
- Mind the Temperature: As mentioned, keeping the chocolate below 90°F (32°C) is key for a glossy finish. If you don’t have a thermometer, melt in very short bursts and stir vigorously. If the chocolate still has a few unmelted lumps after stirring, microwave for an additional 5 seconds, no more. Overheated chocolate will be dull and brittle.
- Use Quality Chocolate: Invest in good quality baking chocolate or couverture. These chocolates are formulated to melt smoothly and temper well, yielding superior results compared to standard chocolate chips (which often contain stabilizers to prevent melting).
- Testing Temper Without a Thermometer: To quickly check if your chocolate is tempered, smear a small amount on a piece of parchment paper. Place it in the refrigerator for a couple of minutes. If it comes out shiny and snaps cleanly when bent, it’s tempered. If it’s dull or bends without snapping, it’s not tempered, and you might need to remelt and try again with more careful temperature control.
Ensuring Pristine Molds
The condition of your molds directly impacts the appearance of your chocolate shells.
- Clean and Dry Molds are Essential: Any moisture in your molds can cause your chocolate to seize or develop streaks. Ensure your silicone molds are thoroughly dry before use.
- Avoid Lint Attraction: Silicone has a tendency to attract lint. Air-dry your molds or gently pat them dry with a lint-free paper towel. Avoid using fabric dishcloths, which can leave fibers behind.
- Consider Acrylic Molds: While this recipe was developed with silicone molds, acrylic molds can also be used and often provide an even shinier finish due to their hard, smooth surface. Just be aware that removing chocolate from acrylic molds can sometimes be trickier, so ensure they are perfectly clean and your chocolate is well-tempered.
Creative Flavor Variations, Gifting Ideas, and Storage
Unleash your creativity with these additional tips:
- Boozy Bombs for Adults: For an adult twist, mix 1-2 ounces of your favorite liqueur into the hot milk when warming it. Vanilla vodka, whipped cream flavored vodka, or even a splash of Kahlúa pair wonderfully with the peanut butter and chocolate flavors. A hint of bourbon also adds a sophisticated depth.
- Nutty Alternatives: While peanut butter powder is fantastic, don’t limit yourself! Explore other nut powders like almond powder or pecan powder for different flavor profiles. These can often be found online or in specialty baking stores.
- Spice it Up: A tiny pinch of cayenne pepper in the cocoa mix can add a surprising and delightful “kick” to your hot chocolate. Cinnamon or a touch of pumpkin spice are also lovely additions.
- Gifting Presentation: Once decorated, place each bomb in a cupcake liner and then into a small cello bag tied with a festive ribbon. Add a tag with simple instructions: “Drop into 8 oz hot milk, stir, and enjoy!”
- Storage for Freshness: Hot chocolate bombs are best enjoyed within 24 hours for optimal freshness and texture. However, they can be stored in an airtight container in a cool, dark place for up to four days. Avoid direct sunlight or warm environments, which can cause the chocolate to melt or bloom. Freezing is not recommended as it can affect the chocolate’s texture.
Troubleshooting Common Hot Cocoa Bomb Issues
Even with the best intentions, things can sometimes go awry. Here’s how to tackle common problems:
- Chocolate Shells Breaking: This often happens if the chocolate layer is too thin or if the chocolate wasn’t properly tempered. Ensure you apply at least three even coats, chilling between each, and try to keep your chocolate in temper.
- Dull or Streaky Chocolate: This is a classic sign of chocolate that wasn’t properly tempered or was exposed to moisture. Remelt your chocolate carefully, keeping the temperature low, and ensure all your tools and molds are completely dry.
- Bombs Not Sealing Properly: If the bombs don’t seal, the edges weren’t melted enough, or you didn’t apply enough gentle pressure. Try gently reheating the rim on the warm pan for an extra second or two. A small dab of extra melted chocolate along the seam can also help secure it.
- Filling Leaking Out: If your bombs leak, the seal might not be complete, or the chocolate might have a small crack. Double-check your seals and ensure the shells are robust.
Frequently Asked Questions (FAQs)
How long can hot chocolate bombs last?
These hot chocolate bombs are at their peak flavor and appearance within 24 hours of making them. However, if stored properly in an airtight container in a cool, dark place (like a pantry), they can last for up to four days. Beyond that, the chocolate may start to lose its shine or develop “bloom,” though they’ll still be safe to consume.
Can I use a different type of milk to make the hot chocolate?
Absolutely! While whole milk is highly recommended for the richest and creamiest hot chocolate due to its higher fat content, you can certainly use other types of milk. Skim milk, 2% milk, almond milk, oat milk, or soy milk will all work. Just be aware that the flavor and creaminess of your hot cocoa will vary depending on the fat content and flavor profile of your chosen milk.
Can I use a different nut powder?
Yes, you can! The world of nut powders offers many exciting possibilities beyond peanut butter. If you’re looking for an alternative or want to experiment with different flavors, you would be amazed at the variety of nut powders available online and in specialty stores. Almond powder provides a slightly sweeter, delicate flavor, while pecan powder offers a richer, buttery note. Just ensure the powder is finely ground to dissolve smoothly into your hot chocolate.
Can I make these dairy-free?
Yes, you can! To make these hot cocoa bombs dairy-free, use dairy-free chocolate morsels (many dark chocolates are naturally dairy-free, but always check labels). For the milk, opt for a creamy dairy-free alternative like full-fat oat milk or almond milk when serving. Ensure your hot chocolate mix and marshmallows are also dairy-free.
What if my chocolate doesn’t melt smoothly or seizes?
Chocolate seizing (turning into a thick, gritty paste) is usually caused by contact with even a tiny amount of water or by overheating. Ensure all your bowls and utensils are completely dry. When melting, use short bursts in the microwave or a double boiler, and avoid direct high heat. If it seizes, it’s very difficult to recover for making bombs; it’s often best to start with a new batch of chocolate.
Peanut Butter Hot Cocoa Bombs Recipe
Peanut Butter Hot Cocoa Bombs Recipe
Delicious hot cocoa loaded with peanut butter flavor in a perfect melting hot cocoa bomb!
By: Courtney O’Dell
Servings: 6
Prep time: 20 mins
Total time: 20 mins
Rating: 4.60 out of 5 stars from 10 votes
Pin Recipe |
Email Recipe |
Print Recipe
Equipment
- OXO Good Grips Silicone Basting & Pastry Brush – Small
- PBfit All-Natural Peanut Butter Powder 15 Ounce
- ThermoPro TP-02S Instant Read Meat Thermometer
- Cordillera Milk Chocolate Couverture Cacao 32%
- Green Direct Cupcake Liners – Standard Size
- Silicone Molds for Chocolate (3PCS) (red)
Ingredients
- 12 ounces chocolate morsels (finely chopped high-quality baking chocolate recommended)
- 2 tablespoons peanut butter powder
- 1 cup hot chocolate mix powder packets
- ¼ cup mini marshmallows (Sarah’s Candy Factory Mini Marshmallows)
- Chocolate Sprinkles, for topping
- 2 tbsp Peanut Butter, for topping (Justin’s Classic Peanut Butter)
- ½ tsp coconut oil, for topping (365 Everyday Value Organic Coconut Oil)
- 8 oz whole milk, per bomb (Organic Valley Whole Milk)
Instructions
- Heat the chocolate in a microwave-safe bowl, uncovered, on high for 1 minute. Stir well, then microwave in 30-second increments, stirring in between each, until the chocolate is completely melted and smooth (this usually takes 1-2 minutes longer). For a shiny chocolate finish, the chocolate’s temperature should ideally not exceed 90°F (32°C).
- Using the back of a spoon or a silicone brush, paint approximately 1 tablespoon of melted chocolate into each cavity of your silicone molds. Ensure the chocolate evenly coats the entire inside surface.
- Place the molds in the refrigerator for 5 minutes to allow the first chocolate layer to set. After 5 minutes, add a second coat of chocolate, then chill again. Repeat for a third coat, ensuring each layer is thin and even. This process creates a sturdy shell. Save any remaining melted chocolate for sealing and decorating.
- After the third coat, let the chocolate cups set and cool in the fridge for an additional 10 minutes to harden completely. This ensures they are firm enough to handle without breaking.
- While the chocolate shells are chilling, prepare the filling. In a small bowl, combine the contents of the hot chocolate mix packets, peanut butter powder, and mini marshmallows. Stir gently to mix all ingredients thoroughly.
- Carefully remove the hardened chocolate hemispheres from their molds. Take half of the hemispheres and fill them generously with the dry hot chocolate mixture.
- To seal the chocolate bombs, gently heat a clean, dry frying pan on the stovetop over very low heat until it’s just warm. Hold an empty chocolate hemisphere (the top half) by its edges with a gloved hand and lightly press its rim onto the warm pan for a few seconds until the edge slightly melts. Quickly place this melted edge onto a filled hemisphere, aligning them to form a complete sphere. Press gently to create a secure seal.
- For decoration, heat the remaining peanut butter and coconut oil in a small microwave-safe bowl until melted and smooth. Mix thoroughly. Transfer this drizzle to a piping bag or a ziplock bag with a tiny corner snipped off. Drizzle the peanut butter mixture over the sealed chocolate bombs. While the drizzle is still wet, add chocolate sprinkles for an appealing finish. For easy handling and gifting, place each finished bomb in an individual cupcake liner.
- To serve: Heat 8 ounces of whole milk per hot chocolate bomb in a saucepan or microwave until steaming hot (just before boiling). Place one prepared chocolate bomb in the bottom of a large mug. Pour the hot milk over the bomb and watch it melt, releasing the delicious peanut butter hot cocoa mix and marshmallows. Stir well until everything is fully combined and enjoy your indulgent drink!
Nutrition
Serving: 1g
Calories: 678kcal
Carbohydrates: 102g
Protein: 13g
Fat: 25g
Saturated Fat: 14g
Polyunsaturated Fat: 8g
Cholesterol: 17mg
Sodium: 470mg
Fiber: 5g
Sugar: 82g
Nutrition information is automatically calculated and should only be used as an approximation.
Additional Info
Course: Drinks
Cuisine: American
If you’ve tried this recipe, we’d love to hear from you! Mention @sweetcsdesigns or tag #sweetcsdesigns on Instagram to share your creations!
For a quick visual guide, check out our web story of this post here.
Discover More Delicious Drink Recipes
If you loved creating and enjoying these peanut butter hot cocoa bombs, you’ll be thrilled to explore our other favorite drink recipes. Perfect for any season or occasion, these beverages are sure to quench your thirst and tantalize your taste buds.
Best Mulled Cider Ever
Easy Apple Cider Mojitos Recipe
Easy Tropical Green Smoothie Recipe
Pumpkin Pie Punch
Easy Peach Simple Syrup Recipe
Peach La Croix Mocktail
Bourbon Peach Smash Cocktail
Stone Fruit Sangria Mocktail
Looking for more chocolatey delights? Explore all our chocolate recipes here!
If you cherish this easy recipe, we would be incredibly grateful if you could rate it and leave a comment below! Your feedback helps us grow and inspires other home cooks. Please also consider sharing your creations on Instagram, Facebook, and Pinterest – we love seeing what you make!
Only have 30 minutes to get dinner on the table? Sign up for my 30-minute dinner plans direct to your inbox!
Find and shop my favorite products in my Amazon storefront here!