
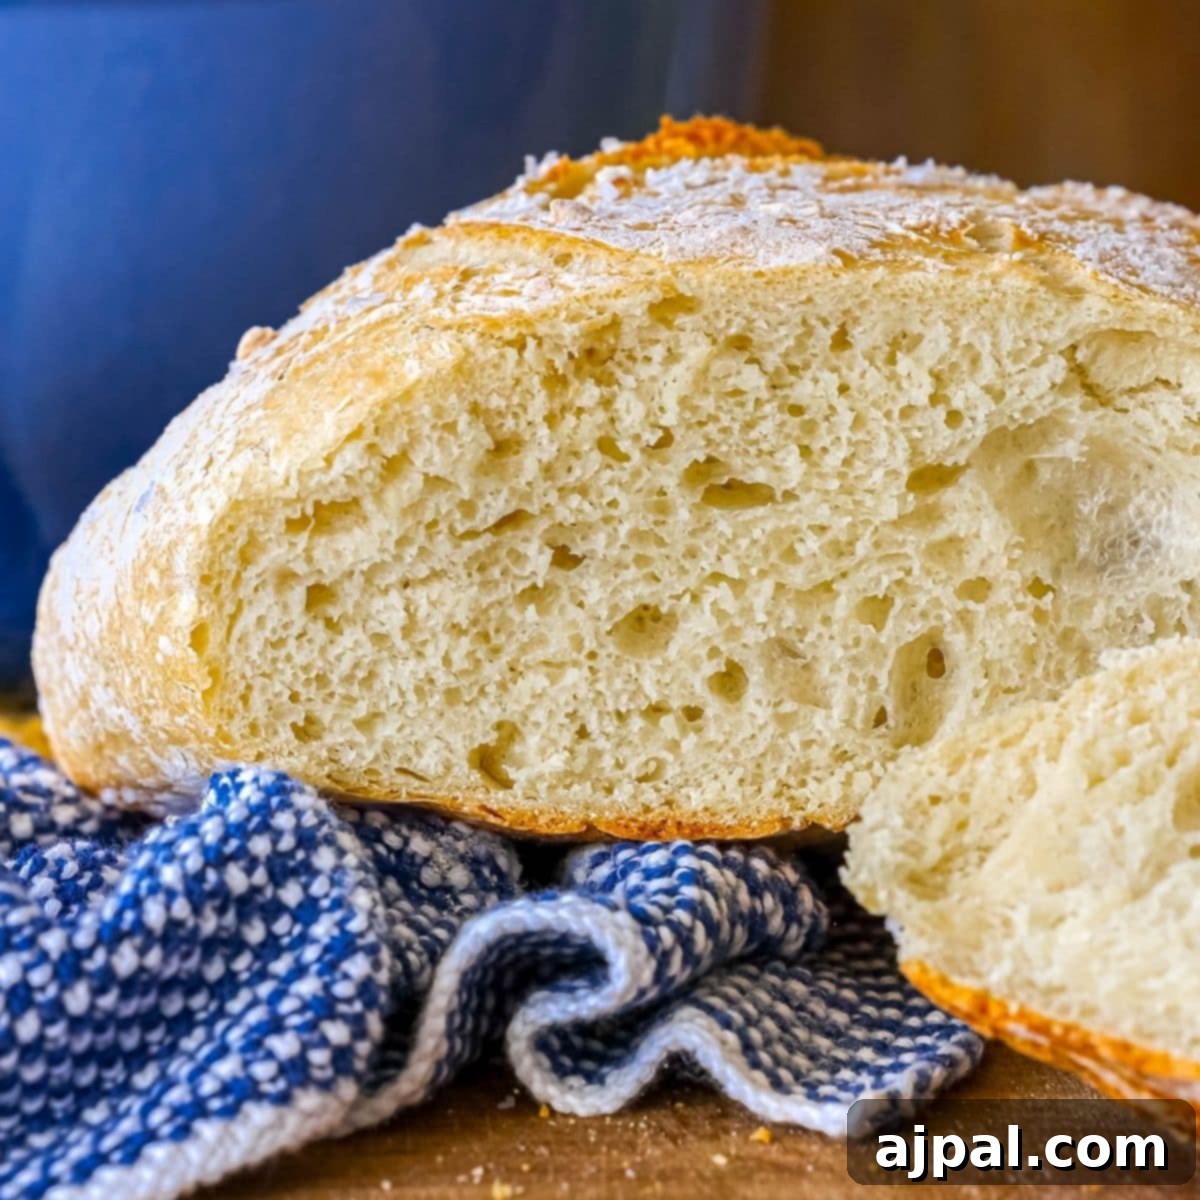
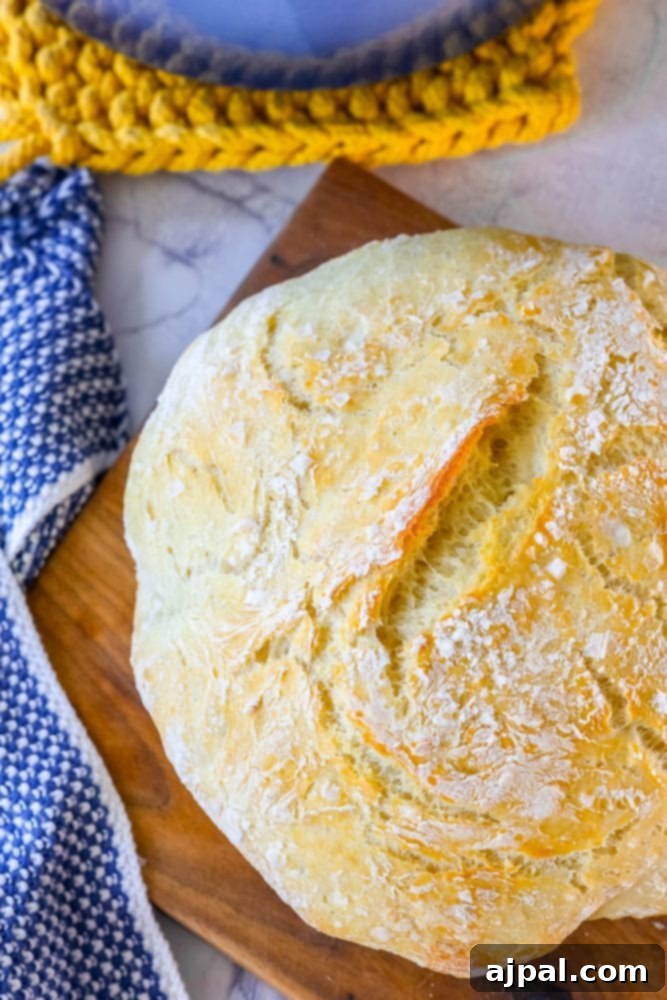
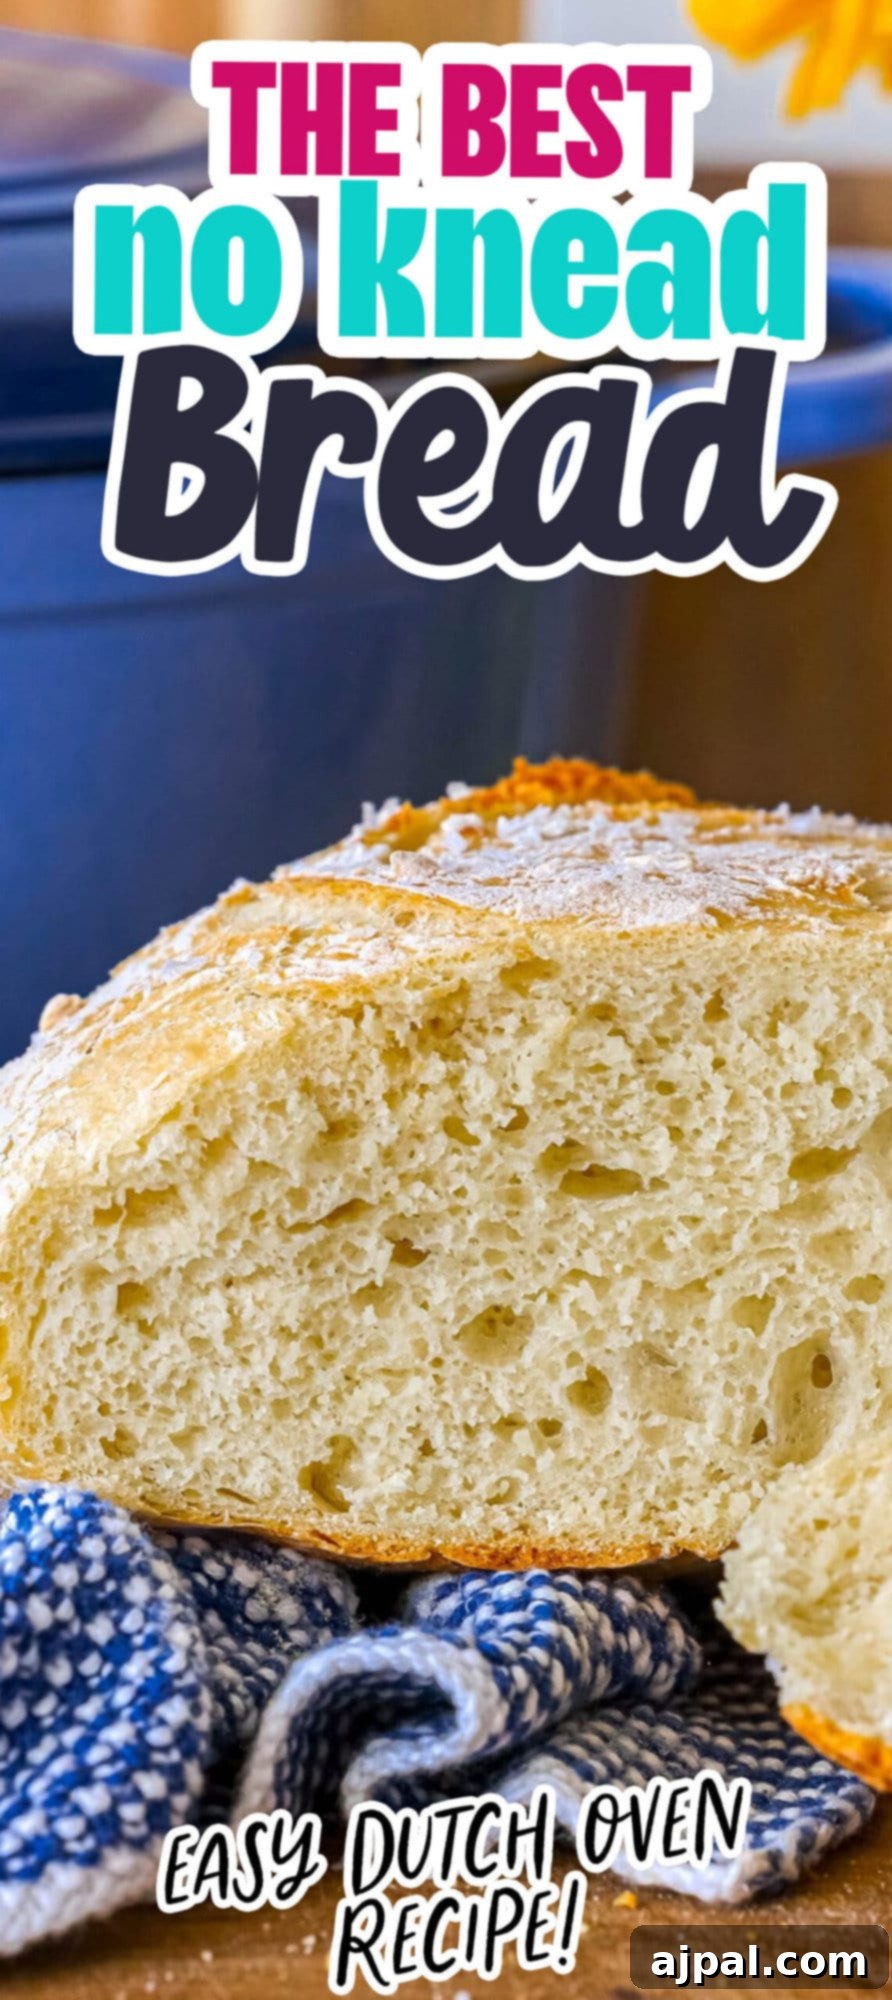
The Best Easy No-Knead Bread offers a revolutionary approach to baking, making it possible for anyone, regardless of baking experience, to create magnificent, bakery-style bread right in their own kitchen. This simple, foolproof method requires no laborious kneading and uses minimal special equipment – primarily a Dutch oven – to achieve a crusty exterior and a wonderfully chewy interior. Forget the intimidation often associated with traditional bread making; with this recipe, you’re just a few simple steps away from enjoying warm, homemade artisan bread.
Imagine the aroma of freshly baked bread filling your home, its golden crust promising a delightful crunch, and its soft, airy crumb waiting to be torn apart and savored. This easy no-knead bread recipe transforms a seemingly complex process into an effortlessly achievable culinary triumph. Simply mix the ingredients, allow time for a slow rise, and bake to perfection. It’s the ideal way to enjoy delicious, homemade bread with surprisingly little effort, allowing you to elevate any meal with minimal fuss.
We believe that cooking should be an empowering and enjoyable experience for everyone, from seasoned chefs to absolute beginners. That’s why we share detailed tips and explanations with all our recipes. Understanding the ‘why’ behind each step and the role of every ingredient can build confidence in the kitchen and help you master dishes more effectively. Our goal is to equip every home cook with the knowledge to create fantastic meals, making baking accessible and fun. If you’re eager to jump straight to the full recipe, a clickable table of contents is provided below for easy navigation.
Table of Contents
- The Best No-Knead Bread
- How to Make No-Knead Bread
- Tips for Perfect No-Knead Bread and FAQs
- FAQs
- Easy No-Knead Bread Recipe
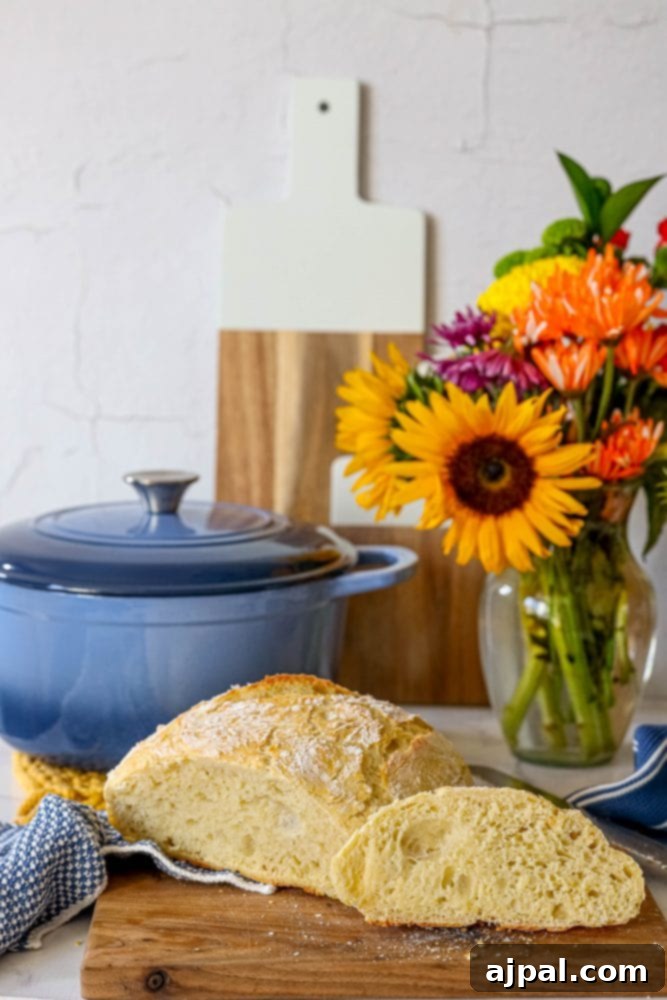
The Best No-Knead Bread: Achieving Bakery Quality at Home
For many home cooks, the thought of baking bread can be daunting. Traditional bread making often conjures images of endless kneading, precise measurements, and a strict adherence to rules – a process that can feel restrictive and intimidating. I, too, used to be one of those cooks who found the exactitude of baking a challenge, preferring the spontaneous, “toss-ingredients-in” approach of savory cooking. However, this no-knead bread recipe completely changed my perspective, proving that exceptional homemade bread doesn’t have to be complicated.
This recipe is an incredibly simple, yet profoundly satisfying, way to create a quick, delicious, and incredibly flavorful loaf. It requires virtually no manual labor, eliminating the need for a stand mixer or vigorous kneading by hand. The magic lies in a minimal ingredient list and a slow, patient rise, allowing the yeast to work its wonders and develop deep, complex flavors. The result is an artisan-quality bread with a beautiful, crunchy crust and a soft, airy, chewy crumb – the kind you’d expect from a high-end bakery, but made effortlessly in your own kitchen.
Inspired by the famous New York Times No-Knead Bread, this version incorporates a few personal touches and modifications to enhance flavor and simplicity. While fresh rosemary is a personal favorite, lending a fragrant, herbaceous note, this recipe is wonderfully versatile. Feel free to experiment with other herbs like thyme or oregano, or even spices, cheese, or sun-dried tomatoes to create your unique flavor profile. The possibilities for customization are truly endless, making each loaf a new adventure.
This no-knead bread has become a beloved weekend tradition. You can even prepare the dough the night before, letting it slowly ferment in the refrigerator, and then simply bake it fresh in the morning. It’s perfect served alongside a hearty meal like a Beef and Lentil Stew, or as an accompaniment to a light and fresh Salade de Chèvre Chaud. For another delightful variation, be sure to explore our Jalapeño Cheddar No-Knead Bread, packed with spicy, cheesy goodness. We are confident you’ll love this easy, delicious bread as much as we do!
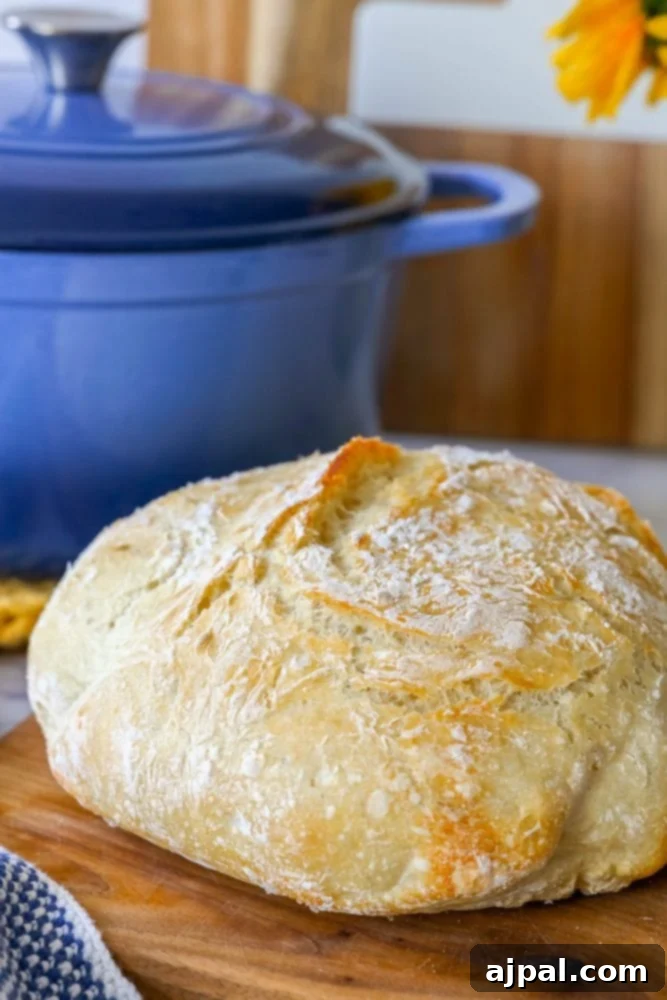
How to Make No-Knead Bread: A Step-by-Step Guide
Creating this incredible bread is surprisingly straightforward. The key to success lies in understanding and following a few simple steps, allowing the ingredients and time to do most of the work for you. With minimal active participation, you’ll achieve a perfectly baked loaf that will impress everyone.
Essential Ingredients for Your No-Knead Loaf:
- Flour (600 grams, approximately 4 cups, lightly packed and leveled off): Flour is the fundamental building block of any bread. For this recipe, all-purpose flour works beautifully, providing the necessary gluten proteins that develop into the bread’s structure and chewy texture. The careful measurement ensures the correct hydration ratio for the dough, contributing to its overall crumb and the delightful crispness of the crust.
- Water (2 cups or 473.18 mL, lukewarm): Water is crucial for hydrating the flour and activating the yeast. Lukewarm water, ideally between 100-110°F (37-43°C), is essential because it encourages the yeast to thrive without being too hot to kill it or too cold to hinder its activity. Proper hydration is key to developing the gluten network, which gives the bread its characteristic airy texture and allows it to rise effectively.
- Salt (1½ teaspoons): More than just a flavor enhancer, salt plays a vital role in bread making. It helps to control the yeast’s fermentation rate, preventing the dough from rising too quickly and allowing for a richer, more nuanced flavor development. Additionally, salt strengthens the gluten structure, contributing to a better crumb and a more desirable texture in the final loaf.
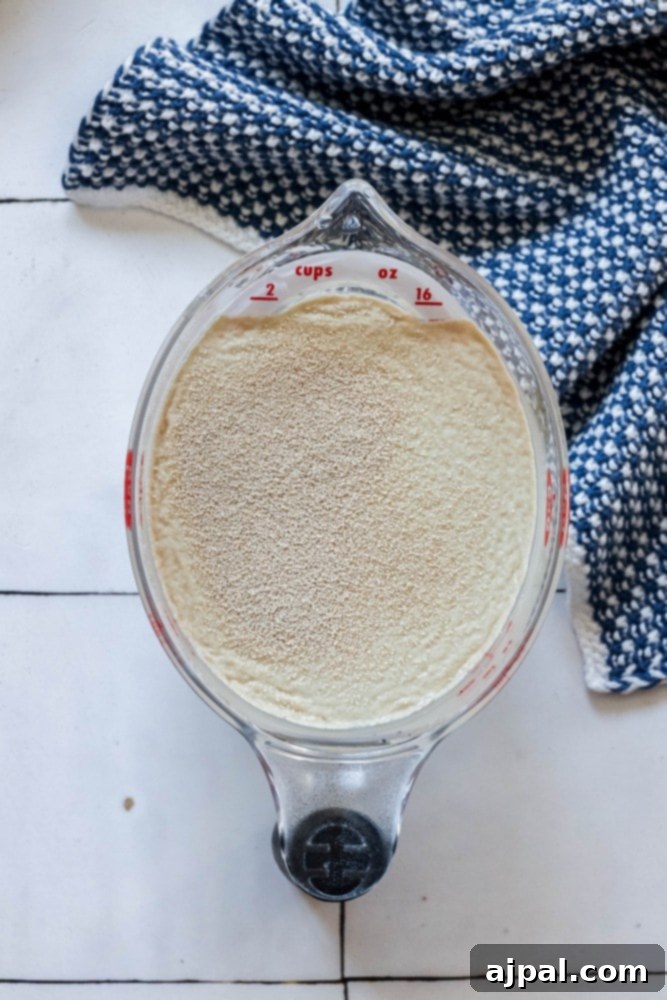
- Dry Active Yeast (1 envelope or 7 grams, equivalent to 2¼ teaspoons): Yeast is the living microorganism responsible for leavening the bread, causing it to rise. Dry active yeast, when activated by lukewarm water, consumes the sugars in the flour and produces carbon dioxide gas. This gas becomes trapped within the gluten network, creating the air pockets that give the bread its light, airy crumb and volume.
- Celtic Sea Salt (1 tablespoon, optional): Used as an optional topping, Celtic sea salt adds a wonderful textural element and a delicate, mineral-rich flavor to the crust. Its larger crystals provide a pleasant crunch and an extra layer of gourmet appeal, making your homemade bread feel even more special.
- Rosemary (2 tablespoons, optional): Fresh rosemary infuses the bread with its aromatic, piney fragrance and distinct flavor, transforming a simple loaf into a gourmet experience. This ingredient is entirely optional and highly customizable. Feel free to substitute with other fresh or dried herbs like thyme, oregano, chives, or even a blend, to tailor the bread to your personal taste.
Once you’ve gathered these simple yet powerful ingredients, you’re ready to embark on the easy journey of no-knead bread making. Remember, while this recipe is incredibly forgiving, paying attention to a few crucial details will ensure the best possible results. We recommend reading through the instructions a couple of times before you begin, especially concerning the rising periods and oven temperature, to ensure a smooth baking process.
The Method: Mix, Rise, and Bake
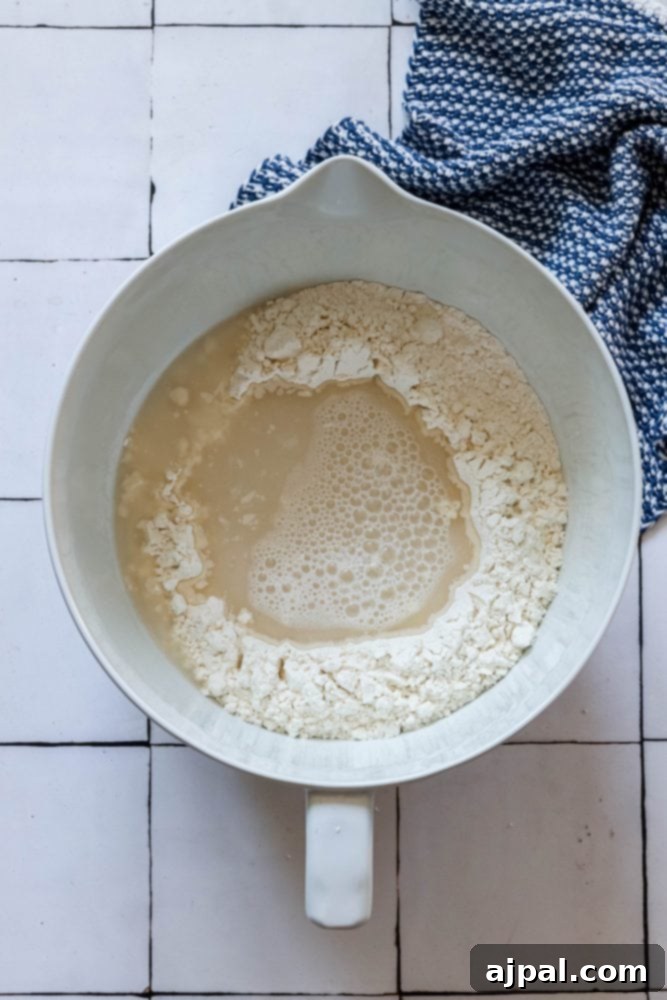
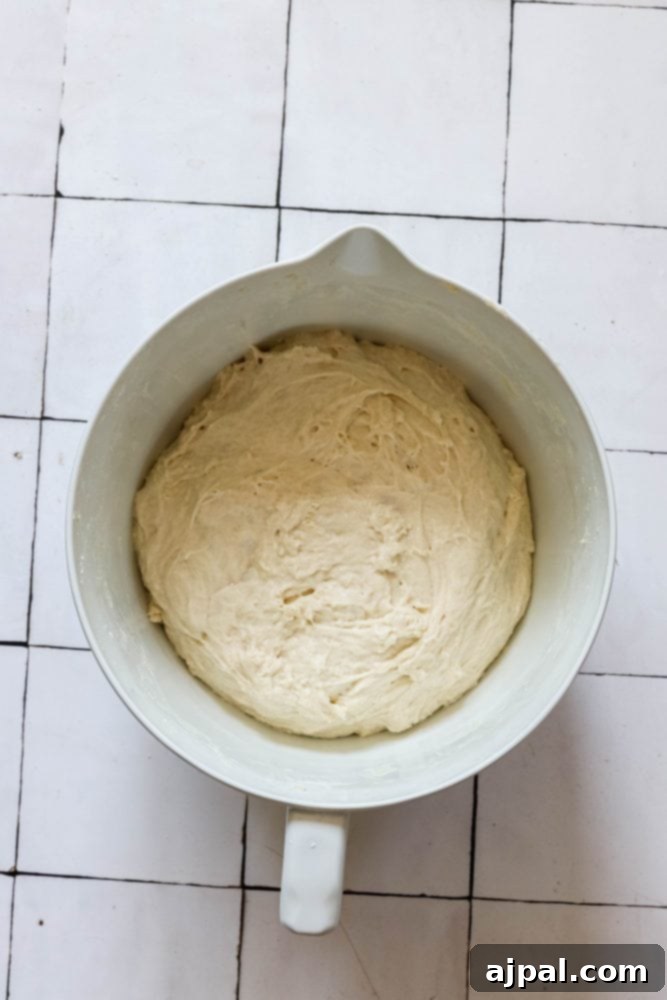
Proofing the Yeast
- While not strictly necessary for all yeast types, proofing (or “blooming”) your dry active yeast is a highly recommended step. It serves as a crucial test to ensure your yeast is alive and active, guaranteeing your bread will rise properly.
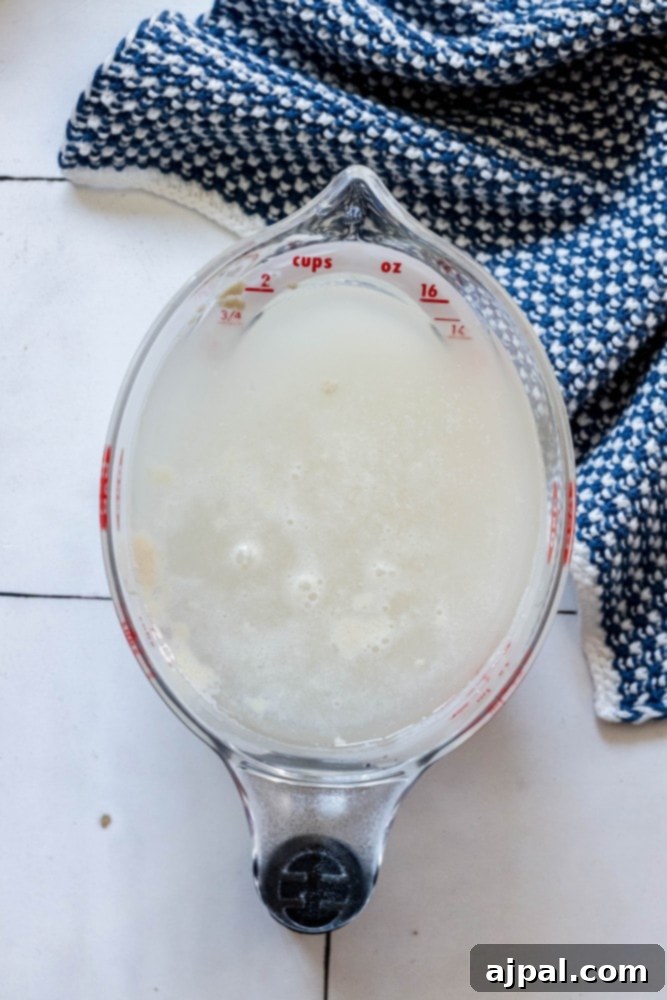
- This simple step takes only a few minutes. Combine the yeast with the specified lukewarm water (around 100-110°F or 37-43°C). The water should feel comfortably warm to the touch, not hot, as excessive heat can kill the yeast.
- Allow the mixture to sit undisturbed for about five minutes. If your yeast is active, it will develop a light, frothy foam on the surface. This foam is a clear indication that the yeast is alive and ready to leaven your bread.
- If, after five minutes, your yeast-water mixture shows no signs of foaming, it means your yeast is likely expired or was subjected to an incorrect water temperature. In this case, you will need to discard it and use fresh yeast to ensure a successful rise for your bread.
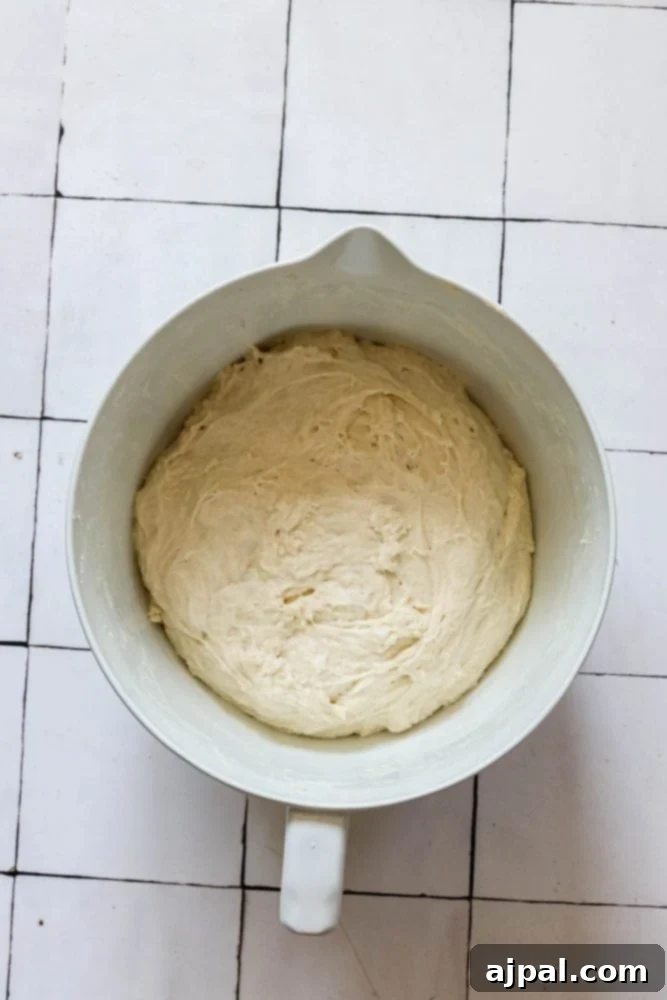
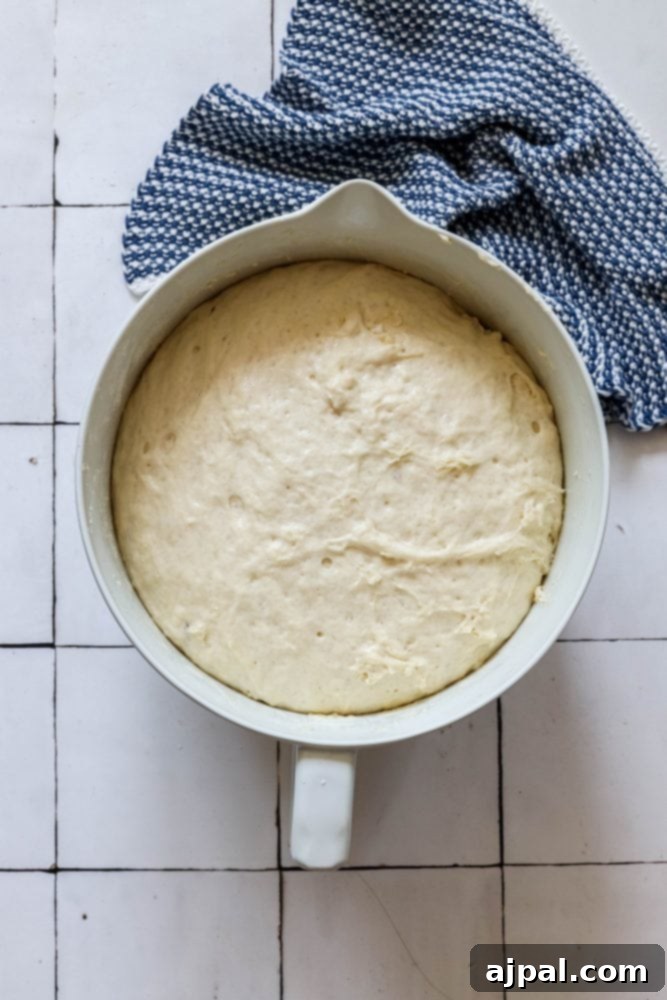
The Art of the Rise
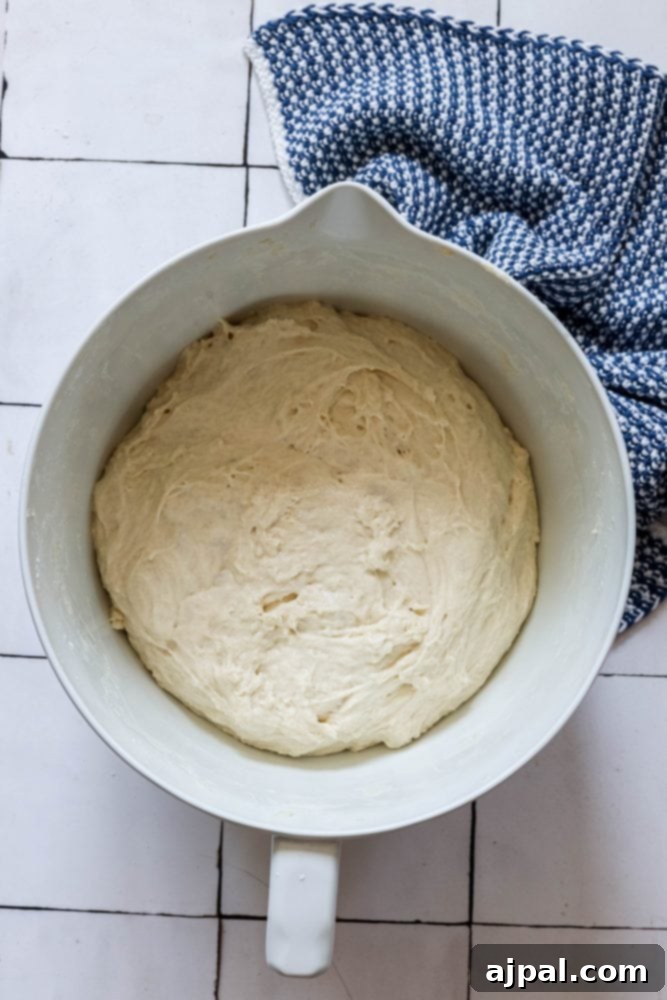
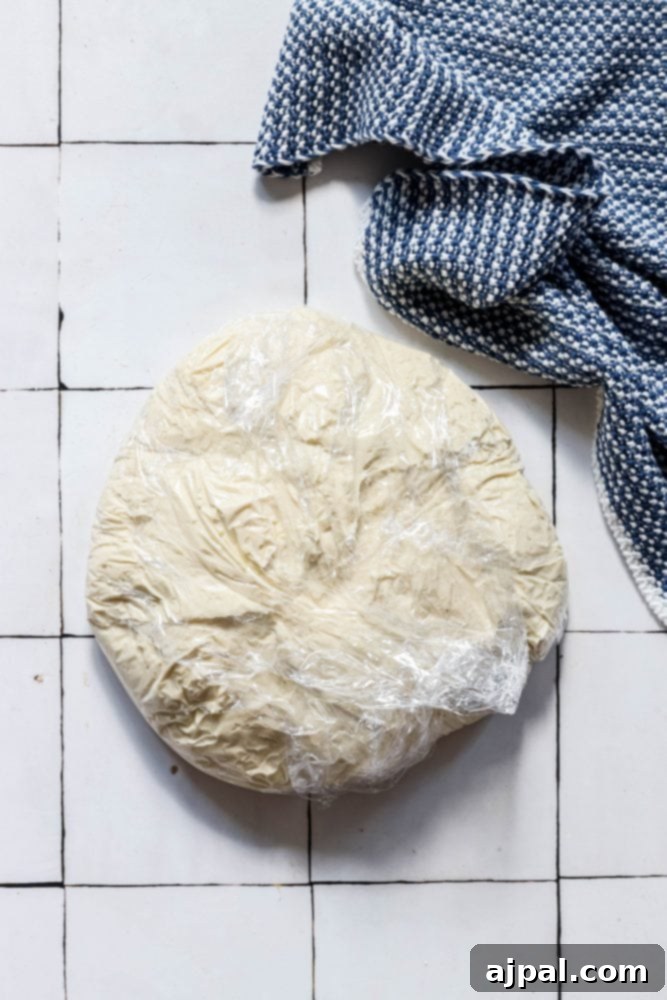
- This no-knead bread recipe involves three distinct rising periods, each contributing to the bread’s flavor development and light, airy structure. Two rises occur in a bowl, followed by a final, shorter rise while the dough is wrapped in plastic.
- For optimal rising, ensure your mixing bowl is clean before the first rise. Any remnants of dough sticking to the sides can hinder the upward expansion of the dough.
- Cover the dough with a damp, warm kitchen towel or plastic wrap. The dampness helps create a humid environment, which is ideal for yeast activity. Ensure the towel does not directly touch the dough, and that it’s not so wet as to drip water onto the surface of the dough.
- Place the dough in a consistently cool, draft-free area for rising. Avoid placing it near a window with cold drafts or directly on top of a preheating oven, as fluctuating temperatures can negatively impact the yeast’s activity and the rise of your bread. A consistent environment is key for a steady and effective rise.
Baking to Perfection in a Dutch Oven
- The Dutch oven is truly the secret weapon for achieving the signature crunchy crust and airy crumb of this no-knead bread. Its heavy, thick walls effectively trap heat and moisture, creating a steamy, oven-within-an-oven environment. This high-humidity, high-heat setting allows the bread to rise rapidly and evenly during the initial baking phase, preventing the crust from setting too quickly and resulting in a beautifully expanded loaf.
- Many home bakers ask about alternatives if they don’t own a Dutch oven. While you can attempt this recipe in another heavy, lidded pot, the results may vary. The intense, consistent heat and sealed environment provided by a Dutch oven are critical for producing the light, fluffy texture that prevents the bread from becoming dense or gummy. If using an alternative, ensure it can withstand high oven temperatures and has a tight-fitting lid to simulate the steamy conditions.
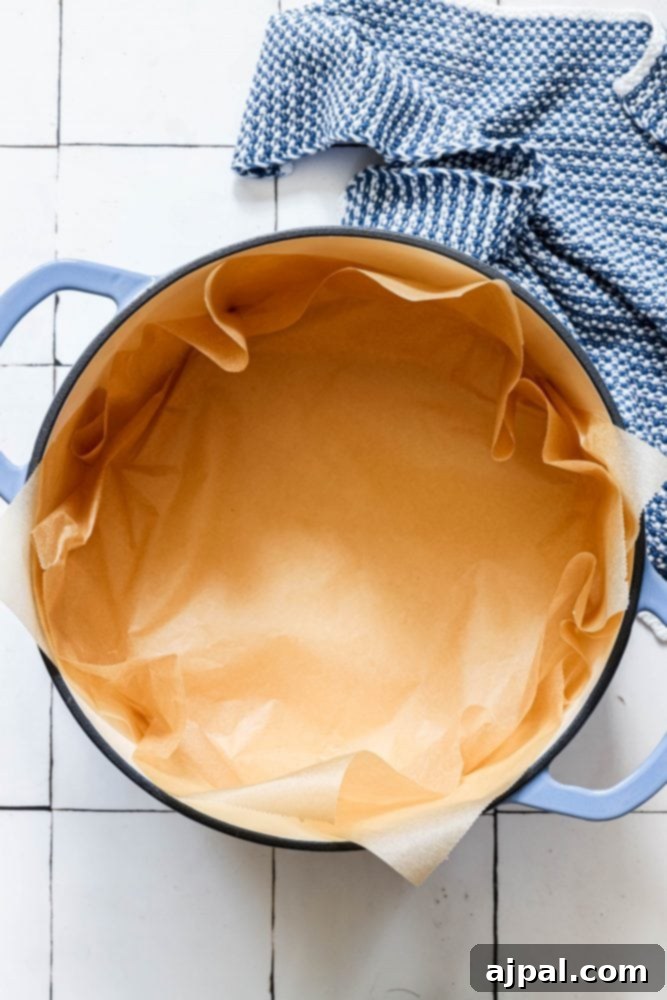
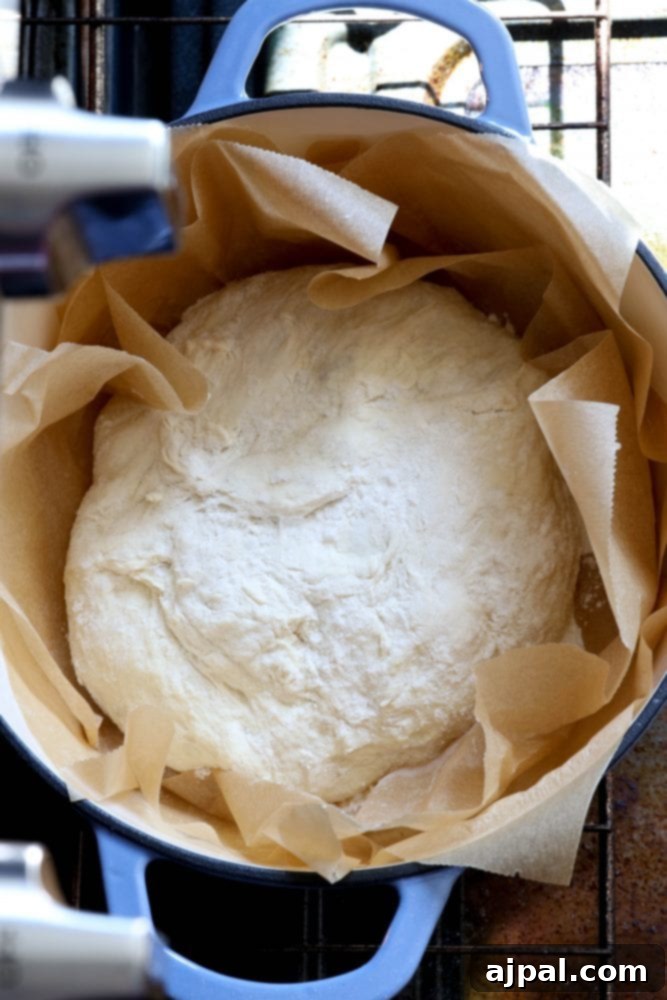
- For ease of handling and to prevent sticking, lining your Dutch oven with parchment paper is highly recommended. A light dusting of flour on the parchment adds another layer of security, ensuring your beautiful loaf slides out effortlessly once baked.
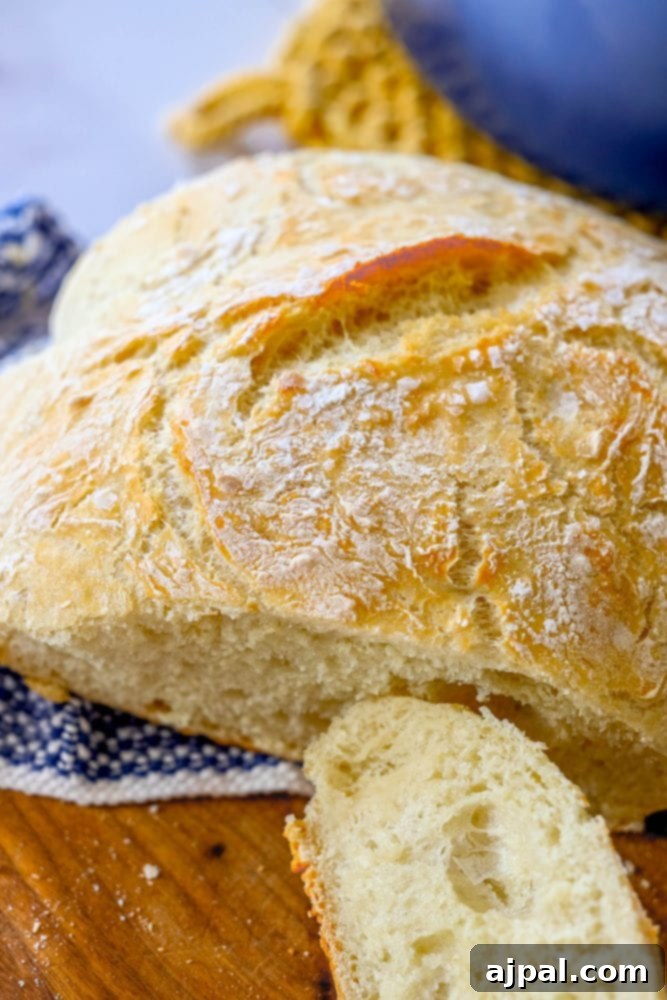
Tips for Perfect No-Knead Bread and Frequently Asked Questions
Mastering no-knead bread is more about patience and understanding a few key principles than it is about complex techniques. Here are some essential tips to help you achieve a perfect loaf every time:
- Line with Parchment Paper: Always line your Dutch oven with parchment paper. This not only prevents sticking but also makes it incredibly easy to transfer the dough into the hot pot and lift the finished bread out. A light sprinkle of flour on the bottom of the parchment can further aid in achieving a lovely crust.
- Preheat Oven and Dutch Oven Fully: This step is non-negotiable for success. Preheat your oven to 450°F (230°C) with the empty Dutch oven (and its lid) inside for at least 30 minutes, ideally while your dough undergoes its final rise. This intense initial heat is crucial. It creates a burst of steam when the dough hits the hot pot, which helps the bread rise rapidly (known as “oven spring”) and develop that irresistible, crunchy crust. Skipping this step will result in a denser loaf with a less desirable texture.
- Use Quality Ingredients: The simplicity of no-knead bread means the quality of your ingredients really shines through. Opt for a good quality bread flour, which typically has a higher protein content, contributing to better gluten development and a stronger, more elastic dough. Always use fresh, active dry yeast that is within its expiration date.
- Measure Accurately: While this recipe is forgiving, accuracy in measuring ingredients is still important, especially for first-timers. Using a kitchen scale to measure flour by weight (grams) rather than by volume (cups) is the most precise method and highly recommended for consistent results.
- Adjust Water-to-Flour Ratio as Needed: Factors like ambient humidity and the specific type of flour can affect how much water your dough needs. The dough should be shaggy and sticky, but not soupy. If it seems too dry, add a tiny bit more water (a tablespoon at a time); if too wet, a touch more flour.
- Maintain Lukewarm Water for Yeast: As mentioned, the water for activating your yeast should be lukewarm, around 100-110°F (37-43°C). Too cold, and the yeast won’t activate; too hot, and it will die. A good rule of thumb is that it should feel like a warm bath on your wrist.
- Embrace Long Fermentation: The beauty of no-knead bread is its extended fermentation period. Allowing the dough to rise slowly, typically for 12-18 hours at room temperature (or even longer in the refrigerator for richer flavor), is what develops its deep, complex flavor and creates that signature open, airy crumb structure.
- Gentle Mixing and Folding: Unlike traditional bread, there’s no vigorous kneading here. Simply mix the ingredients until they are just combined and no dry pockets of flour remain. After the initial mix, you can perform a few gentle “stretch and fold” motions by hand or with a bowl scraper. This helps to further develop the gluten without strenuous effort.
- Cover and Rest: After the initial mixing, cover your dough with plastic wrap or a damp kitchen towel. This prevents a skin from forming and provides the ideal environment for the yeast to begin its work. A short rest period of 15-30 minutes after mixing allows the gluten to relax, making the dough easier to handle later.
- Proper Shaping: Before its final rise, gently shape your dough into a round or oval. This is not about deflating it but rather creating surface tension. Lightly flour your hands and work surface, then gently pull the edges of the dough towards the center, turning and repeating until you have a smooth, taut ball. Place it seam-side down in a well-floured proofing basket (banneton) or a bowl lined with parchment paper.
- Score the Dough: Just before baking, use a very sharp knife, a razor blade (lame), or even clean scissors to make a few shallow cuts on the surface of your dough. This “scoring” serves a practical purpose: it directs where the bread will expand as it bakes, preventing uncontrolled tearing and helping to achieve a more visually appealing loaf.
- Practice Patience: Resist the urge to cut into your freshly baked bread immediately. It’s crucial to let the bread cool completely on a wire rack for at least an hour, or even longer. Cutting into hot bread can result in a gummy texture because the internal moisture hasn’t fully set. Patience will be rewarded with the perfect crust and crumb.
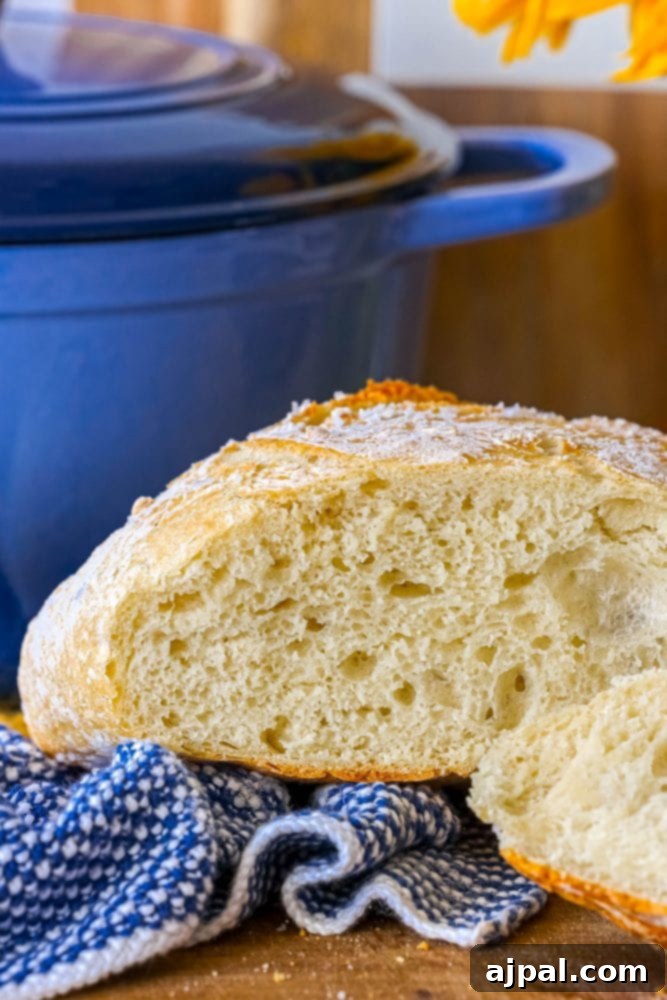
Frequently Asked Questions About No-Knead Bread
This recipe calls for three distinct rising periods: twice in a bowl (each for about an hour to an hour and a half), and a final, shorter rise for about 30 minutes while the dough is shaped and covered with plastic wrap, often while the Dutch oven is preheating.
If your yeast doesn’t foam up (even a little bit) after being mixed with lukewarm water and left for five minutes, it indicates that your yeast is not active. This could be due to expired yeast or the water being too hot or too cold. In such a case, the yeast is dead, and your bread will not rise. You’ll need to use fresh, active yeast.
No, water for proofing yeast should be lukewarm – warm to the touch, like a baby’s bath, but never hot. Water that is too hot will kill the yeast, preventing it from activating and causing your bread to fail to rise.
Absolutely, preheating your Dutch oven is highly recommended and makes a significant difference. Placing the dough into a super-hot Dutch oven allows for rapid initial expansion (oven spring), contributing to a lighter, airier crumb and a wonderfully crunchy, crusty exterior. Do not skip this step!
No-knead bread typically bakes for about 45 minutes covered, followed by an additional 10 to 15 minutes uncovered, until it achieves a deep golden-brown color and is thoroughly baked through.
Bake no-knead bread at a high temperature of 450°F (230°C, Gas Mark 8).
We highly recommend using a 5-quart enameled Dutch oven or a heavy cast-iron Dutch oven with a tight-fitting lid. The heavy material and sealed environment are crucial for the bread’s texture. Always line it with parchment paper for best results.
This bread is best enjoyed fresh on the day it’s baked. However, it can be stored in a cool, dry place for up to two days. For the best crust preservation, we recommend storing it in a paper bag rather than a plastic bag, which can make the crust soft and chewy.
Yes, you can freeze the dough after the initial mixing. Wrap it tightly in plastic wrap and freeze for up to four months. When ready to bake, thaw the dough naturally in the refrigerator overnight, then follow the rise steps outlined in the recipe below.
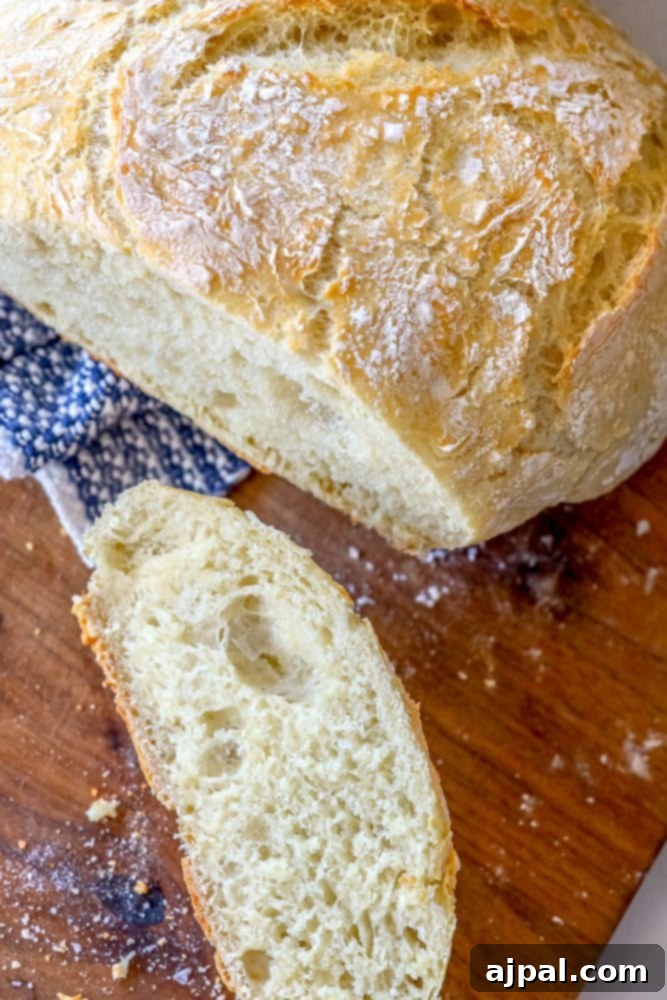
Other Delightful Bread Recipes You’ll Love
If you’ve discovered the joy and simplicity of this easy, effortless no-knead bread, you’ll be thrilled to explore our other fantastic everyday bread recipes. From soft, buttery dinner rolls that rival those from a fine bakery to cheesy, savory delights, there’s a homemade bread to complement every meal and craving. Here are some of our favorites:
Dilly Bread Recipe
Pumpkin Bread Mini Pumpkins
Easy Apple Fritter Bread Recipe
Sourdough Granola Bars
Sourdough Peach Cobbler
Sourdough Blueberry Cobbler
Easy Sour Cream Cornbread
Sourdough Croutons
You can find our complete bread recipe archives here for even more delicious inspiration!
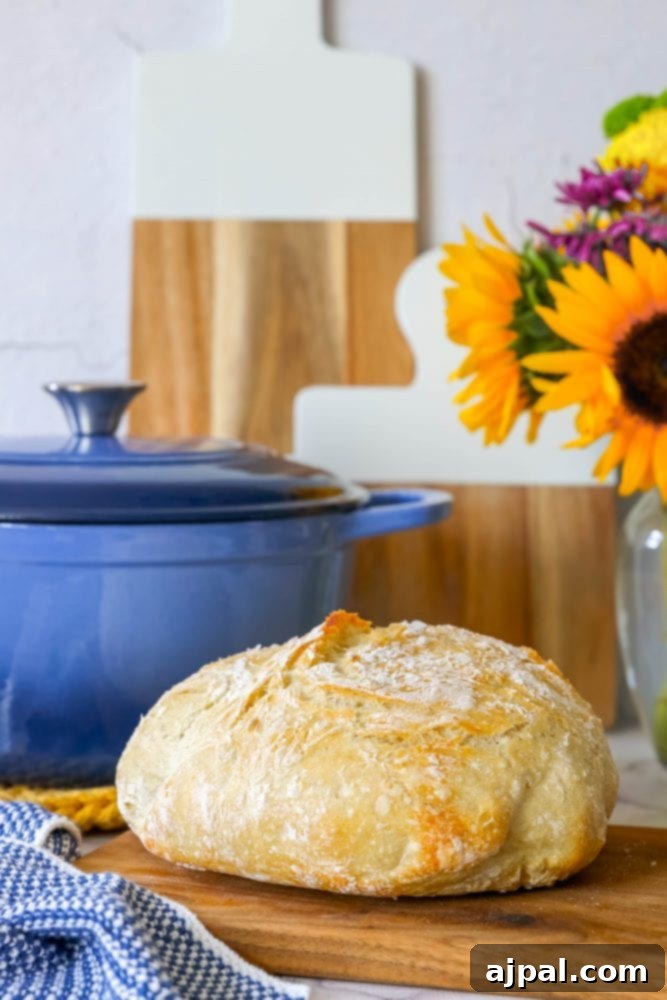
Easy No-Knead Bread Recipe
If you’ve enjoyed making this Easy No-Knead Bread Recipe as much as we have, please consider leaving a five-star review below! Your feedback helps other home bakers discover this fantastic recipe. Don’t forget to share your delicious creations on Facebook and Pinterest, and tag us @sweetcsdesigns – we love seeing what you bake!
Only have 30 minutes to get dinner on the table? Sign up for our 30-minute dinner plans direct to your inbox!
Find and shop our favorite kitchen products in our Amazon storefront here!
4.82 from 22 votes
The Best No-Knead Bread Recipe
By: Courtney O’Dell
Servings: 6 servings
Prep: 3 hrs
Cook: 45 mins
Total: 3 hrs 45 mins
Share by Email
Print Recipe
Rosemary No-Knead Bread is a simple, foolproof way to make bakery-style bread at home in a Dutch oven without any bread-making experience or special equipment – no kneading required!
Equipment
- King Arthur All Purpose Flour 5 Lb (2.27 Kg) Unbleached
- Fleischmann’s Active Dry Yeast, 0.25 Ounce, 3 Count
- Norpro Grip-EZ Mixing Bowl, 3-Quart
- If You Care Parchment Baking Paper – 70 Sq Ft Roll – Unbleached, Chlorine Free, Greaseproof, Silicone Coated – Standard Size – Fits 13 Inch Pans
- Crock-Pot Artisan Round Enameled Cast Iron Dutch Oven, 7-Quart, Sapphire Blue
Ingredients
- 600 grams flour, about 4 cups, lightly packed and leveled off
- 2 cups water, 473.18mL lukewarm
- 1½ teaspoons salt
- 1 envelope dry active yeast, 7g, 2¼ teaspoons
- 1 tbsp Celtic sea salt, optional, but great sprinkled on top for extra crunch.
- 2 tbsp rosemary, or any other herb combination you like (optional)
Instructions
- In a small bowl, add lukewarm water (ensure it’s warm, but not too hot, otherwise the yeast will not bloom properly) and stir in the yeast packet.
- Allow the yeast to bloom for about 5 minutes; it should develop a light foam on the surface, indicating it’s active.
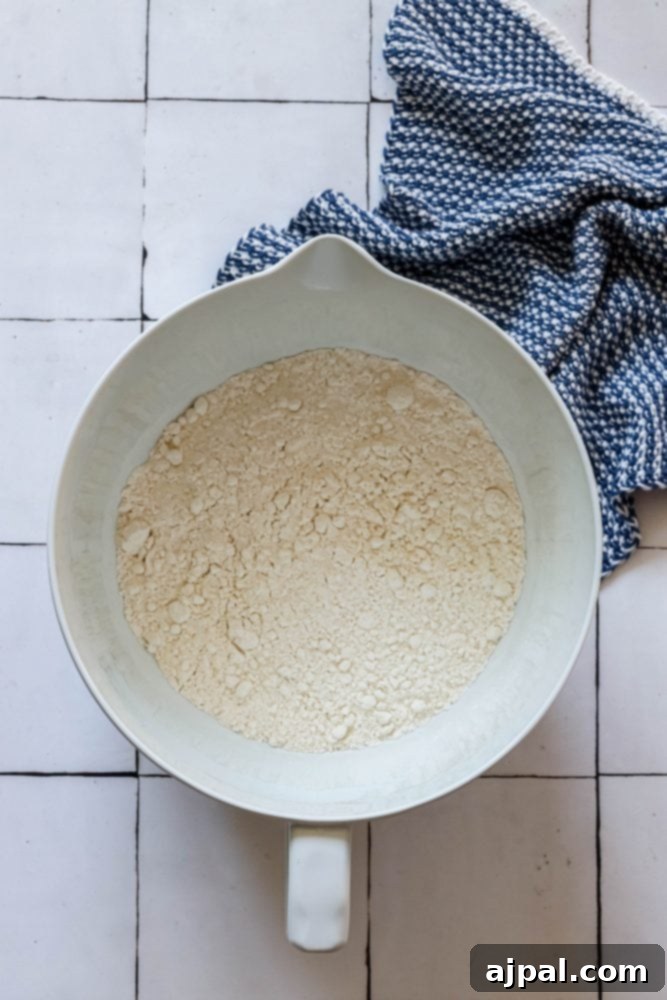
- In a large bowl, combine the dry ingredients using a spoon.
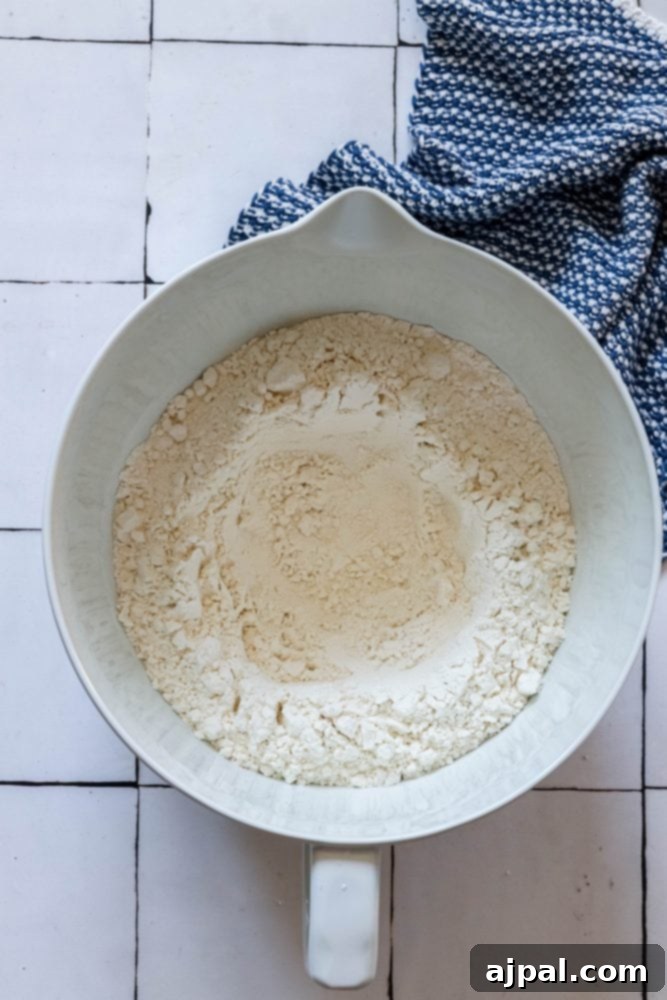
- Create a small well in the center of the dry ingredients. Once the yeast has proofed, slowly pour the foamy yeast mixture into the well.
- Mix the ingredients by hand (either with your hands or a sturdy spoon) until a shaggy dough forms.
- The dough will begin to come together and pull away from the sides of the bowl.
- If the dough is excessively sticky, add more flour in small increments (about 1 tablespoon at a time) until it’s manageable. If it’s too dry, add water, 1 tablespoon at a time.
- Once the dough has formed, cover the bowl (with plastic wrap or a damp towel) and let it rise in a draft-free area until it doubles in size, which usually takes about 1 to 1½ hours.
- Uncover the dough and gently poke it a few times with your finger.
- If the dough has risen correctly, it should indent under the pressure of your fingers and slowly deflate.
- Carefully scoop up the dough, ensuring it’s fully detached from the sides of the bowl, as this helps with the second rise.
- Place it back into the bowl, cover, and allow the dough to continue rising for another 1 hour.
- Preheat your oven to 450°F (230°C, gas mark 8) and place your Dutch oven (with its lid) inside the oven. It’s crucial for the Dutch oven to become incredibly hot.
- After the second rise, gently punch down the dough to release excess air.
- Generously flour a sheet of parchment paper. Transfer the dough onto the parchment and, with floured hands, gently shape it into a round ball.
- Place the shaped dough on the parchment paper and lightly sprinkle the top with flour.
- Optionally, top the dough with any extra herbs or a sprinkle of Celtic sea salt for added flavor and crunch.
- Cover the dough loosely with a sheet of plastic wrap and let it rest for a final 30 minutes while the Dutch oven finishes preheating.
- Carefully remove the preheated Dutch oven from the oven.
- Uncover the dough and gently transfer it into the hot Dutch oven, along with the parchment paper beneath it (using parchment paper prevents sticking, especially if your Dutch oven is not enameled, and simply makes handling easier).
- Cover the Dutch oven with its lid and return it to the preheated oven.
- Bake the bread for 45 minutes covered. Then, remove the lid and continue to bake for another 10 to 15 minutes uncovered, until the crust is a rich golden brown and the bread is thoroughly baked through.
- Allow the bread to cool slightly on a wire rack before slicing and serving. This allows the internal moisture to redistribute, preventing a gummy texture.
Nutrition
Serving: 1g | Calories: 312kcal | Carbohydrates: 65g | Protein: 9g | Fat: 1g | Polyunsaturated Fat: 1g | Sodium: 1698mg | Fiber: 3g
Nutrition information is automatically calculated and should only be used as an approximation.
Additional Info
Course: Breads
Cuisine: American
Find our web story for this post here.