
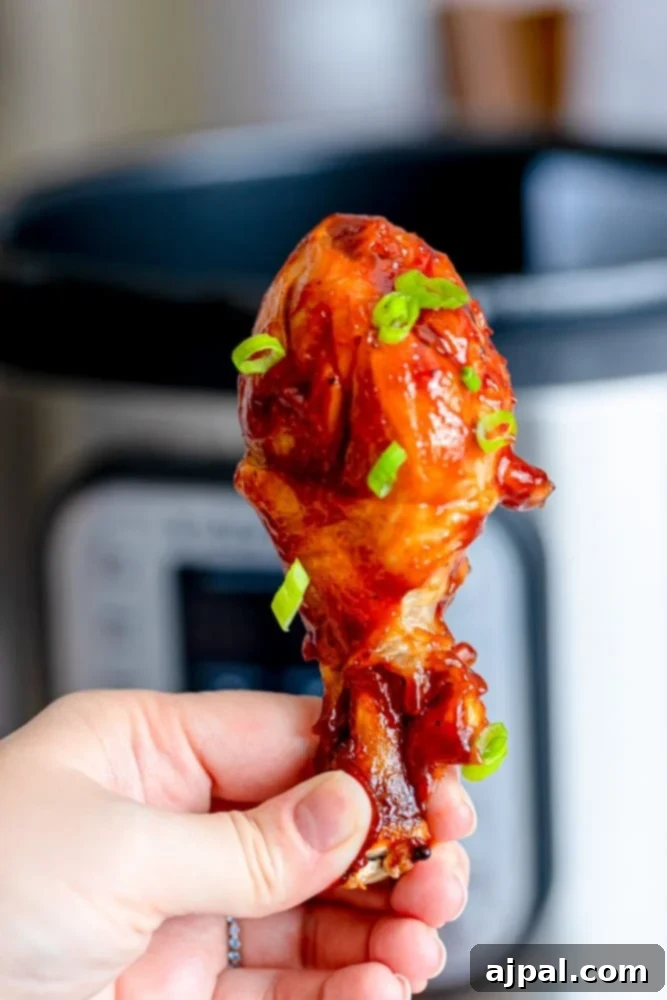
The Ultimate Instant Pot BBQ Chicken Legs: Crispy, Juicy, and Ready from Frozen!
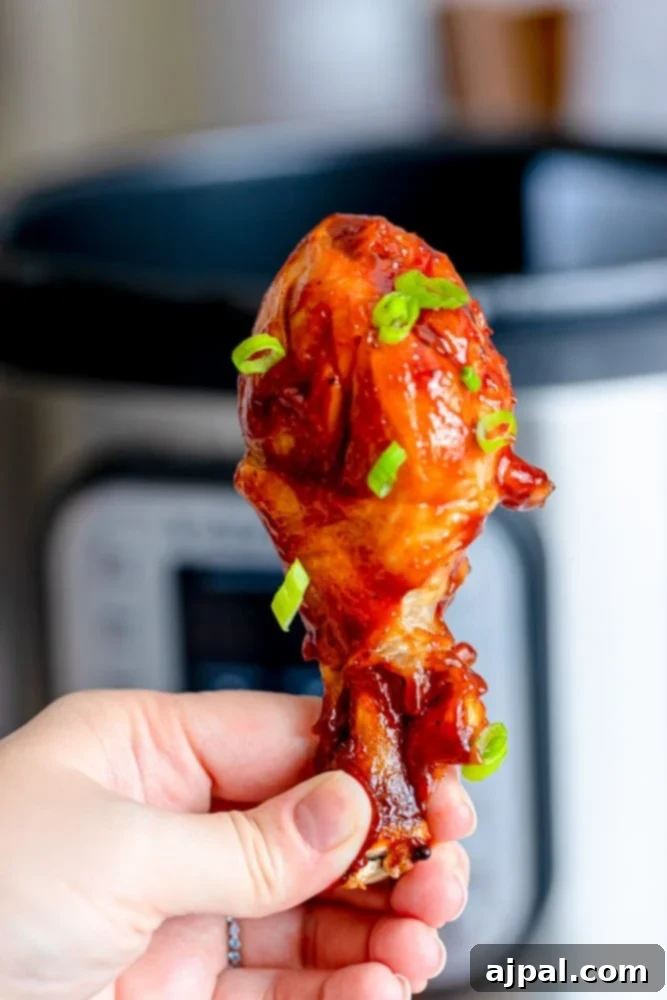
Welcome to Sweet C’s, where we believe that everyone, regardless of their cooking experience, deserves to feel empowered in the kitchen. As a home cook without formal training, I understand the value of clear, concise instructions and helpful tips that explain not just what to do, but why it works. This philosophy underpins all my recipes, especially this incredible guide to making the Best Instant Pot BBQ Chicken Legs.
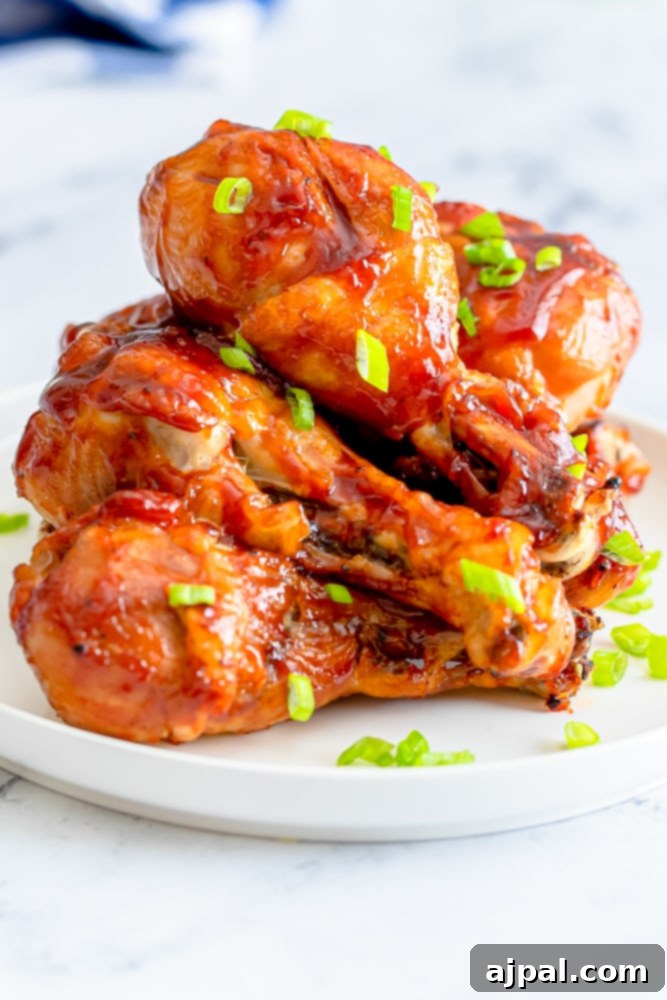
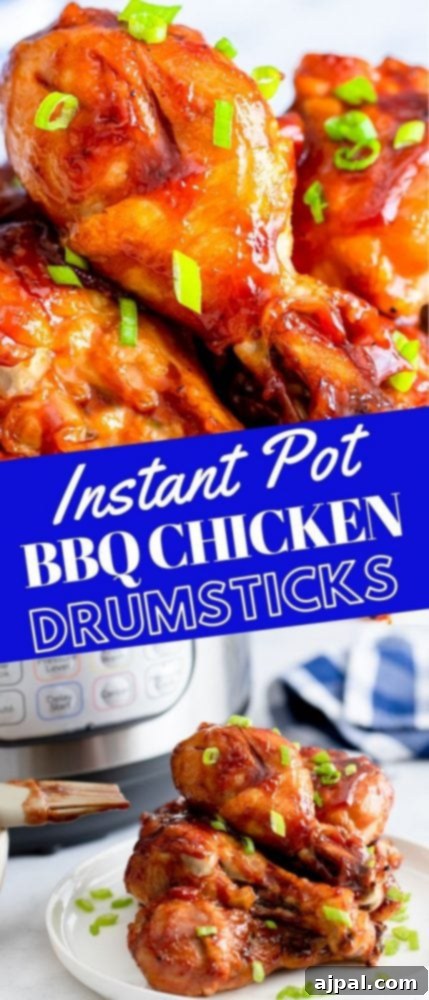
This recipe is designed to be your go-to for incredibly tender, juicy, and flavor-packed BBQ chicken drumsticks, with the amazing convenience of cooking them straight from frozen. Forget the hassle of thawing; your Instant Pot handles it all, delivering a delicious meal with minimal effort.
Table of Contents
- The Magic of Instant Pot BBQ Chicken Legs
- Mastering Instant Pot BBQ Chicken Drumsticks: Step-by-Step Guide
- Deliciously Keto Instant Pot BBQ Chicken Legs
- Cooking Frozen Chicken Legs in the Instant Pot: A Time-Saving Solution
- How to Cook Still Frozen Chicken Legs
- Achieving Irresistibly Crispy BBQ Chicken Legs
- Crisping Under a Broiler
- Using an Instant Pot Crisping Lid
- Perfect Pairings: What to Serve with BBQ Chicken Legs
- Storing and Reheating Your BBQ Chicken Legs
- Proper Storage for Instant Pot Chicken Legs
- Reheating Leftover Chicken Legs for Optimal Flavor
- The Best Instant Pot BBQ Chicken Legs Recipe
The Magic of Instant Pot BBQ Chicken Legs
There’s something uniquely satisfying about perfectly cooked BBQ chicken legs. They’re a classic comfort food, a fantastic finger food for gatherings, and an absolute weeknight dinner hero. The Instant Pot takes this beloved dish to a whole new level of convenience and speed. It transforms chicken drumsticks into incredibly tender, fall-off-the-bone delights with minimal effort, making it ideal for busy families or anyone looking for a delicious meal without spending hours in the kitchen.
Unlike traditional methods that often require lengthy baking or grilling, the Instant Pot uses pressure cooking to dramatically cut down on cooking time, locking in moisture and flavor. This means you can achieve that sought-after juicy interior much faster, even when starting with frozen chicken. Combined with a quick crisping step, you get the best of both worlds: incredibly tender meat and a wonderfully caramelized, sticky BBQ exterior.
Many of my readers have loved my Crunchy Baked Chicken Drumsticks and Air Fried Chicken Drumsticks recipes for years, but the most common question I receive is about cooking them from frozen. This Instant Pot method is the perfect answer, offering a reliable and delicious way to prepare chicken legs directly from the freezer, ensuring a flavorful dinner is always within reach, even on the busiest evenings.
Mastering Instant Pot BBQ Chicken Drumsticks: Step-by-Step Guide
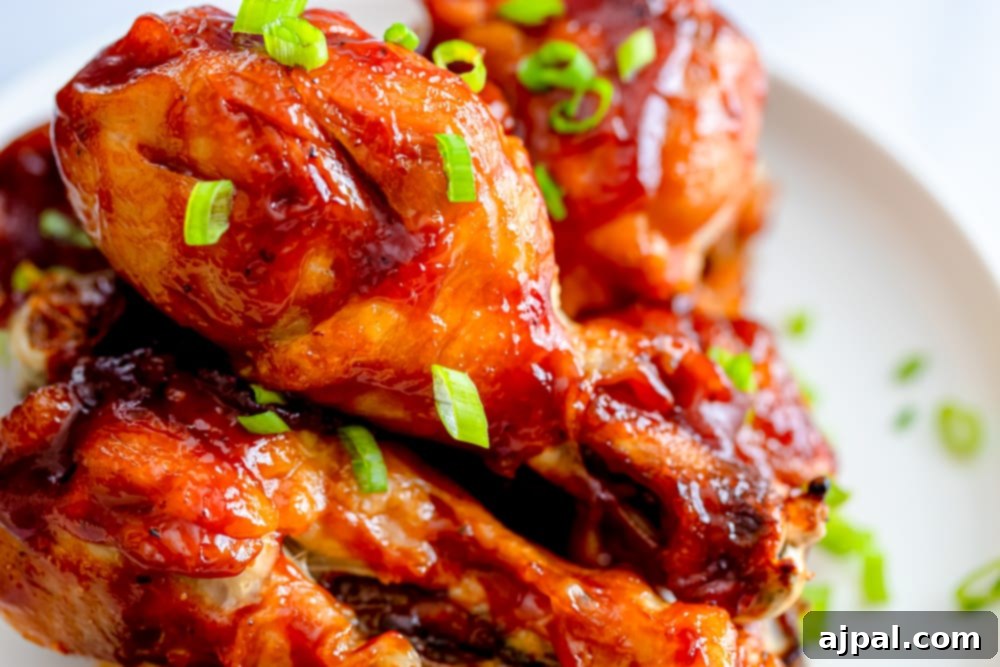
Cooking chicken drumsticks in the Instant Pot is straightforward, but precise timing and temperature checks are key to perfection. The beauty of the Instant Pot is its ability to cook chicken evenly and efficiently, whether it’s thawed or frozen. Here’s a breakdown of cooking times:
- Frozen Chicken Legs: If your chicken legs are completely frozen, especially if they are in a solid block, they will typically need about 12 minutes of high-pressure cooking. Always check the internal temperature, as a very dense frozen block might require a minute or two more.
- Partially Thawed Chicken Legs: For chicken legs that are partially thawed (perhaps from a quick defrost or being left out for a short time), 11 minutes under high pressure is usually sufficient.
- Thawed Chicken Legs: Fully thawed chicken legs will cook quickest, requiring only about 10 minutes of high-pressure cooking.
The most critical step is ensuring the chicken reaches a safe internal temperature. Chicken is fully cooked when it reaches 165°F (74°C). Always use a reliable digital meat thermometer. Insert the thermometer into the thickest part of the chicken leg, making sure to avoid touching the bone, as the bone conducts heat and can give an inaccurate reading. An accurate reading ensures your chicken is not only safe to eat but also perfectly juicy.
Deliciously Keto Instant Pot BBQ Chicken Legs
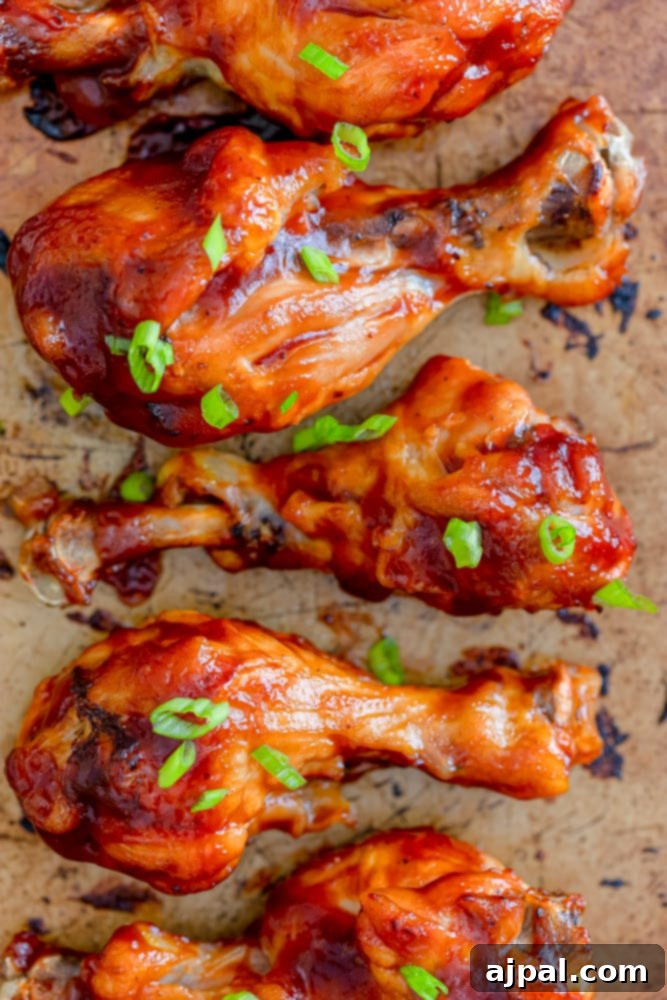
For those following a ketogenic diet, chicken drumsticks are an excellent choice. They are naturally high in fat and protein, making them incredibly filling and satisfying while easily fitting into your macro goals. And yes, you can absolutely enjoy flavorful BBQ chicken legs while sticking to a keto lifestyle!
The key to making these Instant Pot BBQ Chicken Legs keto-friendly lies in your choice of barbecue sauce. Many commercial BBQ sauces are unfortunately laden with sugar and high-carb ingredients. However, the market now offers a fantastic selection of low-carb and sugar-free BBQ sauces that deliver all the smoky, tangy flavor you crave without the added carbs. Brands like Rufus Teague Slim N’ Sweet are excellent options. Always check the nutrition label to confirm the carb count per serving to ensure it aligns with your dietary needs.
Beyond the sauce, you can enhance the keto profile by using a dry rub featuring your favorite low-carb spices like paprika, cayenne pepper, cumin, and a touch of erythritol or stevia for sweetness if desired. Serving these delicious drumsticks with low-carb sides, such as cauliflower rice, roasted asparagus, or a fresh green salad with a healthy dressing, makes for a complete and satisfying keto meal.
Cooking Frozen Chicken Legs in the Instant Pot: A Time-Saving Solution
One of the most frequent questions from readers about my popular chicken drumstick recipes is how to adapt them for frozen chicken. This Instant Pot recipe is the ultimate answer! It’s specifically designed for those moments when you realize dinner needs to be on the table fast, and your chicken legs are still solid in the freezer. No more waiting hours for defrosting or last-minute changes to your meal plan.
The Instant Pot makes it incredibly simple to go from frozen chicken to a delicious meal with minimal fuss. The pressure cooking process ensures that even rock-solid chicken legs cook thoroughly and become incredibly tender. This method is a game-changer for busy weeknights, unexpected guests, or simply when you forget to pull dinner out of the freezer in advance. You’ll be amazed at the quality and tenderness achieved without any prior thawing.
How to Cook Still Frozen Chicken Legs
Follow these simple steps for perfectly cooked chicken legs straight from the freezer:
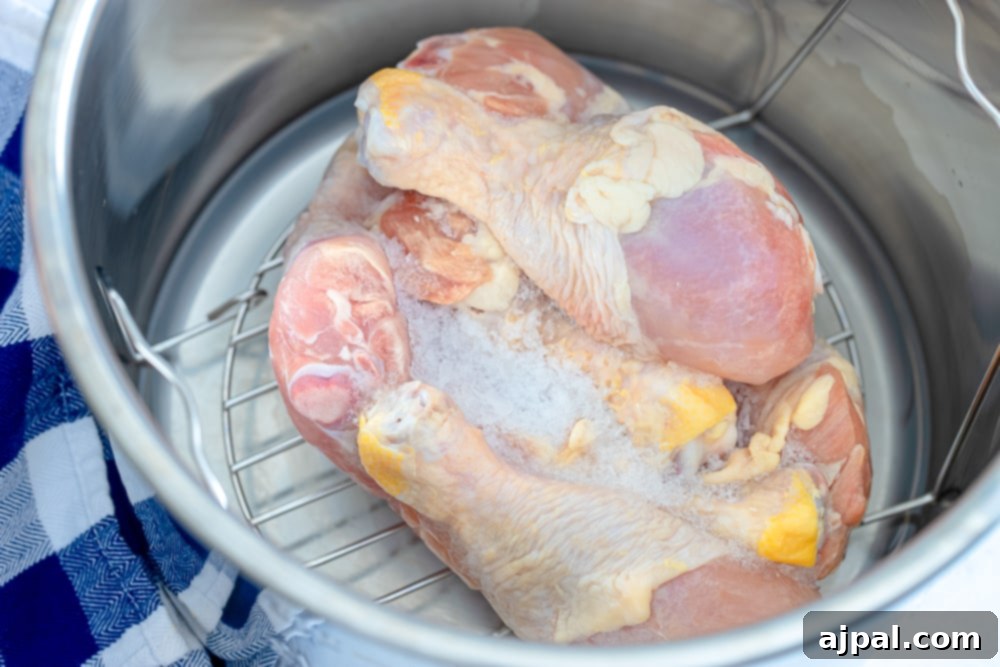
- Place the frozen chicken legs directly onto the trivet inside your Instant Pot. Ensure they are not stacked too densely; arrange them in a single layer or as few layers as possible for even cooking.
- Add 1 cup of water to the Instant Pot. This creates the necessary steam for pressure cooking.
- Secure the lid on top of the Instant Pot and make sure the sealing vent is in the “sealed” position.
- Cook on high pressure for 12 minutes.
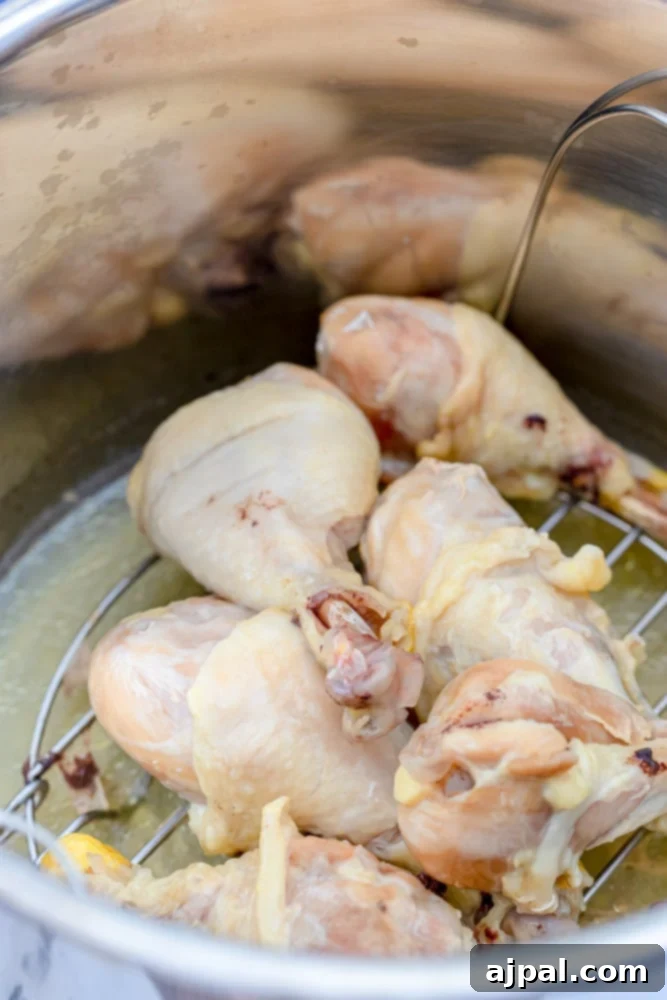
- Once the cooking time is complete, perform a quick release of the pressure.
- Carefully remove the lid and immediately check the internal temperature of each chicken leg using a digital meat thermometer. Remember, chicken is fully cooked at 165°F (74°C).
- If any chicken legs have reached 165°F, remove them from the pot.
- For any undercooked chicken legs, place the lid back on the Instant Pot, ensuring the seal is closed, and cook on high pressure for an additional 2 minutes. Perform another quick release and check the temperature again. Repeat this process in 1-2 minute increments until all chicken reaches the safe temperature.
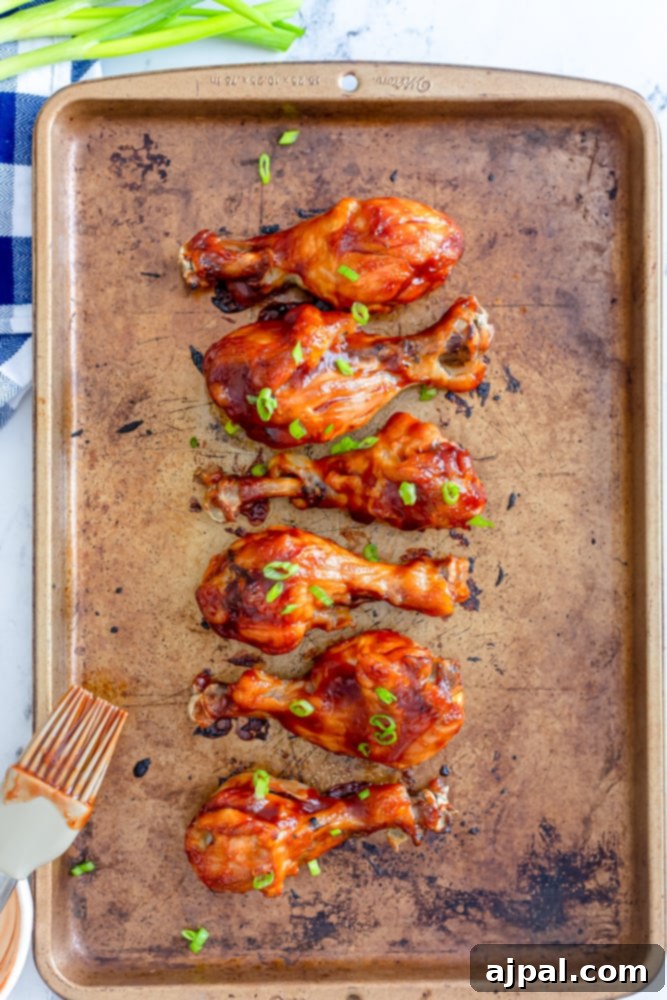
Achieving Irresistibly Crispy BBQ Chicken Legs
While the Instant Pot excels at delivering incredibly tender and juicy chicken, it typically results in soft skin. To achieve that signature crispy, caramelized BBQ exterior that makes these chicken legs truly irresistible, a quick finishing step is essential. This can be done effectively using either your oven’s broiler or an Instant Pot Crisping Lid.
Crisping Under a Broiler
The broiler is a fantastic tool for quick crisping and caramelization. Here’s how to use it:
- Preheat your oven broiler to high. Position an oven rack about 6 inches from the heat source.
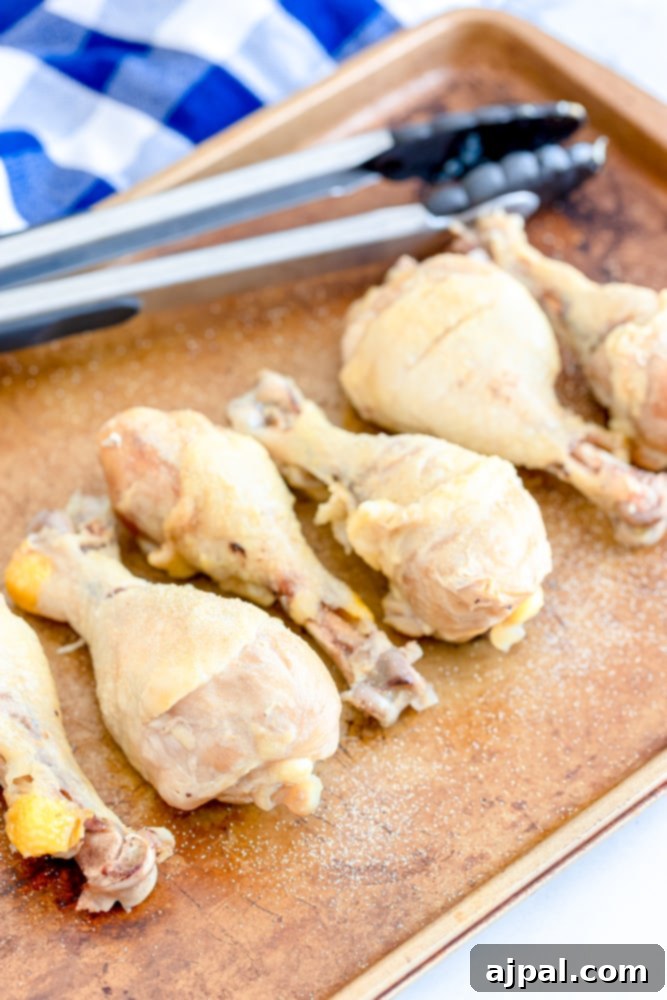
- Carefully transfer the cooked chicken legs to a baking sheet. For added flavor, you can season them lightly with optional garlic powder and onion powder at this stage.
- Brush a generous layer of your chosen BBQ sauce onto one side of the chicken legs.
- Place the baking sheet under the broiler and cook for approximately 2 minutes, or until the BBQ sauce becomes sticky, bubbly, and beautifully caramelized. Keep a close eye on them to prevent burning.
- Flip the chicken legs, brush the other side with the remaining BBQ sauce, and broil for another 2 minutes until that side is also sticky and caramelized.
- For extra crunch, you can repeat the process, turning and basting briefly.
Using an Instant Pot Crisping Lid
If you have an Instant Pot Crisping Lid (like the Instant Pot Air Fryer Lid), you can crisp your chicken legs right in the same pot, minimizing cleanup and maximizing convenience:
- After pressure cooking and checking the internal temperature, remove the traditional Instant Pot lid and drain any excess liquid from the bottom of the pot.
- Place the crisping lid onto the Instant Pot. Ensure the broiler function on your crisping lid is set to high and allow it to preheat for 5-10 minutes.
- Carefully arrange the chicken legs on the wire rack that comes with the crisping lid. Make sure they are laid out in a single layer without overlapping, allowing for even air circulation and crisping.
- Brush all sides of the chicken legs generously with your favorite BBQ sauce. Add optional garlic powder and onion powder before basting if desired.
- Place the rack with chicken back into the Instant Pot with the crisping lid.
- Broil for about 5 minutes, or until the BBQ sauce is sticky, bubbling, and forms a delicious crust.
- Flip the chicken legs, brush with more sauce if needed, and broil for an additional 5 minutes.
- If you desire an even crispier skin, continue broiling in 1-2 minute increments, checking frequently, until you reach your desired level of crispness.
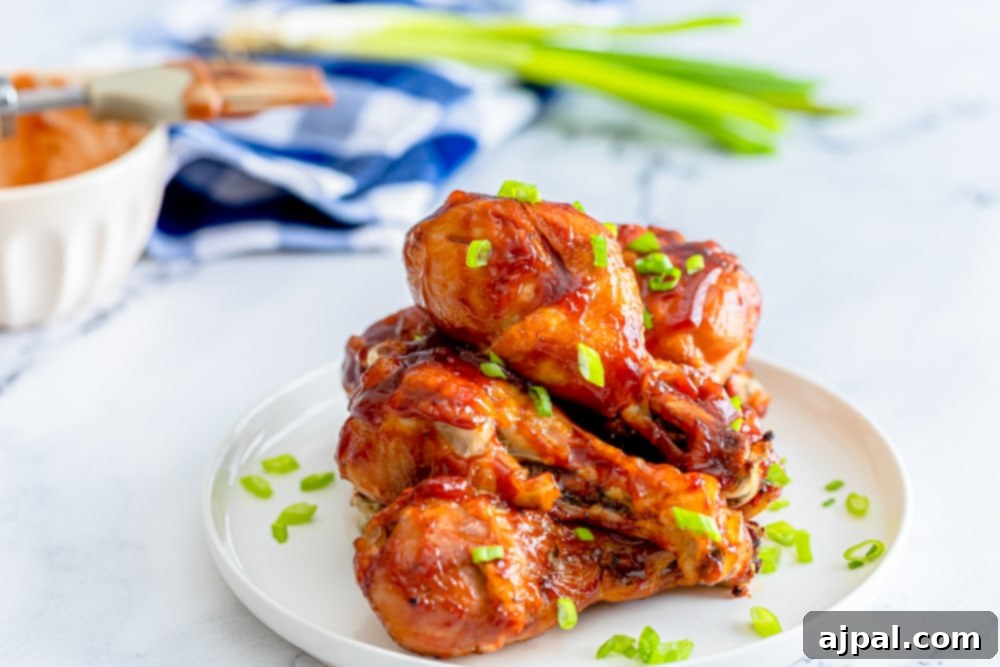
Perfect Pairings: What to Serve With BBQ Chicken Legs
These Instant Pot BBQ Chicken Legs are so flavorful and satisfying, they truly make for a complete meal on their own. However, pairing them with the right side dishes can elevate your dining experience, whether you’re looking for something light and fresh or hearty and comforting. Here are some of my favorite suggestions:
Low-Carb & Keto-Friendly Sides:
- Best Ever Cauliflower Rice: A fantastic low-carb alternative to traditional rice, perfect for soaking up that delicious BBQ sauce.
- Pan Fried Broccolini: Quickly cooked, vibrant green broccolini offers a lovely crisp-tender texture and a fresh counterpoint to the rich chicken.
- Bacon Wrapped Cheddar Garlic Jalapeño Poppers: Spicy, cheesy, and wrapped in bacon, these are an indulgent yet keto-friendly side that complements the BBQ flavor beautifully.
- Steamed Green Beans with Almonds: A simple, elegant, and healthy side.
- Roasted Asparagus: Quick to prepare and wonderfully flavorful, especially with a squeeze of lemon.
Hearty & Classic Sides:
- The Best Easy Rice Pilaf: A fluffy, seasoned rice dish that’s always a crowd-pleaser and pairs wonderfully with BBQ.
- Fogo de Chão Brazilian Cheese Bread Copycat Recipe: Cheesy, airy, and addictive, this bread is a unique and delicious accompaniment.
- Jalapeño Cheese Bread: A flavorful bread option with a kick, great for balancing the sweetness of BBQ sauce.
- Creamy Coleslaw: The cool, crisp texture and tangy dressing cut through the richness of the chicken.
- Classic Macaroni and Cheese: A comforting classic that no one can resist with BBQ chicken.
- Corn on the Cob: Sweet and simple, it’s a BBQ staple.
No matter what you choose, these Instant Pot BBQ Chicken Legs are versatile enough to fit into any meal plan, from a quick family dinner to a festive backyard barbecue.
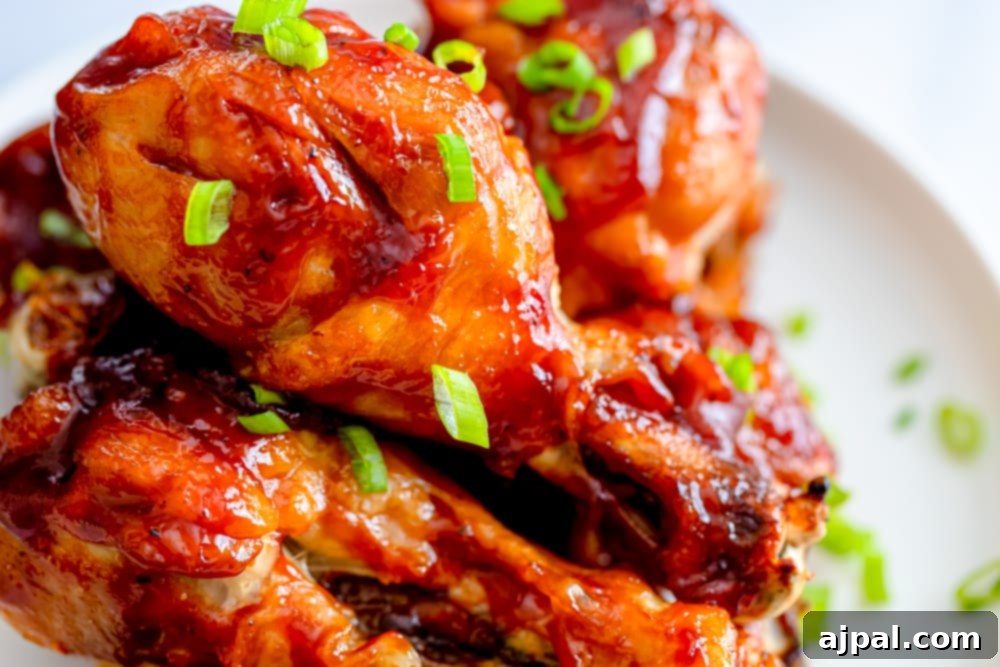
How To Store and Reheat Chicken Legs
Ensuring your delicious Instant Pot BBQ Chicken Legs stay fresh and flavorful for future meals is simple with the right storage and reheating techniques. This section provides the best practices for storing leftovers and bringing them back to life with their juicy tenderness and crispy skin intact. These methods are applicable not only to these Instant Pot chicken legs but also to my other popular recipes like air fryer chicken drumsticks, BBQ baked chicken drumsticks, baked chicken wings, and air-fried chicken wings.
Proper Storage for Instant Pot Chicken Legs
Once your chicken legs have cooled completely, you have a couple of excellent options for storage:
- Refrigeration: Place leftover chicken legs in an airtight container or a heavy-duty plastic bag. They will stay fresh in the refrigerator for up to five days. This is perfect for meal prepping or enjoying quick lunches throughout the week.
- Freezing: For longer storage, chicken legs freeze beautifully. Wrap individual legs tightly in plastic wrap, then place them in a freezer-safe bag or container. They can be stored in the freezer for up to four months without significant loss of quality.
Always ensure that when reheating, the chicken reaches a piping hot internal temperature for food safety.
Reheating Leftover Chicken Legs for Optimal Flavor
To bring your leftover chicken legs back to their delicious best, especially if you want to revive that crispy skin, here’s the recommended method:
- If reheating from frozen, first thaw the chicken legs overnight in the refrigerator.
- Preheat your oven to 400°F (200°C).
- Lightly coat each chicken leg with a fresh brush of BBQ sauce – about 1 tablespoon per leg is usually sufficient to re-glaze and enhance flavor.
- Place the chicken legs on a cooling rack set over a baking sheet. This setup allows for air circulation, promoting even heating and crisping.
- Bake for about 10 minutes, or until the chicken is piping hot all the way through.
- For an extra crispy skin, switch your oven to broiler mode for an additional 1-2 minutes. Watch closely to prevent burning, as broilers can be very intense.
Following these steps will ensure your reheated BBQ chicken legs are almost as good as freshly made, maintaining their tender interior and delightful BBQ glaze.
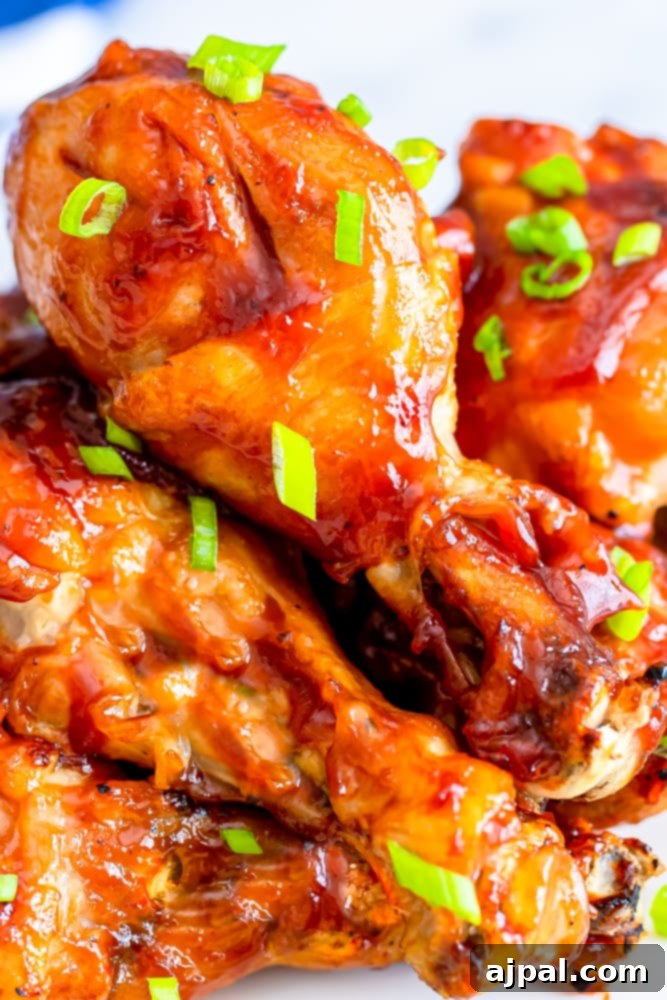
The Best Instant Pot BBQ Chicken Legs Recipe
This recipe brings together speed, convenience, and incredible flavor, proving that a delicious meal can be effortless. Whether you’re cooking from frozen or fresh, the Instant Pot ensures tender chicken every time, finished with a delightful crispy BBQ glaze.
If you love this recipe as much as I do, please consider giving it a five-star rating and help me share it on Facebook and Pinterest! Your support helps Sweet C’s continue to bring you delicious and easy recipes.
Looking for more quick meal ideas? Sign up for my 30-minute dinner plans direct to your inbox!
Find and shop my favorite products in my Amazon storefront here!
The Best Instant Pot BBQ Chicken Legs Recipe
Courtney O’Dell
10 drumsticks
3 mins
18 mins
21 mins
Share by Email
Print Recipe
Equipment
-
Rufus Teague BBQ Sauce, Slim N’ Sweet, 16 OZ
-
M KITCHEN WORLD Silicone Basting Brush (Orange), Set of 2
-
Instant Pot Duo Evo Plus 9-in-1 Electric Pressure Cooker, 6 Quart
-
Instant Pot Air Fryer Lid 6 in 1, 6 Qt, 1500W
Ingredients
- 10 chicken legs, or as many as you can fit in your instant pot
- ½ teaspoon garlic powder, optional
- ½ teaspoon onion powder, optional
- 1 cup BBQ sauce
- 1 scallion, thinly sliced, optional
Instructions
-
Place frozen chicken legs on the trivet inside of the Instant Pot, add 1 cup of water. Place the lid on top, make sure to close the seal.
-
Cook on high for 12 minutes with a quick release. Check the temperature. If the chicken doesn’t reach 165°F, leave them in the pot.
-
Take out the legs that are to temp. With the undercooked chicken still in the pot, place the lid back on and cook on high for an additional 2 minutes with a quick release.
-
Preheat the broiler on high.
-
Place the chicken legs on a sheet tray, season with the optional garlic powder and onion powder.
-
Brush the BBQ sauce on one side, broil until the BBQ sauce is sticky and baked on, about 2 minutes.
-
Turn them over and brush the other side with the remaining BBQ sauce, broil for an additional 2 minutes.
-
Garnish with optional scallions, or herbs of your choice.
Notes
Partially thawed chicken legs take 11 minutes.
Thawed chicken legs take 10 minutes.
Nutrition
Serving: 1g
Calories: 525kcal
Carbohydrates: 12g
Protein: 62g
Fat: 23g
Saturated Fat: 6g
Polyunsaturated Fat: 14g
Cholesterol: 328mg
Sodium: 543mg
Sugar: 9g
Nutrition information is automatically calculated, so should only be used as an approximation.
Additional Info
Chicken
American