
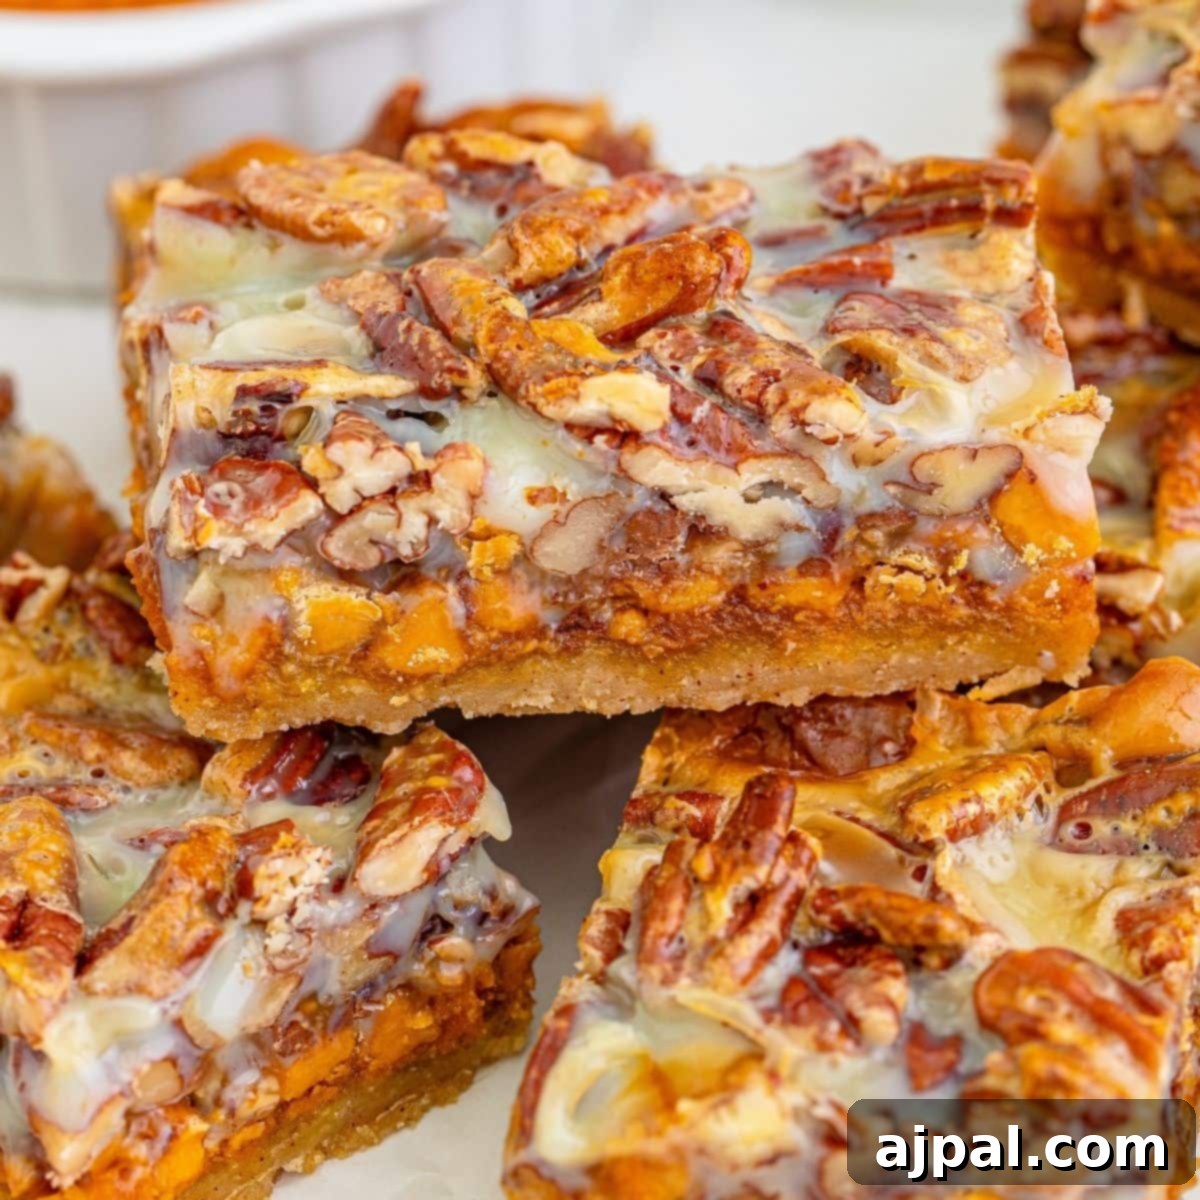
Delightful Pumpkin Magic Bars: Your Easiest Fall Dessert Recipe
As the crisp autumn air signals the arrival of fall, life often becomes a whirlwind of activities, leaving little time for elaborate baking. Yet, the craving for a comforting, homemade treat remains. Enter our incredibly simple and utterly delicious Pumpkin Magic Bars – a dessert so easy to prepare, it feels like pure magic! These bars perfectly capture the essence of the season, blending the warm, inviting flavors of pumpkin and spices with a delightful crunch, creating an addictive indulgence that both kids and adults will adore. They are the ideal solution for busy schedules, offering a quick path to a crowd-pleasing dessert that brings joy to any gathering, from casual family dinners to festive school events or office potlucks.
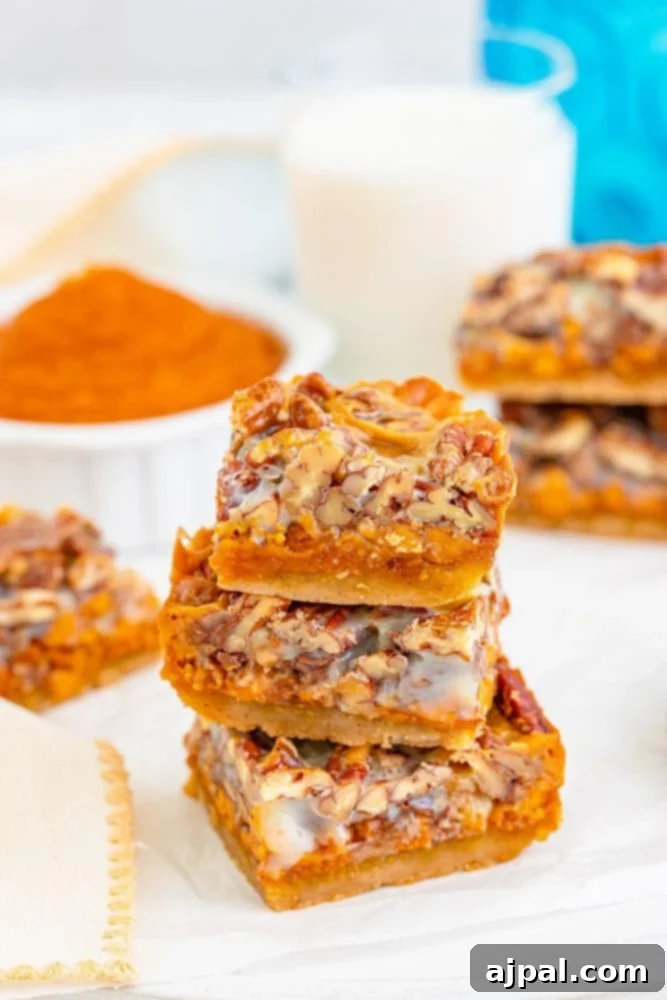
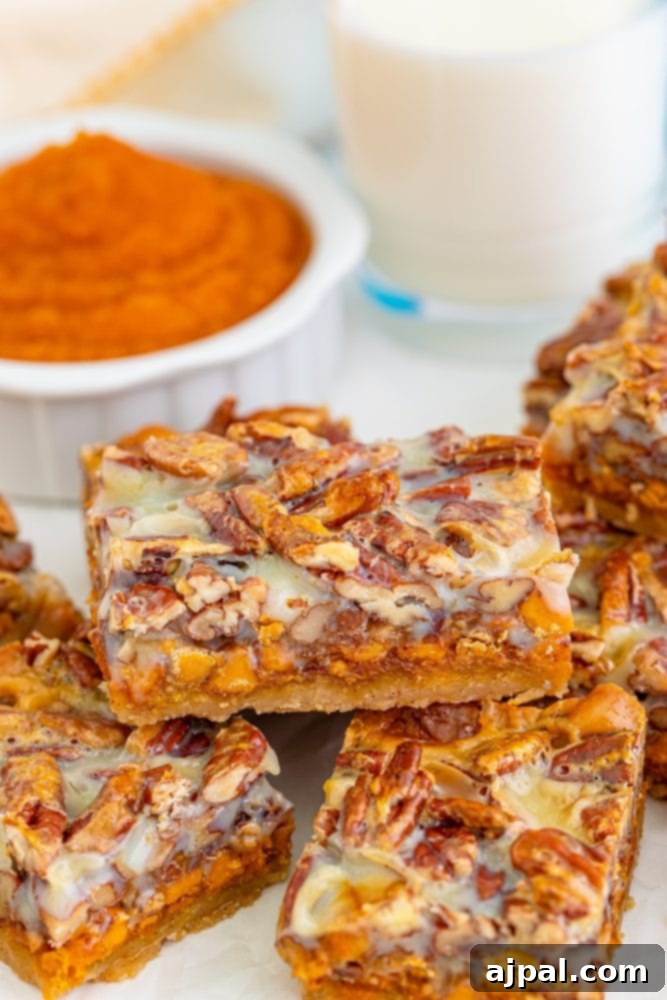
Imagine pulling a warm pan of these golden-brown beauties from the oven, filling your home with an intoxicating aroma of pumpkin pie spice and sweet caramel. Each bite delivers a harmonious blend of textures and tastes: a buttery, shortbread-like crust, a soft and creamy pumpkin layer, crunchy pecans and toffee bits, all bound together by a luscious butterscotch glaze. These aren’t just bars; they’re a celebration of fall, an effortless way to create cherished memories and share a little bit of homemade happiness. Be warned, though – they’re so irresistibly good, you might just want to keep them all to yourself!
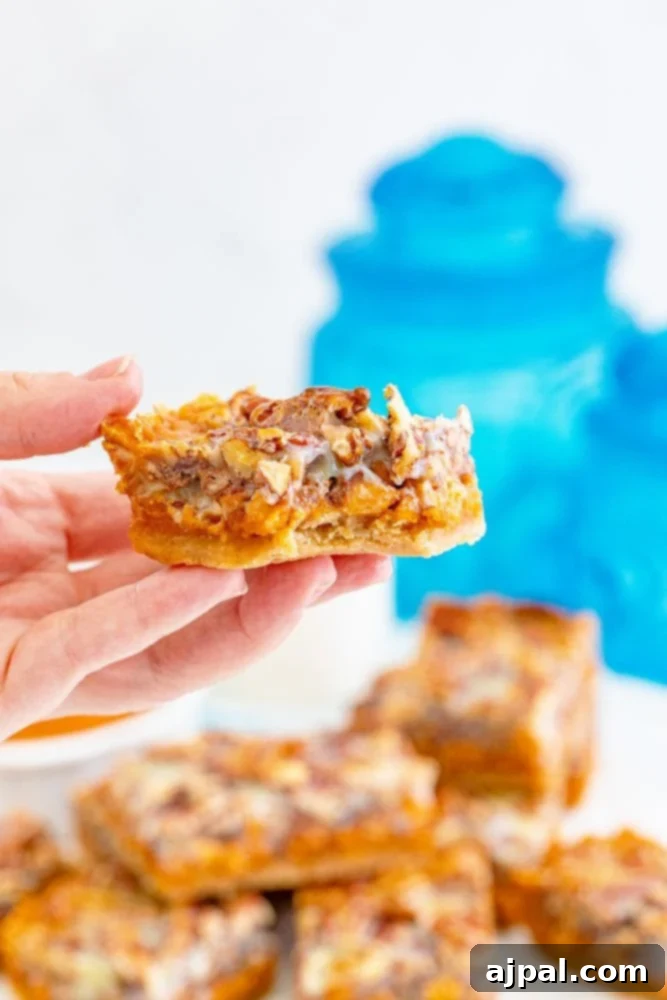
To help you navigate this delicious journey, we offer a straightforward guide. For quick access to the recipe details, you can scroll directly to the recipe card below. Otherwise, feel free to explore the entire post, packed with helpful tips and insights designed to make your baking experience enjoyable and successful.
At Sweet C’s, our passion is empowering home cooks, regardless of their experience level. As a self-taught cook, I believe that understanding the ‘why’ behind each step and the role of every ingredient significantly boosts confidence in the kitchen. My goal is to demystify baking, turning potentially complex recipes into approachable triumphs for even the most beginner home cook. These Pumpkin Magic Bars are a testament to that philosophy – simple ingredients, straightforward steps, and utterly magical results that will leave you feeling proud and accomplished.
Crafting Perfect Pumpkin Magic Bars: A Step-by-Step Guide
Creating these delightful pumpkin bars is surprisingly simple, and with a few key tips, you’re guaranteed a delicious, show-stopping dessert every single time. The “magic” lies not only in their incredible flavor but also in the ease of their preparation. This guide breaks down the process into manageable steps, ensuring that even a novice baker can achieve perfectly balanced, flavorful, and textured bars that will impress everyone.
Ingredients for the Irresistible Crust
The foundation of these Pumpkin Magic Bars is a rich, buttery crust that provides a delightful counterpoint to the creamy pumpkin topping. Each ingredient plays a crucial role in achieving that perfect shortbread-like texture and depth of flavor.
- Unsalted Butter: Butter is more than just a fat here; it’s the heart of our crust. It delivers a rich, luxurious flavor and the ideal fat composition to create a tender, crumbly cookie base that melts in your mouth, reminiscent of classic shortbread. Using unsalted butter allows you to control the overall saltiness of the final product.
- Light Brown Sugar, Packed: Opting for light brown sugar over granulated white sugar is a game-changer for the crust. Its inherent molasses content introduces a deeper, more complex caramel note, adding layers of flavor that are much richer and more nuanced than simple sweetness. Packing it ensures you get the correct amount for optimal texture and taste.
- All-Purpose Flour: This is the structural backbone of our cookie base. All-purpose flour or a good quality gluten-free all-purpose flour blend will work wonderfully. We’re aiming for a dense, sturdy crust, so avoid self-rising flour, which contains leavening agents that would alter the desired texture.
- Pumpkin Pie Spice: This pre-blended spice mix is a busy baker’s best friend. It typically combines cinnamon, nutmeg, ginger, cloves, and allspice – the quintessential flavors of fall. It infuses the crust with a warm, aromatic profile that perfectly complements the pumpkin filling.
- Fine Sea Salt: A small pinch of fine sea salt is essential. It doesn’t just add saltiness; it skillfully balances the sweetness of the brown sugar, enhancing and amplifying the other flavors in the crust. It’s a subtle yet critical ingredient for a well-rounded taste.
Delicious Toppings That Make It Magic
The layers of topping are where these bars truly live up to their “magic” name, transforming into a gooey, crunchy, and irresistibly sweet masterpiece during baking. Each component adds its own unique charm and texture.
- Canned Pumpkin Pie Filling: While homemade pumpkin puree is certainly an option, canned pumpkin pie filling is a true time-saver and delivers consistent, spiced pumpkin flavor without any fuss. It’s already sweetened and seasoned, making it incredibly convenient for these easy bars. Ensure you pick “pumpkin pie filling” and not plain “pumpkin puree” unless you plan to add your own spices and sweeteners.
- Butterscotch Chips: These chips are a common secret ingredient in “magic” bar recipes. When combined with sweetened condensed milk and heated, they melt down effortlessly to create a smooth, rich, and wonderfully sticky glaze that binds all the toppings together without needing any extra stirring or fuss. Their distinctive caramel-butter flavor is integral to the magic.
- Toffee Bits: For an extra layer of crunch and a delightful buttery, caramelized flavor, toffee bits are a must-add. They provide a pleasant textural contrast to the softer pumpkin and gooey glaze, elevating these bars from simply good to truly exceptional. You’ll typically find them in the baking aisle alongside chocolate chips.
- Chopped Pecans: Chopped pecans contribute a hearty, earthy crunch and a beloved nutty flavor that is synonymous with fall baking. Their natural oils toast beautifully in the oven, intensifying their rich taste and adding a satisfying bite that complements the sweetness of the other layers.
- Sweetened Condensed Milk: This luscious, thick milk is the true “magic binder” for these bars. It not only helps to adhere all the layers of toppings but also creates that signature gooey, caramelized texture as it bakes with the butterscotch chips. It sweetens the bars without requiring additional sugar or corn syrup, ensuring a perfectly sweet (but not overly cloying) result.
The Method to Your Magic Pumpkin Bars: Step-by-Step Baking
Now that you’re familiar with the star ingredients, let’s walk through the effortless process of assembling and baking these extraordinary Pumpkin Magic Bars. Follow these simple steps to bring your fall dessert dreams to life, transforming basic pantry staples into a festive and delightful treat that will disappear almost as quickly as you make it.
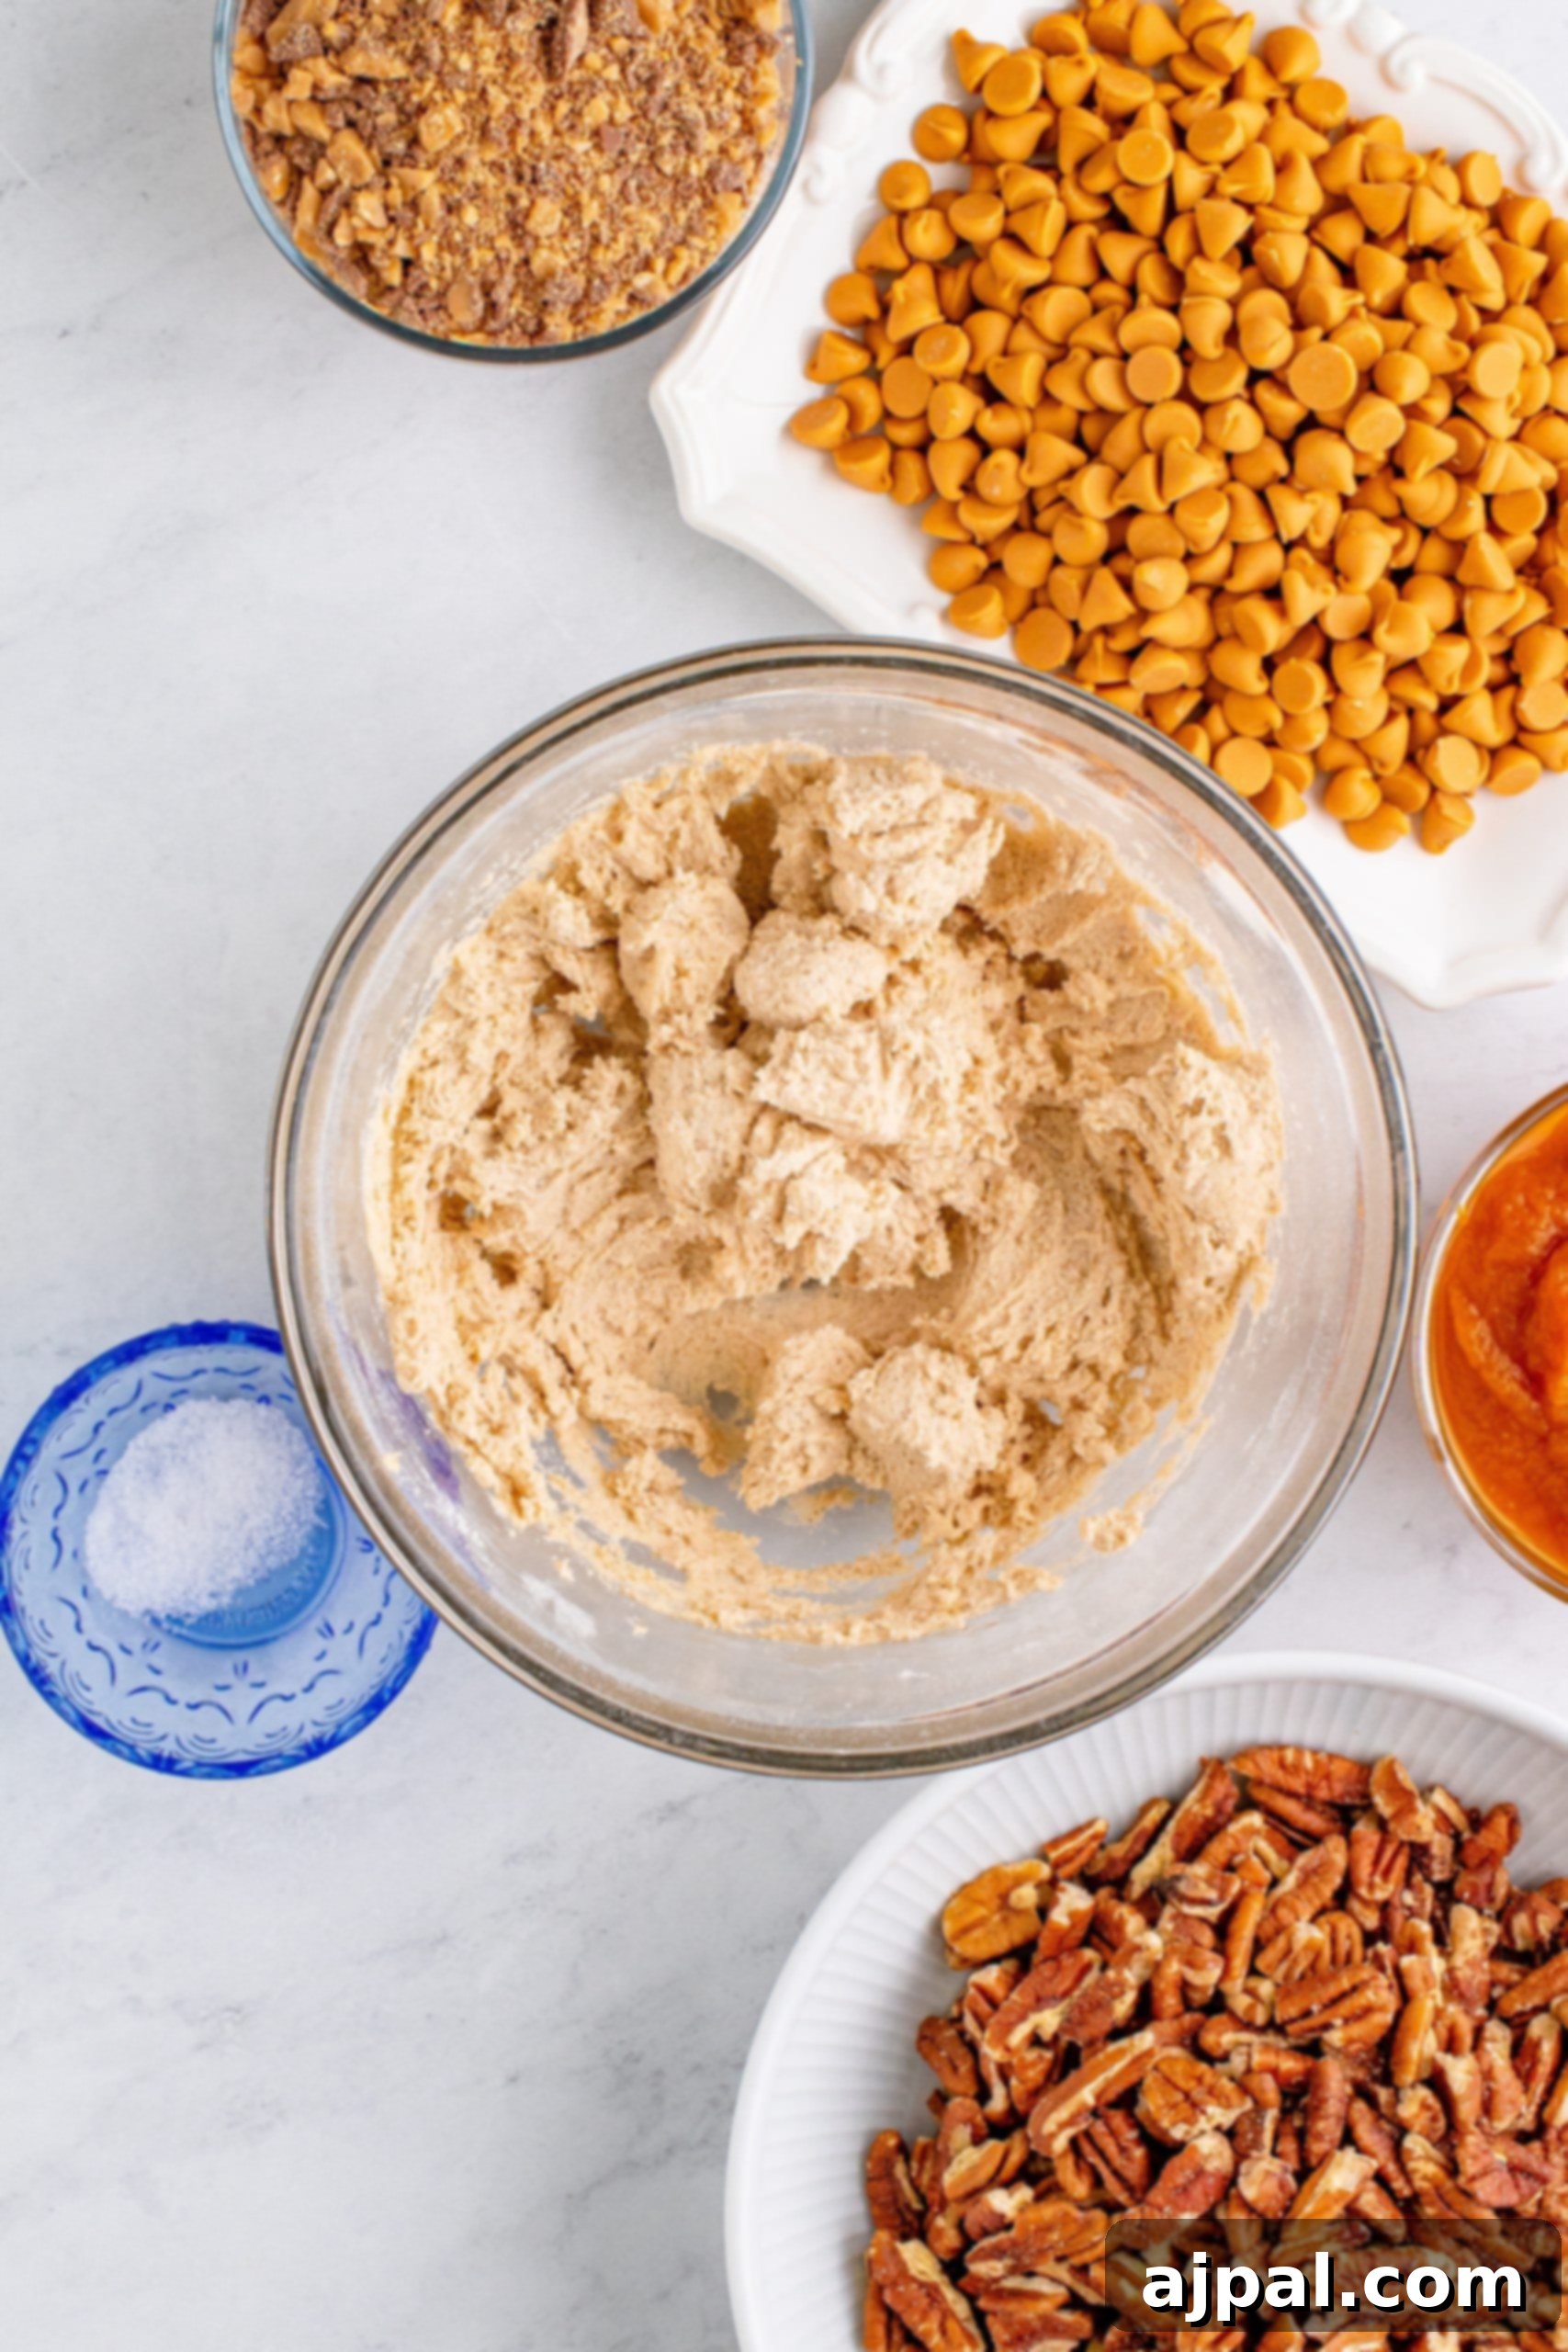
Step 1: Prepare Your Pan and Cream Ingredients
Begin by preheating your oven to 350°F (175°C). Line a 9×13 inch baking pan with aluminum foil, ensuring a slight overhang on the sides to create “handles” that will make it easy to lift the bars out later. Generously spray the foil-lined pan with cooking or baking spray to prevent sticking. In a large mixing bowl, combine the softened butter and light brown sugar. Cream them together using an electric mixer until the mixture is light, fluffy, and well-combined, typically taking about 2 minutes. This aeration step helps to create a tender crust.
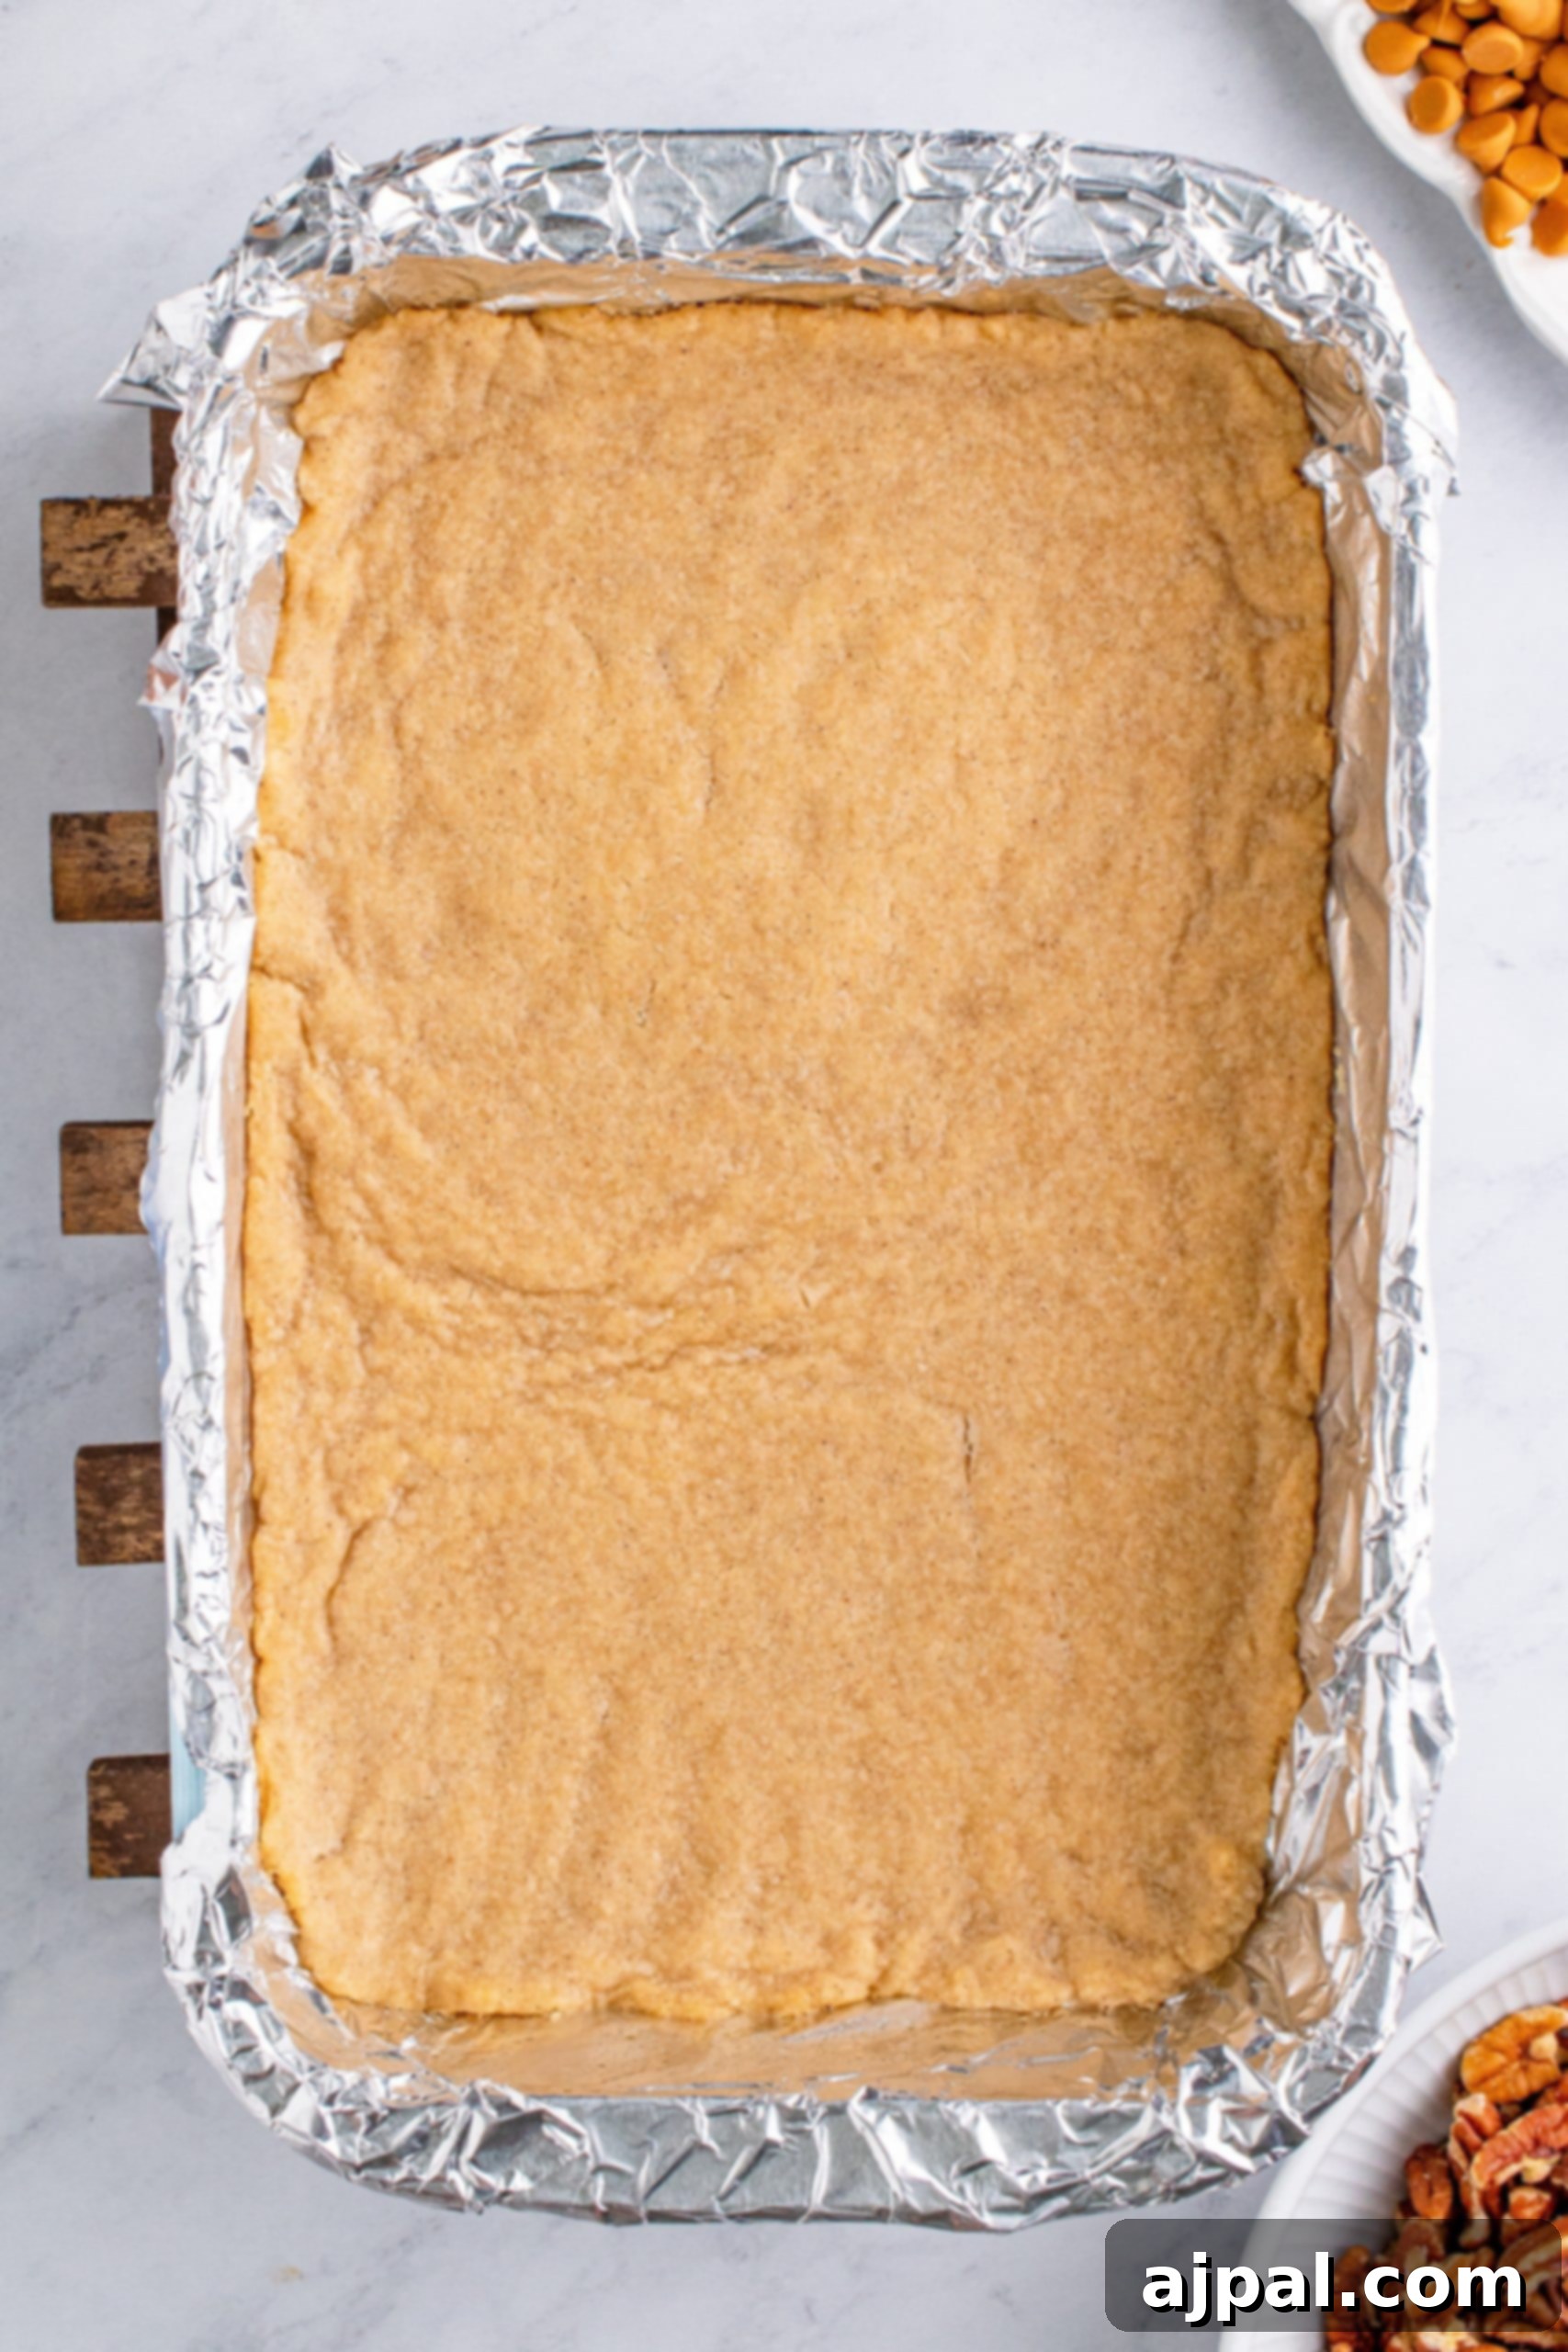
Step 2: Form and Bake the Crust
To the creamed butter and sugar mixture, add the dry ingredients: all-purpose flour, pumpkin pie spice, and a pinch of sea salt. Mix everything together until just combined and no dry streaks of flour remain. The dough will be thick and crumbly. Press this mixture firmly and evenly into the bottom of your prepared baking pan. This step is quite satisfying! Bake the cookie crust in the preheated oven for approximately 15 minutes, or until it no longer appears raw and the edges are just lightly golden-brown. This pre-baking ensures a sturdy base that won’t become soggy under the toppings.
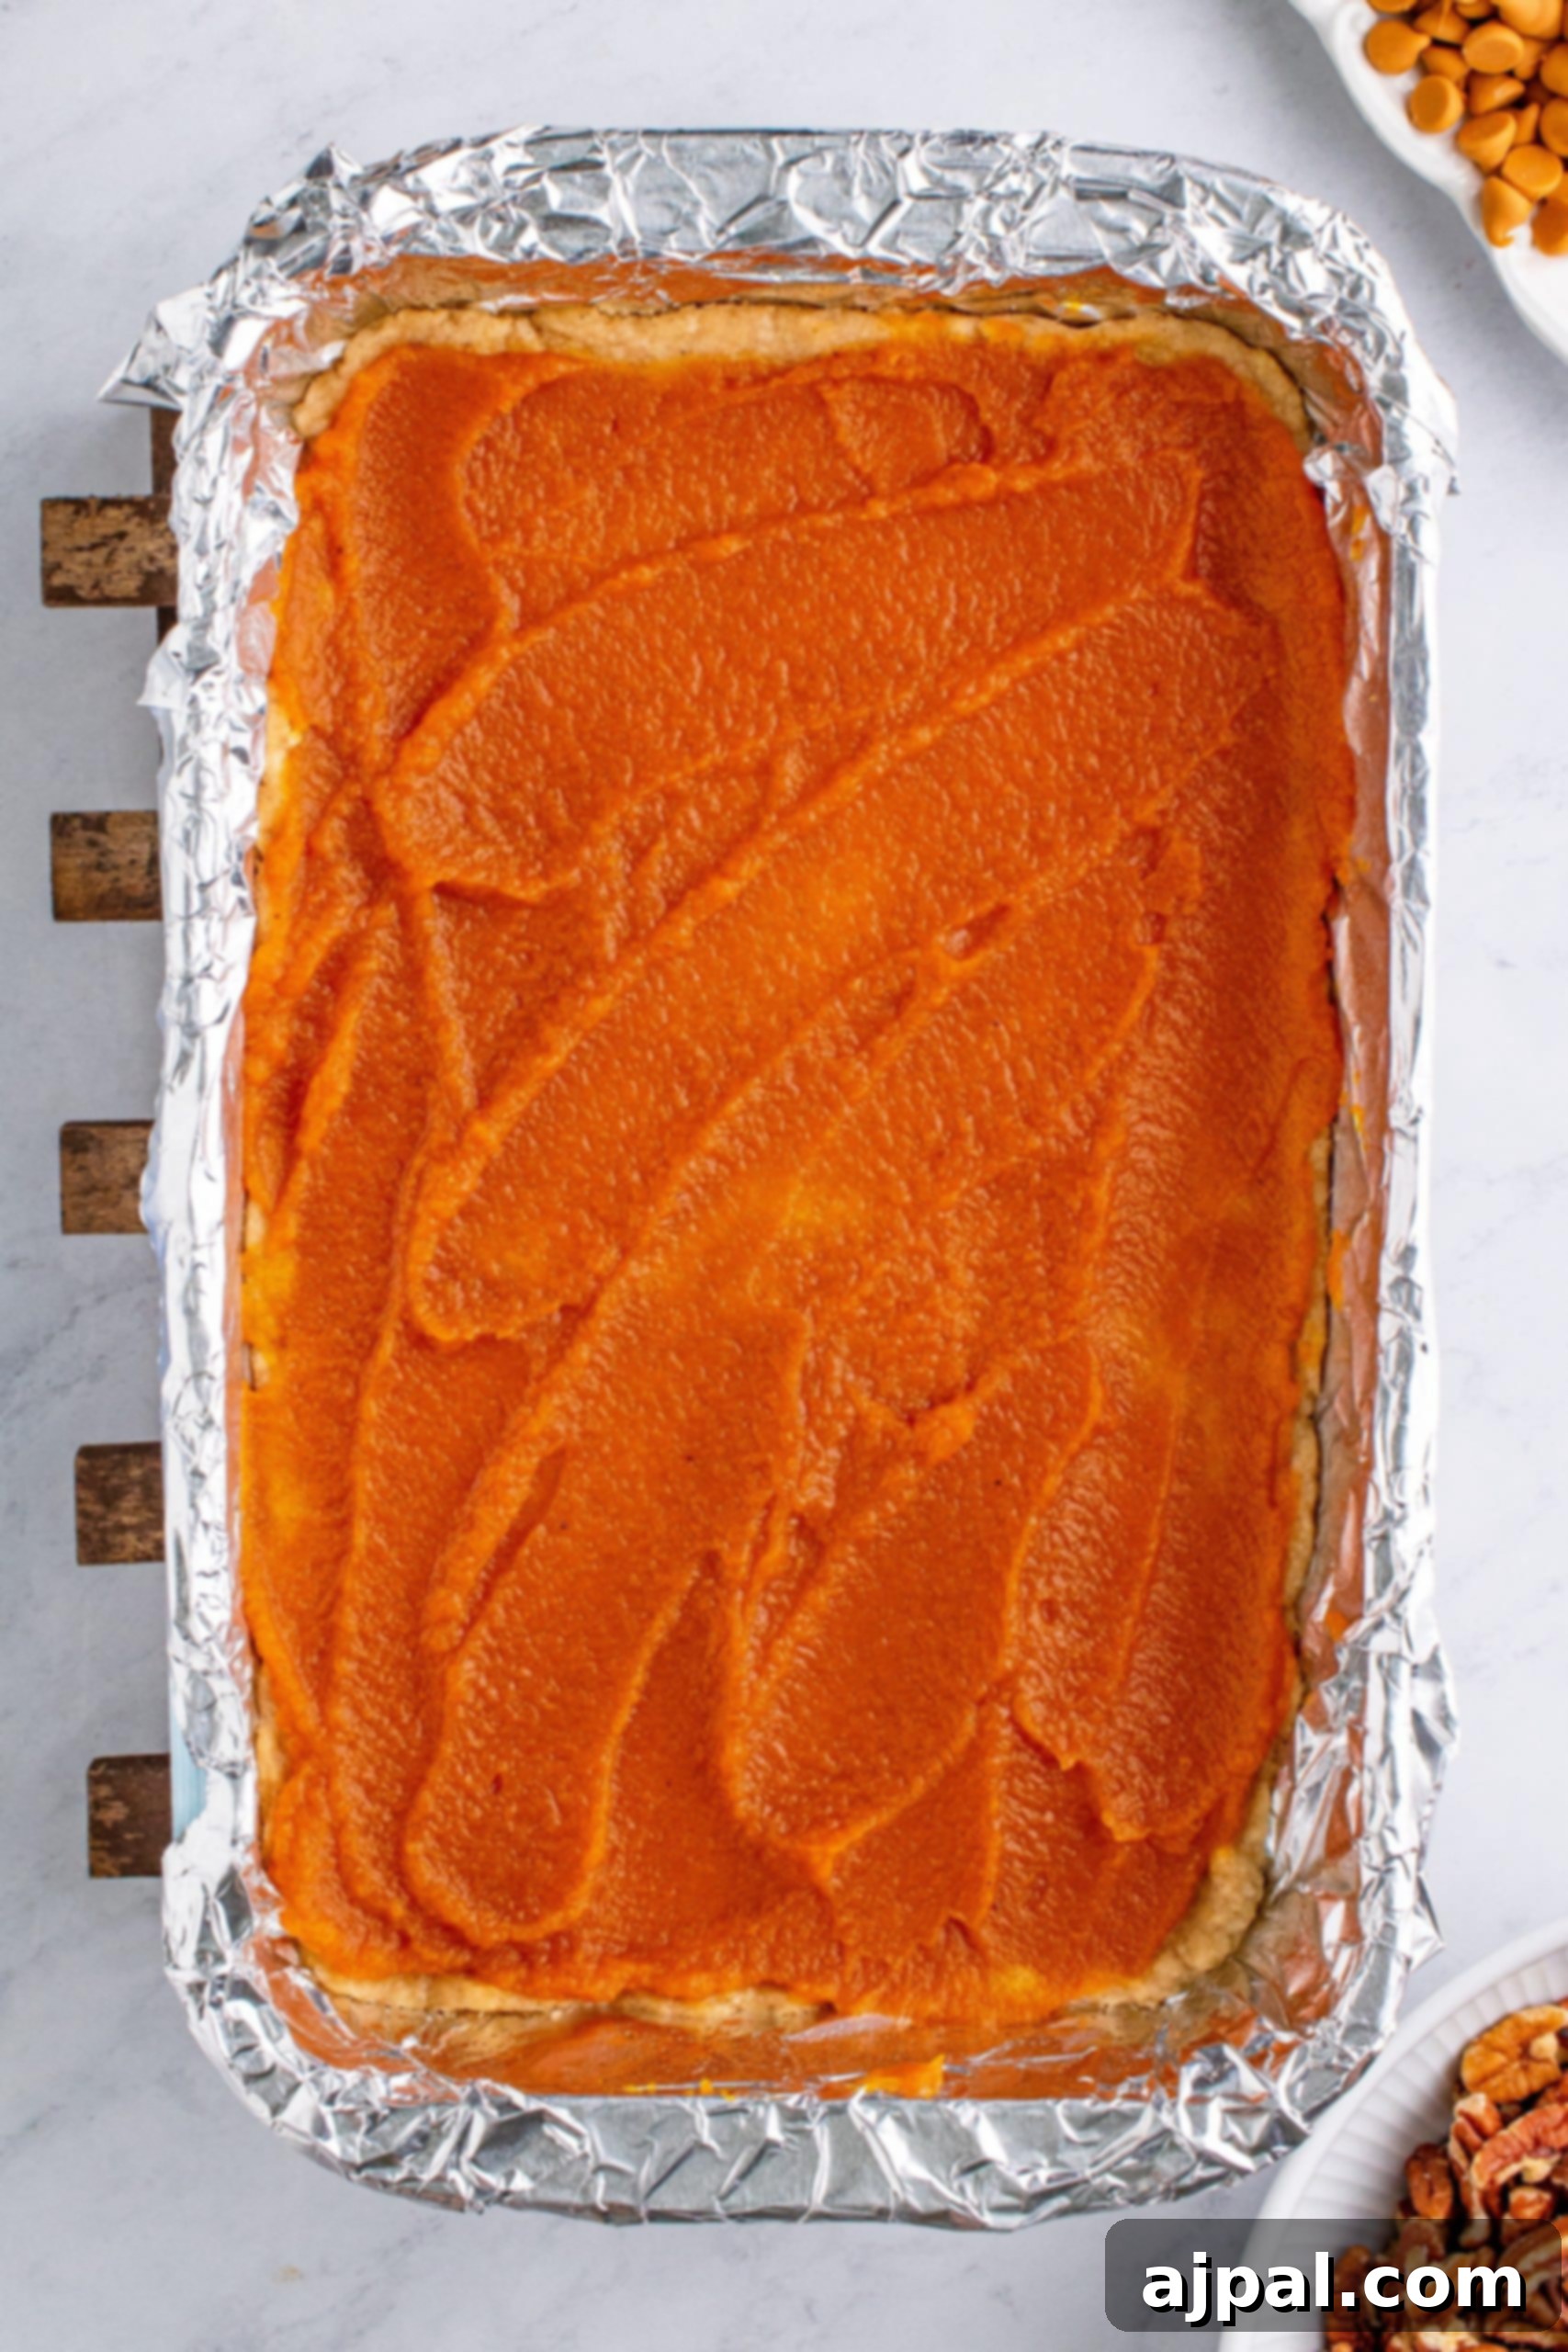
Step 3: Add the Pumpkin Filling
Once the crust has finished its initial bake, carefully remove the pan from the oven. Evenly spread the canned pumpkin pie filling over the warm, pre-baked crust. Ensure the layer is smooth and reaches all corners of the pan. This creates a moist and flavorful pumpkin base that will infuse the entire bar with fall essence.
Step 4: Layer the Toppings and Final Bake
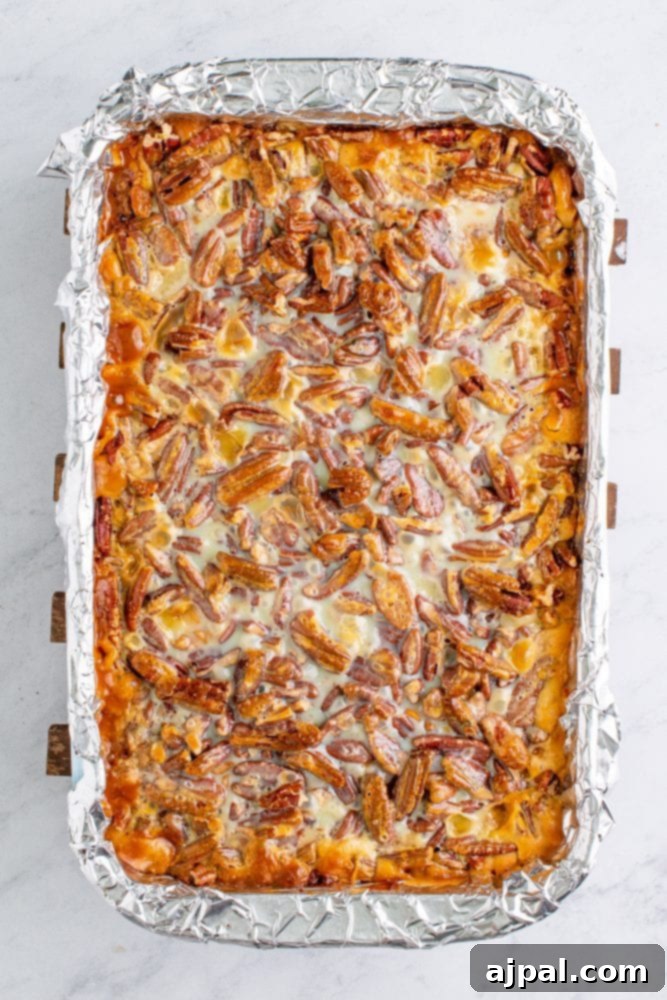
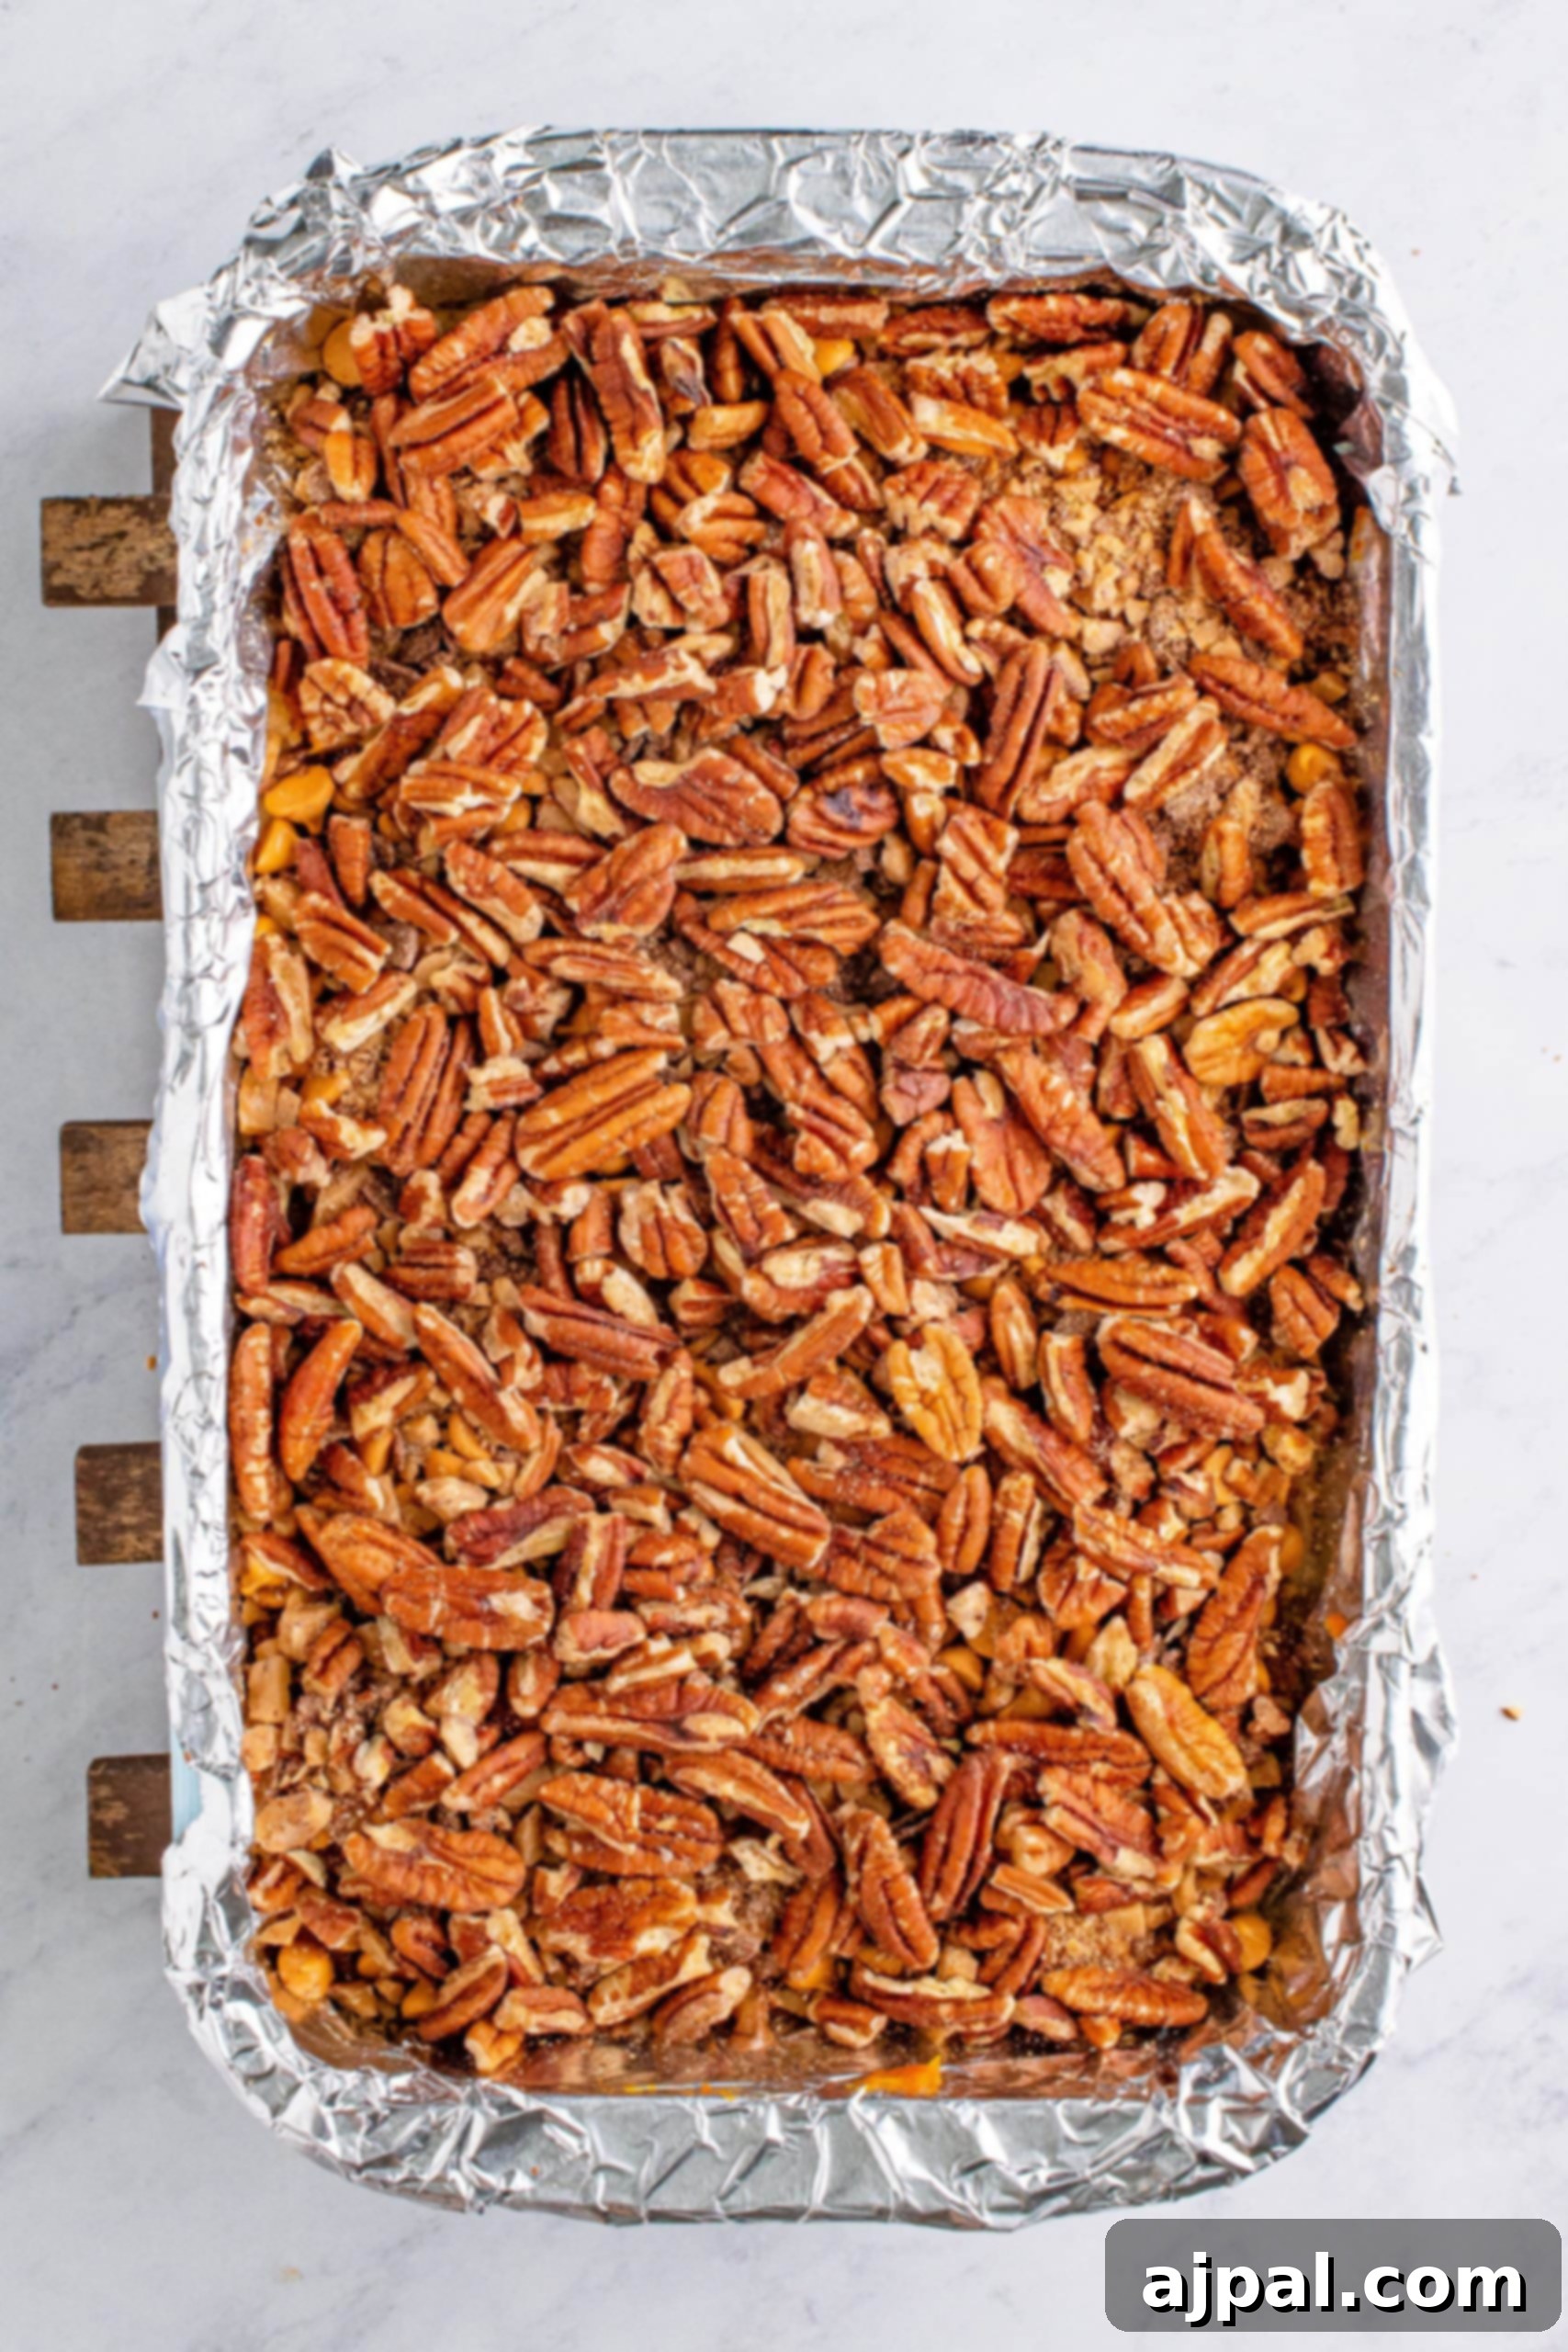
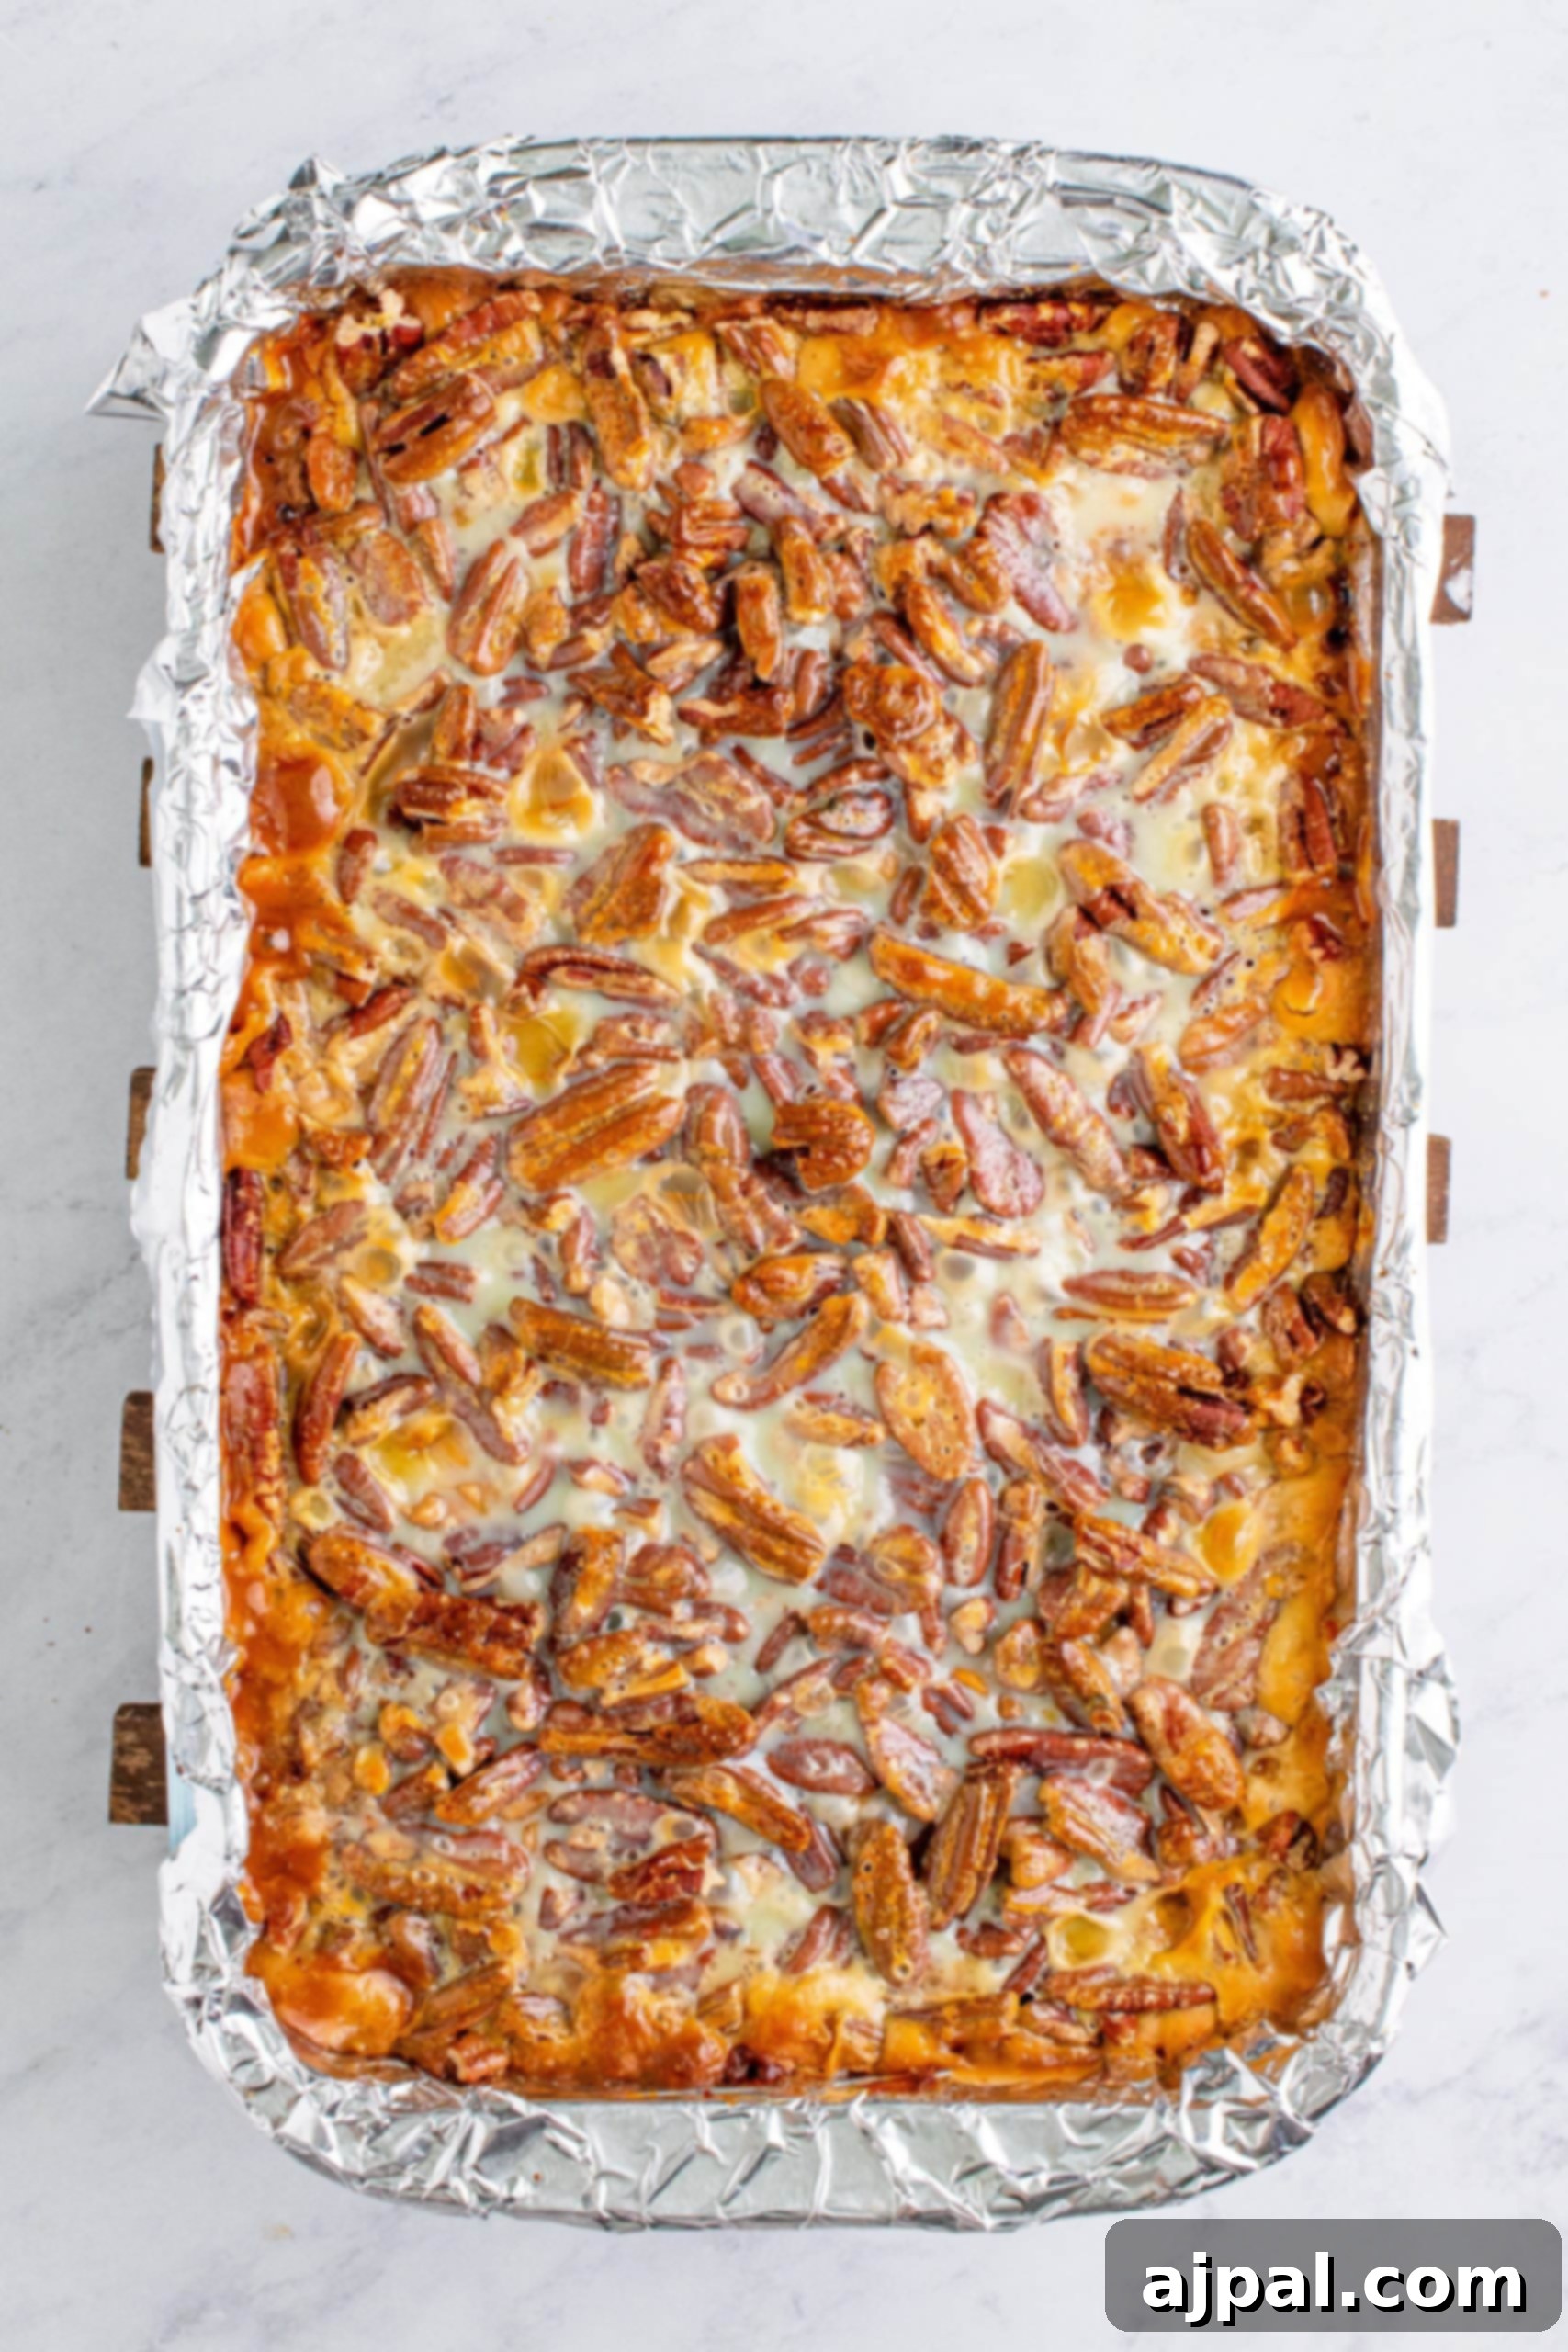
Now for the magical layers! Sprinkle the butterscotch chips evenly over the pumpkin filling. Follow with the crunchy toffee bits, distributing them well for texture in every bite. Finally, scatter the chopped pecans over the top. Once these delightful layers are in place, pour the sweetened condensed milk evenly over everything. This will act as the binding agent and create that signature gooey, caramelized glaze. Return the pan to the oven and bake for an additional 30-35 minutes, or until the top is beautifully browned and bubbly, and the edges are set. The center may still look slightly soft, but it will firm up as it cools.
Step 5: Cool and Serve
This is arguably the hardest step: resisting the urge to dig in immediately! For the best results and clean cuts, allow the Pumpkin Magic Bars to cool completely in the pan on a wire rack. This can take several hours, or you can speed up the process by refrigerating them once they’ve cooled to room temperature. Once thoroughly chilled and firm, use the foil overhang to gently lift the entire slab of bars from the pan. Transfer them to a cutting board, remove the foil, and slice them into individual bars. Now they’re ready to be enjoyed!
Expert Tips and Tricks for Perfect Pumpkin Magic Bars
While these Pumpkin Magic Bars are designed for simplicity, a few expert tips and clever tricks can elevate your baking experience and ensure a flawless, delicious dessert every single time. From storage solutions to allergy-friendly alternatives and delightful presentation ideas, these insights will help you master the art of the perfect fall treat.
- Refrigerate After Baking for Optimal Texture: Due to the moist pumpkin filling and creamy sweetened condensed milk, these bars are best stored in the refrigerator. Chilling not only helps them set perfectly for clean slicing but also extends their freshness and provides a delightful firm yet chewy texture. Always store them in an airtight container to prevent them from drying out.
- Make Them School-Safe and Allergy-Friendly: It’s a thoughtful gesture to consider dietary restrictions, especially when packing treats for school. Many schools implement strict “nut-free” policies to protect children with severe allergies. To transform these Pumpkin Magic Bars into a school-safe snack, simply substitute the chopped pecans with a suitable alternative. Great options include crushed Cheerios, pretzel bits for a salty crunch, or sunflower seeds (check school policies regarding seeds). Your kids will be thrilled to open their lunchboxes to these delicious, safe treats!
- Charming Serving Suggestions: Presentation can make a great dessert even better. Arrange your cooled and cut Pumpkin Magic Bars on a beautiful fall-themed platter for an inviting display. Consider dusting the tops with a light layer of powdered sugar just before serving. This not only adds a lovely visual depth and a touch of elegance but also provides a delicate sweetness that enhances the overall flavor profile. These bars are fantastic on their own, but they also pair wonderfully with a scoop of vanilla ice cream, a dollop of whipped cream, or simply a warm cup of coffee or tea, making them perfect for breakfast or an afternoon pick-me-up.
- Creative Flavor Variations: While the classic combination of pumpkin and butterscotch is undeniably delicious, feel free to experiment! If you’re not a fan of butterscotch, regular chocolate chips are an excellent substitute. The pairing of pumpkin and chocolate is a timeless classic that creates a rich, indulgent twist on these bars. You could also try a mix of dark and milk chocolate chips for added complexity.
Frequently Asked Questions About Pumpkin Magic Bars
Yes, you absolutely can use pumpkin puree, but there’s a key difference to note. Pumpkin puree is 100% pure pumpkin, with no added sugars or spices. Pumpkin pie filling, on the other hand, is already sweetened and pre-spiced with the traditional flavors like cinnamon, nutmeg, and ginger. If you choose to use pumpkin puree, we highly recommend adding your own spices (such as cinnamon, nutmeg, ginger, and cloves) and a bit of sugar or maple syrup to taste, to achieve that classic pumpkin pie flavor profile that makes these bars so delicious.
Due to the pumpkin and dairy content from the sweetened condensed milk, Pumpkin Magic Bars should always be stored in an airtight container in the refrigerator. This will keep them fresh and delicious for up to four days. For longer storage, you can also freeze the cooled and cut bars in a single layer, then transfer them to a freezer-safe bag or container for up to one month. Thaw them in the refrigerator before serving.
Discover More Delicious Pumpkin Recipes
If these delightful Pumpkin Magic Bars have captured your heart and taste buds, you’re in for a treat! The versatility of pumpkin makes it a star ingredient in countless fall desserts. We invite you to delve deeper into our collection of pumpkin-inspired recipes, where you’ll find everything from comforting baked goods to festive beverages perfect for the season. Explore new ways to enjoy this classic fall flavor with our tried-and-true favorites.
You can find our complete pumpkin recipe archives here, filled with inspiring ideas for your next baking adventure!
More Pumpkin Delights
If you’re enchanted by these Pumpkin Magic Bars, you’ll surely love exploring more of our delightful pumpkin creations. From comforting breads to festive cupcakes, our collection celebrates the versatile charm of pumpkin.
You can find our complete pumpkin recipe archives here.
Pumpkin Bread Mini Pumpkins
Pumpkin Cupcakes
22 Pumpkin Recipes For Fall
Pumpkin Pie Punch
We hope you enjoy making these fantastic Pumpkin Magic Bars as much as we do! If you try this easy recipe and love it, please consider giving it a five-star rating and leaving a comment below. Your feedback helps other home cooks discover wonderful new recipes. Don’t forget to share your creations on Instagram, Facebook, and Pinterest – tag @sweetcsdesigns so we can see your amazing work!
Share on Facebook
Share
Pin this now to find it later
Pin It
Follow on Instagram
Follow
Only have 30 minutes to get dinner on the table? Sign up for my 30 minute dinner plans direct to your inbox!
Find and shop my favorite products in my Amazon storefront here!
Pumpkin Magic Bars Recipe
Share by Email
Print Recipe
Equipment
- Baker’s Joy Cooking Spray 4oz Can (Pack of 3) (Non Stick Baking Spray with Flour)
- GreenLife Bakeware Healthy Ceramic Nonstick, 13″ x 9″ Rectangular Cake Baking Pan, PFAS-Free, Turquoise
- Reynolds Kitchens Cookie Baking Sheets, Pre-Cut Parchment Paper, 25 Sheets (Pack of 4), 100 Total Sheets
Ingredients
For the crust:
- ½ cup unsalted butter
- ⅓ cup light brown sugar, packed
- 1 cup all-purpose flour
- ½ teaspoon pumpkin pie spice
- pinch of fine sea salt
For the Toppings:
- 1 cup canned pumpkin pie filling
- 11 ounces butterscotch chips
- 1 cup toffee bits
- 2 cups chopped pecans
- 14 ounces sweetened condensed milk
Instructions
- Preheat the oven to 350°F (175°C). Line a 9×13 inch baking dish with foil and spray it with cooking spray, then set aside.
- In a large bowl, cream together the butter and brown sugar until light and fluffy, about 2 minutes.
- Add the flour, pumpkin pie spice, and salt to the creamed mixture. Mix until well combined with no dry spots remaining.
- Press the mixture evenly into the bottom of the prepared baking pan. Bake for 15 minutes until it no longer looks raw and is lightly toasted.
- Evenly spread the pumpkin pie filling on top of the baked crust.
- Layer the butterscotch chips, followed by the toffee bits, then the pecans over the pumpkin mixture.
- Pour the sweetened condensed milk evenly over the top of all the layers. Bake for an additional 30-35 minutes until the top is browned.
- Let the bars cool completely in the pan on a wire rack.
- Once they are completely cool and firm, use the foil overhang to lift them from the pan. Cut them into individual bars.
- Store in the refrigerator until ready to serve.
Video
Notes
Due to the pumpkin in this recipe, the bars should be stored in the fridge for optimal freshness and texture.
The combination of flavors in these bars is truly special. However, if butterscotch isn’t your preference, feel free to substitute with regular chocolate chips; pumpkin and chocolate are a wonderfully compatible pairing!
The slight crunch from the toffee bits and pecans adds a delightful textural contrast, making these the perfect fall treat.
Nutrition
Nutrition information is automatically calculated, so should only be used as an approximation.
Additional Info
Tried this recipe?
Mention @sweetcsdesigns or tag #sweetcsdesigns!