
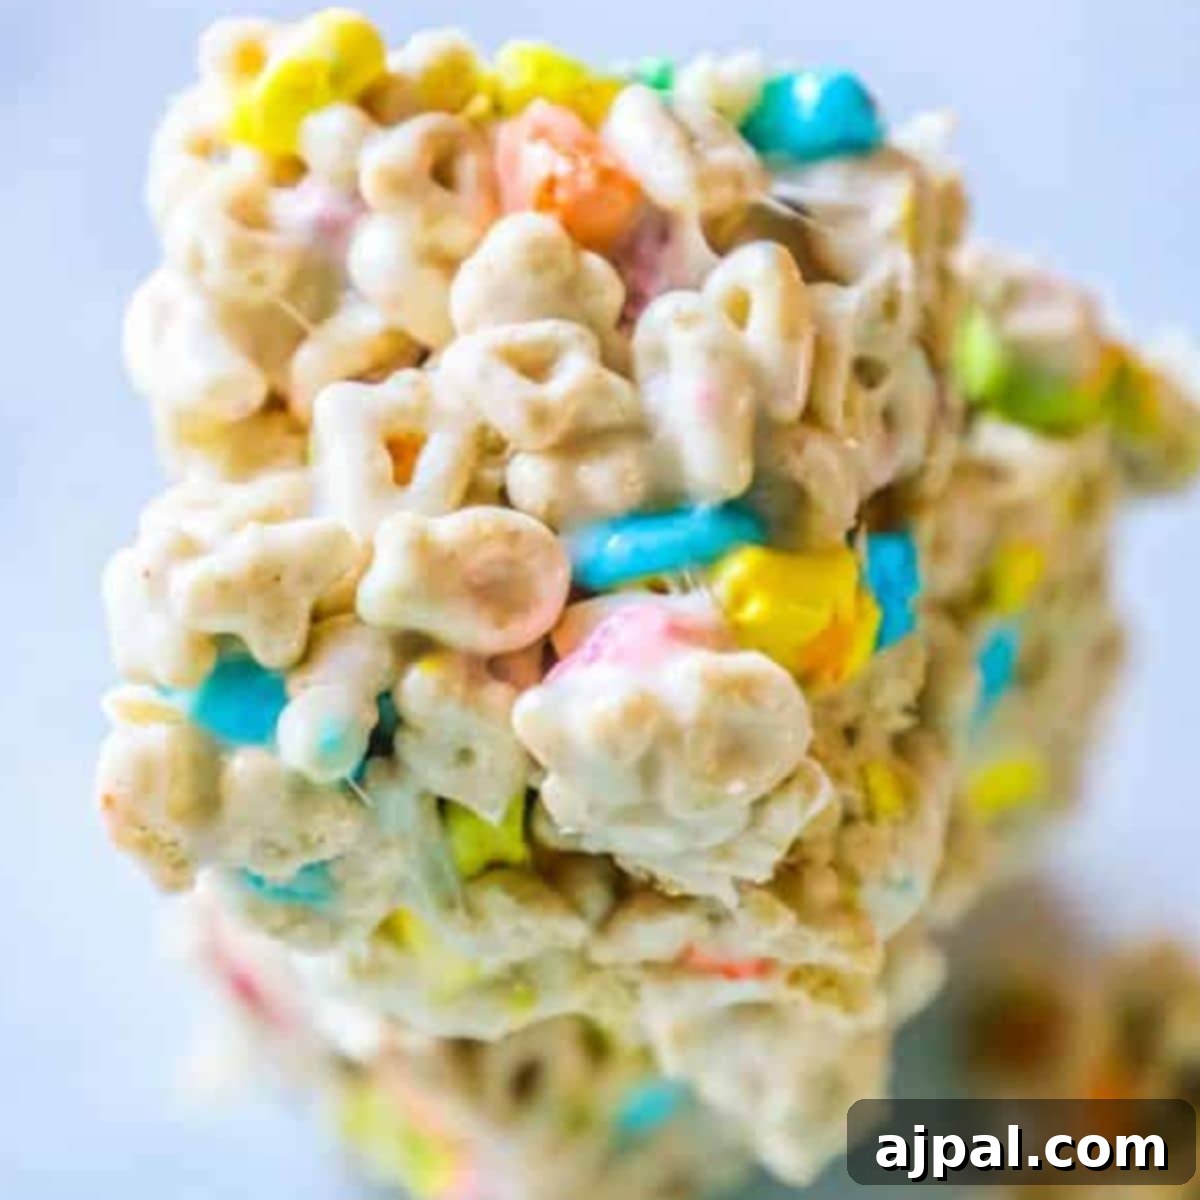
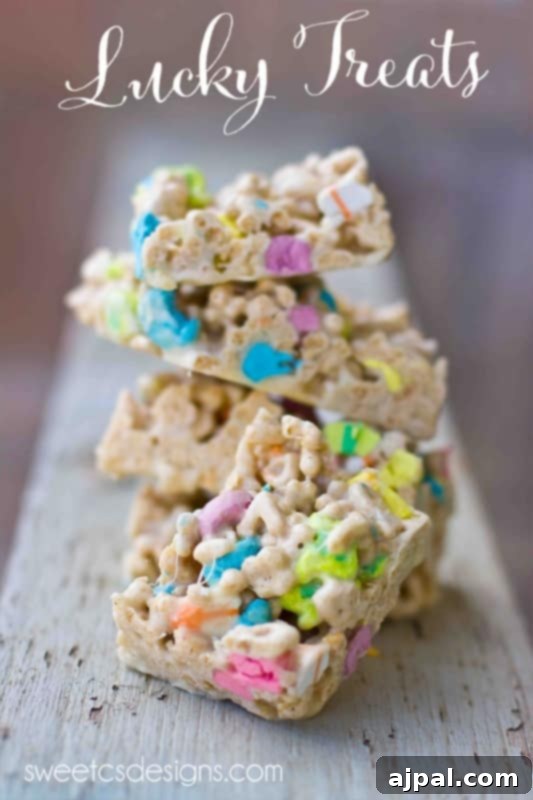
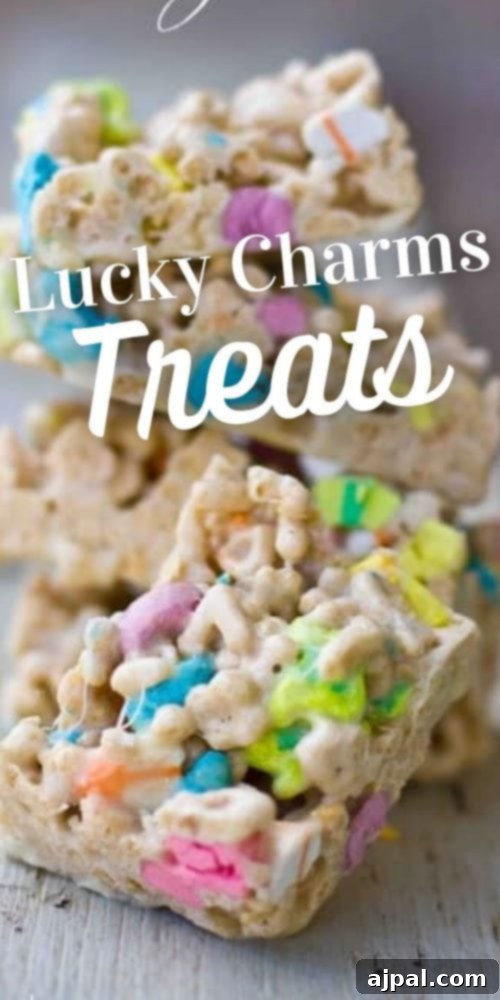
Celebrate Saint Patrick’s Day with an irresistible, no-bake treat that kids will adore making and devouring! These **Homemade Lucky Charms Treats** are vibrant, easy to create, and the perfect festive snack for school parties, family gatherings, or just a magical afternoon at home. Forget the store-bought versions; our homemade recipe delivers a chewy, marshmallow-infused delight that’s infinitely better, promising a taste of pure luck in every bite.
Imagine soft, gooey marshmallows embracing crunchy, rainbow-colored Lucky Charms cereal, all bound together in a delightful bar that requires no oven at all. This recipe is designed for simplicity, utilizing just a few common ingredients to create a truly party-perfect confection. Get ready to add a splash of Irish cheer to your celebration with these charmingly delicious cereal bars!
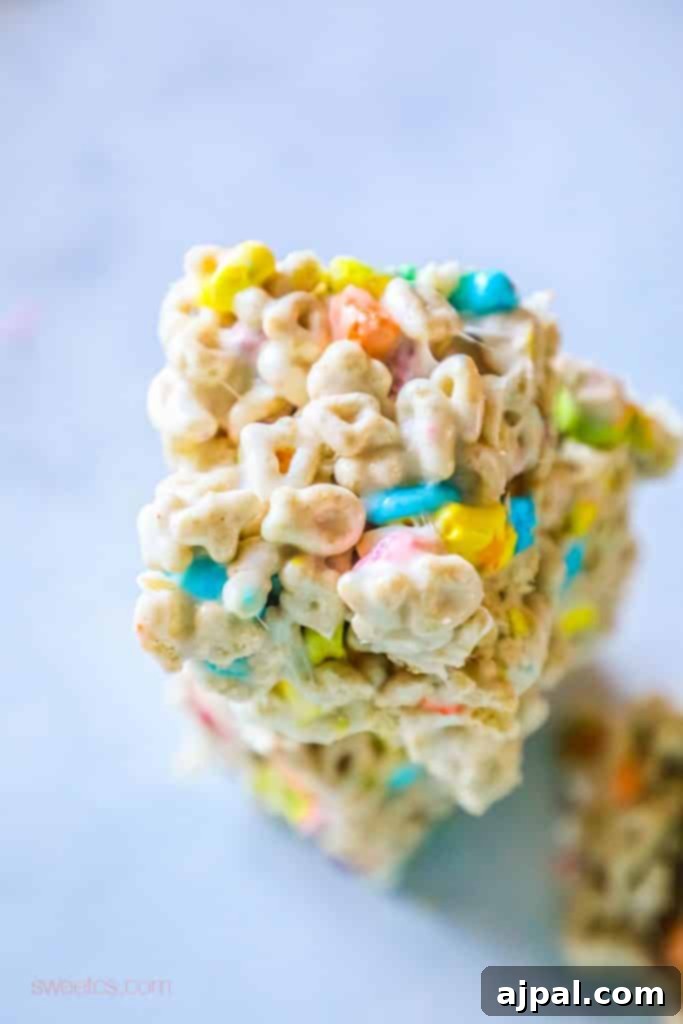
Here at Sweet C’s, our mission is to empower every home cook, from novice to experienced, to feel confident and joyful in the kitchen. As a self-taught cook, I believe understanding the ‘why’ behind each ingredient and technique transforms cooking from a chore into a creative adventure. This philosophy guides all my recipes, ensuring you have all the insights needed to achieve perfect results, making your culinary journey both successful and enjoyable.
Table of Contents
- The Enchanting World of Lucky Charms Cereal Bars
- Essential Ingredients for Your Magical Treats
- Step-by-Step Guide: Crafting Your Homemade Lucky Charms Treats
- Mastering the Perfect Lucky Charms Treats: Pro Tips and Tricks
- Involving Children Safely in the Kitchen
- Customization Ideas for Extra Fun
- Frequently Asked Questions (FAQs)
- More Saint Patrick’s Day Delights
The Enchanting World of Lucky Charms Cereal Bars
If you’ve ever encountered the pre-packaged Lucky Charms Treats in stores, you might have, like me, approached them with a degree of skepticism. Often, store-bought cereal bars can be overly sweet or have a texture that doesn’t quite hit the mark, sometimes feeling too dense or brittle, much like some Rice Krispy Treats tend to be. This initial hesitation is precisely what inspired me to create a homemade version for my kids – and what a delightful revelation it turned out to be!
Making these **Homemade Lucky Charms Treats** at home was a game-changer. Not only do they offer unparalleled freshness and the perfect balance of sweetness, but they are also incredibly difficult to stop eating! The homemade difference is truly magical, allowing for that ideal soft, chewy texture that melts in your mouth, complemented by the satisfying crunch of the cereal and the whimsical shapes of the marshmallows. It’s a culinary journey that captures the true essence of this beloved cereal in a festive bar format. Once you try this recipe, you’ll understand why it’s become such a beloved staple in our home, especially during festive seasons.
If you find yourself enchanted by the simplicity and deliciousness of these no-bake bars, be sure to explore more of our easy, fun recipes! You might particularly enjoy our easy no-bake Cheerios bars treats for another quick snack, or get into the holiday spirit with our festive White Chocolate Lucky Charms Hot Chocolate Bombs Recipe, perfect for adding a touch of magic to your winter mornings.
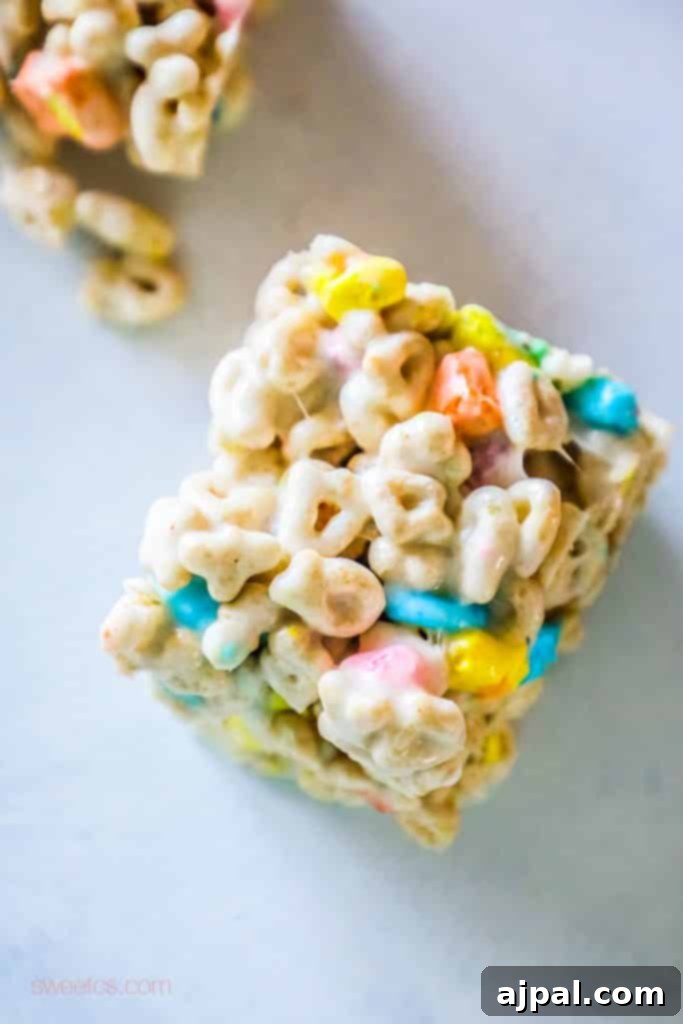
Essential Ingredients for Your Magical Treats
Crafting these delightful cereal bars requires only a handful of ingredients, each playing a crucial role in achieving the perfect balance of flavor and texture. Here’s a detailed look at what you’ll need and why each component is so important:
- Marshmallows: The heart and soul of any cereal treat, marshmallows provide the essential gooey, sweet base that binds everything together. When gently heated, they transform into a sticky, stretchy matrix, creating that signature soft chewiness. For the best results, use fresh marshmallows, as older ones can become tougher to melt evenly. Both mini and jumbo marshmallows work well; mini marshmallows melt more quickly, while jumbo marshmallows can give a slightly stringier texture when melted, which some prefer.
- Lucky Charms Cereal: The star of our show, Lucky Charms cereal brings a delightful blend of crunchy toasted oat pieces and iconic, colorful marshmallow shapes. This combination offers a fantastic contrast in textures and a burst of sweet, whimsical flavor that makes these treats instantly recognizable and endlessly fun for all ages. Ensure your cereal is fresh to maintain its crispness, preventing your treats from becoming soggy.
- Butter: Butter is more than just a flavor enhancer; it’s a critical component for both taste and texture. It introduces a rich, creamy depth that elevates the overall flavor profile. Moreover, butter aids in the melting and mixing process, ensuring the marshmallows melt smoothly and combine uniformly with the cereal. It also helps prevent the treats from becoming excessively sticky, making them easier to handle and enjoy. We recommend using salted butter, as the hint of salt perfectly balances the sweetness of the marshmallows and cereal, creating a more complex and satisfying taste.
With these simple yet powerful ingredients gathered, you’re ready to embark on the easy journey of making your own batch of irresistible Lucky Charms Treats!
Step-by-Step Guide: Crafting Your Homemade Lucky Charms Treats
Once you’ve assembled your ingredients, the process for these no-bake delights is incredibly straightforward. Follow these steps for perfect, chewy, and colorful cereal bars:
Step 1: Prep Your Pan. Prepare a 9×9 inch baking pan by generously greasing it with butter, cooking spray, or lining it with parchment paper, leaving an overhang on two sides for easy removal. This crucial step prevents the sticky marshmallow mixture from adhering to the pan, making cleanup and cutting much simpler. Set the prepared pan aside.
Step 2: Melt the Butter. In a large, sturdy pot or Dutch oven, add your butter. Place the pot over medium-low heat. Allow the butter to melt slowly and completely. Using medium-low heat is important to prevent the butter from burning, which can impart an undesirable flavor to your treats.
Step 3: Introduce the Marshmallows. Once the butter is fully melted, add all your marshmallows to the pot. Stir constantly with a spatula or wooden spoon. Continuous stirring ensures even melting and prevents the marshmallows from sticking to the bottom of the pot and burning. Continue until the marshmallows are almost entirely melted and smooth. You might notice a slight browning, which is fine, but if the sugar begins to brown before the marshmallows are fully melted, remove the pot from the stove and continue stirring off the heat. The residual heat will help them melt completely, ensuring a perfectly gooey consistency without overcooking.
Step 4: Combine with Cereal. Remove the pot from the heat. Pour the Lucky Charms cereal directly into the melted marshmallow mixture. Using your spatula or spoon, stir quickly and thoroughly until all the cereal pieces are evenly coated with the gooey marshmallow. Work efficiently but gently to avoid crushing the cereal too much, preserving its crunch and the fun marshmallow shapes.
Step 5: Press and Set. Carefully transfer the mixture into your greased 9×9 baking dish. To press the mixture evenly into the pan without compacting it too much (which can lead to hard treats), lightly grease your hands or the back of a spatula with butter or cooking spray. Gently press the mixture down to form an even layer. Avoid pressing too firmly; a light touch will result in a softer, chewier treat. Let the treats cool completely at room temperature for about 1-2 hours, or place them in the refrigerator for 30 minutes to speed up the setting process.
Step 6: Cut and Enjoy! Once the treats are fully set and cool to the touch, use the parchment paper overhang to lift the entire block out of the pan. Place it on a cutting board. For clean cuts, use a sharp knife that has been lightly greased with butter or cooking spray. Slice into squares or any desired shape. Now, it’s time to enjoy your homemade, magically delicious Lucky Charms Treats!
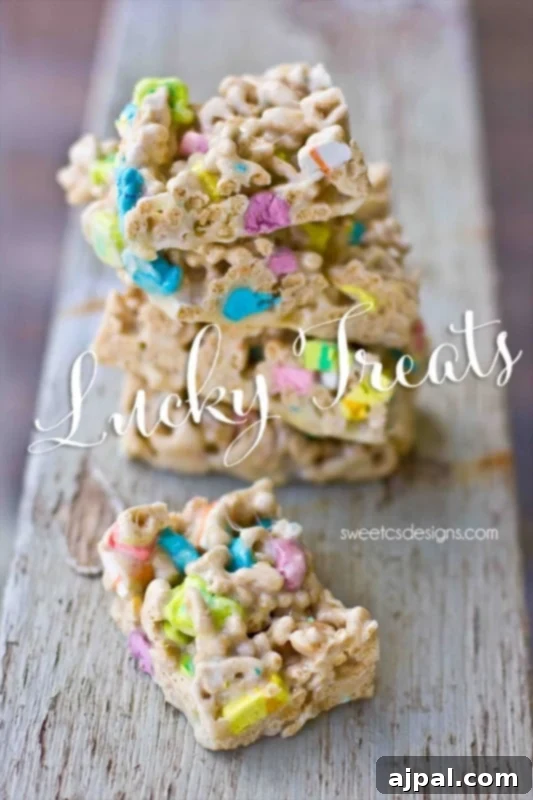
Mastering the Perfect Lucky Charms Treats: Pro Tips and Tricks
Making these cereal bars is a simple process, but a few insider tips can elevate your treats from good to absolutely perfect. Whether you’re aiming for the ideal chewy texture or want to add a unique twist, these suggestions will help you achieve dessert perfection.
Avoiding Sticky Situations
One of the most common challenges with marshmallow treats is their stickiness. To minimize mess when pressing the mixture into the pan, lightly grease your hands, a piece of parchment paper, or the back of a spatula with butter or non-stick spray. This creates a barrier that prevents the warm, gooey mixture from sticking, allowing you to spread it evenly with ease.
Achieving the Ideal Texture
The secret to soft, chewy Lucky Charms Treats lies in two key factors:
- Don’t Overcook the Marshmallows: Melt the marshmallows gently over medium-low heat, stirring continuously. As soon as they are mostly melted and smooth, remove them from the heat. Overcooking can lead to hardened sugar, resulting in brittle or rock-hard treats once cooled.
- Don’t Over-Press: When pressing the mixture into your prepared pan, use a light, gentle hand. Compacting the cereal too tightly will squeeze out air pockets, making the treats dense and hard instead of delightfully chewy.
Storage Secrets for Freshness
Cereal treats are best enjoyed fresh, but proper storage can extend their deliciousness. Store your cooled Lucky Charms Treats in an airtight container at room temperature. For optimal texture and flavor, try to enjoy them within 2-3 days. If you need to stack them, place a piece of parchment paper between layers to prevent sticking.
Involving Children Safely in the Kitchen
One of the most rewarding aspects of making these treats is the opportunity to involve children in the cooking process. I particularly cherish these moments, as it’s not just about making a snack, but about fostering responsibility and culinary curiosity. For younger children, direct involvement with the stovetop can be risky, so adult supervision is paramount.
In our kitchen, when my children are learning to cook on the stove, I ensure they stand on a sturdy chair, are dressed in thick, protective clothing (like a sweatshirt and boots) to shield against splashes or heat, and I always use deep pots to minimize the risk of anything spilling out. While it requires very close supervision, allowing them to gently stir the melting marshmallows (under a watchful eye) has been incredibly beneficial.
Initially, I was nervous about letting them near the stovetop, but their participation has surprisingly led to greater kitchen awareness. They now understand that things on the stove are hot and refrain from grabbing at anything near it. They’ve learned patience, always asking if they can help before diving in. This recipe, with its minimal hot handling, is an excellent entry point for teaching kitchen safety and the joy of cooking.
If stove-top involvement feels too advanced for your younger ones, there are still plenty of age-appropriate tasks. My almost two-year-old, for example, absolutely loves buttering the baking pan. This simple task makes them feel included and teaches them about preparation, without any heat-related dangers. While waiting for our treats to cool, we’ve extended the St. Patrick’s Day fun by making rainbow quesadillas, creating colorful leprechaun crafts, and discussing the vibrant colors of the rainbow and stories of pots of gold. These activities, centered around a fun holiday, spark their interest in cooking, colors, and the simple joy of anticipation, even if they’re not learning about the historical Saint Patrick himself.
Customization Ideas for Extra Fun
These treats are wonderful on their own, but they also serve as a fantastic canvas for creative customization:
- Chocolate Drizzle: Melt some white chocolate or green-colored candy melts and drizzle them over the cooled treats for an extra layer of sweetness and visual appeal.
- Sprinkles: Before the treats fully set, scatter some festive green, gold, or rainbow sprinkles on top for added crunch and decoration.
- Food Coloring: Add a few drops of green food coloring to the melted marshmallow mixture to enhance the St. Patrick’s Day theme even further.
- Vanilla Extract: A teaspoon of vanilla extract added with the marshmallows can deepen the flavor profile.
Frequently Asked Questions (FAQs)
For the best texture and freshness, Lucky Charms Treats are best enjoyed within 2-3 days. Cereal treats tend to harden over time if exposed to air. To preserve their gooey texture, store them in an airtight container at room temperature, wrapped tightly in plastic wrap or placed in a sealed plastic bag.
Absolutely! Dipping your cereal bars adds another layer of flavor and makes them even more festive. Many people love to dip them in melted chocolate or white chocolate. For St. Patrick’s Day, you can dip them in white chocolate dyed green with food coloring, then sprinkle with green nonpareils or other holiday-themed sprinkles for a truly spectacular finish!
More Saint Patrick’s Day Delights
If you’re looking to further expand your St. Patrick’s Day menu with fun and delicious themed recipes, we’ve got you covered! Beyond these fantastic Lucky Charms Treats, explore some of our other festive creations:
- Our Saint Patrick’s Day Jello Cups are a colorful and jiggly delight that kids absolutely love to help assemble.
- Warm up with our enchanting Saint Patrick’s Day Hot Chocolate Bombs Recipe, a magical way to enjoy a comforting drink.
- For a sweet and chewy bite, try our easy and fun Shamrock Gummies, perfect for snacking or as party favors.
- Elevate your party platter with our super fun St. Patrick’s Day Dipped Oreos, featuring festive colors and sprinkles.
- And for a savory counterpoint to all the sweets, don’t forget our hearty Skillet Irish Potato Bread, a delicious and traditional snack that’s perfect any time of day.
You can find the rest of our Saint Patrick’s Day recipe ideas here, full of inspiration to make your celebration truly unforgettable.
You Might Also Love These Recipes
Air Fryer Cajun Turkey Breast
Herb Roasted Turkey in a Bag
Easy Cranberry Fluff Salad
Cranberry Bars
Dilly Bread Recipe
Cabbage and Noodles
Lemon Chicken Tortellini Soup
Cranberry Chutney
We hope these Homemade Lucky Charms Treats bring a smile and a touch of magic to your celebrations. If you love this easy recipe, please share your creations on Instagram, Facebook, and Pinterest! Don’t forget to tag @sweetcsdesigns so we can see your amazing work!
Only have 30 minutes to get dinner on the table? Sign up for my 30 minute dinner plans direct to your inbox!
Find and shop my favorite products in my Amazon storefront here!
Homemade Lucky Charms Treats
Equipment
-
Lucky Charms Limited Edition Just Magical Marshmallows
-
9×9 USA Baking Dish
Ingredients
- 3 cups marshmallow bits, if using jumbo, make them heaping cups
- 4 cups Lucky Charms
- ¼ cup butter, salted
Instructions
-
Grease a 9×9 baking pan well and set aside.
-
In a large pot, add butter and begin to melt on medium.
-
Add marshmallows and stir constantly until mallows melt.
-
You may see slight browning- if your mallows aren’t fully melted as the sugar browns, pull them off the stove and continue stirring. They should melt from the heat.
-
Add lucky charms to pan and stir well to combine.
-
Pour mixture into the greased 9×9 dish and let cool.
-
When set, cut and enjoy!
Video
Nutrition
Calories: 80kcal
Carbohydrates: 10g
Protein: 1g
Fat: 4g
Saturated Fat: 3g
Polyunsaturated Fat: 0.3g
Monounsaturated Fat: 1g
Trans Fat: 0.2g
Cholesterol: 10mg
Sodium: 108mg
Potassium: 28mg
Fiber: 1g
Sugar: 4g
Vitamin A: 457IU
Vitamin C: 3mg
Calcium: 53mg
Iron: 3mg
Nutrition information is automatically calculated, so should only be used as an approximation.
Additional Info
Tried this recipe?
Mention @sweetcsdesigns or tag #sweetcsdesigns!