
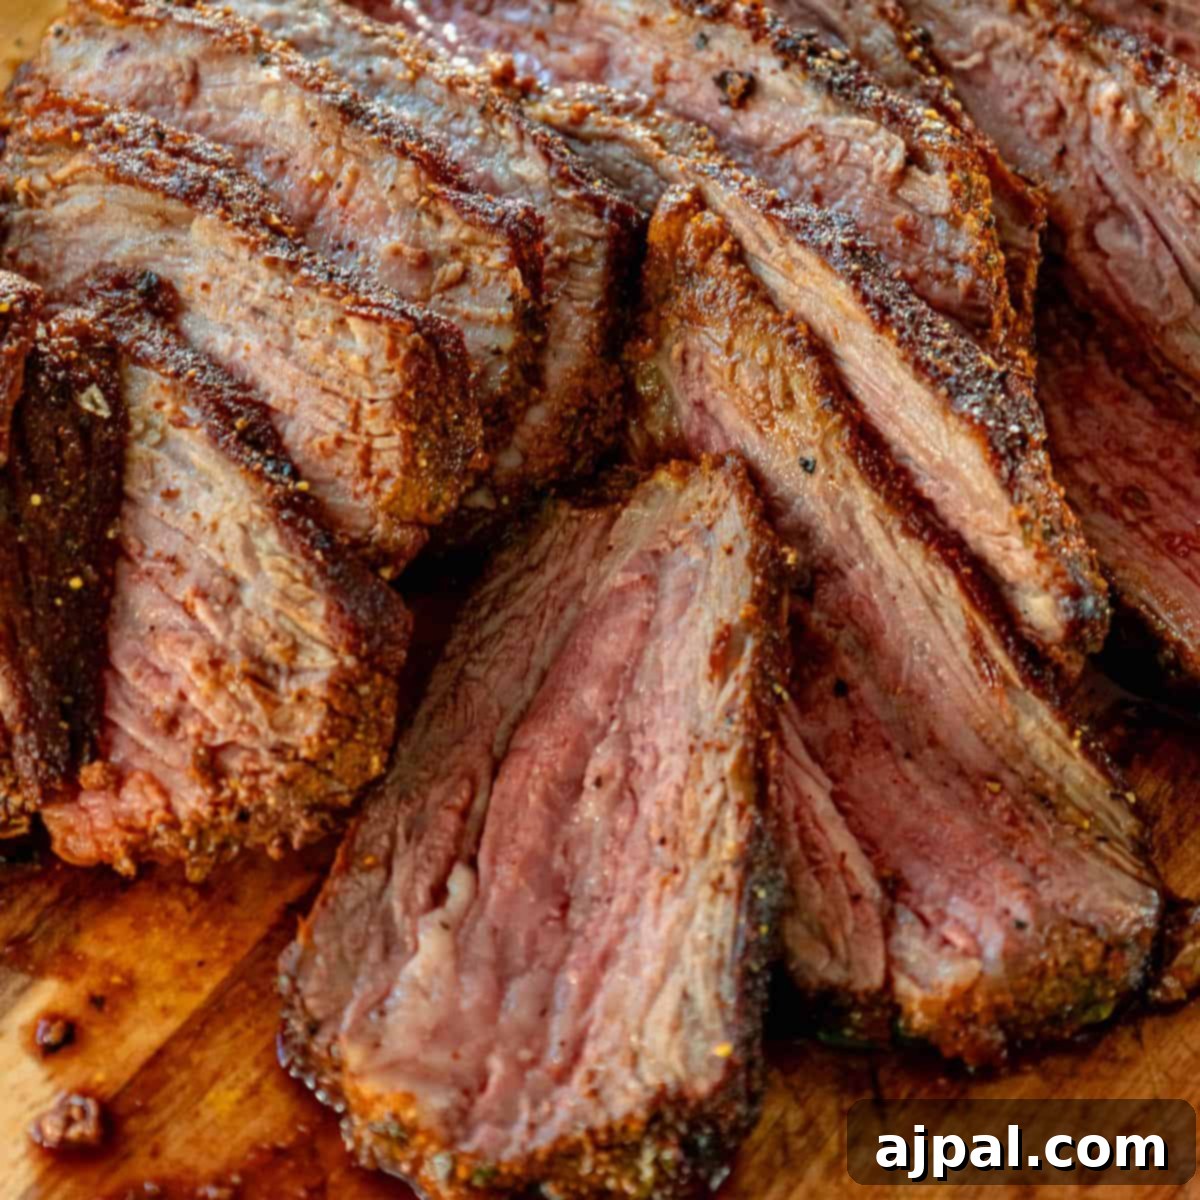
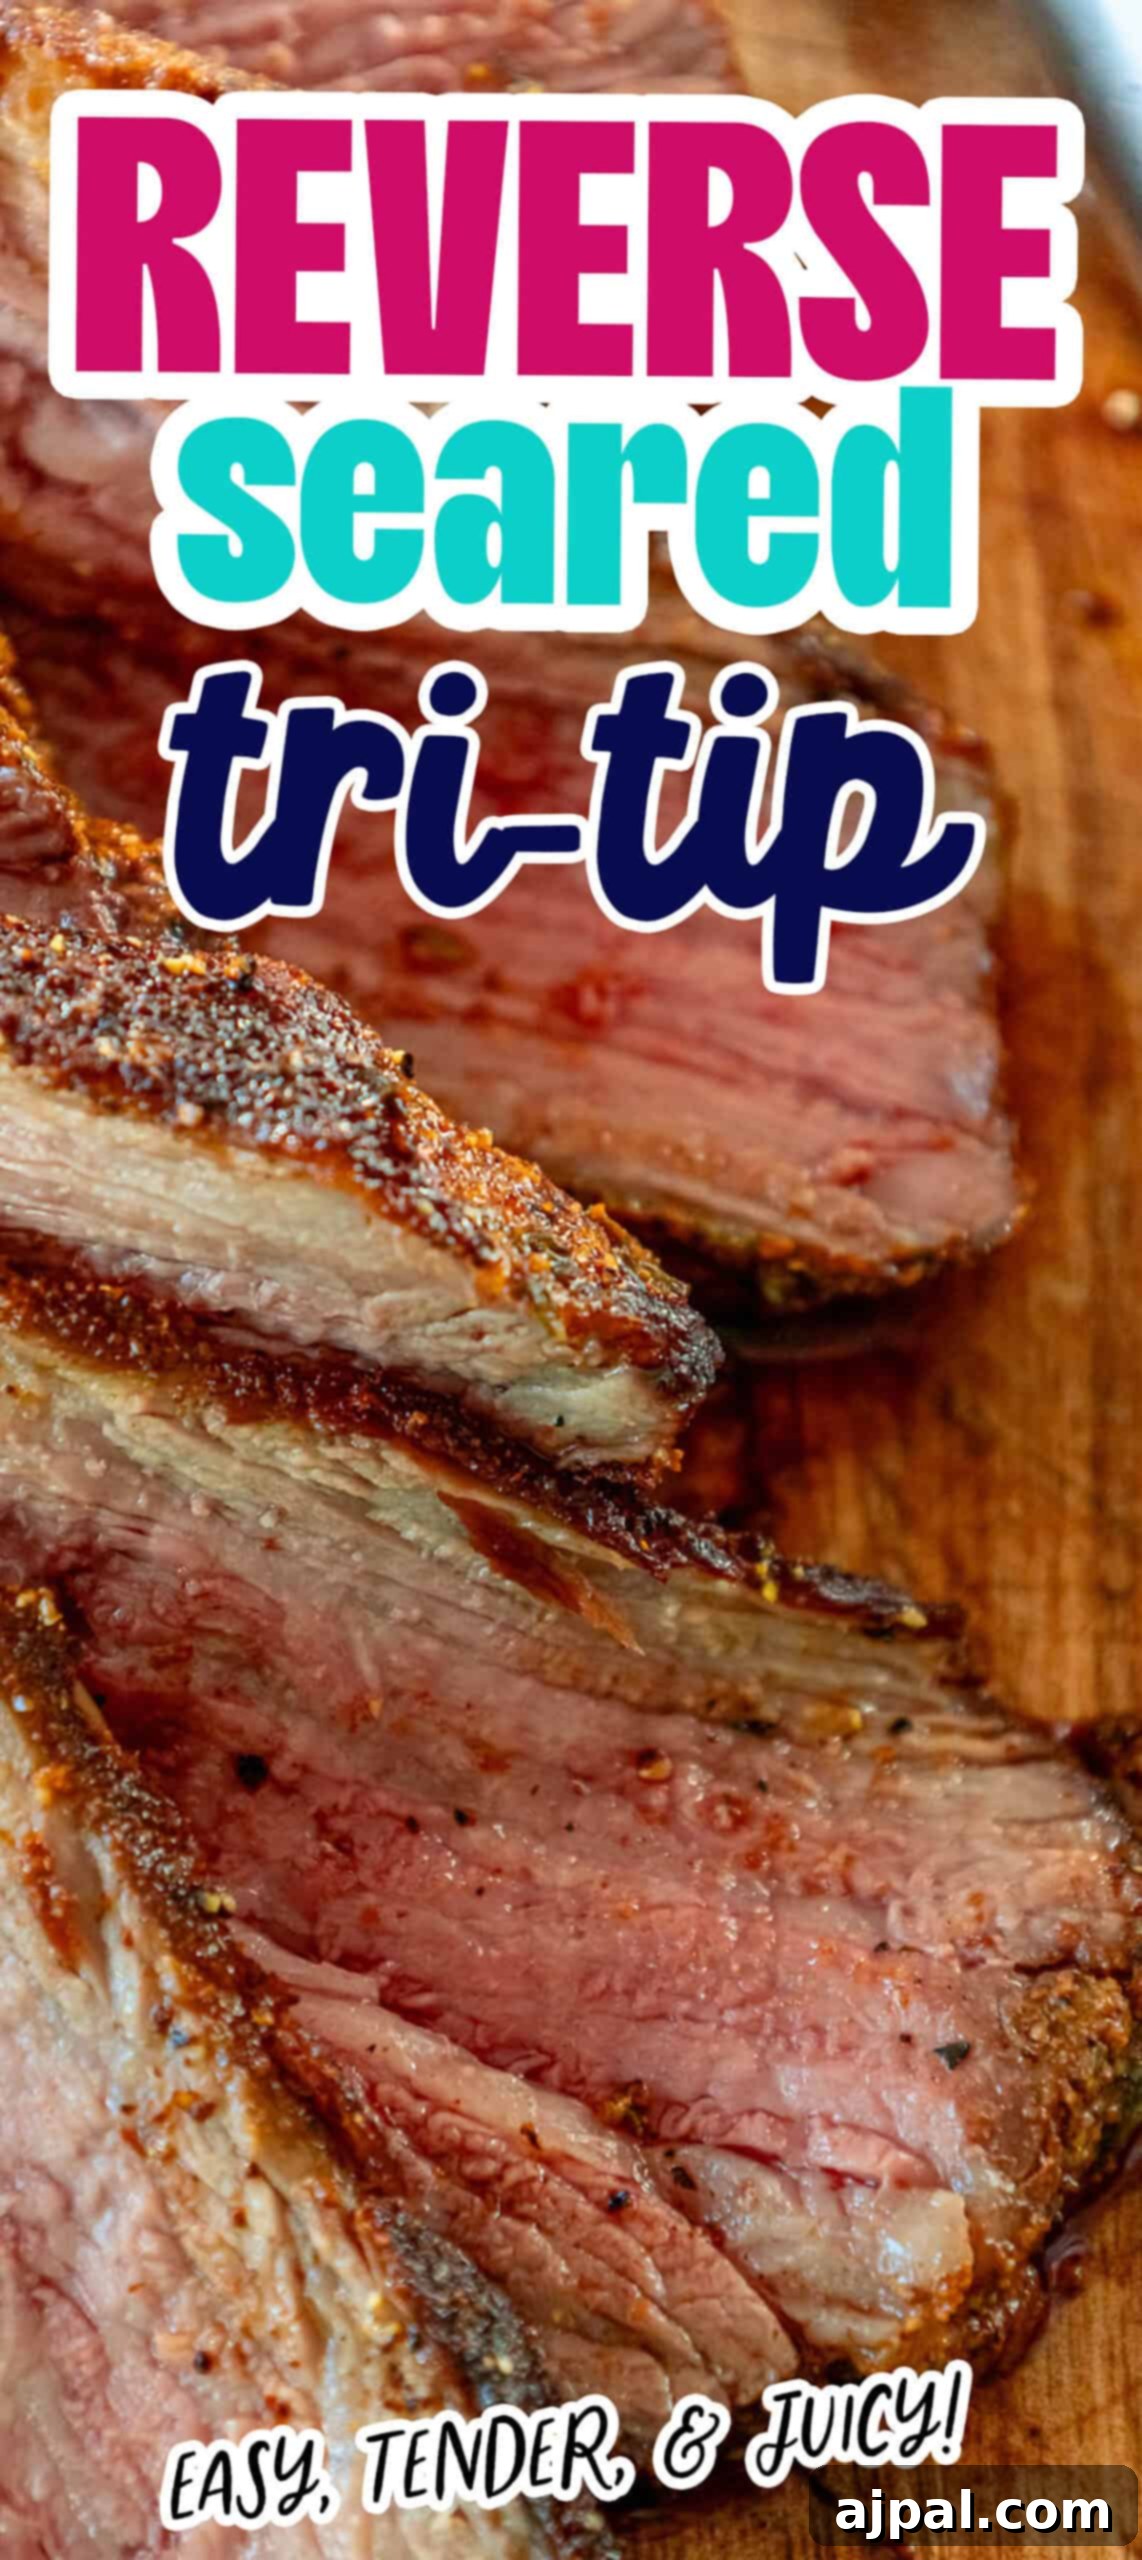
Unlock the secret to a perfectly cooked, incredibly tender, and intensely flavorful tri-tip steak every time with the reverse searing method. This technique, celebrated by home cooks and professional chefs alike, ensures a juicy interior and a beautifully crisp, caramelized crust that will make your family and friends rave. Forget guesswork and unevenly cooked meat; reverse searing provides precise control, transforming a humble cut into a culinary masterpiece that is surprisingly simple to prepare and truly impressive to serve.
Navigating recipes should be as enjoyable as the meal itself. For your convenience, we’ve included a skip-to-recipe button at the top of the page, along with a clickable table of contents directly below. This ensures you can effortlessly find the information you need, whether it’s detailed tips or the quick recipe card.
As a passionate home cook without formal culinary training, I believe understanding the ‘why’ behind each step and ingredient is key to kitchen confidence. My goal with every recipe is to empower even the most novice cook, explaining the principles and flavors so you can master dishes and truly enjoy the cooking process. This guide to reverse searing tri-tip is designed with that philosophy in mind, breaking down a sophisticated technique into accessible steps for guaranteed success.
Table of contents
- The Mastery of Low-and-High Reverse Sear Method
- How to Achieve the Perfect Reverse Seared Tri-Tip Steak
- Expert Tips and Tricks for Flawless Reverse Sear Tri Tip
- Frequently Asked Questions
- Pairing Perfection: What to Serve with Reverse Sear Tri Tip
- Reverse Sear Tri Tip Recipe Card
The Mastery of Low-and-High Reverse Sear Method
The reverse sear is an unparalleled method for cooking tri-tip, a versatile and increasingly popular cut known for its robust beefy flavor and excellent marbling. This “low-then-high” technique, involving an initial slow roast followed by a high-heat sear, is designed to coax out the absolute best qualities of the tri-tip steak. Unlike traditional searing, which often leads to an overcooked exterior and an undercooked center, reverse searing prioritizes evenness and moisture retention.
The initial low-temperature cook in the oven or on a grill gently brings the internal temperature of the steak up to near perfection. This slow heating allows the muscle fibers to relax, gradually breaking down connective tissues without causing the exterior to toughen or dry out. For a tri-tip, with its somewhat irregular triangular shape and varying thickness, this gradual heating is particularly advantageous. It ensures that both the thicker and thinner sections cook uniformly, eliminating the dreaded gray band often seen in traditionally seared steaks. Furthermore, this method can significantly reduce smoke and prevent any “gamey” flavors that can sometimes occur with rapid, high-heat cooking.
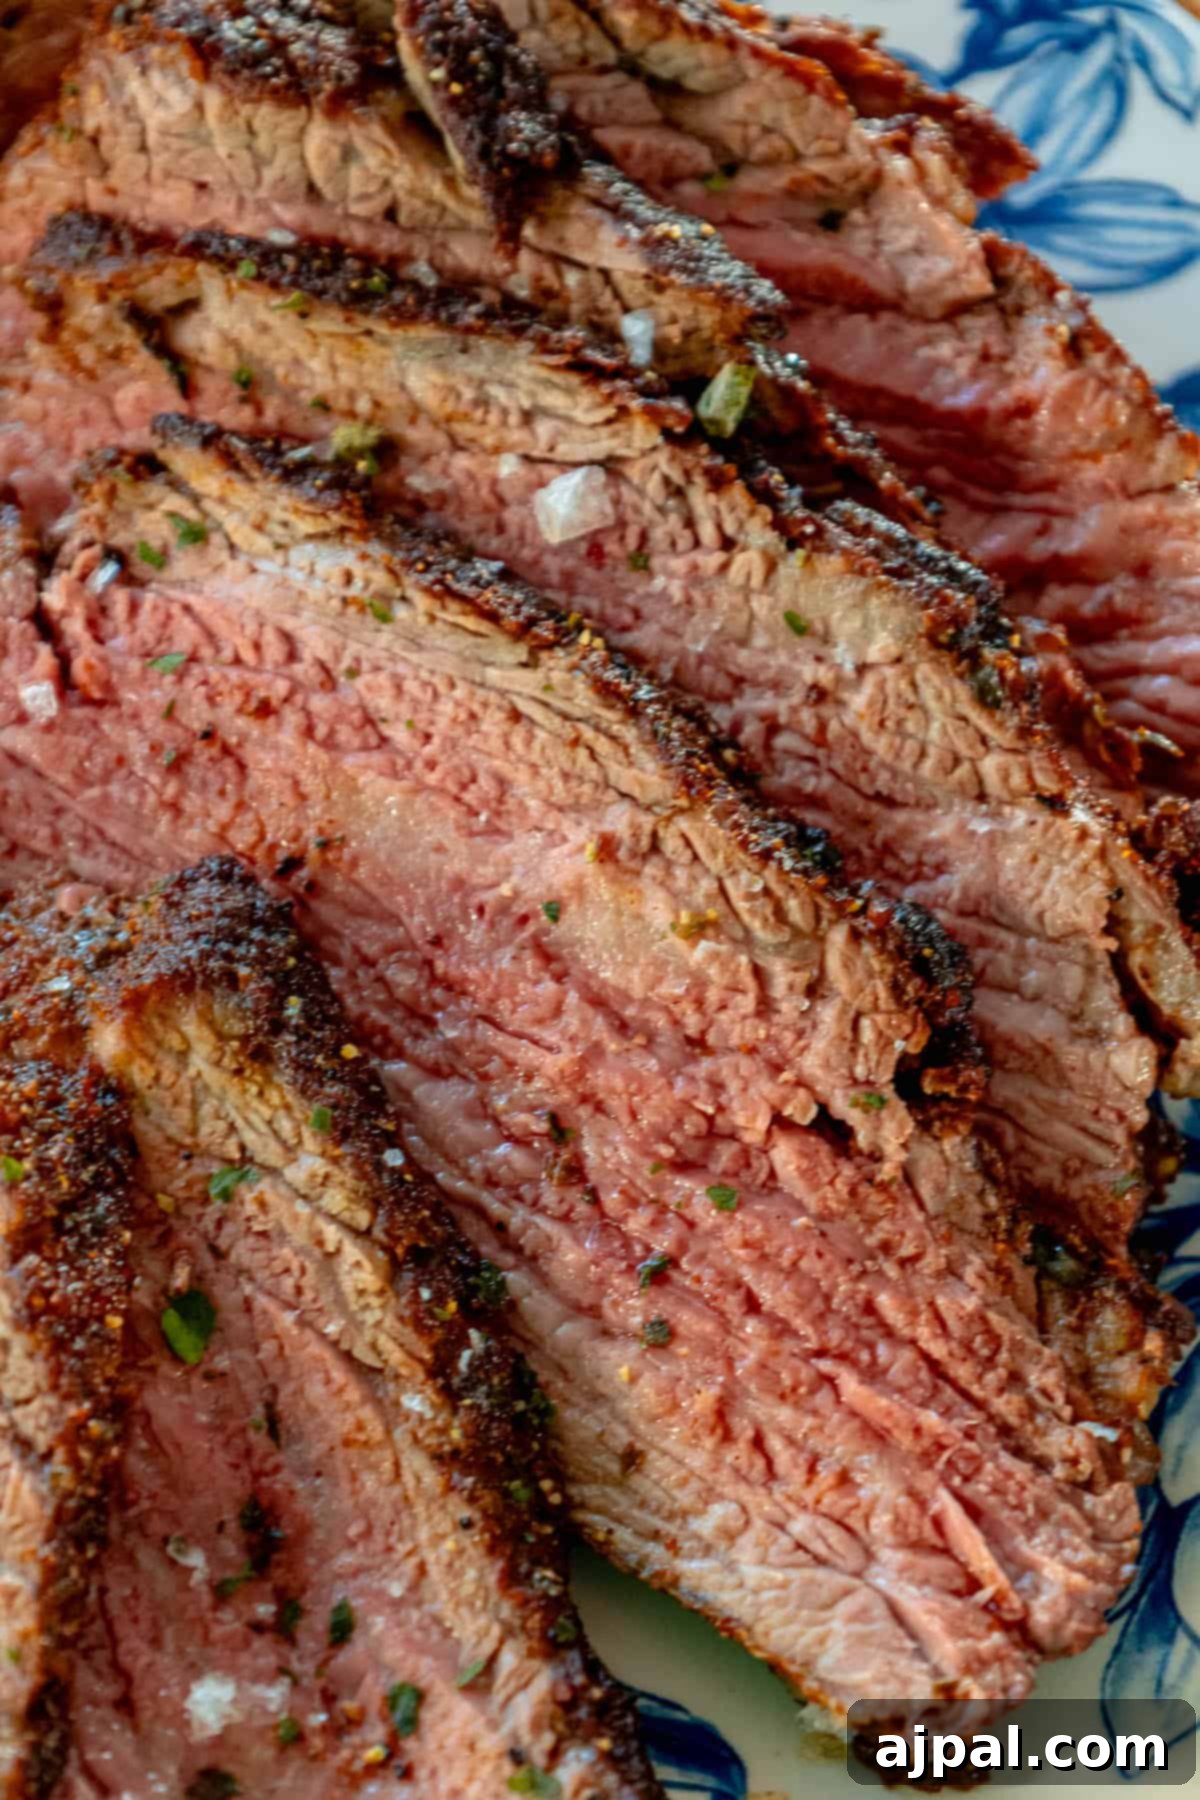
Once the tri-tip reaches approximately 10-15 degrees Fahrenheit below your desired final internal temperature, it’s time for the high-heat finale. This quick burst of intense heat in a screaming hot skillet or over direct grill flames is where the magic of the Maillard reaction unfolds. This complex chemical process creates the deep brown, irresistible crust and develops hundreds of new flavor compounds, giving the steak its distinctive, rich, and savory taste. The beauty of this approach is that because the steak is already nearly cooked, you only need a brief sear on each side, drastically reducing the risk of overcooking the precious interior. This precise control over both doneness and crust development is what elevates reverse-seared tri-tip above other steak preparations.
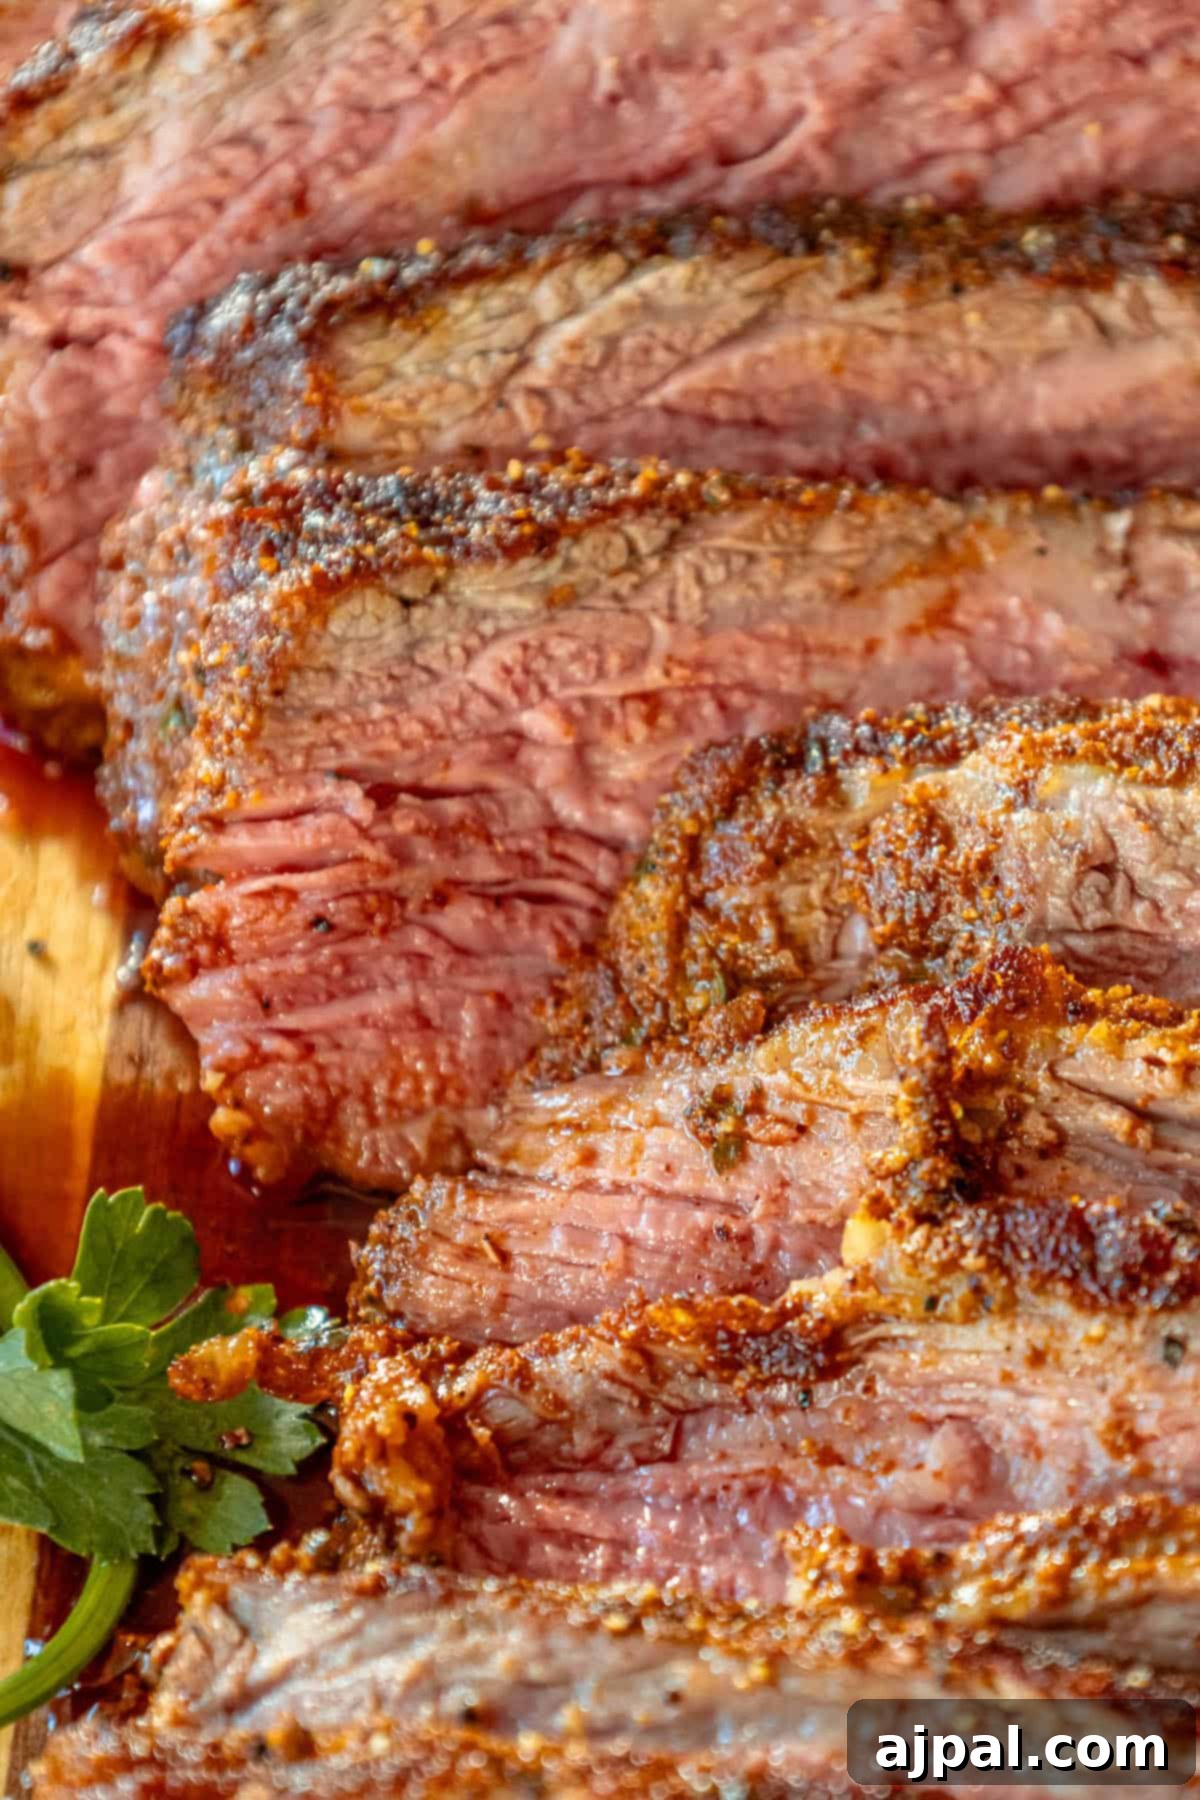
Beyond its culinary benefits, the reverse sear method offers a practical advantage: forgiveness. The gradual cooking process provides a wider window for pulling the steak at the perfect moment, making it much easier to hit your desired medium-rare or medium doneness. There’s less pressure for exact timing compared to conventional searing. Finally, a reverse-seared tri-tip is inherently juicier. The slow rendering of fat during the low-temperature phase infuses the meat with moisture and flavor. Moreover, the long, slow cook effectively acts as a resting period, allowing the juices to redistribute throughout the steak. This means your tri-tip is ready to slice and enjoy almost immediately after the quick sear, delivering an exceptionally tender and succulent dining experience.
How to Achieve the Perfect Reverse Seared Tri-Tip Steak
Crafting a magnificent reverse-seared tri-tip begins with selecting the right components and understanding the simple yet powerful cooking steps. Here’s what you’ll need and how to bring it all together for an unforgettable meal.
Essential Ingredients:
- Tri-Tip Steak: The star of our dish. Tri-tip is a wonderfully flavorful cut from the bottom sirloin, identifiable by its unique triangular shape. It boasts a good balance of lean meat and marbling, which contributes to its tenderness and juiciness when cooked correctly. For optimal results, look for a tri-tip that is between 1.5 to 2.5 pounds and has a visible fat cap on one side, as this adds to the flavor and helps keep the meat moist during cooking.
- Quality Steak Rub: A well-chosen steak rub is crucial for building that irresistible crust and enhancing the natural beef flavor. While many excellent store-bought options exist, a simple homemade rub typically includes coarse salt (like kosher or sea salt), freshly cracked black pepper, garlic powder, onion powder, and a touch of paprika or chili powder for color and a hint of warmth. The coarse texture of the rub helps create a fantastic bark during searing.
- Unsalted Butter: Introduced towards the final searing stage, butter adds a luxurious richness and aids in developing a beautiful golden-brown crust. It also imparts a subtle nutty flavor that complements the beef beautifully. For an extra layer of complexity, consider infusing your butter with fresh aromatics like rosemary or thyme sprigs, or crushed garlic cloves, which will baste the steak as it sears.
- High Smoke Point Oil (Optional but Recommended): While not explicitly listed, a small amount of oil with a high smoke point (such as avocado oil, grapeseed oil, or canola oil) is recommended for the initial preheating of your cast iron skillet. This ensures the butter doesn’t burn instantly and provides a non-stick surface for the searing process.
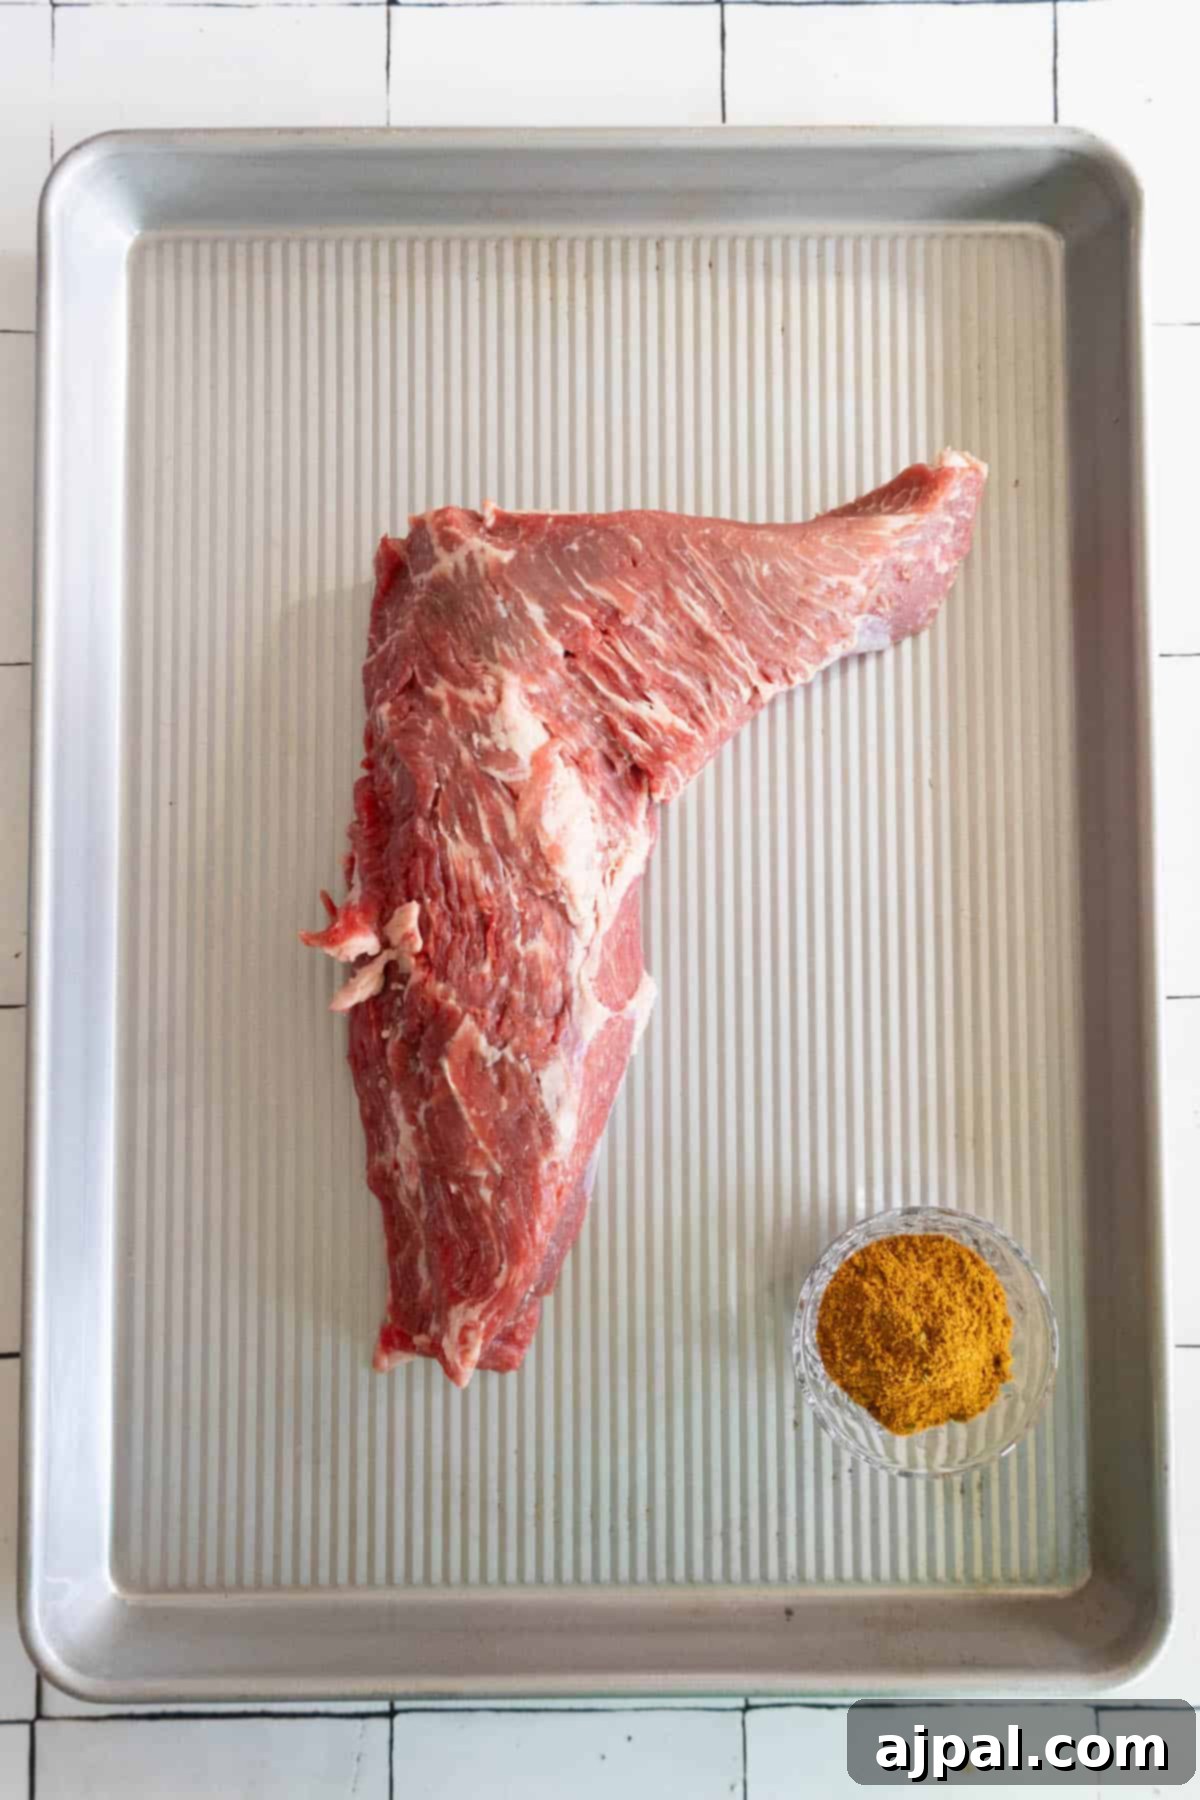
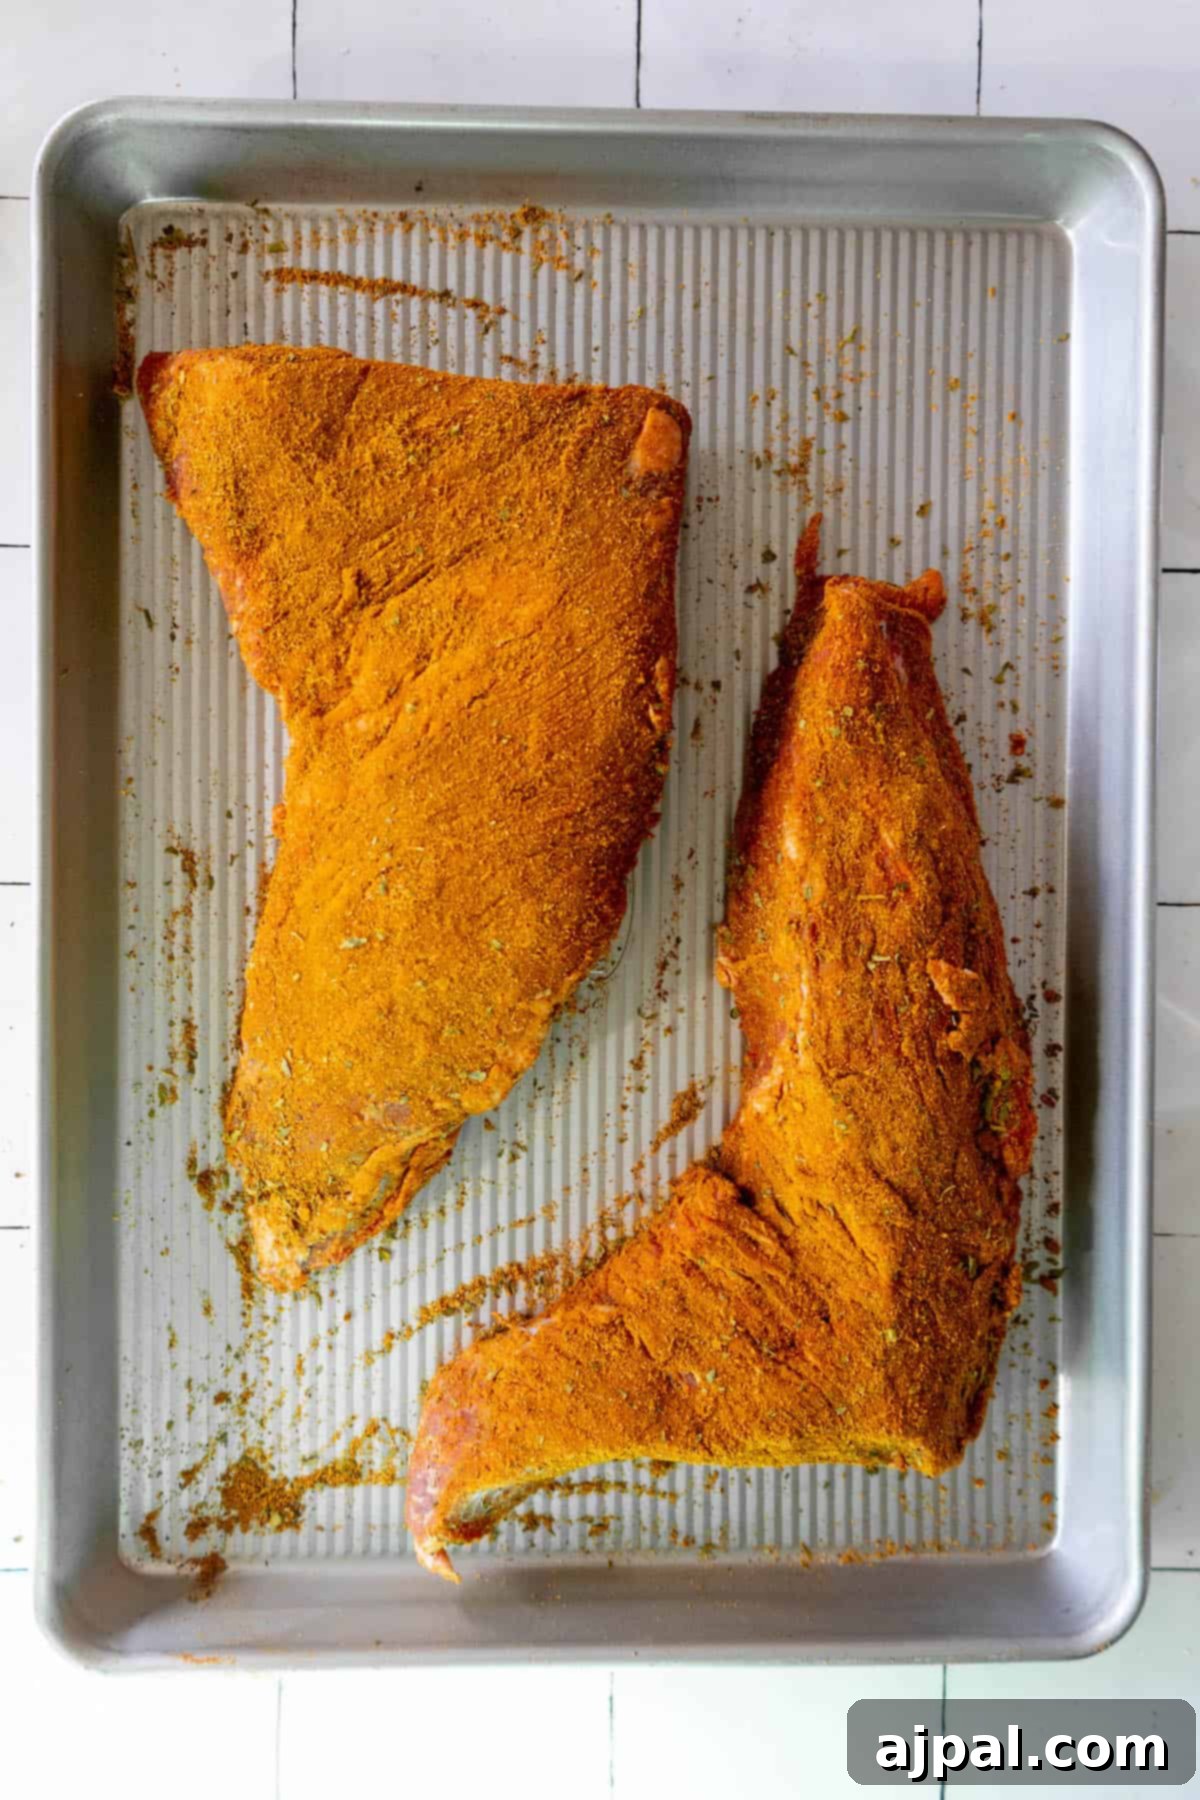
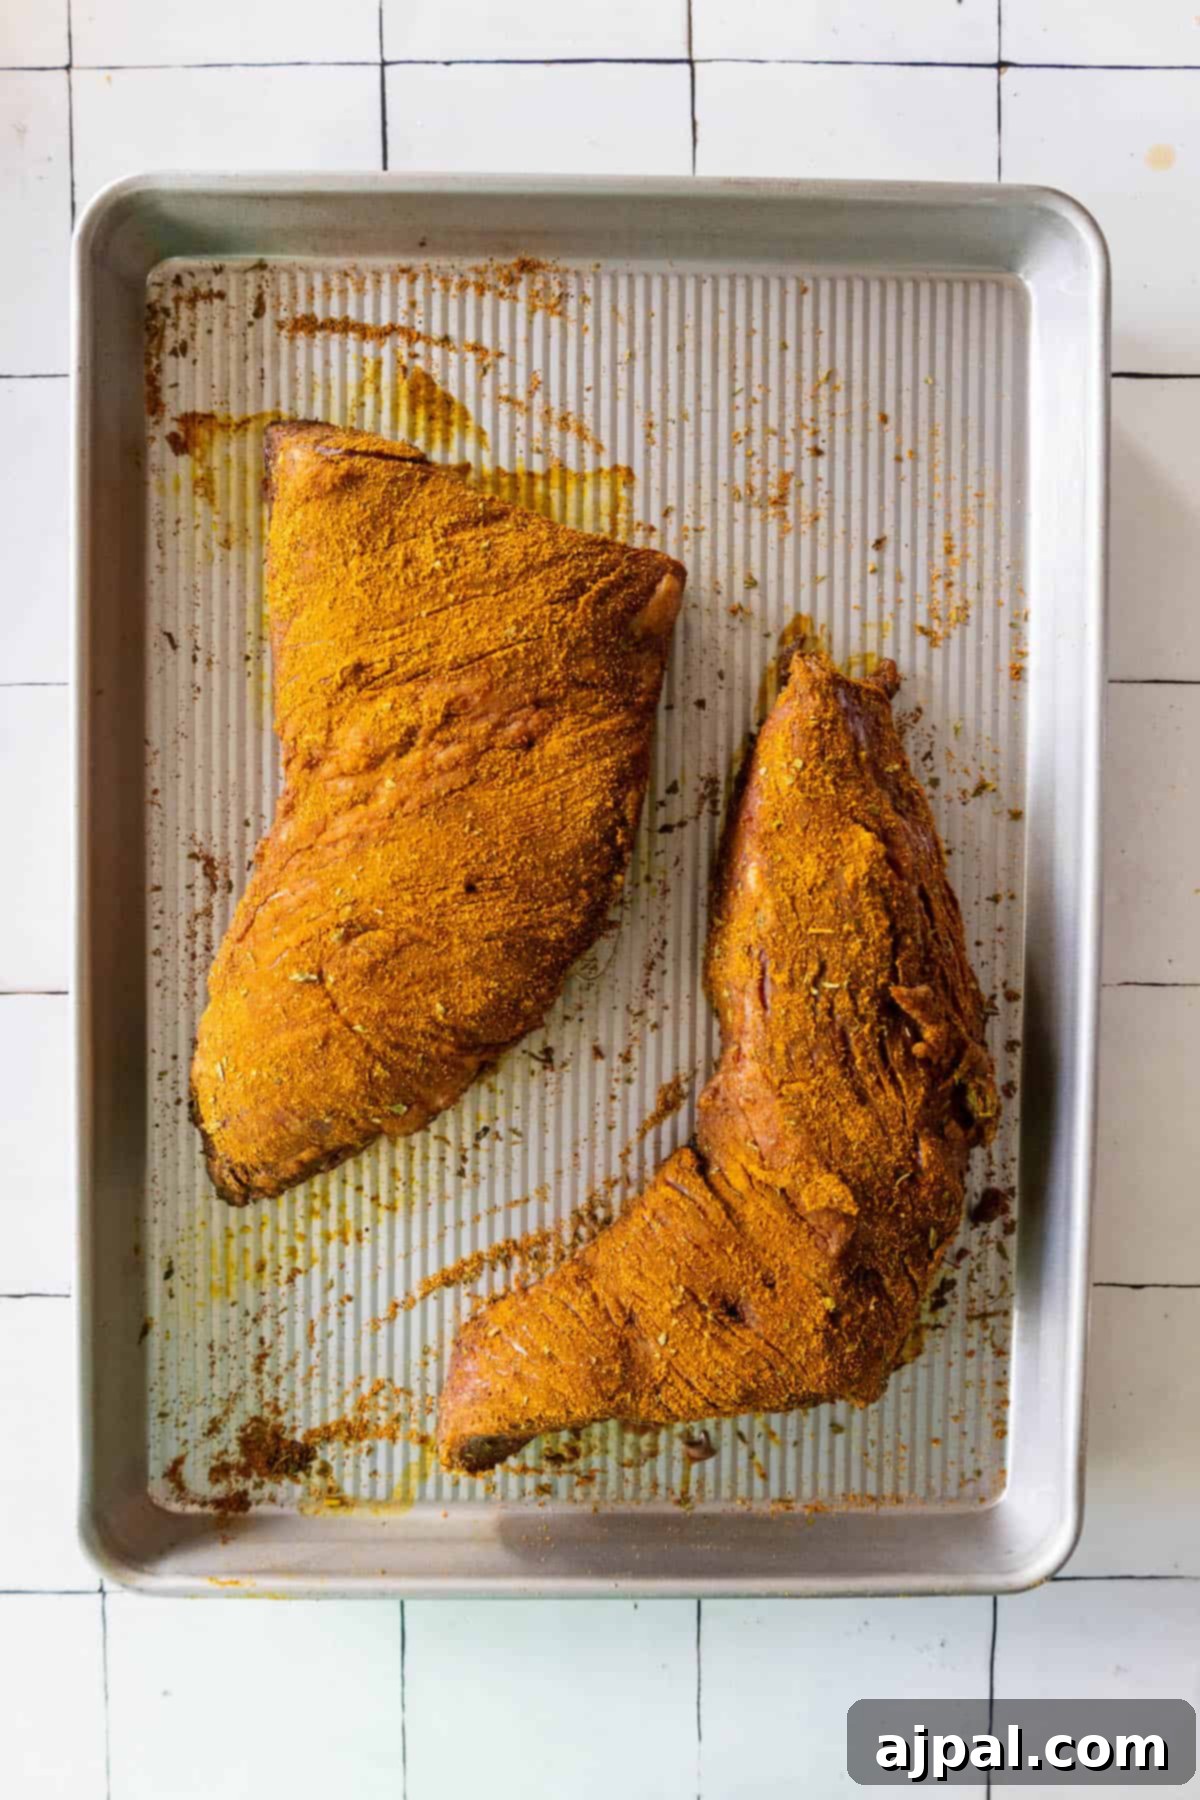
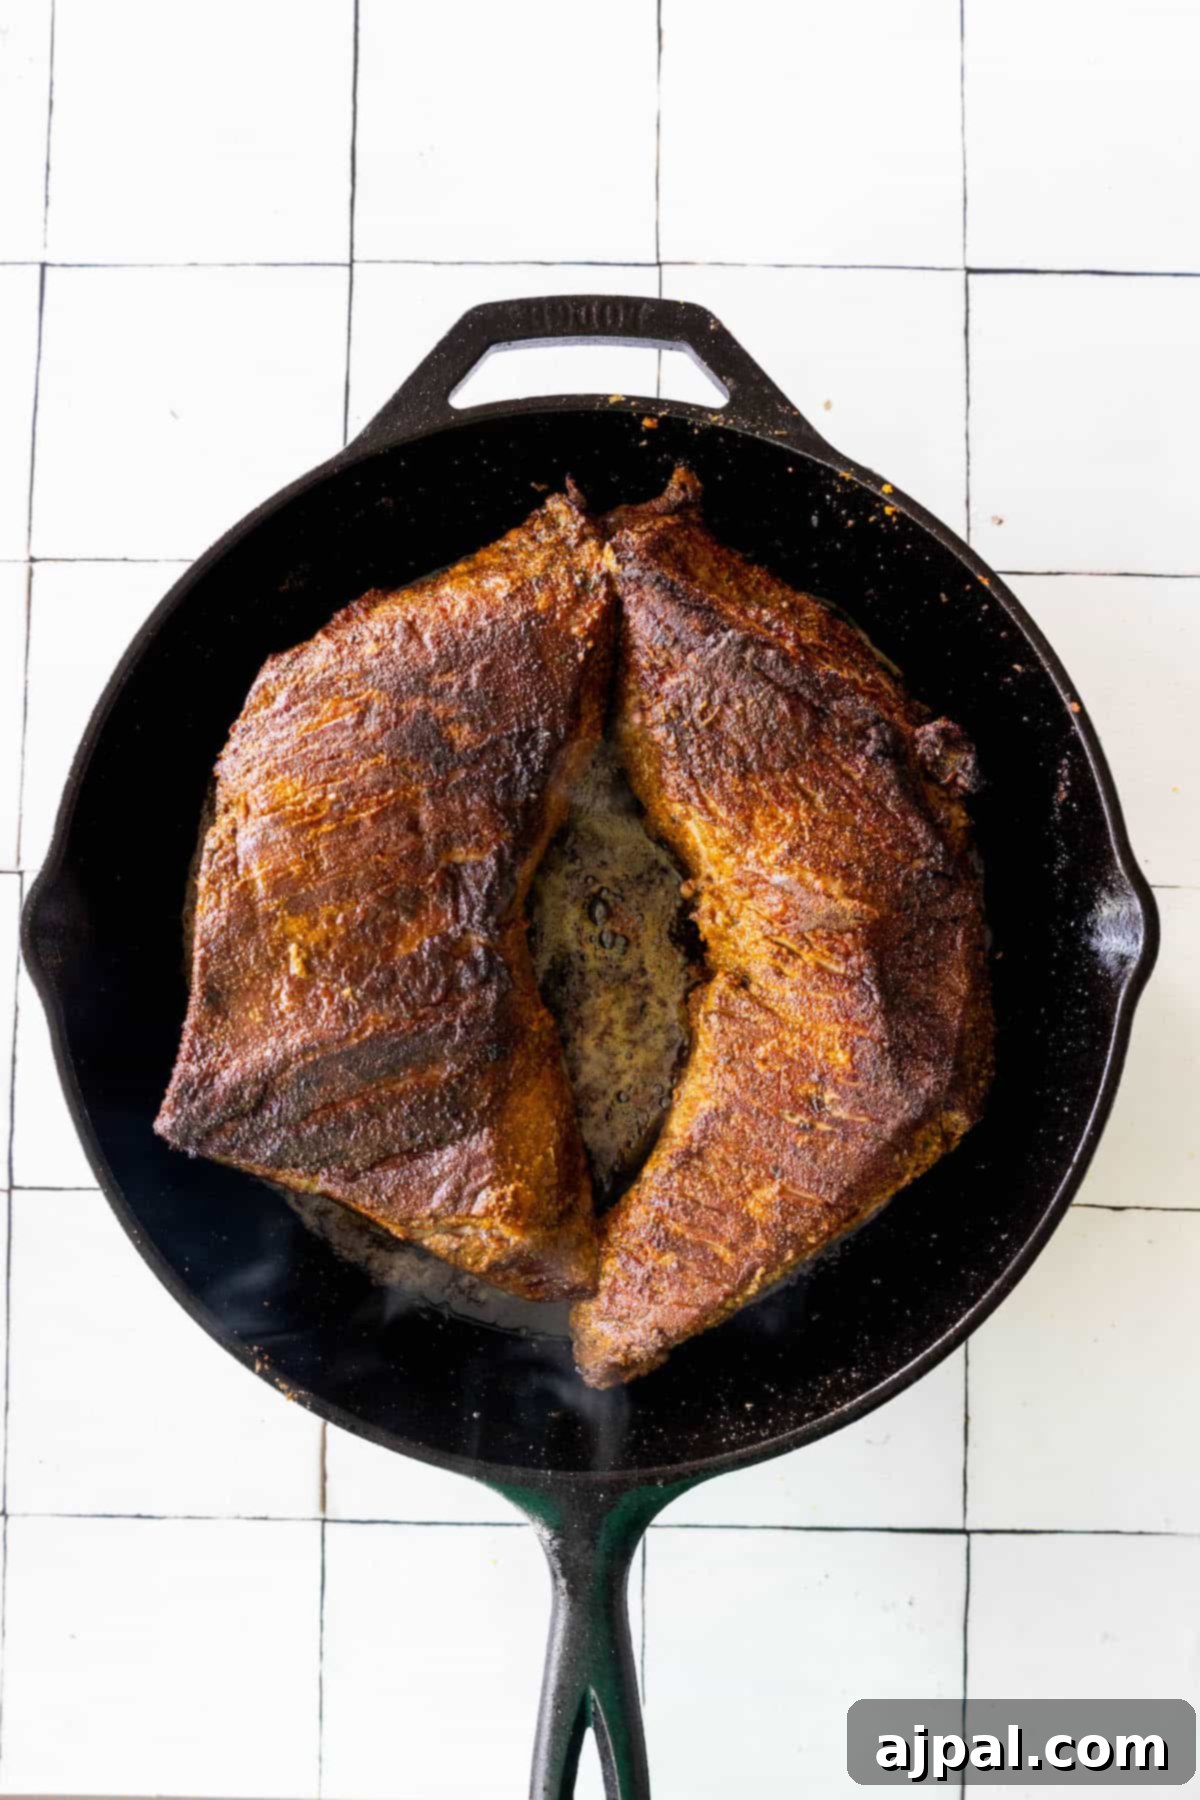
The Reverse Sear Method: Step-by-Step
Once your ingredients are ready, follow these precise steps for a perfectly cooked tri-tip:
- Preparation is Key (Prep): Begin by patting your tri-tip thoroughly dry with paper towels. This crucial step removes surface moisture, which is essential for achieving a good crust later. Generously season the steak all over with your chosen rub, ensuring every side is well-coated. Allow the steak to rest at room temperature for 30-60 minutes before cooking. This helps it cook more evenly. Preheat your oven to a low temperature, typically around 225-275°F (107-135°C).
- Slow Roasting (Low): Place the seasoned tri-tip on a wire rack set over a baking sheet. This allows for even air circulation around the meat. Insert a reliable meat thermometer into the thickest part of the steak, avoiding any bone. Roast in the preheated oven until the internal temperature reaches approximately 105-115°F (40-46°C) for medium-rare, or your preferred doneness, keeping in mind it will rise during searing. This slow cooking phase can take anywhere from 45 minutes to 1.5 hours, depending on the steak’s thickness and your oven.
- High-Heat Searing (High): Just before the steak reaches its target oven temperature, place a heavy cast iron skillet (or another heavy-bottomed, oven-safe pan) over high heat on your stovetop. Allow it to get screaming hot – you should see wisps of smoke. Add a tablespoon or two of high smoke point oil, followed by the butter and any optional fresh herbs (like rosemary or thyme). Once the butter is melted and sizzling, carefully transfer the tri-tip from the baking sheet to the hot skillet. Sear each side for 1-3 minutes, flipping often to develop a rich, dark brown crust. Don’t forget to use tongs to sear the edges for a full crust.
- Rest and Revel!: Once a beautiful crust has formed and the steak has reached your final desired internal temperature (e.g., 130-135°F for medium-rare), immediately remove it from the skillet. Transfer it to a clean cutting board and tent it loosely with aluminum foil. Let the steak rest for at least 10-15 minutes. This resting period is vital, allowing the juices that have migrated to the center during cooking to redistribute throughout the meat, ensuring every slice is incredibly tender and juicy.
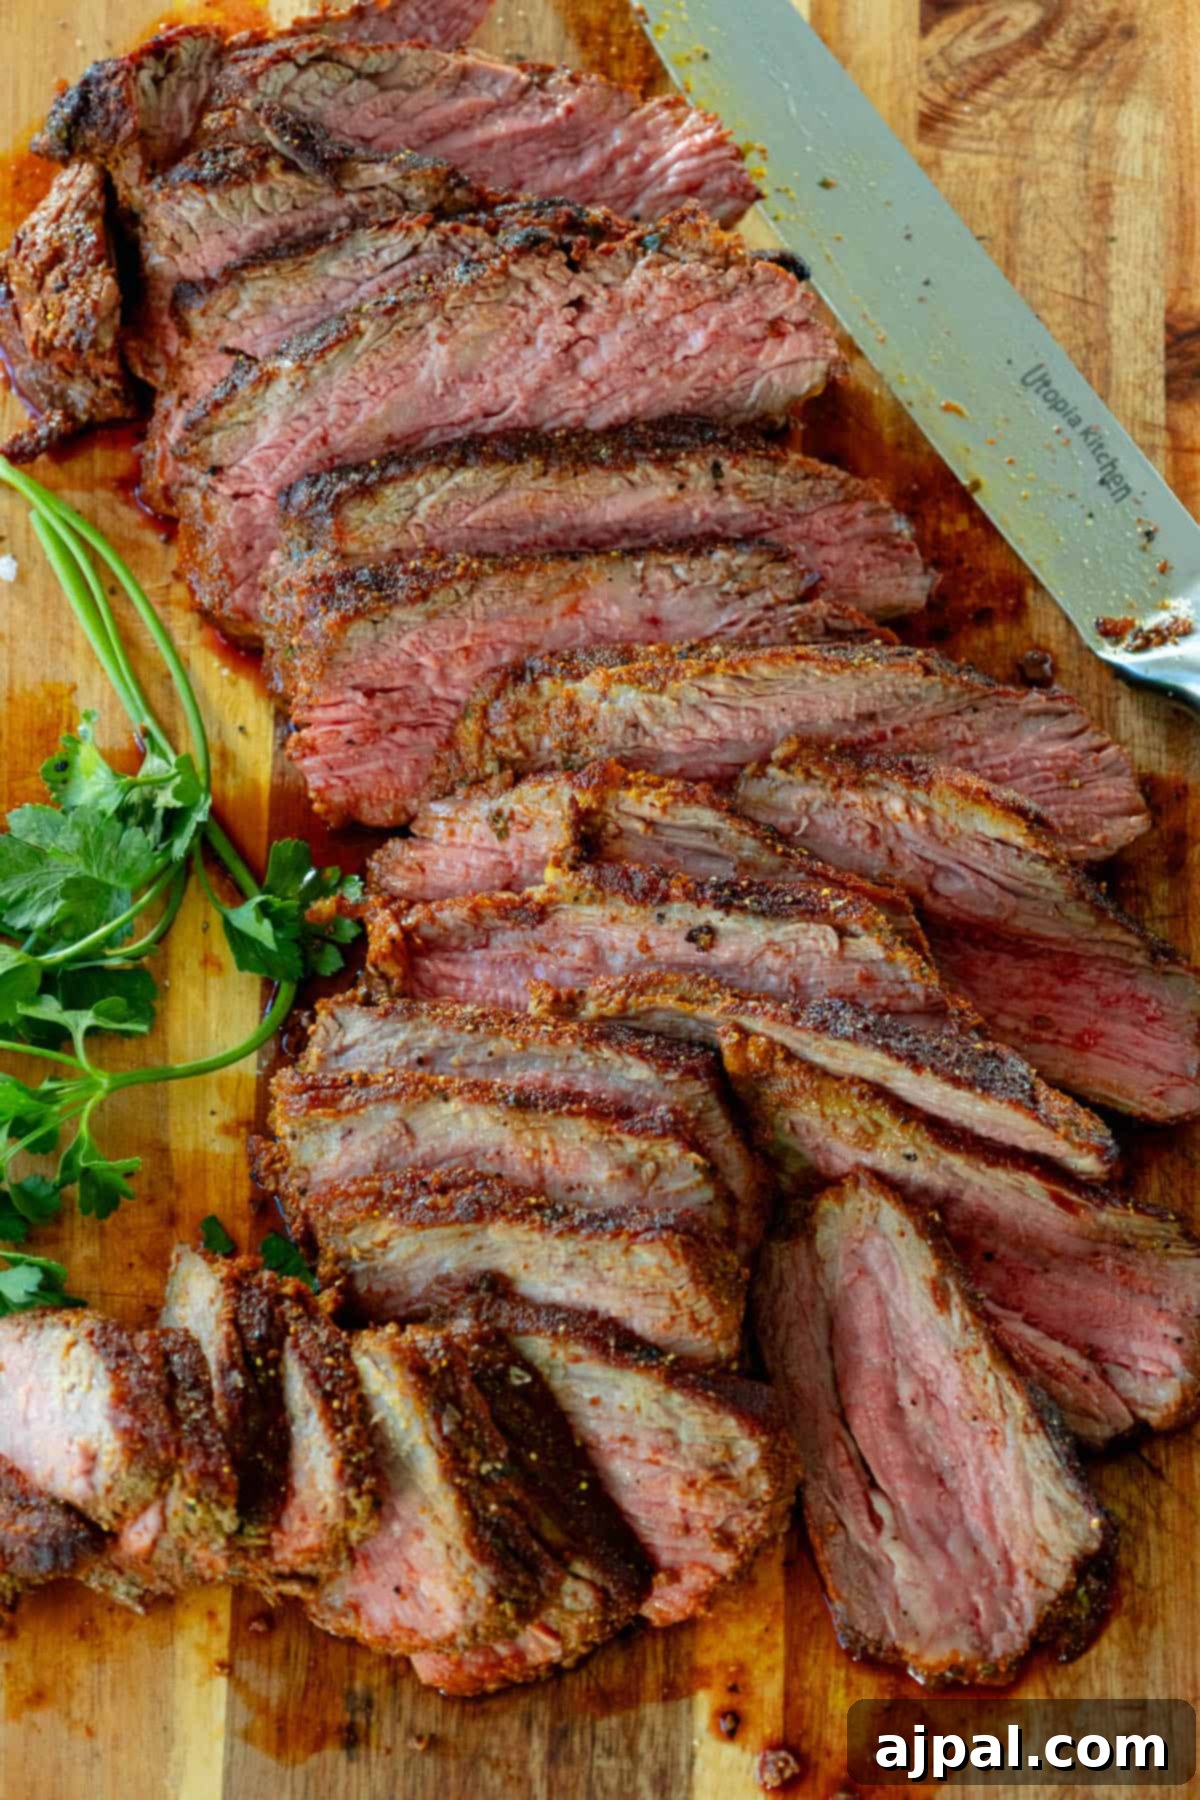
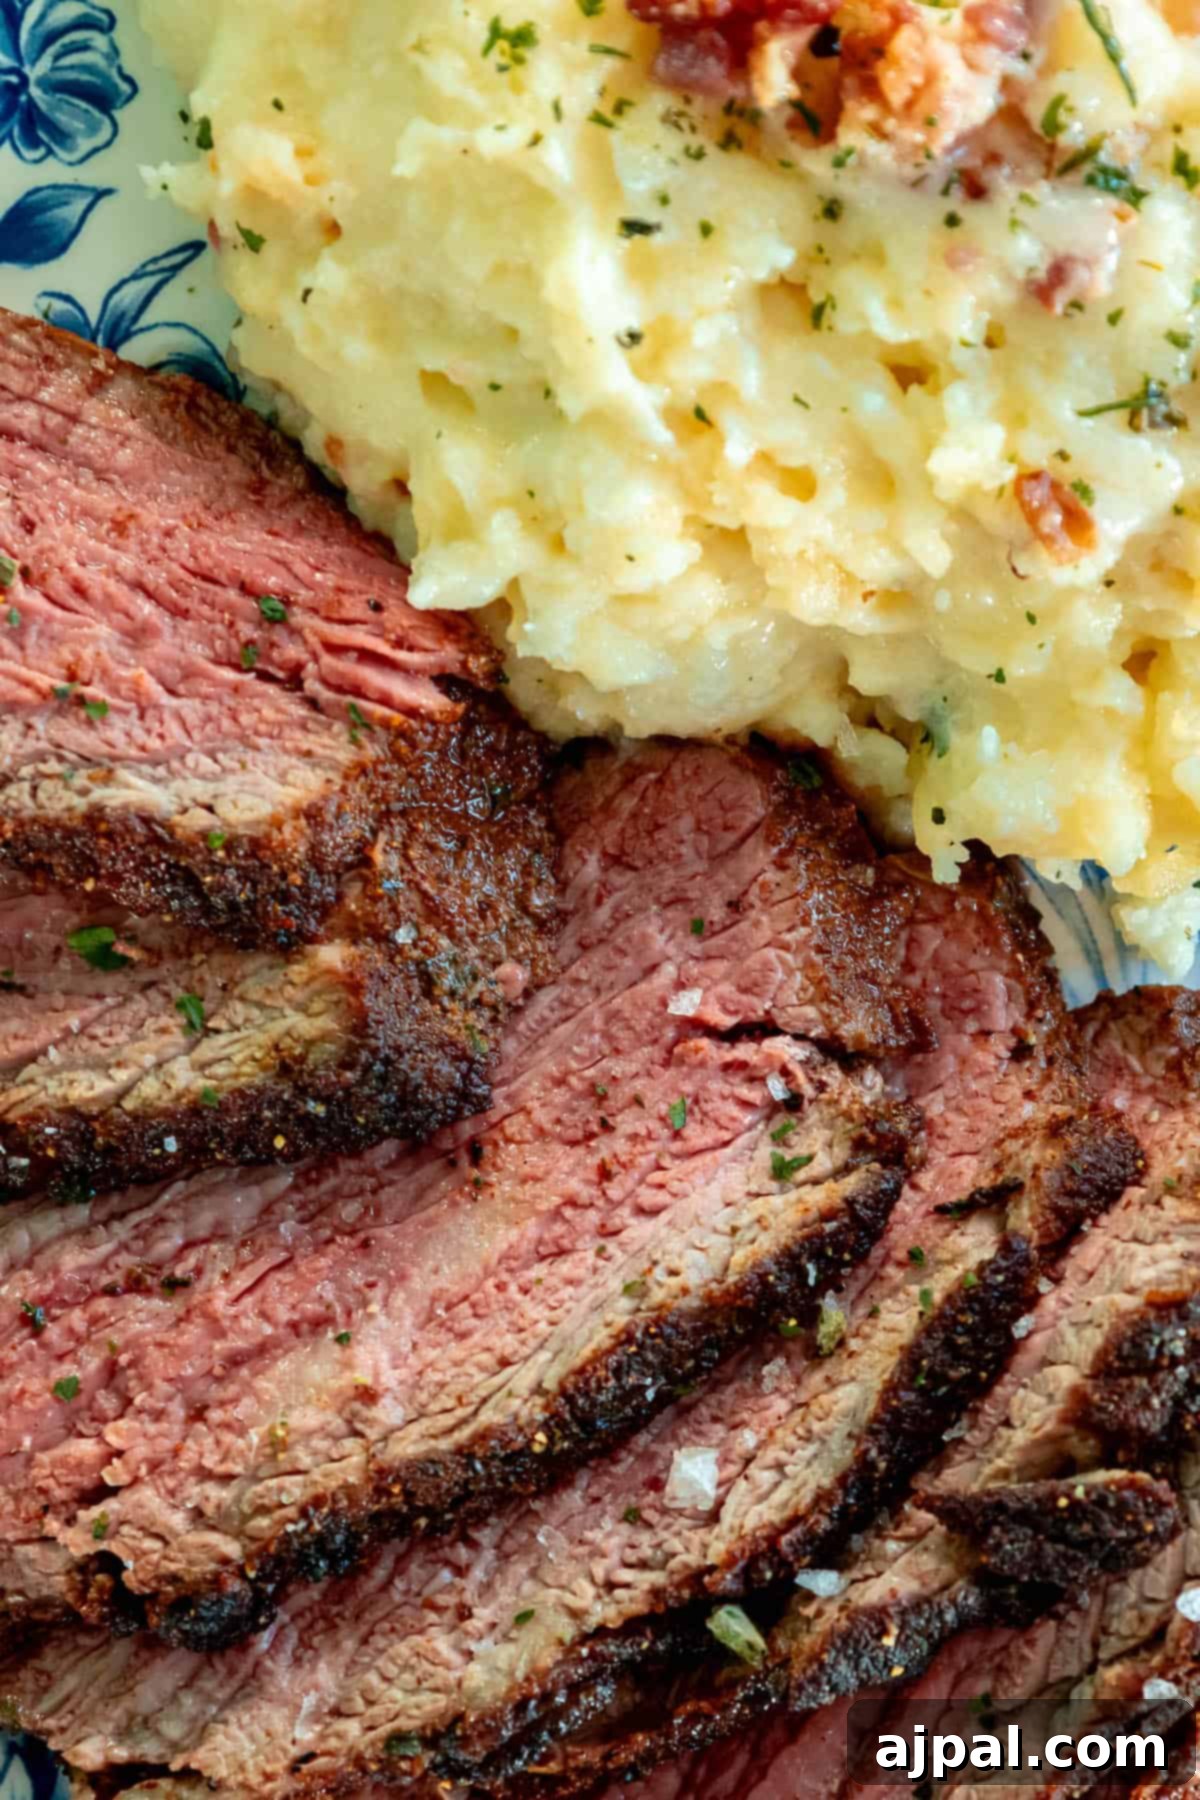
- Slicing Against the Grain: Tri-tip has a unique grain that changes direction. To ensure maximum tenderness, it’s crucial to slice against the grain. Identify the two distinct grain patterns and cut the steak into thinner slices, perpendicular to the muscle fibers.
Expert Tips and Tricks for Flawless Reverse Sear Tri Tip
Achieving a restaurant-quality reverse-seared tri-tip is within your reach with these expert tips and tricks. Precision and a little patience are your best allies.
Mastering Internal Temperatures for Perfect Doneness: The cornerstone of reverse searing is precise temperature control. You’ll slow-roast the tri-tip in a low-temperature oven before finishing it with a high-heat sear. The crucial part is knowing the exact internal temperature to remove the steak from the oven *before* searing, factoring in the temperature rise during the final sear (carry-over cooking):
- Rare: Remove from oven at approximately 115-120°F (46-49°C). Final temperature after searing: 120-125°F (49-52°C).
- Medium Rare (Recommended): Remove at 120-125°F (49-52°C). Final temperature after searing: 130-135°F (54-57°C). This is often considered the ideal doneness for tri-tip, showcasing its rich flavor and tender texture.
- Medium: Remove at about 130-135°F (54-57°C). Final temperature after searing: 140-145°F (60-63°C).
- Medium Well: Remove when it’s around 140-145°F (60-63°C). Final temperature after searing: 150-155°F (65-68°C).
- Well Done: Remove from oven at 150-155°F (65-68°C). Final temperature after searing: 160°F (71°C) or higher.
Choose a Premium Tri-Tip: The foundation of any great steak is the meat itself. Seek out a tri-tip with good marbling – those fine streaks of fat within the muscle – as this directly translates to a more flavorful, juicy, and tender result. A visible fat cap is also desirable; you can trim it partially if you prefer, but leaving some on will render down and baste the meat.
Season Generously and Early: Don’t be shy with your seasoning. A generous application of coarse salt and freshly ground black pepper is essential. For deeper flavor, use a quality dry rub or a simple blend of garlic powder, onion powder, and smoked paprika. Apply the seasoning at least 30 minutes, or even a few hours, before cooking. This allows the salt to penetrate the meat and enhance its natural flavor, a process known as dry brining.
Invest in a Reliable Meat Thermometer: This is arguably the most critical tool for reverse searing success. An instant-read digital thermometer or a leave-in probe thermometer will provide accurate internal temperature readings, taking all the guesswork out of achieving your desired doneness. Guessing can lead to an overcooked or undercooked steak, undermining the precision of the reverse sear.
Embrace Low and Slow Cooking: The initial low-temperature cook in your oven or indirect grill setup, typically between 225-250°F (107-121°C), is paramount. This gentle heat ensures the tri-tip cooks evenly from edge to center, minimizing the gray band and maximizing tenderness. Patience during this phase will be richly rewarded.
Optimize Your Searing Setup: For the high-heat searing phase, a heavy cast-iron skillet is highly recommended due to its excellent heat retention, which creates an unparalleled crust. Ensure your skillet is screaming hot before adding the steak. If grilling, set up a two-zone fire with a hot direct heat side for searing after the indirect cooking phase.
Don’t Crowd the Pan: If cooking multiple tri-tips, sear them one at a time or in batches to avoid crowding the pan. Overcrowding will lower the pan’s temperature, leading to steaming rather than searing, and prevent that desirable crust from forming.
The Importance of Resting Time: Once seared, always allow your tri-tip to rest for 10-15 minutes, tented loosely with foil. This critical step allows the muscle fibers to relax and reabsorb the juices that have been pushed to the center during cooking. Skipping this step will result in a drier steak as the juices will simply run out onto your cutting board when sliced.
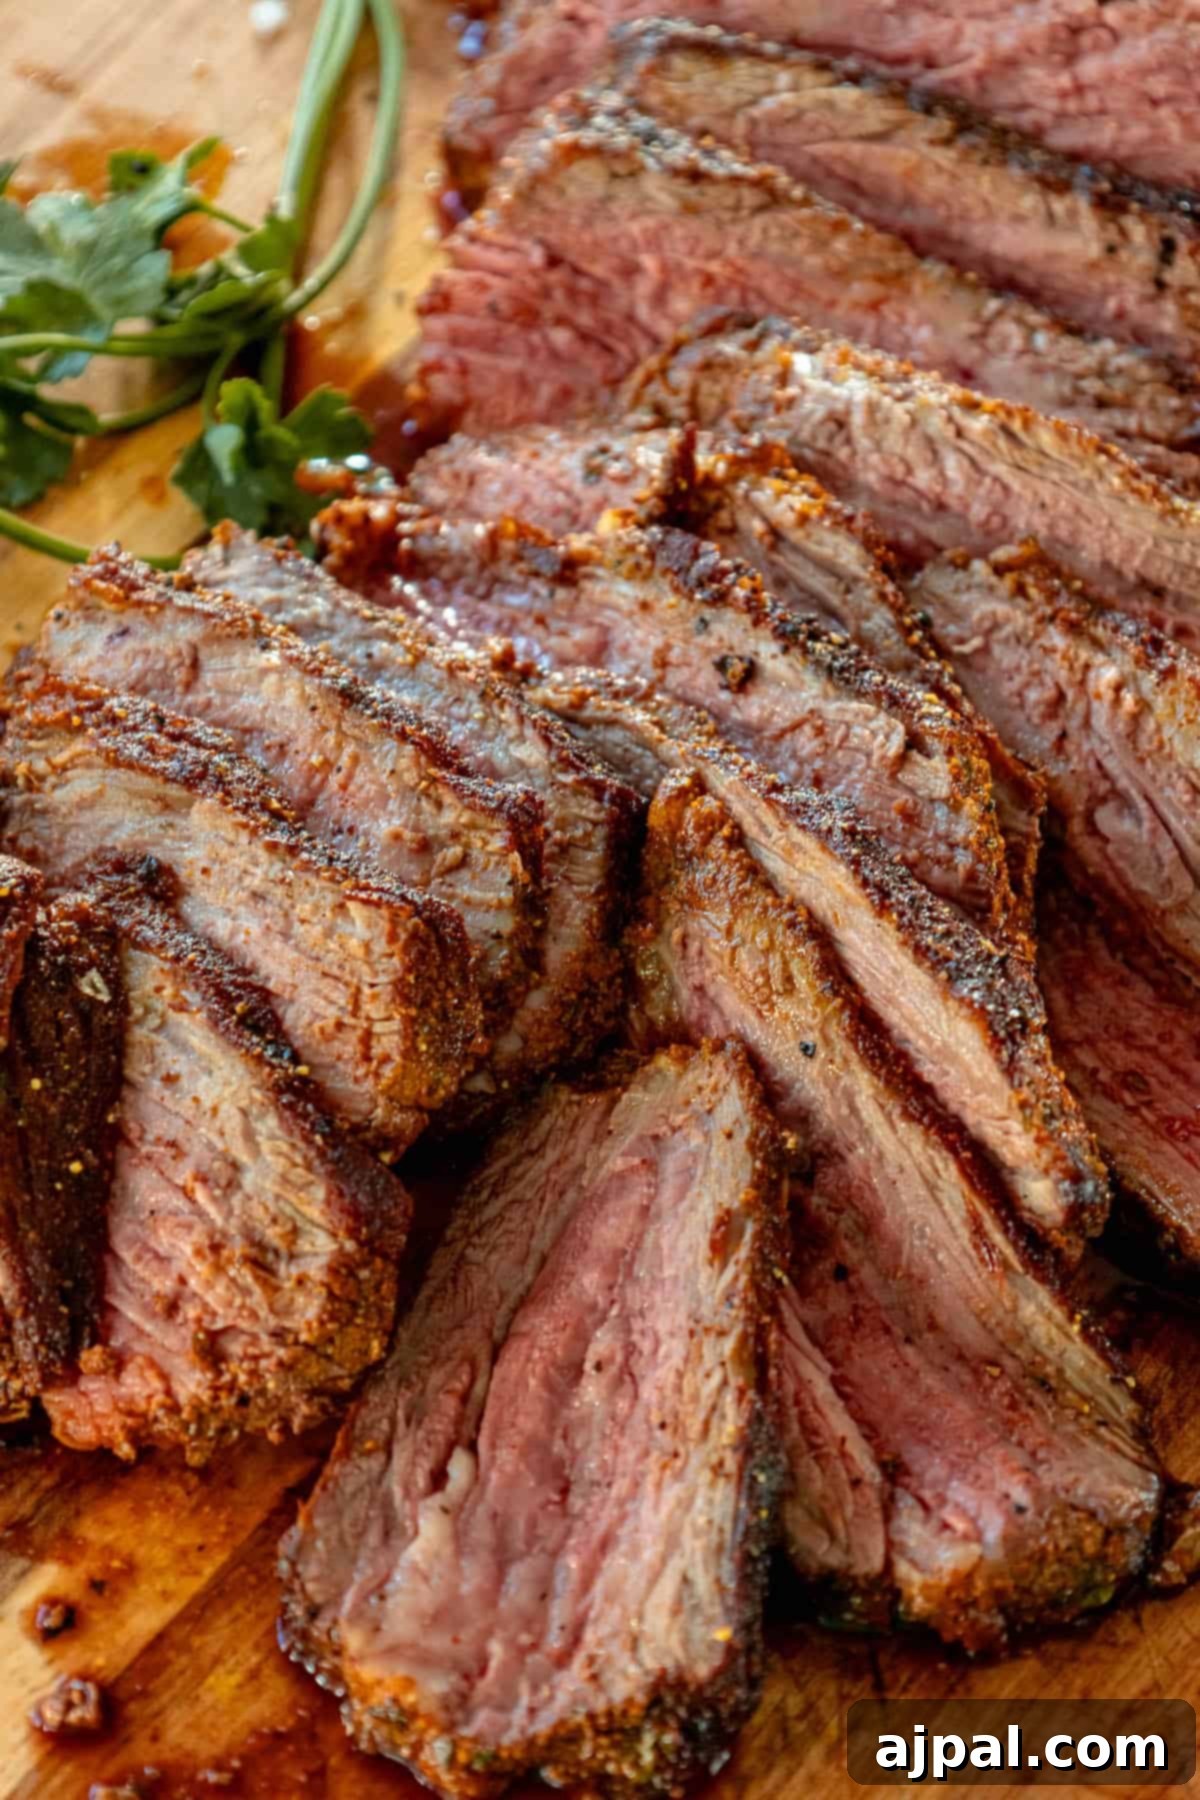
Mastering the Art of Slicing Against the Grain: Tri-tip is unique because its muscle fibers run in two different directions. For ultimate tenderness, identify these grain patterns and slice the steak into thin pieces *perpendicular* to the grain. This shortens the muscle fibers, making each bite incredibly tender and easy to chew. Failing to slice against the grain can result in a tough steak, even if perfectly cooked.
Experiment with Marinades and Rubs: While salt and pepper are fantastic, feel free to get creative! Explore different dry rubs with spices like cumin, coriander, or even a hint of brown sugar. Marinades with ingredients like soy sauce, Worcestershire, garlic, and herbs can also add incredible depth of flavor. Just be mindful of sugar content in marinades during the searing phase, as they can burn quickly.
Practice Makes Perfect: Like any culinary technique, reverse searing improves with practice. Don’t be discouraged if your first attempt isn’t absolutely perfect. Pay attention to the temperatures, timing, and how your specific oven or grill performs. Adjust your approach based on your experience, and you’ll soon be a reverse-searing master.
Frequently Asked Questions
Reverse searing is a cooking technique where meat is first slow-cooked at a low temperature (usually in an oven or on a grill) to ensure even doneness throughout, and then finished with a quick, high-heat sear to create a crispy, flavorful crust.
Tri-tip is a triangular cut of beef originating from the bottom sirloin. It’s highly prized for its rich, beefy flavor and relatively tender texture, making it an excellent choice for roasting, grilling, and, of course, reverse searing.
Reverse searing is ideal for tri-tip because it offers superior control over the internal temperature, resulting in a perfectly cooked interior from edge to edge. This method prevents the outer layers from overcooking while the center catches up, which is common with thicker or irregularly shaped cuts like tri-tip. It yields a consistently juicy and tender steak with an exceptional crust.
For a medium-rare tri-tip, which is widely recommended for this cut, aim to remove it from the low-heat cooking phase when it reaches 120-125°F (49-52°C). After the high-heat sear and a brief rest, the final internal temperature should settle around 130-135°F (54-57°C). Always use a reliable meat thermometer for accuracy.
A simple yet effective seasoning for tri-tip involves generous amounts of coarse salt and freshly ground black pepper. You can also elevate the flavor with a dry rub containing garlic powder, onion powder, and paprika. Allow the seasoning to sit on the steak for at least 30 minutes at room temperature, or even longer in the refrigerator, to enhance penetration.
Absolutely! Reverse searing on a grill is a fantastic option. Set up your grill for two-zone cooking: one side with low, indirect heat and the other with high, direct heat. Cook the tri-tip on the indirect side first until it reaches the desired internal temperature, then transfer it to the direct, high-heat side for searing to achieve that perfect crust.
The total cooking time for reverse-seared tri-tip can vary depending on the steak’s size and thickness, as well as the low cooking temperature used. Generally, the low-heat roasting phase can take anywhere from 45 minutes to 1.5 hours. The high-heat sear is much quicker, usually just 1-3 minutes per side. Always rely on a meat thermometer rather than time alone.
Yes, resting the tri-tip after searing is crucial. Although the low-heat cook helps redistribute juices, a final 10-15 minute rest (tented loosely with foil) after searing allows the muscle fibers to relax and the juices to settle. This ensures a significantly juicier and more tender steak when sliced.
Indeed! Using a smoker for the initial low-heat phase of a reverse sear adds an incredible smoky flavor to the tri-tip. Smoke the tri-tip at a low temperature (e.g., 225°F or 107°C) until it’s close to your target internal temperature, then transfer it to a hot grill or cast iron skillet for the final high-heat sear.
Versatile side dishes that complement reverse-seared tri-tip include roasted vegetables, creamy garlic mashed potatoes, crispy roasted potatoes, fresh green salads with a tangy vinaigrette, grilled corn on the cob, creamed spinach, or a vibrant chimichurri sauce. The options are plentiful to create a balanced and delicious meal.
Pairing Perfection: What to Serve with Reverse Sear Tri Tip
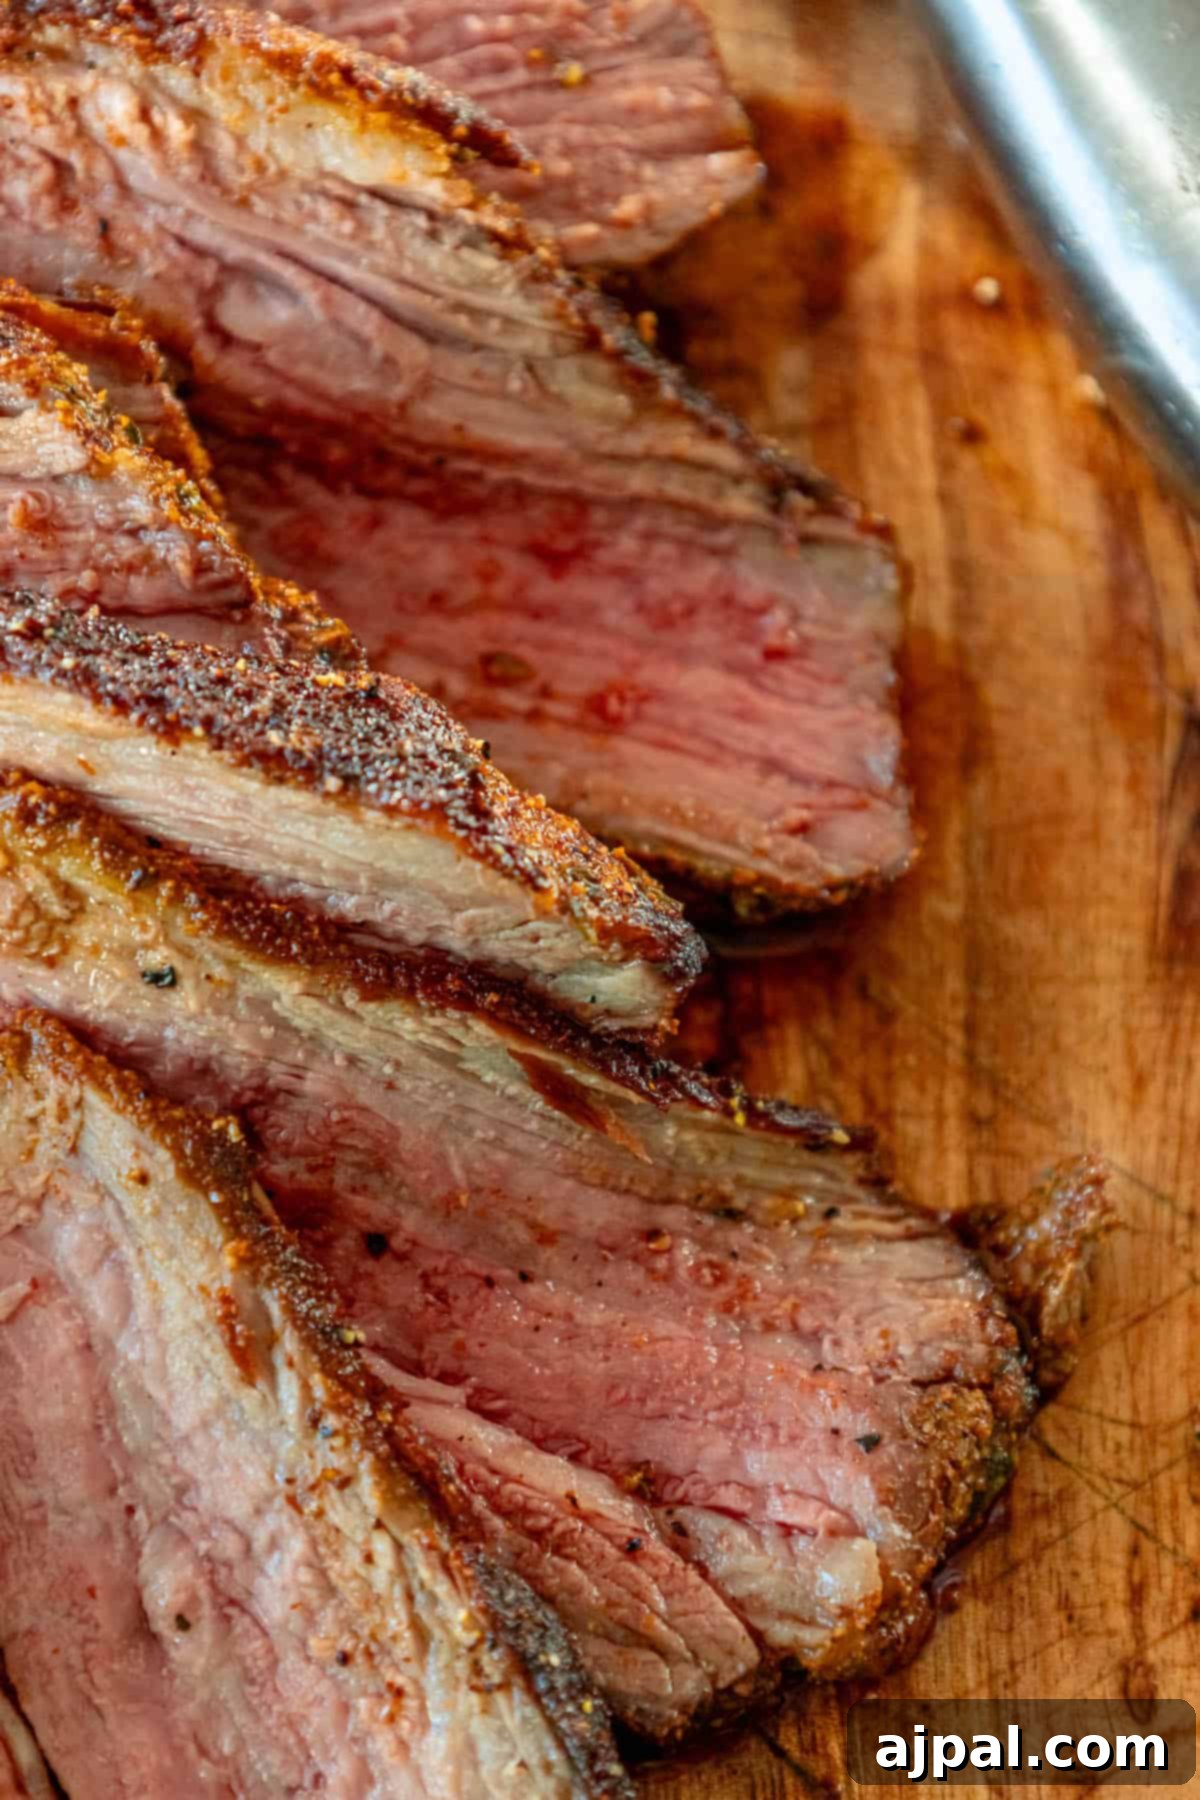
A perfectly reverse-seared tri-tip deserves equally delicious accompaniments. The richness and robust flavor of the steak make it incredibly versatile, pairing beautifully with a wide array of side dishes. Here are some fantastic options to complete your meal, offering a balance of textures, flavors, and culinary traditions:
- Grilled or Roasted Vegetables: Enhance the meal with a medley of grilled or roasted vegetables. Asparagus, bell peppers, zucchini, broccoli, or Brussels sprouts drizzled with olive oil, seasoned with salt and pepper, and perhaps a sprinkle of your favorite herbs, offer a fresh, earthy counterpoint to the steak. Their slight char or tender crispness adds an appealing texture.
- Creamy Garlic Mashed Potatoes: A timeless classic, creamy garlic mashed potatoes provide a comforting and rich side that perfectly soaks up the steak’s juices. The smooth texture and aromatic garlic notes are a sublime complement to the savory beef.
- Crispy Roasted Potatoes: For those who prefer a bit more texture, crispy roasted potatoes are an excellent choice. Tossed with herbs like rosemary or thyme, garlic, and a touch of Parmesan cheese, they develop golden-brown, crunchy exteriors and fluffy interiors. These can be easily prepared in the oven while your tri-tip is doing its low-and-slow cook.
- Fresh Green Salad: A vibrant, crisp green salad with mixed greens, cherry tomatoes, cucumbers, and a zesty vinaigrette dressing offers a refreshing contrast. The acidity and lightness of the salad cut through the richness of the steak, cleansing the palate.
- Grilled Corn on the Cob: Especially for summer gatherings, grilled corn on the cob is a delightful and sweet addition. Brushed with butter and lightly seasoned, the smoky sweetness of the corn pairs wonderfully with the beef.
- Creamed Spinach: Evoking a classic steakhouse experience, creamed spinach is a decadent and flavorful side. The rich, cheesy, and tender spinach offers a creamy texture that harmonizes beautifully with the robust steak.
- Crusty Bread or Dinner Rolls: Don’t forget something to sop up all those delicious juices! A warm, crusty bread or soft dinner rolls are perfect. You can even use them to create delightful mini steak sandwiches if you have leftovers.
- Chimichurri Sauce: A bright and herbaceous chimichurri sauce is a fantastic condiment to drizzle over your sliced tri-tip. Made with fresh parsley, cilantro, garlic, red wine vinegar, and olive oil, its tangy, garlicky kick provides an invigorating burst of flavor that highlights the beef. For a unique twist, consider a vibrant Zhoug (Skhug) sauce!
- Roasted Brussels Sprouts with Balsamic Glaze or Bacon: Roasting Brussels sprouts brings out their natural sweetness. A drizzle of balsamic glaze or crispy bacon bits adds layers of flavor and satisfying crunch.
- Refreshing Fruit Salsa: For a surprisingly delicious and unexpected pairing, a fresh fruit salsa featuring diced mango, pineapple, red onion, cilantro, and lime juice offers a tropical, sweet-and-savory contrast that is particularly good with grilled tri-tip.
- Creamy or Vinegar-Based Coleslaw: A crisp coleslaw, whether creamy or vinegar-based, provides a refreshing crunch and tangy flavor that contrasts nicely with the richness of the steak.
- Homemade Gravy or Au Jus: If you love a saucier experience, a simple beef gravy made from pan drippings or a rich au jus can be served on the side for dipping, adding another layer of savory depth to your meal.
Try these delicious sides:
Herb Roasted Green Beans and Potatoes
Best Way To Cook Broccolini
Easy Roasted Tomatoes Recipe
Wild Rice Pilaf
Reverse Sear Tri Tip Recipe Card
If you love this easy recipe, please share your thoughts and help us spread the word! Your five-star ratings and comments below are greatly appreciated. Don’t forget to share your delicious creations on Instagram, Facebook, and Pinterest!

Share on Facebook
Share

Pin this now to find it later
Pin It

Follow on Instagram
Follow
Click here to view the web story for this recipe!
Only have 30 minutes to get dinner on the table? Sign up for my 30-minute dinner plans direct to your inbox!
Find and shop my favorite products in my Amazon storefront here!
5 from 3 votes
Reverse Seared Tri Tip
Equipment
-
ThermoPro Wireless Meat Thermometer of 650FT for Smoker Oven, Bluetooth Grill Thermometer with Dual Probes, Smart Rechargeable BBQ thermometer for Cooking Turkey Fish Beef
-
USA Pan Bakeware Half Sheet Pan, Warp Resistant Nonstick Baking Pan, Made in the USA from Aluminized Steel 17 1/4 x12 1/4 x1
Ingredients
- 1 tri-tip steak, about 2-3 pounds
- 2-3 tbsp of your favorite steak rub, or a mix of salt, pepper, garlic powder, and paprika
- 2-4 tbsp unsalted butter
- Optional: Fresh herbs like rosemary or thyme
Instructions
-
Take the tri-tip out of the refrigerator about 30-60 minutes before cooking to bring it to room temperature. Pat it dry and generously apply the steak rub.
-
Preheat your oven to a low temperature, around 275°F (135°C).
-
Place the seasoned tri-tip on a rack over a baking sheet. Insert a meat thermometer into the thickest part of the steak. Cook in the oven until the internal temperature is about 10°F lower than your desired doneness (115-120°F for medium-rare).
-
In the last few minutes of oven cooking, heat a cast iron skillet on high on the stove. Add the butter and, if using, some fresh herbs.
-
Once the steak reaches the target temperature in the oven, transfer it to the hot skillet. Sear each side for about 1-2 minutes until it develops a nice crust. Don’t forget to sear the edges!
-
Once seared, remove the tri-tip from the skillet and let it rest on a cutting board, tented with aluminum foil, for about 10 minutes.
-
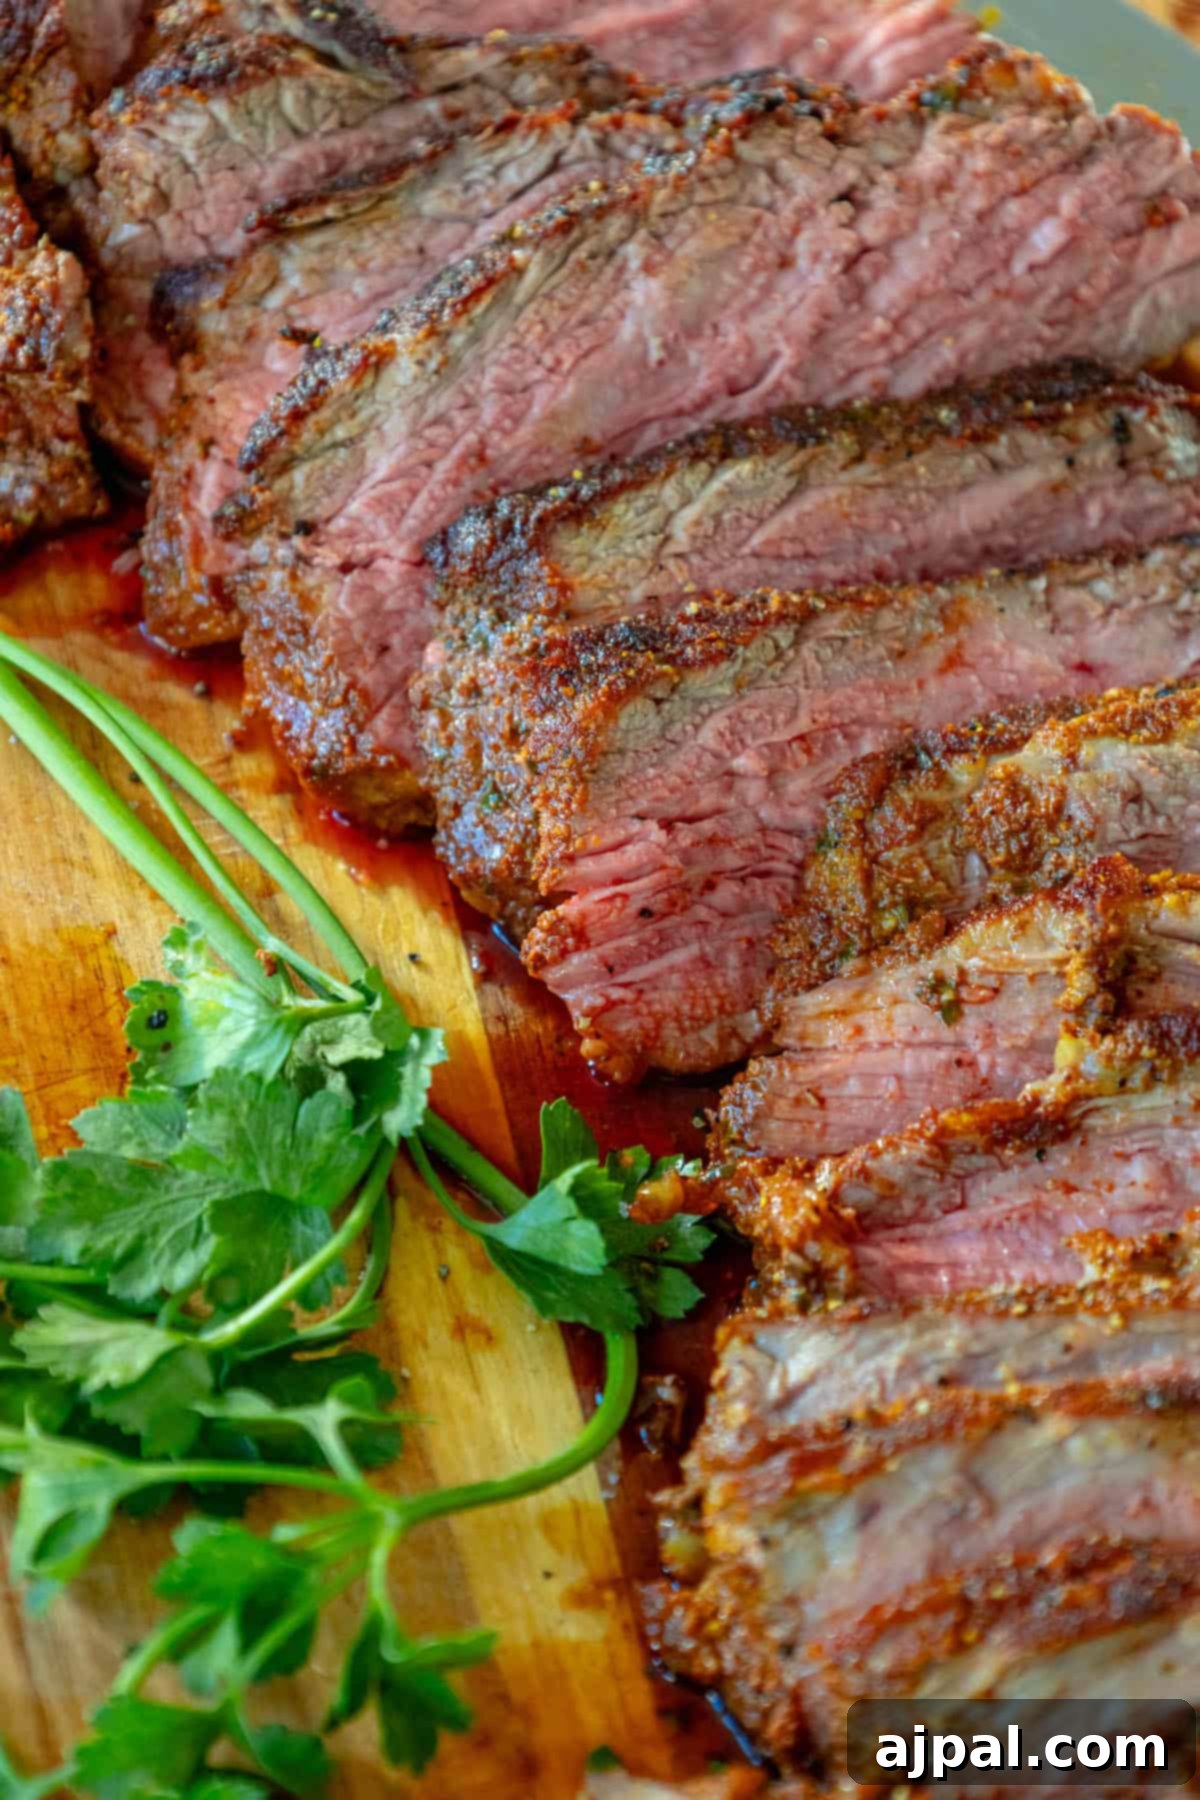
Cut the tri-tip in thin slices against the grain for the best texture.
-
Serve immediately after slicing. You can drizzle some of the buttery juices from the skillet over the top for added richness.
Nutrition
Nutrition information is automatically calculated, so should only be used as an approximation.