Desserts
Silky Chocolate Tart
The silky chocolate tart boasts a luscious, velvety texture that melts seamlessly on the palate, delivering a rich and decadent cocoa experience
- Serves 8 servings
- Prep 5 minutes
- Cook 30 minutes
- Total 3 hours
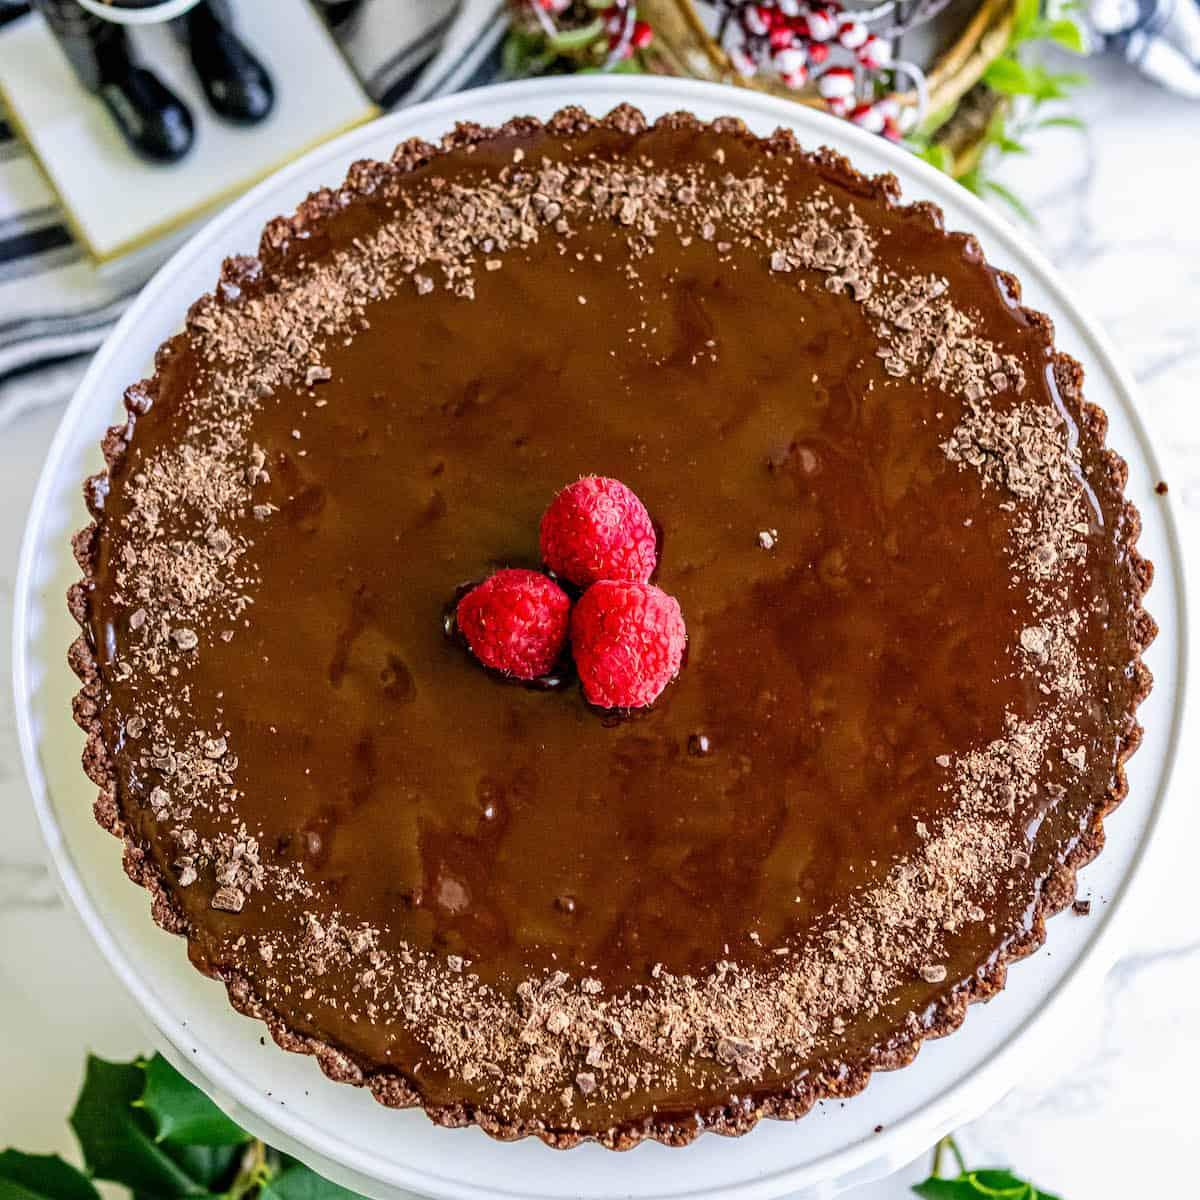
This silky chocolate tart is a dessert lover’s dream, with its smooth, velvety filling nestled within a buttery crust. Each bite offers a harmonious blend of rich chocolate flavors and a delicate, melt-in-your-mouth texture.
Over the years, the classic chocolate tart has witnessed countless variations, from the inclusion of fruits like raspberries and oranges to the infusion of spirits such as rum or brandy. Yet, despite these creative iterations the classic silky chocolate tart remains my son’s favorite every Christmas!


At Ajpal, I add lots of tips in all of my recipes – because I am a home cook without any formal training, and I find I am more confident making dishes when I understand why it works, and what each ingredient means to the flavor of a recipe. My goal is for even the most beginner home cook to feel empowered in the kitchen.
How to Make a Chocolate Tart
First you will need to assemble the following ingredients:
- Chocolate Graham Crackers (1 cup) – Chocolate graham crackers offer a sweet and subtly cocoa-infused crunch. You can also use any other chocolate dry biscuit from the supermarket.
- Unsalted Butter (5 tbsp) – Unsalted butter imparts a rich, creamy flavor, acting as a blank canvas for other ingredients.
- Sugar (1/4 cup) – Sugar adds a straightforward sweet note, enhancing the overall taste of dishes.
- Heavy cream (1 1/4 cups) – Heavy cream boasts a velvety richness that deepens and smoothens textures and flavors.
- Maple syrup (3 tbsp) – Maple syrup introduces a natural, woodsy sweetness with caramel undertones.
- Semisweet chocolate (9 ounces) – Semisweet chocolate provides a harmonious blend of cocoa bitterness balanced by sugary sweetness.
- Eggs (2) – Eggs contribute a subtle, earthy richness and bind other flavors cohesively.
- Vanilla extract (1 tsp) – Vanilla extract elevates recipes with its fragrant, sweet, and slightly floral aroma.
- Salt (1/4 tsp) – Salt amplifies and balances flavors, drawing out the true essence of ingredients.
Use this Method to Make your Tart:

Assemble Ingredients
Assemble all the ingredients.

Heat Filling
Heat the heavy cream to a boil, pour chocolate and maple syrup into a pan, let it stand for about 5 minutes, stir till smooth.

Add Eggs
Let the chocolate mixture cool until it is almost room temperature. Whisk together the eggs, vanilla, and salt in another bowl and stir into the melted chocolate.

Make Crust and Cool
Combine the crust ingredients and press into a greased tart pan. Press the tart crust with a measuring cup or glass to compact it. Bake it for 15-20 minutes at 350 degrees. Let it cool completely.

Bake
Pour into the crust, bake 20 minutes or until filling is set for about 3 inches from the edge but the center is wobbly. Make sure you let the tart cool for at least one hour at room temperature.

Glaze
Bring the glaze cream to a boil, remove it from the heat and stir in the chocolate, maple syrup, and water. Pour the glaze over the tart, tilt and rotate tart so glaze coats the top evenly. Garnish with chocolate shavings or fruit as you wish.
Tips and Tricks Perfect Creamy Chocolate Tart
Quality Ingredients: Always opt for high-quality chocolate. It’s the star of the show, so use the best you can afford. Look for chocolate with a high cocoa content for a richer taste.
Gentle Heating: When melting chocolate, always use low, gentle heat. Chocolate can easily scorch or seize. A double boiler is ideal, but if you’re using a microwave, use short bursts and stir frequently.
Room Temperature Ingredients: Make sure ingredients like eggs and cream are at room temperature before incorporating. This helps to achieve a smooth, consistent mixture.
Avoid Overmixing: Once the chocolate has melted and you’re incorporating other ingredients, stir just until everything is combined. Overmixing can introduce too much air, which can affect the texture.
Strain the Filling: To ensure a silky-smooth filling, strain it through a fine sieve or cheesecloth to remove any possible lumps or bits of coagulated egg.
Cool Slowly: After baking, allow the tart to cool in the oven with the door slightly ajar. A slow cooling process can prevent the filling from cracking.
Refrigerate Before Serving: For the best texture and flavor, refrigerate your tart for several hours or overnight before serving. This sets the filling and makes slicing cleaner.
Sharp Knife: When slicing your tart, use a sharp, hot knife (you can dip it in hot water) for clean, neat slices.
Flavor Enhancements: For an extra depth of flavor, consider adding a pinch of sea salt, a splash of vanilla extract, or even a hint of espresso powder to your chocolate filling.
FAQs
It’s best to use high-quality dark chocolate with a cocoa content of at least 60-70%. This ensures a rich and deep chocolate flavor, which is crucial for the tart’s luxurious taste.
Yes, the crust can be made in advance. Once prepared, you can wrap it in plastic and refrigerate it for up to two days or freeze it for longer storage. Just remember to thaw it properly before baking.
Graininess can occur if the chocolate is overheated or if moisture gets into the mixture. Always melt chocolate over low, gentle heat and avoid letting any water come into contact with it.
The tart can be stored in the refrigerator for up to 3-4 days. Ensure it’s covered properly to prevent it from absorbing other refrigerator odors.
Yes, you can freeze the tart. Wrap it tightly in plastic wrap and then aluminum foil. It can be frozen for up to a month. Thaw in the refrigerator before serving.
You can use full-fat coconut milk as a dairy-free alternative to heavy cream. This will also add a slight coconut flavor to your tart.
Shrinkage can happen if the dough is overworked or if it hasn’t been given enough time to rest and chill before baking. Always let the dough relax in the refrigerator for at least an hour before rolling it out and baking.
Absolutely! Feel free to experiment by adding flavorings such as orange zest, mint extract, coffee, or even a splash of liqueur like Grand Marnier or Chambord to the filling.
The edges of the filling will be set, but the center will still have a slight wobble when gently shaken. It will continue to set as it cools.
Yes, you can use a gluten-free flour blend or ground oatmeal to make the crust. Ensure all other ingredients are gluten-free, and always check product labels.
Try these Christmas Recipes Next
Try my chocolate crinkle cookies, German chocolate cookies, or buckeyes next!
Holiday Drinks
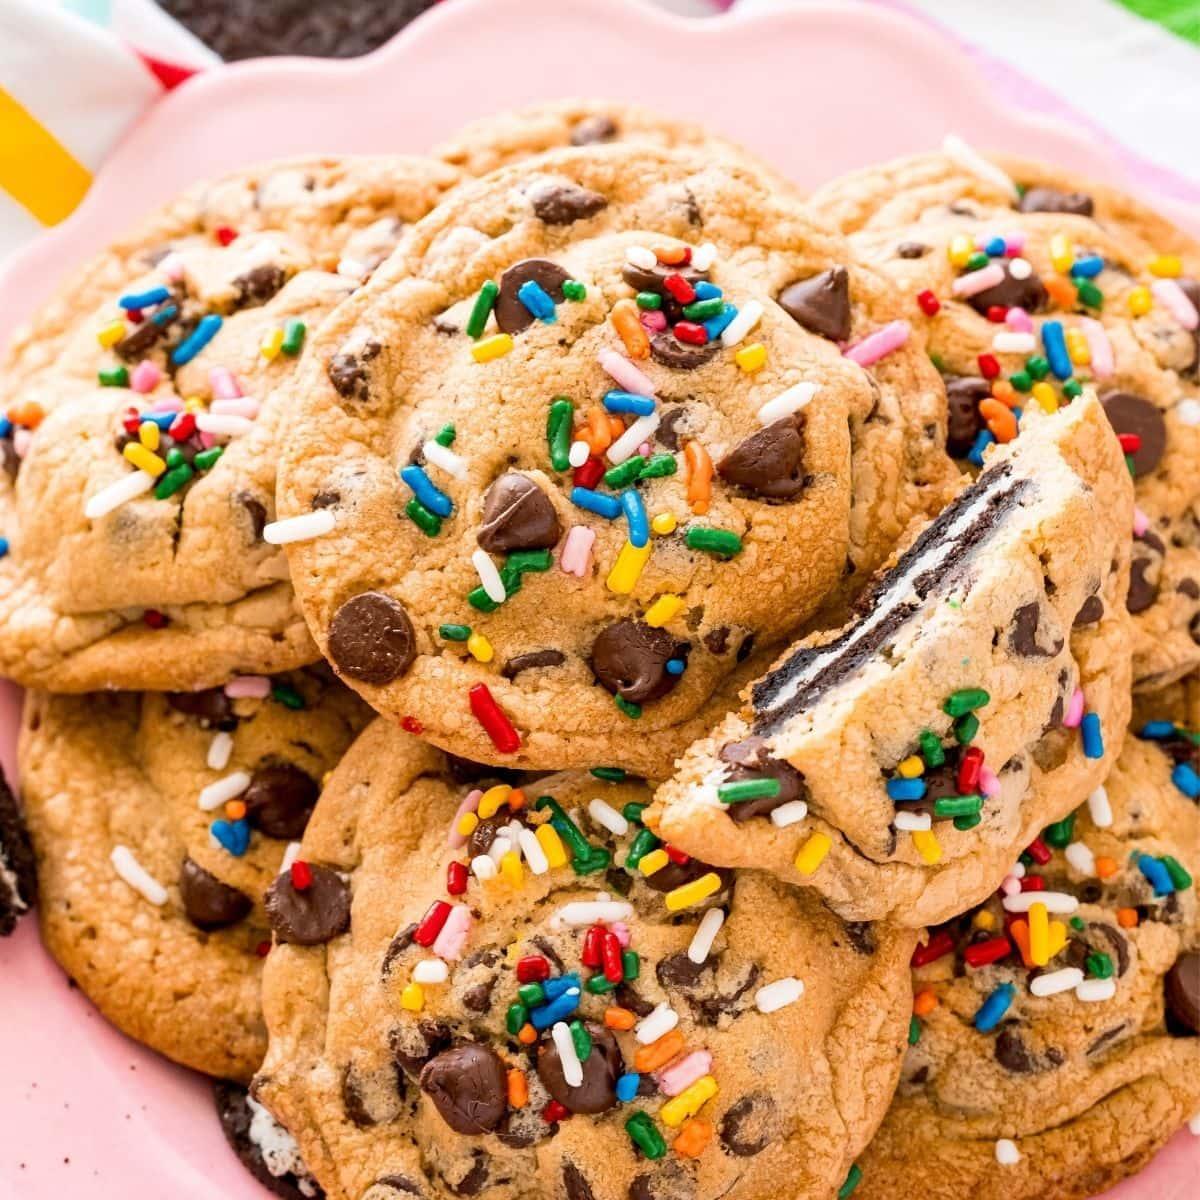
Best Easy Sprinkle Cookies
Melted Snowman Cookies
How to make Beef Wellington
Share on Facebook
Pin this now to find it later

The recipe
Silky Chocolate Tart
This silky chocolate tart boasts a luscious, velvety texture that melts seamlessly on the palate, delivering a rich and decadent cocoa experience.
- Serves 8 servings
- Prep 5 minutes
- Cook 30 minutes
- Total 3 hours
Ingredients
For crust:
- 1 cup chocolate graham crackers (finely ground)
- 5 tbsp unsalted butter (melted)
- ¼ cup sugar
For filling:
- 1 ¼ cups heavy cream
- 3 tbsp maple syrup
- 9 ounces semisweet chocolate (chopped)
- 2 large eggs
- 1 teaspoon pure vanilla extract
- ¼ teaspoon salt
For glaze:
- 2 tbsp heavy cream
- 1 ¾ ounces semisweet chocolate (finely chopped)
- 1 tbsp maple syrup
- 1 tsp warm water
- Optional Garnish: Chocolate shavings and fresh raspberries
Method
- 1
Preheat oven to 350°F with rack in middle.
- 2
Stir together all the crust ingredients and press evenly onto bottom and 3/4 inch up side of tart pan. Bake until firm, about 10 minutes. Cool on a rack 15 to 20 minute.
- 3
Bring cream for the filling to a boil, then pour chocolate and the maple syrup for the filling into the pan, let stand 5 minutes. Gently stir until smooth. Let the chocolate mixture cool until it is almost room temperature.
- 4
Whisk together eggs, vanilla, and salt in another bowl, then stir into melted chocolate.
- 5
Pour filling into cooled crust. Bake about 20 minutes until filling is set about 3 inches from edge but center is still wobbly. The center will continue to set as the tart cools.
- 6
Cool completely in pan on rack, about 1 hour.
- 7
Next make the glaze. Bring cream to a boil and remove from heat. Stir in the 1 ¾ oz of chocolate until smooth. Stir in maple syrup, then warm water
- 8
Pour glaze onto cooled tart, then tilt and rotate tart so glaze coats top evenly. Let stand until glaze is set, about 1 hour.
Equipment
- Oven Safe, Heavy Duty Stainless Steel Baking Rack & Cooling Rack, 10 x 15 inches Fits Jelly Roll Pan
- HexClad 2 Quart Hybrid Nonstick Saucepan and Lid, Dishwasher and Oven Friendly, Compatible with All Cooktops
- CHEFMADE 9.5-Inch Round Tart Pan with Removable Loose Bottom, Non-Stick Carbon Steel Quiche Pan for Oven Baking (Champagne Gold)
Nutrition
- Serving1 g
- Calories491 kcal
- Carbohydrates34 g
- Protein5 g
- Fat38 g
- Saturated Fat23 g
- Polyunsaturated Fat2 g
- Monounsaturated Fat10 g
- Trans Fat0.3 g
- Cholesterol108 mg
- Sodium105 mg
- Potassium296 mg
- Fiber3 g
- Sugar28 g
- Vitamin A899 IU
- Vitamin C0.2 mg
- Calcium70 mg
- Iron3 mg
Questions
What type of chocolate should I use for a silky chocolate tart?
It’s best to use high-quality dark chocolate with a cocoa content of at least 60-70%. This ensures a rich and deep chocolate flavor, which is crucial for the tart’s luxurious taste.
Can I make the tart crust in advance?
Yes, the crust can be made in advance. Once prepared, you can wrap it in plastic and refrigerate it for up to two days or freeze it for longer storage. Just remember to thaw it properly before baking.
Why did my chocolate filling become grainy?
Graininess can occur if the chocolate is overheated or if moisture gets into the mixture. Always melt chocolate over low, gentle heat and avoid letting any water come into contact with it.
How long can I store the chocolate tart?
The tart can be stored in the refrigerator for up to 3-4 days. Ensure it’s covered properly to prevent it from absorbing other refrigerator odors.
Can I freeze the chocolate tart?
Yes, you can freeze the tart. Wrap it tightly in plastic wrap and then aluminum foil. It can be frozen for up to a month. Thaw in the refrigerator before serving.
What can I use as a substitute for heavy cream in the filling?
You can use full-fat coconut milk as a dairy-free alternative to heavy cream. This will also add a slight coconut flavor to your tart.
My tart crust shrank after baking. Why?
Shrinkage can happen if the dough is overworked or if it hasn’t been given enough time to rest and chill before baking. Always let the dough relax in the refrigerator for at least an hour before rolling it out and baking.
Can I add flavorings to the chocolate filling?
Absolutely! Feel free to experiment by adding flavorings such as orange zest, mint extract, coffee, or even a splash of liqueur like Grand Marnier or Chambord to the filling.
How do I know when the tart is done baking?
The edges of the filling will be set, but the center will still have a slight wobble when gently shaken. It will continue to set as it cools.
Can I make a gluten-free version of the tart?
Yes, you can use a gluten-free flour blend or ground oatmeal to make the crust. Ensure all other ingredients are gluten-free, and always check product labels.