

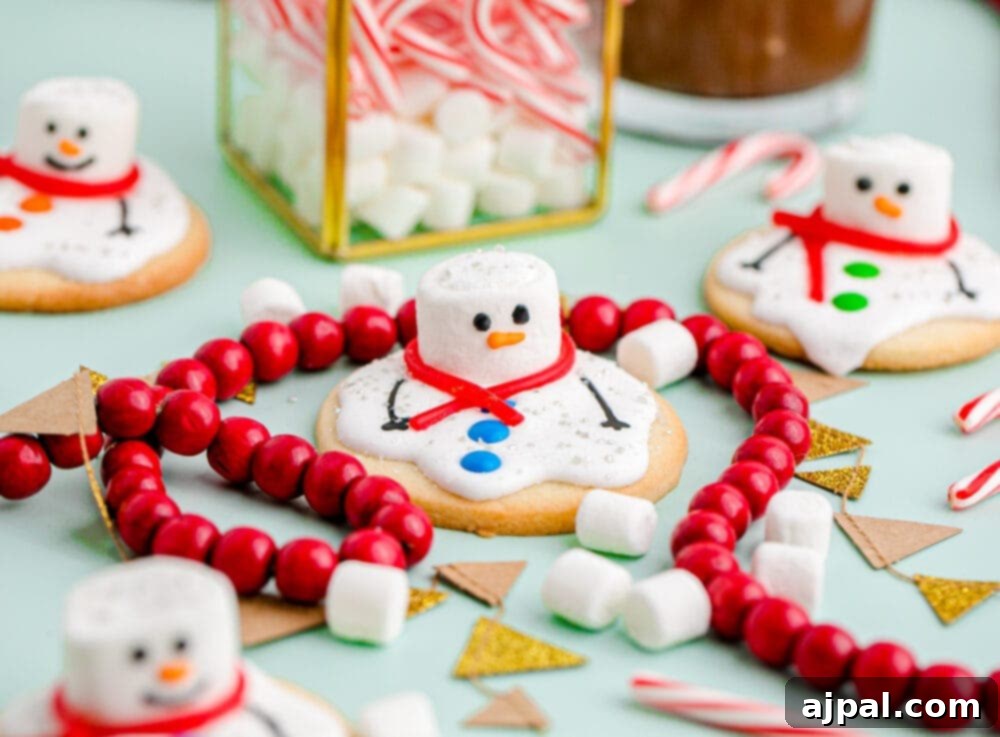
Welcome to the enchanting world of holiday baking with our delightful Melted Snowman Cookies Recipe! These adorable Christmas cookies aren’t just a treat for the taste buds; they’re a charming visual spectacle, featuring sweet candy scarves and buttons on what appears to be a snowman “melting” right on your cookie. Perfect for festive gatherings, holiday cookie exchanges, or a fun family activity, these cookies bring a unique blend of whimsy and deliciousness to your winter celebrations.

We understand that sometimes you just want the recipe! While we pack our posts with helpful tips and insights – because we believe understanding the ‘why’ behind each step empowers every home cook, from novice to expert – you can easily navigate this page. We’ve included a table of contents below to guide you directly to the sections that interest you most, ensuring a smooth and enjoyable experience as you prepare these festive treats.
Table of contents
- Easy Snowman Cookies
- The Magic Behind Melted Snowman Cookies
- How To Make Snowman Cookies: A Step-by-Step Guide
- Crafting the Perfect Royal Icing for Your Snowmen
- Decorating Your Melted Masterpieces
- Tips To Perfect Melted Snowman Cookies & FAQs
- Troubleshooting Common Icing Issues
- Flavor and Color Variations
- FAQs
- Other Christmas Cookies You’ll Love

Easy Snowman Cookies: A Festive Favorite for the Holidays
These Melted Snowman Cookies are not just incredibly adorable; they’re also surprisingly simple to create, making them an ideal project for bakers of all skill levels. Their charming, playful appearance makes them perfect party favors throughout the entire winter season, a standout addition to any Christmas cookie exchange, and a wonderfully fun activity for decorating together with family and friends. The beauty of these cookies lies in their customizability, allowing you to personalize each snowman with unique expressions and accessories, adding a touch of individual flair to every sweet treat.
Despite their intricate and elaborate look, these “melting” snowman cookies are actually one of the easiest holiday cookie recipes you’ll ever encounter. The magic lies in the simple assembly: a perfectly baked sugar cookie base, a generous dollop of white icing to mimic melted snow, and a marshmallow for the snowman’s head, all brought to life with vibrant candy decorations. The result is a cookie that captures the imagination and delights the senses, making them a memorable addition to your holiday dessert spread.
Beyond their delightful appearance, these cookies are truly delicious. They offer a balanced sweetness that isn’t overwhelmingly sugary, even with the addition of a soft marshmallow head. This makes them a fantastic accompaniment to a warm mug of homemade hot cocoa on a chilly winter evening. The combination of the tender cookie, smooth icing, and chewy marshmallow creates a delightful texture and flavor profile that everyone will love.
The Magic Behind Melted Snowman Cookies
What makes these melted snowman cookies so captivating? It’s the delightful illusion of a snowman who has just encountered a cozy, warm environment and is gracefully succumbing to the heat, leaving behind a whimsical puddle of “snow.” This unique concept transforms a simple sugar cookie into a miniature winter wonderland scene, evoking smiles and holiday cheer. The key elements are the perfectly round sugar cookie base, a lusciously smooth royal icing that artfully flows to create the “melted” effect, and a fluffy marshmallow that serves as the snowman’s head, peeking out from the snowy expanse.
This recipe isn’t just about baking; it’s about storytelling and creativity. Each cookie becomes a blank canvas, inviting you to imagine the snowman’s last moments before melting. Will he have a mischievous grin, surprised eyes, or a happy carrot nose? The beauty is in the imperfection, as no two melted snowmen will ever be exactly alike, adding to their homemade charm. This makes them especially appealing for holiday parties and family activities, where everyone can express their inner artist. From tiny M&Ms for buttons to colorful licorice laces for scarves, the possibilities for personalization are endless, ensuring that every melted snowman cookie is a unique and cherished treat.

How To Make Snowman Cookies: A Step-by-Step Guide to Baking Delight
Crafting these delectable and charming melted snowman cookies from scratch is an incredibly rewarding experience that is simpler than you might imagine. The process involves two main stages: first, creating a perfectly tender and flavorful sugar cookie base, and then transforming it into a winter wonderland with our “melted” royal icing, a fluffy marshmallow, and a variety of delightful candy decorations. This recipe is designed to be approachable for home bakers of all skill levels, ensuring a successful and fun baking adventure.
These cookies are fantastic for holiday entertaining, and you can even set up a decorating station at a party, allowing guests to personalize their own melting snowmen. It’s a fantastic interactive activity that sparks creativity, and you can even add a fun twist with “white elephant” style prizes for the most creative, funniest, or most realistic melted snowman designs! Remember, the charm of these cookies lies in their whimsical, “melted” appearance, so don’t fret if your snowman isn’t perfectly symmetrical – after all, he’s supposed to be melting!
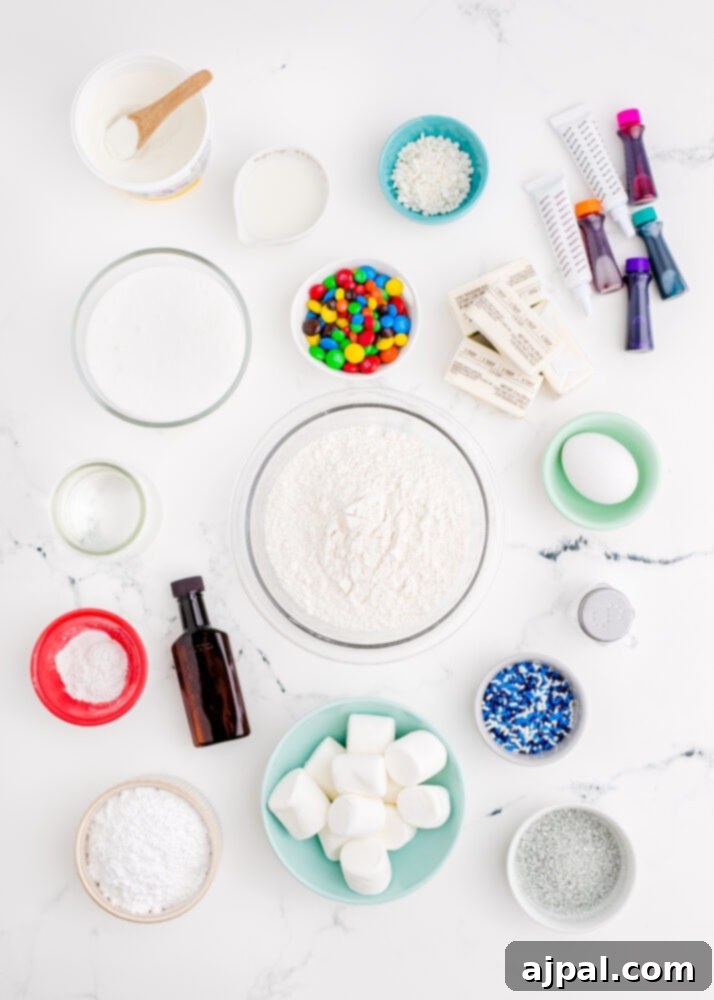
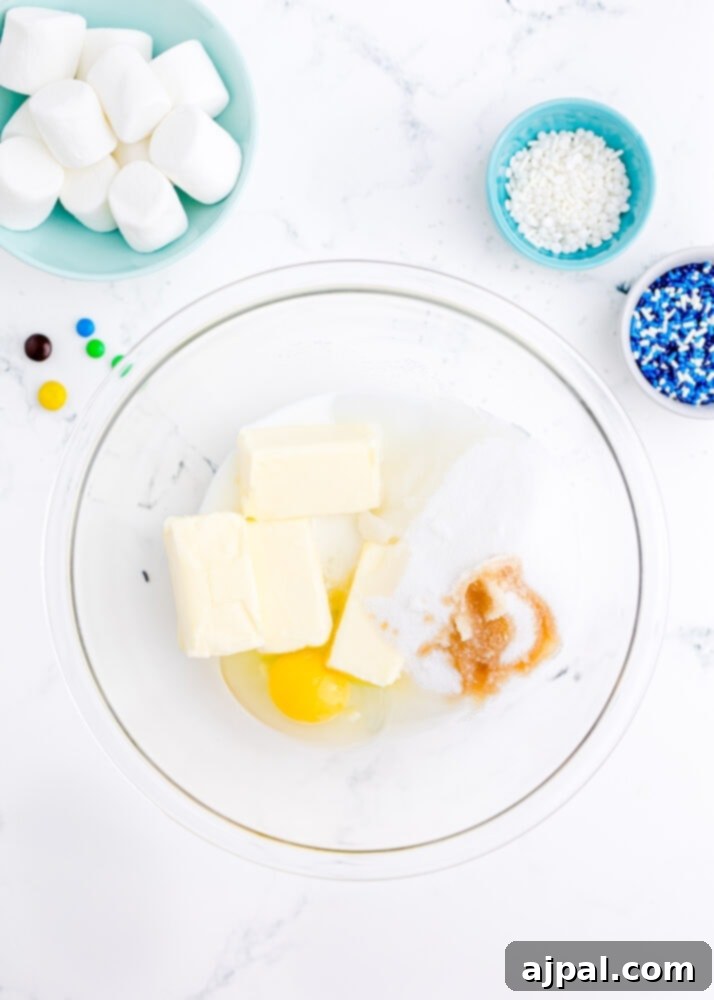
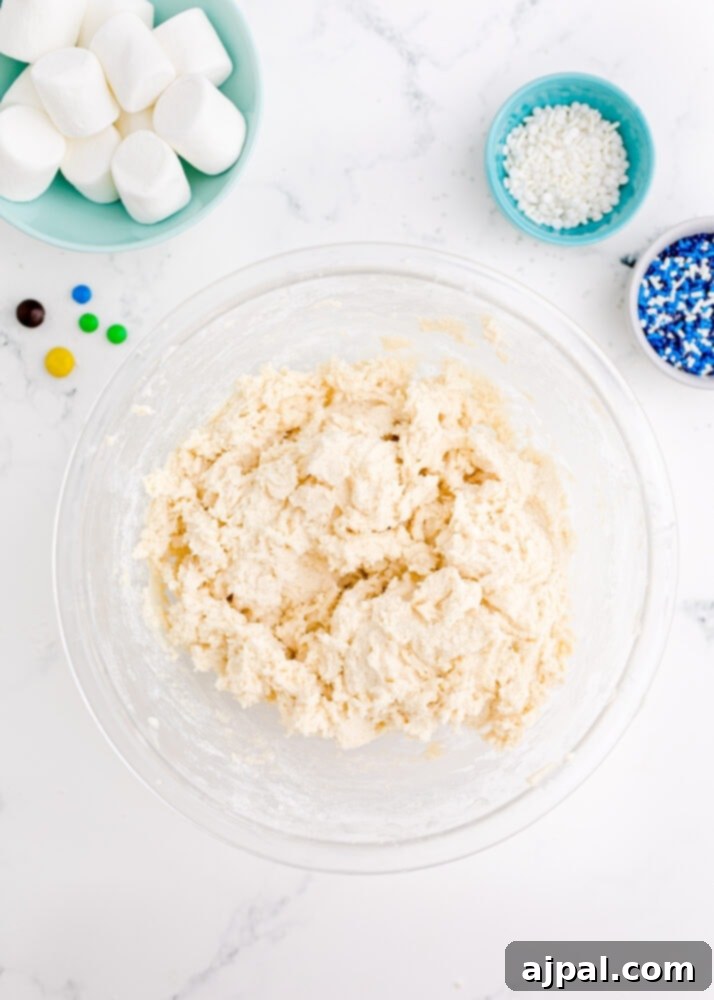
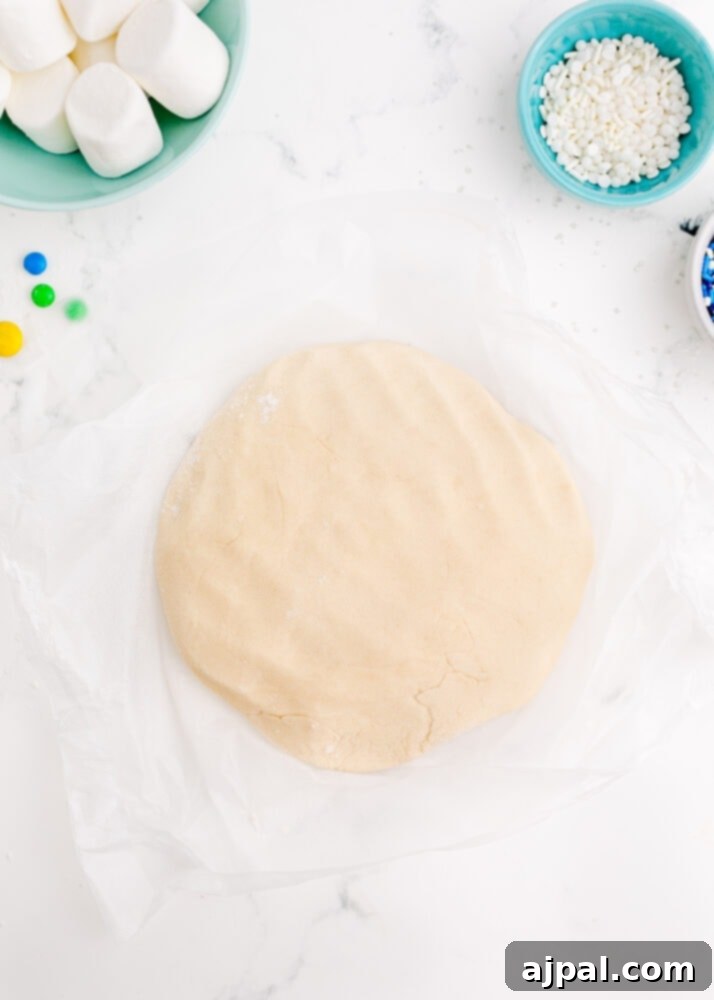
- Prepare Your Workspace: Begin by preheating your oven to 375 degrees Fahrenheit (190 degrees Celsius). Line your baking sheets with parchment paper or silicone baking mats to prevent sticking and ensure even baking. This step is crucial for achieving beautifully golden cookies.
- Combine Wet Ingredients: In a spacious medium-sized mixing bowl, combine the softened unsalted butter, granulated sugar, large eggs, milk, and vanilla extract. Beat these ingredients together until the mixture is light, fluffy, and well-creamed, typically taking about 3-5 minutes with an electric mixer. This aeration creates a tender cookie texture.
- Incorporate Dry Ingredients: In a separate bowl, whisk together the all-purpose flour (start with 2 cups), baking powder, and sea salt. Gradually add this dry mixture to your wet ingredients, beating on low speed until just combined. Be careful not to overmix, as this can result in tough cookies. If your dough still feels overly sticky, add the remaining ¼ to ½ cup of flour, a little at a time, until it forms a soft, workable dough.
- Chill the Dough: Divide the prepared cookie dough into two equal-sized disks. Wrap each disk tightly in plastic wrap and place them in the refrigerator for at least 1 hour, or until the dough is firm enough to handle easily. Chilling is vital as it prevents the cookies from spreading excessively during baking, helping them maintain their perfect round shape.
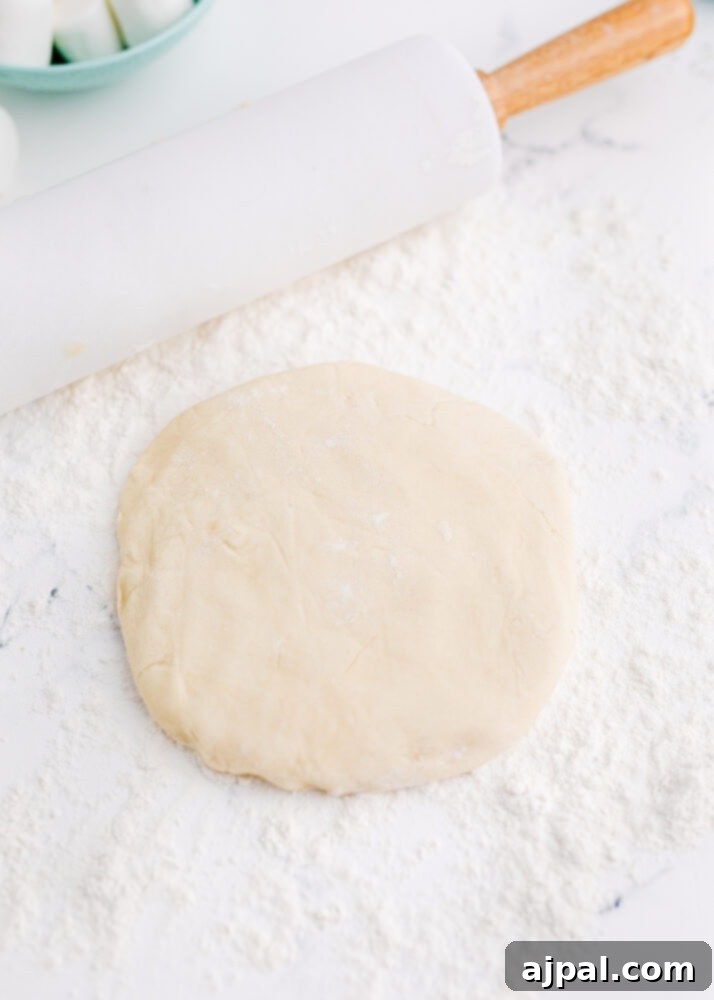
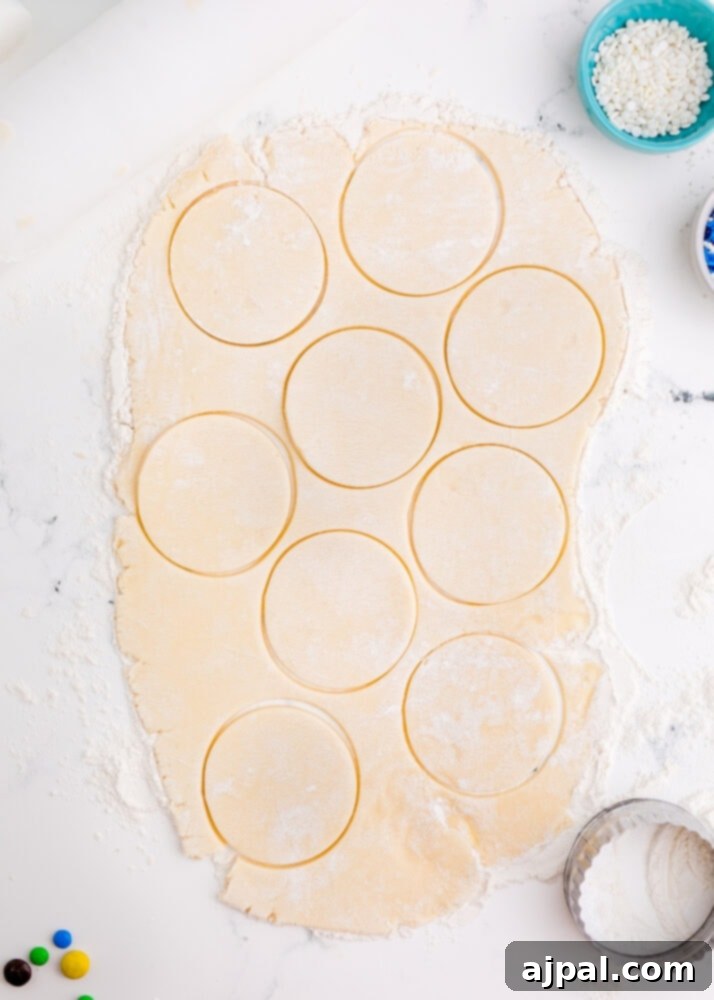
- Roll and Cut Dough: Once chilled, remove the dough from the fridge and allow it to sit at room temperature for a few minutes until it is pliable enough to roll easily. Lightly flour your work surface and a rolling pin, then roll out the dough to an even ¼-inch thickness. This thickness is ideal for a sturdy cookie that holds its shape.
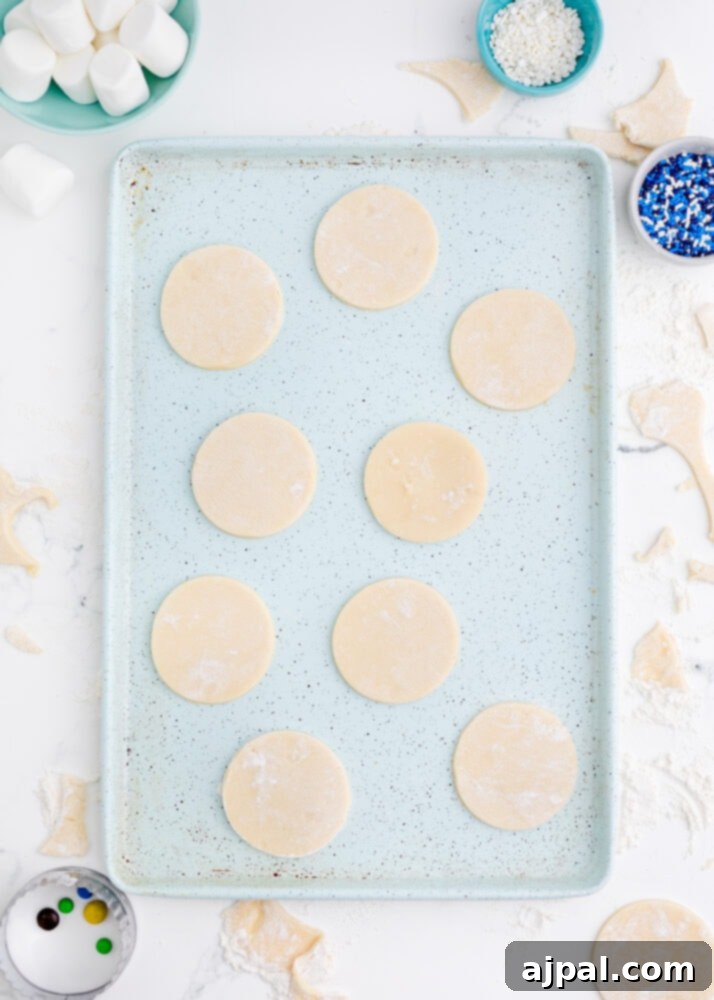
- Cut Out Cookies: Using a 2 ½-inch round cookie cutter (lightly floured to prevent sticking), cut out as many circles as possible from the rolled dough. Carefully transfer the cut-out cookies to your prepared baking sheets, ensuring they are placed about 1 inch apart to allow for slight spreading.
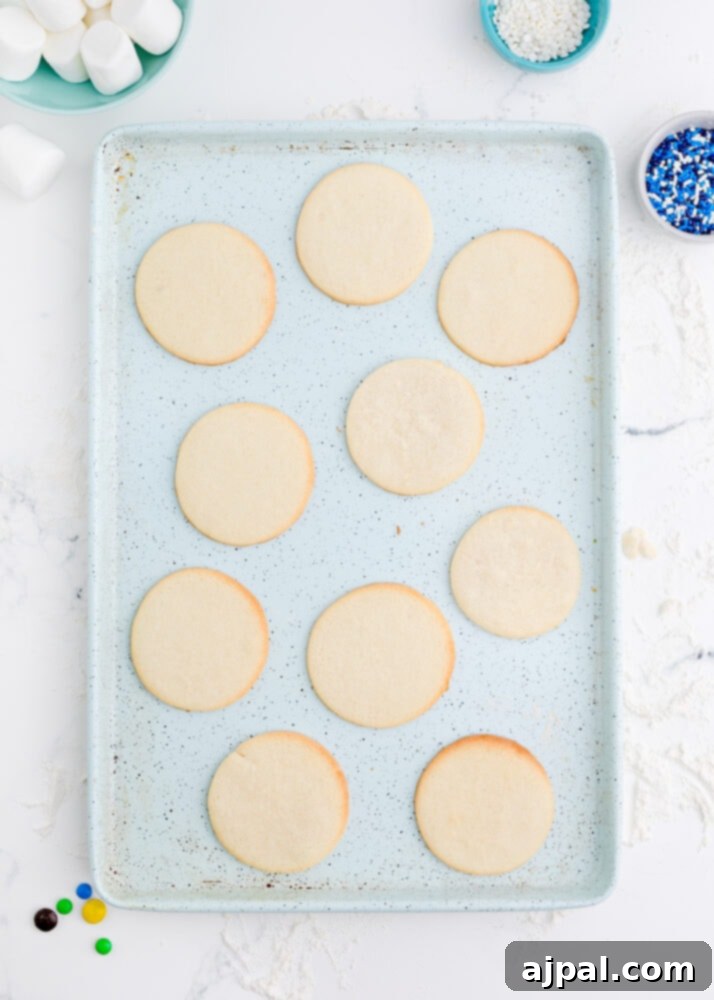
- Bake to Perfection: Bake the cookies for 7-10 minutes. Keep a close eye on them, especially after the 5-minute mark, as sugar cookies can brown quickly. You’re looking for edges that are just golden brown and centers that are barely set. This ensures a soft, chewy interior.
- Cool Completely: Once baked, immediately transfer the cookies from the hot baking sheets to wire cooling racks. Allow them to cool completely before attempting to frost them. Rushing this step can lead to melted icing and a messy outcome.
Crafting the Perfect Royal Icing for Your Snowmen
The royal icing is the heart of your melted snowman’s charm. Achieving the right consistency is key to creating that delightful melted effect while ensuring your decorations stay in place. This icing not only provides a beautiful snowy base but also hardens to protect your whimsical creations.
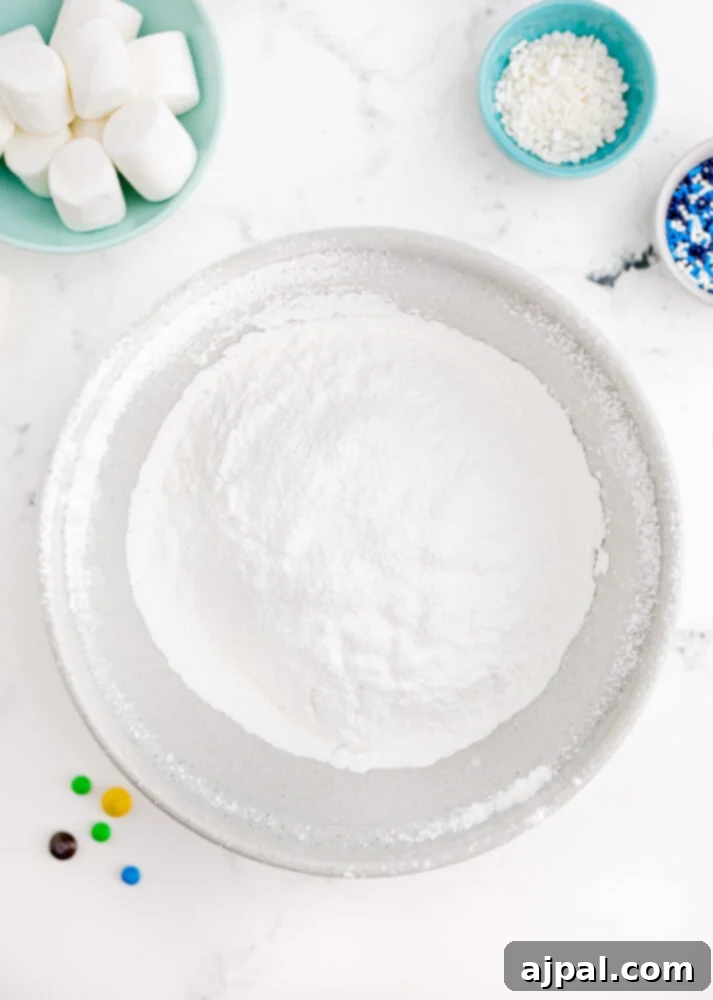

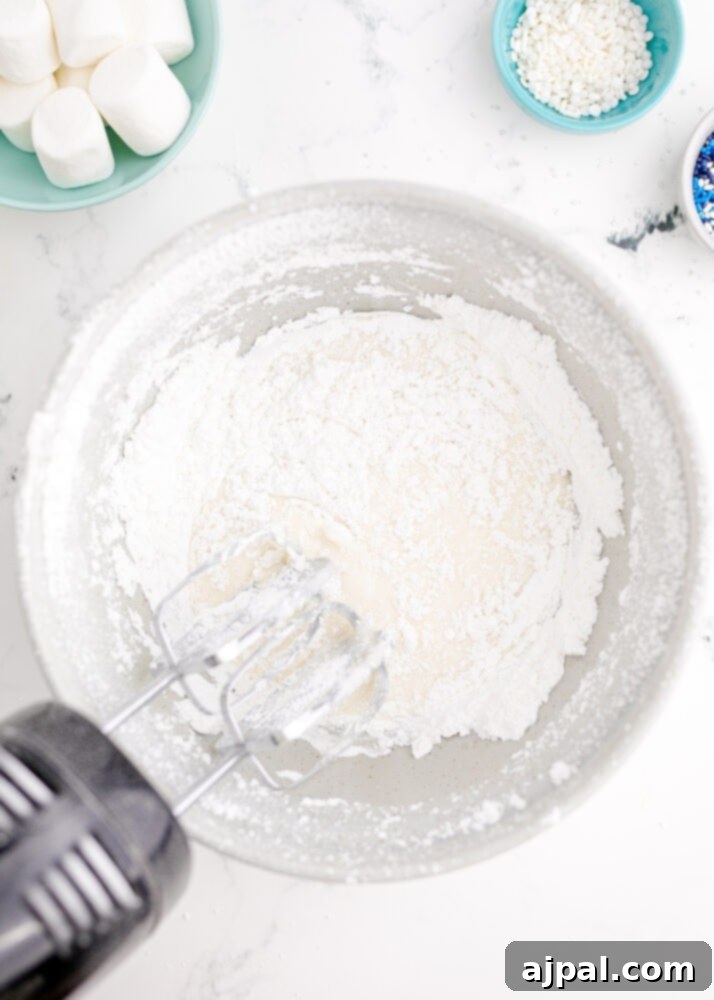
- Prepare the Royal Icing: In a large, impeccably clean, grease-free mixing bowl, sift together the powdered sugar and meringue powder. It’s crucial that your bowl and utensils are grease-free to ensure the meringue whips up properly. Add 5 tablespoons of warm water to the mixture.
- Whip the Icing: Using a stand mixer with a whisk attachment (or an electric hand-held mixer), beat the mixture at high power for 7-10 minutes. The icing should become thick, glossy, and form stiff peaks.
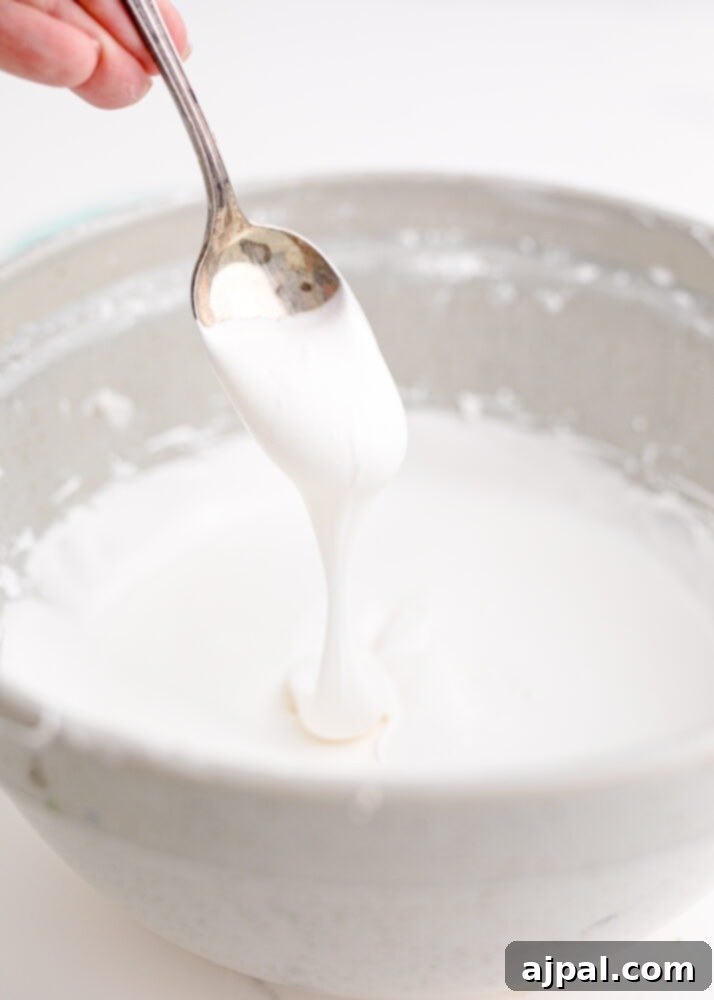
- Adjust Consistency: After whipping, check the consistency of your icing. You’re aiming for a consistency that is thick enough to hold its shape but still fluid enough to spread and “melt” slightly over the cookie edges. If the icing is too thick and barely moves, add more warm water, 1 teaspoon at a time, beating after each addition until the desired consistency is reached. If it’s too thin and runs off the cookie too quickly, continue beating for a few more minutes; longer beating helps it thicken. Let it sit for 15-30 minutes to allow air bubbles to rise naturally before coloring or decorating. You can also gently stir the top to release trapped air.
Decorating Your Melted Masterpieces
This is where the real fun begins! Transforming your simple sugar cookies into whimsical melted snowmen is a creative process where there’s no right or wrong. Embrace the imperfections – they only add to the charm of your melting snowmen!




- Create the Melted Snow Effect: Once your cookies are completely cool, place them on parchment paper or a clean surface. Take a generous dollop of the white royal icing and drop it onto the center of each cookie. Carefully spread the icing outwards towards the edges, allowing it to drip and pool in an irregular, organic shape. This creates the illusion of melting snow. Don’t strive for perfection; a little messiness enhances the “melted” look! If the icing runs off too quickly, it might be too thin; if it doesn’t spread at all, it’s too thick. A little trial and error will help you find your preferred consistency.
- Add the Snowman’s Head: While the icing is still wet, gently place one marshmallow on each cookie towards the top. This will be the snowman’s head, peeking out from the melted snow. The wet icing will help the marshmallow adhere as it dries.
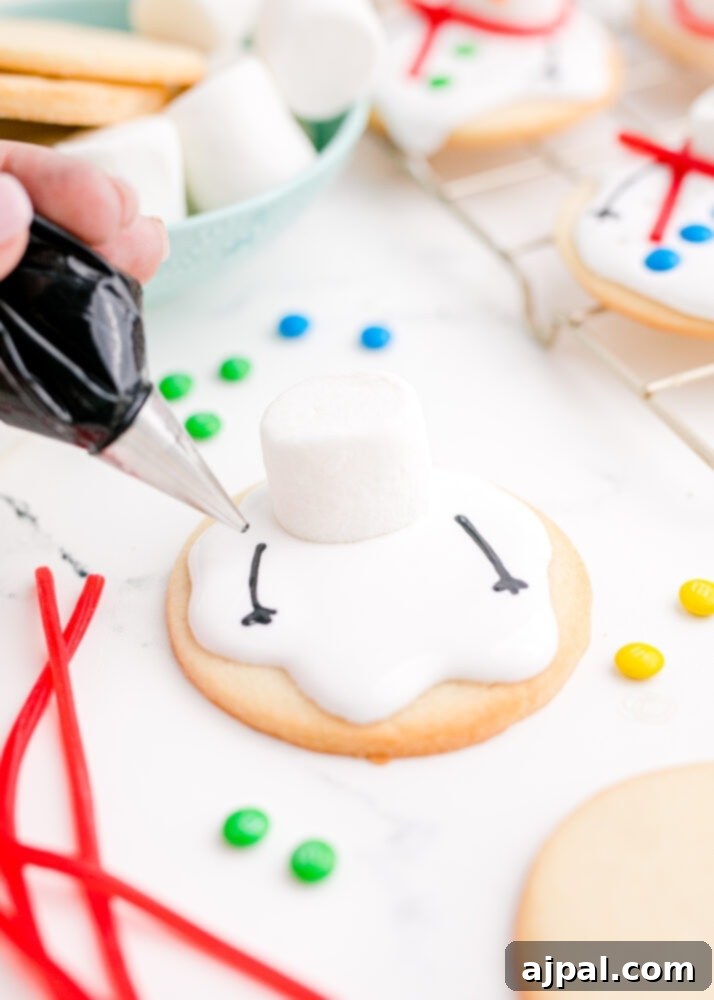




- Add Facial Features and Details:
- Eyes and Arms: Take a small portion of your royal icing and mix in some black gel food coloring. Transfer this black icing to a piping bag fitted with a very small round tip (or a ziplock bag with a tiny corner snipped off). Carefully pipe two dots for the snowman’s eyes and two stick-like lines for arms, extending from the melted snow.
- Carrot Nose: Similarly, mix another small portion of icing with orange food coloring gel to create the carrot nose. Pipe a small triangle or carrot shape onto the marshmallow for the nose.
- Buttons and Scarf: Press mini M&Ms onto the “melted” snow for buttons. For the scarf, gently drape a piece of strawberry licorice lace around the base of the marshmallow head.
- Extra Sparkle: For a glistening, snowy effect, sprinkle some edible sugar crystals over the white icing while it’s still wet. This adds a beautiful shimmer that catches the light.
- Allow to Set: The royal icing will need about 2 hours to fully dry and harden at room temperature. For quicker setting, especially if you’re layering decorations or need to store them, you can refrigerate the cookies. Once the icing is firm, your delightful melted snowman cookies are ready to be enjoyed or shared!

Tips To Perfect Melted Snowman Cookies & FAQs
Troubleshooting Common Icing Issues
Overly Thick Icing: If your royal icing is too stiff and doesn’t spread easily, add warm water, one teaspoon at a time, mixing well after each addition until you achieve the desired flow. The goal is a consistency that allows for a natural “melted” look without being watery.
Too Thin Icing: If your icing is too runny and quickly drips off the cookies, it means it’s too thin. Return it to your mixer and beat it for an additional 2-3 minutes. Royal icing thickens as it’s beaten, so this usually resolves the issue. Avoid adding more powdered sugar unless absolutely necessary, as it can make the icing overly sweet or gritty.
Bumpy Icing: Small air bubbles can sometimes appear in royal icing. To minimize this, let your prepared icing rest for 15-30 minutes after whipping. Then, gently stir the top layer with a spoon to release any trapped air before you begin to color or decorate. This creates a smoother finish for your snowmen.
Flavor and Color Variations
Add flavor! Elevate these delightful cookies by incorporating flavored extracts into both the sugar cookie base and the royal icing. Start with 1 teaspoon of your chosen extract. Consider adding almond extract for a marzipan-like nuance, peppermint extract for a refreshing wintery touch, or even lemon, raspberry, or a different type of vanilla extract for a unique twist. These subtle additions can significantly enhance the overall taste experience of your cookies.
Add color! While classic white snowmen are charming, feel free to unleash your creativity by adding color to your royal icing for vibrant and playful snowmen! Instead of liquid food coloring, which can thin out your icing, we recommend using gel food coloring. Gel colors provide a more intense, concentrated hue with just a small amount, preserving the icing’s perfect consistency. You can create pastel snow, bright blue snow, or even a rainbow of melted snowmen!
FAQs
Yes, royal icing can be prepared in advance. Store it in an airtight container in the fridge for up to 2 weeks. Before using, allow it to come to room temperature, and you may need to whisk it smooth again to restore its desired consistency.
The most common culprit for meringue not whipping properly is grease. It is absolutely essential to use completely grease-free bowls and utensils when working with meringue. Even a tiny trace of oil can prevent it from stiffening. We recommend starting over, using a very clean glass or metal bowl, as plastic can sometimes retain greasy residues. For better chances, you could also chill your bowl and whisk attachments before you begin.
If you don’t have meringue powder, you can substitute pasteurized egg whites. You will need approximately 6 tablespoons of pasteurized egg whites (which is often the amount in a carton of liquid egg whites). Whisk the egg whites until they become foamy, then gradually beat in the powdered sugar at medium speed for about 5 minutes. Adjust the amount of warm water as needed to achieve the correct consistency for flooding and outlining.
Once fully set, store these cookies in an airtight container at room temperature for up to a week. For longer storage, you can freeze them for up to 2-3 months. Thaw them at room temperature before serving.
Absolutely! To save time, you can certainly use a good quality store-bought sugar cookie dough. Just make sure to chill it thoroughly before rolling and cutting to maintain its shape, and follow the baking instructions provided on the package, adjusting as needed until the edges are lightly golden.

Other Christmas Cookies You’ll Love
If you’ve fallen in love with these whimsical melted snowman cookies and are eager to explore more easy and delicious cookie recipes for the holiday season, you’ve come to the right place! We’re always experimenting with new and classic cookie ideas to bring joy to your kitchen. Discover some of our recent favorites below, perfect for expanding your festive baking repertoire or finding a new go-to treat.
Try these other cookie recipes:
Best Chocolate Truffles
Best Gingerbread Cookies
Chocolate Crinkle Cookies
Maple Pecan Biscotti
Easy Santa Strawberries Recipe
German Chocolate Cookies
You can find the rest of our extensive Christmas cookie recipe archives here, filled with inspiration for every type of holiday baker. From classic sugar cookies to innovative festive treats, we have everything you need to make your holiday baking truly magical.
Melted Snowman Cookies Recipe
If you loved creating and enjoying this easy recipe, we would be incredibly grateful if you could show your support by clicking the stars below to give it a five-star rating and leaving a comment sharing your experience! Your feedback helps us grow and inspires other home cooks. Please also consider sharing your beautiful creations on Instagram, Facebook, and Pinterest – we absolutely love seeing your festive treats!

Share on Facebook
Share

Pin this now to find it later
Pin It
' d='M12 2.163c3.204 0 3.584.012 4.849.07c1.366.062 2.633.336 3.608 1.311.975.975 1.249 2.242 1.311 3.608.058 1.265.07 1.645.07 4.849s-.012 3.584-.07 4.849c-.062 1.366-.336 2.633-1.311 3.608-.975.975-2.242 1.249-3.608 1.311-1.265.058-1.645.07-4.849.07s-3.584-.012-4.849-.07c-1.366-.062-2.633-.336-3.608-1.311-.975-.975-1.249-2.242-1.311-3.608C2.174 15.668 2.163 15.259 2.163 12s.012-3.584.07-4.849c.062-1.366.336-2.633 1.311-3.608.975-.975 2.242-1.249 3.608-1.311C8.416 2.174 8.796 2.163 12 2.163zM12 0C8.741 0 8.332.014 7.052.072c-1.95.089-3.663.567-5.038 1.942C.639 3.389.161 5.102.072 7.052C.014 8.332 0 8.741 0 12c0 3.259.014 3.668.072 4.948.089 1.95.567 3.663 1.942 5.038C3.389 23.361 5.102 23.839 7.052 23.928C8.332 23.986 8.741 24 12 24s3.668-.014 4.948-.072c1.95-.089 3.663-.567 5.038-1.942 1.375-1.375 1.853-3.088 1.942-5.038C23.986 15.668 24 15.259 24 12s-.014-3.668-.072-4.948c-.089-1.95-.567-3.663-1.942-5.038C20.611.639 18.902.161 16.952.072C15.668.014 15.259 0 12 0L12 0z'/%3E%3Cpath fill='%23fff' d='M12 5.838c-3.403 0-6.162 2.759-6.162 6.162S8.597 18.162 12 18.162s6.162-2.759 6.162-6.162S15.403 5.838 12 5.838zM12 16c-2.209 0-4-1.791-4-4s1.791-4 4-4 4 1.791 4 4-1.791 4-4 4z'/%3E%3Ccircle fill='%23fff' cx='18.406' cy='5.594' r='1.44'/%3E%3C/svg%3E "Snowman Meltdown Cookies 31")
Follow on Instagram
Follow

Only have 30 minutes to get dinner on the table? Sign up for my 30 minute dinner plans direct to your inbox!
Find and shop my favorite products in my Amazon storefront here!
Melted Snowman Cookies Recipe

Equipment
-
USA Pan Bakeware Cookie Sheet, Large, Warp Resistant Nonstick Baking Pan, Made in the USA from Aluminized Steel,Silver
-
KitchenAid KSM150PSER Artisan Tilt-Head Stand Mixer with Pouring Shield, 5-Quart, Empire Red
-
Kasmoire Reusable Piping Bags and Tips Set, Cake Decorating Tools with Icing Pastry Bags, Icing Bags Tips, Couplers and Frosting Bags Ties for Cookie Icing Cakes Cupcakes
-
Just Candy Gustaf’s Strawberry Laces Red 2lb bag
-
Food Coloring Set – 12 Color Food Grade Vibrant Food Dye Cherrysea Tasteless Liquid Color for Cake Decorating, Baking, Easter Egg, Icing, Fondant, Cooking, Slime Making DIY Supplies Kit – 0.35 Fl. oz (10 ml)/Bottles
-
The Sugar Lab Confectioners Sugar – Extra Coarse Sugar – 1 Pound – Con AA – Sugar Crystals for Baking and Cupcake Decorations – Excellent for Decorating Candy – Perfect for Bakeries Sanding Sugar
-
Kraft Jet-Puffed Original Large Marshmallows, 10 oz Bag (Pack of 2)
Ingredients
For the Royal Icing
- 6 tbsp Meringue powder
- 8 cups powdered sugar
- 10 tbsp warmed water
For the Sugar Cookies
- 1 ½ cups of unsalted butter
- 1 ½ cups granulated sugar + more for rolling
- 2 large eggs
- 1 tablespoon vanilla extract
- 3 cups all purpose flour
- 1 ½ tsp bing powder
- 1 tsp sea salt
Decorations
- 24 Marshmallows
- Food Coloring Gels – Black, Orange
- 24 Strawberry Licorice Laces
- ¼ cup Sugar Crystals, optional
Instructions
-
To make the cookies, preheat oven to 375 degrees F (190 C).
-
Mix all the dry ingredients for the cookies in a medium bowl and set aside.
-
In a large bowl, cream together the butter, granulated sugar, vanilla extract, and eggs. Beat for 3-5 minutes until light and fluffy. Gradually add the dry flour mixture and beat until just combined. Chill the dough for at least an hour in the refrigerator until firm.
-
Sprinkle granulated sugar on a clean counter and roll out the chilled dough to about the thickness of a half-dollar coin (approximately ¼ inch). Use a round cookie cutter to cut out the cookies. Place the cut-out cookies on a parchment-lined baking tray, leaving about 1 inch between each.
-
Bake for 9-11 minutes, or until the edges are slightly golden brown and the center is barely set. Remove from the oven and transfer to cooling racks to cool completely before icing.
-
To prepare the royal icing, beat all the royal icing ingredients (powdered sugar, meringue powder, warmed water) in a large, grease-free mixing bowl until the icing forms stiff peaks, which should take 7-10 minutes. Let the icing sit for 15-30 minutes to allow any air bubbles to rise to the surface naturally, or gently stir the top to release air before dividing and coloring.
-
Arrange the cooled cookies slightly apart on parchment paper. Spoon a dollop of the white royal icing onto the middle of each cookie and gently spread it out towards the edges, allowing some of it to drip over to create the melted snow effect. Divide the remaining white icing into two small portions in separate piping bags, dye one orange and one black with gel food coloring, and set aside for decorating.
-
While the white icing is still wet on each cookie, place one marshmallow towards the top to represent the snowman’s head.
-
Decorate the cookies: Use the black royal icing to pipe eyes and stick-like arms. Use the orange royal icing to pipe small carrot noses on the marshmallows. Place mini M&M’s for buttons on the melted snow body, and drape a piece of strawberry licorice lace around the base of the marshmallow for a scarf.
-
For an extra festive touch, sprinkle the cookies with sugar crystals while the icing is still tacky for a beautiful snowy shimmer. Allow the decorated cookies to set for approximately 2 hours for the frosting to harden completely. Once firm, they are ready to serve and enjoy!
Nutrition
Nutrition information is automatically calculated, so should only be used as an approximation.