
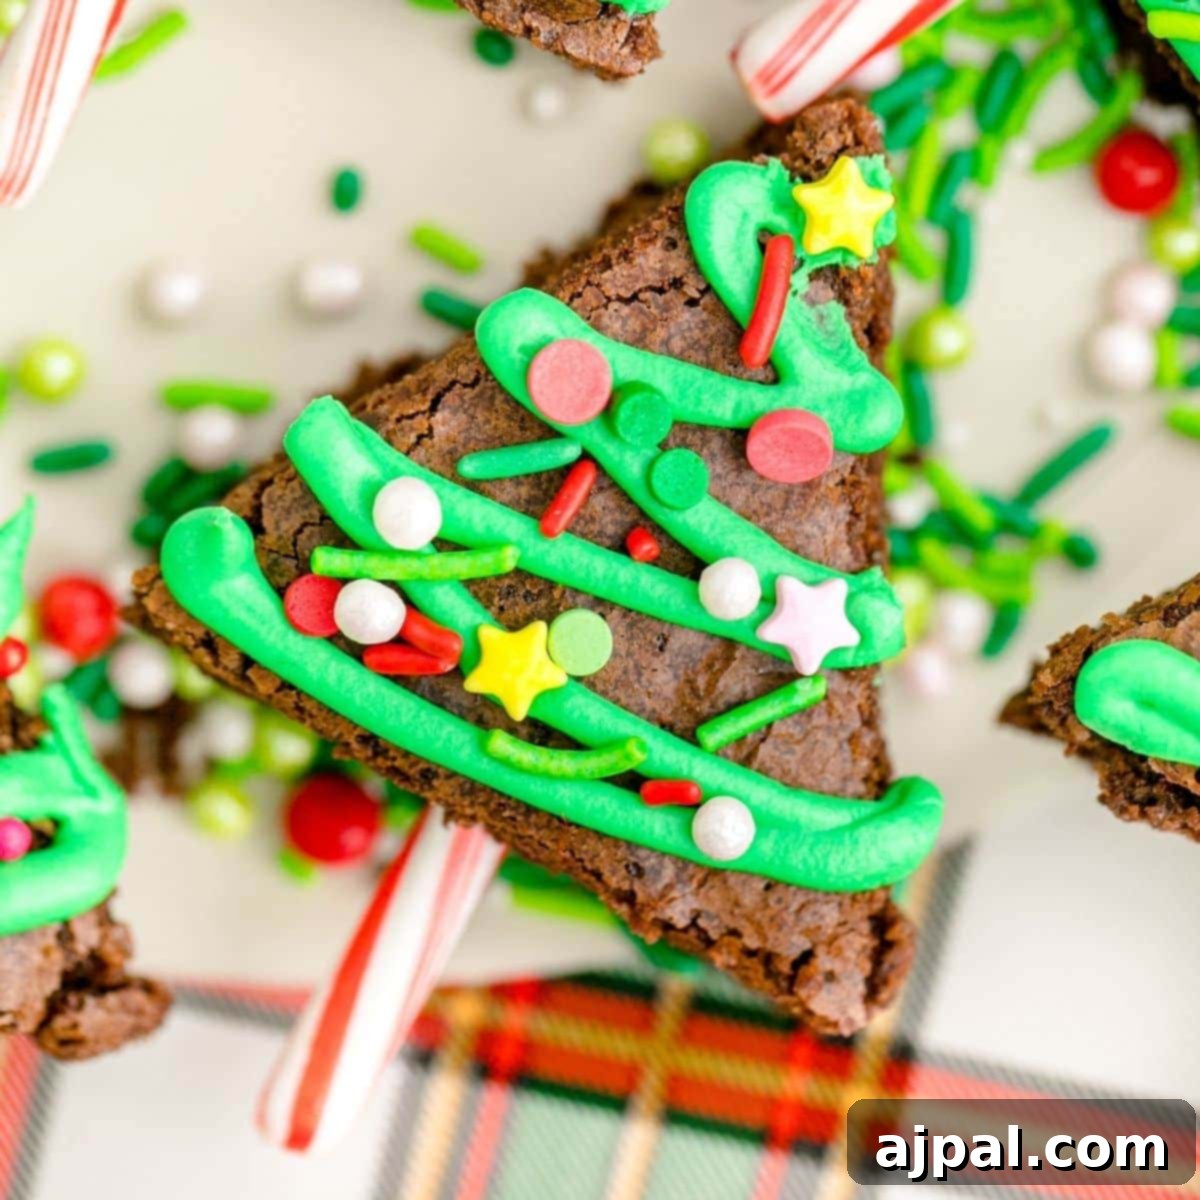
Get ready to sprinkle some festive joy into your holiday season with these incredibly easy and utterly adorable Christmas Tree Brownies! Perfect for any festive gathering, these delicious fudgy brownies are a delightful treat that will charm both kids and adults alike. Starting with a simple boxed brownie mix, we’ll transform them into a dazzling display of edible Christmas trees, complete with vibrant green frosting and colorful sprinkles. This recipe is designed to be straightforward and fun, ensuring a stress-free baking experience even for the most novice home bakers. Prepare to impress your guests with a dessert that’s as enchanting to look at as it is scrumptious to eat!
Looking for a streamlined recipe without all the extra details? You can easily navigate this page using the table of contents provided just below. However, for those who appreciate understanding the ‘why’ behind each step and ingredient, you’ve come to the right place!
As a passionate home cook without formal culinary training, my mission is to empower everyone in the kitchen. I believe that understanding the nuances of a recipe, from ingredient functions to technique tips, builds confidence. That’s why I pack my posts with helpful insights, ensuring that even beginners can achieve impressive results. So, whether you’re a seasoned baker or just starting your culinary journey, these tips will guide you to Christmas Tree Brownie perfection.
Table of Contents
- How to Make Christmas Tree Brownies
- Prepare the Brownie Mix
- Cool and Cut Brownies
- Decorate Your Festive Brownie Trees
- Expert Tips for Perfect Christmas Tree Brownies
- Frequently Asked Questions
- Other Christmas Treats You’ll Love
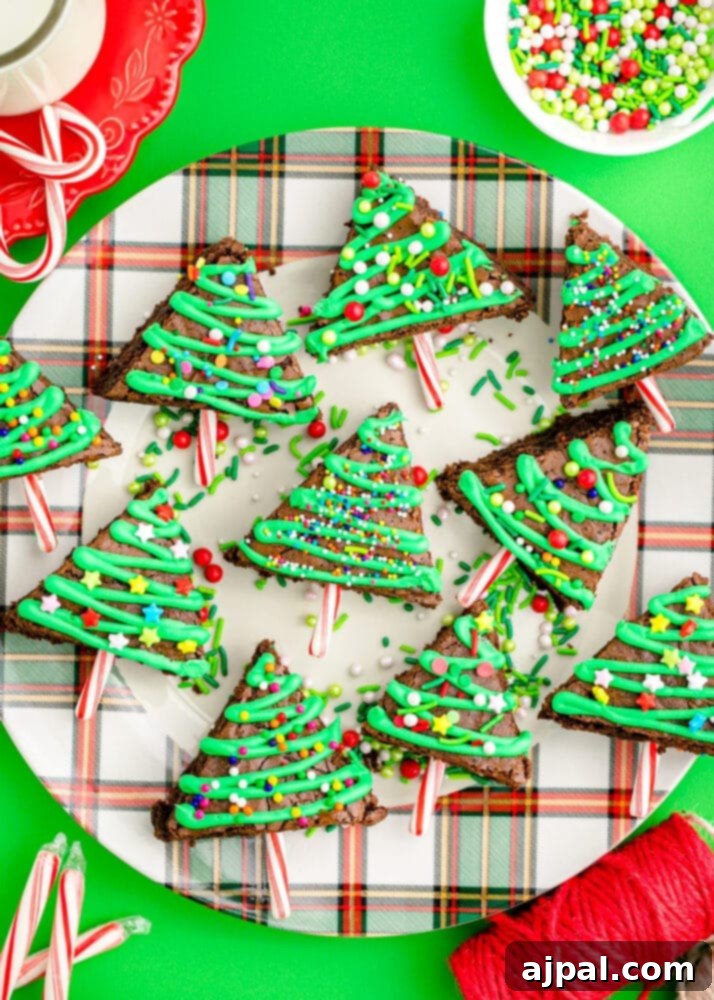
How to Make Christmas Tree Brownies
Creating these delightful Christmas Tree Brownies is surprisingly simple, especially since we’re starting with a convenient boxed mix. Follow these step-by-step instructions to bake and decorate your way to a tray of festive treats!
Prepare the Brownie Mix
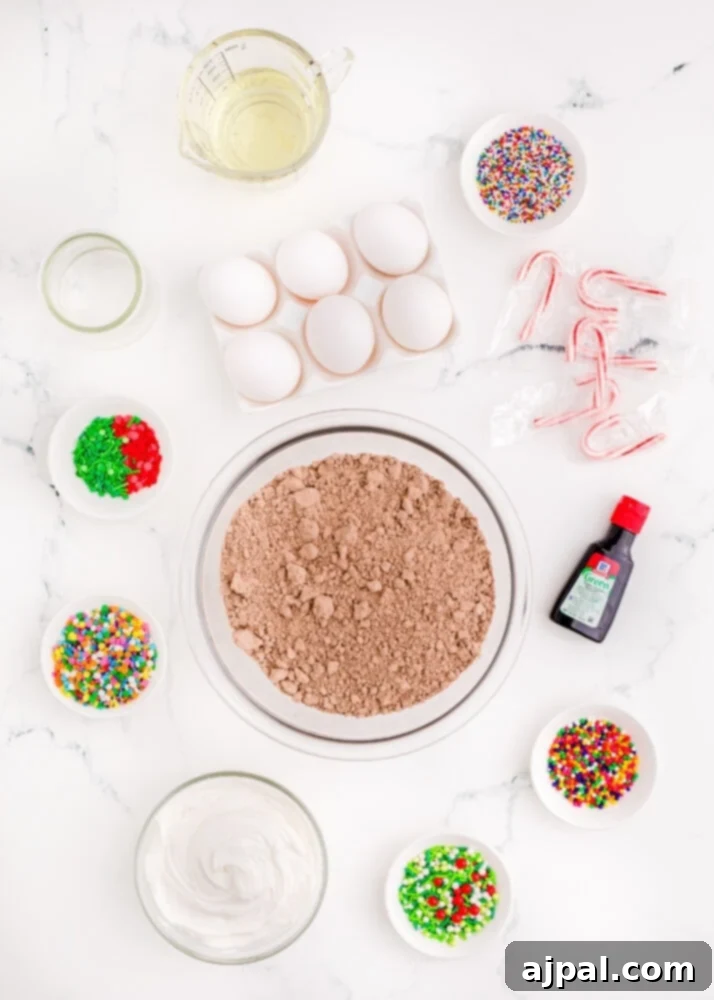
The foundation of these charming treats begins with your favorite brownie mix. While specific ingredients can vary slightly between brands, most will require common pantry staples like oil and eggs. Always refer to your brownie box for the exact quantities, but we’ll be adding a little secret ingredient to elevate the texture.
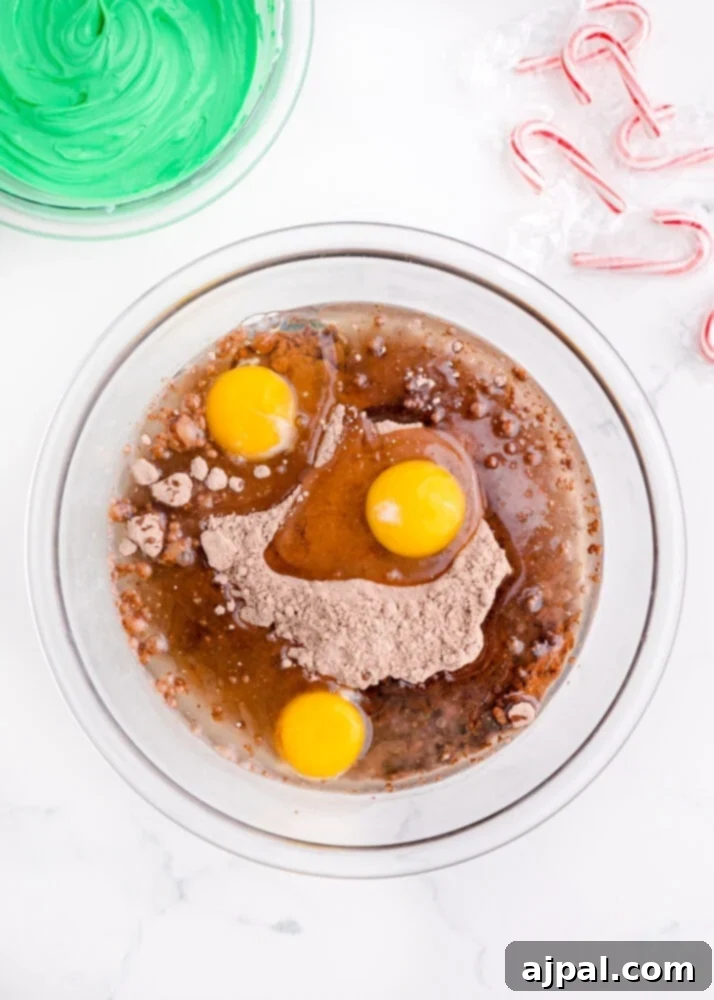
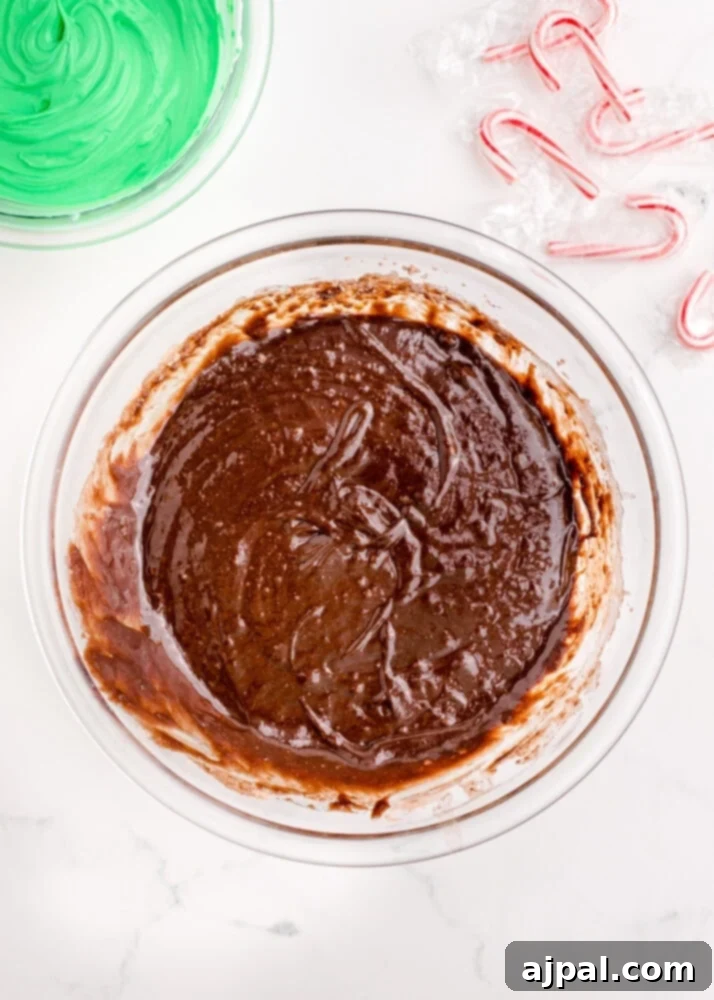
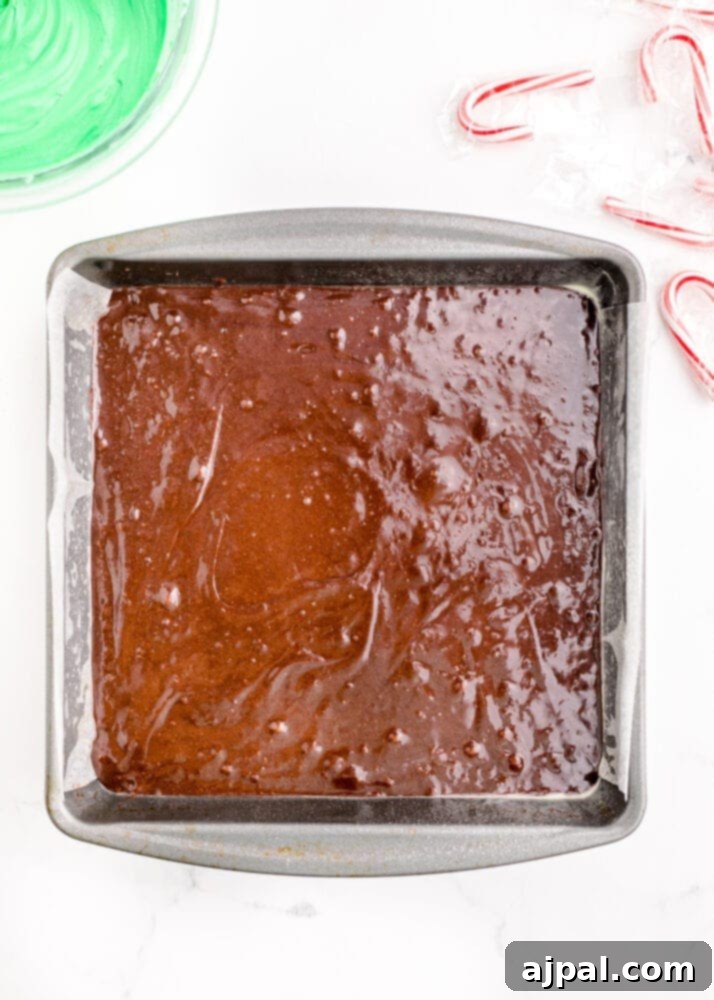
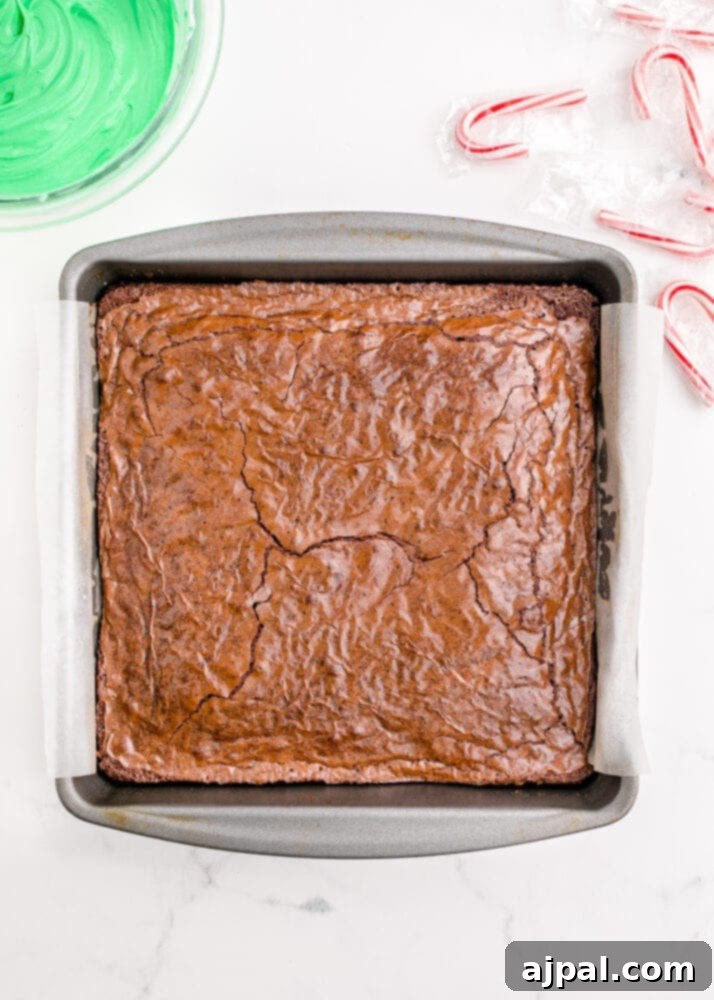
- Preheat your oven to the temperature specified on your chosen box of brownie mix. Proper preheating ensures even baking and the perfect texture for your fudgy treats.
- Prepare a 9×9 inch baking pan, ideally a light metal one, by lining it with parchment paper. This step is crucial for easy removal of the entire brownie slab later. Make sure to leave extra parchment paper hanging over the edges to create convenient “handles.”
- In a mixing bowl, combine the brownie mix ingredients as directed on the box, but here’s a pro tip for extra fudginess: add one additional egg yolk. Use a whisk to gently stir the ingredients until just combined. The key is to mix only until the flour streaks disappear. Over-mixing can develop the gluten in the flour, leading to cakey rather than fudgy brownies. If mixing by hand becomes challenging, a spatula can help, but avoid an electric mixer for this recipe.
- Pour the batter into your prepared pan and bake on the middle rack of your oven. This central position ensures the brownies cook evenly without burning the bottom or remaining raw in the middle.
- Begin checking your brownies a few minutes before the minimum baking time recommended on the box. You want to avoid overbaking at all costs, as this will lead to dry, less fudgy brownies. Insert a toothpick into the center; it should come out with moist crumbs or a few streaks of wet batter, but not entirely liquid. If it’s still too wet, continue baking for just a few more minutes at a time, checking frequently.
- Once baked, remove the pan from the oven and place it on a cooling rack. After allowing the brownies to cool slightly at room temperature for about 10-15 minutes, transfer the pan to the refrigerator. Chilling the brownies completely is vital for clean cuts and helps achieve that desirable dense, fudgy texture.
- While your brownies are cooling in the fridge, prepare your festive green frosting. In a separate bowl, mix your white frosting with a few drops of green food coloring until you achieve your desired vibrant Christmas tree shade.
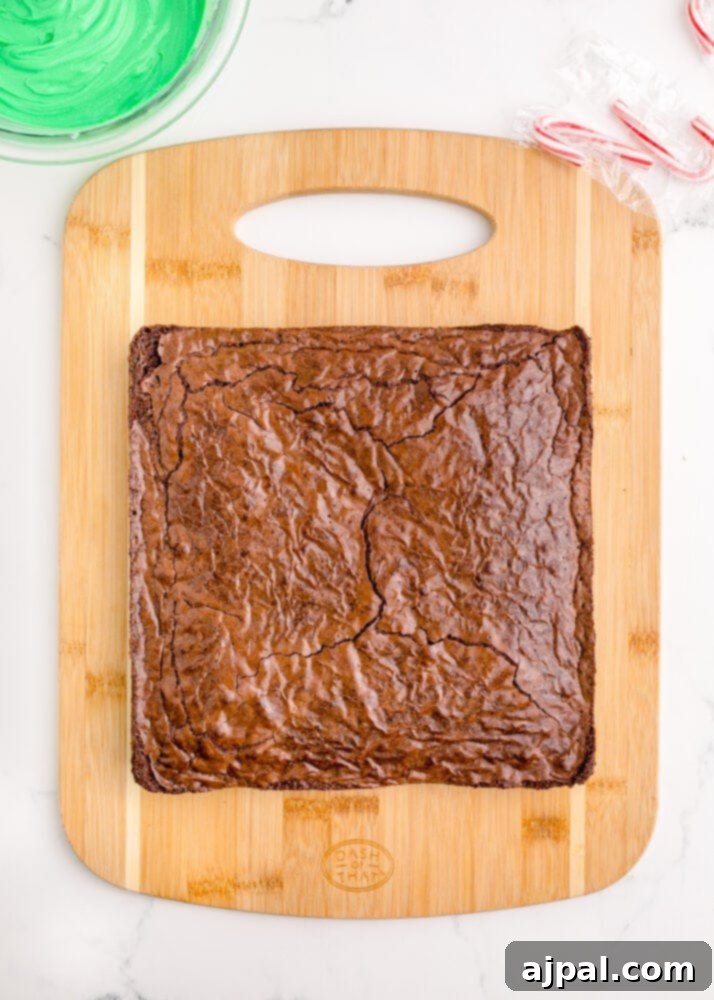
- Once the brownies are thoroughly chilled (this can take at least an hour or more in the fridge), carefully lift them out of the pan using the parchment paper handles. Place them on a cutting board and trim off any slightly crispy or uneven outer edges for a neater presentation.
Cool and Cut Brownies
The secret to perfectly shaped Christmas tree brownies lies in proper cooling and precise cutting. Rushing this step will result in crumbly, messy edges, so patience is key! Ensure your brownies are completely chilled before you even think about grabbing that knife.
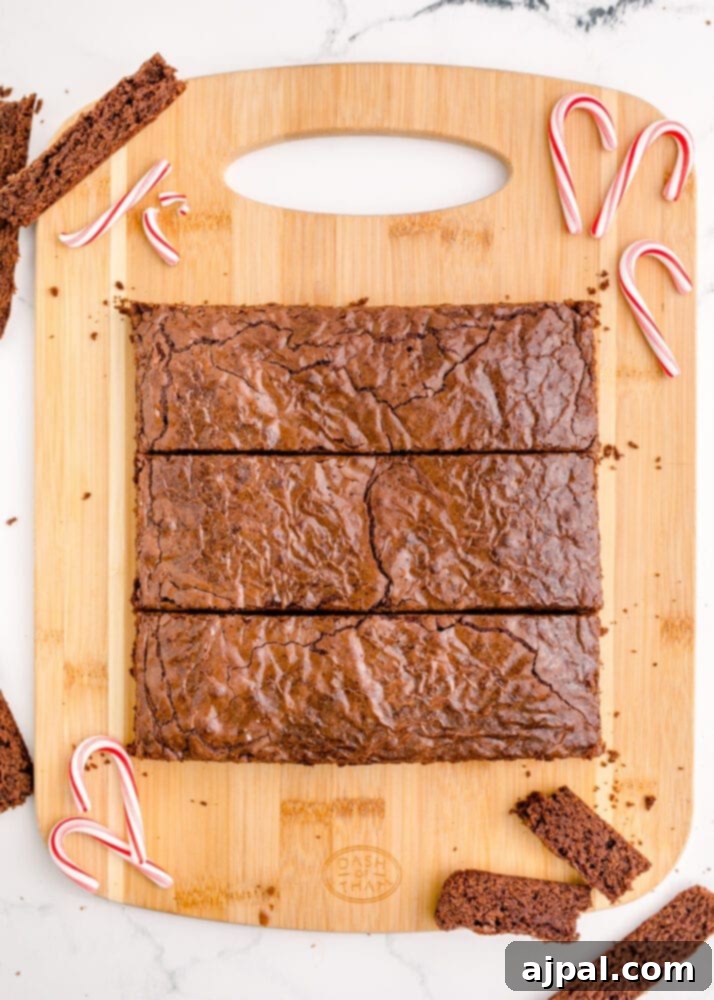
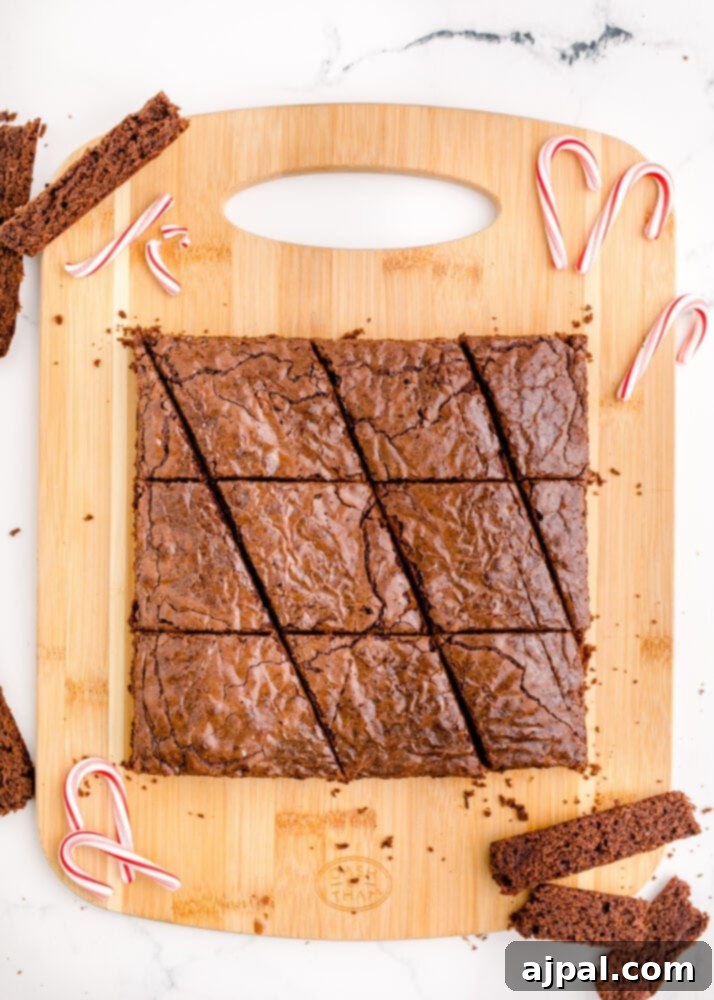
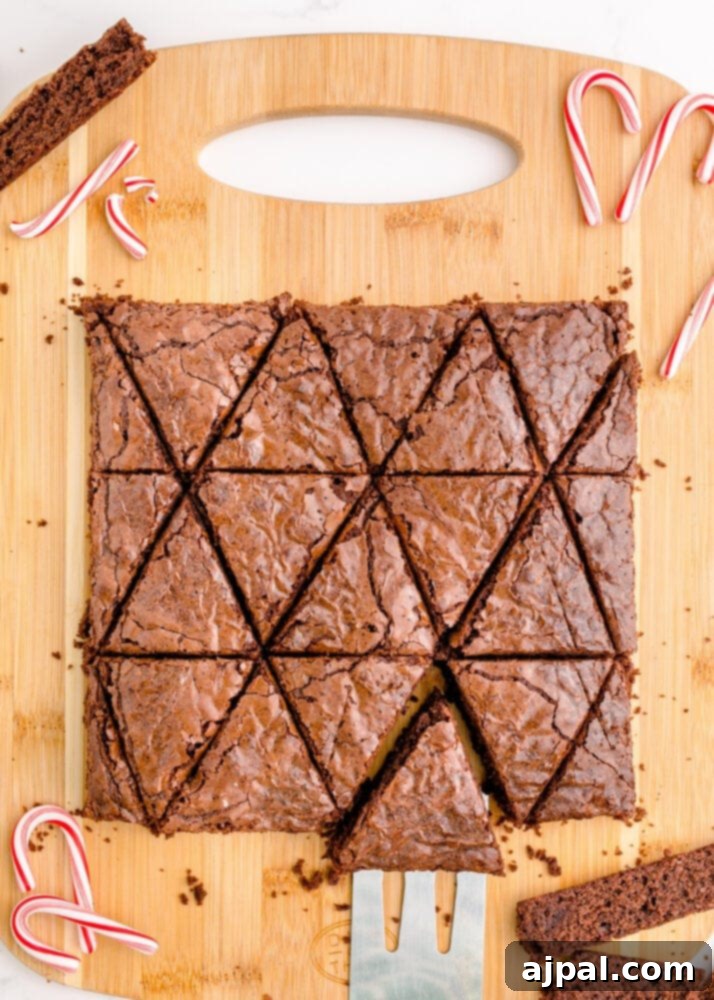
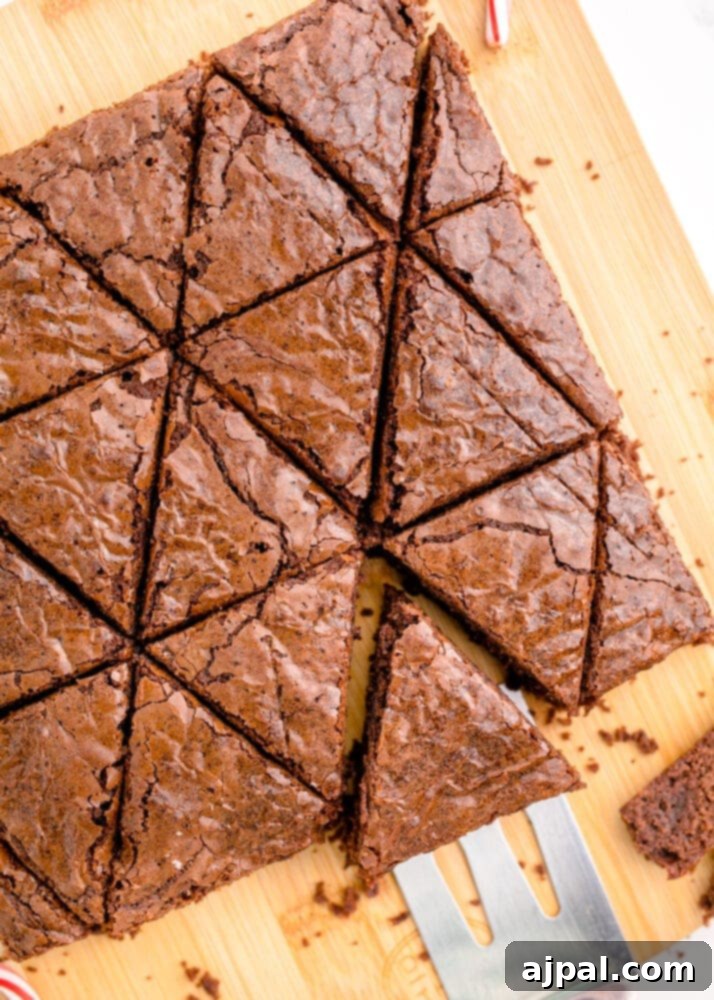
- Seriously, do not attempt to cut the brownies unless they are completely chilled and firm. If they feel even slightly warm or soft, pop them back into the fridge (or even the freezer for a short while) until they are fully set. This ensures clean, crisp edges for your tree shapes.
- You have two main methods for cutting, depending on your desired tree size and the number of servings you need:
- For small trees (approximately 18 brownies): First, cut the entire brownie slab into three long, equal strips. Then, take each strip and cut it into smaller triangles. A simple way to do this is to cut each strip into three equal squares, and then slice each square in half diagonally, yielding two triangles per square. This method creates elegant, bite-sized Christmas trees.
- For large trees (approximately 8 brownies): Begin by cutting the brownie slab in half down the middle. From each half, you can then cut four equal-sized triangles using a zig-zag pattern. This technique works best if you trim a small angled piece off each end of the half-slab before making your main cuts, helping to define the tree shape more effectively.
Decorate Your Festive Brownie Trees
Now comes the most fun part: transforming your perfectly cut brownie triangles into dazzling Christmas trees! This is where you can let your creativity shine and personalize each treat.
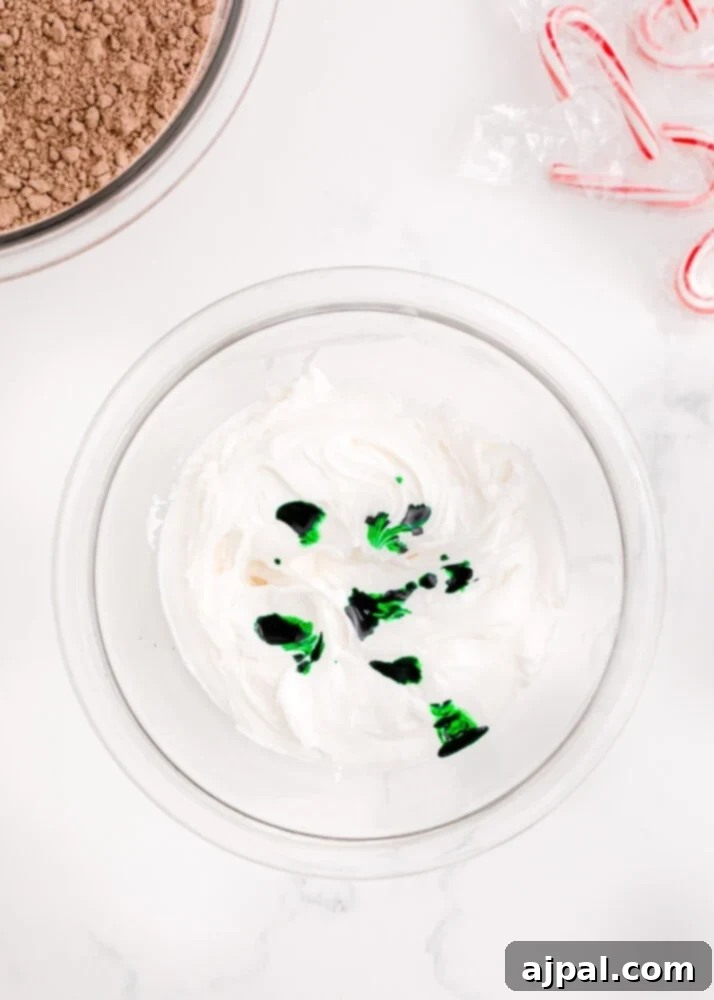
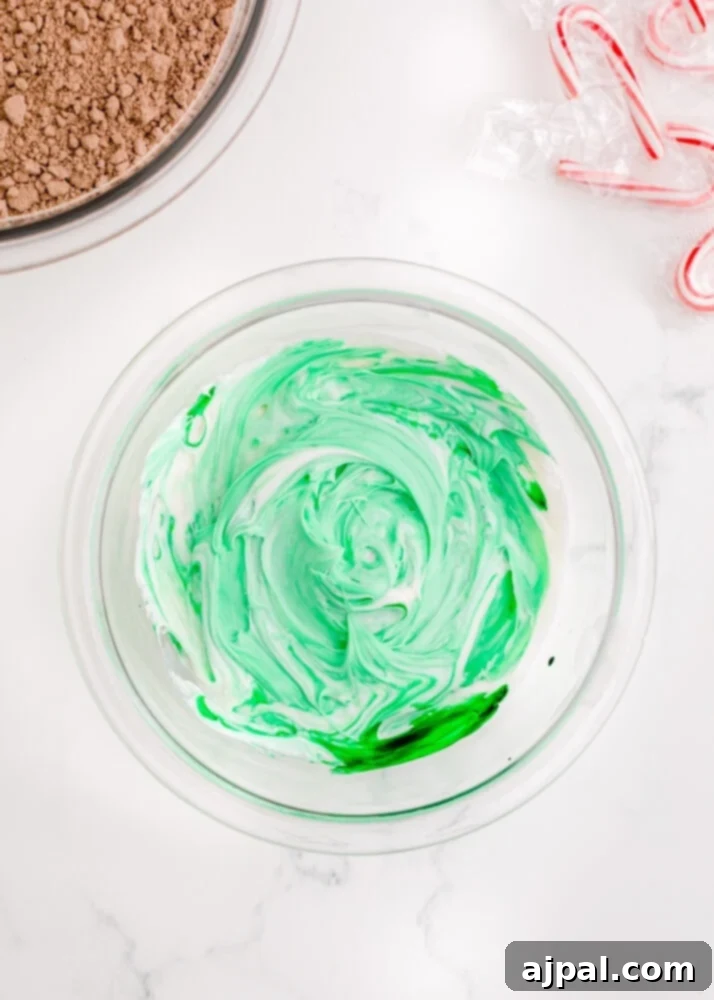
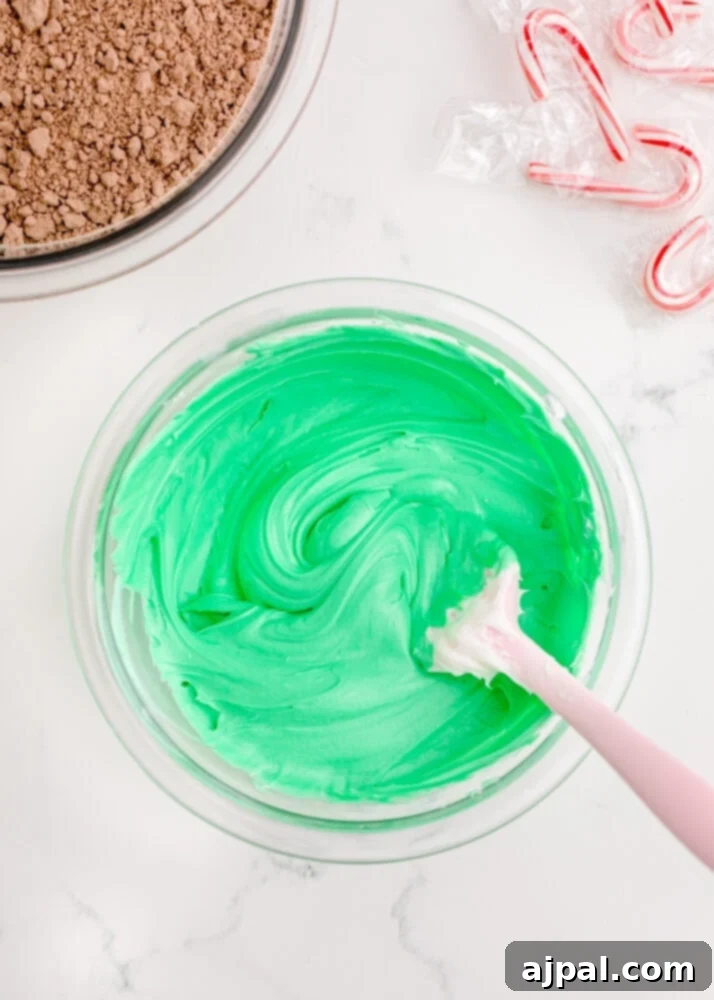
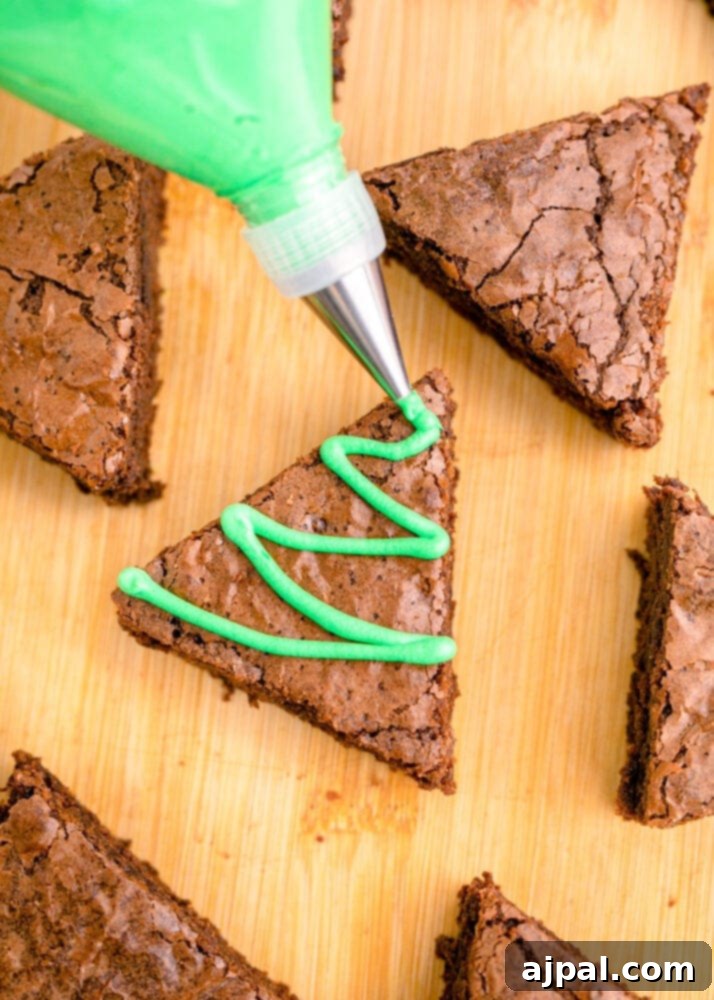
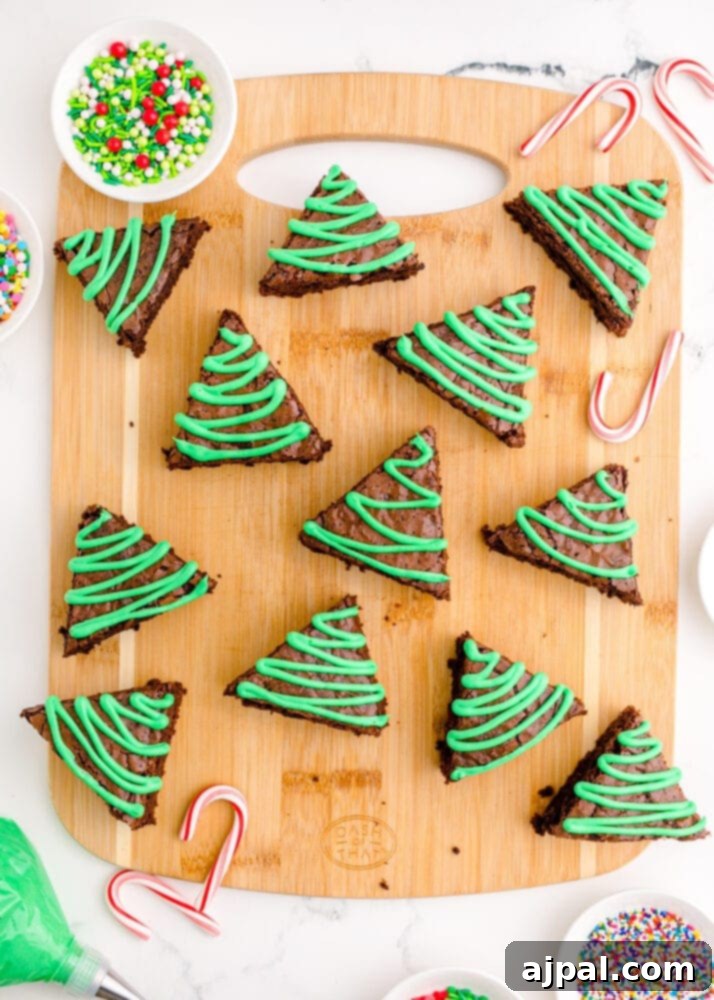
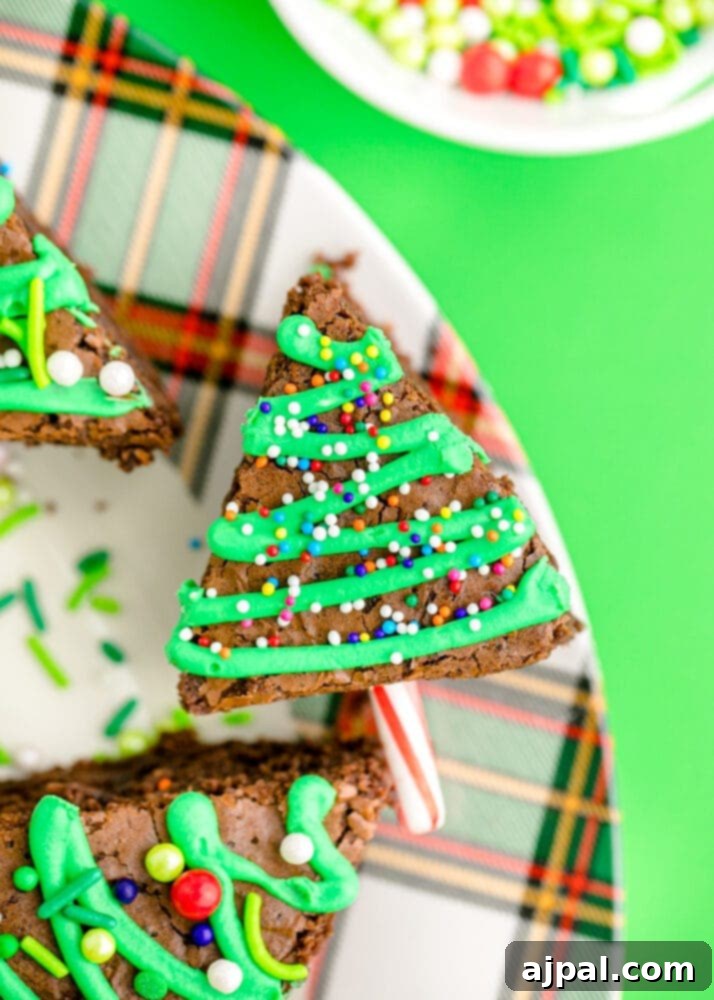
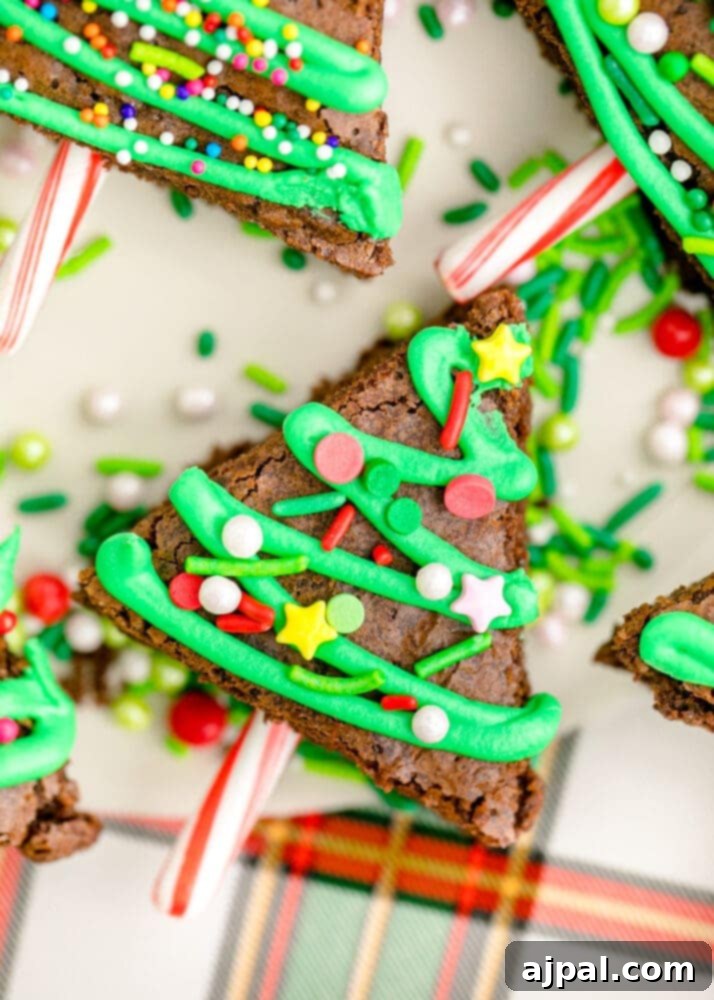
- Using a piping bag fitted with a star tip (or a simple ziplock bag with a corner snipped off), pipe the green icing onto each brownie triangle in a zig-zag pattern, mimicking the branches of a Christmas tree. Don’t worry about perfection; rustic trees are just as charming!
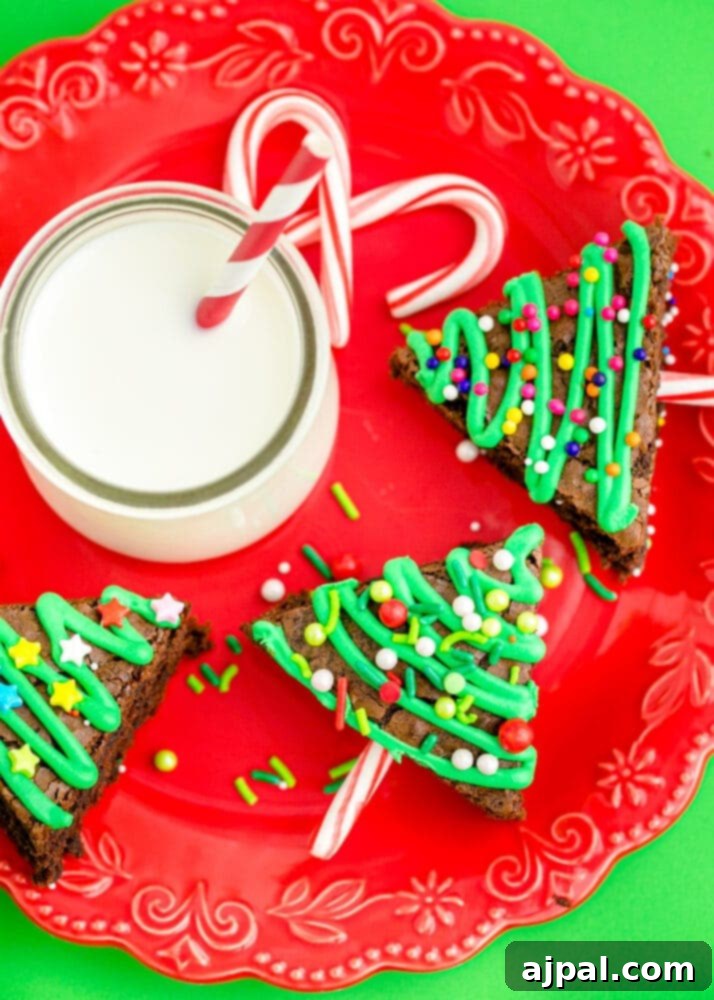
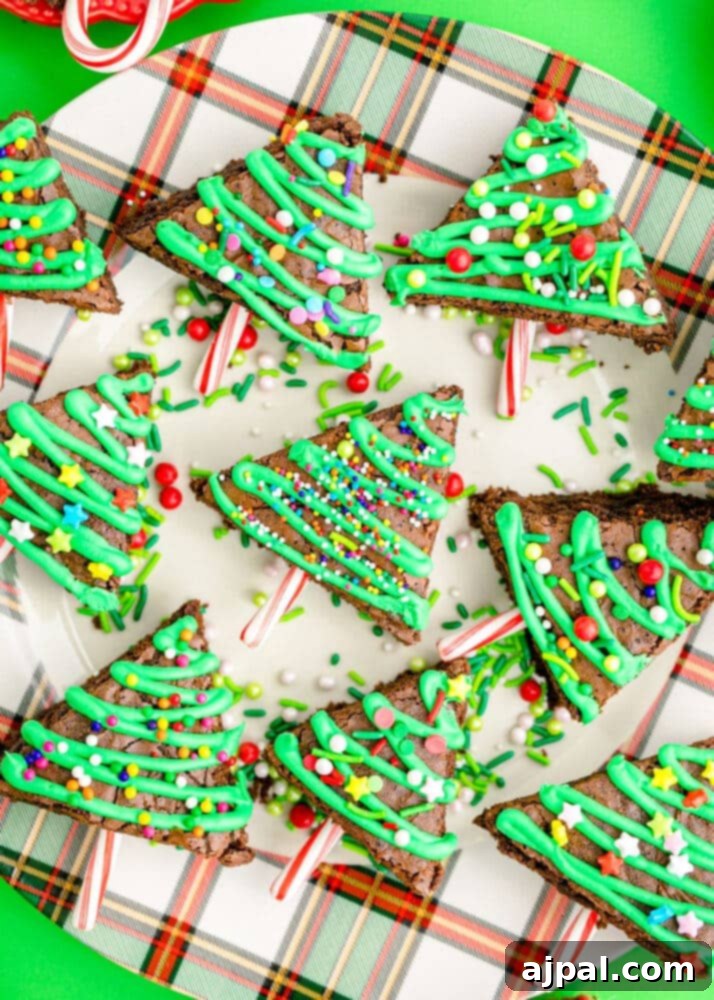
- Immediately after frosting, shower your brownie trees with an assortment of festive sprinkles. Think colorful nonpareils, edible glitter, mini candy pearls, or even tiny silver dragées to represent ornaments.
- For the perfect finishing touch, carefully break a candy cane into smaller pieces. Insert one piece into the bottom center of each brownie triangle to serve as the tree trunk. The peppermint flavor will also add a wonderful festive zing!
Expert Tips for Perfect Christmas Tree Brownies
Even with a boxed mix, a few expert tips can elevate your Christmas Tree Brownies from good to absolutely perfect. Pay attention to these details for the best possible results:
Ingredients You’ll Need:
- 1 box brownie mix (and any specified ingredients like water or melted butter)
- Vegetable oil (quantity as per box directions)
- Eggs (quantity as per box directions)
- 1 extra egg yolk (our secret ingredient for fudgy perfection!)
- 1 jar white frosting (vanilla or cream cheese work well)
- Green gel food coloring (gel offers more vibrant color without thinning frosting)
- Assorted festive sprinkles
- Candy canes (for the tree trunks)
Essential Supplies:
- 9×9 inch baking pan (light metal recommended)
- Parchment paper
- Mixing bowl
- Whisk and/or spatula
- Cooling rack
- Sharp knife (for clean cuts)
- Piping bag and star tip (or a Ziploc bag)
Frequently Asked Questions
The most common reason for messy cuts is that the brownies weren’t cooled sufficiently. Brownies, especially fudgy ones, need to be completely cold and firm to hold their shape when cut. Warm brownies will crumble and stick to the knife. For the best results, chill your brownies in the refrigerator for at least 1-2 hours, or even briefly in the freezer (about 20-30 minutes) if you’re short on time. A sharp, clean knife, wiped between each cut, also makes a big difference.
While non-stick spray can prevent sticking, for this recipe, parchment paper is highly recommended. It creates a sling that allows you to lift the entire baked brownie slab out of the pan effortlessly, which is crucial for trimming the edges and making clean cuts. If parchment paper isn’t available, aluminum foil can be used as an alternative, also leaving an overhang to help lift the brownies. Ensure you grease the foil well to prevent sticking.
You can certainly use a glass baking dish, but understand that it might affect the brownie’s texture. Light metal pans conduct heat more efficiently and cool down faster, typically resulting in chewier brownies with crispier edges. Glass dishes retain heat longer, which can lead to a slightly softer, more cake-like texture and can sometimes overbake the edges while the center is still cooking. If using glass, you might need to reduce the oven temperature by 25°F (about 15°C) and adjust baking time accordingly.
These festive brownies are best enjoyed fresh, but they store remarkably well. Kept in an airtight container, they will remain delicious in the refrigerator for up to one week. For longer storage, you can freeze them for up to three months. To prevent sticking, you can place parchment paper between layers of brownies in your airtight container. Thaw them in the refrigerator or at room temperature before serving.
Achieving that perfect fudgy brownie texture is all about a few key techniques. Firstly, ensure your eggs (and butter, if your specific mix calls for it) are at room temperature; this helps them emulsify better with the other ingredients, leading to a smoother batter. Secondly, and most importantly, do not over-mix the batter. Mix only until the dry ingredients are just incorporated and no streaks of flour remain. Over-mixing develops gluten, which makes brownies tough and cakey. Finally, always err on the side of underbaking slightly. A toothpick inserted into the center should come out with moist crumbs, not completely clean. The residual heat will continue to cook them as they cool.
While an electric mixer is convenient for many baking tasks, it’s generally best to avoid using one for brownies if you’re aiming for that dense, fudgy consistency. Electric mixers, especially on higher speeds, incorporate too much air into the batter and can easily lead to over-mixing. For optimal fudginess, gently mix the batter by hand with a whisk or a sturdy spatula. Mix just until the ingredients are combined and no dry flour spots are visible. Minimal agitation is key to preventing a cakey texture.
Other Christmas Treats You’ll Love
If these adorable Christmas Tree Brownies have put you in the holiday baking spirit, you’re in for a treat! We have a wide array of delicious and easy Christmas recipes that are perfect for sharing, gifting, or simply enjoying with your loved ones. Explore more of our festive favorites:
More Holiday Baking Inspiration
Best Chocolate Truffles
Best Gingerbread Cookies
Chocolate Crinkle Cookies
Maple Pecan Biscotti
Easy Santa Strawberries Recipe
German Chocolate Cookies
The Best Easy Keto Buckeyes Recipe
Easy Iced Christmas Sugar Cookies
For even more delightful ideas, don’t forget to visit our comprehensive Christmas Cookies & Treats page, packed with recipes to make your holidays extra sweet!
We hope you thoroughly enjoy creating and sharing these Easy Christmas Tree Brownies! If you loved this recipe, please consider giving it a five-star rating and leaving a comment below. Your feedback helps other home cooks discover and enjoy these festive treats!
Share on Facebook
Share
Pin this now to find it later
Pin It
Follow on Instagram
Follow
Only have 30 minutes to get dinner on the table? Sign up for my 30 minute dinner plans direct to your inbox!
Find and shop my favorite products in my Amazon storefront here!
Easy Christmas Tree Brownies Recipe
Ingredients
- 1 boxed brownie mix
- 1 cup oil, whatever box calls for
- 2 eggs, whatever box calls for
- 1 extra egg yolk
- 1 jar white frosting
- Green Food Coloring
- Sprinkles
Instructions
-
Preheat the oven to the temperature recommended on the box of brownies mix.
-
Prepare a 9×9 baking pan (preferably a light metal pan) by lining it with parchment paper. You want to leave extra parchment paper over the edges so that you may easily remove the whole pan of brownies later.
-
Use a whisk to stir together the ingredients recommended on the box of brownies and 1 extra egg yolk. (If this is too challenging, then use a spatula). We don’t want to over-mix, so mix just until the flour disappears.
-
Bake the brownies on the middle rack in your oven.
-
Check the brownies a few minutes before the minimum time recommended on the box. You do not want to over bake them. Insert a toothpick to test doneness. There should be some streaks of batter on the toothpick. If they are not at this point yet, give them just a few more minutes at a time.
-
Leave the brownies in the pan and place it on a cooling rack. After a few minutes, move the pan into the fridge.
-
While the brownies are cooling, mix together the white frosting and green food coloring.
-
Remove the brownies from the pan. Trim off outer edges.
-
Do not cut the brownies unless they are completely cooled – if they are not – return them to the fridge and wait until they are completely cooled.
-
There are 2 different ways to cut these depending on how large you want the trees to be. If you want small trees, you can get 18. Cut the brownies into 3 long strips. Then cut the strips into triangles – this will make 3 rows with 6 triangles each. (Cut 3 equal squares from each strip, then cut the squares in half on the diagonal.) They will be small trees. If you want large trees, you can get 8. Cut the brownies in half down the middle. You will be able to cut 4 equal size triangles from each half. (It is like a zig-zag pattern.) It will only work if you trim a little off of each end, at an angle.
-
Decorate with green icing and sprinkles. Stick a cut candy cane in the bottom of the triangle to be the stem of your Christmas tree.
Nutrition
Calories: 211kcal
Carbohydrates: 0.1g
Protein: 1g
Fat: 23g
Saturated Fat: 2g
Polyunsaturated Fat: 6g
Monounsaturated Fat: 15g
Trans Fat: 0.1g
Cholesterol: 33mg
Sodium: 12mg
Potassium: 12mg
Sugar: 0.03g
Vitamin A: 48IU
Calcium: 5mg
Iron: 0.2mg
Nutrition information is automatically calculated, so should only be used as an approximation.
Additional Info
Tried this recipe?
Mention @sweetcsdesigns or tag #sweetcsdesigns!