
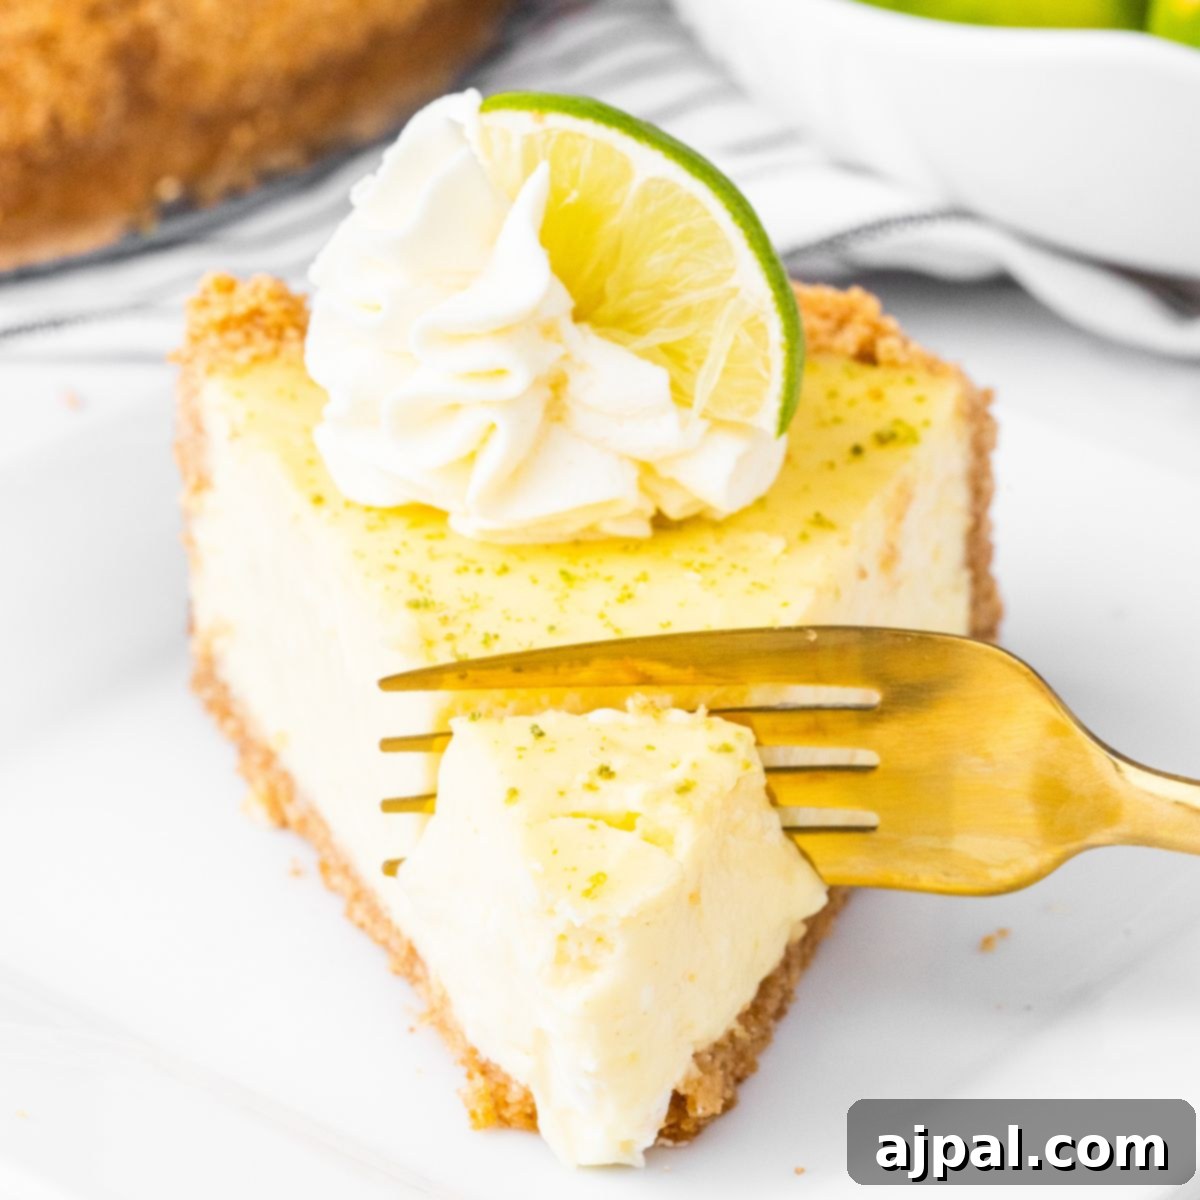
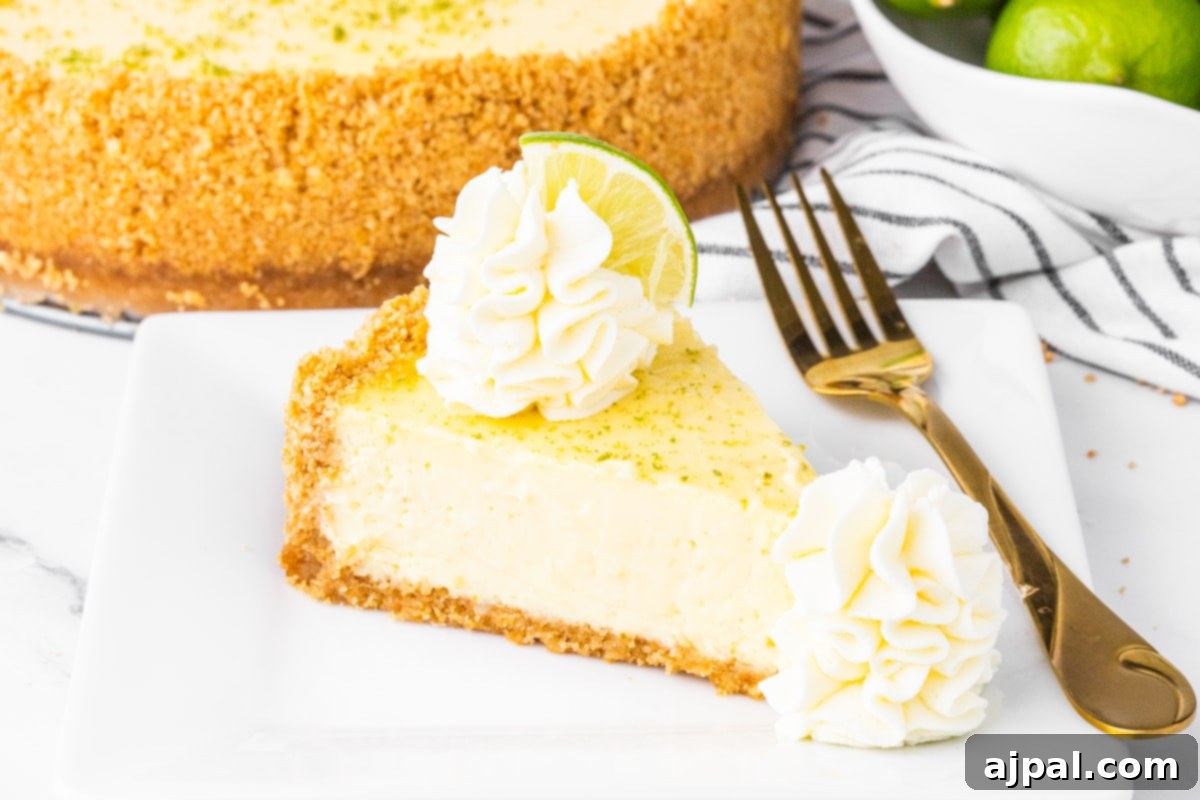
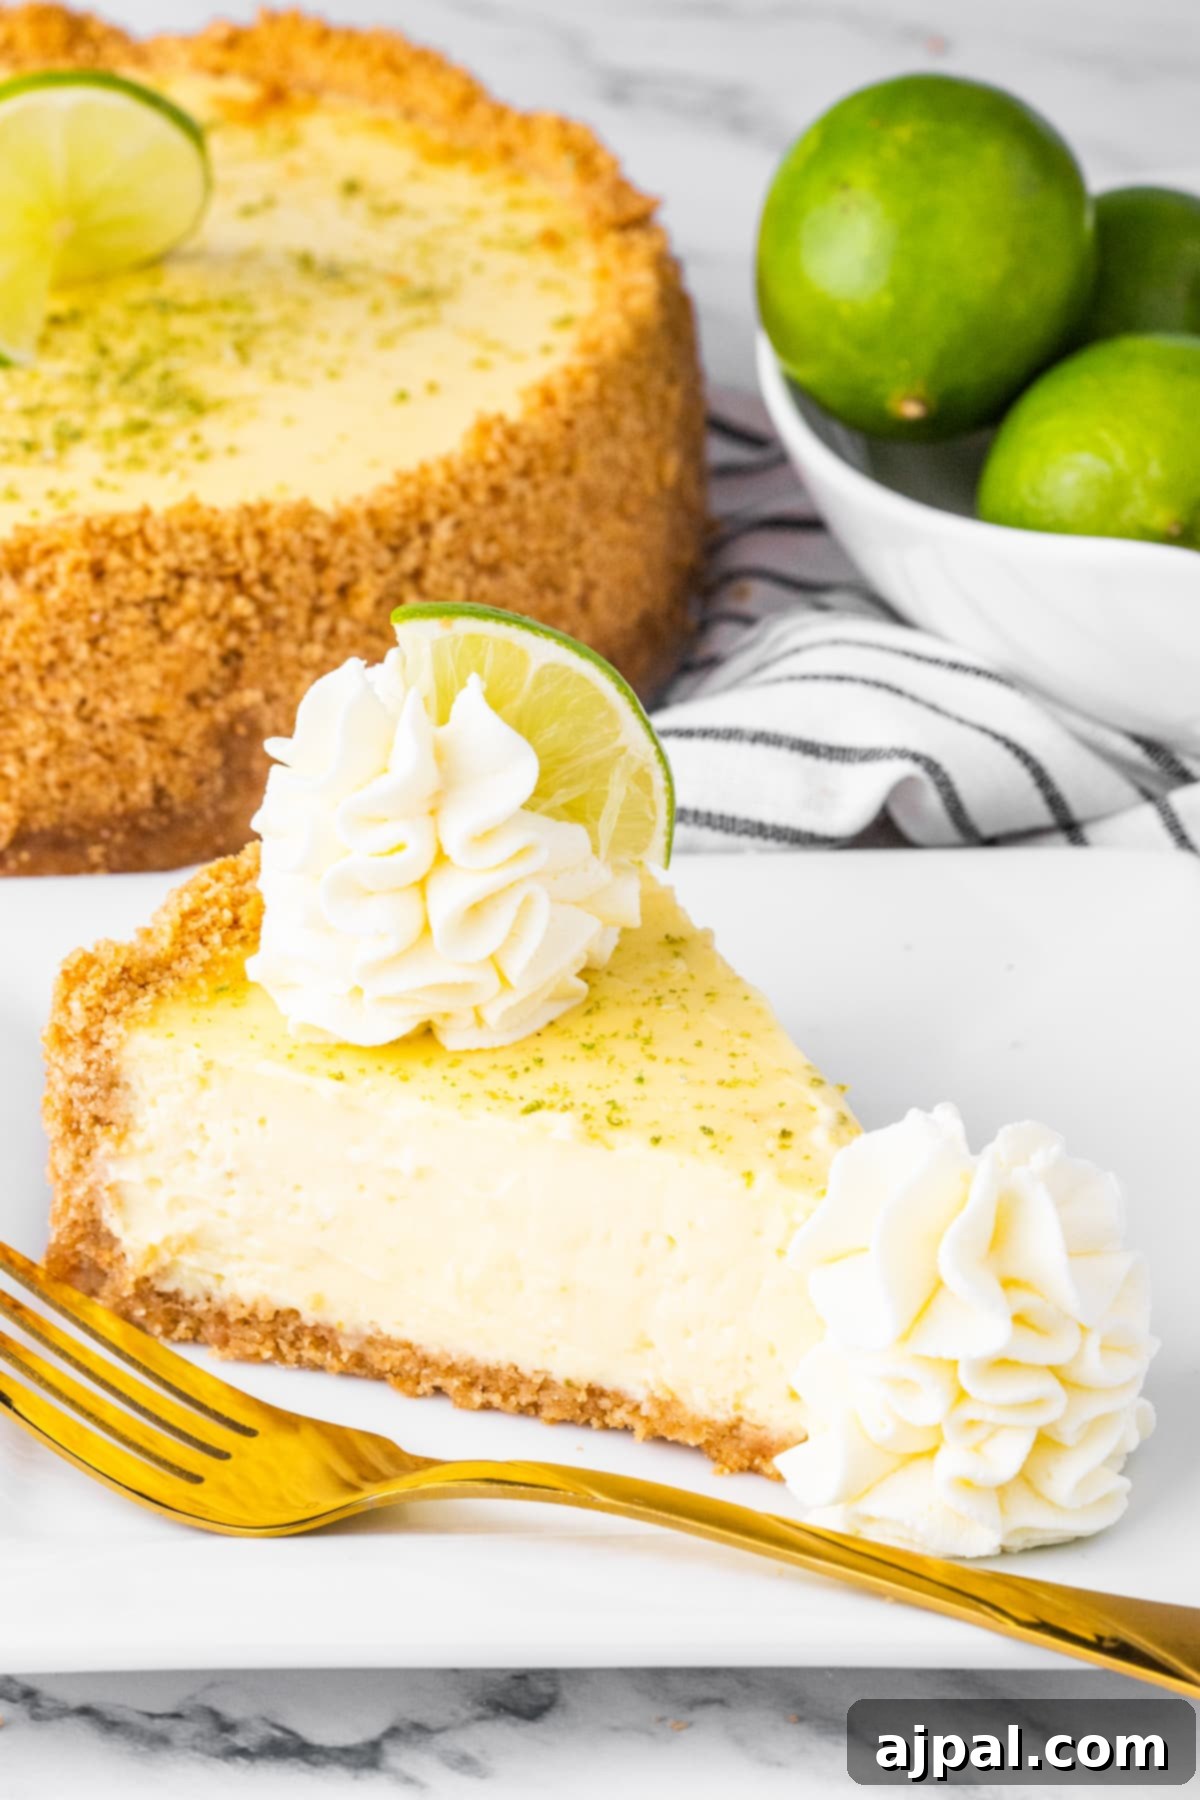
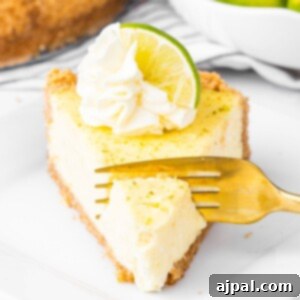
Indulge in a slice of pure bliss with this exquisite Key Lime Cheesecake, a dessert that perfectly marries the tropical tang of key limes with the rich, creamy texture of classic cheesecake. Crafted with a golden, buttery graham cracker crust and a luscious filling bursting with the vibrant essence of fresh key lime zest and juice, this cheesecake is more than just a sweet treat—it’s an experience. Each bite transports you to sun-drenched beaches, offering a refreshing, zesty counterpoint to its indulgent sweetness.
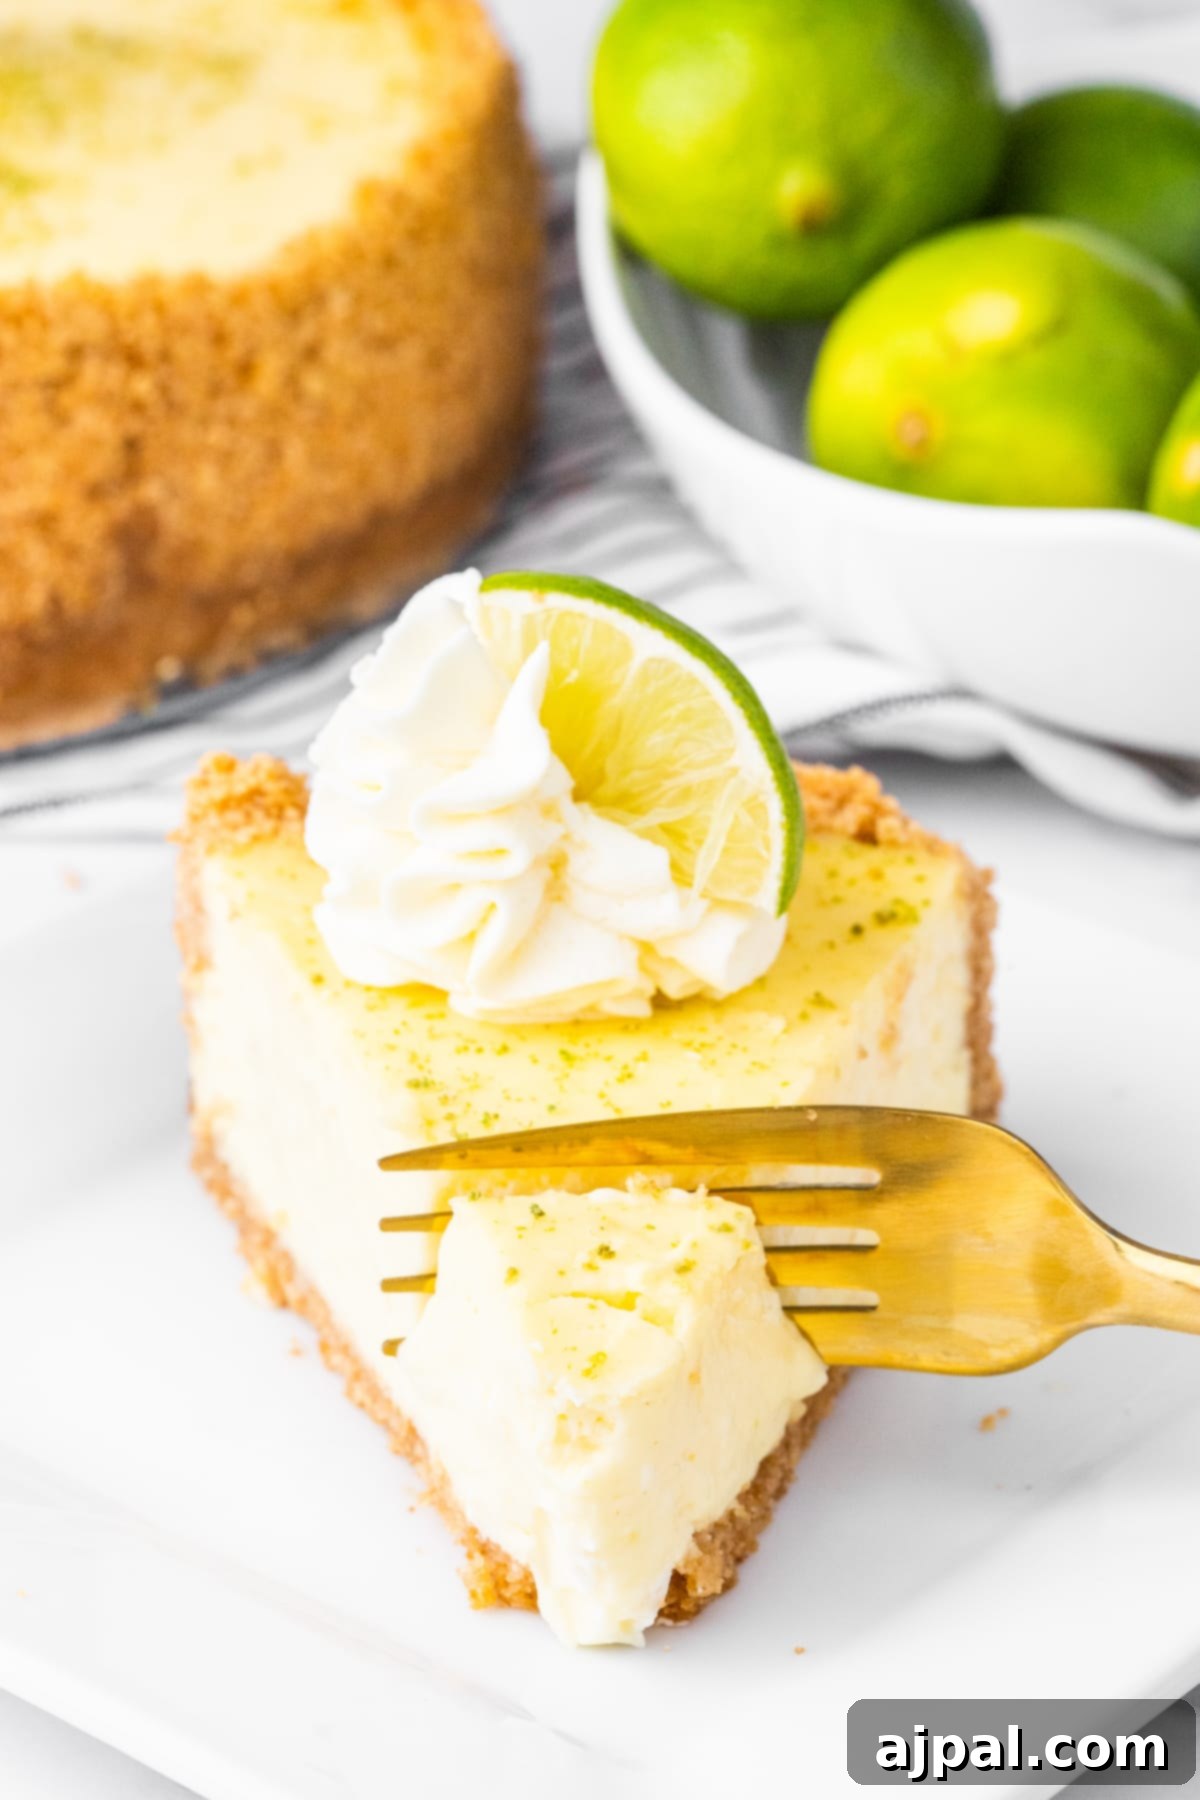
For those eager to dive straight into the baking process, feel free to navigate using the table of contents below. However, if you’re a home cook who appreciates understanding the ‘why’ behind each step and ingredient, we’ve packed this guide with detailed tips and insights designed to empower even beginner bakers in the kitchen. Our goal is to ensure your Key Lime Cheesecake turns out perfectly, every single time.
Table of Contents
- The Allure of Key Lime Cheesecake
- How to Craft Your Key Lime Cheesecake: The Ultimate Recipe Guide
- Expert Tips and Tricks for a Flawless Key Lime Cheesecake
- Frequently Asked Questions About Key Lime Cheesecake
- Perfect Pairings: What to Serve With Key Lime Cheesecake
- Your Go-To Key Lime Cheesecake Recipe
The Allure of Key Lime Cheesecake
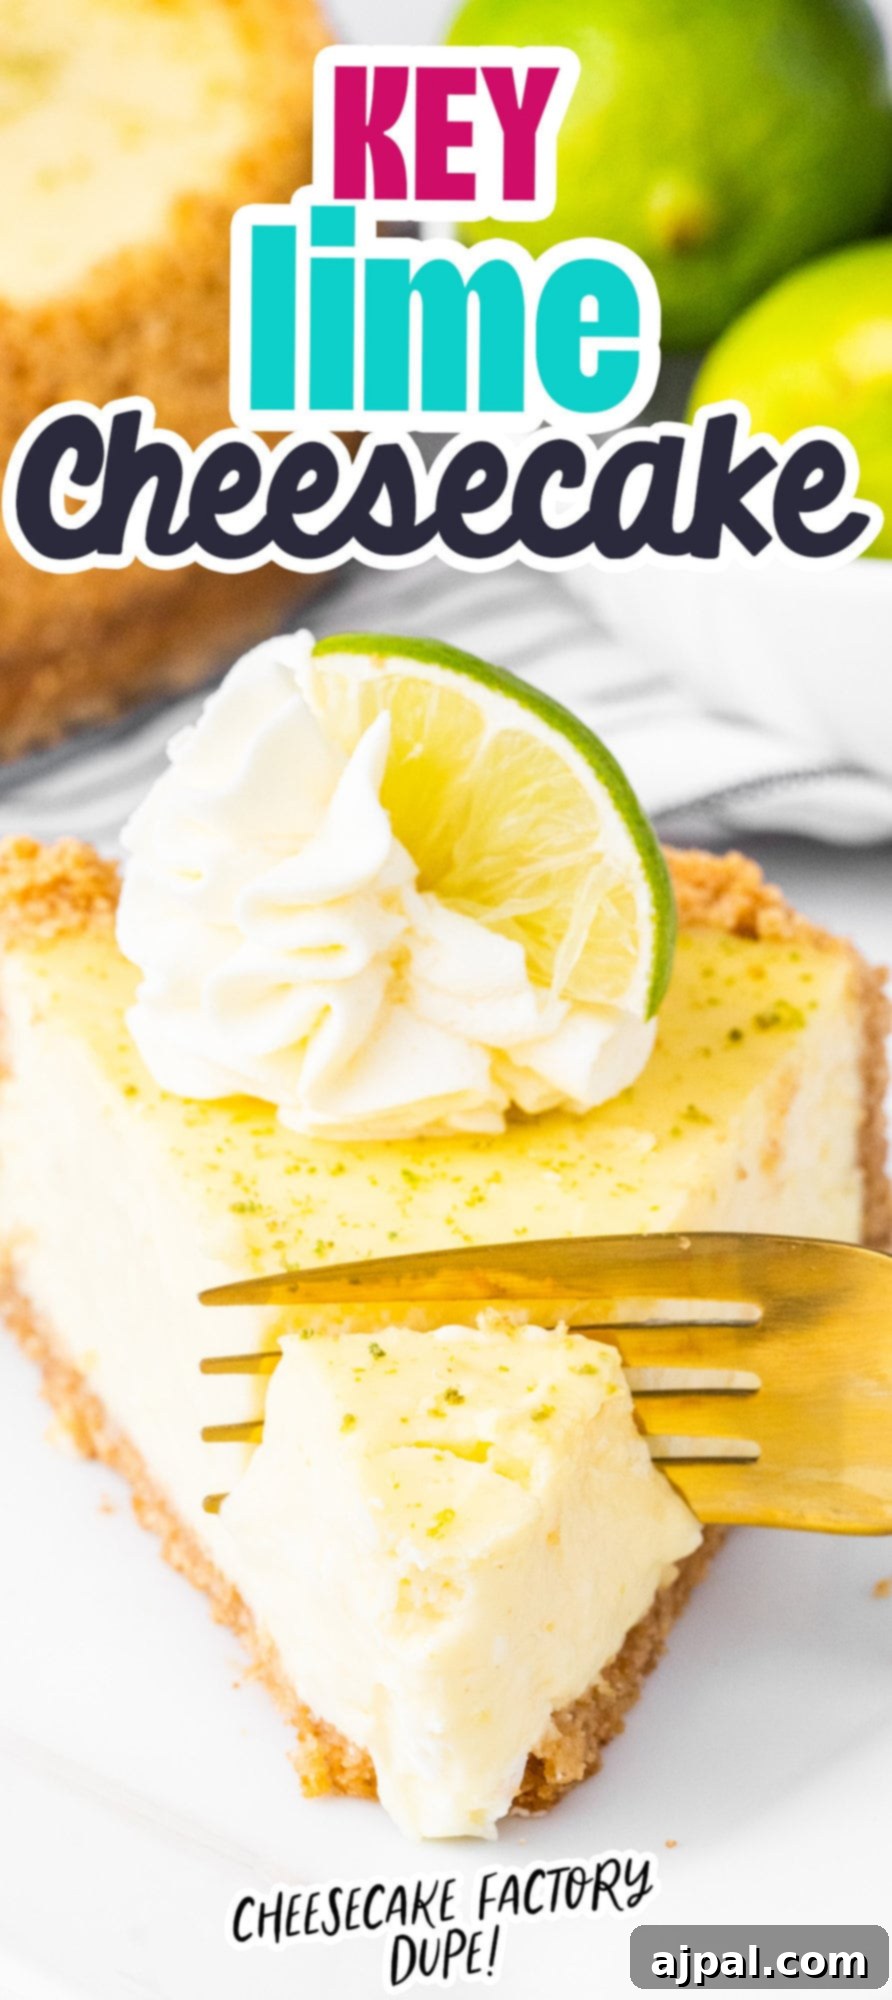
There’s something uniquely captivating about Key Lime Cheesecake that makes it a perennial favorite. Perhaps it’s the brilliant contrast between the tart, refreshing lime and the rich, creamy dairy, or maybe it’s the way it conjures images of sun-drenched Florida Keys. This particular recipe draws inspiration from the legendary Cheesecake Factory Key Lime Cheesecake, known for its impeccable balance and indulgent texture, but with a homemade twist that evokes the pure, unadulterated sunshine of a Floridian getaway.
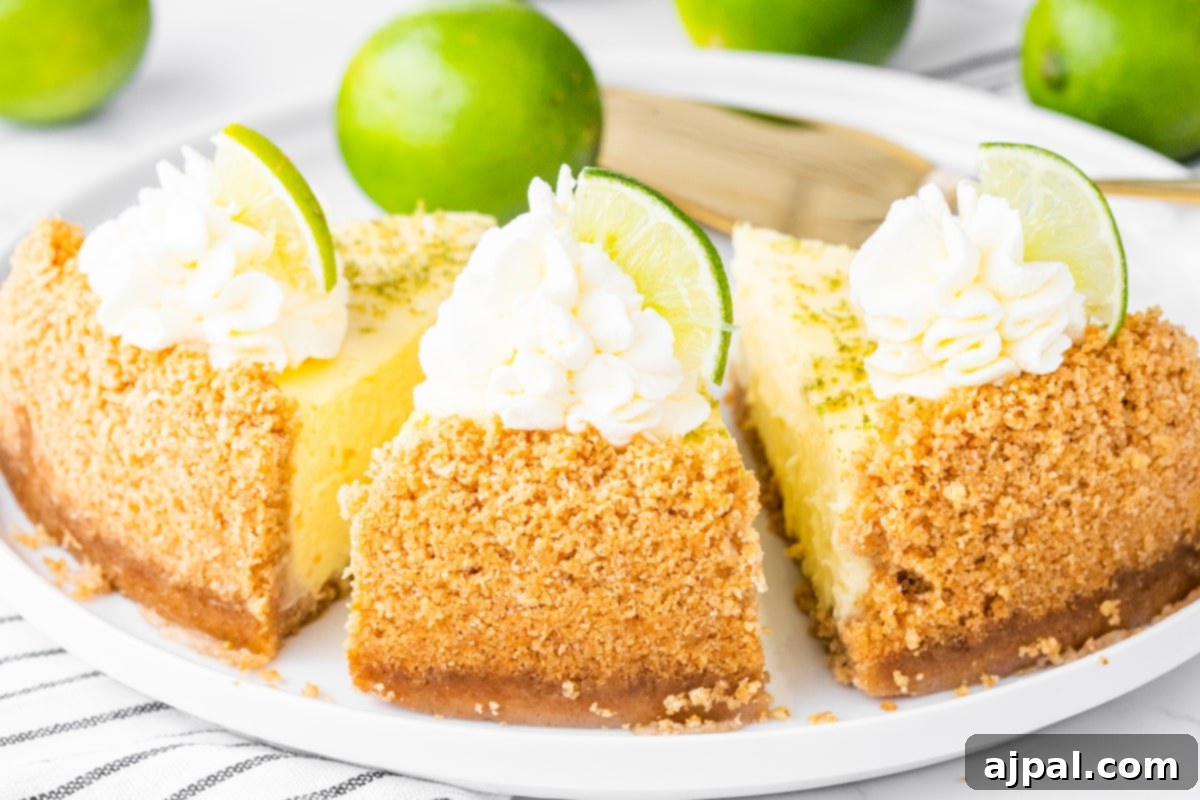
Unlike traditional Key Lime Pies, which often feature a meringue topping, this cheesecake version offers a denser, more luxurious experience, often crowned with fluffy whipped cream. It’s an ideal dessert for any season, bringing a burst of bright, tangy flavor to your table, whether it’s a summer barbecue or a cozy winter gathering. The refreshing lime cuts through the richness, leaving your palate cleansed and eager for another bite. Prepare to impress your guests and transport them to a tropical paradise with every decadent forkful of this homemade masterpiece.
How to Craft Your Key Lime Cheesecake: The Ultimate Recipe Guide
Creating this irresistible Key Lime Cheesecake is a rewarding culinary adventure. Success lies in understanding each component and its role. Let’s break down the essential ingredients for each part of this decadent dessert.
Crust: The Golden Foundation
- Graham Cracker Crumbs: These form the classic, sweet, and slightly spiced base for our cheesecake. Their fine texture, when combined with butter, creates a firm yet crumbly foundation that complements the creamy filling beautifully.
- Granulated Sugar: A touch of sugar enhances the natural sweetness of the graham crackers, creating a perfectly balanced crust that isn’t overly sweet.
- Melted Butter: The unsung hero of the crust, melted butter acts as the binding agent, holding the crumbs together and imparting a rich, irresistible flavor. It helps the crust achieve that ideal crispness when baked.
- Salt: Just a pinch of salt is crucial. It brightens and balances the flavors in the crust, preventing it from tasting flat and enhancing the overall depth of taste.
Cheesecake Filling: The Creamy, Zesty Core
- Cream Cheese (Room Temperature): The star of any cheesecake, cream cheese provides the signature rich, dense, and tangy base. Ensuring it’s at room temperature is vital for achieving a silky-smooth, lump-free batter.
- Greek Yogurt (Room Temperature): Adding Greek yogurt introduces an extra layer of tang and creaminess, while also contributing to a slightly lighter texture compared to using only cream cheese. It can also help stabilize the filling and prevent cracks.
- Granulated Sugar: Sweetens the filling to perfectly balance the tartness of the key limes. The amount can be adjusted slightly to your preference.
- Cornstarch: A secret weapon for cheesecake, cornstarch acts as a stabilizer. It helps to prevent cracks during baking and cooling, ensuring your cheesecake looks as good as it tastes.
- Vanilla Extract: A splash of vanilla extract deepens the overall flavor profile, adding warmth and complexity that beautifully complements the citrus notes.
- Lime Juice (Key Lime, if possible): This is where the characteristic tangy flavor of Key Lime Cheesecake truly shines. Freshly squeezed key lime juice is preferred for its unique tartness and aroma, though regular lime juice can be used as a substitute.
- Lime Zest: The zest provides a concentrated burst of fragrant lime oil, intensifying the citrus flavor and aroma in a way that juice alone cannot. Always zest before juicing your limes.
- Eggs (Room Temperature): Eggs are crucial for the structure and binding of the cheesecake. They help the filling set during baking, giving it that distinct creamy yet firm texture. Like cream cheese, room temperature eggs integrate more smoothly into the batter.
Whipped Cream: The Light and Fluffy Topping
- Heavy Whipping Cream: When whipped, this transforms into a light, airy, and luscious topping that provides a refreshing contrast to the denser cheesecake below.
- Confectioners’ Sugar: Sweetens the whipped cream to perfection and aids in stabilizing it, helping it hold its fluffy peaks.
- Lime Zest or Slices (Optional): These are not just for garnish; they add a final touch of visual appeal and an additional whisper of fresh lime aroma, elevating the entire dessert.
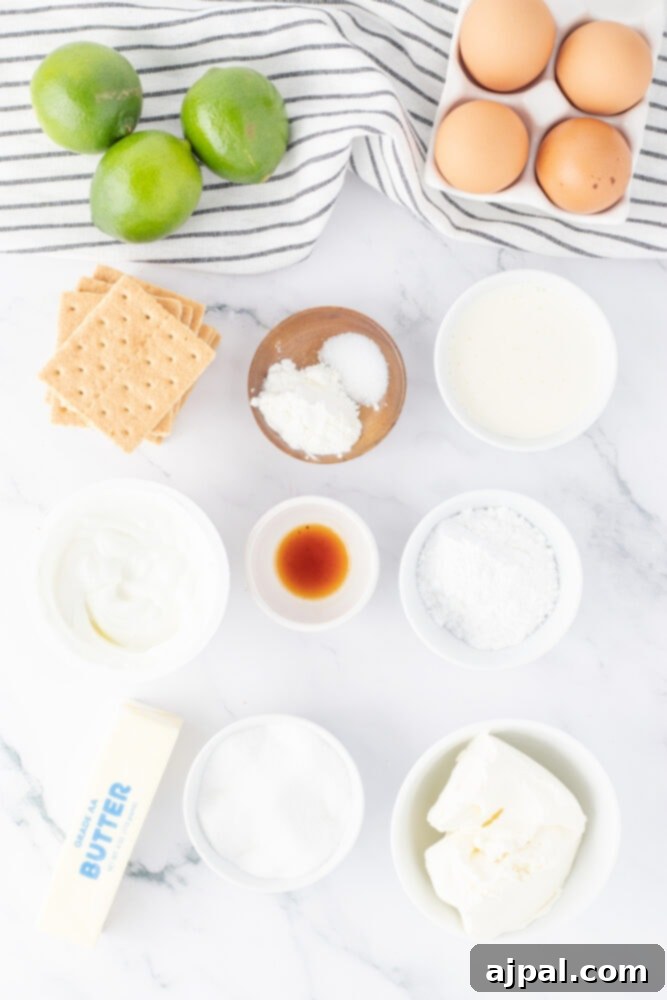
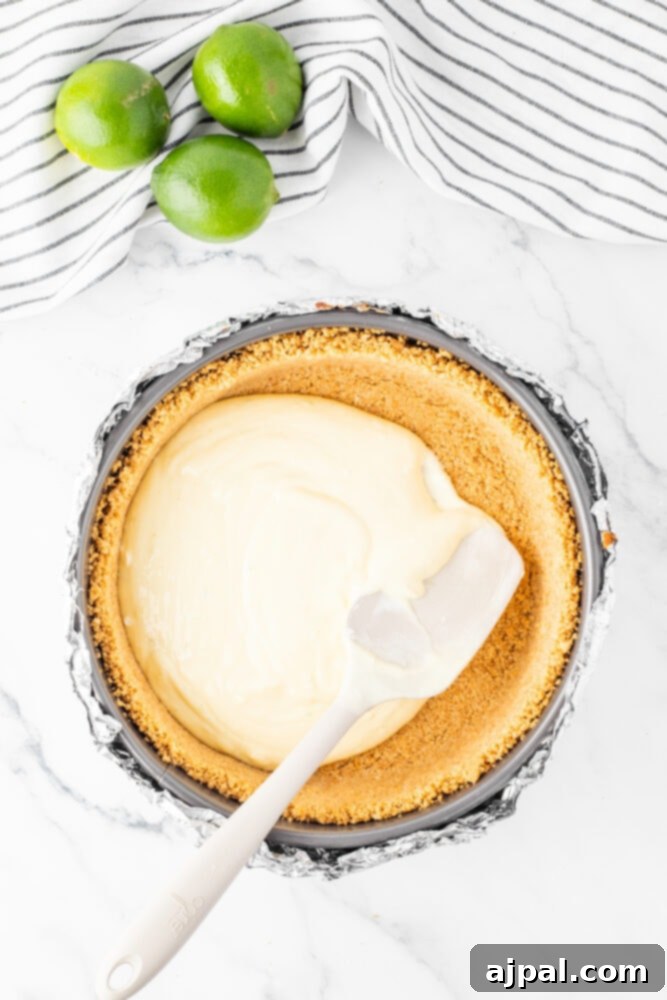
Once you’ve gathered your ingredients and your kitchen is ready, we will follow these detailed steps to bring your Key Lime Cheesecake to life:
Preparation is Key
- Set Up Your Oven and Water Bath: Begin by preheating your oven to 350°F (175°C). Simultaneously, place a large roasting pan or another oven-safe pan on the lower rack of your oven. This pan will serve as a water bath, crucial for even baking and preventing cracks in your cheesecake. Fill it with enough hot water so that it will reach 1-2 inches up the sides of your springform pan once placed inside. Lightly spray your springform pan with cooking spray.
- Protect Your Springform Pan: To ensure no water seeps into your cheesecake during its water bath bake, thoroughly wrap the outside of your springform pan with four layers of heavy-duty aluminum foil. This creates a secure, waterproof barrier.
Crafting the Perfect Crust
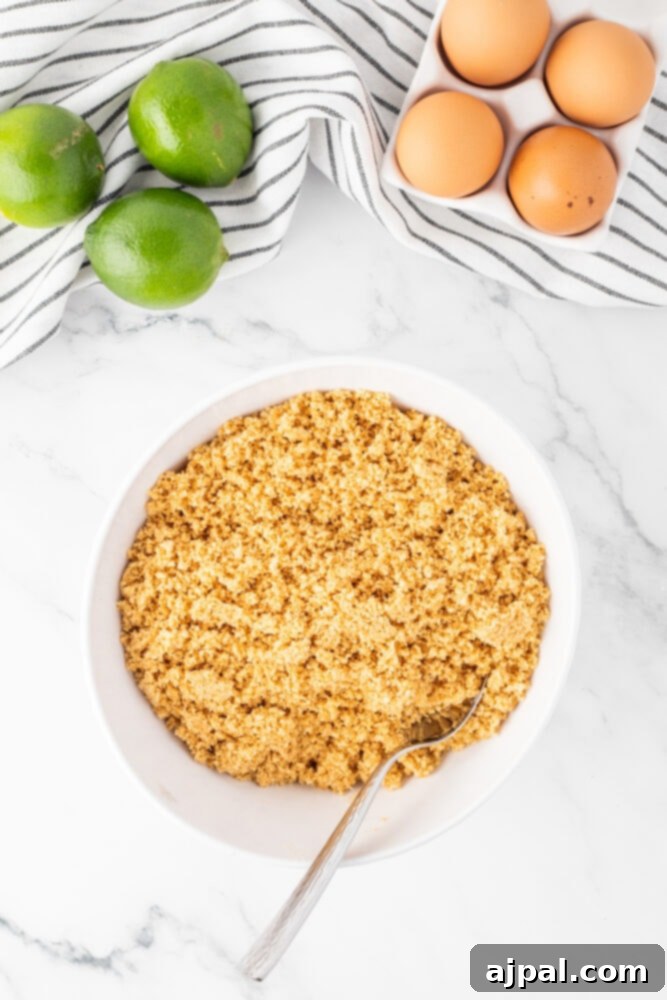
- Prepare Graham Cracker Crumbs: In a food processor, pulse the graham crackers until they form fine, even crumbs. Alternatively, you can crush them by placing them in a sealed bag and rolling a rolling pin over them. Transfer the crumbs to a mixing bowl.
- Combine Crust Ingredients: Add the granulated sugar, melted butter, and salt to the graham cracker crumbs. Using an electric mixer on low speed, or even a sturdy spoon, blend until all ingredients are thoroughly combined and the mixture resembles wet sand.
- Form the Crust: Pour the crumb mixture into your prepared springform pan. Press the mixture evenly into the bottom of the pan and slightly up the sides. For a truly professional and uniform crust, use the flat bottom of a glass or a measuring cup to firmly pack down the crumbs, especially ensuring a solid edge where the bottom meets the sides to prevent any gaps.
- Pre-bake the Crust: Bake the crust in the preheated oven for 10 minutes. This step helps to set the crust and gives it a delightful crispness, preventing it from becoming soggy. Once baked, remove from the oven and allow it to cool completely while you prepare the filling.
Creating the Irresistible Cheesecake Filling
- Begin Mixing Cream Cheese: Place the room temperature cream cheese in a large mixing bowl. Whisk it briefly on low speed, just until it’s smooth and creamy. Over-whipping at this stage can incorporate too much air, which can lead to cracks later.
- Add Remaining Wet Ingredients: Introduce the Greek yogurt, granulated sugar, cornstarch, vanilla extract, key lime juice, and lime zest to the cream cheese mixture. Gently stir until all ingredients are just combined. Make sure to scrape down the sides of the bowl to ensure everything is incorporated evenly. Remember, resist the urge to overmix!
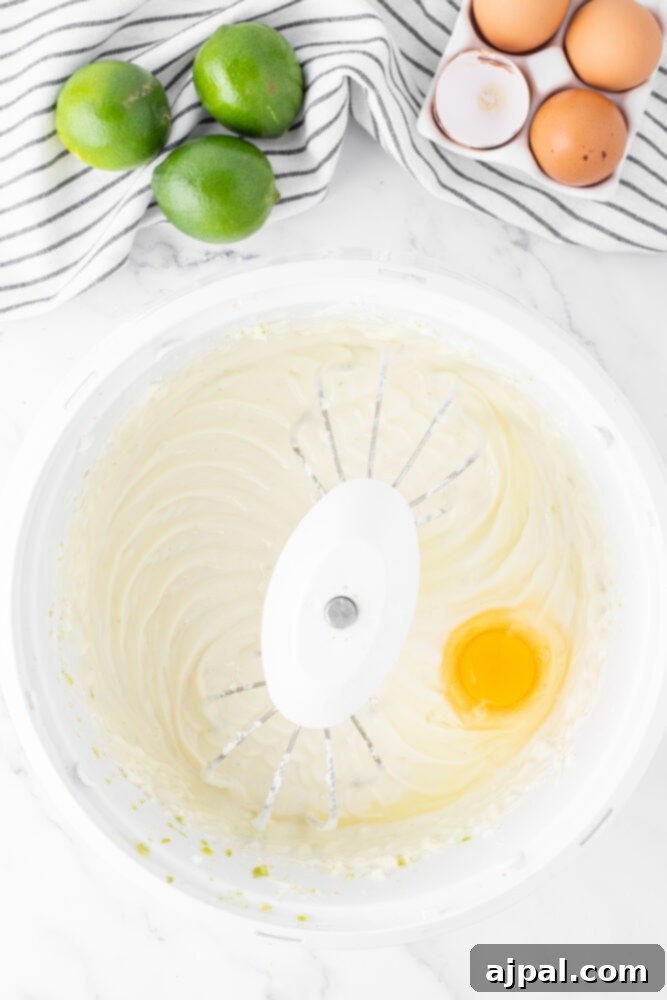
- Incorporate Eggs Carefully: Add the eggs one at a time to the cream cheese mixture, mixing on slow speed only until each egg is just incorporated. Overmixing eggs can introduce excess air, contributing to cracks during baking. Scrape down the bowl after each addition to ensure uniformity.
- Fill the Crust: Pour the velvety smooth cream cheese mixture into the cooled, pre-baked graham cracker crust. Gently spread the filling evenly across the crust using a spatula.
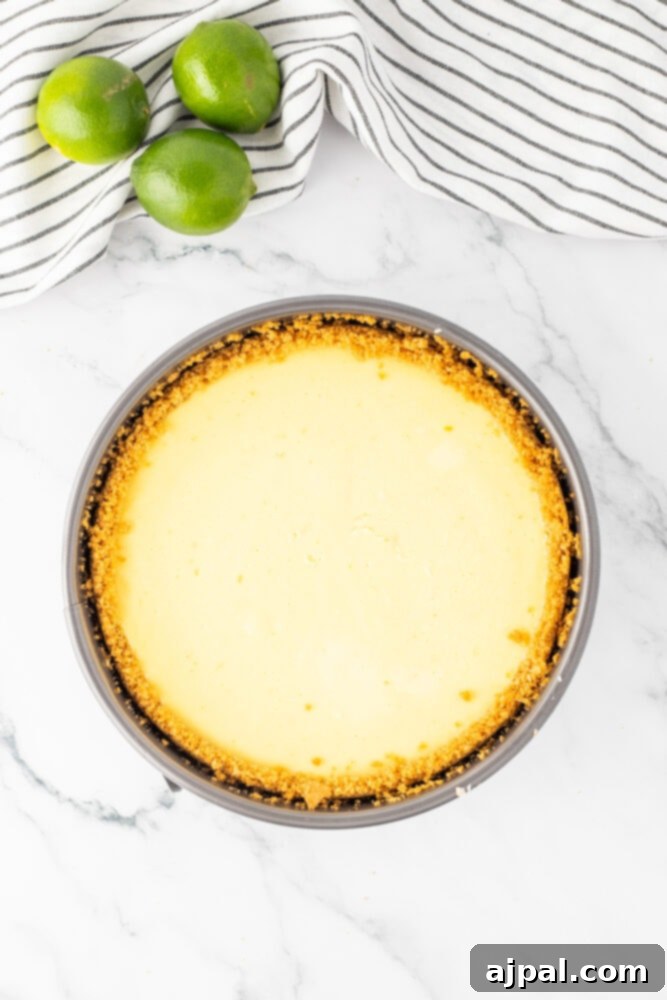
- Bake in Water Bath: Carefully place the springform pan, nestled within its foil wrapping, into the roasting pan already filled with hot water in the oven. Be extremely cautious not to splash hot water onto the cheesecake or yourself. Bake for approximately 70 minutes. It’s important to resist opening the oven door during baking, as sudden temperature changes can cause cracking.
- Check for Doneness and Cool Down: The cheesecake is done when the outer edges appear firm, but the center still has a slight jiggle when you gently shake the pan. Once it reaches this stage, turn off the oven, but leave the cheesecake inside for another hour. Prop the oven door slightly ajar using a wooden spoon. This gradual cooling process is crucial for preventing cracks on the surface of your cheesecake.
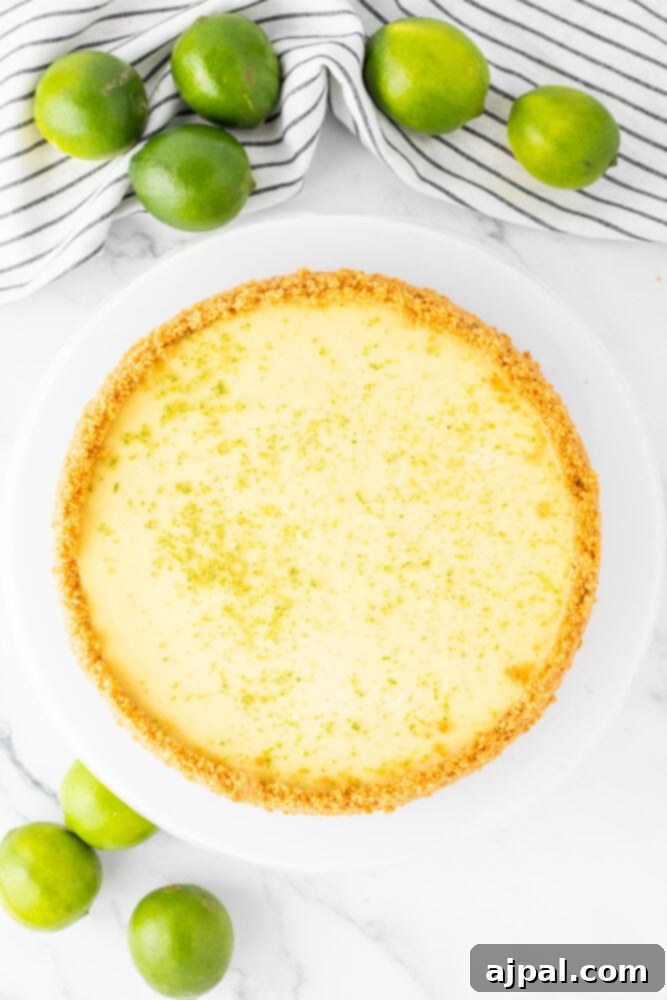
- Chill Thoroughly: After the hour of gradual cooling in the oven, remove the cheesecake and let it cool completely on a wire rack at room temperature. Once it has reached room temperature, transfer it to the refrigerator and chill for at least 5 hours, or ideally, overnight. This chilling period is essential for the cheesecake to fully set and for the flavors to meld beautifully.
Preparing the Fluffy Whipped Cream Topping
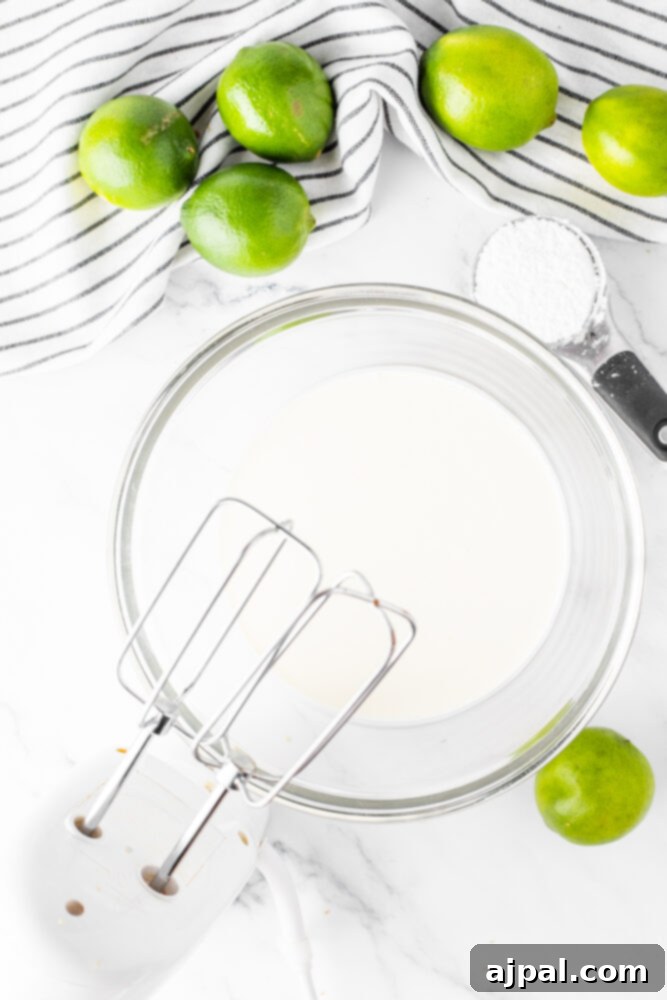
11. Whip the Cream: In a chilled electric mixer bowl, pour the heavy whipping cream. Whip on high speed for about 1-2 minutes. Gradually add the confectioners’ sugar as the cream thickens. Continue whipping until the cream is fluffy and forms stiff peaks.
Serving Your Masterpiece
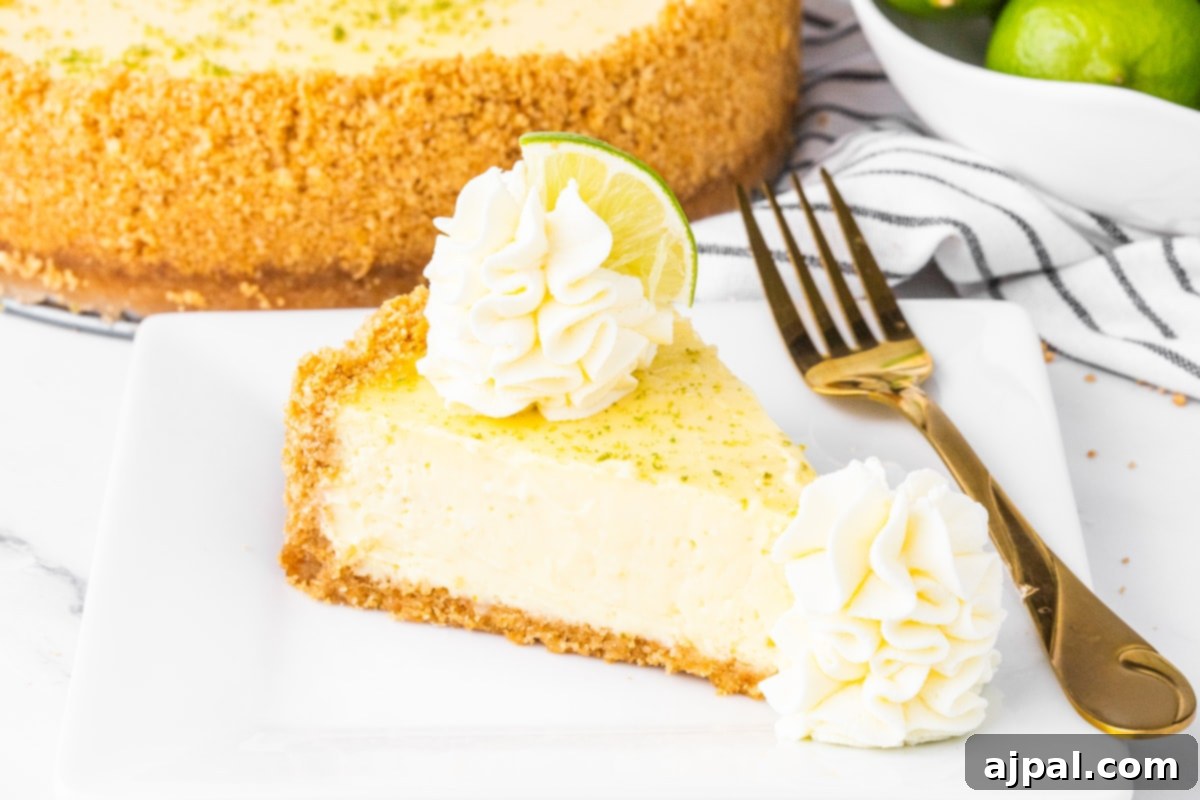
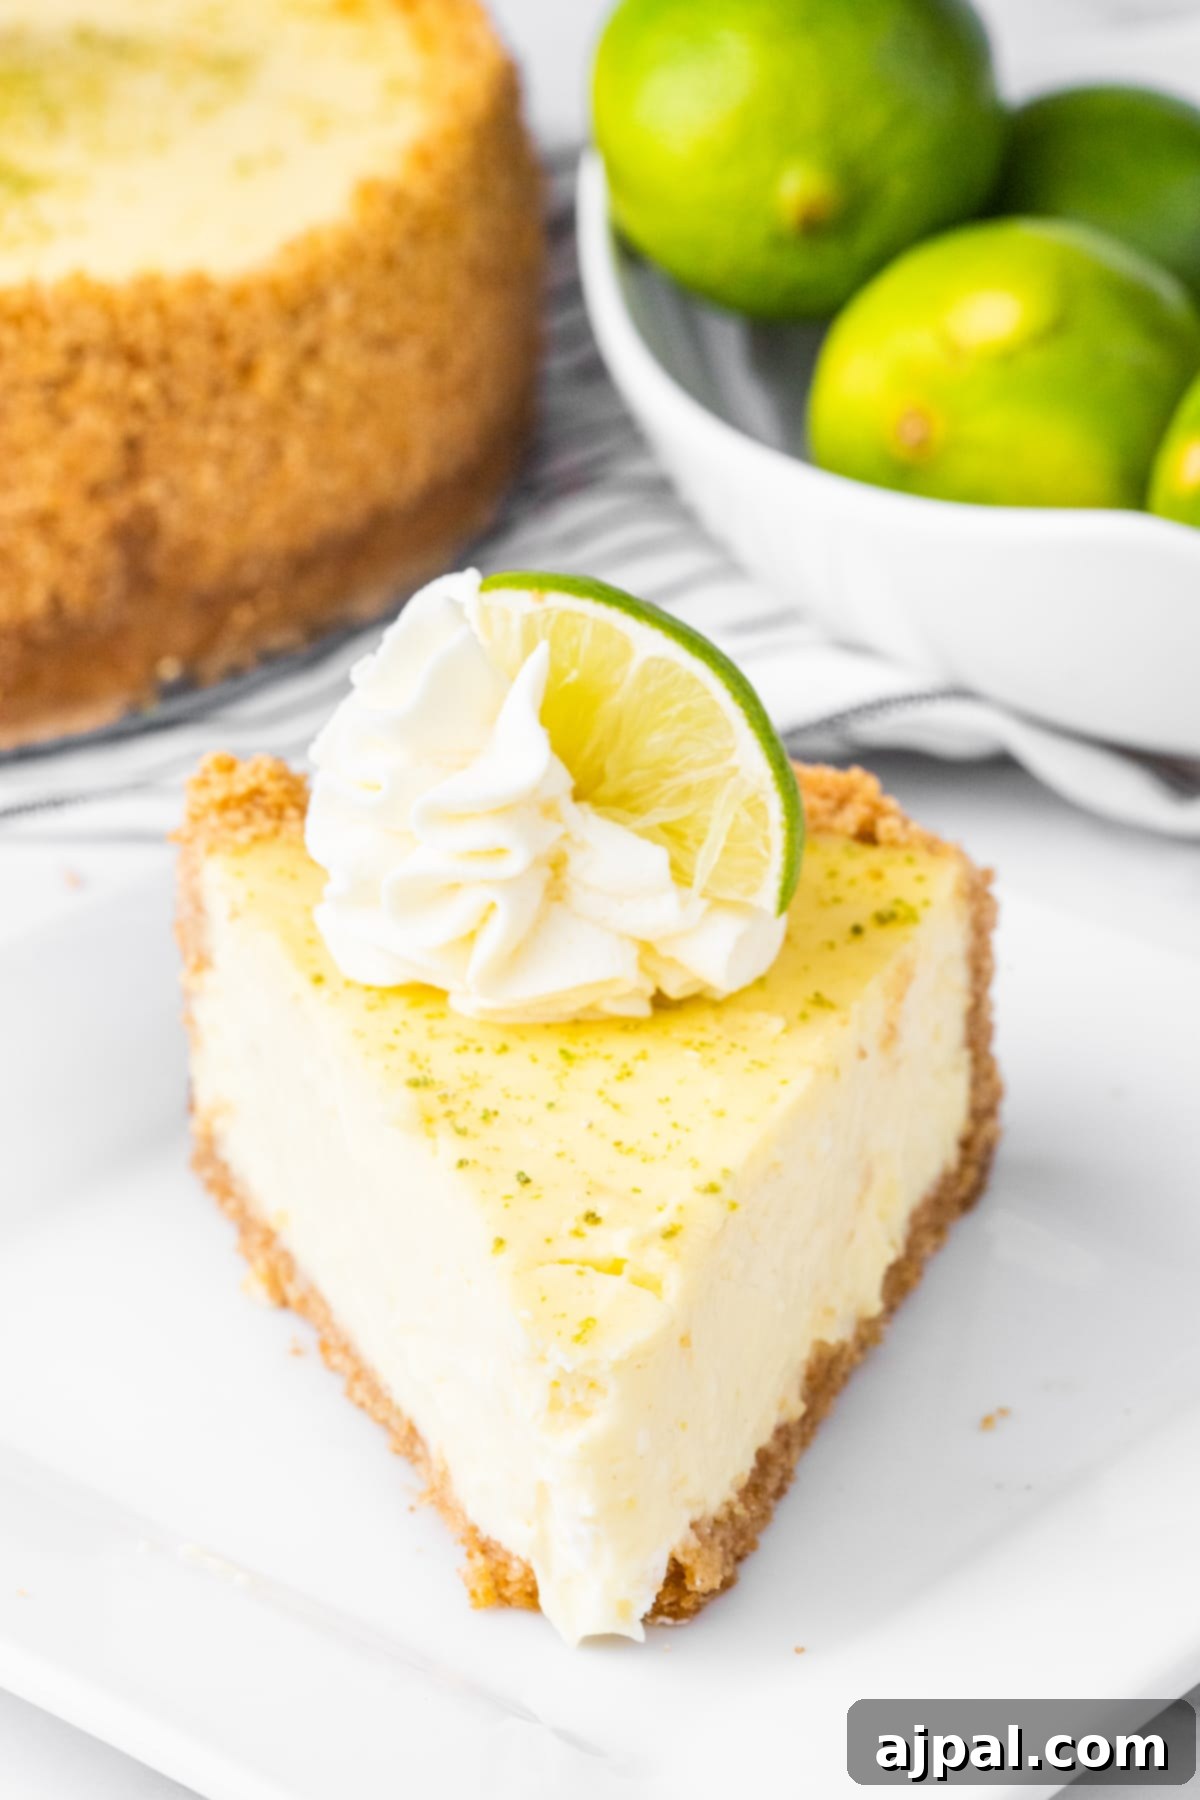
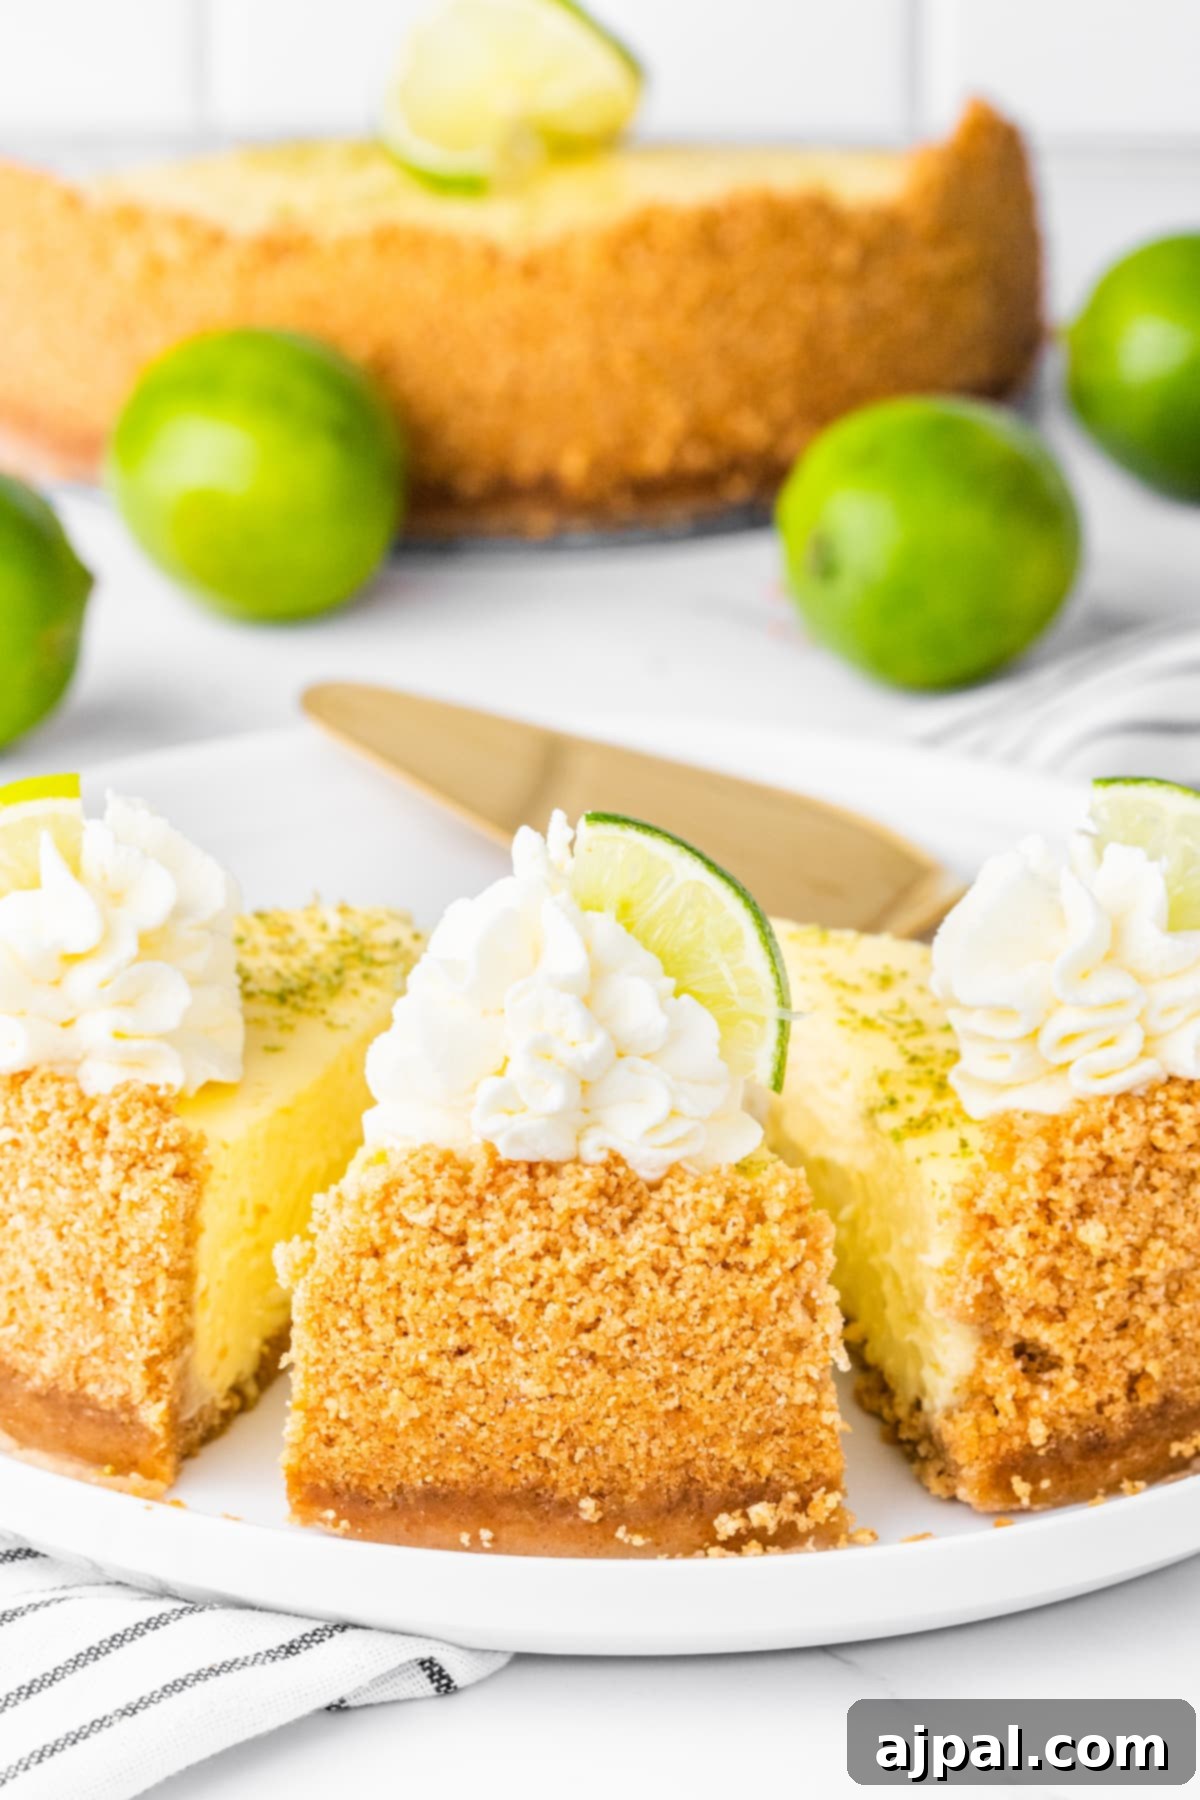
12. Release and Slice: Once thoroughly chilled, carefully remove the springform pan. It helps to run a thin knife blade around the outer edge of the cheesecake before releasing the springform ring. Cut the cheesecake into generous slices using a warm, clean knife (wiping the knife between slices will give you cleaner cuts). Serve each slice with a dollop of fresh whipped cream and garnish with a sprinkle of lime zest or a delicate lime slice for that perfect finishing touch.
Expert Tips and Tricks for a Flawless Key Lime Cheesecake
Achieving a perfectly creamy, crack-free, and delicious Key Lime Cheesecake is a journey that benefits from a few expert insights. Here are some essential tips to guide you:
Quality Ingredients Make a Difference: The foundation of any exceptional dessert lies in the quality of its components. For this Key Lime Cheesecake, prioritize high-quality cream cheese and, if possible, fresh key limes. Key limes are smaller, rounder, and more intensely aromatic than standard limes, offering a distinct, zippier flavor that truly makes this cheesecake sing. If fresh key limes are unavailable, bottled key lime juice can be a good substitute, but fresh is always superior for that vibrant, natural taste.
Room Temperature is Non-Negotiable: This is arguably the most important rule for a smooth cheesecake filling. Ensure your cream cheese, eggs, and Greek yogurt (or sour cream, if using) are all at room temperature before you begin mixing. Cold ingredients do not emulsify properly, leading to a lumpy batter and potentially an uneven texture in the final product. Plan ahead by taking them out of the refrigerator at least an hour or two before you start baking.
Perfecting the Crust: A great cheesecake starts with a fantastic crust. For optimal crispness and structural integrity, always pre-bake your graham cracker crust for a short period before adding the filling. When pressing the crumbs into your springform pan, aim for an even, firm layer on both the bottom and slightly up the sides. Using the bottom of a flat glass or measuring cup can help achieve a dense, compact crust that won’t crumble apart when sliced.
The Art of Gentle Mixing: When preparing the cheesecake filling, especially after adding the eggs, resist the urge to overmix. Excessive beating incorporates too much air into the batter, which expands during baking and then deflates rapidly during cooling, often resulting in unsightly cracks on the surface of your cheesecake. Mix only until ingredients are just combined and smooth.
Embrace the Water Bath: Baking your cheesecake in a water bath (bain-marie) is a classic technique for a reason. It provides a moist, even heat environment, which prevents the edges from baking too quickly and ensures a uniformly creamy texture from edge to center. The consistent temperature also significantly reduces the risk of cracking. Remember to wrap your springform pan securely in multiple layers of heavy-duty foil to prevent any water from seeping in.
Avoid Overbaking: This is a common pitfall. A perfectly baked cheesecake should still have a slight wobble in its center when you gently shake the pan upon removing it from the oven. The residual heat will continue to cook the cheesecake as it cools. Overbaking leads to a dry, dense texture and is a primary cause of cracks.
Gradual Cooling is Essential: Drastic temperature changes are a cheesecake’s worst enemy, often leading to large cracks. Once your cheesecake is baked, turn off the oven and leave the cheesecake inside with the oven door propped slightly ajar (a wooden spoon works perfectly) for about an hour. After this gradual oven cool-down, transfer it to a wire rack to cool completely at room temperature before chilling it in the refrigerator. The longer it chills (ideally overnight), the better it will set, and the flavors will deepen.
Thoughtful Serving and Garnishing: Enhance both the visual appeal and flavor of your Key Lime Cheesecake by garnishing it just before serving. A generous dollop of freshly whipped cream, delicate lime slices, or a sprinkle of vibrant green lime zest will elevate the presentation and add another layer of fresh, complementary flavor. A clean, warm knife will ensure neat slices.
Frequently Asked Questions About Key Lime Cheesecake
While key limes offer a distinct, more aromatic, and intensely tart flavor, you can absolutely use regular limes (Persian limes) if key limes are not readily available. The cheesecake will still be delicious and refreshing, though the flavor profile might be slightly less complex and sharp. You might need to adjust the amount of juice slightly to achieve your desired level of tartness, as regular limes can sometimes be less potent.
Cracks in cheesecake are a common concern for bakers, but they are preventable! The main culprits are usually overcooking, overbeating the batter (especially after adding eggs, which incorporates too much air), and sudden temperature changes. To avoid cracks, ensure your ingredients are at room temperature, mix the batter gently and minimally, bake the cheesecake in a water bath for even heat distribution, and allow it to cool very gradually in the oven with the door propped open before transferring to the counter and then the refrigerator.
Baking time for a 9-inch Key Lime Cheesecake typically ranges from 60-70 minutes, but this can vary based on your oven’s calibration and the exact pan you’re using. The key is to look for visual cues rather than strictly adhering to a timer. The cheesecake is done when the edges are set and appear slightly firm, but the very center (about a 2-inch circle) still has a slight, delicate wobble when you gently shake the pan. It will continue to set as it cools.
Absolutely, and it’s highly recommended! Cheesecake is one of those desserts that truly benefits from being made in advance. Preparing it a day before you plan to serve allows it ample time to chill and firm up completely in the refrigerator. This extended chilling period (at least 4 hours, but preferably overnight) not only ensures a perfect slice but also allows the vibrant key lime flavors to fully develop and meld with the creamy base, resulting in a more harmonious and delicious taste.
Yes, cheesecake freezes exceptionally well! To freeze, ensure the cheesecake is completely cooled and chilled. You can freeze it whole or in individual slices. Wrap the cheesecake tightly first in plastic wrap, then in a layer of aluminum foil, to protect it from freezer burn. When properly wrapped, it can be stored in the freezer for up to 2-3 months. To thaw, simply transfer it to the refrigerator overnight or for several hours before serving.
Using room-temperature ingredients is paramount for a smooth, homogenous cheesecake batter. Cold cream cheese, eggs, or yogurt will not blend evenly, leading to lumps in your filling. Additionally, cold ingredients can cause the batter to seize up when mixed, requiring more vigorous beating, which, as mentioned, can introduce excess air and result in cracks. Room temperature ingredients combine effortlessly, creating that signature silky texture.
While graham cracker crust is traditional for Key Lime Cheesecake, you can certainly experiment with other crunchy bases. Vanilla wafers, digestive biscuits, or even shortbread cookies can make excellent substitutes. Just remember that different cookies may require slight adjustments to the amount of sugar and butter needed, as their sweetness and texture can vary. Always taste the crust mixture before pressing to ensure it’s balanced.
Perfect Pairings: What to Serve With Key Lime Cheesecake
A slice of Key Lime Cheesecake is a delight on its own, but pairing it with the right accompaniments can elevate the entire dessert experience. Here are some ideas to complement its rich, tangy, and creamy profile:
Coffee or Espresso: The robust, slightly bitter notes of a freshly brewed coffee or a strong espresso offer a classic contrast to the cheesecake’s sweetness and richness. This pairing is sophisticated and satisfying, perfect for an after-dinner treat.
Fresh Fruit Medley: Bright, fresh fruits can provide a wonderful textural and flavor contrast. Consider serving your cheesecake with a side of mixed berries (strawberries, raspberries, blueberries), which add a sweet-tart burst and juicy freshness. Tropical fruits like sliced mango, pineapple chunks, or toasted coconut flakes also harmonize beautifully with the key lime flavor, enhancing the dessert’s exotic appeal.
Light Sorbet or Gelato: For an extra refreshing touch, a small scoop of a complementary sorbet or gelato can be a delightful palate cleanser. Lemon, coconut, or even a subtle mango sorbet would work wonderfully, adding a cool, light element without overwhelming the cheesecake.
After-Dinner Drinks: When it comes to alcoholic pairings, a crisp dessert wine like a Moscato d’Asti or a lighter Sauternes can complement the sweet and tart notes of the cheesecake. For those preferring non-alcoholic options, a calming mint tea, a delicate chamomile tea, or a sparkling limeade would provide a refreshing finish.
Extra Whipped Cream or Meringue: If your cheesecake isn’t already adorned with it, a generous dollop of freshly made whipped cream is always a welcome addition, adding a cloud-like lightness. For a more dramatic presentation and textural variety, consider a delicate torched meringue topping, which adds a beautiful golden hue and a subtle caramelized sweetness.
Sweet Dessert Sauces: A drizzle of fruit coulis can add another layer of flavor and visual appeal. A vibrant raspberry or strawberry sauce provides a lovely tartness that plays well with the lime. For a decadent twist, a light caramel or white chocolate sauce could offer a rich counterpoint, making the dessert even more indulgent.
Explore More Refreshing Drink Pairings
Best Mulled Cider Ever
Easy Apple Cider Mojitos Recipe
Easy Tropical Green Smoothie Recipe
Pumpkin Pie Punch
Easy Peach Simple Syrup Recipe
Peach La Croix Mocktail
Bourbon Peach Smash Cocktail
Stone Fruit Sangria Mocktail
Your Go-To Key Lime Cheesecake Recipe
We hope you love this easy and delicious Key Lime Cheesecake recipe. If you enjoy it, please consider leaving a five-star rating and a comment below to share your experience! Your feedback helps others discover and enjoy this recipe too. Don’t forget to share your beautiful cheesecake creations on social media by tagging us on Instagram, Facebook, and Pinterest!

Share on Facebook
Share

Pin this now to find it later
Pin It

Follow on Instagram
Follow
Click here to view the web story for this recipe!
Looking for quick meal ideas? Sign up for our 30-minute dinner plans delivered directly to your inbox!
Discover our hand-picked favorite kitchen products in our Amazon storefront here!
Key Lime Cheesecake
Share by Email
Print Recipe
Equipment
-
Microplane Classic Zester Grater, Black
-
USA Pan Deep Dish Nonstick Roaster Pan
-
USA Pan Leak-Proof Nonstick Commercial Springform Pan, 9-Inch
-
KitchenAid 6 Speed Hand Mixer with Flex Edge Beaters – KHM6118, Contour Silver
Ingredients
Crust
- 2 ½ cups Graham Cracker crumbs
- 2 tablespoons granulated Sugar
- ½ cup melted Butter
- ½ teaspoon Salt
Cheesecake Filling
- 24 oz. Cream Cheese, room temperature
- ½ cup Greek Yogurt, room temperature
- 1 cup granulated Sugar
- 2 tablespoons Cornstarch
- 1 teaspoon vanilla extract
- ½ cup Lime Juice
- Zest of 1 Lime
- 4 large Eggs, room temperature
Whipped Cream
- 1 cup heavy whipping Cream
- ¼ cup Confectioners’ Sugar
- Lime Zest or slices for garnish, optional
Instructions
-
Prep: Preheat the oven to 350° F and add a roasting pan or other large pan in the lower section of the oven to make a hot water bath. Place enough hot water in the pan that it will rise to 1-2 inches around the cheesecake springform pan. Spray the pan springform pan with cooking spray.
-
Using 18-inch heavy-duty aluminum foil, wrap the outside of your springform pan with 4 layers of foil, to ensure no water leaks into the cheesecake as it bakes in the water bath.
-
Crust: Pulse the Graham Crackers in a food processor until they are fine crumbs. Place in a bowl and add the Sugar, melted Butter and Salt, and blend until combined. For a great mixture, blend them with an electric mixer.
-
Pour the crumb mixture into the prepared springform pan and press evenly into the bottom and up the sides of the pan. Be careful to get an even layer of crust. It’s best to use a glass or measuring cup to get an even, hard-packed crust, and keep buildup out of the corner.
-
Bake crust for 10 minutes. Remove from oven and allow crust to cool completely.
-
Cheesecake Filling: Put the Cream Cheese in a bowl and whisk briefly on low speed. Add the Yogurt, Sugar, Corn Starch, Vanilla, Lime Juice and Lime Zest and just stir until the ingredients are mixed, scraping down the bowl. Don’t overmix.
-
Add the Eggs one at a time, to the cream cheese mixture, on slow speed, scraping down the bowl.
-
Pour the cream cheese mixture into the baked cookie crust. Spread evenly.
-
Place the cheesecake in the water bath in the oven, being careful not to touch the very hot water.
-
Bake for approx. 70 minutes (don’t open the oven door to check on it during baking). The cheesecake will be done when the center is still a little jiggly when you gently shake the pan, but the outer edges seem firm. When it’s baked, turn off the oven and leave the cheesecake inside for an hour, making a small opening in the oven door by placing a wooden spoon in it. This slow cool down process reduces the chances of cracking the surface of the cheesecake.
-
Take the cake out of the oven and let it cool completely, then put it in the fridge for at least 5 hours (overnight is best).
-
Whipped Cream: Place Cream in an electric mixer bowl and whip at high speed for a minute or two, slowly adding the Confectioners’ Sugar until combined. Whipped Cream will be fluffy and come to stiff peaks.
-
Serve: Carefully remove the springform pan, first running a small knife blade around the outer edge. Cut into slices, and serve with whipped cream, and garnish with Lemon Zest or slices.
Nutrition
Nutrition information is automatically calculated, so should only be used as an approximation.