
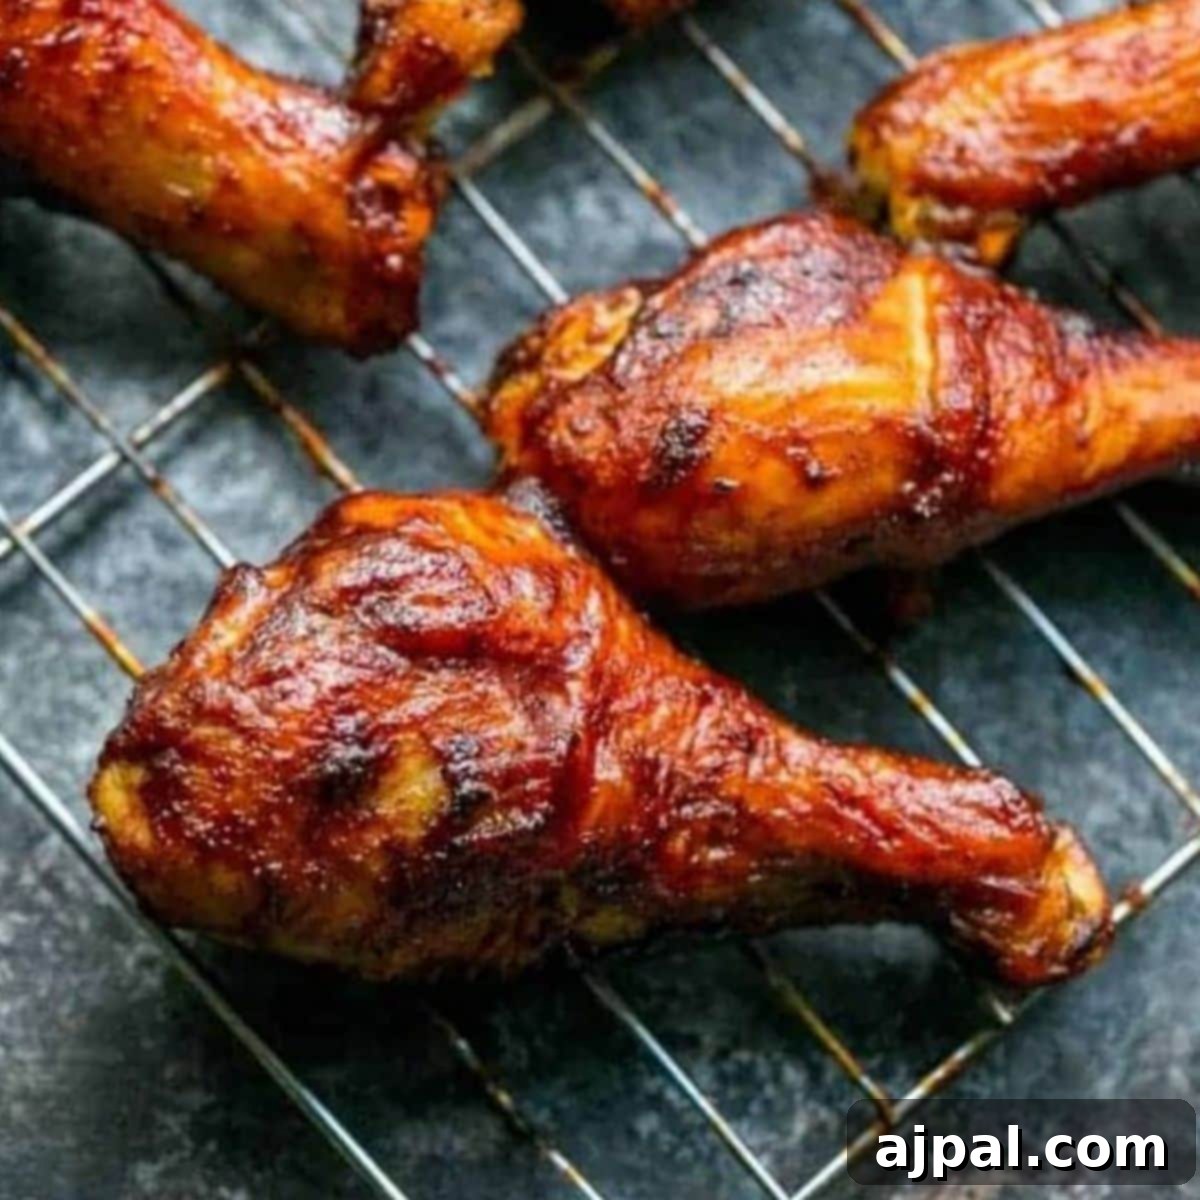
Craving that irresistible crunch of BBQ chicken drumsticks without the hassle of a grill? You’ve come to the right place! This recipe unlocks the secret to perfectly baked BBQ chicken legs that boast a crispy, sticky, flavor-packed “bark” while keeping the meat incredibly juicy and tender. Whether you’re following a low-carb diet or simply seeking a fuss-free, crowd-pleasing meal, this simple oven technique delivers finger-licking results you’ll want to make again and again.
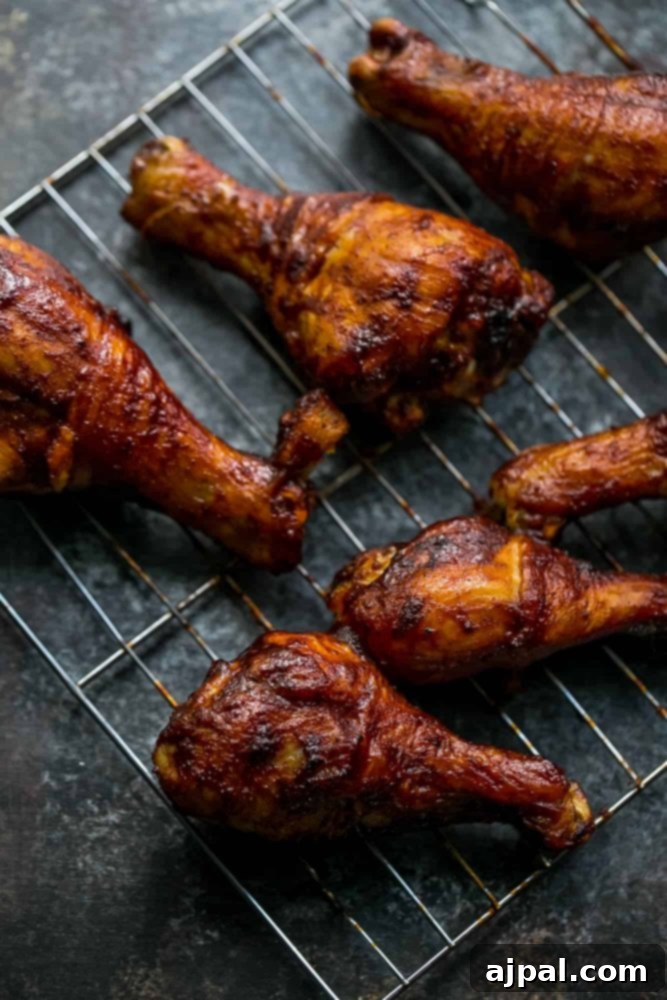
Looking for specific information quickly? A clickable table of contents is provided below to help you easily navigate through this page.
As a home cook without formal training, I believe that understanding the “why” behind each step makes all the difference. My goal with every recipe is to demystify the cooking process, providing detailed tips and explanations so that even the most beginner home cook feels confident and empowered in the kitchen. Here, you’ll learn not just how to make delicious baked BBQ chicken drumsticks, but also the simple techniques that guarantee juicy meat and a perfectly crispy, flavorful skin every time.
Table of contents
- The Best Baked BBQ Chicken Legs: A Game-Changer
- Why Oven-Baked BBQ Chicken Drumsticks Are Superior
- Essential Ingredients for Perfect BBQ Chicken Legs
- Step-by-Step: How to Make Crispy BBQ Chicken Drumsticks in the Oven
- Expert Tips for Achieving Perfect Baked BBQ Chicken Drumsticks
- Storing Your Delicious BBQ Chicken Legs
- How to Reheat Baked Chicken Drumsticks for Maximum Crispiness
- Frequently Asked Questions (FAQs)
- What to Serve With BBQ Chicken Drumsticks for a Complete Meal
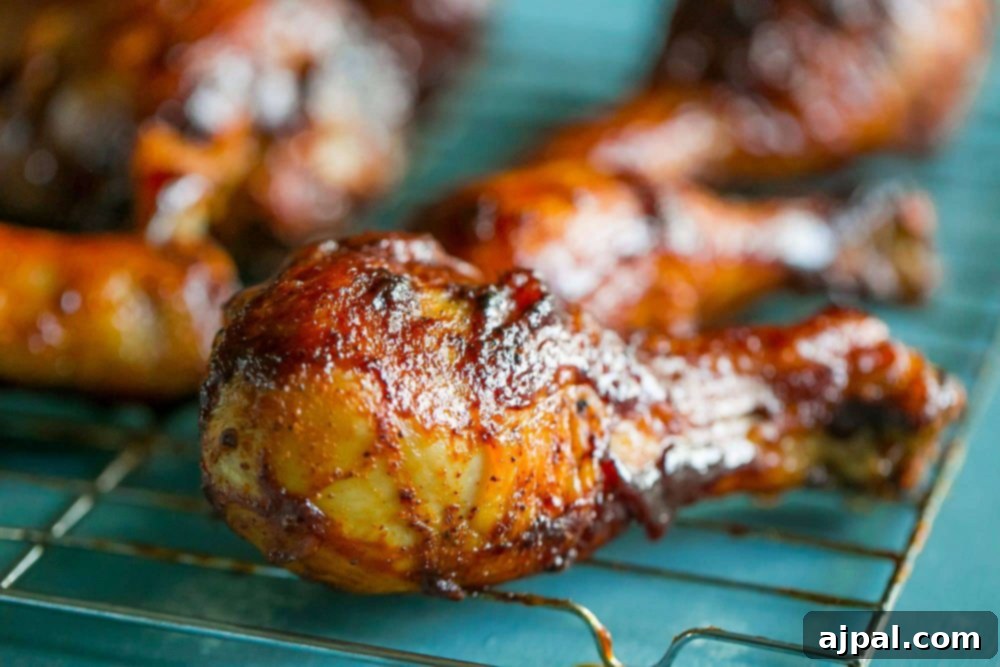
The Best Baked BBQ Chicken Legs: A Game-Changer
There’s an undeniable charm to grilling, a primal connection to fire and smoke that makes food taste incredible. However, grilling often comes with its own set of challenges: unpredictable weather, constant monitoring, and the potential for flare-ups. What if you could capture that crave-worthy, smoky, crunchy, and savory experience of perfectly grilled chicken drumsticks, but achieve it effortlessly in your own kitchen, any time of year?
This recipe offers exactly that: an exceptional method for preparing baked BBQ chicken legs that rival any grilled version. Forget the fuss and embrace convenience without sacrificing flavor or texture. We’re talking about chicken drumsticks coated in a rich, flavorful dry rub, then baked to crispy perfection in the oven, and finally, layered with your favorite BBQ sauce to create an irresistible, sticky, caramelized “bark.” The result is a dish that’s bursting with rich, smoky flavors and a satisfying crunch in every bite, all without firing up the grill.
For those mindful of their diet, this recipe is incredibly versatile. It can be easily adapted for a keto or low-carb lifestyle simply by opting for your favorite keto-friendly BBQ sauce. This ensures you can enjoy these delicious, crispy baked chicken drumsticks without compromising your dietary goals.
Looking for another crispy chicken option? If you prefer to use an air fryer, be sure to check out my Air Fryer Chicken Drumsticks recipe for equally amazing results!
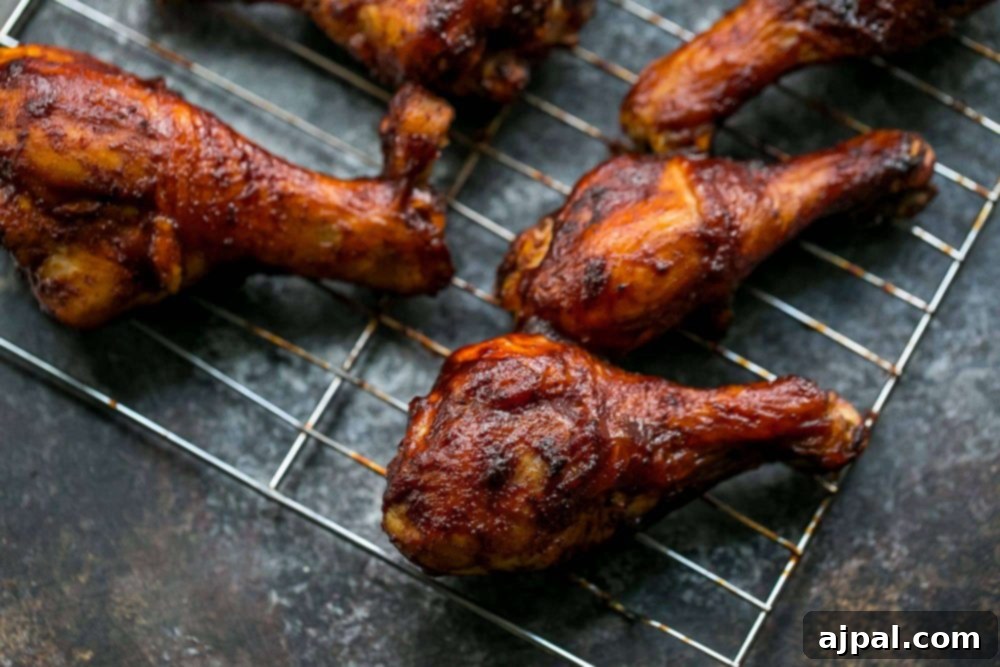
Why Oven-Baked BBQ Chicken Drumsticks Are Superior
While grilling offers a certain smoky allure, baking chicken drumsticks in the oven presents several compelling advantages, especially when striving for that perfect crispy bark and juicy interior:
- Consistent Heat Distribution: Ovens provide a more stable and even heat environment compared to a grill, which can have hot spots and uneven cooking. This consistency ensures your drumsticks cook thoroughly and brown beautifully on all sides without constant attention.
- Weather Independence: Rain, snow, or extreme heat won’t derail your BBQ plans. You can enjoy perfectly cooked, flavor-packed chicken drumsticks year-round, regardless of outdoor conditions.
- Reduced Mess: Grilling often means dealing with greasy grates and messy clean-up. Baking on a rack over a baking sheet contains drips, making post-dinner tidying much simpler.
- Controlled Caramelization: Our layered basting technique for the BBQ sauce is much easier to manage in the oven. This method allows the sauce to slowly caramelize and form that desirable crispy bark without burning, a common challenge on a high-heat grill.
- Less Active Cooking Time: Once the initial prep is done, the oven does most of the work. While some flipping is involved to ensure even crisping, it’s generally less hands-on than grilling.
- Perfect for Beginners: The controlled environment of an oven makes it more forgiving for novice cooks. It’s easier to maintain a consistent temperature and achieve delicious results without advanced grilling expertise.
By leveraging the benefits of oven baking, you can achieve incredibly flavorful and crispy BBQ chicken drumsticks that are consistently delicious and surprisingly easy to make.
Essential Ingredients for Perfect BBQ Chicken Legs
Crafting these delectable baked BBQ chicken drumsticks requires a careful selection of ingredients, each playing a crucial role in developing the rich flavor and achieving the desired crispy texture. Here’s what you’ll need and why each component is important:
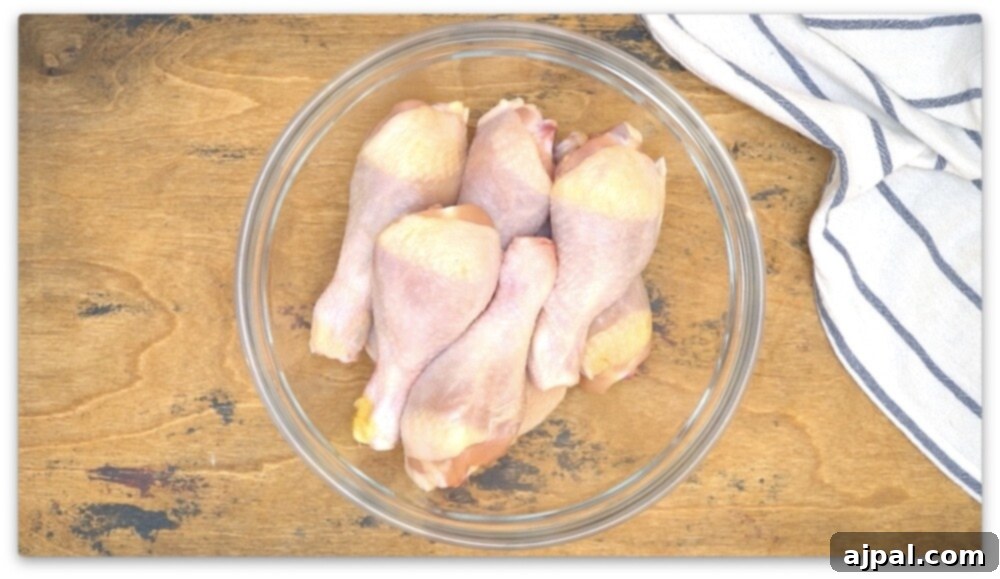
- 4 lb chicken drumsticks, about 12: The star of our dish! Drumsticks are ideal for baking because their bone-in structure helps retain moisture, ensuring tender, juicy meat. Their skin crisps up beautifully, forming the perfect canvas for our flavorful bark.
- 2 tbsp garlic powder: A foundational spice that provides a warm, pungent aroma and deep savory notes, enhancing the overall umami of the chicken.
- 2 tbsp onion powder: Adds a sweet, earthy, and slightly pungent flavor, complementing the garlic and creating a robust base for the seasoning blend.
- 2 tbsp chili powder: A blend of various spices, chili powder contributes a mild heat, complex depth, and a vibrant color, giving the chicken a classic BBQ profile without being overly spicy.
- 2 tbsp smoked paprika: This ingredient is key for imparting that characteristic smoky flavor typically associated with grilling, even though we’re baking. It adds a rich, earthy, and slightly sweet undertone.
- 1 tbsp ground ginger: A unique addition that offers a subtle warmth and a touch of peppery sweetness, balancing the savory and smoky elements of the rub. It also helps tenderize the chicken.
- 2 tsp salt: Essential for seasoning, salt not only enhances the natural flavors of the chicken and other spices but also helps draw out moisture from the skin initially, contributing to a crispier texture.
- 1 tsp pepper: Adds a sharp, piquant kick that brightens the flavor profile and provides a pleasant contrast to the other warm spices.
- 2 cups BBQ sauce: The final layer of flavor! A good quality BBQ sauce will caramelize beautifully in the oven, forming a sticky, sweet, and tangy bark that is the hallmark of this recipe. Choose your favorite, keeping in mind that thicker sauces work best for coating.
Step-by-Step: How to Make Crispy BBQ Chicken Drumsticks in the Oven
Achieving perfectly crispy, juicy, and flavorful BBQ chicken drumsticks in your oven is simpler than you might think. Follow these detailed steps to ensure delicious results every time:
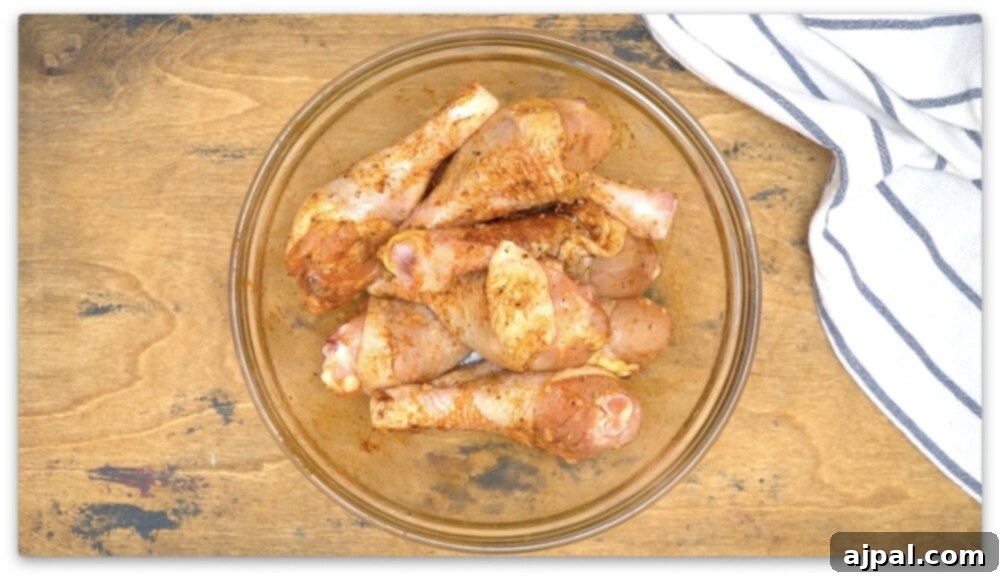
- Prep the Oven and Chicken. Begin by preheating your oven to 350 degrees Fahrenheit (175°C). This ensures the oven is at the correct temperature for even cooking from the start. Crucially, thoroughly pat the chicken drumsticks dry with paper towels. Removing excess moisture from the skin is paramount for achieving that desirable crispy bark. In a small bowl, combine all your dry spices (garlic powder, onion powder, chili powder, smoked paprika, ground ginger, salt, and pepper). This creates a cohesive, flavorful rub.
- Season and Rest. Generously coat each chicken drumstick with the dry rub, making sure it adheres to all surfaces. For optimal flavor penetration and tenderness, let the seasoned chicken rest for at least 30 minutes at room temperature, or even better, overnight in the refrigerator. This resting period allows the salt and spices to work their magic, tenderizing the meat and deepening the flavor.
- Initial Bake for Crispiness. Arrange the seasoned chicken drumsticks on a cooling rack placed over a baking sheet. Using a cooling rack is essential as it allows air to circulate evenly around the drumsticks, promoting crispness on all sides and preventing them from becoming soggy. Bake for approximately 40 minutes, or until the skin begins to crisp up and the fat has started to render and melt away. During this phase, flip the drumsticks every 10 minutes to ensure uniform crisping.
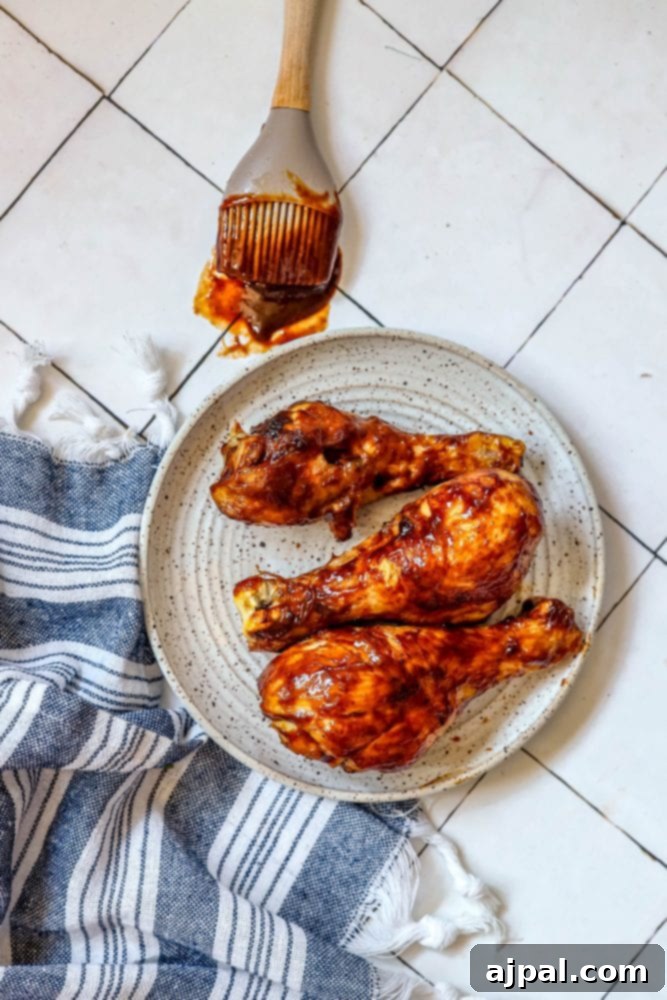
- Layer on the BBQ Sauce. Now comes the magic for that signature BBQ bark! With a heat-resistant silicone brush, lightly coat the chicken with your favorite BBQ sauce. Flip the drumsticks to coat all sides evenly. Repeat this process every 10 minutes, adding another light layer of sauce, until all the BBQ sauce is used up (this will take about 30 minutes of additional baking). This layering technique allows the sauce to caramelize slowly, building up a rich, sticky, and crunchy bark without burning.
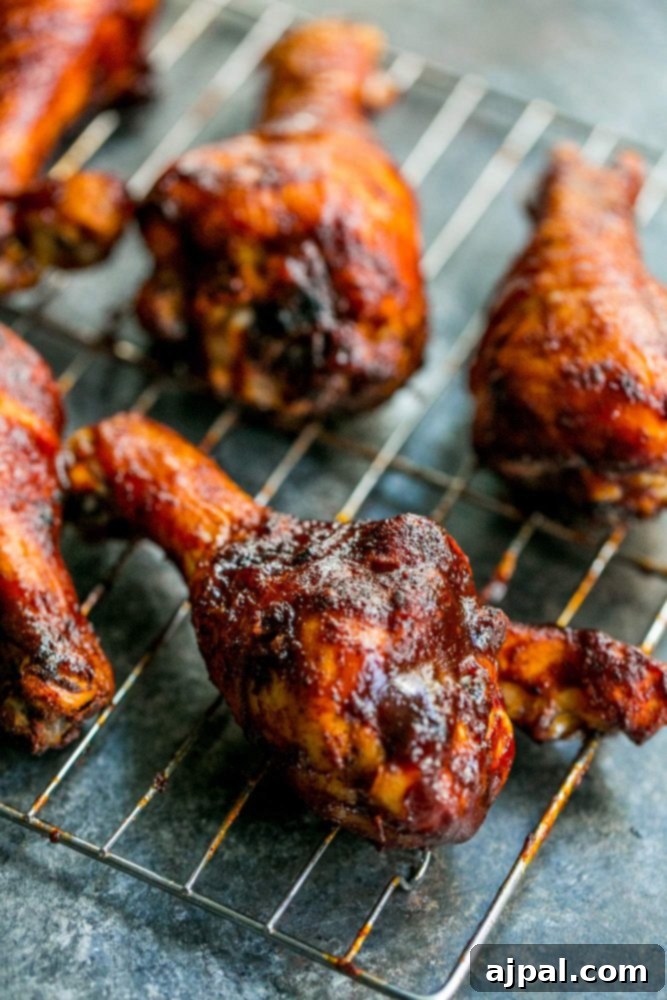
- Broil for Extra Crunch. Once the chicken is fully cooked (internal temperature reaches 165°F or 74°C), turn on the broiler. Broil the drumsticks for about two minutes on each side. Keep a close eye on them during this stage, as broilers can cook very quickly and burn easily. This brief broiling period provides an extra boost of crispiness to the skin and enhances the caramelized glaze.
- Serve and Enjoy! Remove the drumsticks from the oven when the skin looks bubbly, shiny, and perfectly crispy. Serve your delicious, crunchy baked BBQ chicken drumsticks immediately and prepare for a flavor explosion!
Expert Tips for Achieving Perfect Baked BBQ Chicken Drumsticks
While the recipe itself is straightforward, incorporating a few key techniques will elevate your baked BBQ chicken drumsticks from good to absolutely unforgettable. These tips are designed to ensure maximum crispiness, juiciness, and flavor:
- Elevate for Airflow: Always bake chicken drumsticks on a cooling rack set over a baking sheet. This simple trick ensures that hot air circulates all around the chicken, crisping the skin evenly and preventing the bottom from becoming soggy in rendered fat. Without it, the bottom of your drumsticks would steam rather than crisp.
- Start Dry, Finish Crispy: Before applying any rub or sauce, thoroughly pat the chicken drumsticks dry with paper towels. Any surface moisture will hinder the browning process and lead to steamed, rather than crispy, skin. The dryer the skin, the crispier your bark will be.
- The Initial Bake is Key: Allow the chicken to bake for approximately 40 minutes *before* adding any BBQ sauce. During this phase, the skin has a chance to crisp up and the underlying fat renders out, creating a foundation for that irresistible bark. Flipping the drumsticks every 10 minutes during this stage helps achieve uniform browning and crisping on all sides.
- Layer, Don’t Drench, Your Sauce: The secret to a sticky, caramelized bark lies in layering the BBQ sauce slowly over time. Instead of applying all the sauce at once, lightly brush the drumsticks with BBQ sauce every 10 minutes during the later baking stages. This incremental application allows each layer to caramelize and set, building depth of flavor and texture, rather than creating a soggy, burnt crust.
- The Broiler Boost: For that ultimate, extra-crispy finish, a quick stint under the broiler is a game-changer. After the chicken is fully cooked and sauced, broil for two minutes per side. Watch very closely, as broilers are intense and can burn food quickly. You’re looking for bubbly, shiny, deeply caramelized skin, not charring.
- Use the Right Tools: Invest in heat-resistant, silicone-coated tongs. These will prevent the crispy chicken skin and sticky BBQ sauce from tearing or sticking to your tongs when you flip the drumsticks.
- Don’t Rush the Process: Patience is a virtue, especially with baked chicken drumsticks. The time it takes for the fat to render and the skin to become truly crunchy and irresistible cannot be rushed. Allow the chicken its full cooking time to develop maximum flavor and texture. Resist the urge to pull them out early!
- Layer the Flavor: Beyond the BBQ sauce, think about the dry rub as your first layer of flavor. Marinating the chicken in the dry rub for at least 30 minutes, or even overnight, allows the spices to penetrate the meat, creating a deeper, richer taste profile that complements the smoky BBQ sauce.
- Monitor Internal Temperature: Always use a