
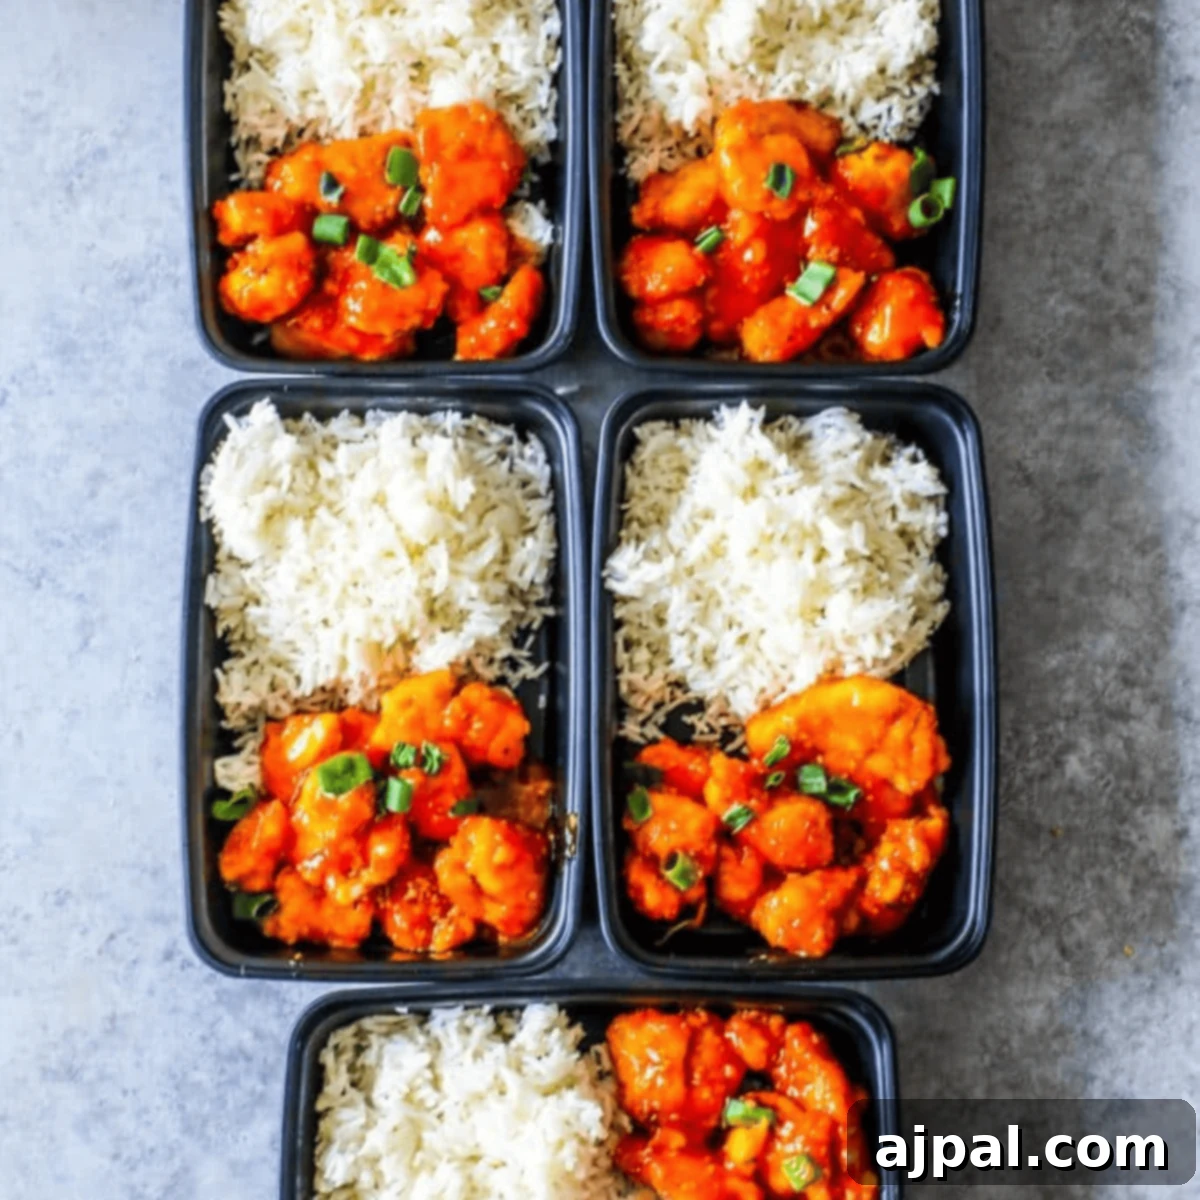
Craving restaurant-quality sweet and sour chicken but short on time? Look no further! This Instant Pot Sweet and Sour Chicken and Rice recipe is your ultimate solution for a flavorful, hassle-free, one-pot dinner. Imagine tender, juicy chicken coated in a vibrant, tangy-sweet sauce, served alongside perfectly cooked fluffy rice – all from a single pot. It’s not just a meal; it’s a revelation for busy weeknights and a dream for efficient meal prepping, allowing you to create a week’s worth of delicious meals in a fraction of the time.
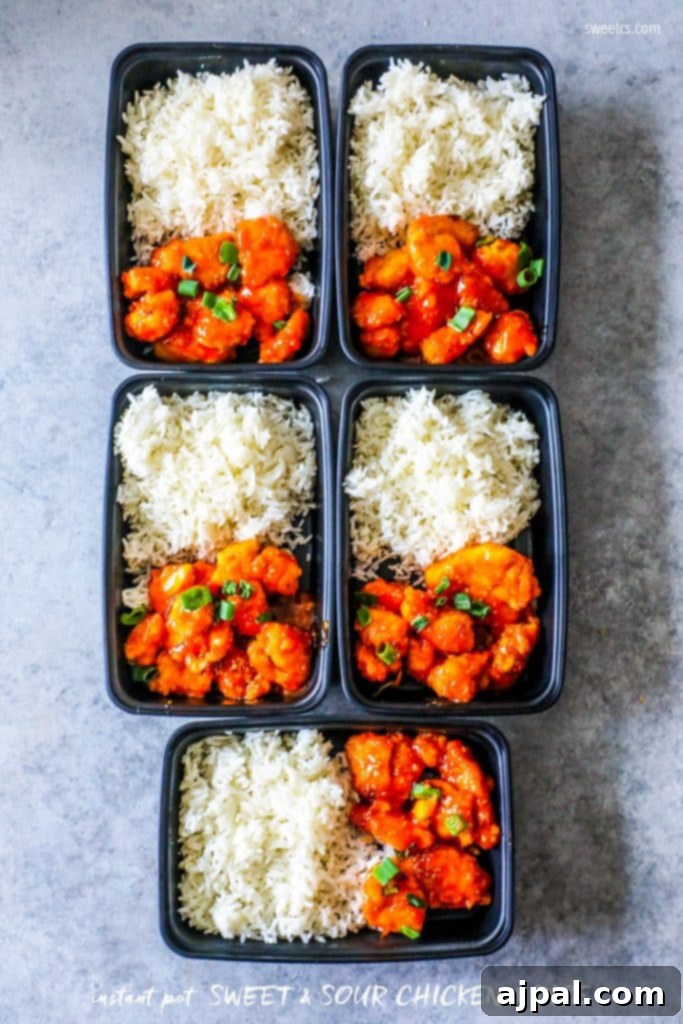
At Sweet C’s, we believe that every home cook, regardless of their experience level, deserves to feel confident and empowered in the kitchen. That’s why we meticulously craft our recipes, providing not just instructions but also valuable tips and insights into why each step and ingredient matters. Our goal is to demystify cooking, transforming complex dishes into simple, enjoyable culinary adventures. This recipe for Instant Pot Sweet and Sour Chicken and Rice is a testament to that philosophy, designed to bring the joy of cooking delicious, wholesome meals right to your fingertips.
Table of Contents
- Instant Pot Sweet and Sour Chicken and Rice: A Culinary Delight
- Why the Instant Pot is a Game-Changer for This Recipe
- Mastering Instant Pot Sweet and Sour Chicken
- Essential Ingredients for Perfection
- Step-by-Step Cooking Method
- Expert Tips and Tricks for Instant Pot Sweet and Sour Chicken
- Frequently Asked Questions (FAQs)
- Perfect Pairings: What to Enjoy with Sweet and Sour Chicken
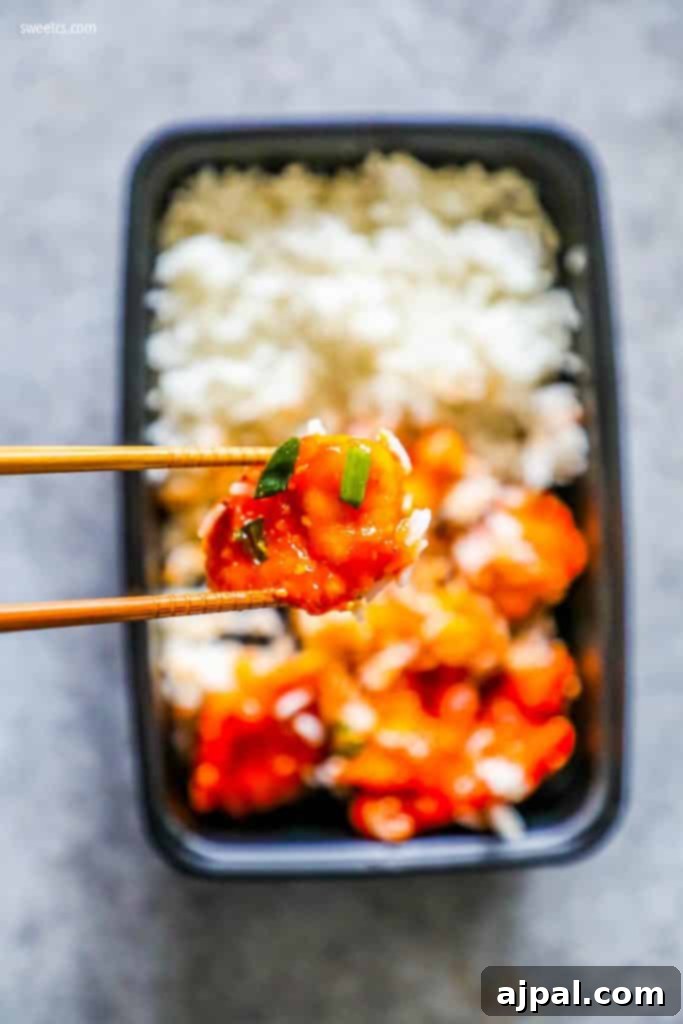
Instant Pot Sweet and Sour Chicken and Rice: A Culinary Delight
Sweet and sour chicken has long been a beloved takeout classic, cherished for its irresistible combination of crispy chicken, vibrant sauce, and comforting rice. That distinctive tangy zip of the sauce, the delightful texture of lightly coated chicken, and a side of perfectly fluffy rice from your favorite local spot — it’s a culinary experience many adore. But what if you could recreate that magic at home, with even greater ease and efficiency? This Instant Pot recipe makes it possible, transforming a takeout indulgence into a homemade triumph.
Our Instant Pot Sweet and Sour Chicken and Rice recipe is more than just a meal; it’s a complete culinary experience designed for modern life. It seamlessly marries succulent, tender chicken with a beautifully balanced sweet and sour sauce, all while cooking fluffy, aromatic basmati rice simultaneously in the same appliance. This one-pot wonder not only simplifies your cooking process but also ensures minimal cleanup, making it an ideal choice for busy weeknights or for preparing delicious, healthy meal prep bowls to enjoy throughout the week. The harmonious blend of sweet, sour, and savory flavors, coupled with the satisfying textures, makes this dish a comforting and incredibly satisfying addition to any family’s dinner rotation.
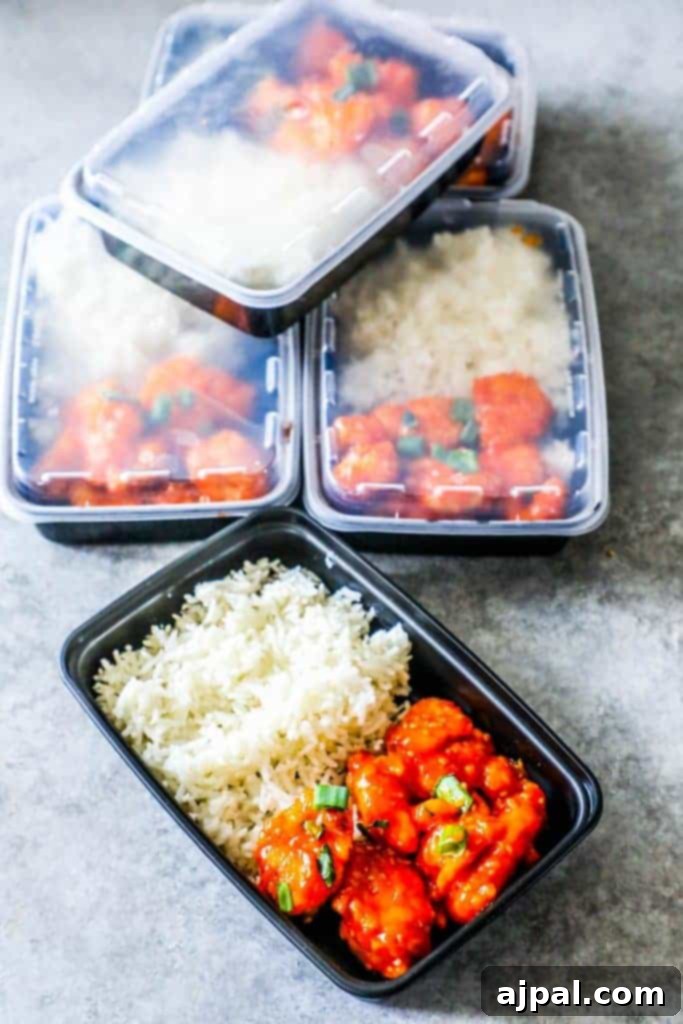
Why the Instant Pot is a Game-Changer for This Recipe
The Instant Pot isn’t just a kitchen gadget; it’s a versatile powerhouse that revolutionizes how we cook. For a recipe like Sweet and Sour Chicken and Rice, its capabilities shine, offering unmatched convenience and consistent results. Here’s why using your Instant Pot for this dish is an absolute game-changer:
- Unbeatable Speed: Pressure cooking drastically reduces overall cooking time. What might take an hour or more on the stovetop and oven can be accomplished in minutes, perfect for those hectic weekdays.
- One-Pot Wonder: The beauty of this recipe is its “one-pot” nature. The Instant Pot allows you to sauté, pressure cook, and even cook your rice all in one appliance, significantly cutting down on dishes and cleanup. This integrated approach saves you precious time and effort in the kitchen.
- Consistently Tender Chicken: The sealed environment of the pressure cooker ensures that the chicken cooks evenly and retains its moisture, resulting in incredibly tender, melt-in-your-mouth pieces every time. No more dry or chewy chicken!
- Flavor Infusion: The high-pressure environment forces flavors deep into the ingredients, creating a more robust and complex sweet and sour sauce that truly penetrates the chicken.
- Perfect Rice, Every Time: Cooking rice in the Instant Pot alongside the chicken guarantees perfectly fluffy, separate grains without any guesswork, freeing up your stovetop for other culinary tasks (or simply keeping it clean!).
- Hands-Off Cooking: Once the Instant Pot is sealed, you’re free to attend to other tasks. There’s no constant stirring or monitoring required, giving you more time back in your day.
Mastering Instant Pot Sweet and Sour Chicken
Crafting this delightful Instant Pot Sweet and Sour Chicken is simpler than you might imagine. The key lies in preparing your ingredients and following the steps that leverage your Instant Pot’s multi-functional capabilities to deliver maximum flavor and convenience. Let’s gather what you’ll need and dive into the method.
Essential Ingredients for Perfection
To embark on this culinary journey, you’ll need a handful of readily available ingredients, each playing a crucial role in building the layers of flavor and texture:
- Chicken (1 lb): Opt for boneless, skinless chicken breasts or thighs, cut into uniform 1-inch cubes. This ensures even cooking and perfect bite-sized pieces that readily absorb the sauce.
- Corn Starch (1 cup): Essential for achieving that desired light crispiness on the chicken exterior and, more importantly, for thickening the sweet and sour sauce to a luxurious, glossy consistency.
- Eggs (2, extra large): Beaten eggs act as a binder, creating an adhesive layer that helps the cornstarch and flour coating adhere beautifully to the chicken, contributing to a delightful texture.
- Flour (1 cup): A light dusting of all-purpose flour works in tandem with the corn starch to create a subtly crispy, golden-brown crust on the chicken pieces when sautéed.
- Grapeseed Oil (2 tbsp): Chosen for its high smoke point and neutral flavor, grapeseed oil is perfect for searing the chicken to a golden perfection without imparting any unwanted tastes. Sunflower oil is a great alternative.
- Sweet and Sour Sauce (8 oz): The heart of the dish! A high-quality store-bought sweet and sour sauce (like Far East brand) provides the signature tangy and sweet notes that coat the chicken in an irresistible glaze.
- Basmati Rice (1 cup): This long-grain rice is known for its fragrant aroma and ability to cook into distinct, fluffy grains, providing an ideal, light canvas that complements the rich chicken.
- Water (4 cups total): Divided into 2 cups for deglazing the pot and facilitating pressure cooking, and another 2 cups specifically for cooking the basmati rice to perfection.
- Sesame Seeds (for garnish): Toasted sesame seeds add a fantastic nutty crunch and an elegant visual appeal, elevating both the taste and presentation of the final dish.
- Green Onions (for garnish): Freshly chopped green onions provide a burst of vibrant color, a refreshing, mild oniony flavor, and a welcome textural contrast.
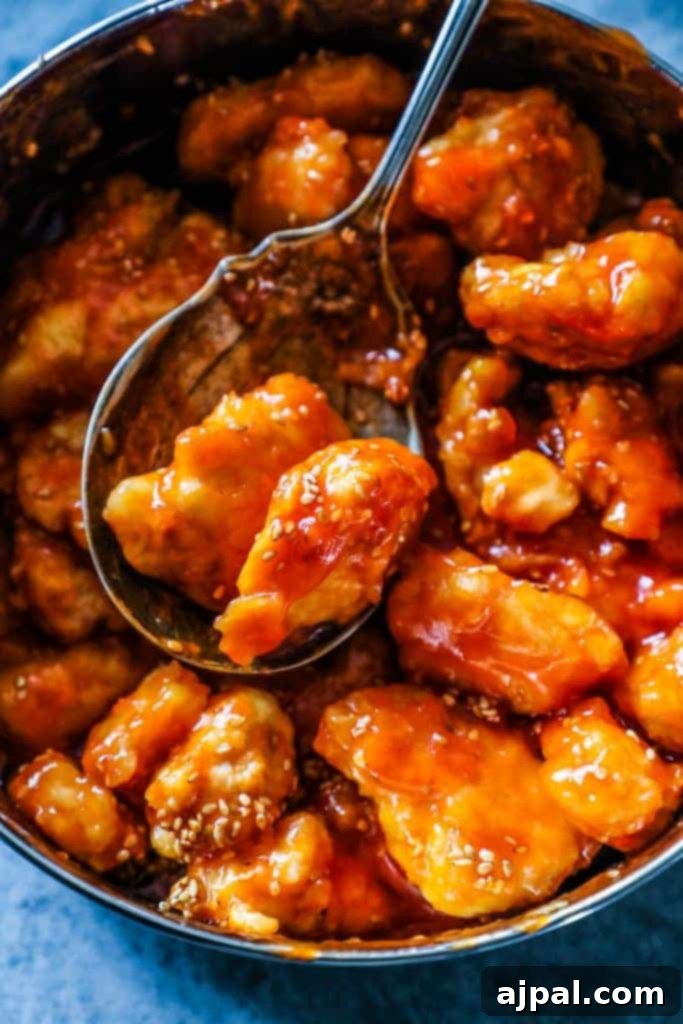
Step-by-Step Cooking Method
Follow these simple steps to create a show-stopping Instant Pot Sweet and Sour Chicken and Rice:
- Preheat Your Instant Pot: Begin by turning your Instant Pot to the “Sauté” function. Allow it to fully heat up before adding any ingredients. This crucial step ensures a non-stick surface and proper browning.
- Prepare the Chicken Coating: Set up a dredging station. Place cornstarch in one small bowl, whisked eggs thoroughly in a second bowl, and flour in a third.
- Coat the Chicken: Dredge each chicken piece first in cornstarch, ensuring it’s lightly coated. Then, dip it into the beaten egg mixture, letting any excess drip off. Finally, coat it generously in flour.
- Sear the Chicken: Once the Instant Pot is hot, add the grapeseed oil. Carefully place the dredged chicken pieces into the hot oil in a single layer (you may need to work in batches to avoid overcrowding). Sear for about 5 minutes per side until each piece is golden brown and slightly puffy. This browning step adds immense depth of flavor and texture.
- Prepare for Pressure Cooking: Remove the browned chicken from the Instant Pot and transfer it to a separate, oven-safe pan insert that fits inside your Instant Pot. Pour the sweet and sour sauce over the chicken in the insert.
- Deglaze the Pot: Add 2 cups of water to the Instant Pot liner and use a wooden spoon to scrape up any browned bits from the bottom. This prevents a “burn” notice and adds flavor to the cooking liquid.
- Assemble for Layered Cooking: Place a trivet at the bottom of the Instant Pot. Carefully lower the chicken pan insert, topped with sweet and sour sauce, onto the trivet.
- Add the Rice: In a second, separate pot-in-pot insert (or an oven-safe bowl that fits on top of your chicken pan), combine 1 cup of basmati rice with 2 cups of water. Place this rice pot on top of the chicken pan insert. Secure a lid on top of the rice pot.
- Pressure Cook: Close and seal the Instant Pot lid, ensuring the vent is in the “Sealing” position. Set the Instant Pot to “Manual” or “Pressure Cook” on high pressure for 3 minutes.
- Natural Release: Once cooking is complete, allow a natural pressure release for 10 minutes. This helps the chicken stay tender and the rice finish cooking perfectly. After 10 minutes, carefully switch the vent to “Venting” for a quick release of any remaining pressure.
- Final Steps: Carefully remove the chicken pan insert from the Instant Pot. Leave the rice in the Instant Pot, keeping its lid firmly on, for an additional 5-10 minutes. This carryover cooking time is crucial for perfectly fluffy rice.
- Garnish and Serve: Once the rice is ready, fluff it with a fork. Plate the sweet and sour chicken and rice. Garnish generously with toasted sesame seeds and fresh green onions, if desired, for added flavor and visual appeal. Enjoy your homemade, restaurant-quality meal!
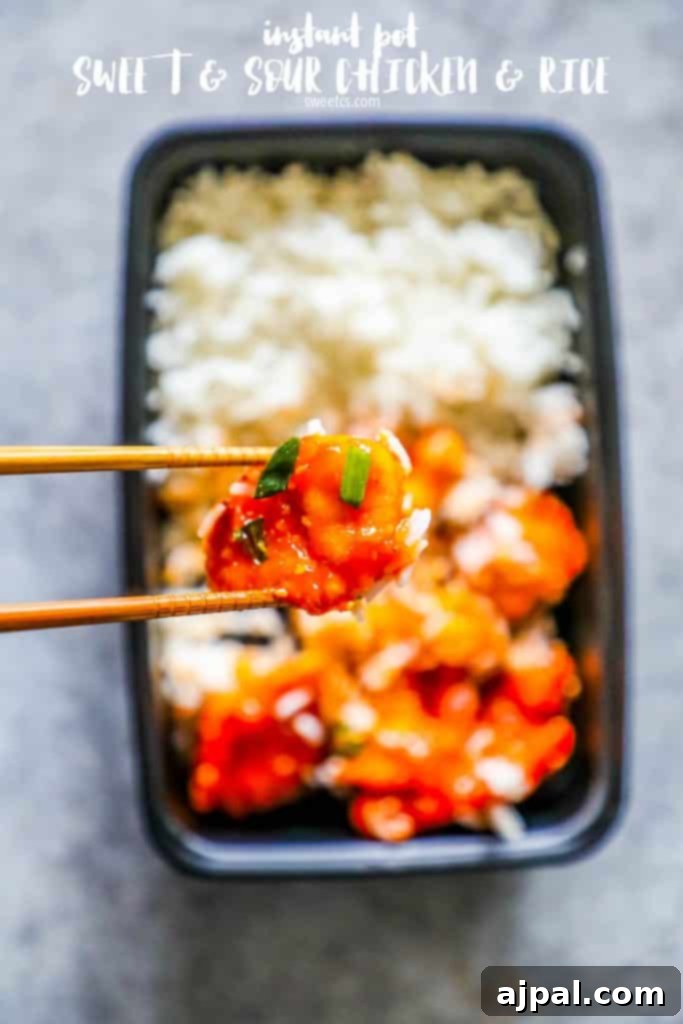
Expert Tips and Tricks for Instant Pot Sweet and Sour Chicken
Achieving a perfect Instant Pot Sweet and Sour Chicken and Rice is simple with a few insider tips. These techniques will help you maximize flavor, optimize texture, and ensure a smooth cooking process every time:
- Brown the Chicken for Depth: Don’t skip the sauté step! Browning the chicken pieces before pressure cooking is crucial. This caramelization adds a deep, savory layer of flavor and a pleasing texture that significantly enhances the overall dish. It also helps lock in juices.
- Enhance the Sauce with Pineapple Juice: For an even more authentic and vibrant sweet and sour flavor, consider adding a splash of pineapple juice to your store-bought sauce, or as part of your homemade sauce base. Its natural sweetness and acidity beautifully complement the other ingredients.
- Master Sauce Thickening: If your sauce isn’t as thick as you prefer after pressure cooking, don’t worry. Remove the chicken, set the Instant Pot to “Sauté” mode, and stir in a cornstarch slurry (1 tablespoon cornstarch mixed with 2 tablespoons cold water) until the sauce reaches your desired consistency.
- Incorporate Vegetables Strategically: To prevent vegetables like bell peppers and onions from becoming overly soft or mushy, add them towards the end of the cooking process. Stir them into the sauce after pressure cooking, letting them cook gently as the sauce thickens on the “Sauté” setting.
- Achieve Flavor Balance: Before serving, always taste your sweet and sour sauce. It’s easy to adjust the flavor profile by adding a little more sugar for sweetness, vinegar for tanginess, or a pinch of salt to round out the flavors.
- Utilize Quick Release Wisely: After pressure cooking, a quick release of pressure is often recommended for chicken recipes to prevent overcooking, ensuring the meat remains tender and juicy rather than dry. However, for this specific recipe, a 10-minute natural release followed by a quick release helps the rice to cook perfectly and the chicken to remain succulent.
- Serve Promptly for Best Texture: While leftovers are delicious, the sweet and sour chicken is at its best when served immediately after the sauce has thickened. This preserves the subtle crispness of the chicken coating and the fresh texture of any added vegetables.
- Garnish for Freshness and Crunch: A final flourish of chopped green onions and a sprinkle of toasted sesame seeds not only adds a beautiful visual appeal but also introduces fresh, aromatic notes and a delightful textural contrast.
- Experiment with Protein Variations: While chicken is a classic choice, feel free to adapt this recipe with other proteins. Pork tenderloin or even shrimp can be fantastic alternatives; just remember to adjust cooking times accordingly to avoid overcooking.
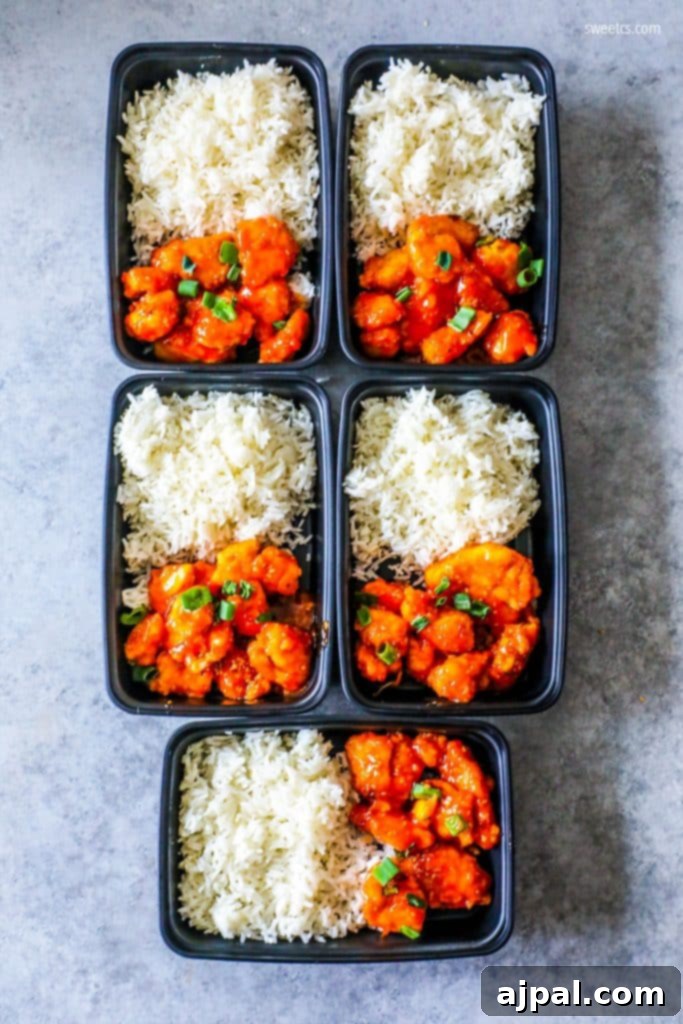
- Excellent for Meal Prep: This recipe is a meal prepper’s dream. Cook a larger batch, cool it completely, and then portion into airtight containers with rice. It reheats beautifully and the flavors often deepen overnight, making for convenient and delicious lunches or dinners throughout the week.
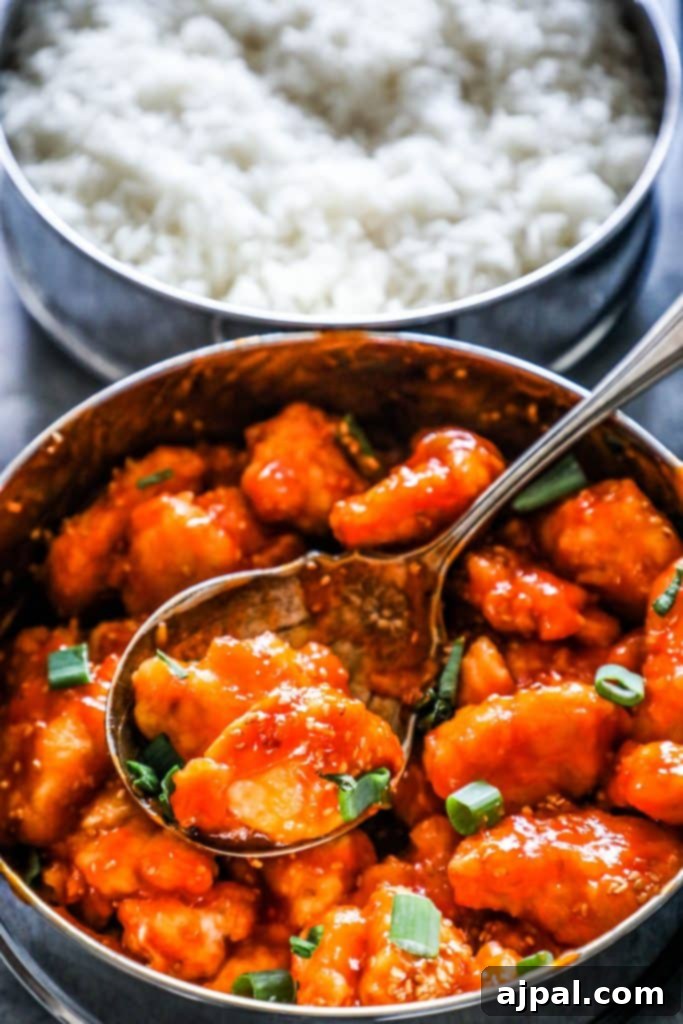
Frequently Asked Questions (FAQs)
Store any leftover Instant Pot Sweet and Sour Chicken and Rice in an airtight container in the refrigerator for up to 3 days. To reheat, gently warm in the microwave or on the stovetop over medium-low heat. If the sauce has thickened too much, add a splash of water or chicken broth to loosen it to your desired consistency.
While it’s generally best to use thawed chicken for optimal searing and sauce absorption, you can use frozen chicken. If doing so, remember to add a few extra minutes to the pressure cooking time. Be aware that frozen chicken tends to release more moisture, which might dilute your sauce, so you might need to thicken it further at the end with a cornstarch slurry.
The key to tender chicken lies in precise cooking time and the release method. Ensure your chicken pieces are cut to a uniform size, and stick to the recommended pressure cooking time. The 10-minute natural release followed by a quick release outlined in this recipe is designed to keep the chicken perfectly succulent.
White vinegar is a common choice for sweet and sour sauce due to its clear color and sharp, clean tanginess. However, for a slightly milder and fruitier tang, apple cider vinegar can be an excellent alternative, offering a subtle depth of flavor.
Absolutely! This dish is wonderfully versatile. Feel free to incorporate quick-cooking vegetables such as diced bell peppers, broccoli florets, snap peas, or baby corn. To maintain their crisp-tender texture, add them after the pressure cooking phase, letting them simmer in the sauce as it thickens.
After you’ve removed the cooked chicken, switch your Instant Pot to the “Sauté” mode. In a separate small bowl, whisk together 1 tablespoon of cornstarch with 2 tablespoons of cold water to create a slurry. Slowly pour this slurry into the simmering sauce in the Instant Pot, stirring continuously until the sauce thickens to your preferred consistency.
Yes, you can easily double this recipe! However, it’s crucial to ensure that you do not exceed the maximum fill line of your Instant Pot. While the ingredient quantities will double, the pressure cooking time generally remains the same, though you might need an extra minute or two for the pot to come to pressure.
Customizing the sweet and sour balance is entirely up to your palate. You can adjust the amount of sugar or vinegar in your sauce base. For less sweetness, reduce the sugar; for less sourness, reduce the vinegar. It’s always best to start with less and add more incrementally, tasting as you go, to achieve your perfect balance.
To create a healthier version, consider using low-sodium soy sauce or coconut aminos, and reduce the added sugar in the sauce. You can also significantly increase the proportion of fresh vegetables to chicken, adding more fiber and nutrients to your meal.
This recipe is a fantastic choice for meal prepping. Cook the dish as directed, allow it to cool completely, and then portion it into individual airtight meal prep containers with the rice. It stores well in the refrigerator and makes for incredibly convenient and satisfying meals throughout the busy week.
Perfect Pairings: What to Enjoy with Sweet and Sour Chicken
While Instant Pot Sweet and Sour Chicken and Rice is a complete meal on its own, pairing it with complementary sides can elevate your dining experience, adding variety in texture and flavor. Here are some fantastic suggestions:
- Steamed Jasmine Rice: Although this recipe includes rice, an extra side of fragrant, perfectly steamed jasmine rice can be a wonderful addition for those who love more rice or for soaking up extra sauce. Its delicate aroma and fluffy texture create a harmonious balance with the bold flavors of the chicken.
- Classic Fried Rice: For a heartier and more elaborate side, whip up a batch of classic fried rice. Incorporate your favorite vegetables, scrambled eggs, or even diced pineapple for an extra layer of sweetness and a delightful textural contrast.
- Flavorful Chow Mein: Lightly stir-fried noodles with a medley of crisp vegetables offer a satisfying chewiness that beautifully complements the tender chicken and tangy sauce. It’s a fantastic way to add another dimension to your Asian-inspired meal.
- Quick Sautéed Vegetables: Boost your meal’s nutrition and freshness with a simple side of sautéed vegetables. Bell peppers, broccoli florets, crisp snow peas, or tender bok choy, quickly cooked until crisp-tender, provide a vibrant crunch and a healthy contrast.
- Crispy Spring Rolls or Egg Rolls: The classic takeout appetizer, crispy spring rolls or egg rolls, make an excellent accompaniment. Their savory filling and crunchy wrapper add a delightful textural element to the meal.
- Light Egg Drop Soup: Begin your meal with a warm, comforting bowl of light egg drop soup. Its delicate flavors and silky texture prepare the palate perfectly for the vibrant and bold tastes of the sweet and sour chicken.
- Refreshing Cucumber Salad: A cool and crisp cucumber salad, perhaps with a light rice vinegar dressing, can provide a refreshing counterpoint to the rich and tangy chicken, cleansing the palate between bites.
- Assorted Dim Sum: For a more adventurous spread, consider offering a selection of dim sum favorites like steamed dumplings, potstickers (try our Spicy Potsticker Crunch Cake!), or fluffy bao buns. These diverse small bites introduce a wonderful array of flavors and textures.
- Savory Lo Mein Noodles: Soft, stir-fried lo mein noodles tossed with a savory sauce and vegetables are another excellent alternative to rice. For a spicy kick, try our spicy peanut noodles!
- Sweet Mango Pudding: Conclude your delicious meal with a light and refreshing dessert like mango pudding. Its tropical sweetness and creamy texture offer a perfect, palate-cleansing finish that harmonizes with the sweet and sour theme.
For more quick and easy Instant Pot recipes, don’t forget to check out our Instant Pot Chicken Fajita Bowls Recipe!
Try these Asian-inspired recipes next:
Sticky Asian Pork Belly Bites
Spicy Potsticker Crunch Cake
Japanese BBQ Salmon
Sesame Crusted Tuna Steaks with Ginger-Soy Sauce
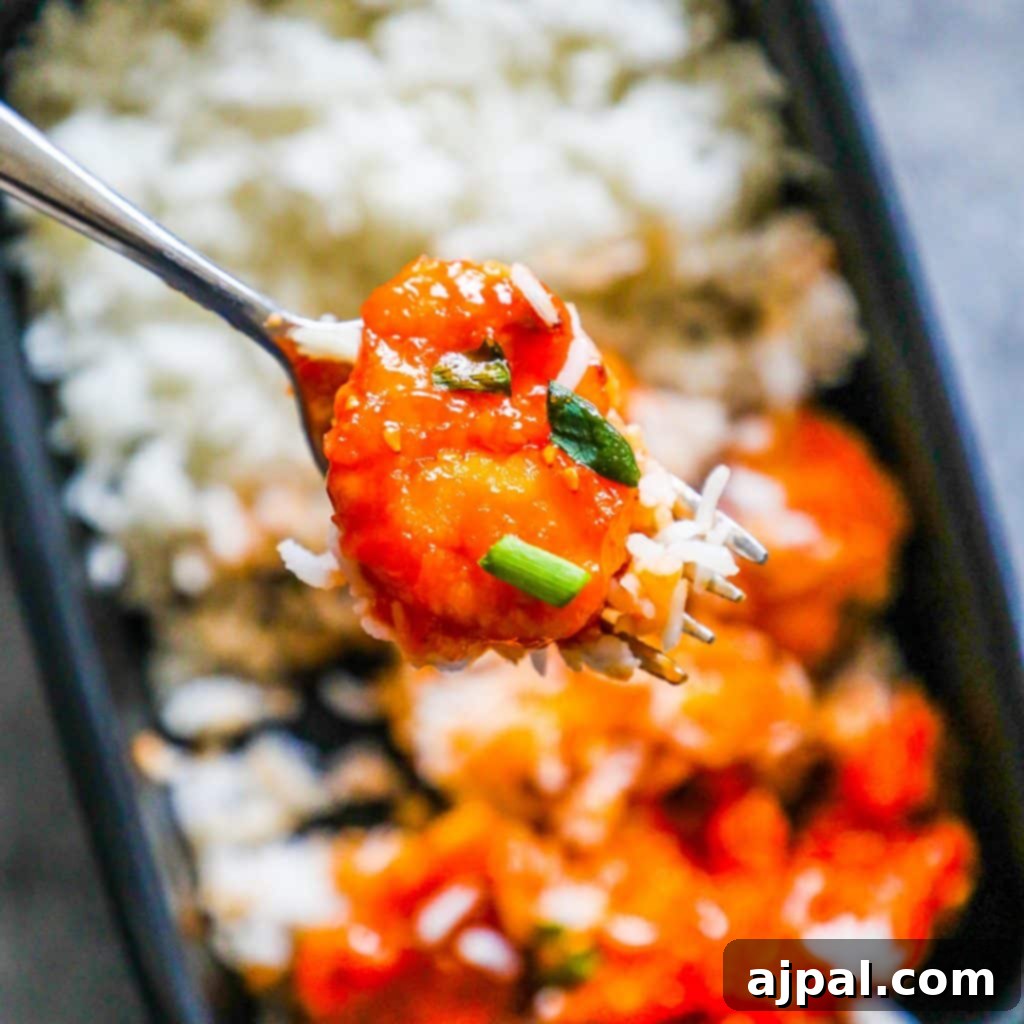
We hope this comprehensive guide to Instant Pot Sweet and Sour Chicken and Rice inspires you to create incredible meals in your kitchen. This recipe offers the perfect blend of convenience, flavor, and versatility, proving that delicious, healthy meals don’t have to be complicated or time-consuming. Whether you’re making a quick family dinner or planning your week’s meal prep, this one-pot wonder is sure to become a cherished favorite.
If you loved this easy recipe and found our tips helpful, please consider leaving a five-star rating and a comment below! Your feedback means the world to us. We also encourage you to share your culinary creations on Instagram, Facebook, and Pinterest – don’t forget to tag us!
Only have 30 minutes to get dinner on the table? Sign up for our 30-minute dinner plans delivered straight to your inbox!
Find and shop my favorite kitchen products in my Amazon storefront here!
Instant Pot Sweet and Sour Chicken and Rice
Courtney O’Dell
6
5
15
20
Equipment
-
Anthony’s Organic Corn Starch, Gluten-free, Vegan and Non-GMO, 2 Pounds
-
Instant Pot Duo Plus, 8-Quart Electric Pressure Cooker
Ingredients
- 1 lb chicken, cut into small 1″ cubes
- 1 cup corn starch
- 2 eggs, extra large
- 1 cup flour
- 2 tbsp grapeseed oil, or sunflower
- 8 oz sweet and sour sauce, I prefer Far East
- 1 cup rice, I use basmati
- 2 cups water, for rice
- 2 cups water, for pot
- sesame seeds, green onions to garnish
Instructions
-
Turn your Instant Pot to “Sauté” mode and allow it to fully heat up before adding any food. This ensures optimal non-stick performance and browning.
-
Prepare your dredging station: place cornstarch in one small individual bowl, flour in another, and whisk eggs thoroughly in a third bowl.
-
Dredge chicken pieces in cornstarch, ensuring a light, even coating. Follow by dipping in the whisked eggs, and then fully coat in flour.
-
Once the Instant Pot is hot, add the grapeseed oil. Carefully add the dredged chicken to the pot in a single layer. Cook for approximately 5 minutes on each side until golden brown and slightly puffy. You may need to work in batches to avoid overcrowding.
-
Remove the browned chicken from the Instant Pot liner and transfer it to an oven-safe pan insert. Pour the sweet and sour sauce over the chicken in the insert.
-
Deglaze the Instant Pot liner by adding 2 cups of water and scraping the bottom with a wooden spoon to loosen any stuck-on bits. This is crucial to prevent a “burn” notice.
-
Place a trivet at the bottom of the Instant Pot liner. Carefully lower the chicken pan insert, with the sauced chicken, onto the trivet.
-
In a second, smaller pot-in-pot insert or oven-safe bowl, combine 1 cup of basmati rice and 2 cups of water. Place this rice pot directly on top of the chicken pan insert. Cover the rice pot with its lid.
-
Secure the Instant Pot lid and ensure the venting knob is set to “Sealing.” Select the “Pressure Cook” or “Manual” setting on high pressure and set the timer for 3 minutes.
-
Once the cooking cycle is complete, allow a natural pressure release for 10 minutes. After 10 minutes, carefully perform a quick release of any remaining pressure by turning the venting knob to “Venting.”
-
Carefully remove the chicken pan insert from the Instant Pot. Leave the rice in the Instant Pot, keeping the lid firmly on, for an additional 5-10 minutes of carryover cooking. This will ensure perfectly fluffy rice.
-
Fluff the rice with a fork, then plate the sweet and sour chicken alongside the rice. Garnish with toasted sesame seeds and freshly chopped green onions, if desired. Serve immediately and enjoy!
Additional Info
Main Dish
Asian, American