
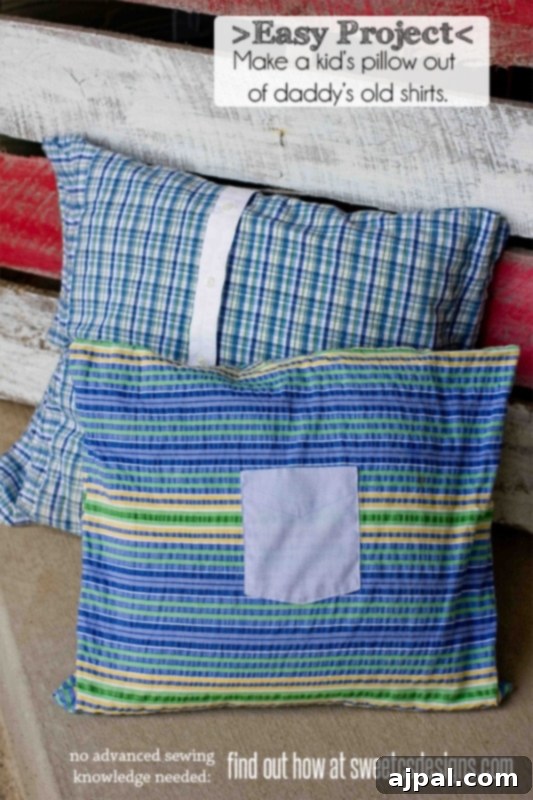
DIY Daddy’s Shirt Pocket Pillows: A Heartfelt Keepsake for Kids
There’s an undeniable magic in watching a father and child bond. For me, witnessing my husband’s connection with our son has been one of the most heartwarming experiences of motherhood. They share a special camaraderie, filled with cuddles, playful rough-housing, and countless moments of laughter. Seeing my little boy look up to his daddy with such admiration truly fills my heart.
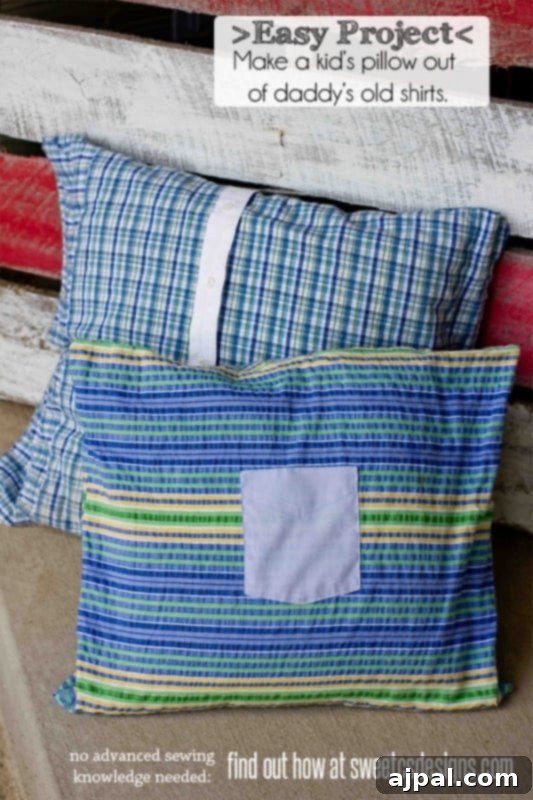
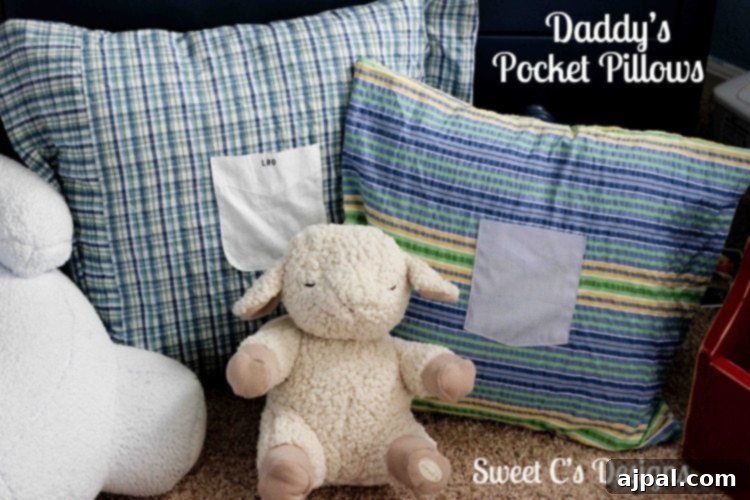
This beautiful connection inspired a very special DIY project. I’ve always believed in the power of upcycling and transforming worn-out items into new treasures, especially when they carry sentimental value. Whenever my husband’s beloved button-up shirts show signs of wear, I ask him to save them, knowing they hold potential for something truly meaningful. While a collection of his shirts awaits transformation into small quilts, I recently tackled a project that had been on my radar: creating adorable Daddy’s Pocket Pillows. These aren’t just any cushions; they are soft, comforting reminders of a father’s love, perfect for little ones.
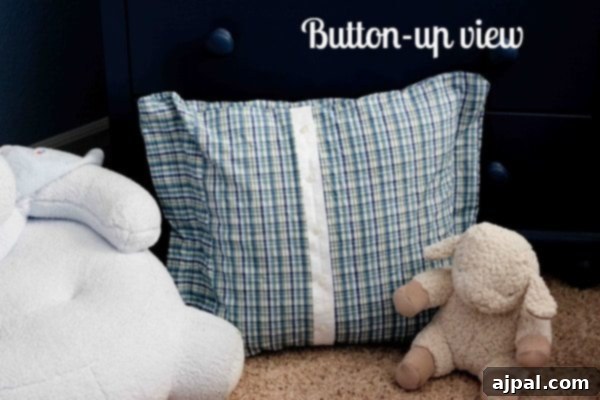
What makes these pillows truly special, beyond their sentimental value, is their practicality. Using a clever button-up technique, I designed the pillow covers to be completely removable and washable. This is essential for any item destined for a child’s room! Once completed, these memory pillows for kids found their home in a cozy reading nook, creating a comfortable spot for daddy and son to share storytime. These upcycled shirt pillows are especially thoughtful for families where a parent travels frequently, or for military families, offering a tangible sense of closeness even when miles separate them. Imagine the comfort a child could find in snuggling with a pillow made from their dad’s shirt, perhaps even featuring a worn fatigue pocket!
Ready to create your own cherished keepsakes? Let’s dive into the simple steps to craft these sentimental DIY pillows.
Crafting Memories: The Heart Behind the Project
Creating these personalized comfort pillows is more than just a sewing project; it’s about preserving memories and offering tangible comfort. Children often find security in familiar objects, and a pillow made from a parent’s shirt provides a unique connection. The scent, the feel of the fabric, and the visual reminder of a cherished shirt can offer immense reassurance, especially when a parent is away. This is particularly impactful for children of military personnel or parents who travel extensively for work. These DIY comfort pillows serve as a loving stand-in, a warm hug from dad when he can’t be there in person.
Beyond emotional comfort, this project embraces the principles of sustainable crafting and fabric repurposing. Instead of discarding old clothing, we give it a new life, reducing waste and creating something beautiful and functional. It’s a wonderful way to teach children about sustainability from a young age, showing them how cherished items can be transformed and continue to bring joy.
What You’ll Need: Materials and Tools for Your Memory Pillow
Before you begin, gather your supplies. This simple sewing project for beginners requires minimal materials and tools:
- An old button-up shirt with a pocket (the star of our project!)
- Coordinating fabric for the back of the pillow (if the shirt fabric isn’t sufficient or you want a different look)
- A pillow insert (choose the size that matches your desired pillow dimensions)
- Matching thread
- Sewing machine (or needle and thread for hand-sewing, though a machine is recommended for durability)
- Seam ripper
- Fabric scissors
- Measuring tape or ruler
- Fabric pins
- Iron and ironing board (optional, but highly recommended for crisp seams)
When selecting the shirt, consider its condition and fabric type. Cotton or flannel shirts work wonderfully for their softness and washability. Ensure the shirt is clean before you begin. The pocket is a key feature, so pick a shirt with a well-preserved pocket.
Step-by-Step Guide to Your Custom Daddy’s Pocket Pillow
This tutorial will guide you through creating a washable pillow cover with a secure button closure on the back, making it easy to remove and clean. We’ll integrate the pocket from Daddy’s shirt on the front for that special touch.
Step 1: Preparing Your Materials
- Wash and Iron the Shirt: Even if the shirt appears clean, a fresh wash ensures it’s ready for crafting. Ironing will make cutting and sewing much easier and more precise.
- Deconstruct the Shirt (Partially): If you plan to use parts of the shirt for the pillow back, you might need to carefully deconstruct it. For now, focus on the pocket.
Step 2: Carefully Remove the Pocket
Using a seam ripper, carefully detach the pocket from the shirt. Take your time to avoid tearing the fabric of the pocket or the shirt, as both pieces might be used. Gently snip the threads holding the pocket in place, and once freed, trim any stray threads for a clean edge.
Step 3: Measure and Cut Your Fabric Pieces
Decide on the size of your pillow. Standard throw pillow inserts are often 16×16 inches or 18×18 inches. You’ll need three main fabric pieces for the cover:
- Front Piece: Cut one square of fabric (either from the shirt body or a new coordinating fabric) that matches the dimensions of your pillow insert, plus a 1/2-inch seam allowance on all sides. For an 18×18 inch pillow insert, cut a 19×19 inch square.
- Back Pieces (for button closure): This is how we make the cover removable. You’ll need two rectangular pieces for the back. To calculate their size, take the width of your front piece (e.g., 19 inches). For the length, divide the front piece’s length by two, then add 4-5 inches for overlap and hems. So, for a 19×19 inch pillow: cut two pieces, each 19 inches wide by approximately 13-14 inches long. This overlap creates the opening for the pillow insert and the button closure.
Step 4: Prepare the Pocket
Ensure the pocket’s top edge (where your hand would go in) is neatly hemmed or finished. If not, fold it over twice (about 1/4 inch each time) and press, then stitch to create a clean, durable opening.
Step 5: Attaching the Pocket to the Front Fabric
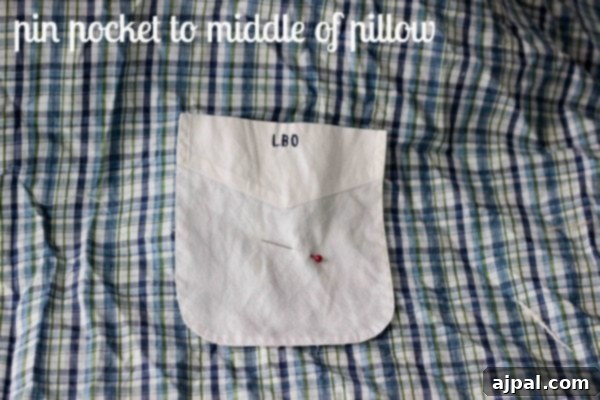
Lay your front fabric square right side up. Position the pocket centrally on the square or wherever you desire. Use pins to secure it in place. Then, using your sewing machine, straight stitch around the two sides and the bottom edge of the pocket, leaving the top opening free. Reinforce the top corners of the pocket opening with a small triangle stitch or backstitch for durability.
Step 6: Creating the Button-Up Back Closure
This is where the magic of the button-closure pillow comes in:
- Hem the Back Pieces: Take one of your back rectangular pieces. Along one of the long edges (the one that will overlap), fold the fabric over 1/2 inch, press, then fold over another 1.5-2 inches, and press again. Stitch this hem in place. Repeat for the other back piece. One of these hems will eventually have buttonholes, and the other will have buttons.
- Create Buttonholes: On the wider hem of one back piece, mark evenly spaced spots for your buttons. Typically, 3-5 buttons work well for a standard pillow. Create buttonholes at these marks using your sewing machine’s buttonhole function.
- Attach Buttons: On the other back piece, overlap it with the buttonholed piece, ensuring the edges align. Mark where the buttons should go through the buttonholes onto the second piece. Sew your buttons securely onto this second back piece.
Step 7: Assembling the Pillow Cover
- Layer the Pieces: Lay your front fabric piece (with the pocket attached) right side up.
- Add Back Pieces: Place one of your back pieces on top, right side down, aligning the raw edges with the top edge of the front piece. The hemmed edge with buttons should be towards the center.
- Add Second Back Piece: Place the second back piece on top of the first, right side down, aligning its raw edges with the bottom edge of the front piece. Ensure the two back pieces overlap significantly in the middle, creating your button-closure opening.
- Pin and Stitch: Pin all layers together around the entire perimeter. Stitch around all four sides using a 1/2-inch seam allowance. Trim the corners to reduce bulk.
- Finish: Turn the pillow cover right side out through the buttoned opening. Gently push out the corners. Give it a good press with an iron.
Step 8: Insert the Pillow Form
Unbutton your newly sewn cover, insert your pillow form, and re-button it. You now have an adorable, removable, and washable Daddy’s Shirt Pillow!
More Than Just a Pillow: Practical Benefits & Creative Variations
Beyond being a heartwarming handmade gift idea, these pocket pillows offer several practical advantages. The removable and washable cover is a godsend for any item in a toddler’s room, making clean-up a breeze. The functional pocket on the front opens up a world of possibilities:
- Secret Stash: Perfect for hiding small treats, a special note from daddy, or even the tooth fairy’s treasures.
- Learning Tool: Flashcards or small picture books can be tucked away, encouraging quiet play and learning.
- Button Practice: The button-up back closure isn’t just for practicality; it’s a fantastic way for little hands to practice fine motor skills and buttoning, preparing them for dressing themselves.
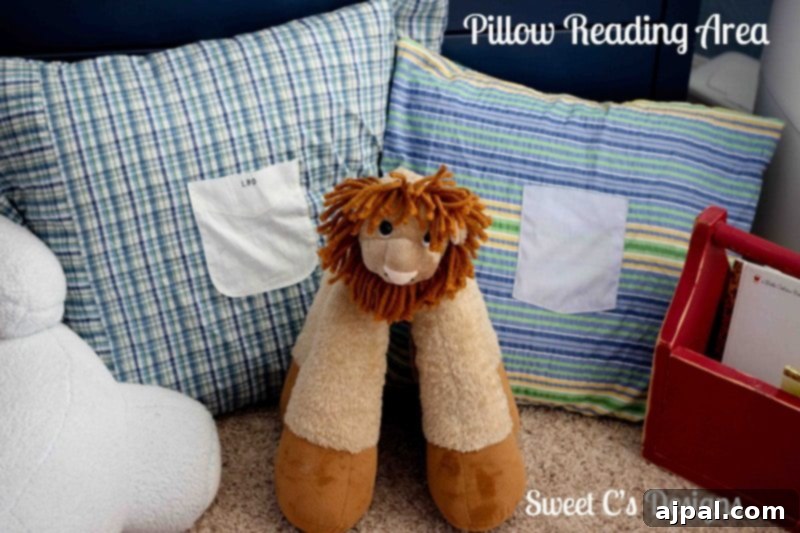
I loved that one of my husband’s shirts was even monogrammed, adding an extra layer of personalization to the pillow. For these particular pillows, I used madras fabrics that beautifully complemented my little man’s bedding, but the possibilities are endless! You could use a variety of shirts – flannel for extra coziness, denim for durability, or even a soft cotton t-shirt (though a button-up allows for the pocket feature).
Creating a Cozy Family Space with Your New Pillows
These customizable DIY pillows are perfect for establishing a comfortable and inviting atmosphere in a child’s room. I transformed a little corner into a dedicated children’s reading nook using these very pillows. Now, daddy can comfortably sit on the floor, our son can relax in his favorite chair, and these pillows provide excellent back support for both, fostering more enjoyable shared reading experiences. It’s a simple setup that encourages family bonding and makes reading an even more cherished activity.
Creative Adaptations for Every Child
The beauty of this easy sewing craft lies in its versatility. You can easily adapt the design to suit any child’s room or preference:
- For Little Girls: Swap out plaid for a lovely floral print or a pastel-colored shirt from mom or grandma. Adding a small ruffle around the pocket or along the edges can give it a charming touch.
- Multiple Pockets: If you have more fabric, consider adding two or even three pockets to a single pillow for extra storage and visual interest.
- Beyond Button-Ups: If your hubby isn’t a fan of button-up shirts, consider using jeans for a sturdy, rustic look. A jean pocket would also make a fantastic feature! Just be sure the fabric isn’t too thick for your sewing machine.
- Embroidered Details: Personalize further by embroidering your child’s initial or a small, sweet message on the pillow or even on the pocket itself.
These family heirloom crafts transform an everyday item into a cherished keepsake. When daddy is home, these pillows define their special spot – a place for stories, snuggles, and shared moments. And when daddy is away, they become a source of comfort, allowing the little one to cuddle up and read their favorite book, feeling close to him even when he’s far away. It’s a truly wonderful way to maintain that special bond and bring a piece of daddy home.
What treasured items have you created or kept in your kids’ rooms that serve as little reminders of you and your husband? Share your own creative ideas for making a house feel more like a home, filled with love and lasting memories.