
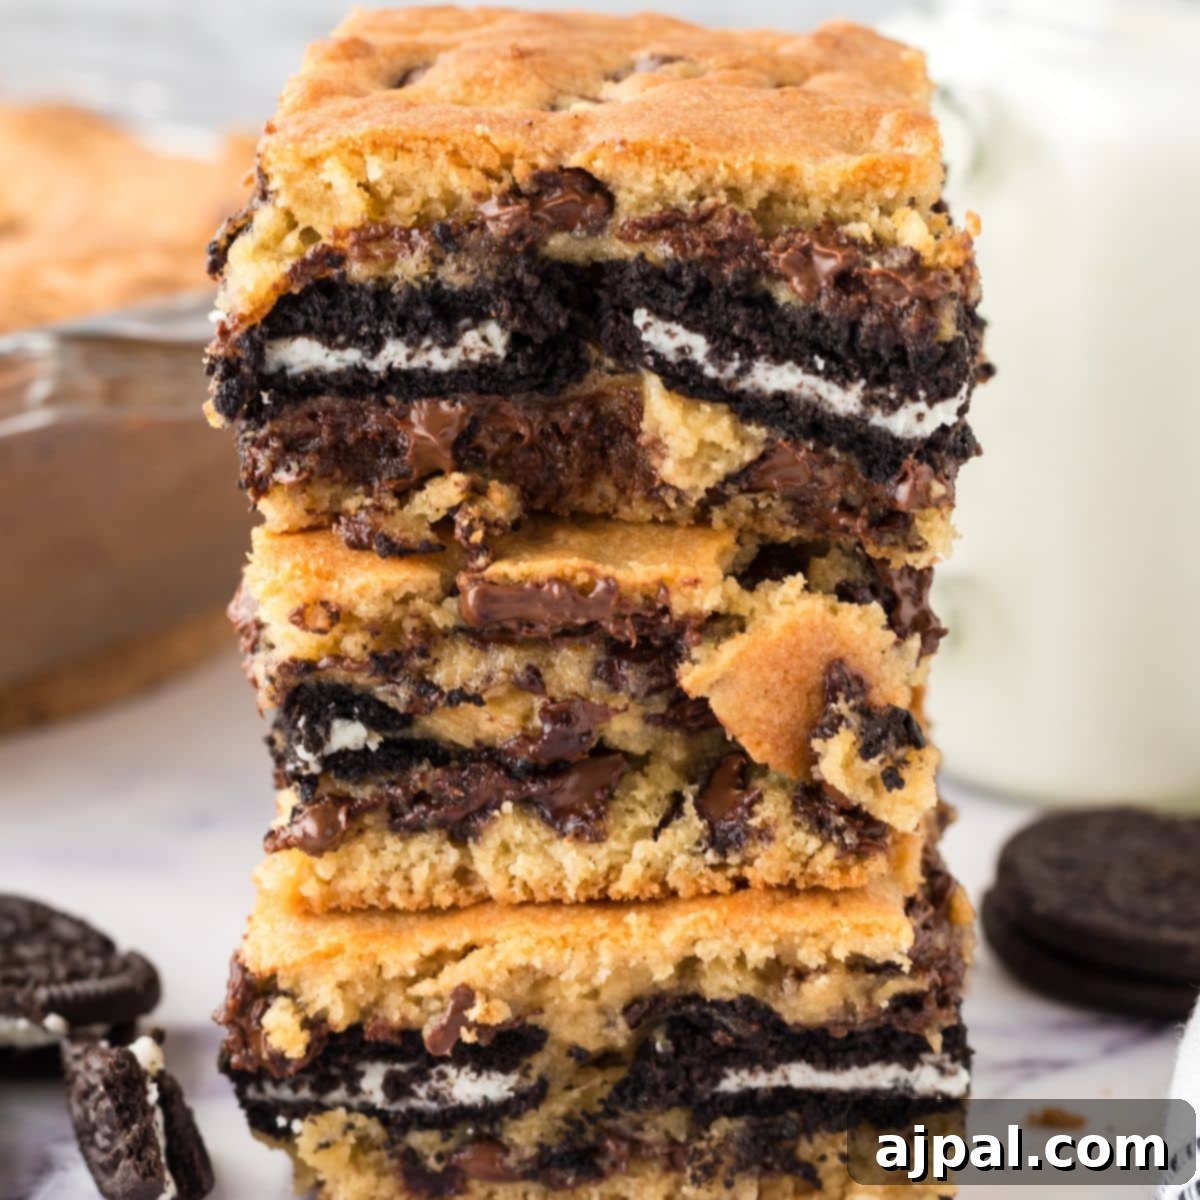
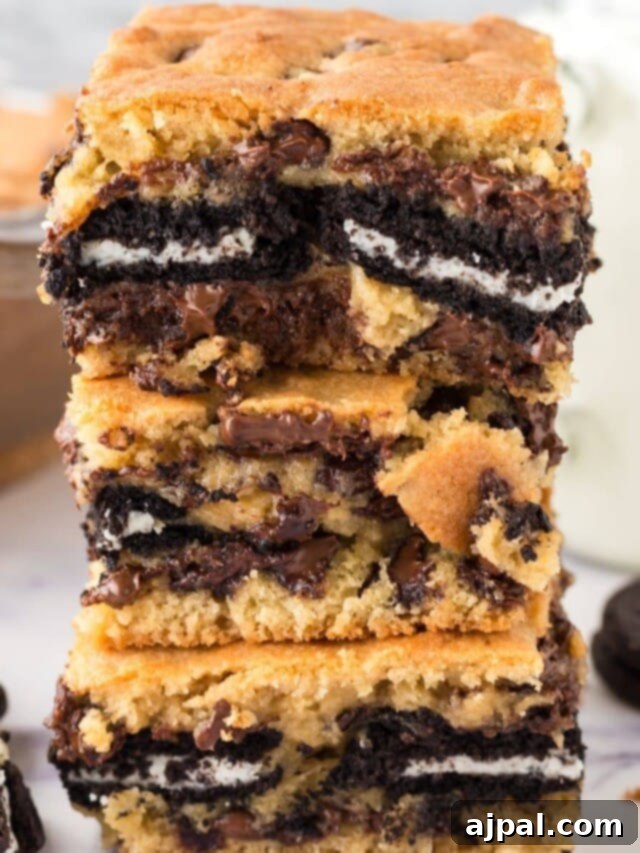
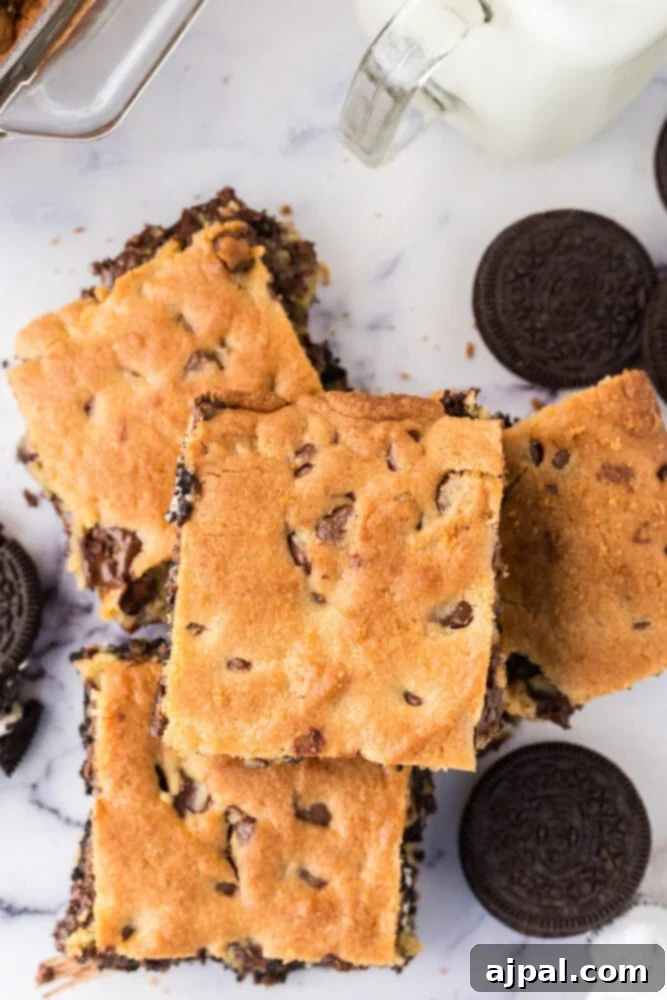
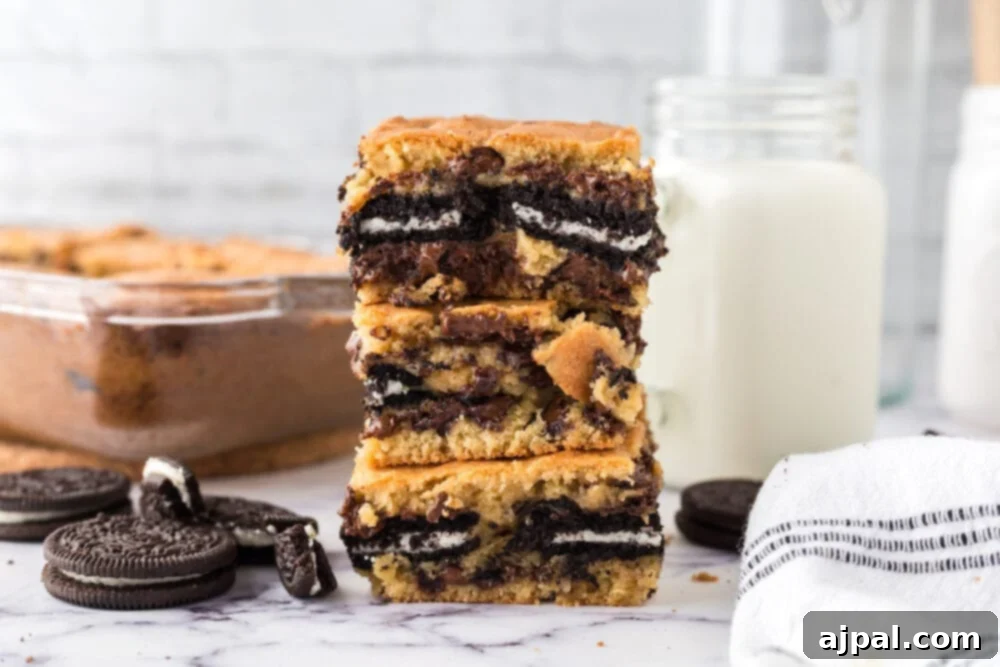
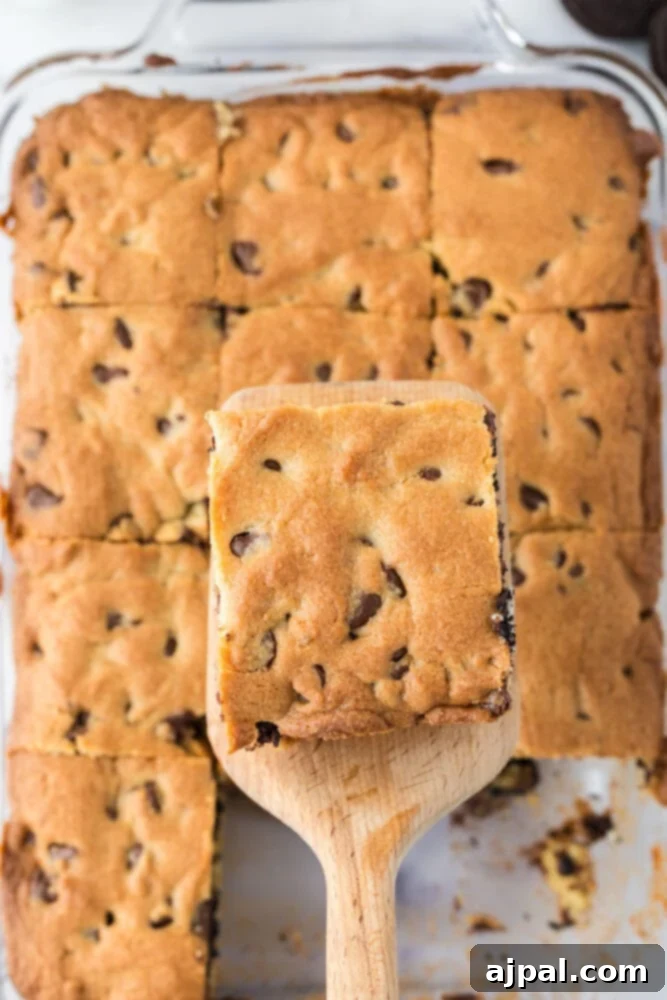
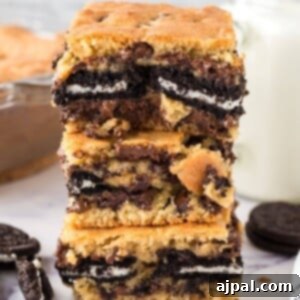
Indulge in a truly decadent treat with these irresistible Oreo Cookie Bars! If you’re a fan of classic cookie bars and the iconic cookies-and-cream flavor of Oreos, then prepare to fall in love. This recipe elevates a simple chocolate chip cookie bar by stuffing it with whole Oreo cookies, creating an explosion of texture and taste in every bite. Perfect for family gatherings, potlucks, or simply satisfying a sweet craving, these bars are guaranteed to become a household favorite. Their soft, chewy interior, rich chocolate chips, and crispy Oreo surprise make them an unforgettable dessert that everyone will adore.
Why You’ll Love These Irresistible Oreo Cookie Bars
These aren’t just any cookie bars; they are a celebration of flavor and texture that brings joy to every bite. Here’s why these stuffed Oreo cookie bars will quickly become a cherished recipe in your baking repertoire:
- Unbeatable Flavor Combination: The classic taste of rich chocolate chip cookie dough perfectly complements the distinct crunch and creamy filling of Oreos. It’s a match made in dessert heaven, offering a nostalgic flavor profile with an exciting twist.
- Perfect Texture Contrast: Imagine biting into a soft, chewy cookie bar only to discover a crisp, delightful Oreo center. This textural interplay keeps every bite interesting and satisfying, ensuring these bars stand out from traditional cookies.
- Effortlessly Impressive: Despite their gourmet appearance and incredible taste, these Oreo cookie bars are surprisingly simple to make. They require minimal effort for a maximum impact, making them ideal for both novice and experienced bakers alike.
- Crowd-Pleasing Potential: Whether you’re hosting a party, bringing a treat to a potluck, or simply looking for a dessert to share with loved ones, these bars are universally loved. They appeal to all ages and are often the first to disappear from any dessert spread.
- Versatility for Customization: While perfect as is, this recipe also serves as an excellent base for creativity. Experiment with different Oreo flavors or add your favorite mix-ins to truly make them your own.
Mastering the Art of Stuffed Oreo Cookie Bars
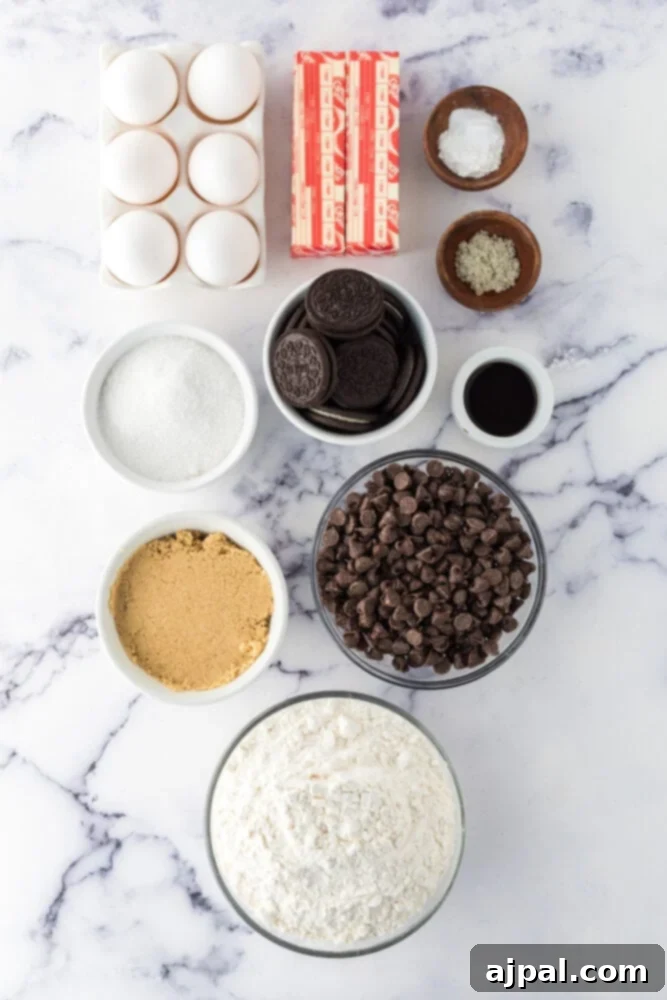
Crafting these delicious Oreo stuffed cookie bars begins with a careful selection of ingredients. Each component plays a crucial role in achieving the perfect balance of flavor and texture. Let’s delve into what you’ll need and why:
Essential Ingredients
- 1 cup Salted Butter, softened: Butter is the foundation of our cookie dough, providing a rich, tender base. Using softened butter is essential for a smooth, uniform dough texture, allowing it to cream beautifully with the sugars and contribute to a deliciously moist bar. If you prefer unsalted butter, simply add an extra pinch of salt to balance the flavors.
- ¾ cup White Granulated Sugar: This sugar contributes to the classic sweetness and helps create a crisp edge on your cookie bars through caramelization during baking. It works in harmony with brown sugar to achieve a balanced sweetness.
- ¾ cup Light Brown Sugar: The molasses in light brown sugar adds a deep, caramel-like flavor and, crucially, provides moisture, resulting in a chewier, softer bar. It’s key for that desirable chewy texture that makes these bars so addictive.
- 3 Large Eggs: Eggs are vital for binding the ingredients, providing structure, and adding richness to the dough. They also contribute to the leavening process, ensuring a light yet substantial bar. Ensure they are at room temperature for better emulsification with the butter and sugar.
- 1 teaspoon Vanilla Extract: A dash of good quality vanilla extract enhances all the other flavors, adding a warm, aromatic depth that is indispensable in any classic cookie recipe.
- 1 teaspoon Baking Soda: As a leavening agent, baking soda reacts with the acidic brown sugar and chocolate to produce carbon dioxide, helping the bars rise and achieve a tender crumb. It’s a crucial component for the bar’s airy texture.
- ½ teaspoon Baking Powder: This second leavening agent provides an additional lift, ensuring your cookie bars are perfectly puffed and tender. It acts independently of acidic ingredients, offering a reliable rise.
- 1 teaspoon Coarse Sea Salt: Salt is not just for seasoning; it’s a flavor enhancer. It balances the sweetness of the sugars and chocolate, bringing out the depth of all the ingredients and preventing the bars from tasting overly sweet.
- 3 cups All-Purpose Flour: Flour provides the main structure for your cookie bars. It absorbs the wet ingredients to form the dough and gives the bars their chewiness and body. Measure it correctly by spooning it into the measuring cup and leveling it off.
- 2 cups Semi-Sweet Chocolate Chips: These provide delightful bursts of melted chocolate goodness throughout the bars. Semi-sweet chocolate offers a balanced sweetness that complements the Oreos without being overpowering. Feel free to use milk chocolate or dark chocolate for a different profile.
- 20 Oreos: The star of the show! Whole Oreos are nestled within the cookie dough, delivering that signature cookies-and-cream flavor and a fantastic crunchy texture contrast. Don’t be shy; these are what make the bars truly special.


Step-by-Step Guide to Baking Your Oreo Cookie Bars
Once you’ve gathered all your ingredients, follow these simple steps to create perfect homemade Oreo dessert bars:
- Prepare Your Baking Dish: Begin by preheating your oven to 375°F (190°C). Then, generously coat a 9×13 inch baking dish with butter or nonstick cooking spray. This crucial step prevents sticking and ensures easy removal of your delicious bars.
- Cream the Wet Ingredients: In a large mixing bowl, combine the softened butter, white granulated sugar, and light brown sugar. Use a hand mixer (or stand mixer) to cream these ingredients together on high speed for about 2 minutes. Continue mixing until the mixture is light, fluffy, and smooth. This aeration is key to a tender cookie bar.
- Incorporate Eggs and Vanilla: To the creamed butter and sugar mixture, add the eggs one at a time, mixing well after each addition. Pour in the vanilla extract. Keep the mixer on high speed and beat until the eggs and vanilla are thoroughly incorporated, creating a cohesive and well-emulsified batter.
- Add Dry Ingredients: Reduce the mixer speed to low-medium. Gradually add the baking soda, baking powder, salt, and all-purpose flour to the wet ingredients. Mix just until the dry ingredients are fully incorporated and no streaks of flour remain. Be careful not to overmix, as this can lead to tough bars.
- Fold in Chocolate Chips: Remove the bowl from the mixer. Using a spatula, gently fold in the semi-sweet chocolate chips until they are evenly distributed throughout the cookie dough. This ensures every bite has a delightful chocolatey surprise.
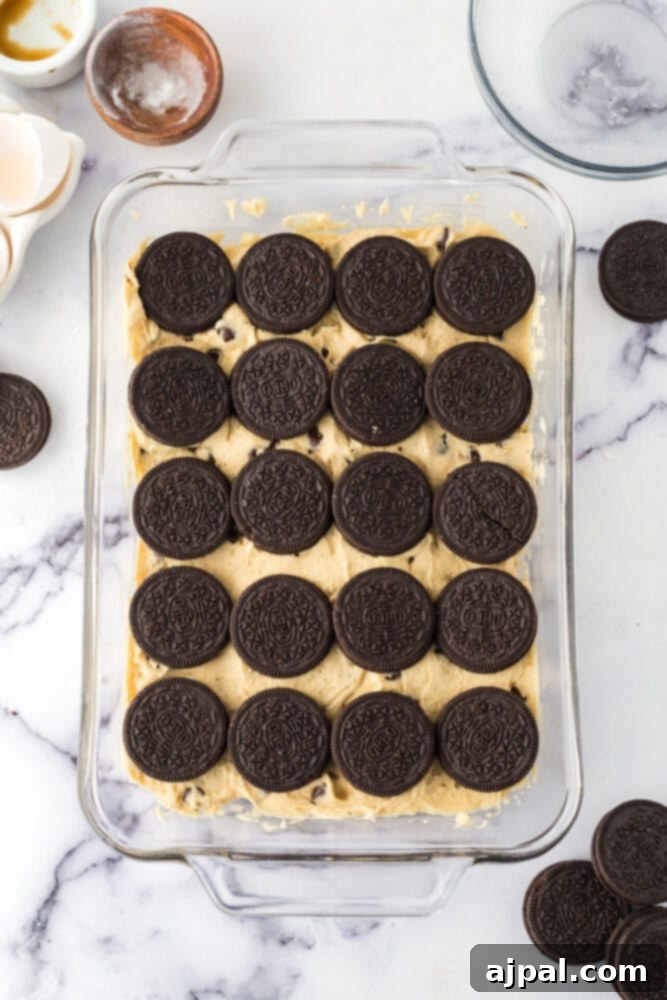
- Assemble the Layers: Press about half of the cookie dough evenly into the bottom of your prepared 9×13 inch baking dish. This forms the base layer of your cookie bars. Carefully arrange the 20 whole Oreos on top of this dough layer, spacing them out so each potential bar slice will contain an Oreo. Finally, gently press the remaining cookie dough over the Oreos, using a spatula to spread it evenly and ensure the Oreos are completely covered.
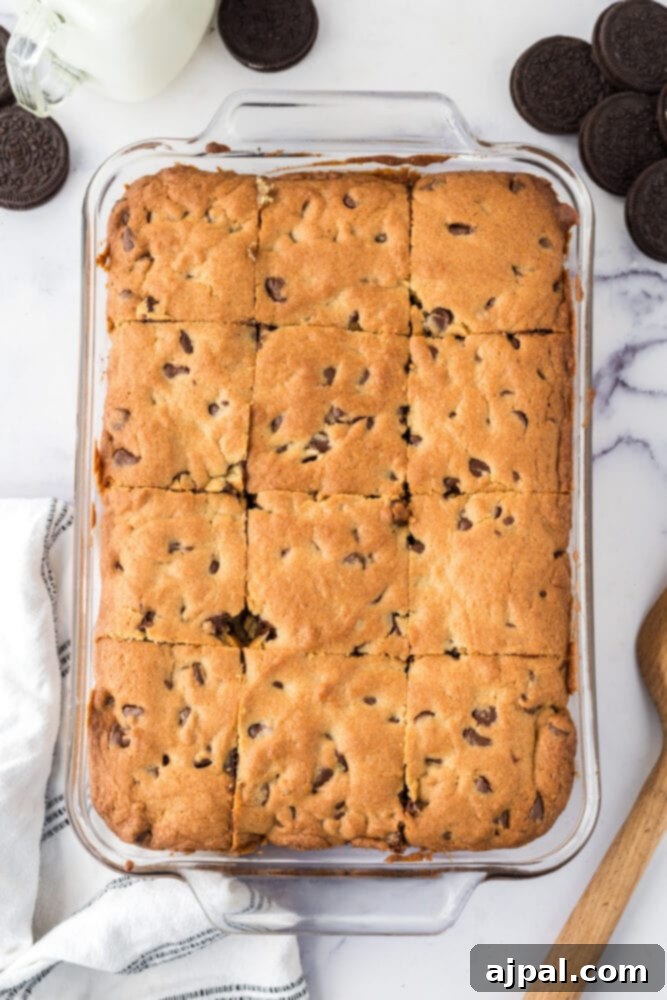
- Bake to Golden Perfection: Place the baking dish in the preheated oven and bake for 25-30 minutes. Look for the top of the dish to turn a beautiful golden brown. The center might appear slightly soft, but remember it will continue to set as it cools.
- Cool and Serve: Once baked, remove the bars from the oven. The hardest part is waiting! Allow your Oreo cookie bars to cool in the pan for at least 30 minutes before attempting to slice them. This cooling time is essential for the bars to set properly, ensuring clean cuts and perfect squares. Slice, serve, and enjoy this incredible treat!
Pro Tips for the Ultimate Oreo Cookie Bar Experience
Achieving perfectly baked chocolate chip Oreo bars is simple with a few expert tricks up your sleeve:
- Properly Soften the Butter is Key: For a consistently smooth, well-mixed dough, ensure your butter is truly softened to room temperature. It should be pliable enough to leave an indentation when pressed, but not melted or greasy. If you’re short on time, cut the butter into smaller pieces to speed up the softening process, or microwave it in very short bursts (5-10 seconds) until just softened, being careful not to liquefy it.
- Always Use Fresh Leavening Agents: Baking soda and baking powder lose their potency over time. Always check the expiry dates to ensure your leavening agents are fresh. This guarantees that your cookie bars will rise beautifully and have the desired light and tender texture, preventing dense or flat results.
- Mix Just Until Combined: The golden rule in baking, especially with flour, is to avoid over-mixing. Once you add the flour to your wet ingredients, mix on low speed just until you no longer see dry streaks of flour. Over-mixing develops gluten, which can lead to tough, dry, and dense cookie bars.
- Even Oreo Distribution: When layering the Oreos, take a moment to arrange them evenly across the bottom layer of dough. This thoughtful placement ensures that every single square or slice of your cookie bar will have a delightful, crispy Oreo center, making each serving equally enjoyable.
- Chill the Dough if Needed: If your cookie dough feels too soft or sticky to handle, particularly in a warm kitchen, don’t hesitate to chill it. Placing the dough in the refrigerator for 20-30 minutes will firm it up, making it much easier to press into the pan and spread the top layer. This also helps the bars maintain their shape during baking.
- Avoid Over-Baking for Softness: Keep a close eye on your oven. Bake the bars just until the edges are golden brown and the center appears set but still slightly soft. The bars will continue to cook slightly from residual heat after being removed from the oven (this is called carryover cooking). Over-baking can result in dry, crumbly bars rather than the desired soft and chewy texture.
- Cool Completely Before Cutting: Patience is a virtue, especially when it comes to cutting baked goods. Allowing your easy Oreo cookie bars to cool completely in the pan is critical. This setting period allows the internal structure to firm up, making it much easier to achieve clean, neat slices without crumbling.
- Storage Best Practices: Store any leftover Oreo cookie bars in an airtight container at room temperature. They will remain fresh and delicious for up to 5 days. For longer storage, you can freeze them for up to 3 months. To enjoy later, simply thaw them at room temperature.
Creative Variations and Serving Suggestions
While these Oreo cookie bars are fantastic on their own, there’s always room to customize and elevate them further:
- Oreo Flavor Explorations: Don’t limit yourself to classic Oreos! Experiment with different flavors like Golden Oreos, Mint Oreos, Peanut Butter Oreos, or even seasonal varieties for unique taste experiences. Each flavor will add a distinct twist to your cookie bars.
- Additional Mix-ins: Boost the flavor and texture by folding in extra goodies with your chocolate chips. White chocolate chips, chopped nuts (walnuts, pecans), toffee bits, or even mini marshmallows can add delightful layers of flavor and crunch.
- Drizzle or Frosting: Once the bars have cooled, consider a simple glaze or frosting. A drizzle of melted white chocolate, a sprinkle of powdered sugar, or a light cream cheese frosting can add an extra touch of decadence.
- Serve Warm with Ice Cream: For an ultimate dessert experience, warm a slice of an Oreo cookie bar in the microwave for a few seconds and serve it with a scoop of vanilla bean ice cream. The contrast of warm, chewy bar and cold, melting ice cream is heavenly.
- Holiday Themed: For holidays, use themed Oreos (e.g., Halloween Oreos, Christmas Oreos) and add appropriate sprinkles to the top layer of dough before baking.
Frequently Asked Questions About Oreo Cookie Bars
Yes, absolutely! This recipe is incredibly versatile. You can use any Oreo flavor you prefer, such as Golden Oreos, Mint Oreos, or even peanut butter Oreos. Different flavors can add a fun and exciting twist to your cookie bars.
Yes, you can. To make this recipe gluten-free, substitute the all-purpose flour with a 1:1 gluten-free baking flour blend (ensure it contains xanthan gum). Also, make sure to use gluten-free Oreos or other similar gluten-free sandwich cookies.
Yes, unsalted butter works perfectly. If you use unsalted butter, you might want to add an additional ¼ teaspoon of salt to the recipe to compensate for the salt found in salted butter and to enhance the flavors.
Yes, with a few substitutions. Use a vegan butter alternative, a plant-based egg substitute (like flax eggs or commercial vegan egg replacer), and ensure your chocolate chips and Oreos are vegan-friendly (there are many vegan Oreo options available).
Nothing at all! Dough consistency can vary based on several factors, including the size of your eggs, the humidity in your kitchen, and even the specific brand of flour. If your dough is too sticky to comfortably handle, simply chill it in the refrigerator for 30 minutes to an hour. This will make it much easier to work with.
For the cleanest cuts, it’s crucial to let the bars cool completely in the pan. Once cooled, use a sharp, non-serrated knife. For perfectly neat squares, wipe your knife clean with a damp cloth after each cut to prevent sticking and crumbling.
Yes, these cookie bars freeze exceptionally well. Once they are completely cooled, wrap them tightly in plastic wrap and then aluminum foil, or store them in an airtight, freezer-safe container to prevent freezer burn. Thaw them at room temperature when you’re ready to enjoy them.
If you loved this easy recipe for Oreo stuffed cookie bars, please consider sharing it with your friends and family! Your feedback means the world to us. Please help us spread the joy on Instagram, Facebook, and Pinterest!
Share on Facebook
Share
Pin this now to find it later
Pin It
Follow on Instagram
Follow
Click here to view the web story for this recipe!

Only have 30 minutes to get dinner on the table? Sign up for my 30-minute dinner plans direct to your inbox!
Find and shop my favorite products in my Amazon storefront here!
Stuffed Oreo Cookie Bars
Email Recipe
Print Recipe
Equipment
-
Magnetic Measuring Cups Set
-
Magnetic Measuring Spoons Set
-
KitchenAid 7-Quart Stand Mixer
-
USA Pan 9×13 inch Baking Pan
Ingredients
- 1 cup salted butter, softened
- ¾ cup white granulated sugar
- ¾ cup light brown sugar
- 3 large eggs
- 1 teaspoon vanilla extract
- 1 teaspoon baking soda
- ½ teaspoon baking powder
- 1 teaspoon coarse sea salt
- 3 cups all-purpose flour
- 2 cups semi-sweet chocolate chips
- 20 Oreos
Instructions
- Preheat your oven to 375°F (190°C) and coat a 9×13 inch baking dish with butter or nonstick cooking spray.
- In a large mixing bowl, use a hand mixer to cream the butter, white sugar, and brown sugar together. Mix on high speed for about 2 minutes, or until smooth and creamy.
- Once the butter and sugars are creamed together, add the eggs and vanilla extract. Keep the mixer on a high speed and mix until the eggs and vanilla are thoroughly incorporated.
- Add the baking soda, baking powder, salt, and flour. Reduce the speed of the mixer to low-medium and mix until the dry ingredients are fully incorporated.
- Gently fold in the chocolate chips until they are evenly distributed throughout the dough.
- Press about half of the cookie dough into the bottom of the prepared baking dish. Top the cookie dough with the Oreos, followed by the remaining cookie dough. Use a spatula to spread the top layer of cookie dough and ensure it fully covers the Oreos.
- Bake for 25-30 minutes, or until the top of the dish is golden brown.
- Allow your bars to cool for at least 30 minutes before slicing. Serve and enjoy!
Nutrition
Calories: 592kcal
Carbohydrates: 81g
Protein: 7g
Fat: 29g
Saturated Fat: 16g
Polyunsaturated Fat: 11g
Trans Fat: 1g
Cholesterol: 87mg
Sodium: 526mg
Fiber: 3g
Sugar: 48g
Nutrition information is automatically calculated, so should only be used as an approximation.