
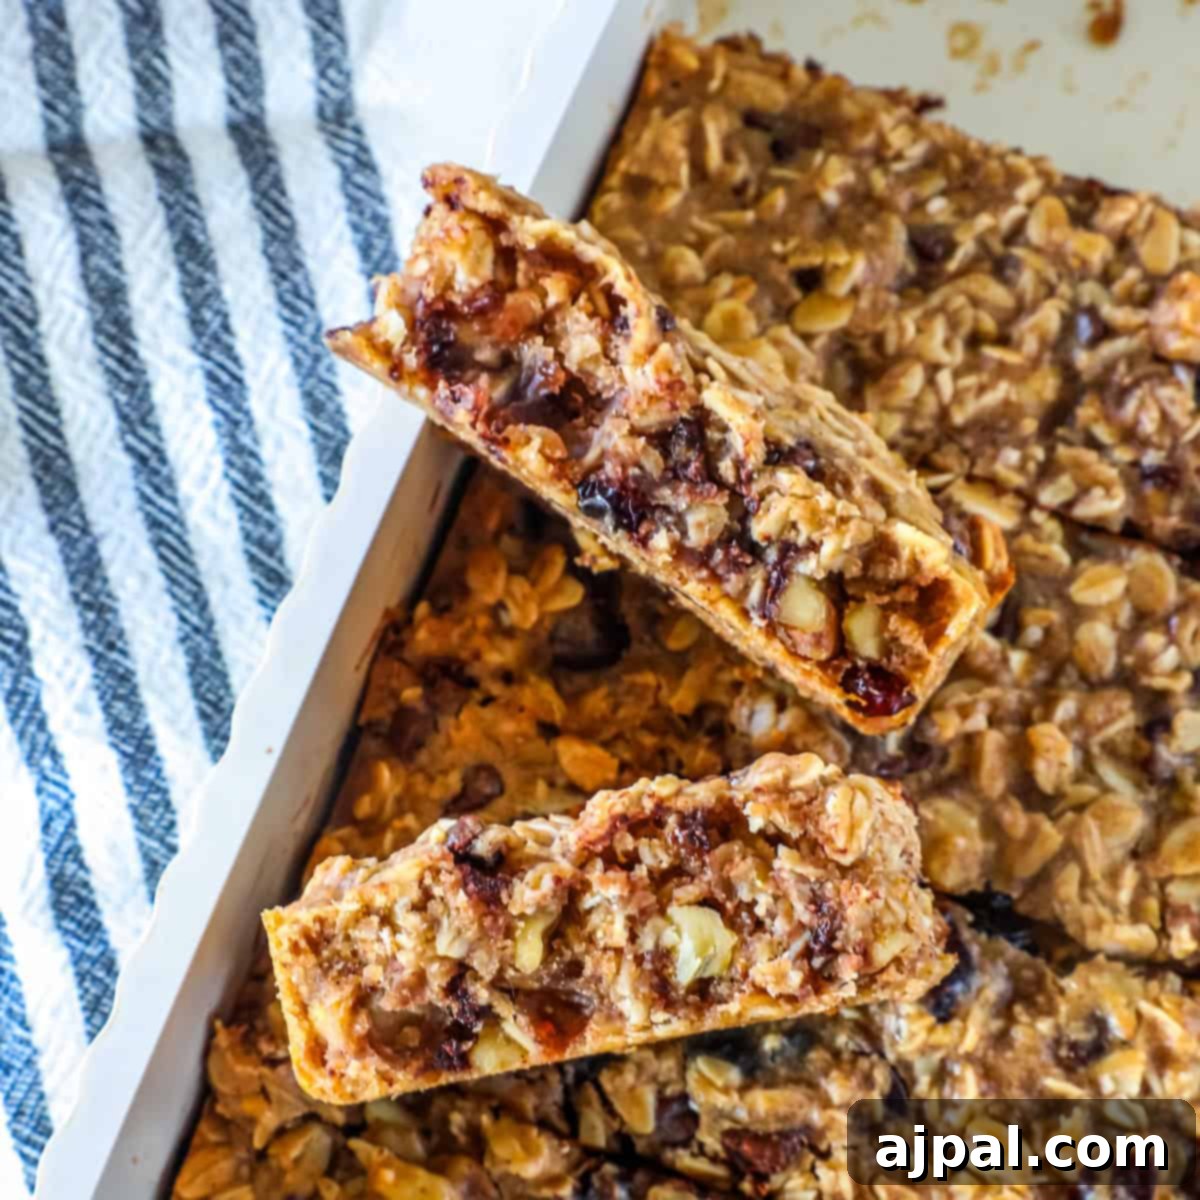
Homemade Sourdough Granola Bars: Your Go-To Healthy Snack
Unlock the secret to the most delicious and satisfying homemade snack with our incredible Sourdough Granola Bars! Perfect for busy parents and health-conscious individuals alike, these soft and chewy granola bars are a delightful way to use your sourdough discard, transforming it into a wholesome, flavorful treat. Forget store-bought bars laden with artificial ingredients; our recipe empowers you to create custom, healthy snacks tailored to your family’s preferences. With their perfect texture and adaptable nature, these bars are bound to become a staple in your kitchen, making snack time both nutritious and exciting!
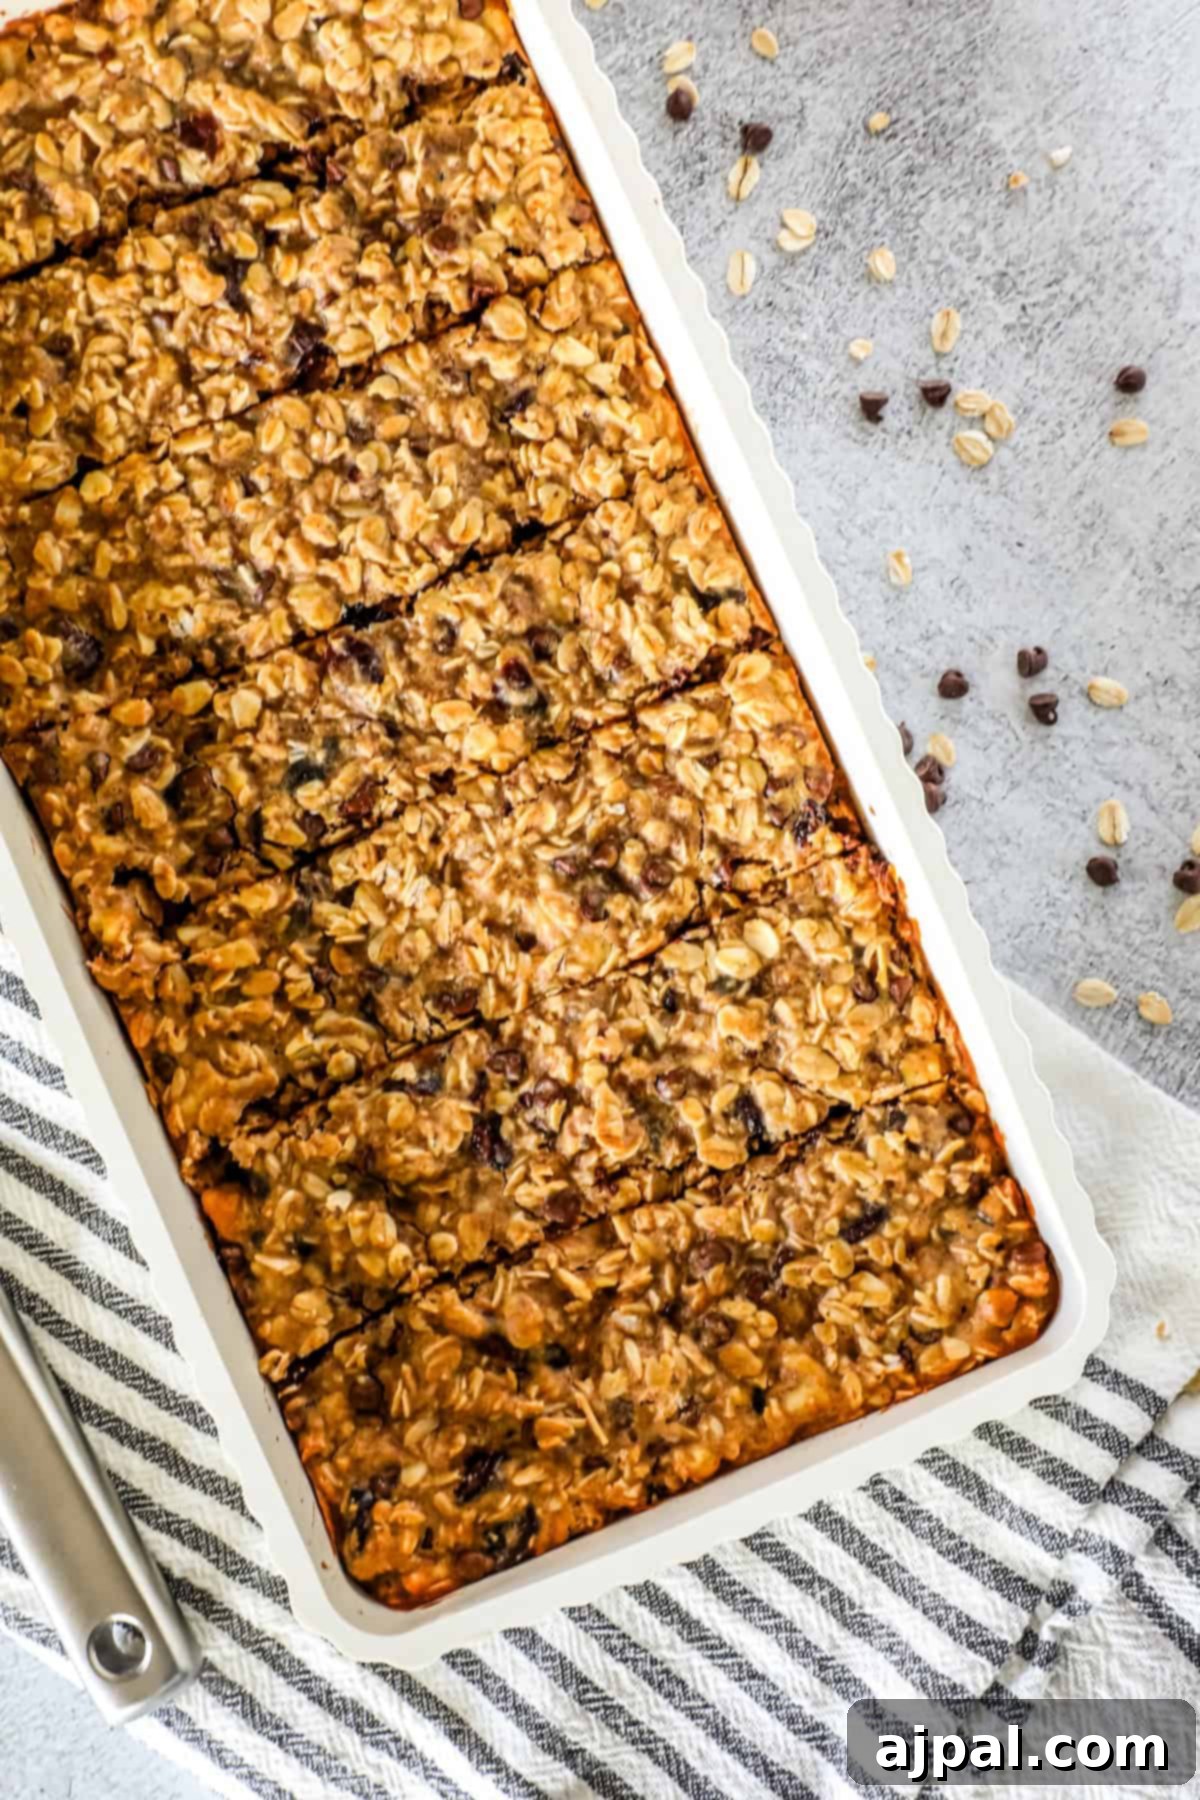
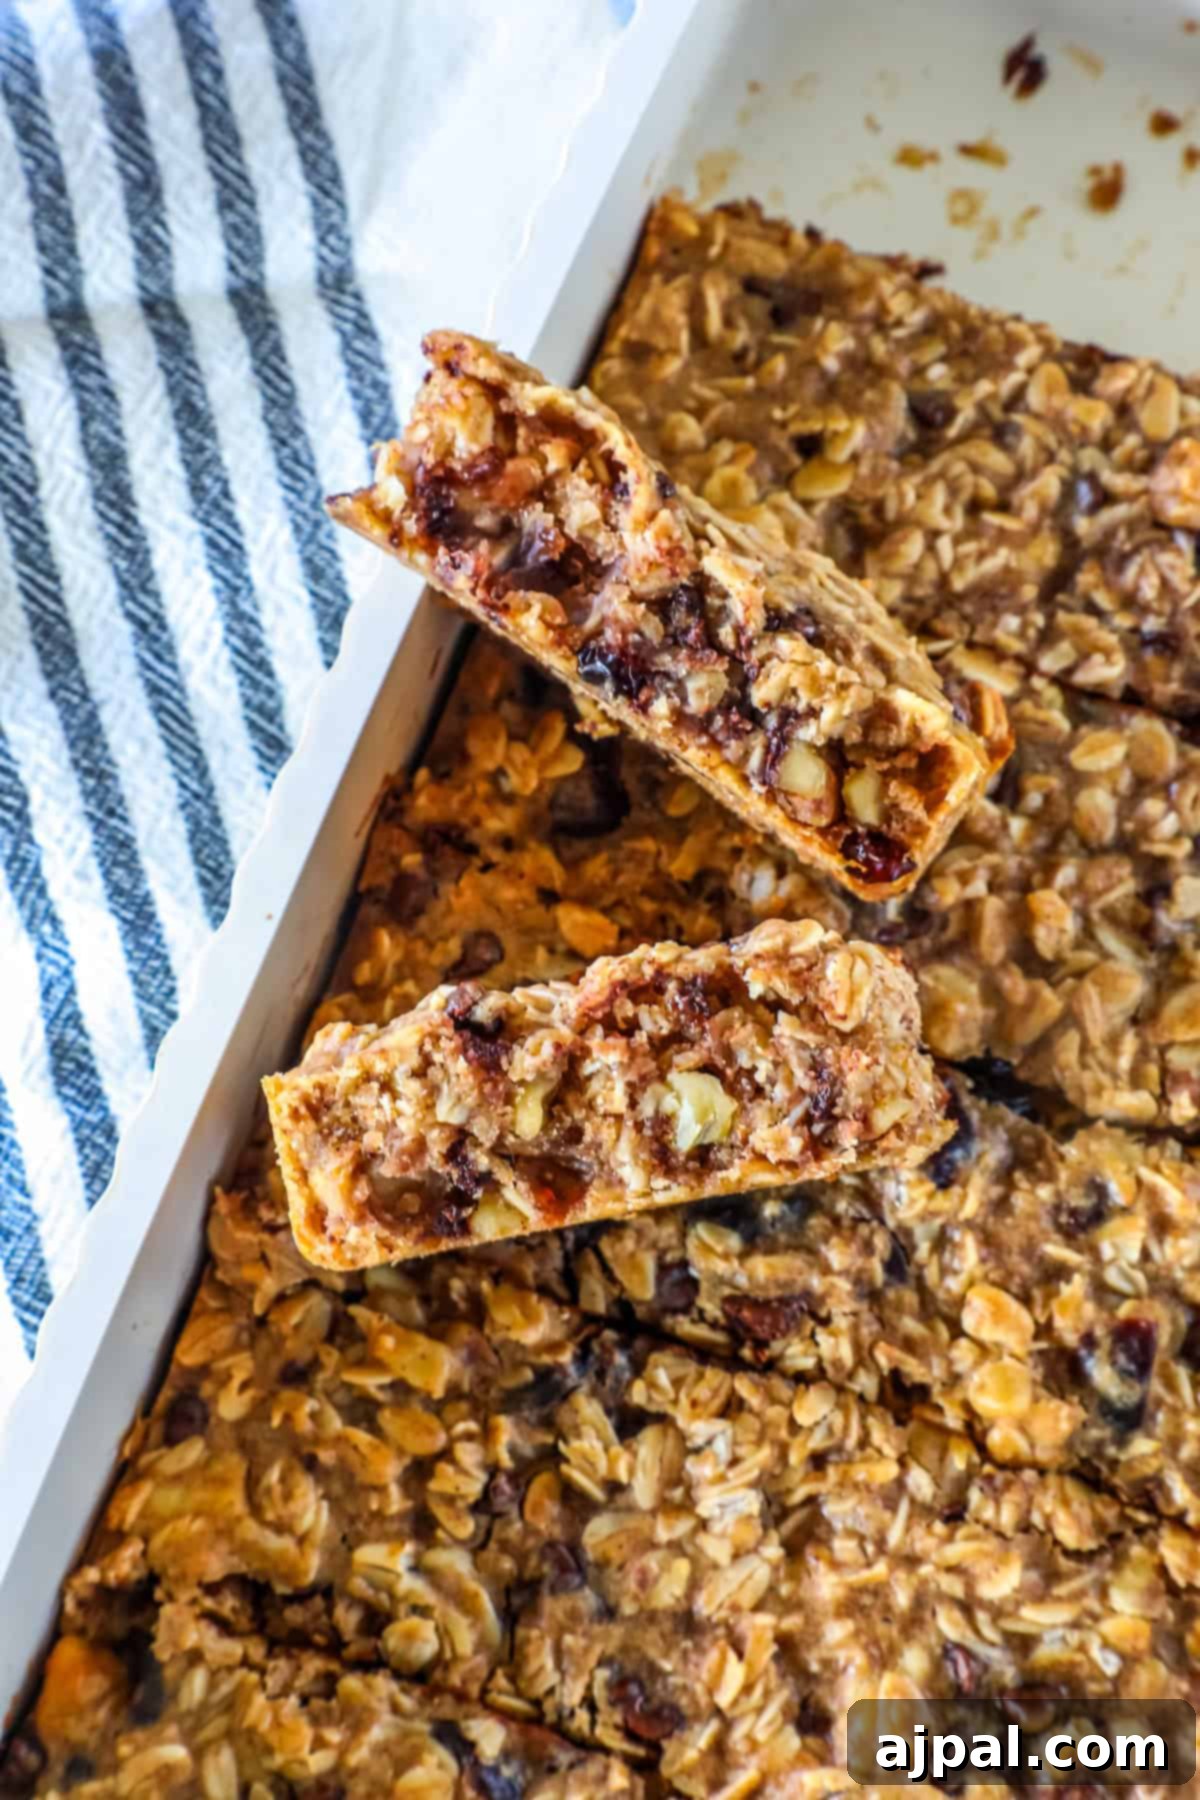
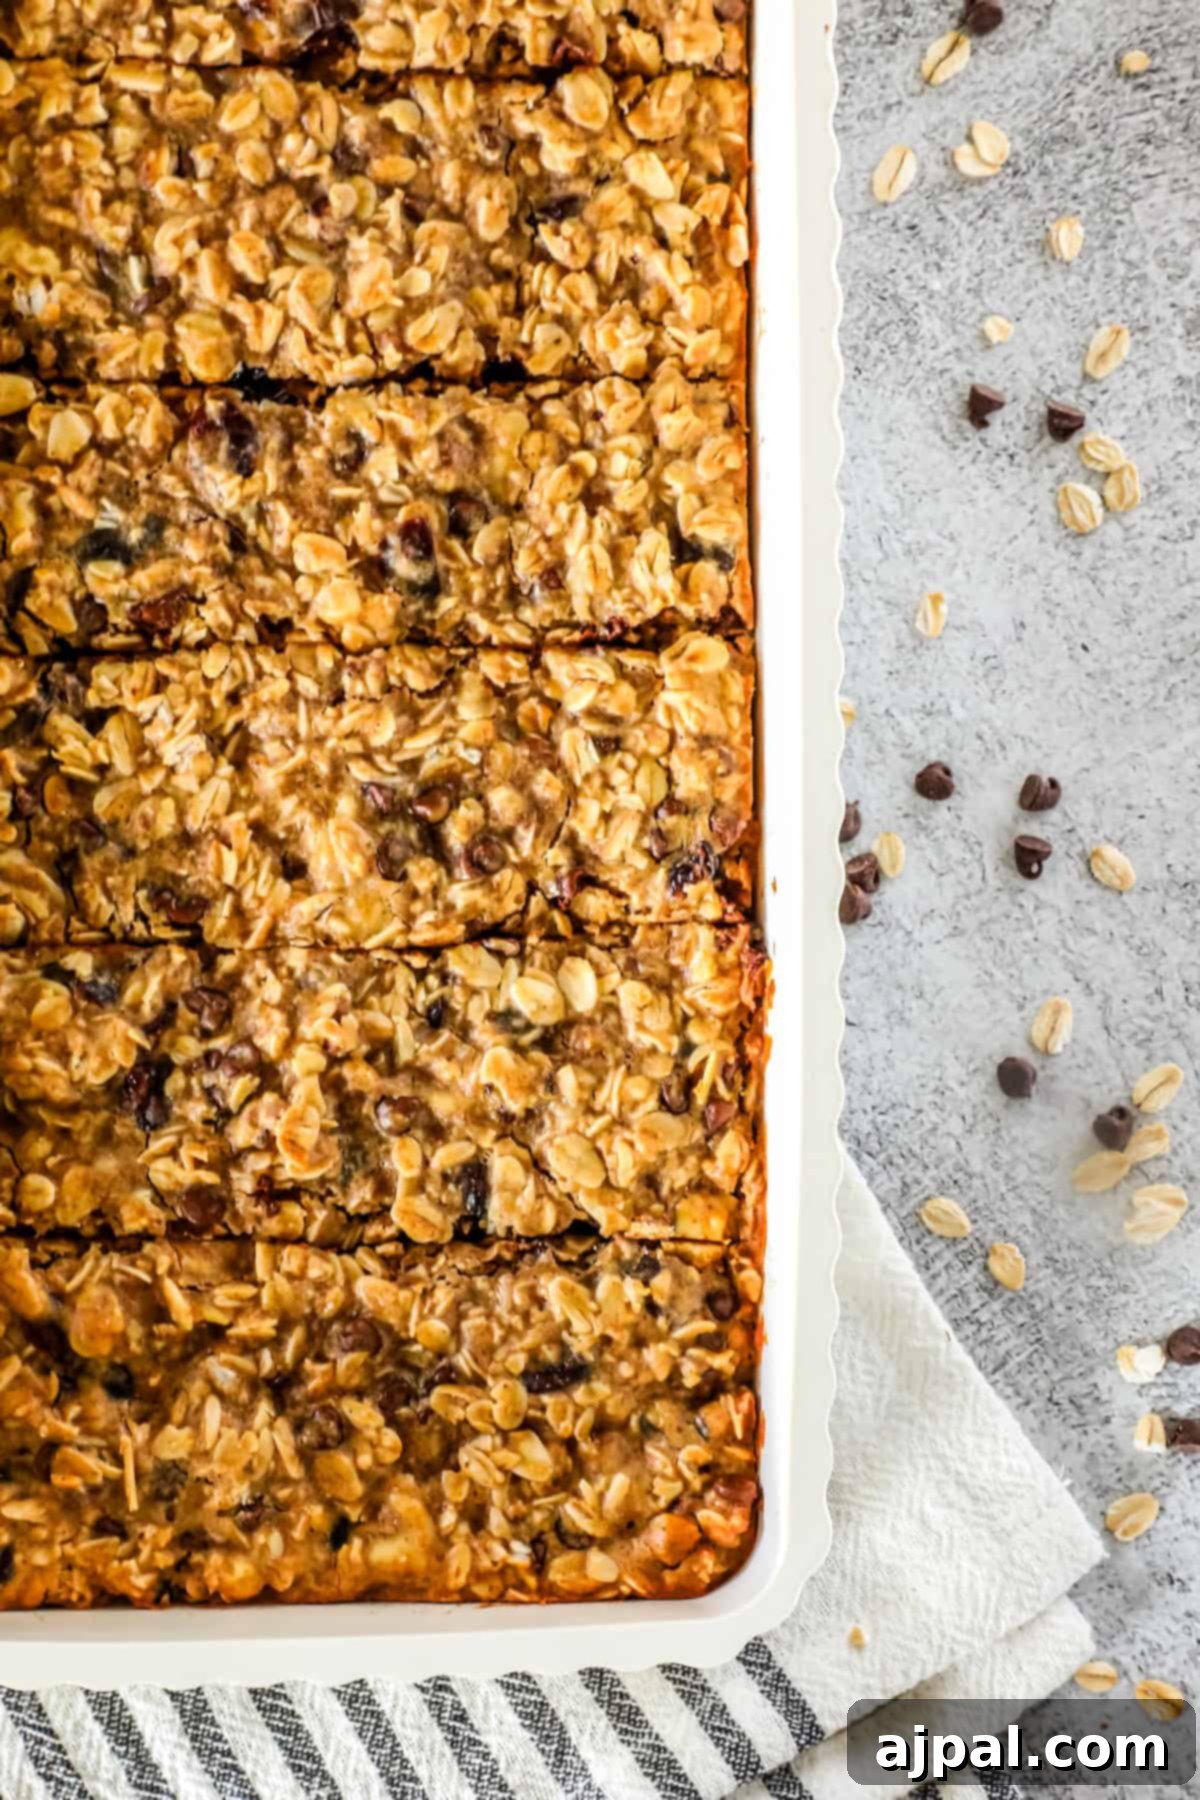
Welcome to our kitchen! We believe that cooking should be an empowering experience for everyone, regardless of their culinary background. That’s why we share detailed recipes filled with practical tips, helping you understand not just *what* to do, but *why* each step and ingredient matters. Our goal is to make every home cook feel confident and inspired to create delicious meals and snacks, starting with these incredible sourdough granola bars.
Table of Contents
- How to Make Sourdough Granola Bars
- The Sourdough Advantage
- Sourdough Granola Bars Ingredients
- Step-by-Step Process
- Tips and Tricks for Perfect Sourdough Granola Bars
- FAQs About Sourdough Granola Bars
- More Sourdough Recipes to Make Next
Crafting the Perfect Sourdough Granola Bars
While sourdough discard might not be the first ingredient that comes to mind for granola bars, it truly is a game-changer! It acts as an incredible natural binder, lending a unique, subtle tang and a delightful lift to the overall texture. Our recipe combines creamy peanut butter, golden honey, and a touch of coconut oil to create a perfectly sticky base that holds everything together beautifully. You can adjust the amount of honey to suit your sweetness preference, but a little is essential to prevent a purely savory bar. Don’t shy away from customizing with your favorite add-ins like nuts, seeds, or dried fruits. For an extra burst of flavor, consider lightly toasting your chopped nuts beforehand. Get creative and let us know your family’s favorite combinations!
Pro Sourdough Tip
The Sourdough Advantage: Why Use Discard?
Using sourdough discard in your granola bars isn’t just about reducing waste; it elevates the entire snack! The discard contributes a subtle, complex tang that beautifully complements the sweetness of the honey and dried fruits. More importantly, it acts as a fantastic natural binder, helping the bars hold their shape without becoming overly dense. Plus, the fermentation process can enhance digestibility, making these wholesome bars even better for your gut. If you’re new to the sourdough journey and looking to start your own starter, Amazon offers excellent Sourdough Starter Kits that include everything you need to begin!
Essential Ingredients for Your Sourdough Granola Bars
Gathering your ingredients before you start ensures a smooth and enjoyable baking process. Here’s what you’ll need to create these irresistible chewy granola bars:
- Sourdough Starter (1 cup): The star ingredient! This adds a unique depth of flavor and is crucial for binding all the components together, reducing food waste from your regular starter feedings.
- Honey (½ cup): Our primary natural sweetener, honey not only provides a delicious sweetness but also contributes significantly to the soft and chewy texture of the bars.
- Peanut Butter (⅓ cup): Lending rich, nutty flavor and essential fats, peanut butter is key for cohesion, ensuring your granola bars hold their shape. Feel free to substitute with almond butter, cashew butter, or any seed butter for a nut-free option.
- Vanilla Extract (2 tsp): A touch of vanilla extract rounds out the flavors, adding a warm, aromatic sweetness that enhances the overall taste profile.
- Coconut Oil (4 tsp): This ingredient adds moisture, helps bind, and infuses a light, subtle tropical aroma. It also contributes to the pleasant chewiness of the bars.
- Rolled Oats (1 ¼ cup): The foundation of any good granola bar, rolled oats provide a hearty, satisfying base, delivering essential fiber and a delightful chewiness.
- Nuts (¾ cup): Choose your favorites – pecans, almonds, walnuts, or pistachios work wonderfully. They add a satisfying crunch, healthy fats, and a rich, toasty flavor.
- Dried Cranberries (½ cup): These provide bursts of tart sweetness, creating a beautiful balance against the richer, nutty flavors in the bars. Raisins, dried cherries, or chopped apricots are also great alternatives.
- Chocolate Chips (½ cup): A classic favorite! Chocolate chips melt slightly during baking, creating pockets of creamy indulgence that make these bars extra special. You can add extra for topping if desired.
- Cinnamon (1 tsp): A warming spice that brings a cozy, inviting aroma and a subtle kick of flavor, perfectly complementing the oats and fruits.
- Sea Salt (1 tsp): Don’t skip the salt! It balances the sweetness, amplifies all the other flavors, and prevents the bars from tasting bland.
Granola Bar Baking Process
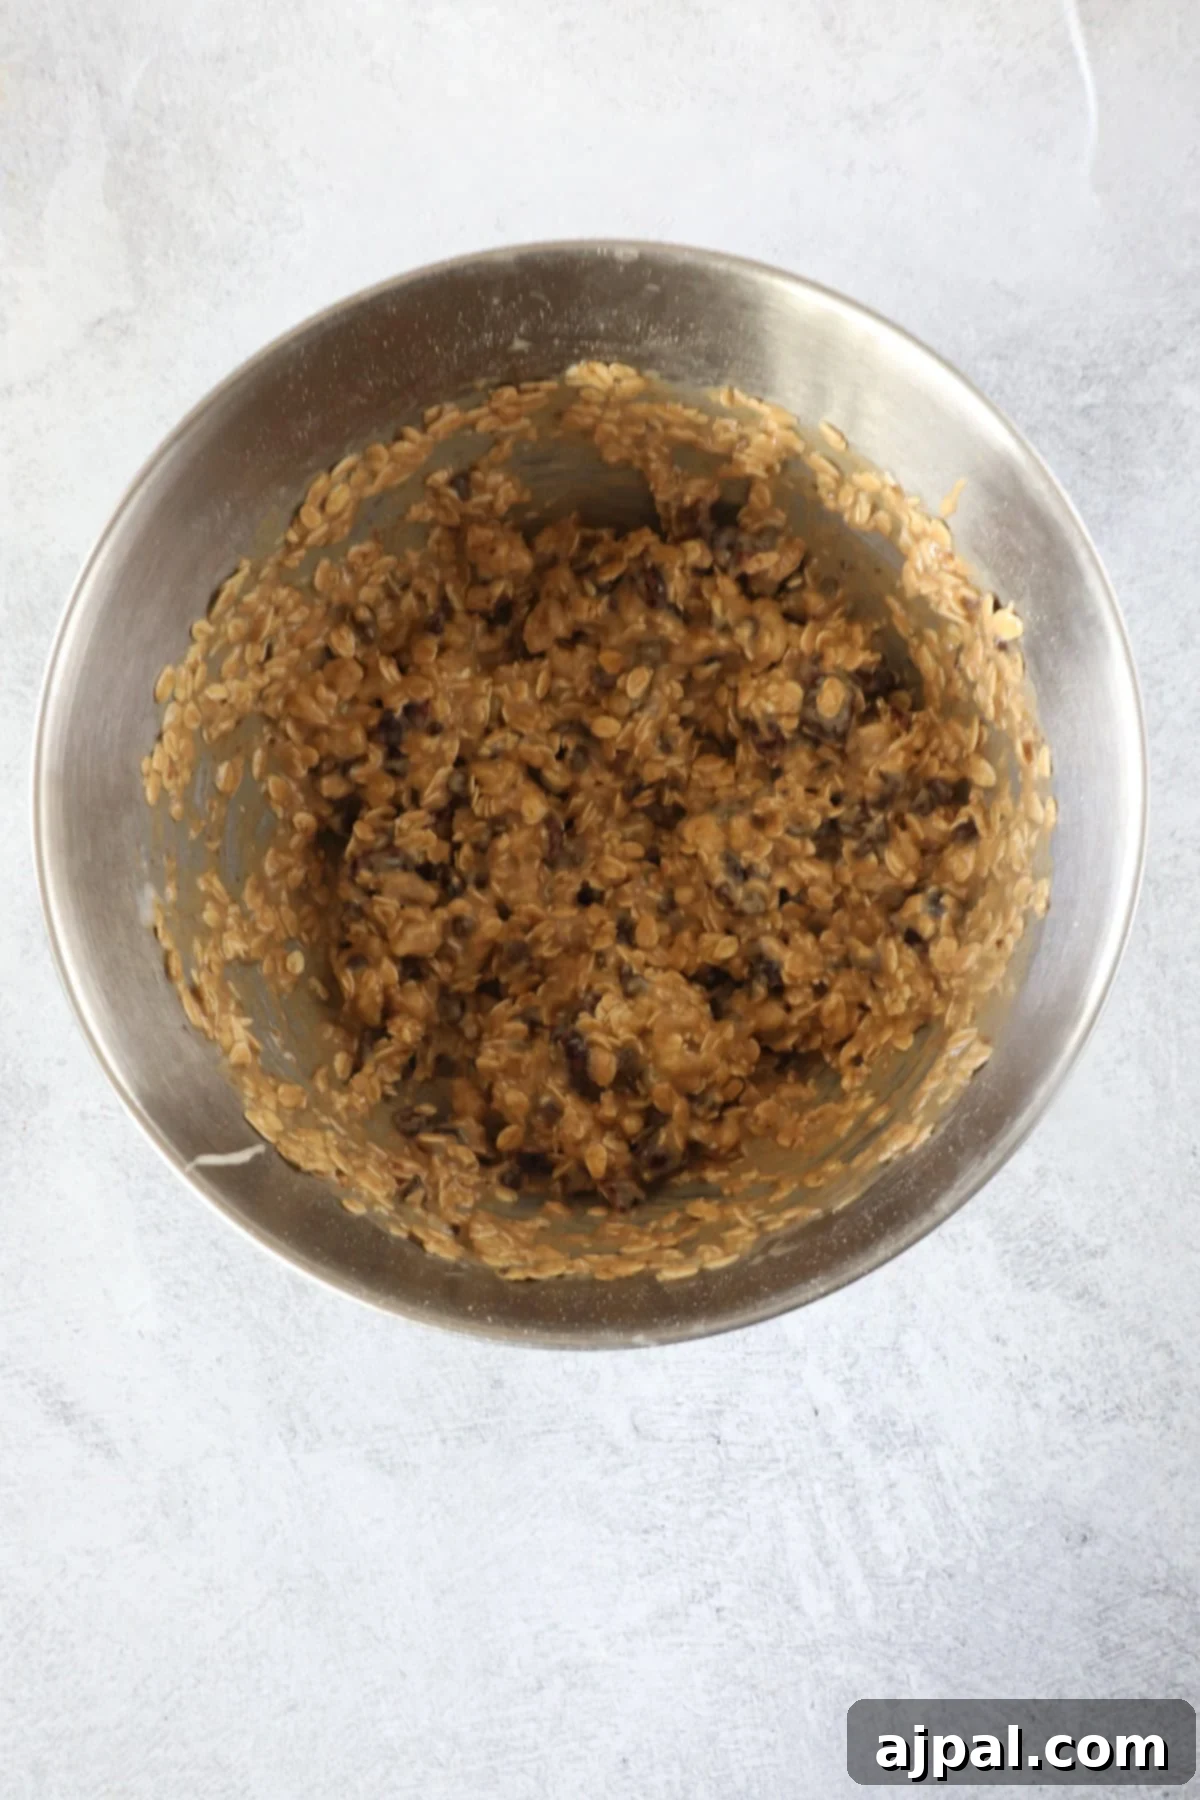
1. Mix Ingredients
Begin by preheating your oven to 350°F (175°C) and lining a 9×9 inch baking tin with parchment paper, allowing some overhang on the sides for easy removal later. In a large mixing bowl, combine all the dry ingredients: rolled oats, chopped nuts, dried cranberries, chocolate chips, cinnamon, and sea salt. Stir them well to ensure an even distribution of all the flavorful add-ins. In a separate batter jug or small bowl, whisk together the wet ingredients: sourdough starter, honey, peanut butter, vanilla extract, and coconut oil until thoroughly combined and smooth. Pour this wet mixture over the dry ingredients in the large bowl and stir patiently until every oat flake and every add-in is evenly coated. This ensures a consistent texture and flavor throughout your granola bars.
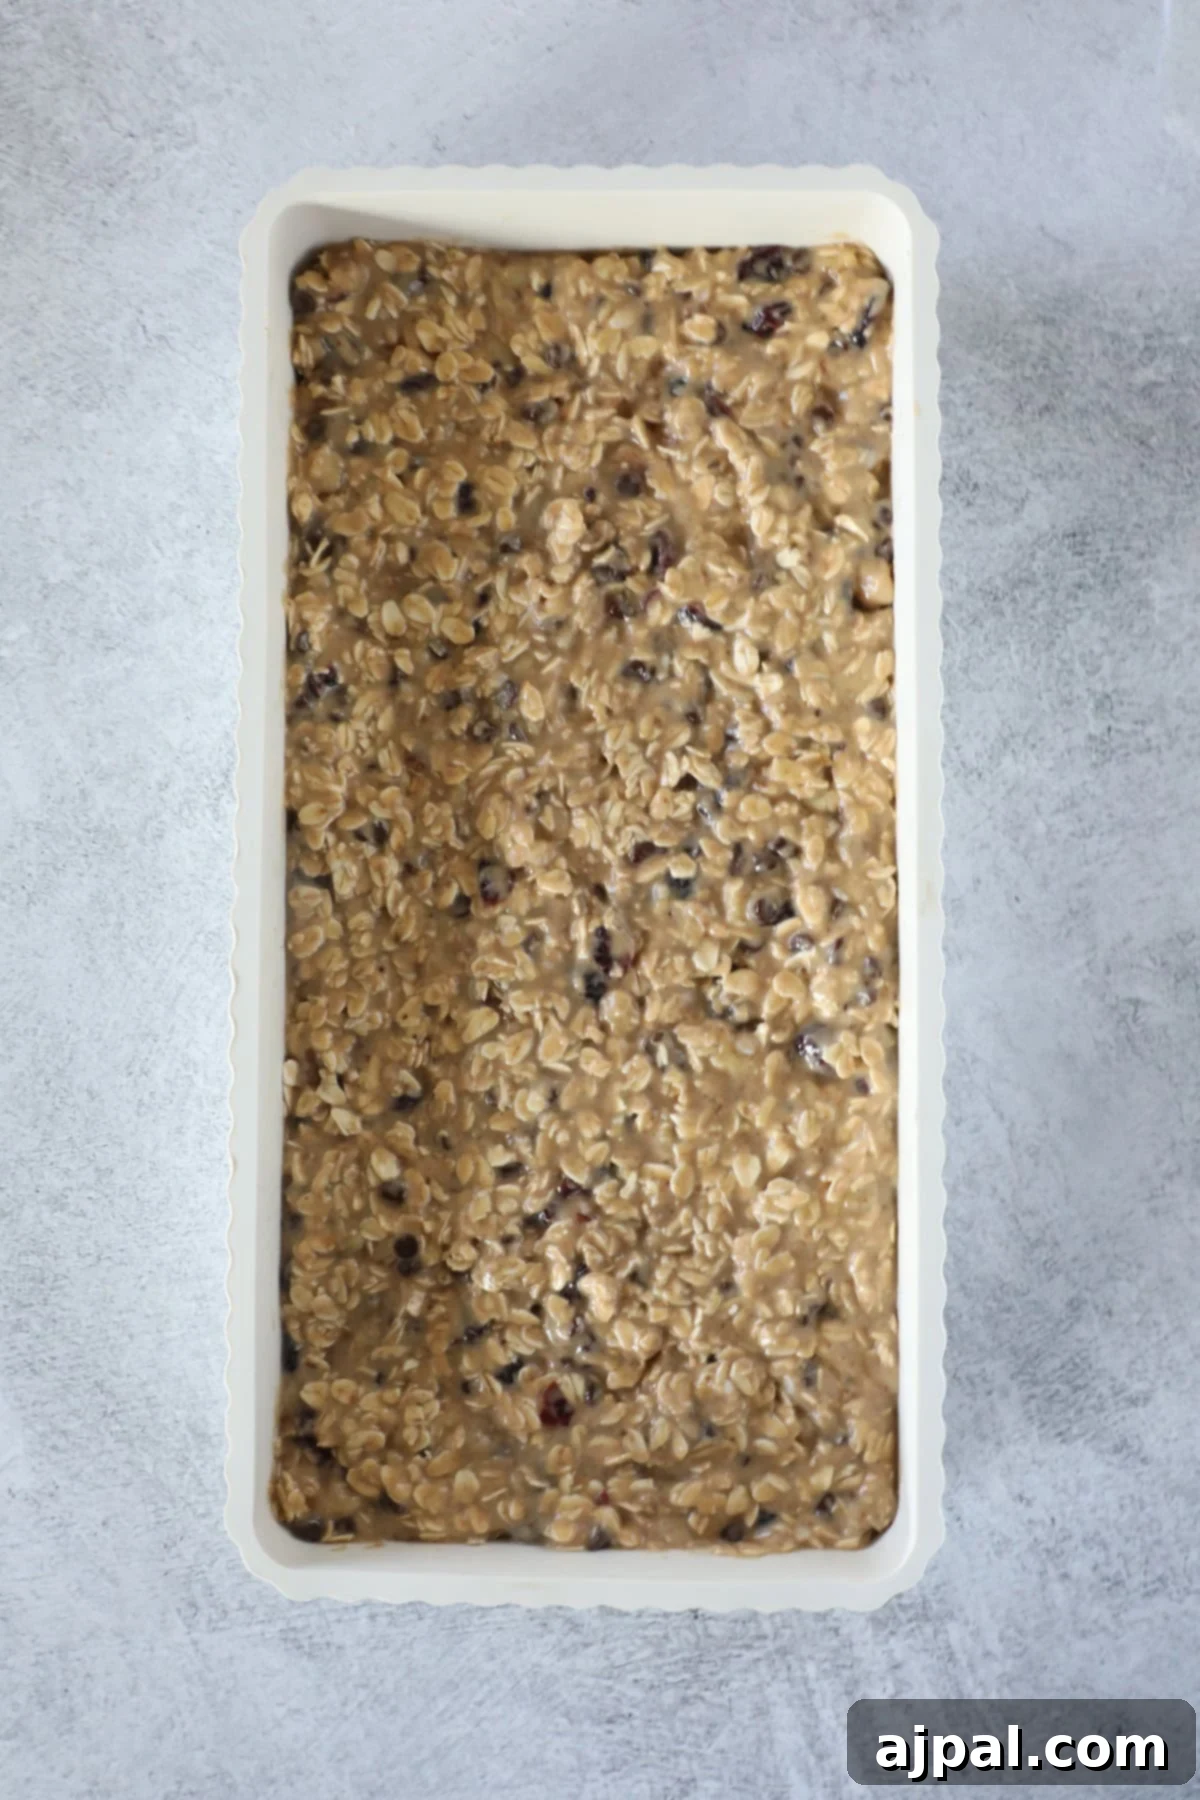
2. Assemble and Bake
Carefully transfer the granola mixture into your prepared 9×9 inch baking pan. This step is crucial for achieving firm, well-held bars. Using the back of a spoon, a spatula, or even another piece of parchment paper to cover the top, press the mixture down as firmly and evenly as possible. The goal is to compact the mixture tightly, removing any air pockets, which helps the bars bind together and prevents crumbling. Once pressed, place the pan into your preheated oven and bake for approximately 30 minutes, or until the edges turn a lovely golden brown and the entire mixture feels firm to the touch when gently pressed in the center. The baking time might vary slightly depending on your oven.
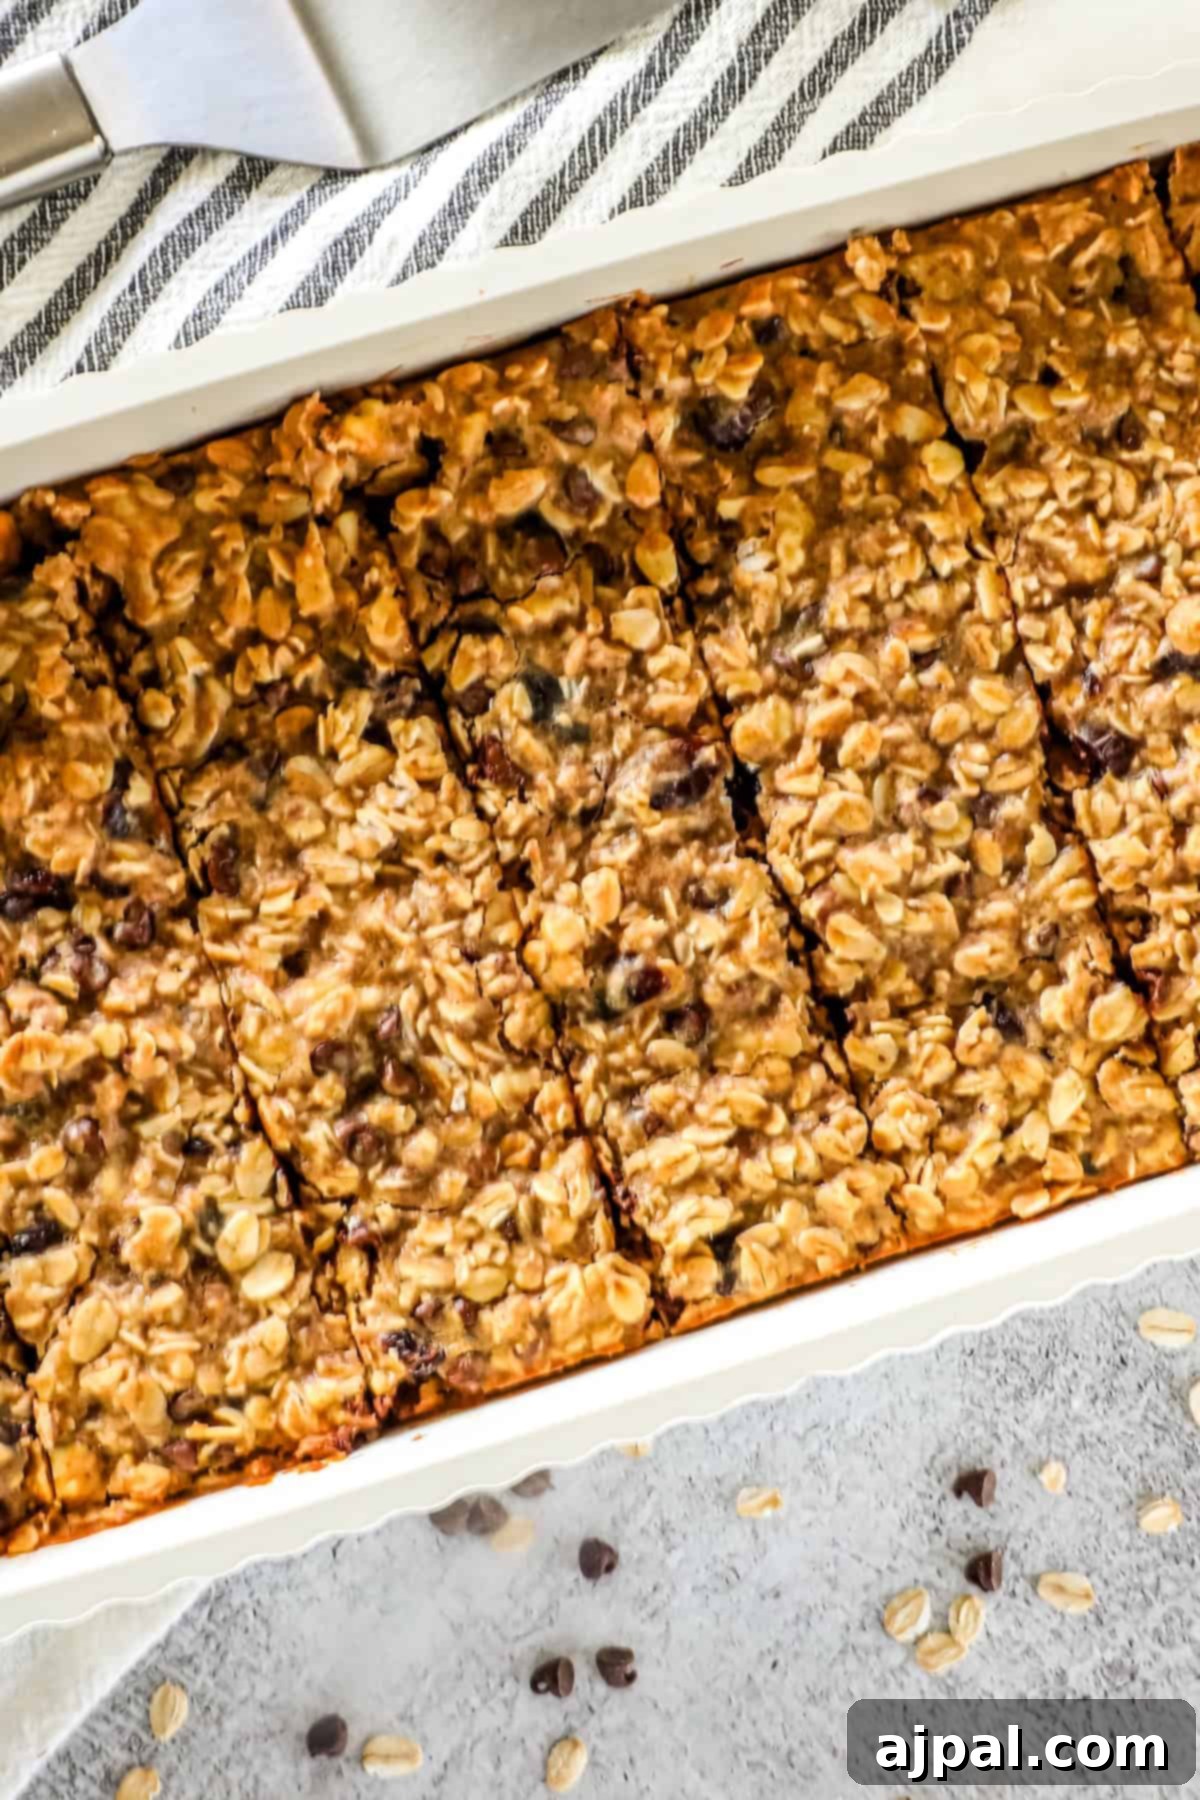
3. Cool & Store for Best Results
Patience is key for this final step! After baking, remove the pan from the oven and resist the urge to cut into the warm bars immediately. Allowing the granola bars to cool completely in the tin is vital; as they cool, they will firm up significantly, making them much easier to slice without crumbling. Once thoroughly cooled, use the parchment paper overhang to carefully lift the entire slab of granola onto a chopping board. Now, slice them into your desired size and shape – rectangles are classic, but squares work too! For optimal freshness, wrap your sourdough granola bars individually in plastic wrap or parchment paper and store them in an airtight container in the refrigerator. This method helps maintain their chewy texture and extends their shelf life, making them perfect for grab-and-go snacks throughout the week.
Expert Tips & Customization for Your Sourdough Granola Bars
Achieving the perfect homemade granola bar is simple with a few smart techniques. Here are our top tips and tricks to ensure your sourdough granola bars turn out beautifully every time, along with ideas for endless customization:
- Opt for Unfed Sourdough Discard: This recipe thrives on unfed sourdough starter, often referred to as discard. It adds that signature tangy depth and acts as a superb binder without initiating a strong rise, which isn’t desirable for a dense granola bar. No need to feed your starter specifically for this recipe!
- Gently Warm Wet Ingredients: For a seamlessly integrated mixture, lightly warm the honey, peanut butter, and coconut oil together. This makes them more fluid, allowing them to mix smoothly and coat the dry ingredients evenly, ensuring every part of your bar is moist and delicious.
- Press Firmly for Cohesion: The secret to bars that hold together beautifully is firm compression. After transferring the mixture to the pan, use a sturdy spatula, the back of a measuring cup, or even another smaller baking pan covered with parchment paper to press the mixture down tightly. This compacts the oats and add-ins, preventing crumbly bars.
- Parchment Paper is Your Friend: Always line your baking pan with parchment paper, leaving an overhang on the sides. This simple step makes removing the entire slab of baked granola incredibly easy and mess-free, and it aids in clean slicing.
- Choose Rolled Oats for Texture: Stick to old-fashioned rolled oats for this recipe. They provide a superior chewy, hearty bite and maintain their texture during baking much better than quick oats, which can become mushy.
- Chop Larger Mix-ins: If you’re using larger nuts or dried fruit pieces, give them a rough chop. Smaller pieces integrate better into the mixture, contributing to the bar’s structural integrity and making them easier to slice and eat.
- Cool Completely Before Slicing: This cannot be emphasized enough! Allow the baked granola bars to cool fully in the pan, preferably at room temperature for several hours or even overnight. This cooling period allows the binders to set completely, ensuring clean, firm slices rather than a crumbled mess.
- Endless Customization Options: This recipe is incredibly versatile! Swap out dried cranberries for plump raisins, chopped dried apricots, or dried cherries. Add shredded coconut for a tropical twist, or incorporate different seeds like chia, flax, or sunflower seeds for added nutrition and crunch. Vary your nuts based on what you have on hand or your favorite flavor profiles.
- Toast Nuts and Oats (Optional): For an elevated flavor experience, lightly toast your nuts and even the rolled oats in the oven for 8-10 minutes before mixing them into the wet ingredients. This simple step significantly enhances their nutty aroma and richness, adding another layer of deliciousness to your bars.
Frequently Asked Questions About Sourdough Granola Bars
Sourdough starter (specifically discard) serves multiple purposes in granola bars. It imparts a subtle, pleasant tanginess that balances the sweetness, acts as an excellent natural binder to hold the bars together, and can even aid in digestibility through its natural fermentation process.
Absolutely! This recipe is specifically designed for sourdough discard. Ensure it’s unfed and not too old to avoid any unpleasant flavors. Fresh discard works best for optimal texture and taste.
No, it’s optional. While an overnight rest of the mixture can allow for more fermentation and a slightly richer, more complex flavor, you can certainly bake these bars immediately after mixing if you’re short on time. They will still be delicious!
Old-fashioned rolled oats are highly recommended. Their larger flakes hold their texture beautifully, providing a satisfying chew without becoming overly hard or mushy during baking. Avoid instant or quick oats, as they can lead to a less desirable texture.
Several factors contribute to cohesive granola bars. Firstly, ensure you press the mixture very firmly into the pan before baking. Secondly, don’t skimp on the binding ingredients like honey and nut butter. Lastly, allowing the bars to cool completely in the pan before slicing is crucial for them to set properly.
Yes, you can! Simply use certified gluten-free rolled oats and ensure your sourdough starter is also made with gluten-free flour. All other ingredients are naturally gluten-free.
For maximum freshness, wrap individual bars and store them in an airtight container in the refrigerator for up to a week. They can also be frozen for up to 3 months, making them excellent for meal prep. Thaw at room temperature or enjoy them chilled.
If your bars are too soft, they might need a longer baking time to firm up. If they are crumbly, you might need slightly more binding ingredients (like honey or peanut butter) or didn’t press the mixture firmly enough into the pan. Always allow them to cool completely before cutting.
Absolutely! To make them vegan, substitute honey with an equal amount of maple syrup or agave nectar. Ensure your sourdough starter is fed with plant-based ingredients. All other ingredients in this recipe are typically vegan-friendly.
More Delicious Sourdough Recipes to Explore Next
If you love the versatility of sourdough discard, you’ll be thrilled with these other fantastic recipes:
Sourdough English Muffins – Golden, perfectly griddled, and boasting those iconic nooks and crannies, ideal for toasting and slathering with butter.
Sourdough Bagels – Experience the chewy texture and deep flavor of homemade bagels, a depth that commercial yeast simply can’t replicate.
Sourdough Chocolate Chip Cookies – Indulge in rich, moist cookies with a tender crumb. The sourdough adds a subtle complexity without making them taste “sour.”
Sourdough Pancakes – Light, fluffy, and slightly tangy, these pancakes make the most of your starter for a truly special breakfast.
Sourdough Discard Cheese Crackers – These crispy, savory crackers are an absolute family favorite and a clever way to use your discard.
Sourdough Muffins – A delightful and unique savory breakfast treat that puts your tangy sourdough discard to excellent use!
Try these favorites:
See All Sourdough Recipes
Sourdough Granola Bars
Sourdough Peach Cobbler
Sourdough Blueberry Cobbler
Sourdough Croutons
If you found this easy recipe helpful, please consider leaving a five-star rating and a comment below! Your feedback helps us grow. Also, don’t forget to share your creations on Instagram, Facebook, and Pinterest – we love to see what you’re baking!
Share on Facebook
Share
Pin this now to find it later
Pin It
Follow on Instagram
Follow
Only have 30 minutes to get dinner on the table? Sign up for my 30 minute dinner plans direct to your inbox!
Find and shop my favorite products in my Amazon storefront here!
No ratings yet
Sourdough Granola Bars
Share by Email
Print Recipe
These sourdough granola bars are a delightful fusion of tangy fermented starter and the satisfying sweetness of oats, nuts, cranberries, and chocolate chips. They offer a uniquely flavorful and nutritious snack perfect for any time of day.
Equipment
- 9×9 USA Baking Dish
- Bovado USA 4 Quart Glass Bowl for Storage, Mixing, Serving
- Sourdough Bread Starter Kit
Ingredients
- 1 cup sourdough starter, or sourdough discard
- ½ cup honey
- ⅓ cup peanut butter, can sub for any seed butter
- 2 tsp vanilla extract
- 4 tsp coconut oil
- 1 ¼ cup rolled oats
- ¾ cup nuts, pecans, almonds, walnuts, pistachios, or whatever you like
- ½ cup dried cranberries
- ½ cup chocolate chips, plus extra for topping if required
- 1 tsp cinnamon
- 1 tsp sea salt
Instructions
- Preheat the oven to 350°F (175°C). Line a 9×9 inch baking tin with parchment paper, allowing some overhang.
- Add all of the dried ingredients (oats, nuts, dried cranberries, chocolate chips, cinnamon, sea salt) to a large mixing bowl and set aside.
- Now, add all of the wet ingredients (sourdough starter, honey, peanut butter, vanilla extract, coconut oil) to a batter jug or small bowl and stir until well combined.
- Pour the wet ingredients over the dry ingredients and stir until well combined, ensuring all dry components are thoroughly coated.
- Pour the mixture into your prepared baking pan and press down as much as you can. For best results, use a piece of parchment paper to cover the top of the granola mix and firmly press down using a glass or smaller baking pan to compact it tightly.
- Place the granola bar mix into the oven and bake for 30 minutes at 350°F (175°C) or until the edges are golden brown and the mix is firm to the touch in the center.
- Allow the granola bars to cool completely in the tin before using the parchment paper to carefully lift the entire slab onto a chopping board. Slice into bars of your desired size.
- Wrap sourdough granola bars individually in plastic wrap or parchment paper and store them in an airtight container in the refrigerator for up to 7 days, or freeze for longer storage.
Nutrition Information
Calories: 385kcal | Carbohydrates: 52g | Protein: 8g | Fat: 18g | Saturated Fat: 5g | Polyunsaturated Fat: 3g | Monounsaturated Fat: 7g | Trans Fat: 0.02g | Cholesterol: 2mg | Sodium: 349mg | Potassium: 204mg | Fiber: 4g | Sugar: 31g | Vitamin A: 28IU | Vitamin C: 0.3mg | Calcium: 39mg | Iron: 2mg
Nutrition information is automatically calculated, so should only be used as an approximation.
Additional Info
Tried this recipe?
Mention @sweetcsdesigns or tag #sweetcsdesigns!